Giant Spring Grazing Board for a Crowd
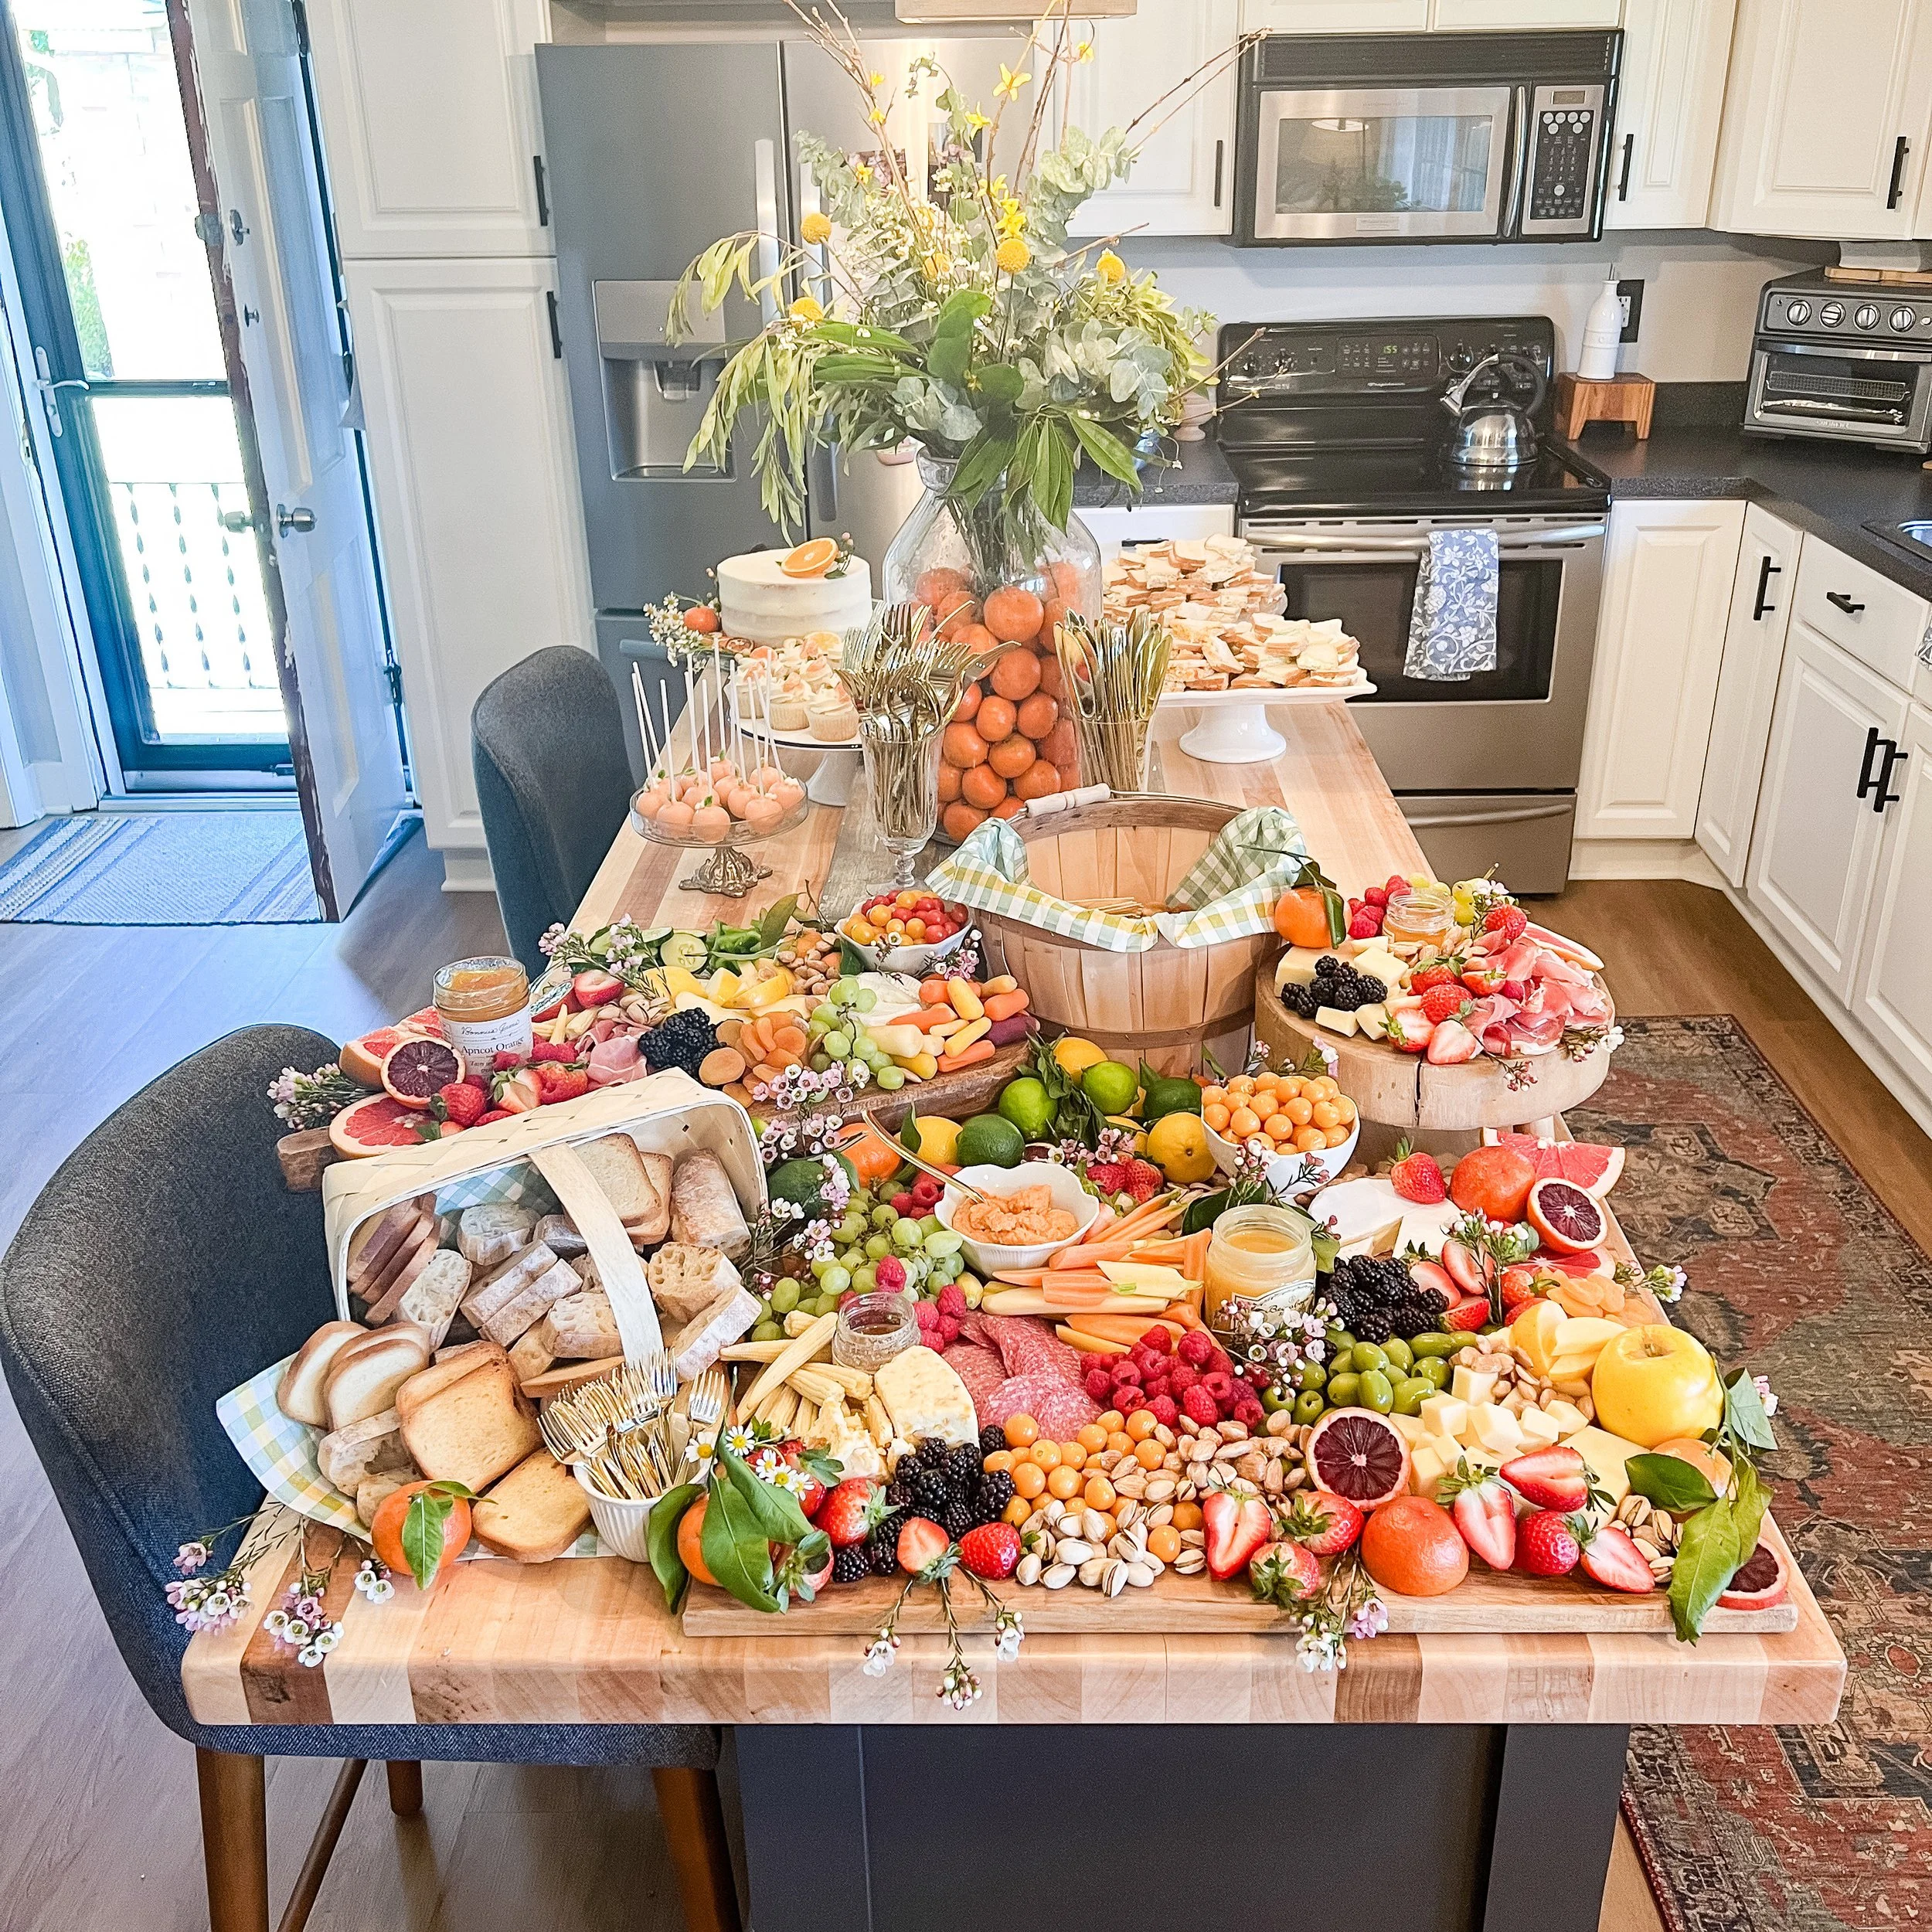
I never turn down a good opportunity to put together a giant cheeseboard! This extra large spring grazing board had all the beautiful bright spring colors and textures to really make a statement. It was the perfect snack to enjoy for the “It’s a Cutie” themed baby shower I threw for my best friend (find more details on that here!). You can find all the ingredients for this one and instructions for assembling below!
xoxo
Emily
I used about one package of each unless noted; this will feed about 20-25 people as an appetizer/light meal
Blackberries
Raspberries
Strawberries
Grapefruit
Clementines (used several packages- some as garnish and some cut up)
Blood Oranges
Lemons
Limes
Honeycrisp Apples (1-2)
Green grapes
Dried Apricots
Pistachios
Golden Berries (gooseberries- available at Trader Joe’s)
Marcona Almonds
Grape tomatoes
Cucumbers
Carrots (variety of colors and types- used 2 different bags)
Green Bell Peppers
Green Olives
Baby Carrots
Apricot Orange Spread/Jam
Variety of bread and crackers- french bread slices, toast points, pita bite crackers, etc. (I purchased 4-5 different types)
Prosciutto (2 packages)
Salami Slices
2-3 types of cheese- I used Brie, smoked gouda, goat cheese, and an apricot Wensleydale
Lemon Curd
Honey
Beer Cheese
Small flowers and herbs/greenery for garnish

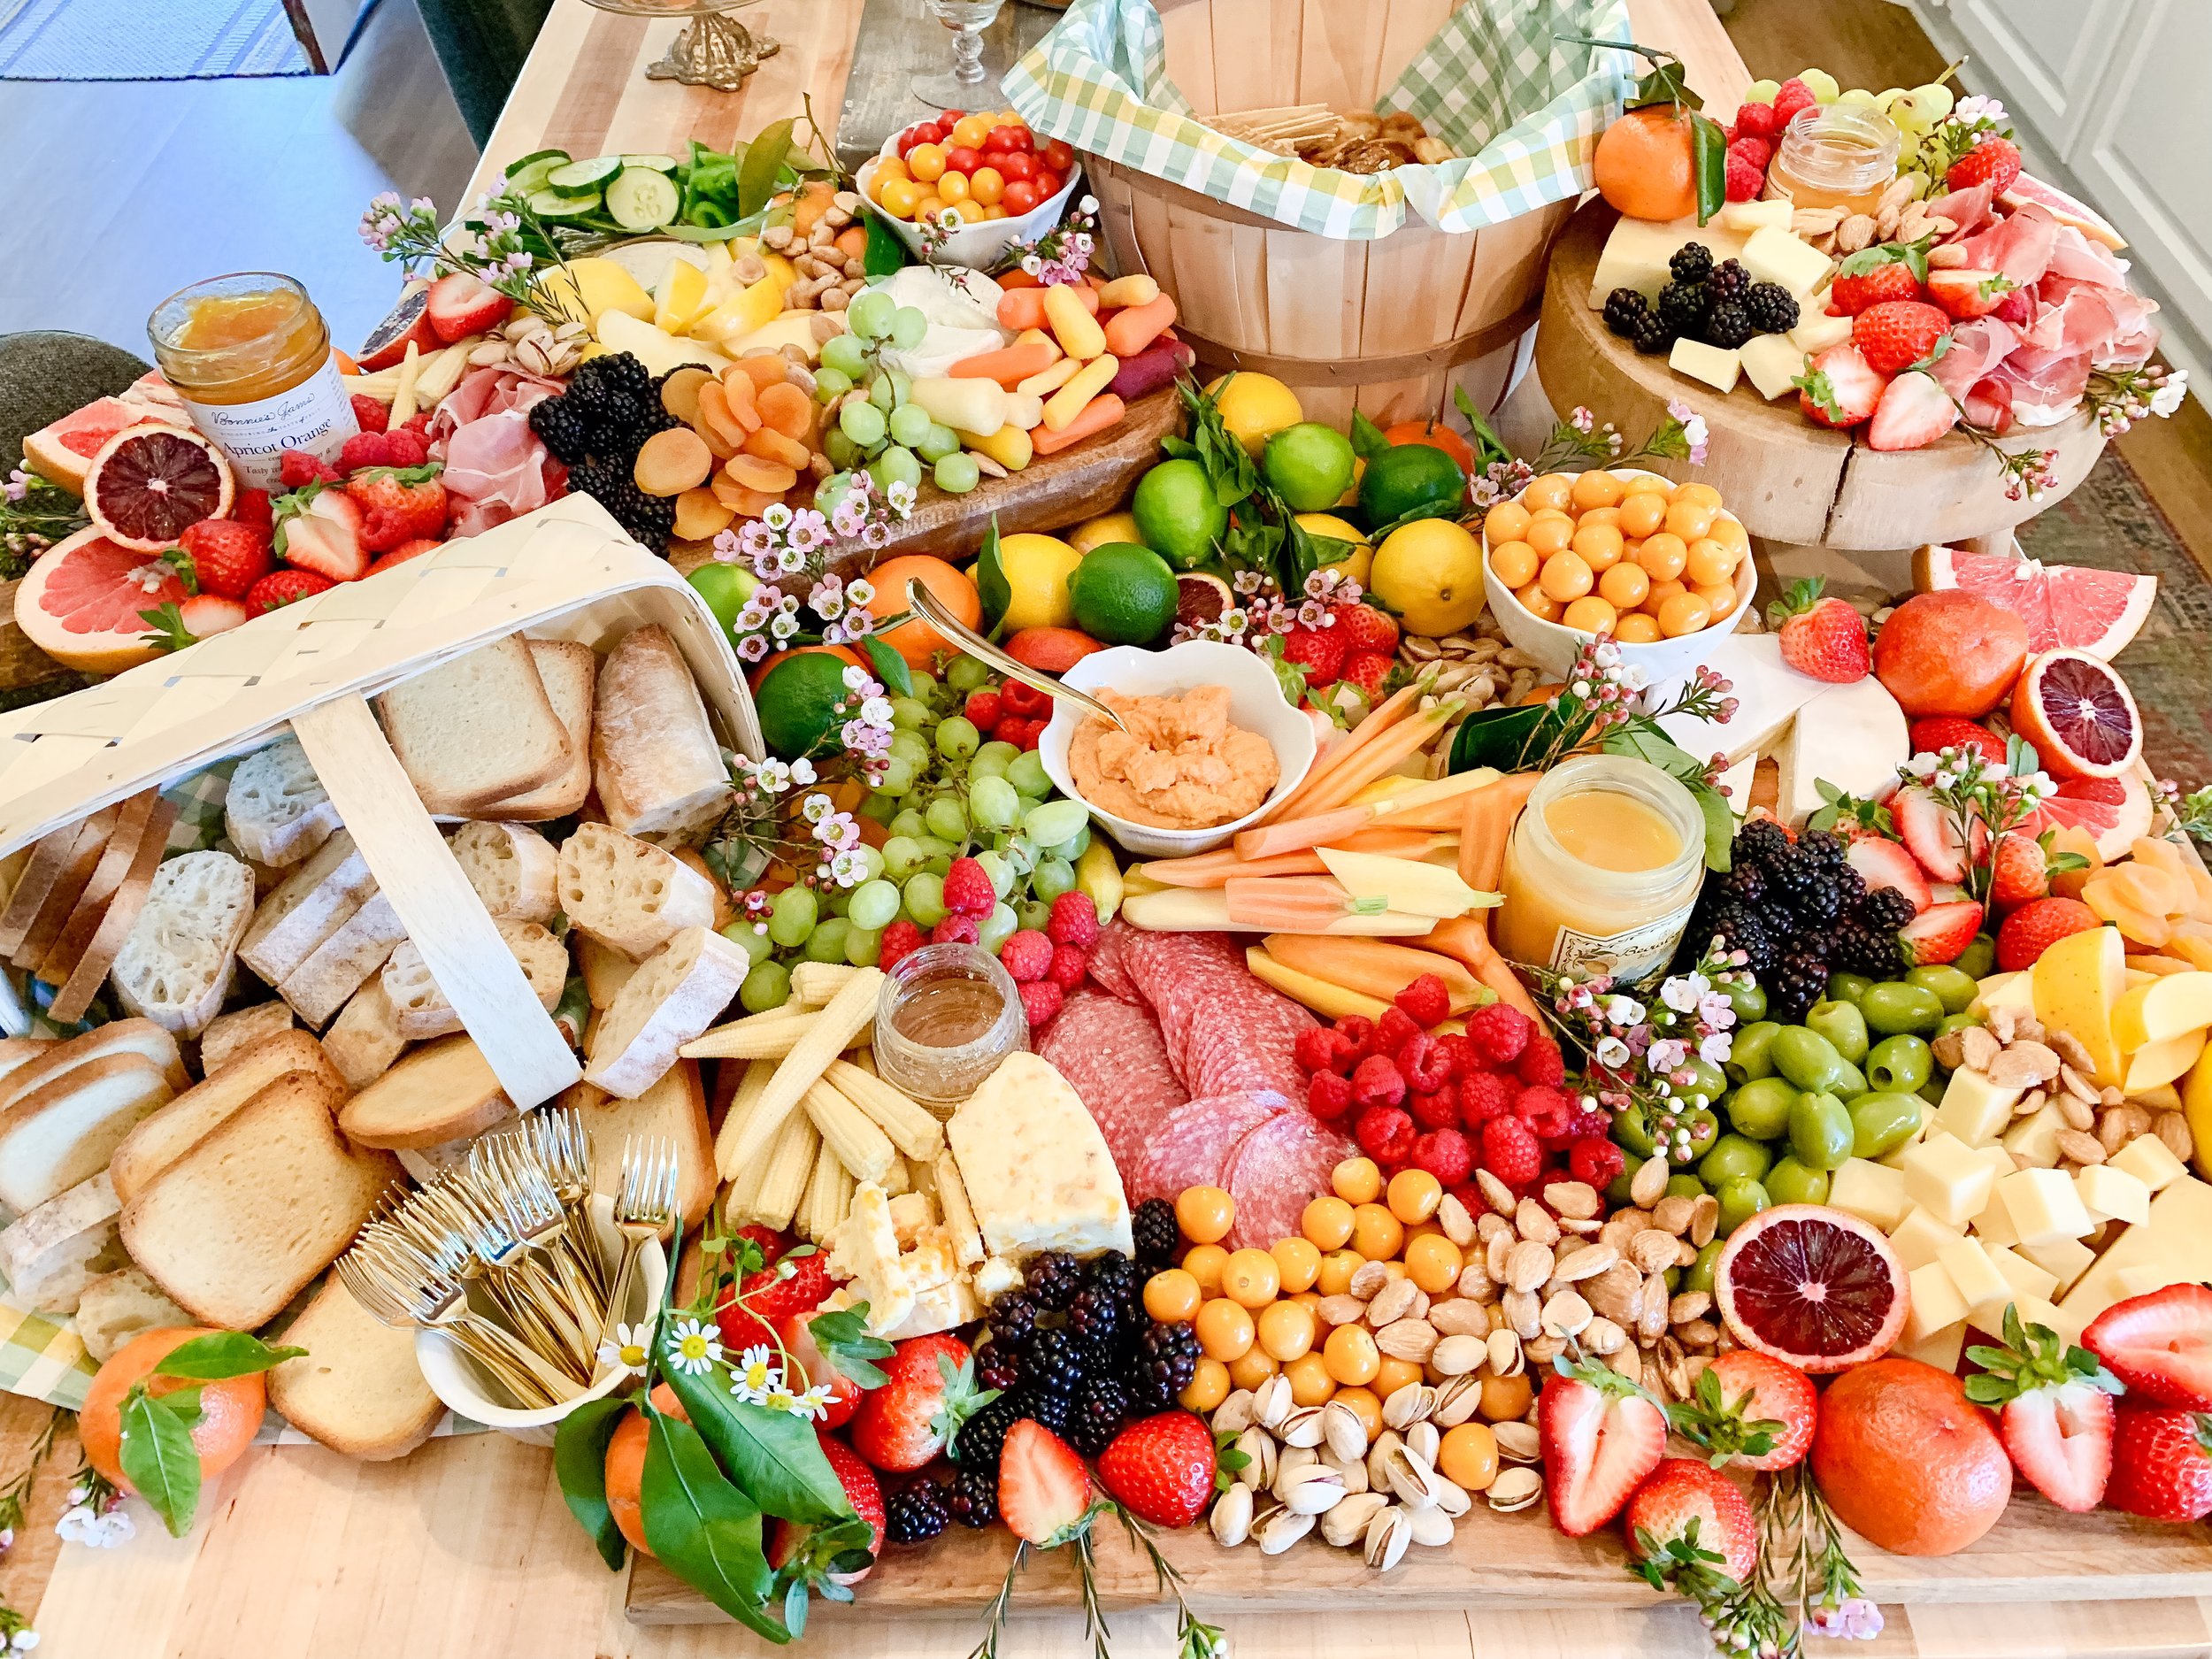
I started by creating the base with a couple different large boards, a couple cake plates/tiers for height, and some produce baskets for bread/crackers. I put napkins in these before adding the bread and crackers on top.
Next I placed my largest items throughout the board, evenly spacing everything so they were in different spots across the board- the bowls, meats, cheeses, and jars of jam/honey were the main items I placed first. I used bowls for the golden berries, beer cheese, cherry tomatoes, and some mini forks.
Prep all your food. Slice and wash fruits and veggies. I usually like to cut everything into bite sized pieces but leave a chunk of each item for variety so you can see the different colors/textures.
Next start placing the largest sliced fruits/veggies first (like the grapefruit and apples), again evenly spacing items so like colors/textures aren’t next to each other. Save the smaller items like raspberries and blackberries for the end to fill in your smaller areas and odd spaces.
Continue to work around the board distributing different colors in each zone. I save the nuts for last, because they’re perfect for filling in tiny spaces
Finish with flowers and greenery as a garnish, sprinkling throughout, and ENJOY!