One Room Challenge: Playroom Makeover - FINAL REVEAL!
I can’t believe week 8 is already here and that somehow I got this playroom DONE! I must admit, I took on a few too many DIY projects with this one but I also had so much FUN each step of the way. I learned a lot and we now have an amazing playroom for JW that I know he will enjoy for many, many years to come. Not to mention, my husband and I love this space so much that we have even been hanging out in here after he’s already asleep at night! If you’ve been following me on social media, you’ve likely already seen some after photos of the space but this post will be a complete round up of every project, every item linked to shop, and overall my design process for the entire space!

One of the big things I learned through my very first round of the One Room Challenge, is that most designers have their entire design planned out prior to starting the challenge, or at least a good portion of it. Well I was still deciding what room I wanted to do down to the wire, so I definitely DID NOT do that, and it did cost me a few weeks. Many of my projects and the overall design kind of evolved along the way so it did feel like it took me until about week 4 to really get rolling. I am THRILLED with how the space turned out though, and I just love every single detail. I had way too much fun styling and putting the finishing touches on this space. What I love most is that I got to incoproate so many special things from my childhood or special vintage collections that I had been saving for years. I feel like not only is this a super fun, colorful, and bright space, but you can also feel the heart and love in every corner, nook, and cranny! I really poured my heart into every project and detail of this space and I hope you love it as much as I do! Let’s take a look back to where we started in week 1 below:
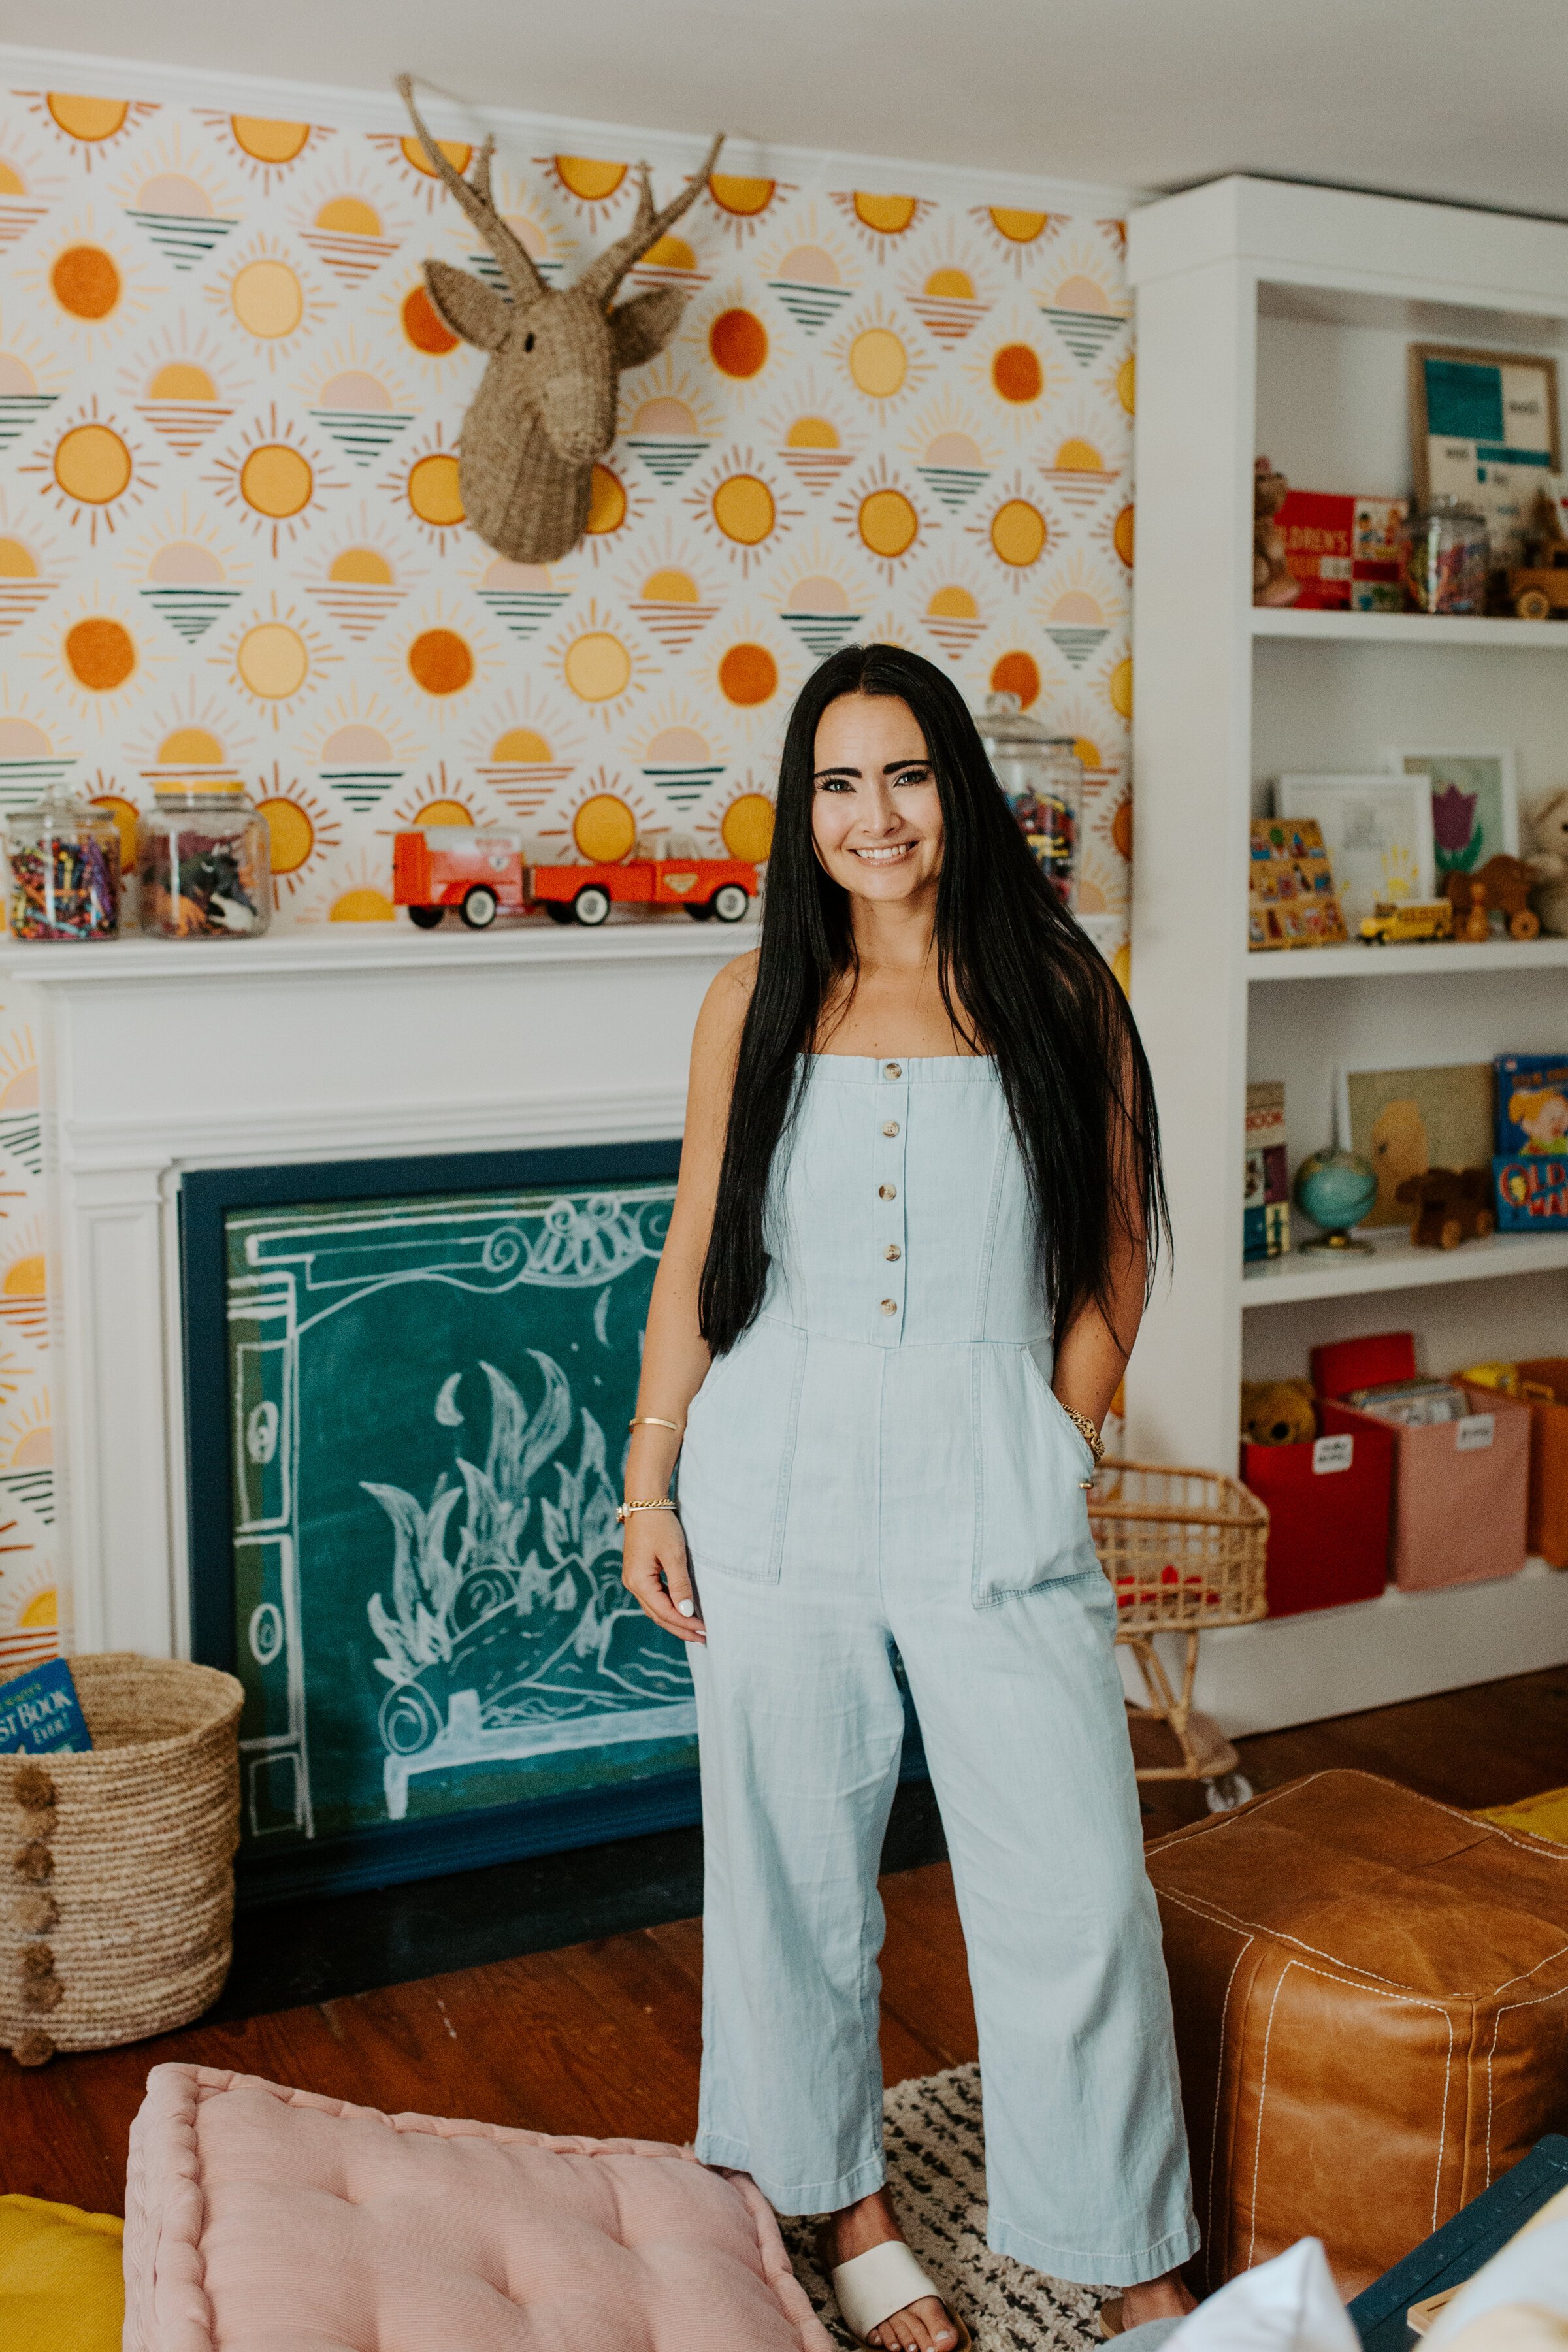
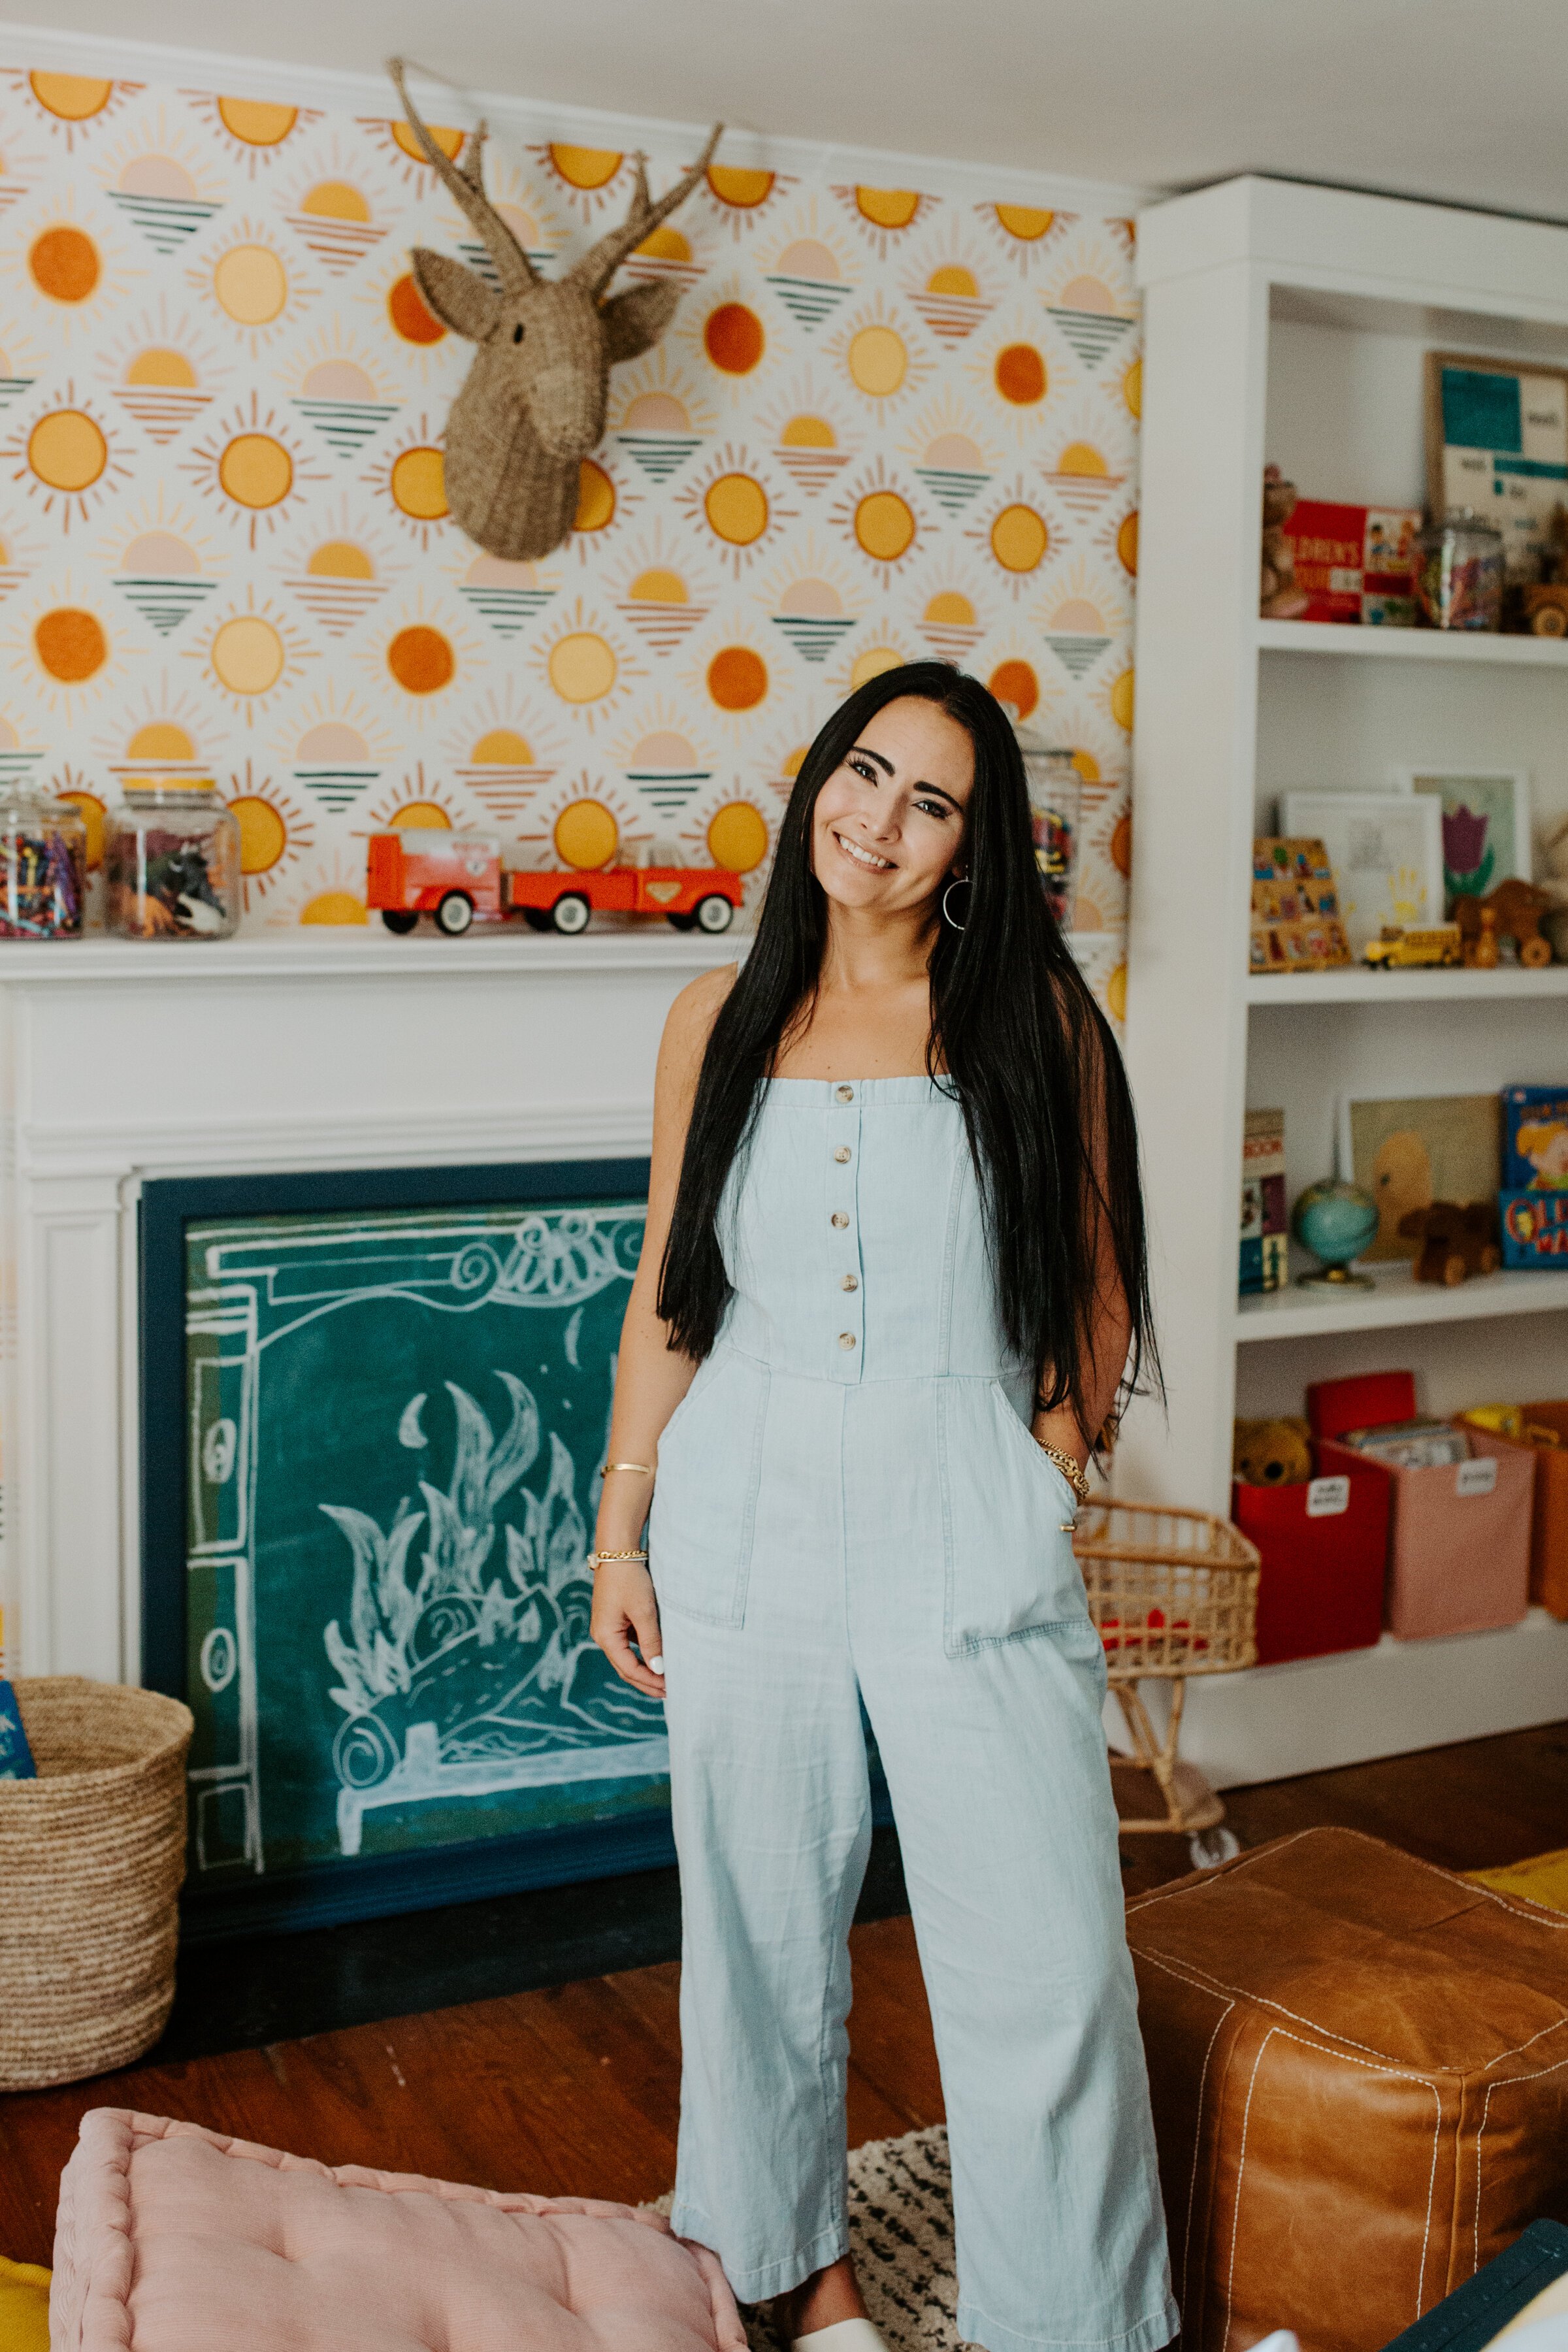
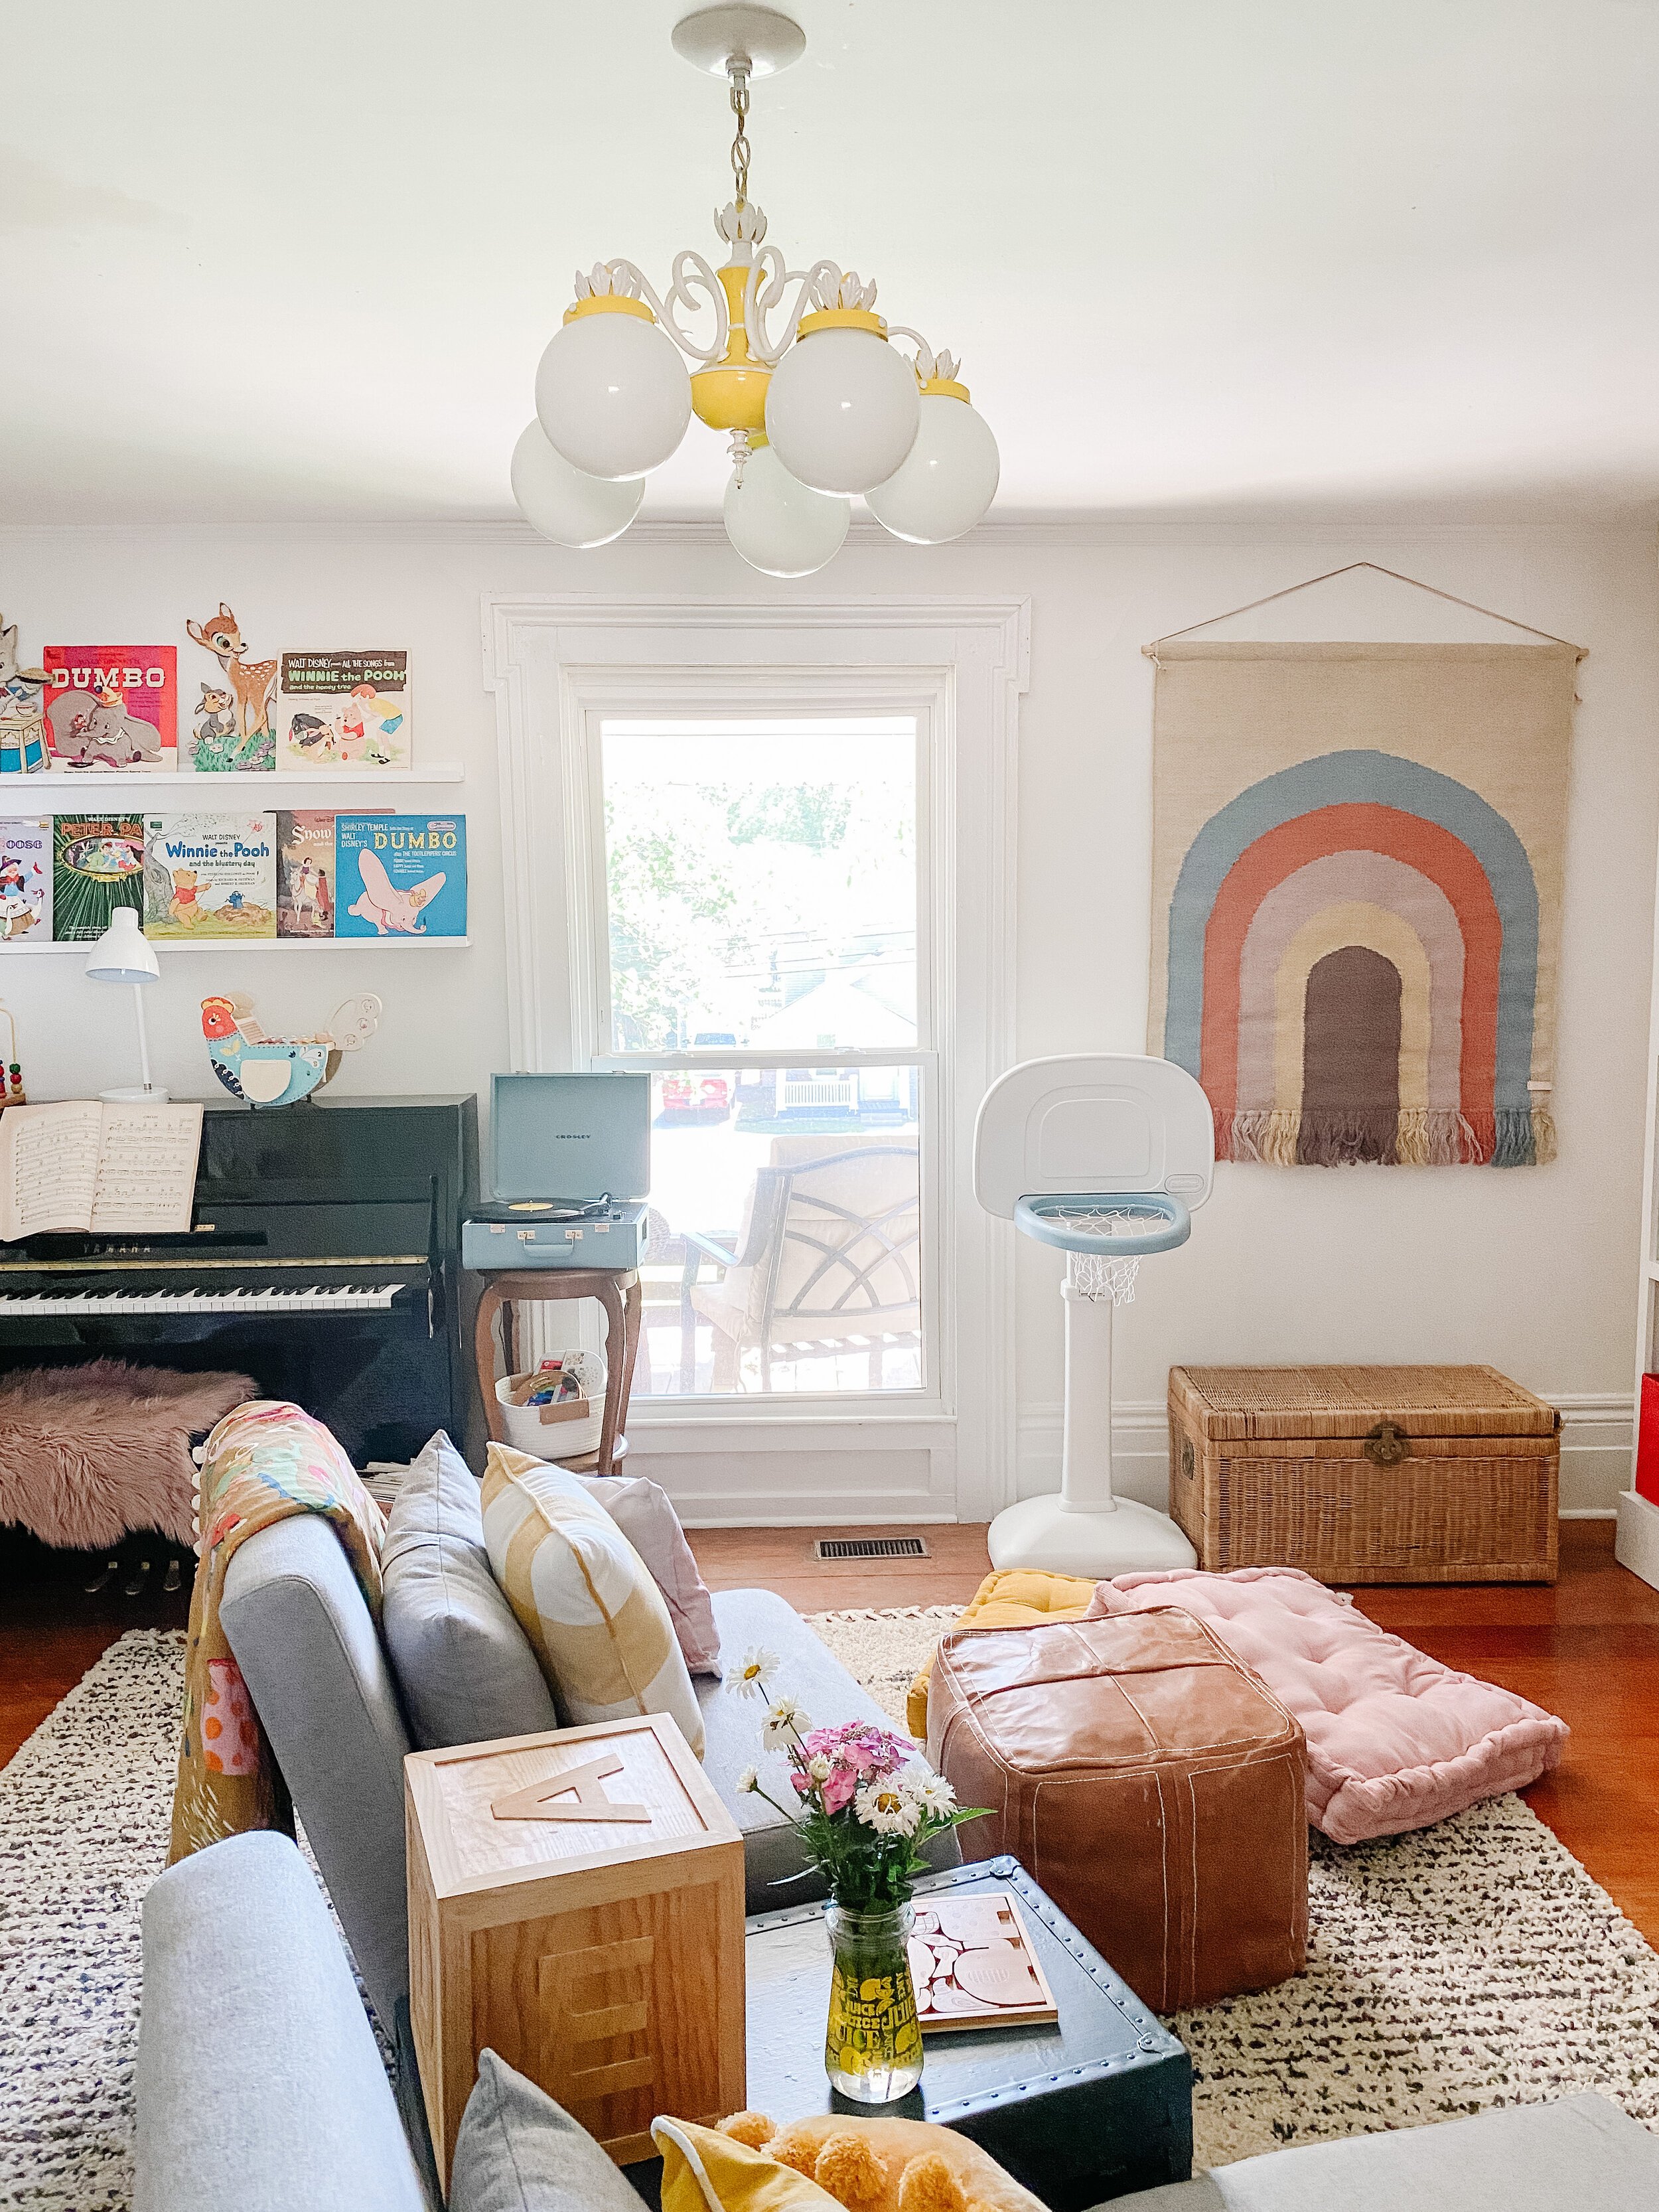
After 8 weeks of hard work, countless DIY projects, and a lot of paint- the space now looks like THIS!


Below I’ve linked everything I used in this space for you to shop, as well as a break down each section of the room and my DIY projects to tell you a little bit more about each process and the details of the design. Scroll down to see more photos of the space, learn more about anything you have questions on, and shop your favorite pieces!
Be sure to follow along here to see all the One Room Challenge posts easily in one place! You can also follow the hashtag #oneroomchallenge on Instagram to discover all the projects and progress!
You can follow my playroom makeover project week by week and see all the past posts together by clicking here.

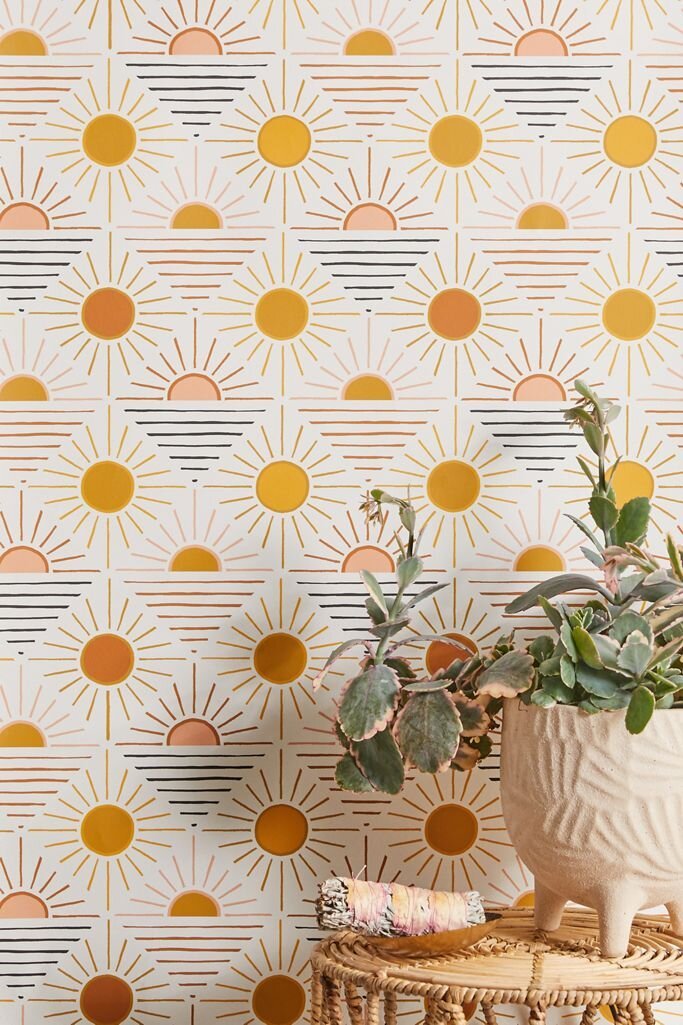


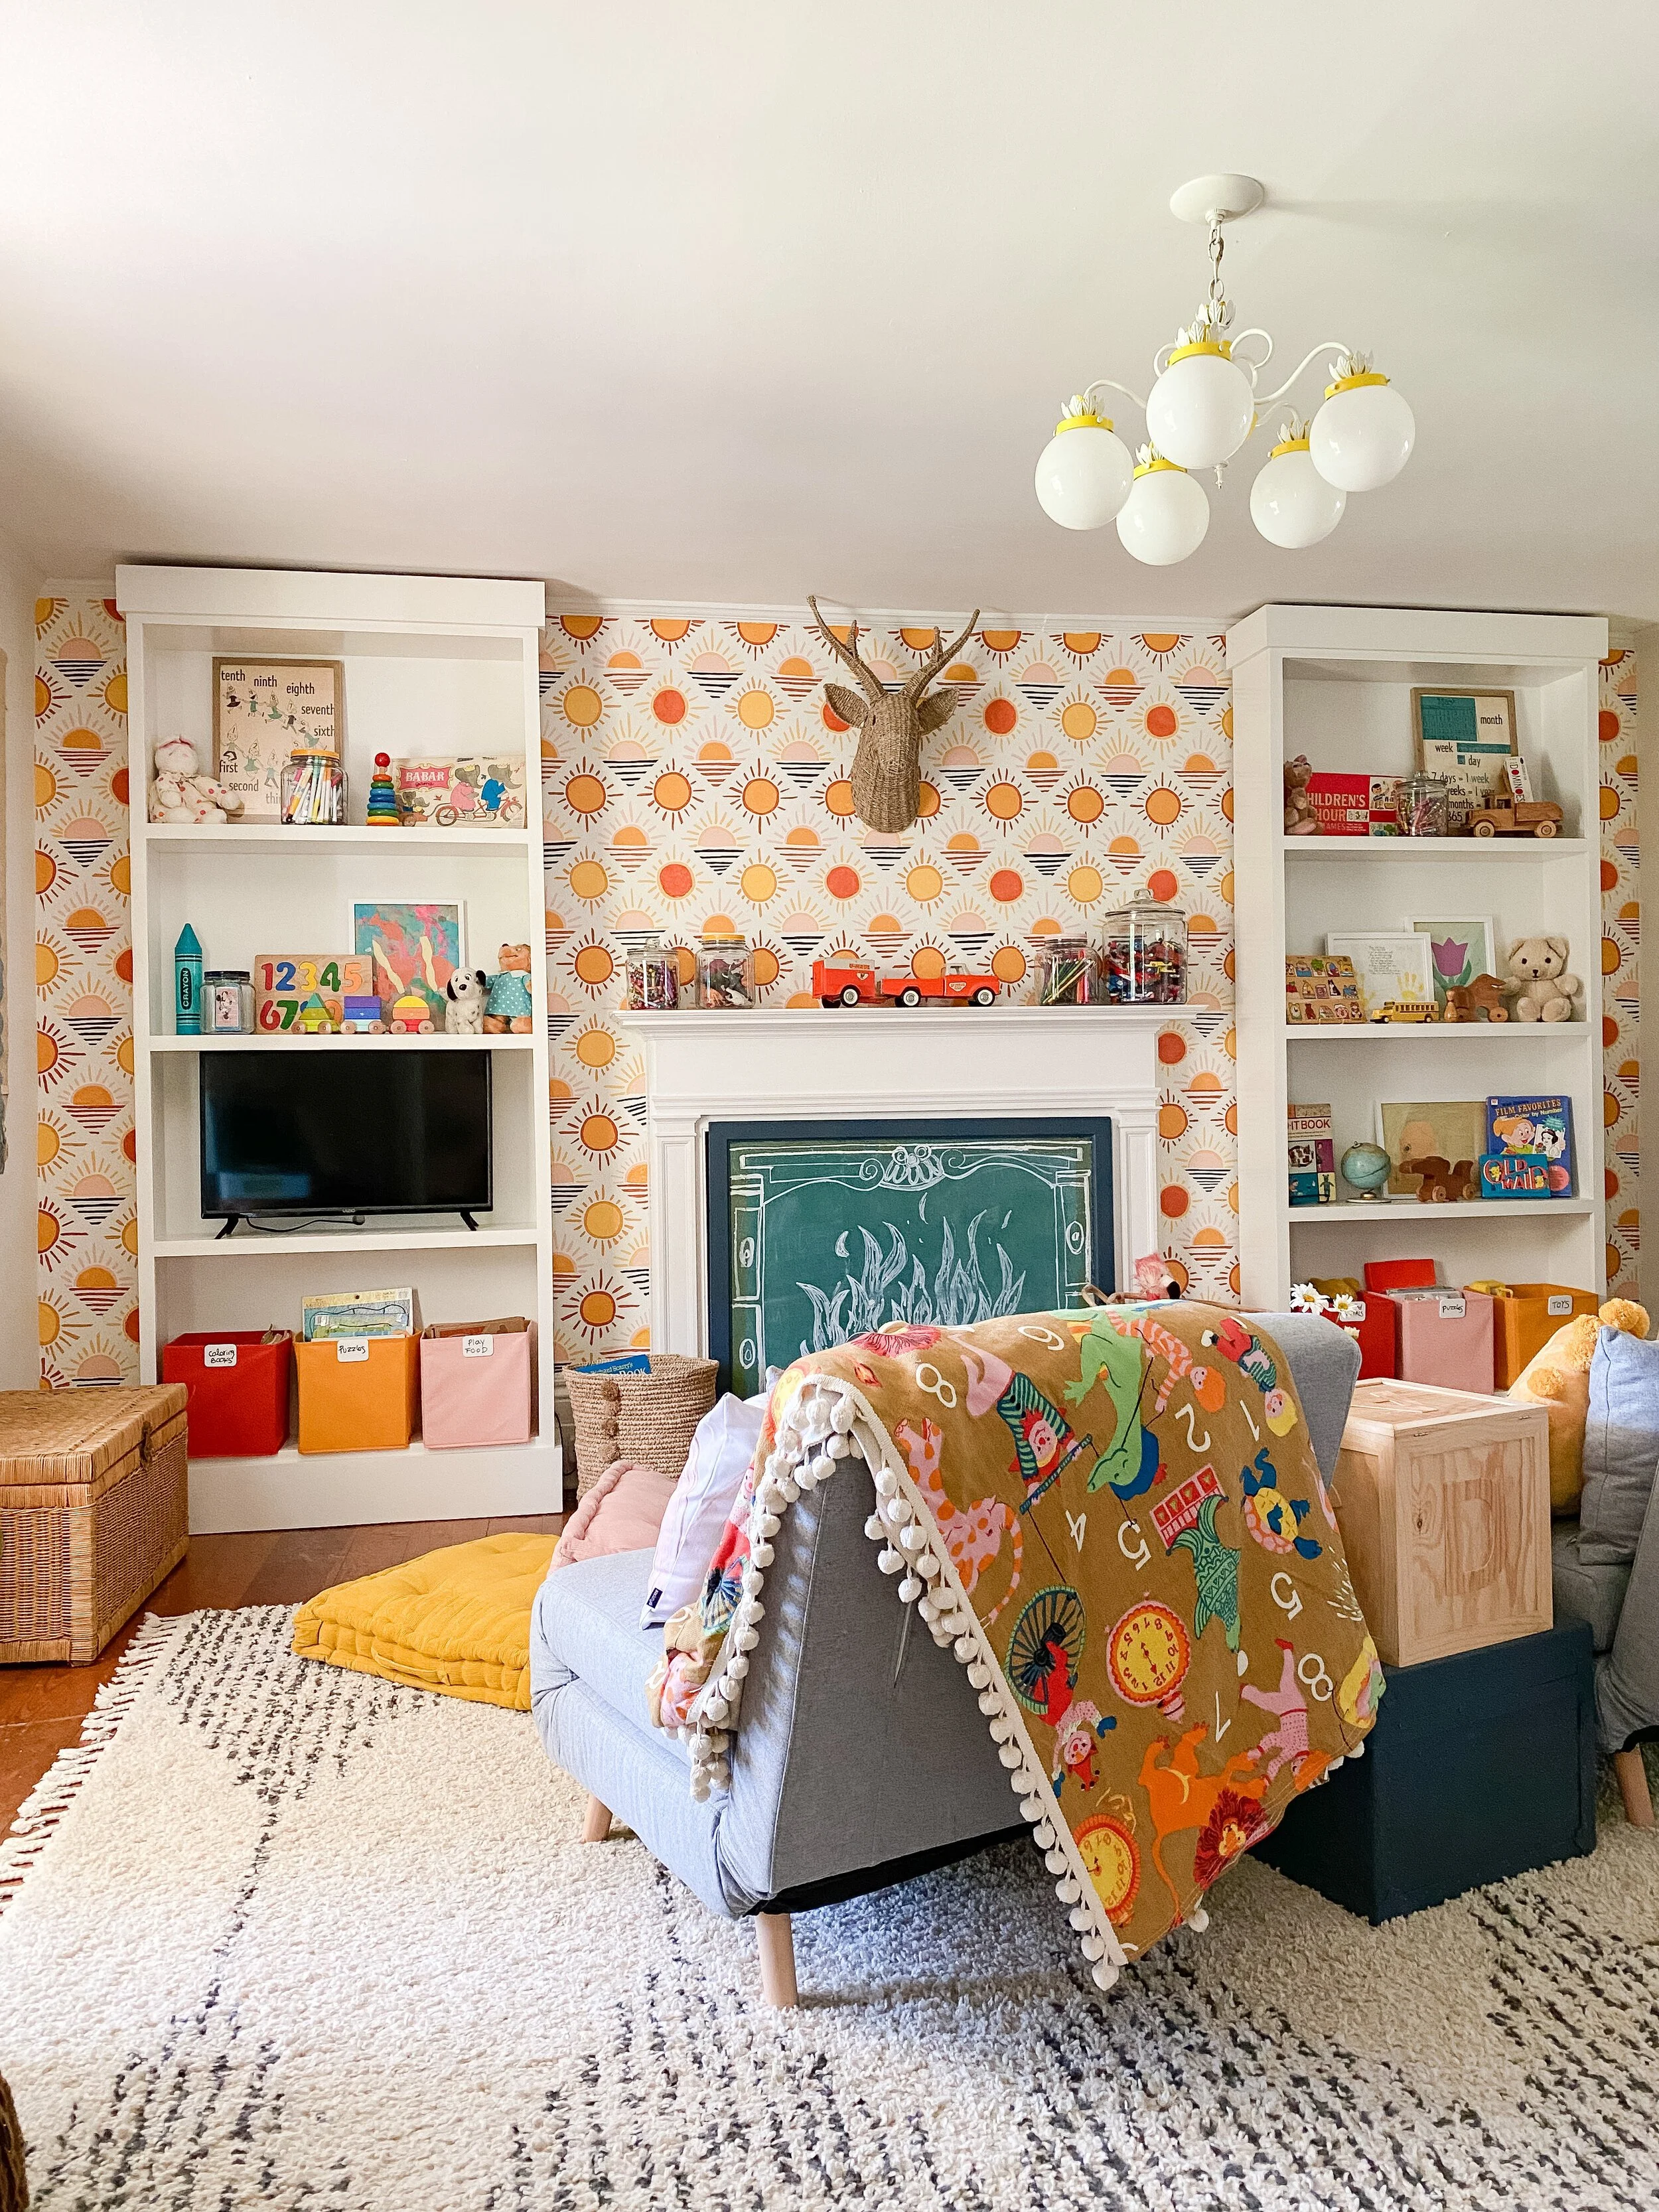
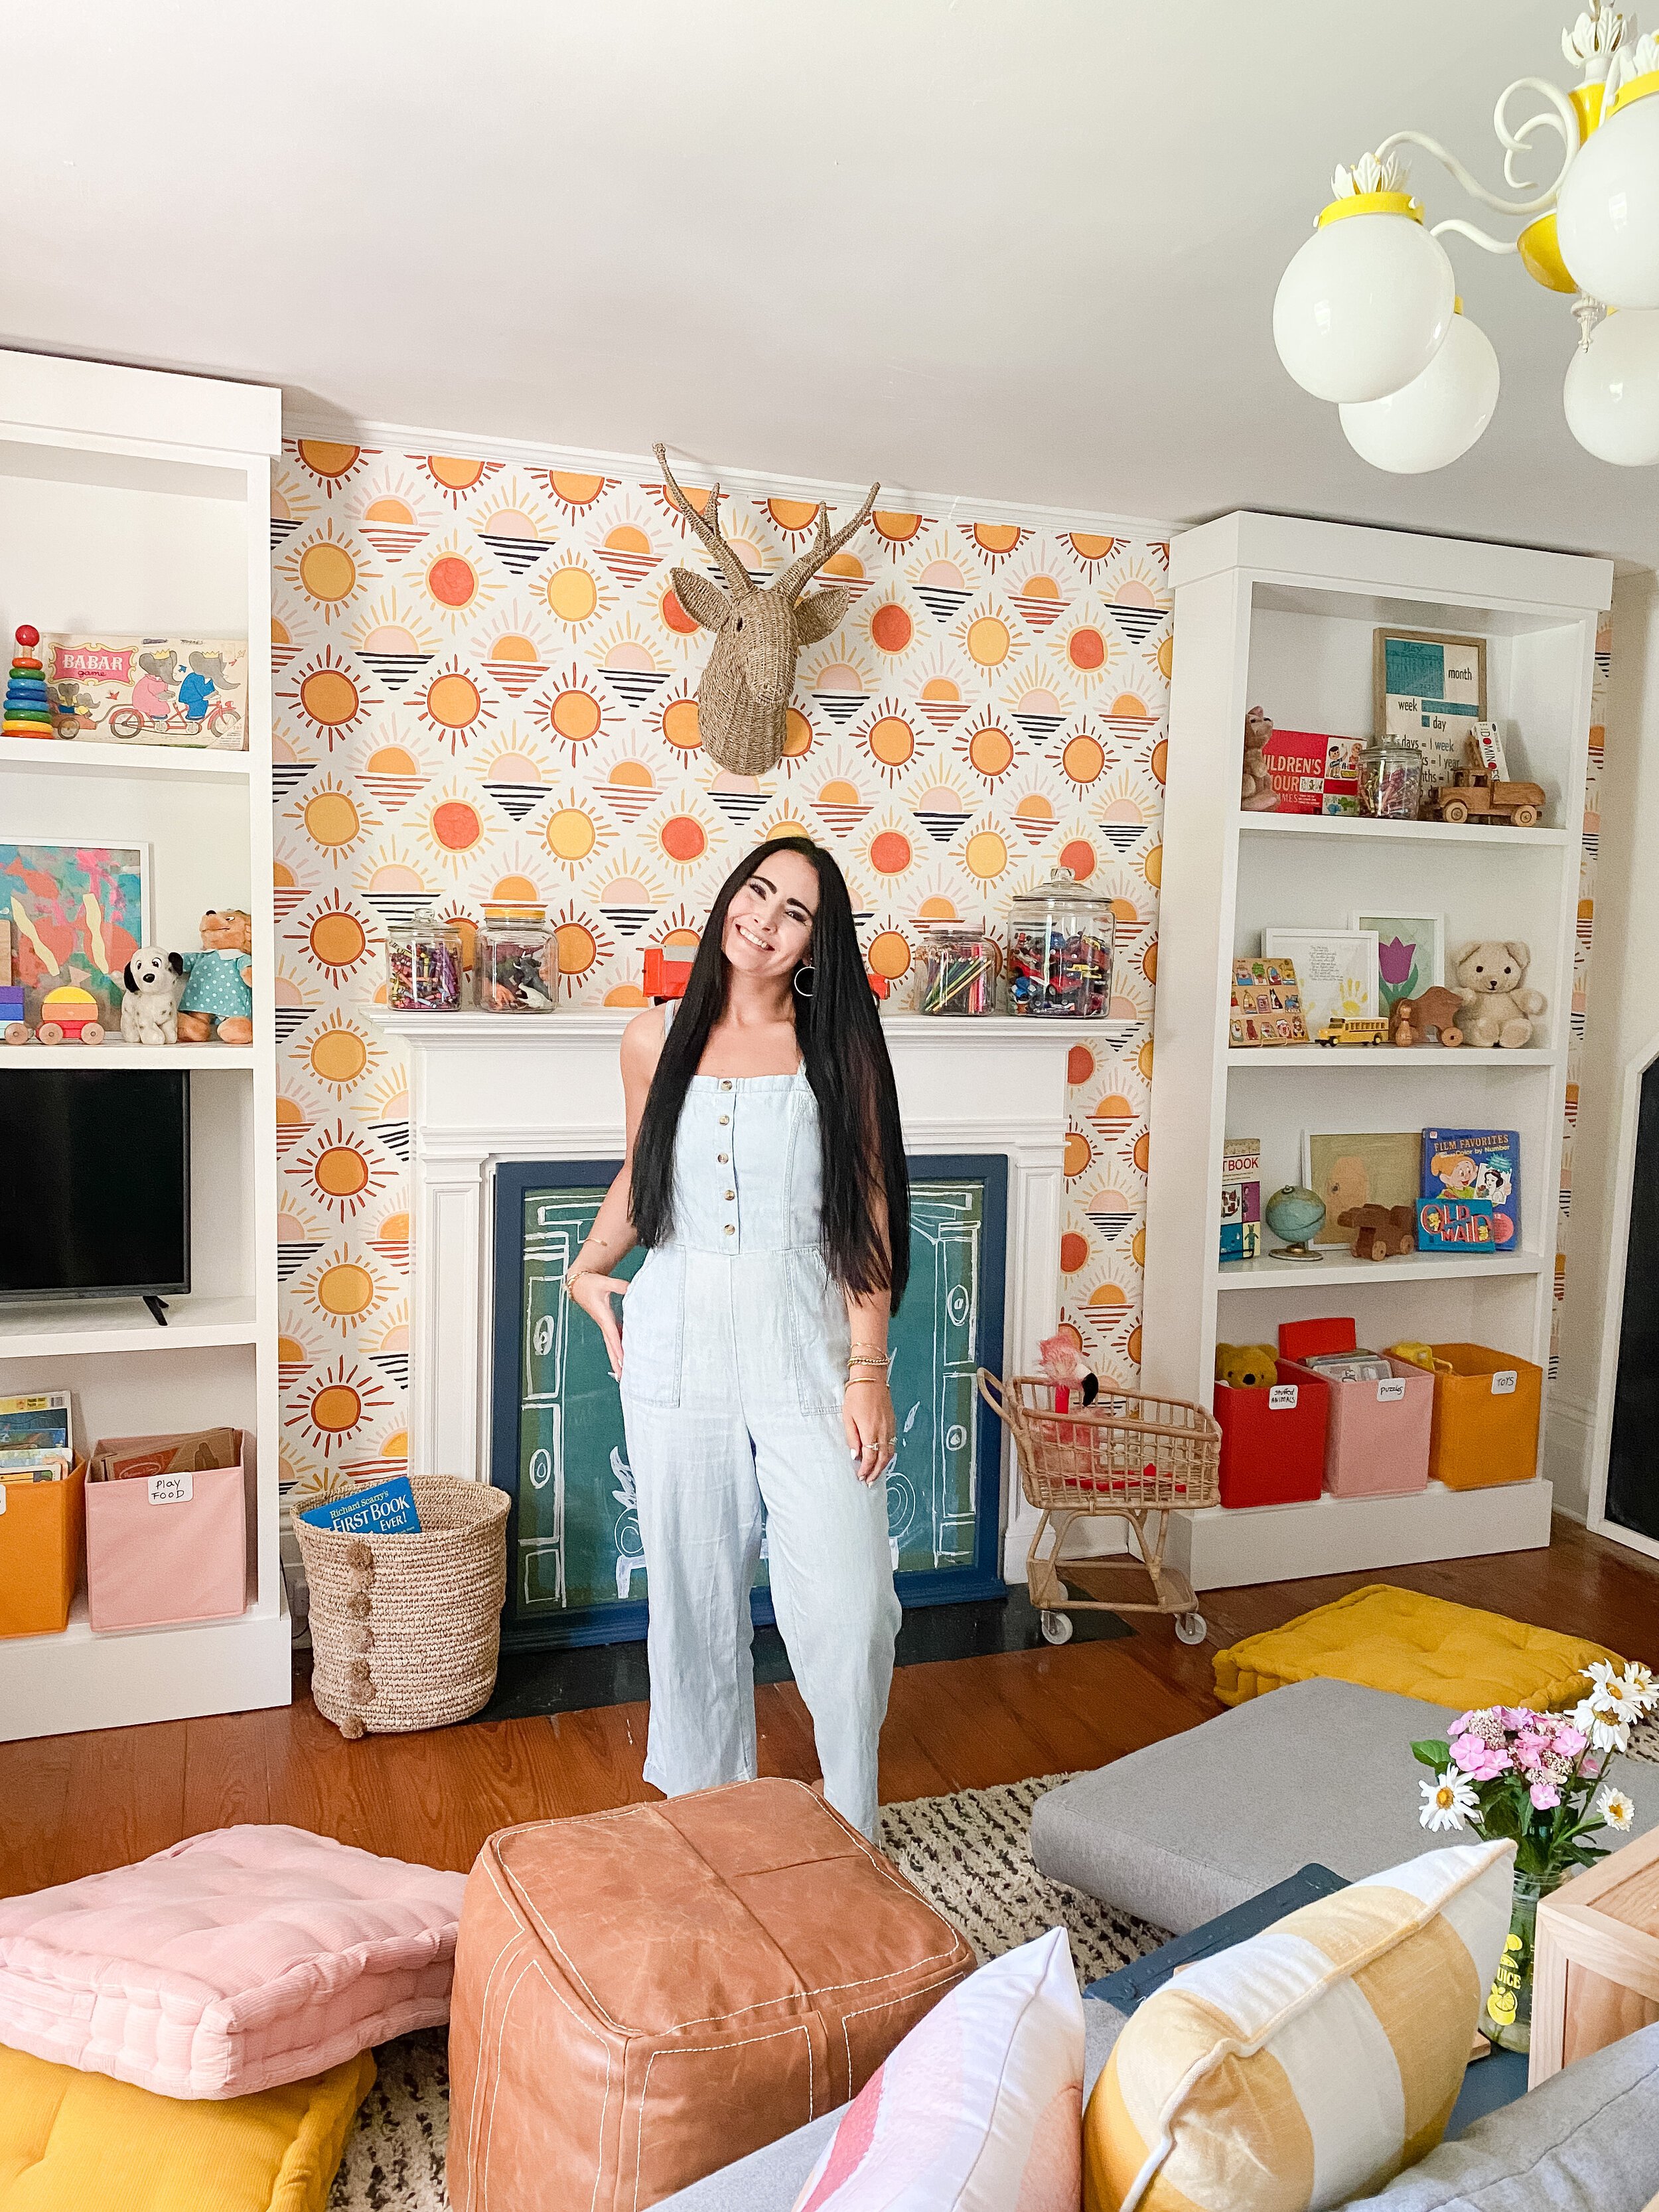
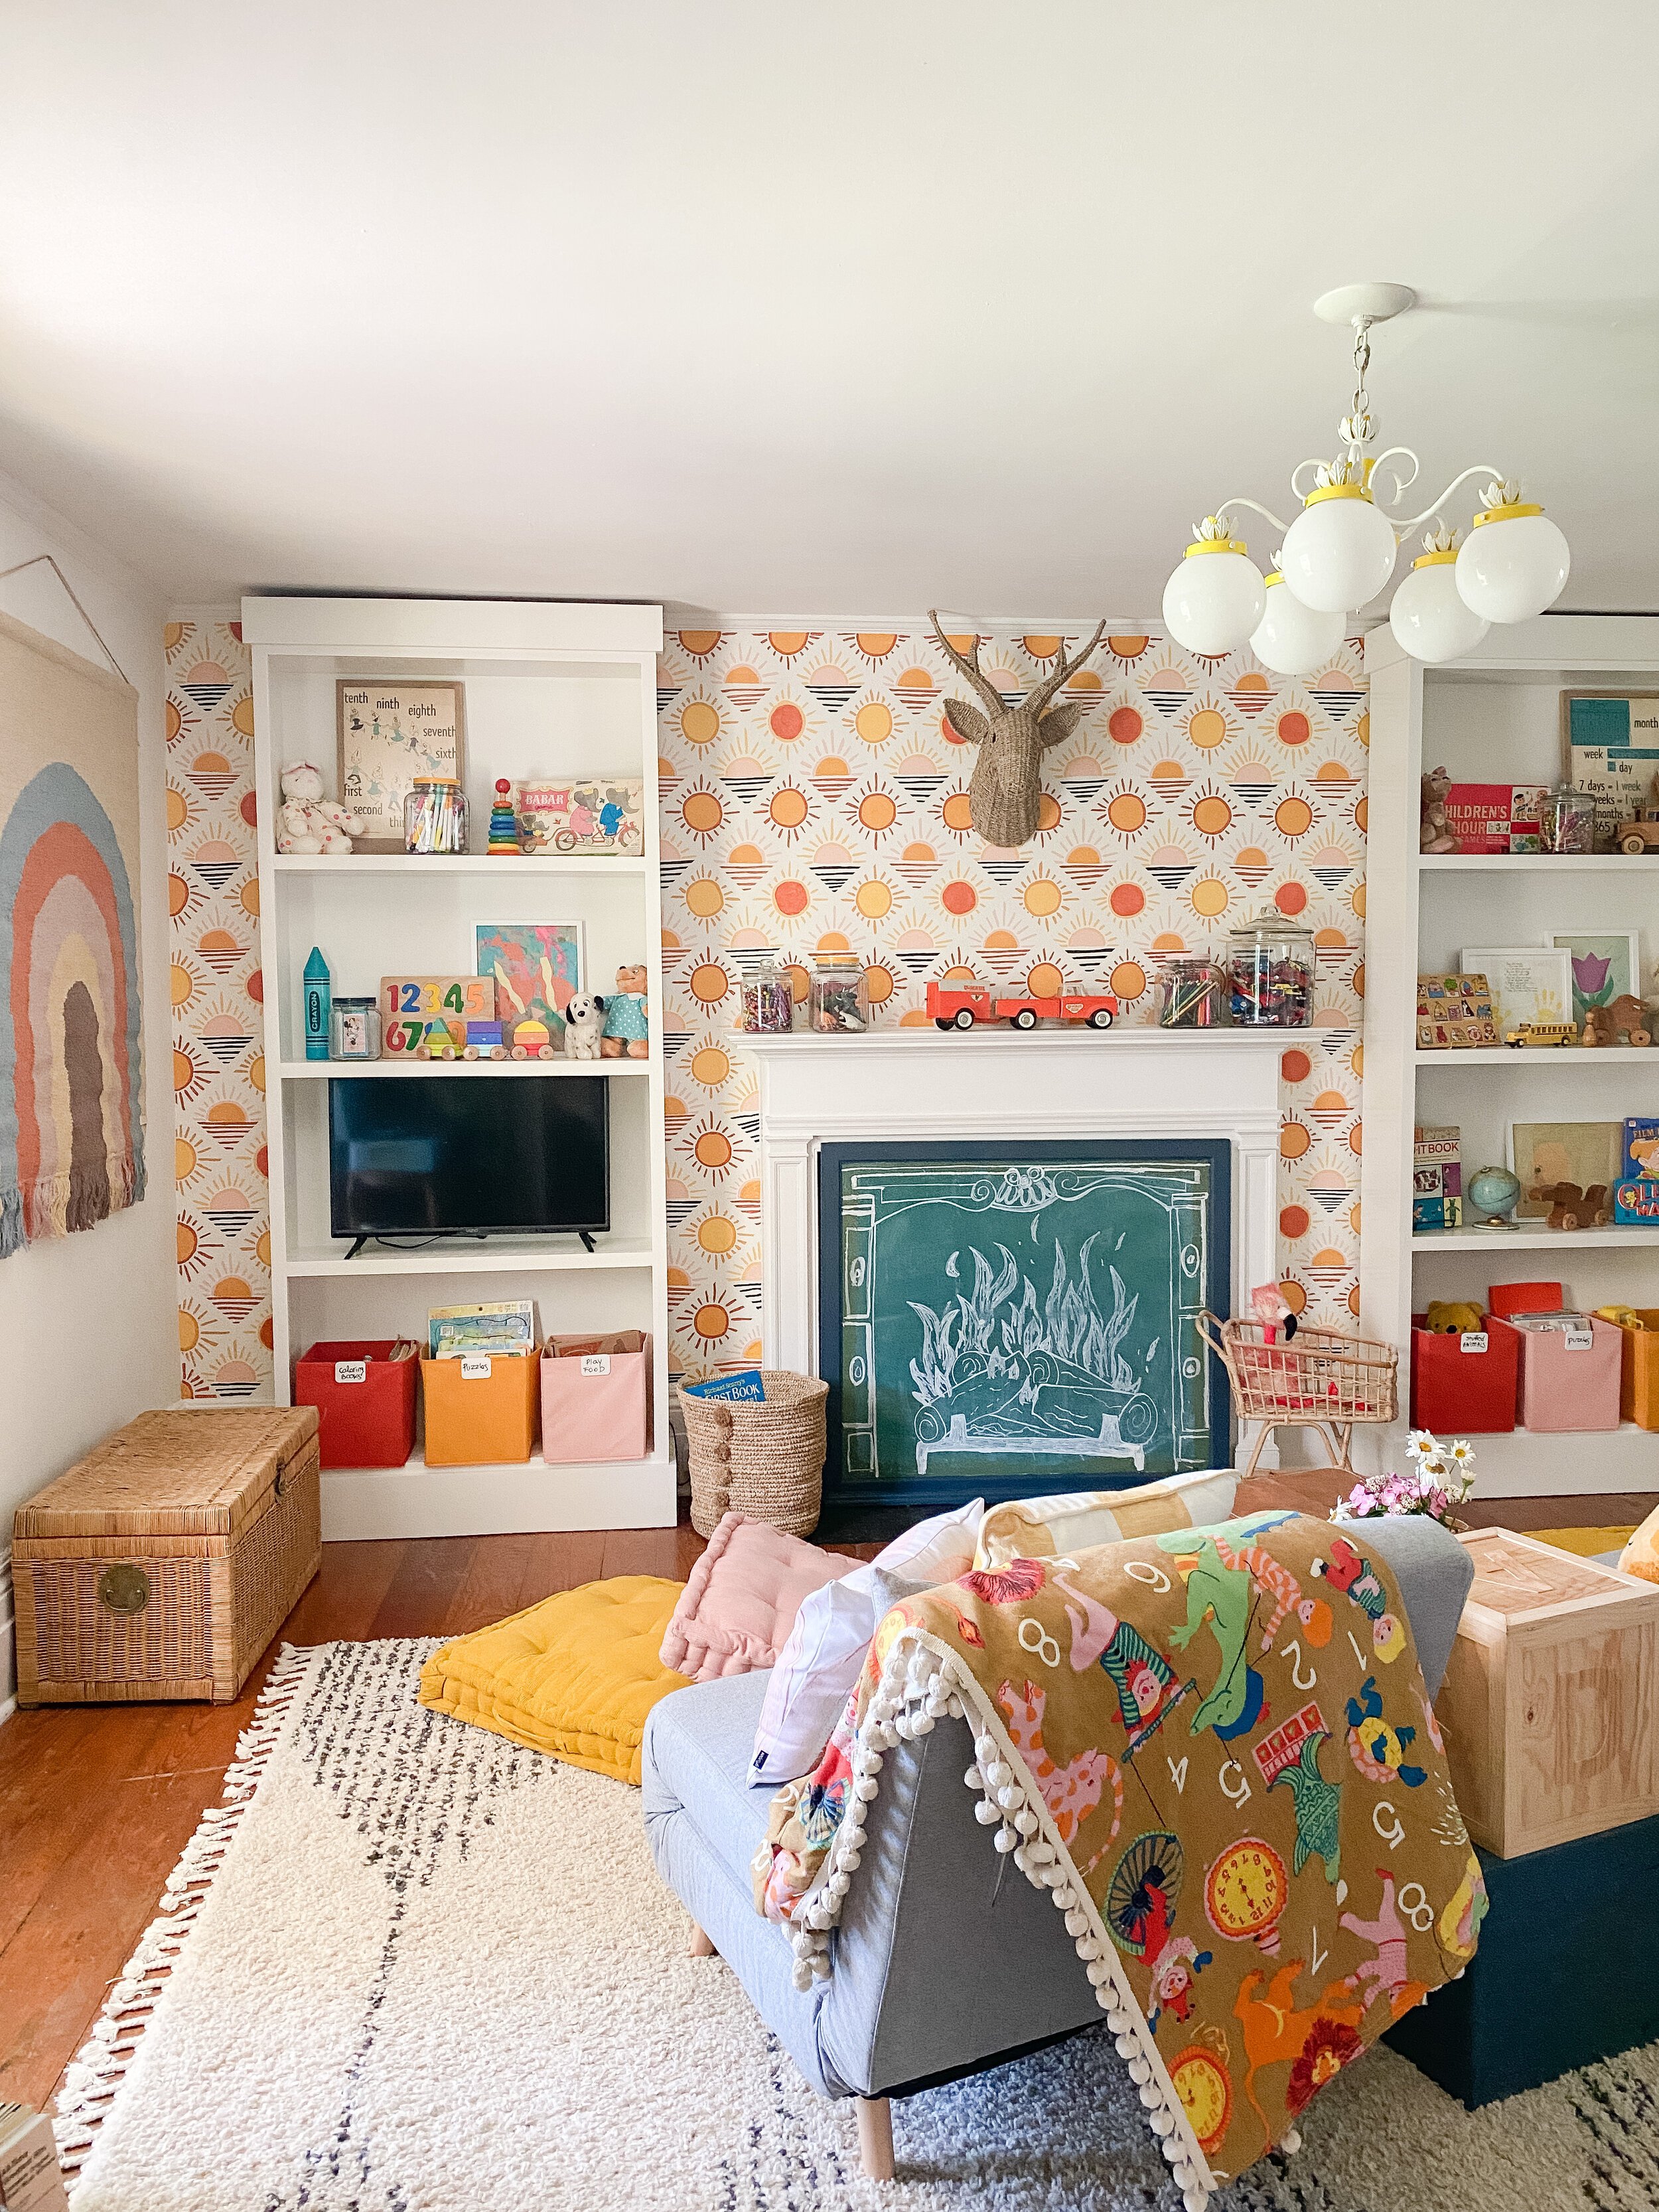
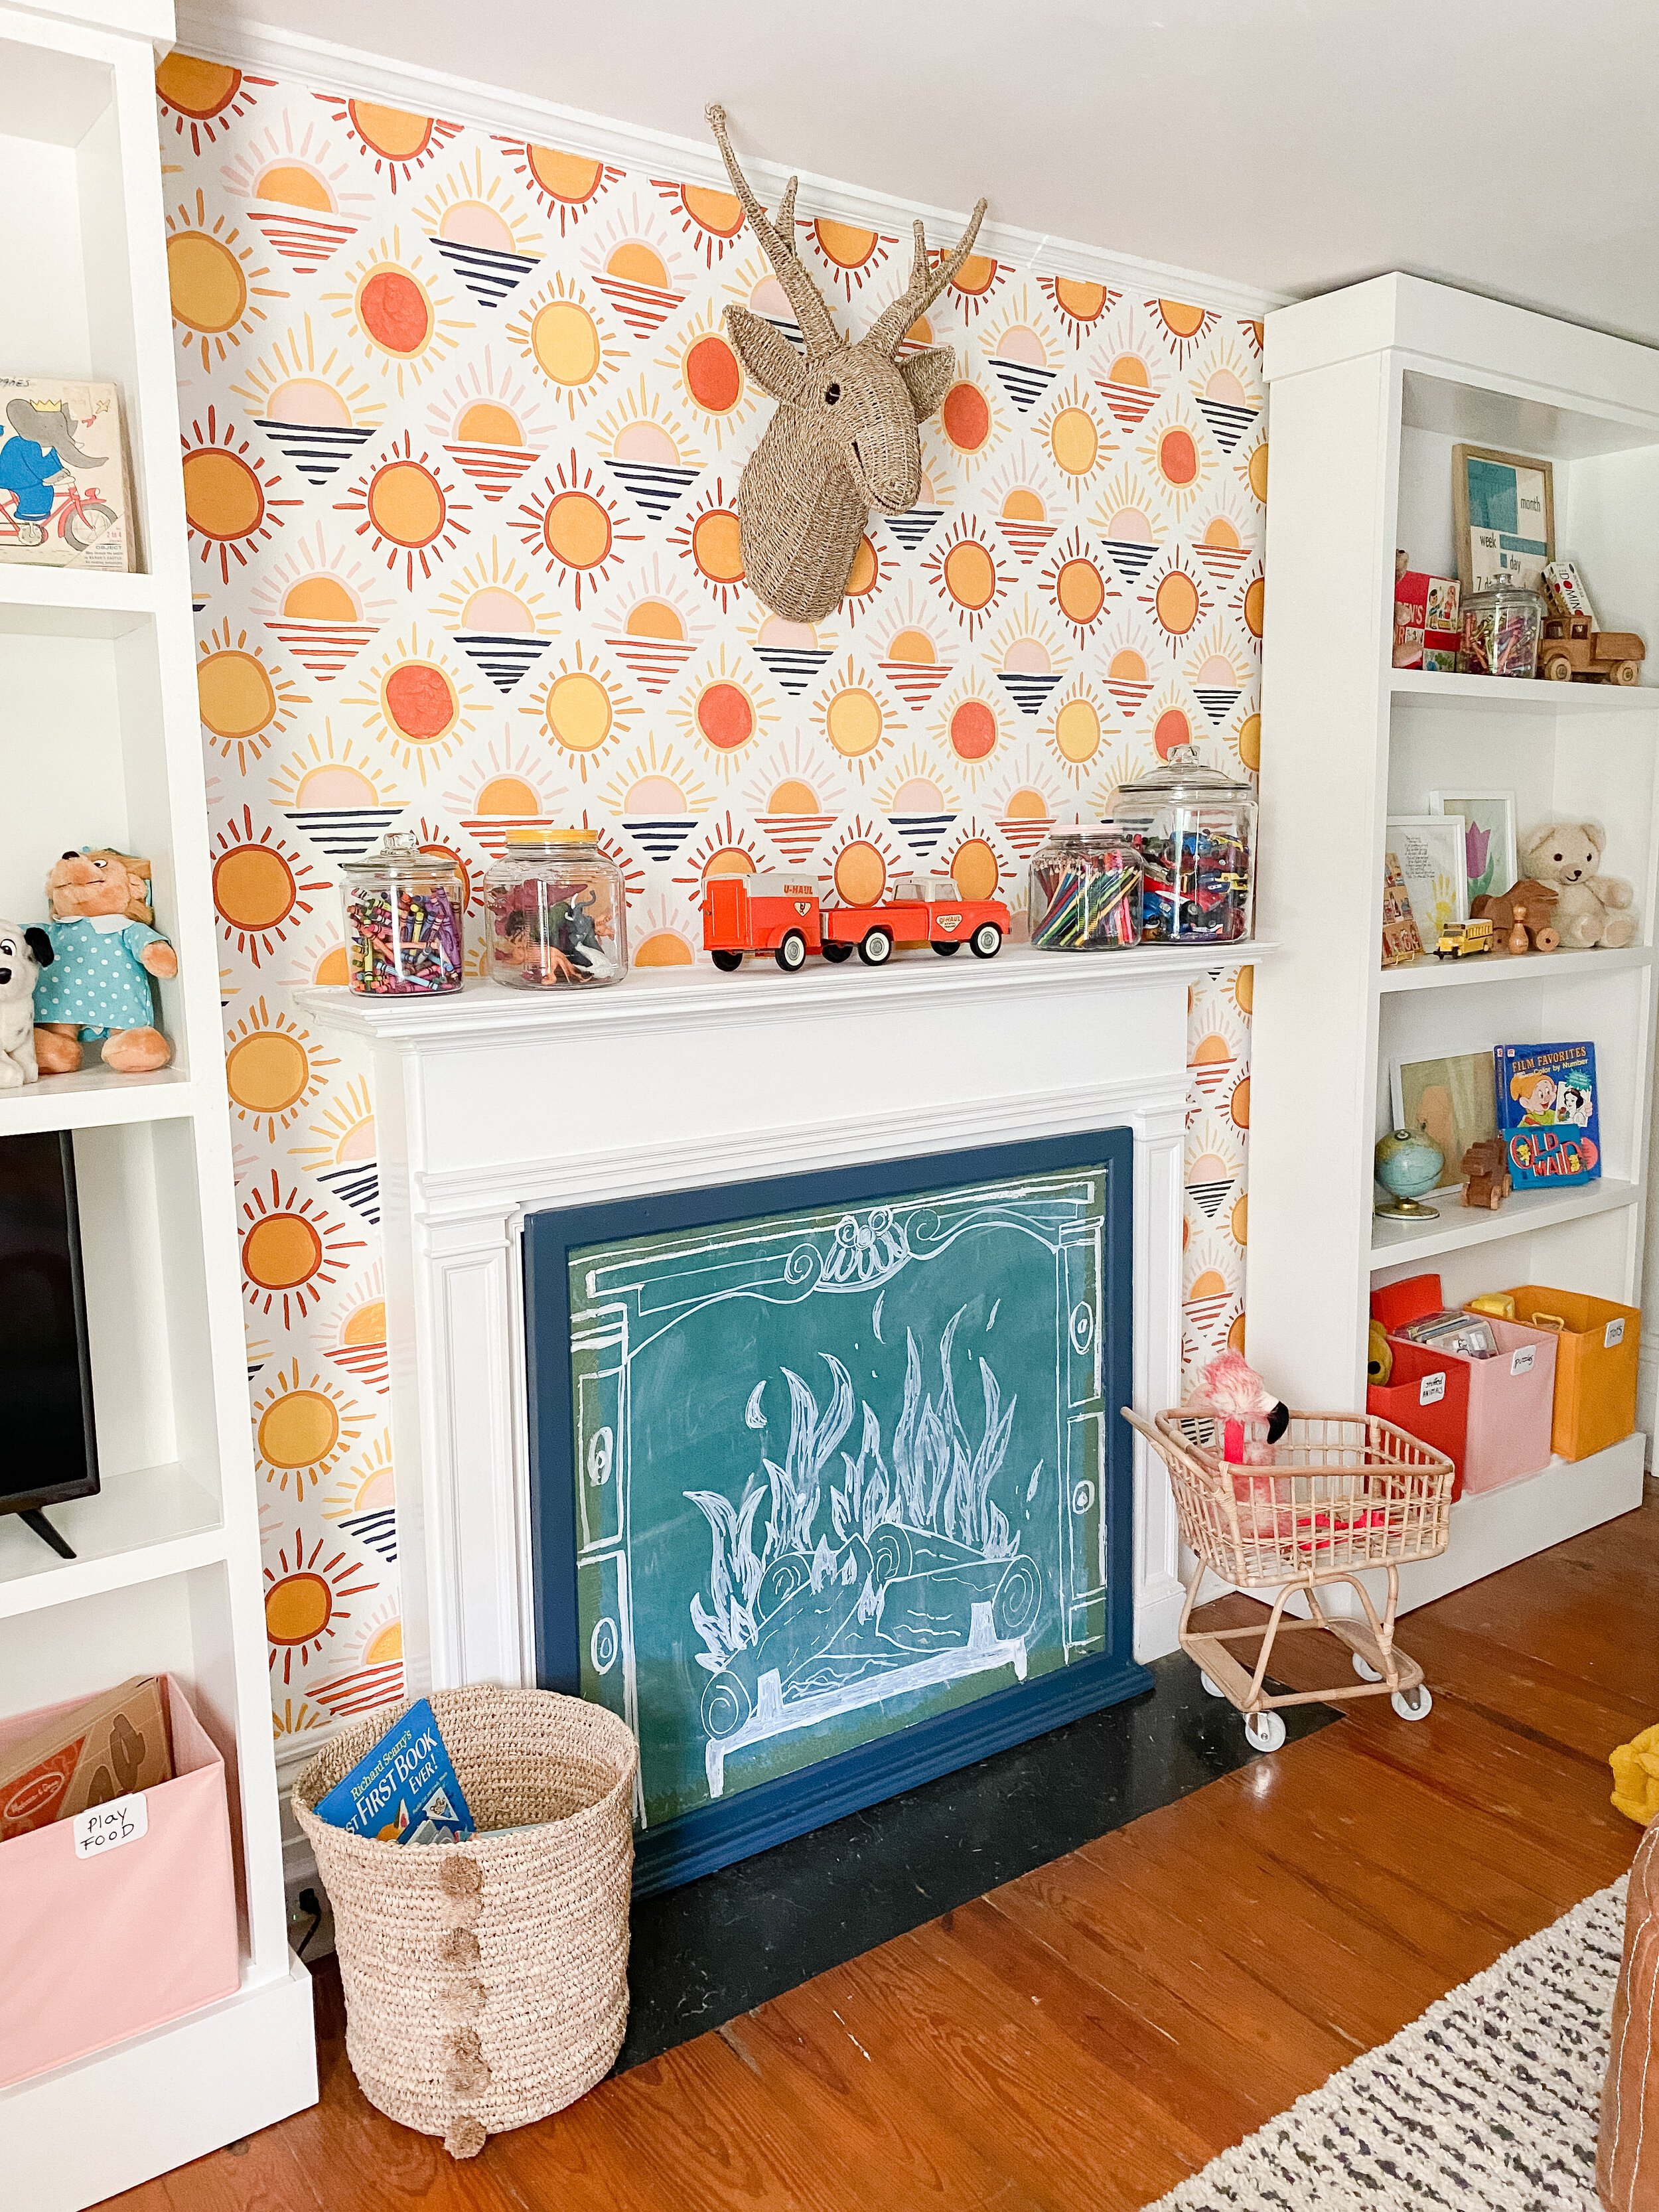
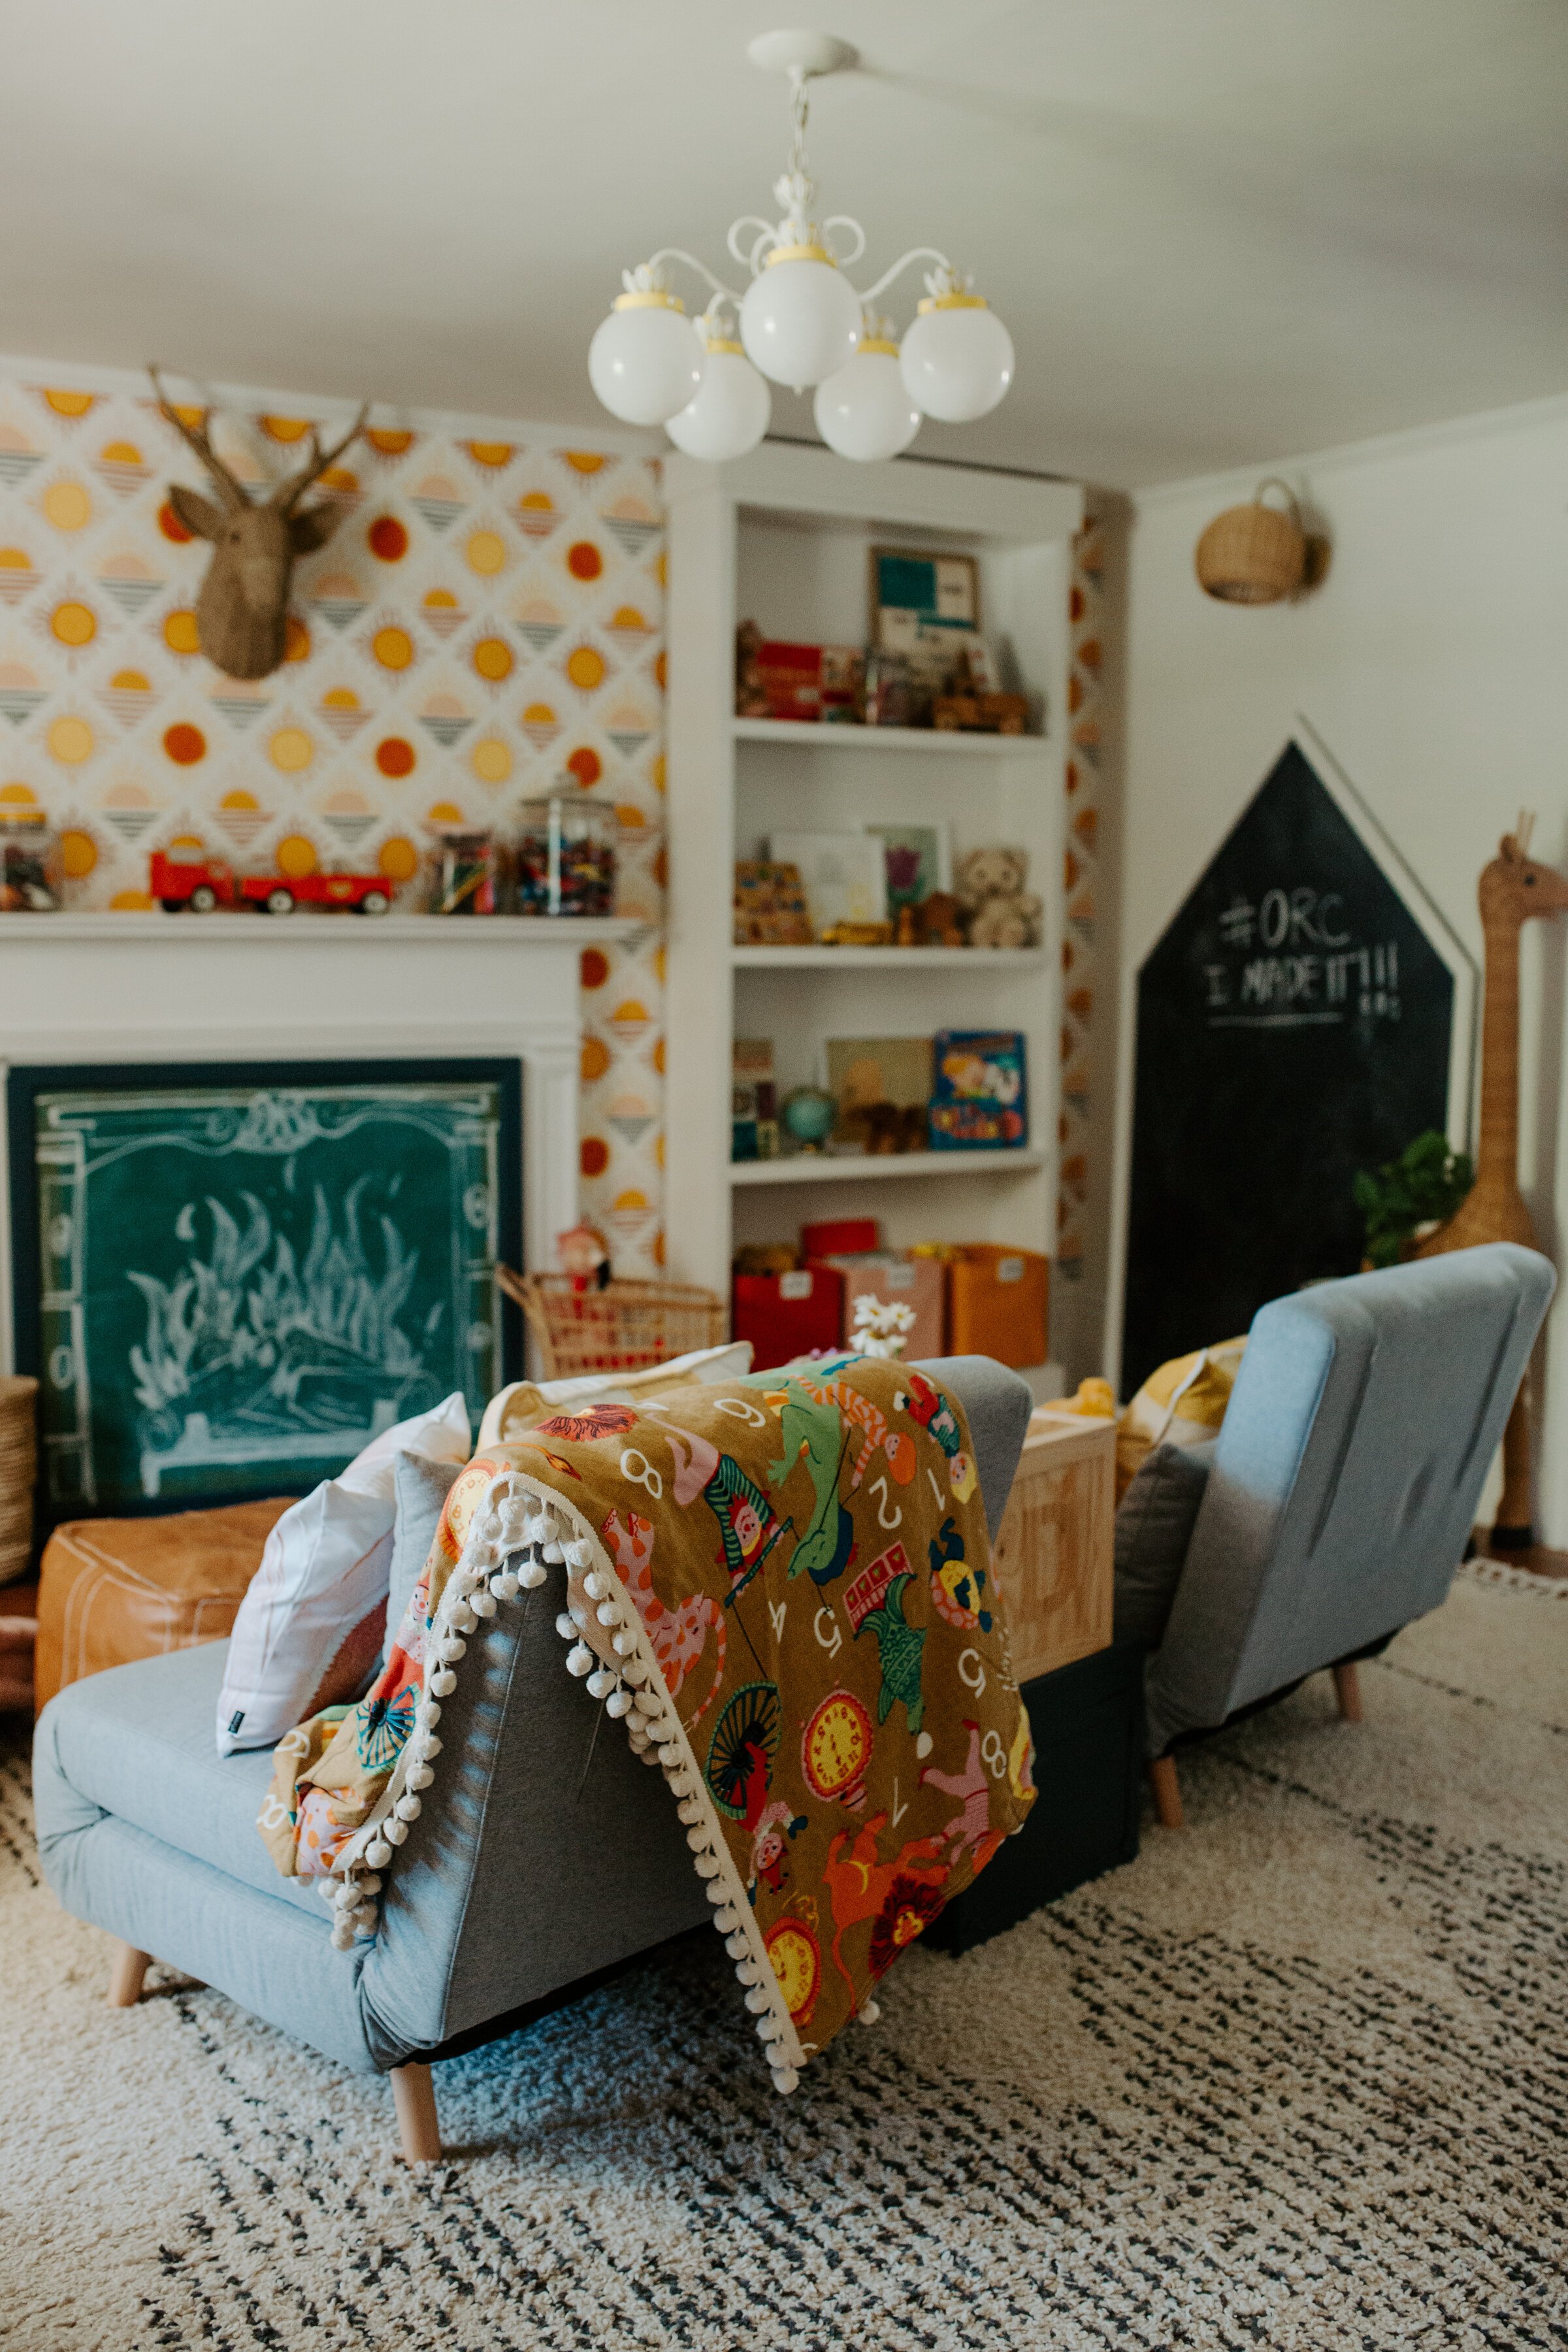
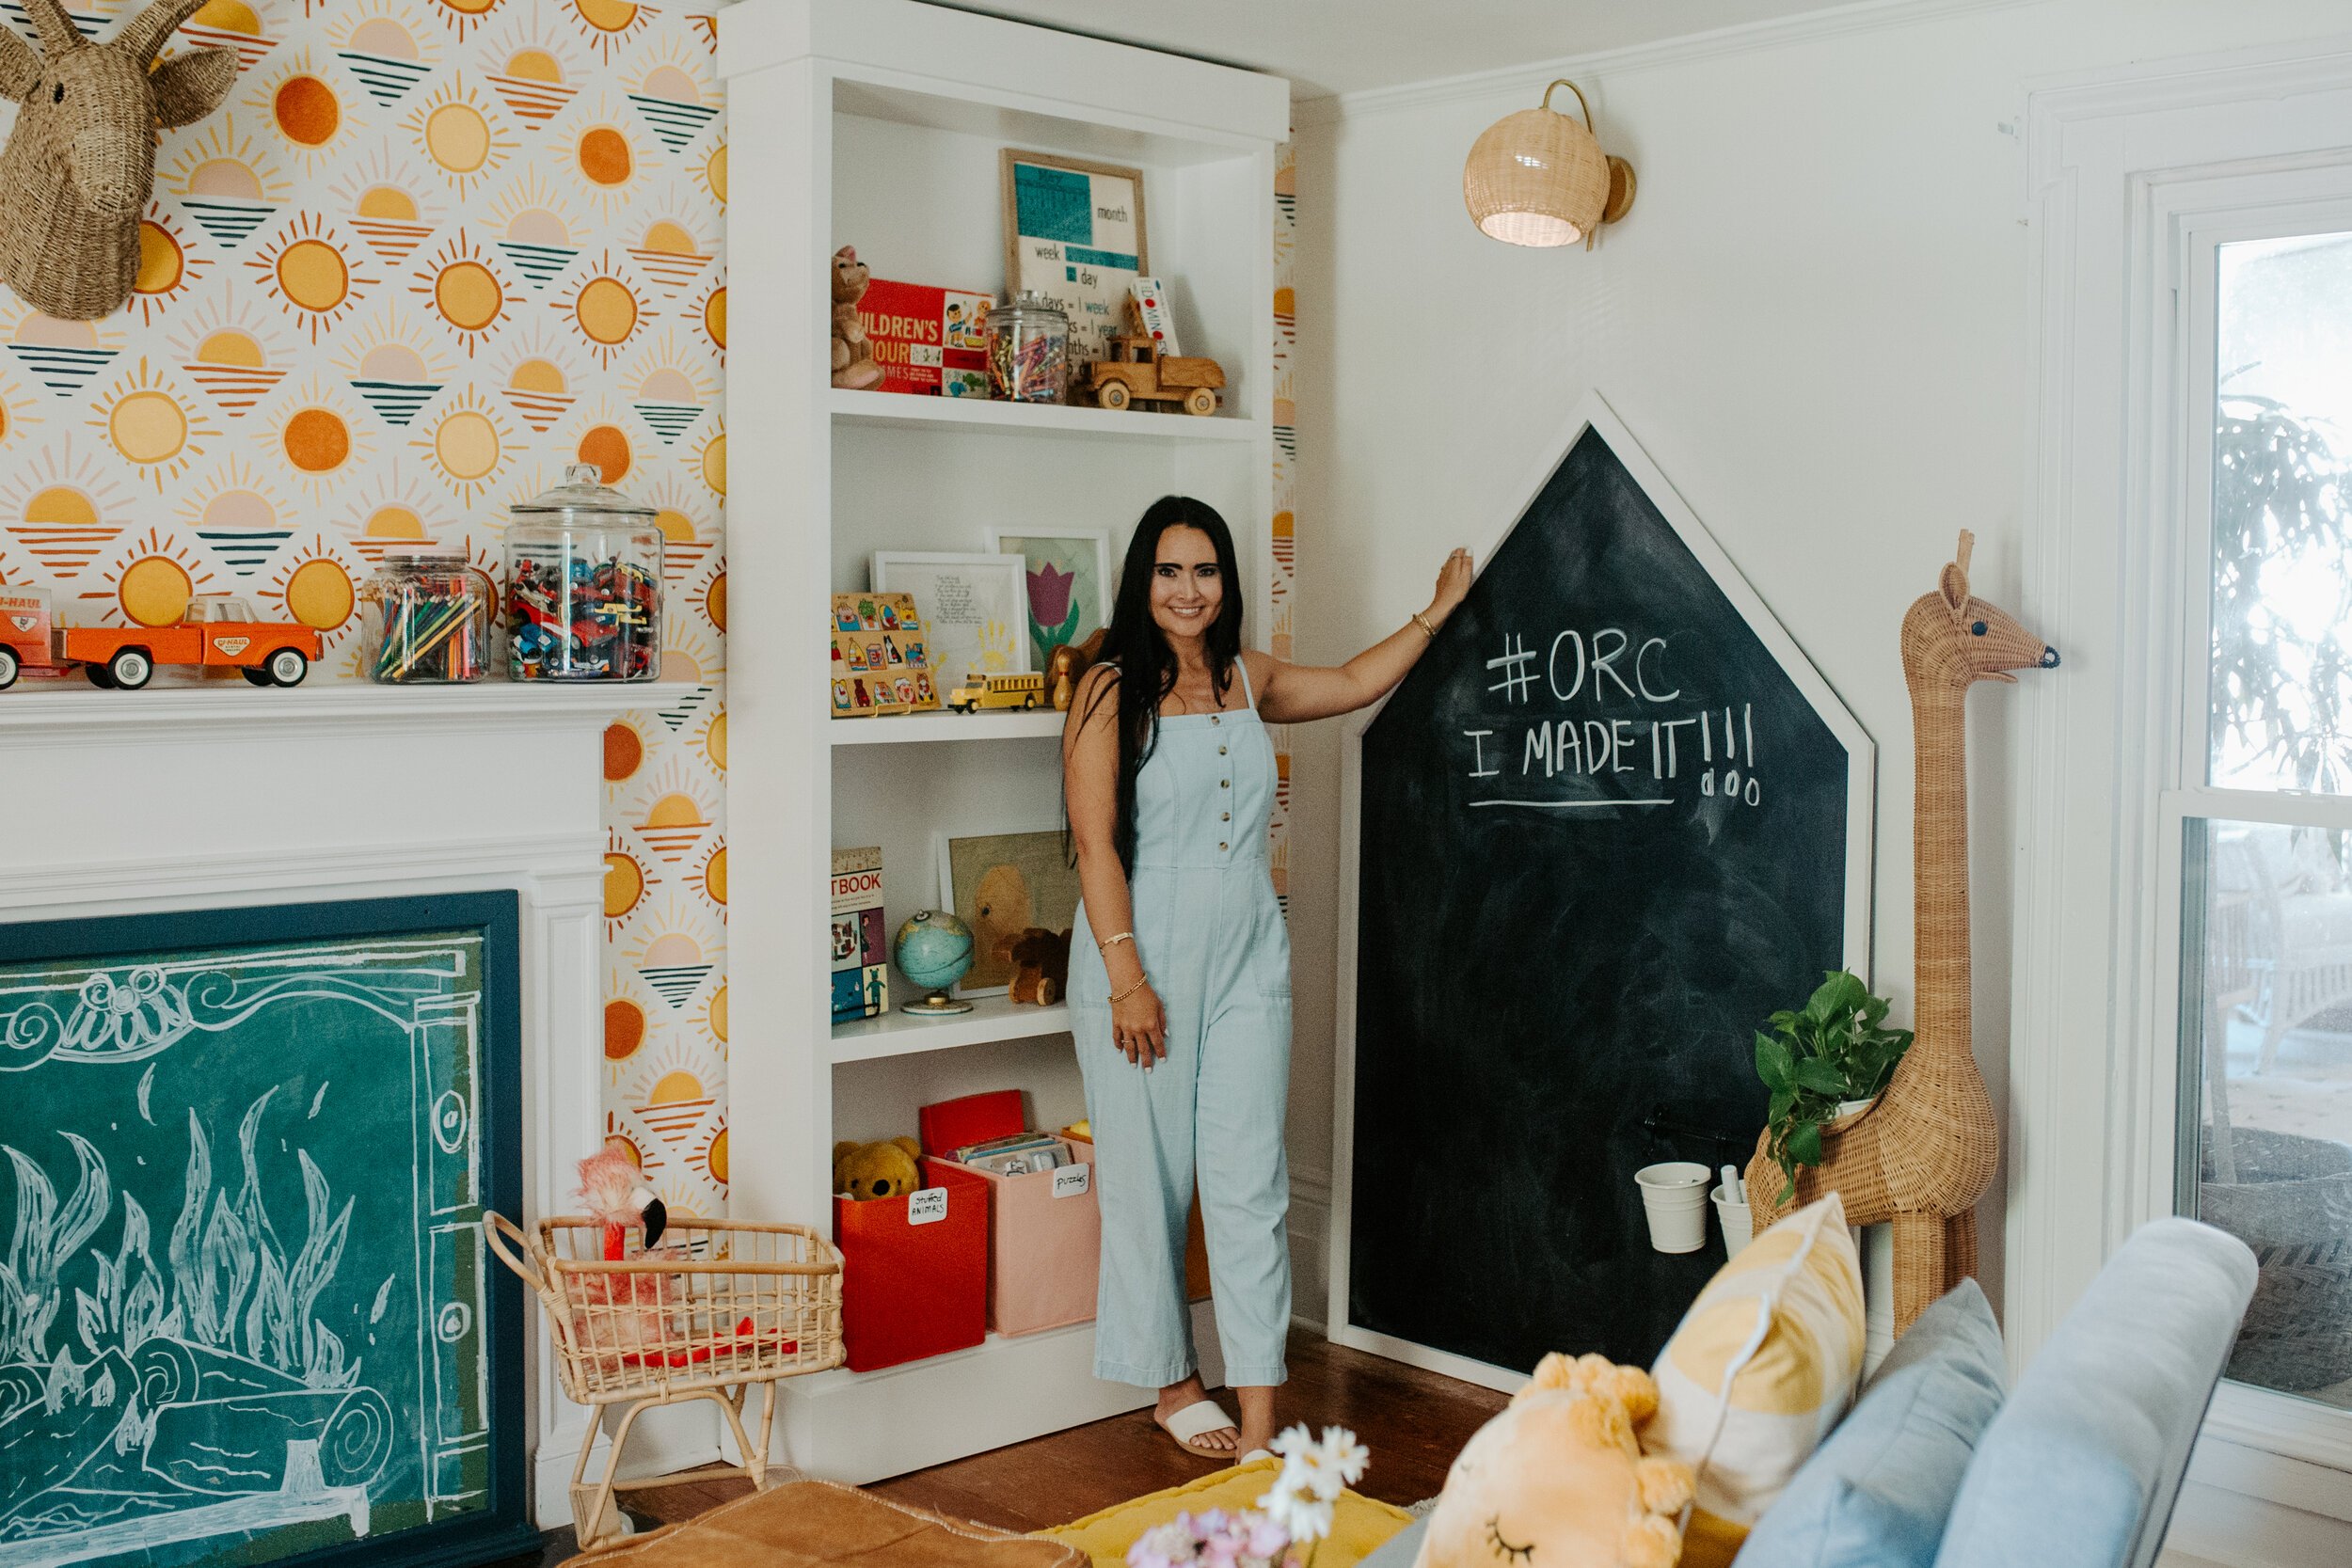
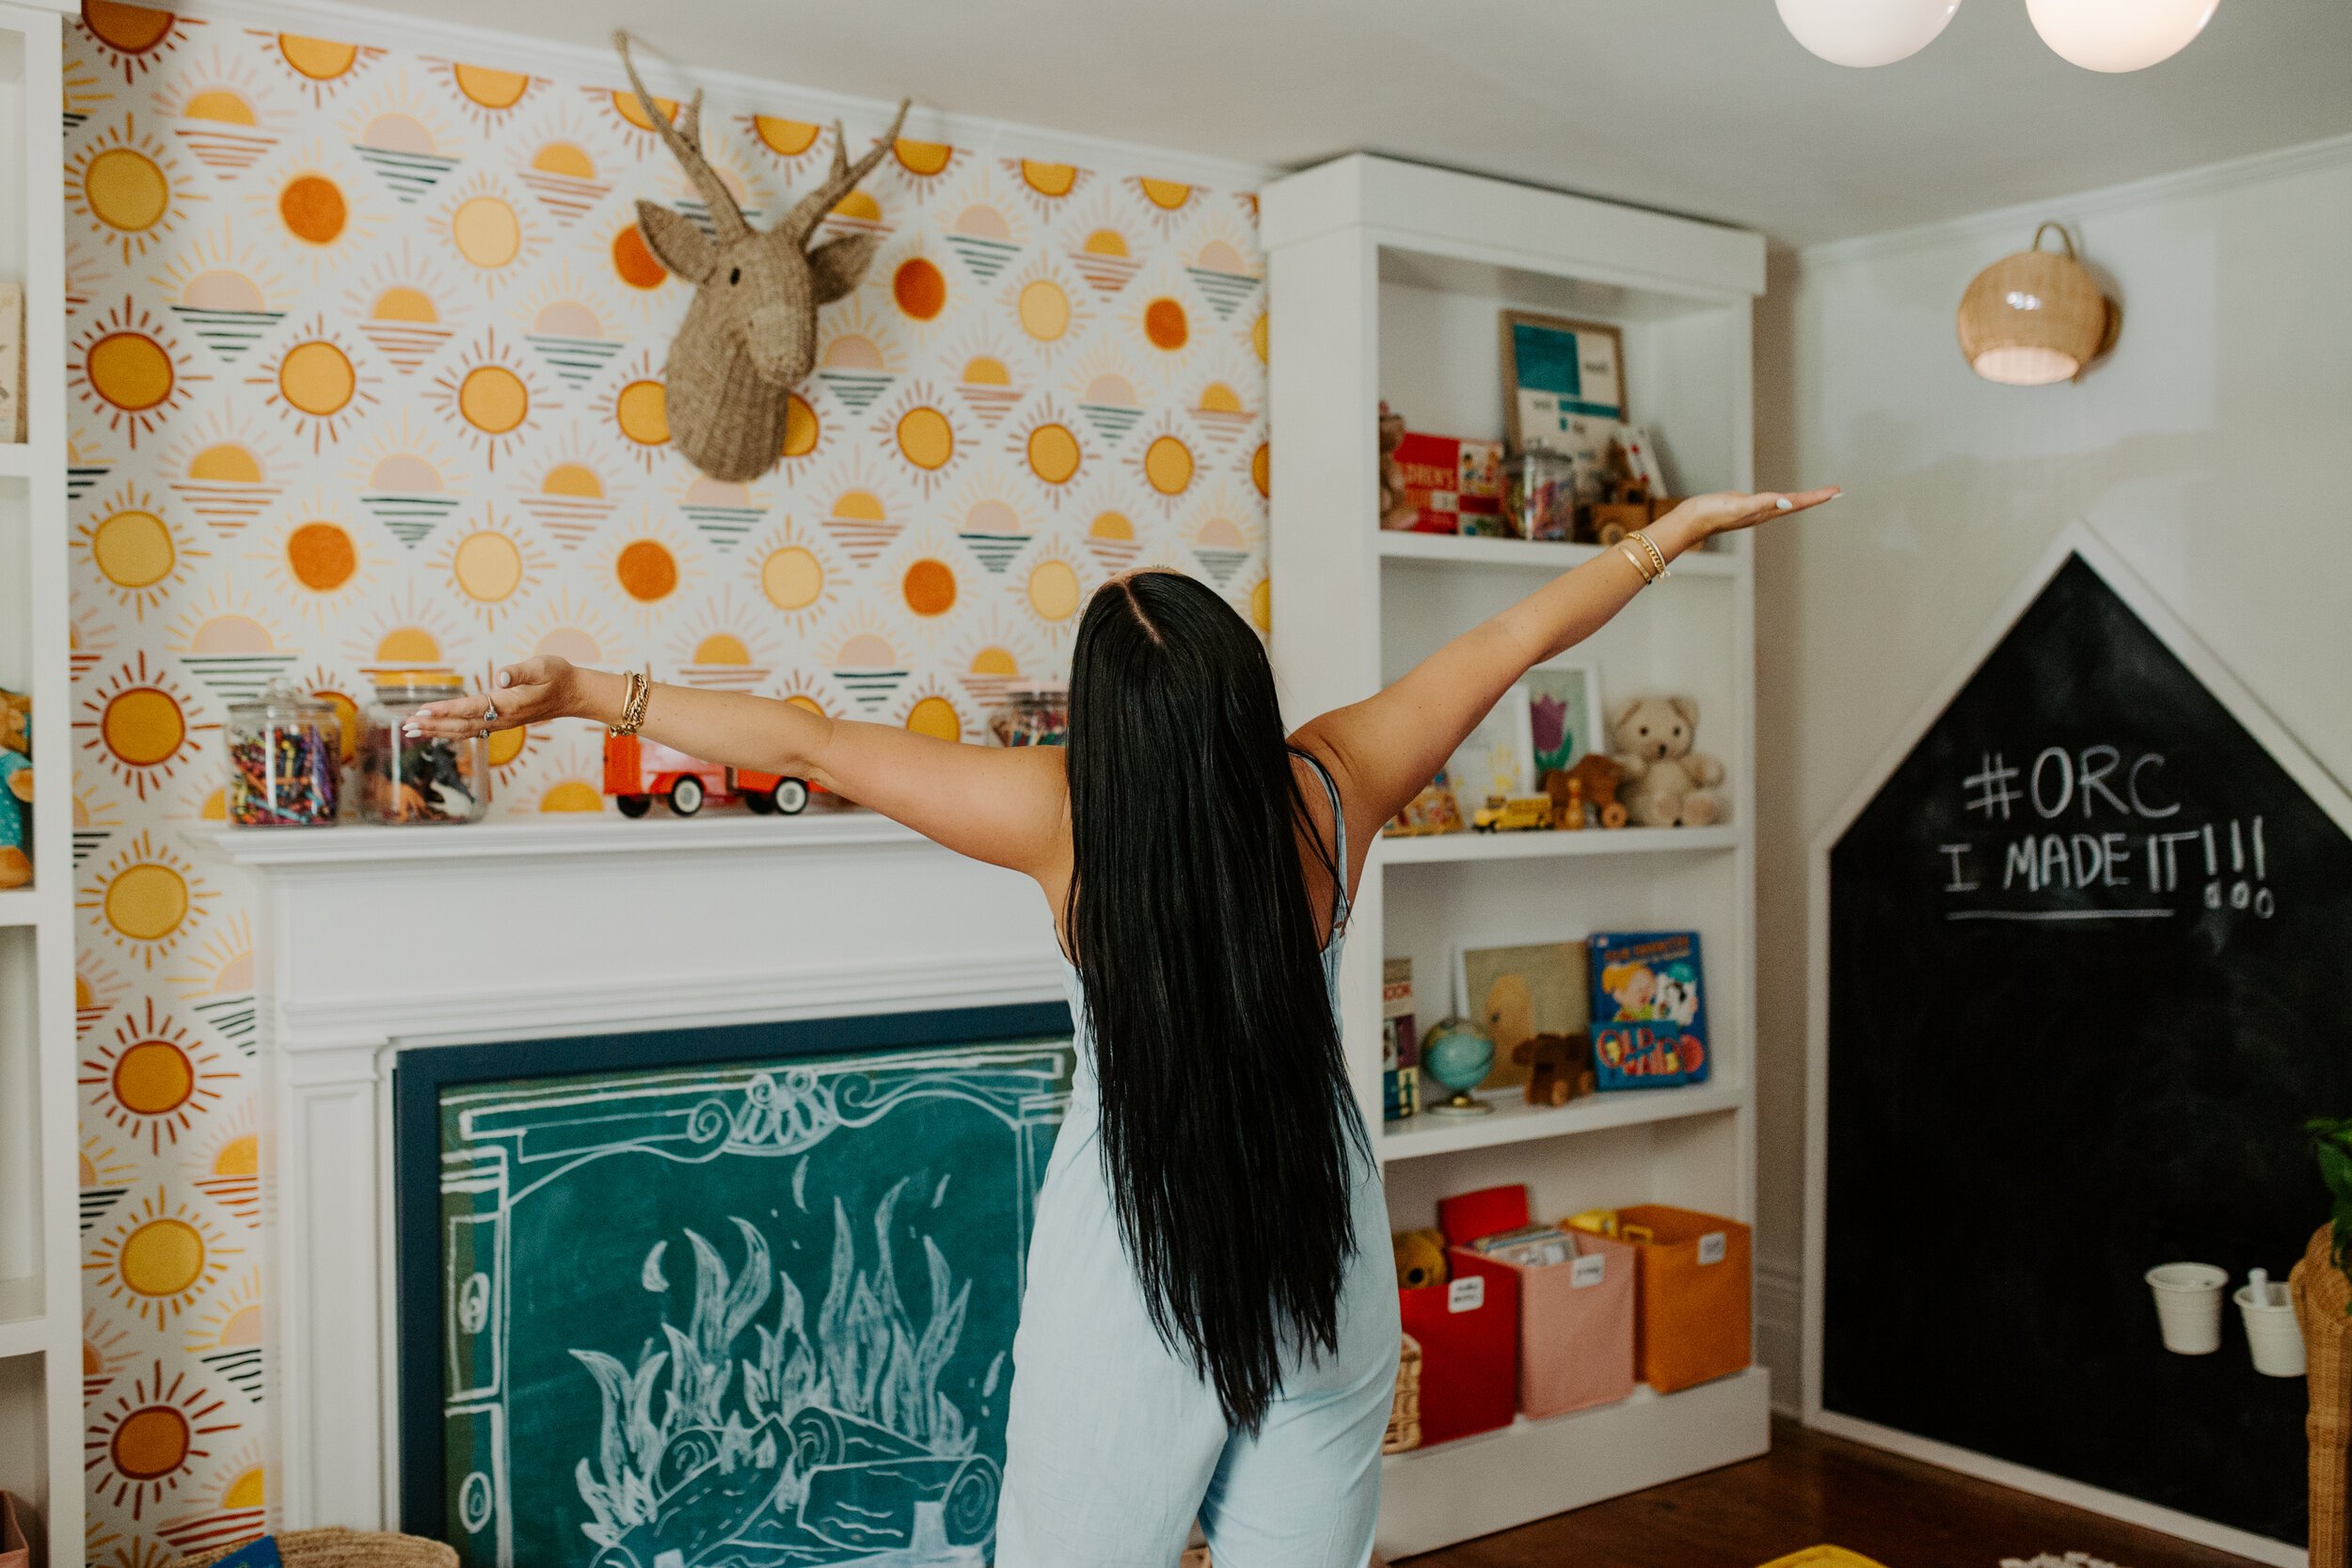
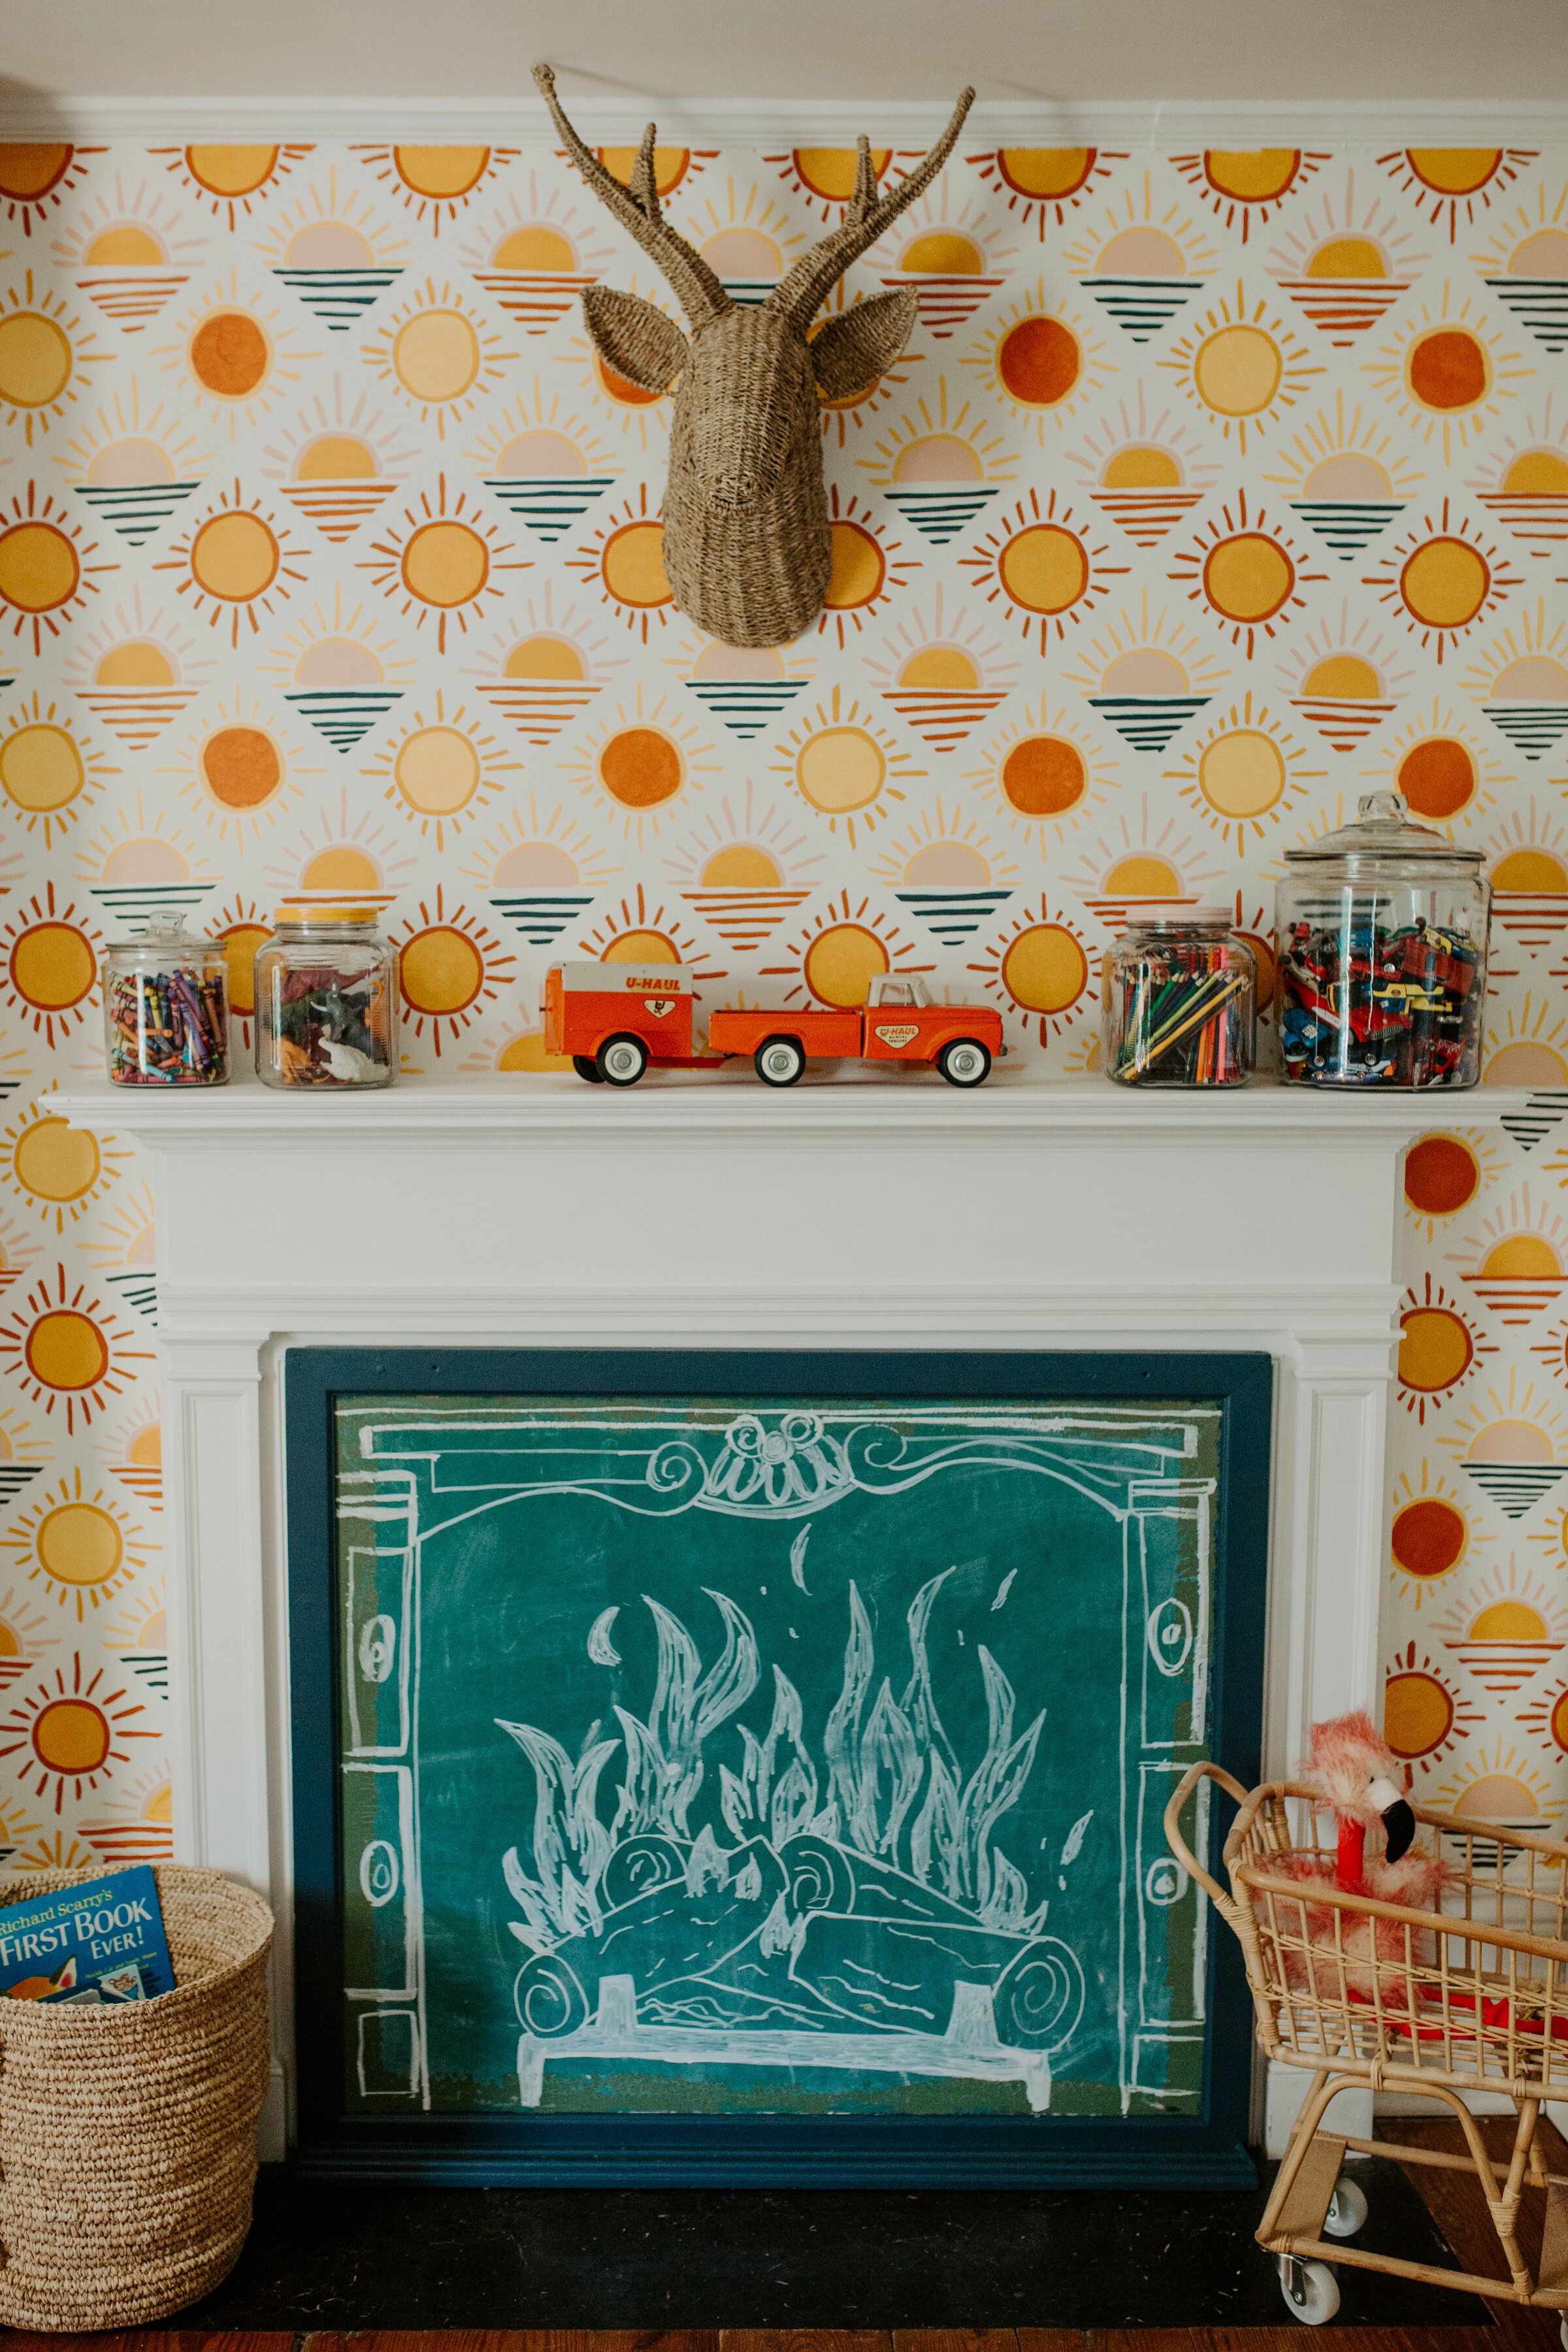
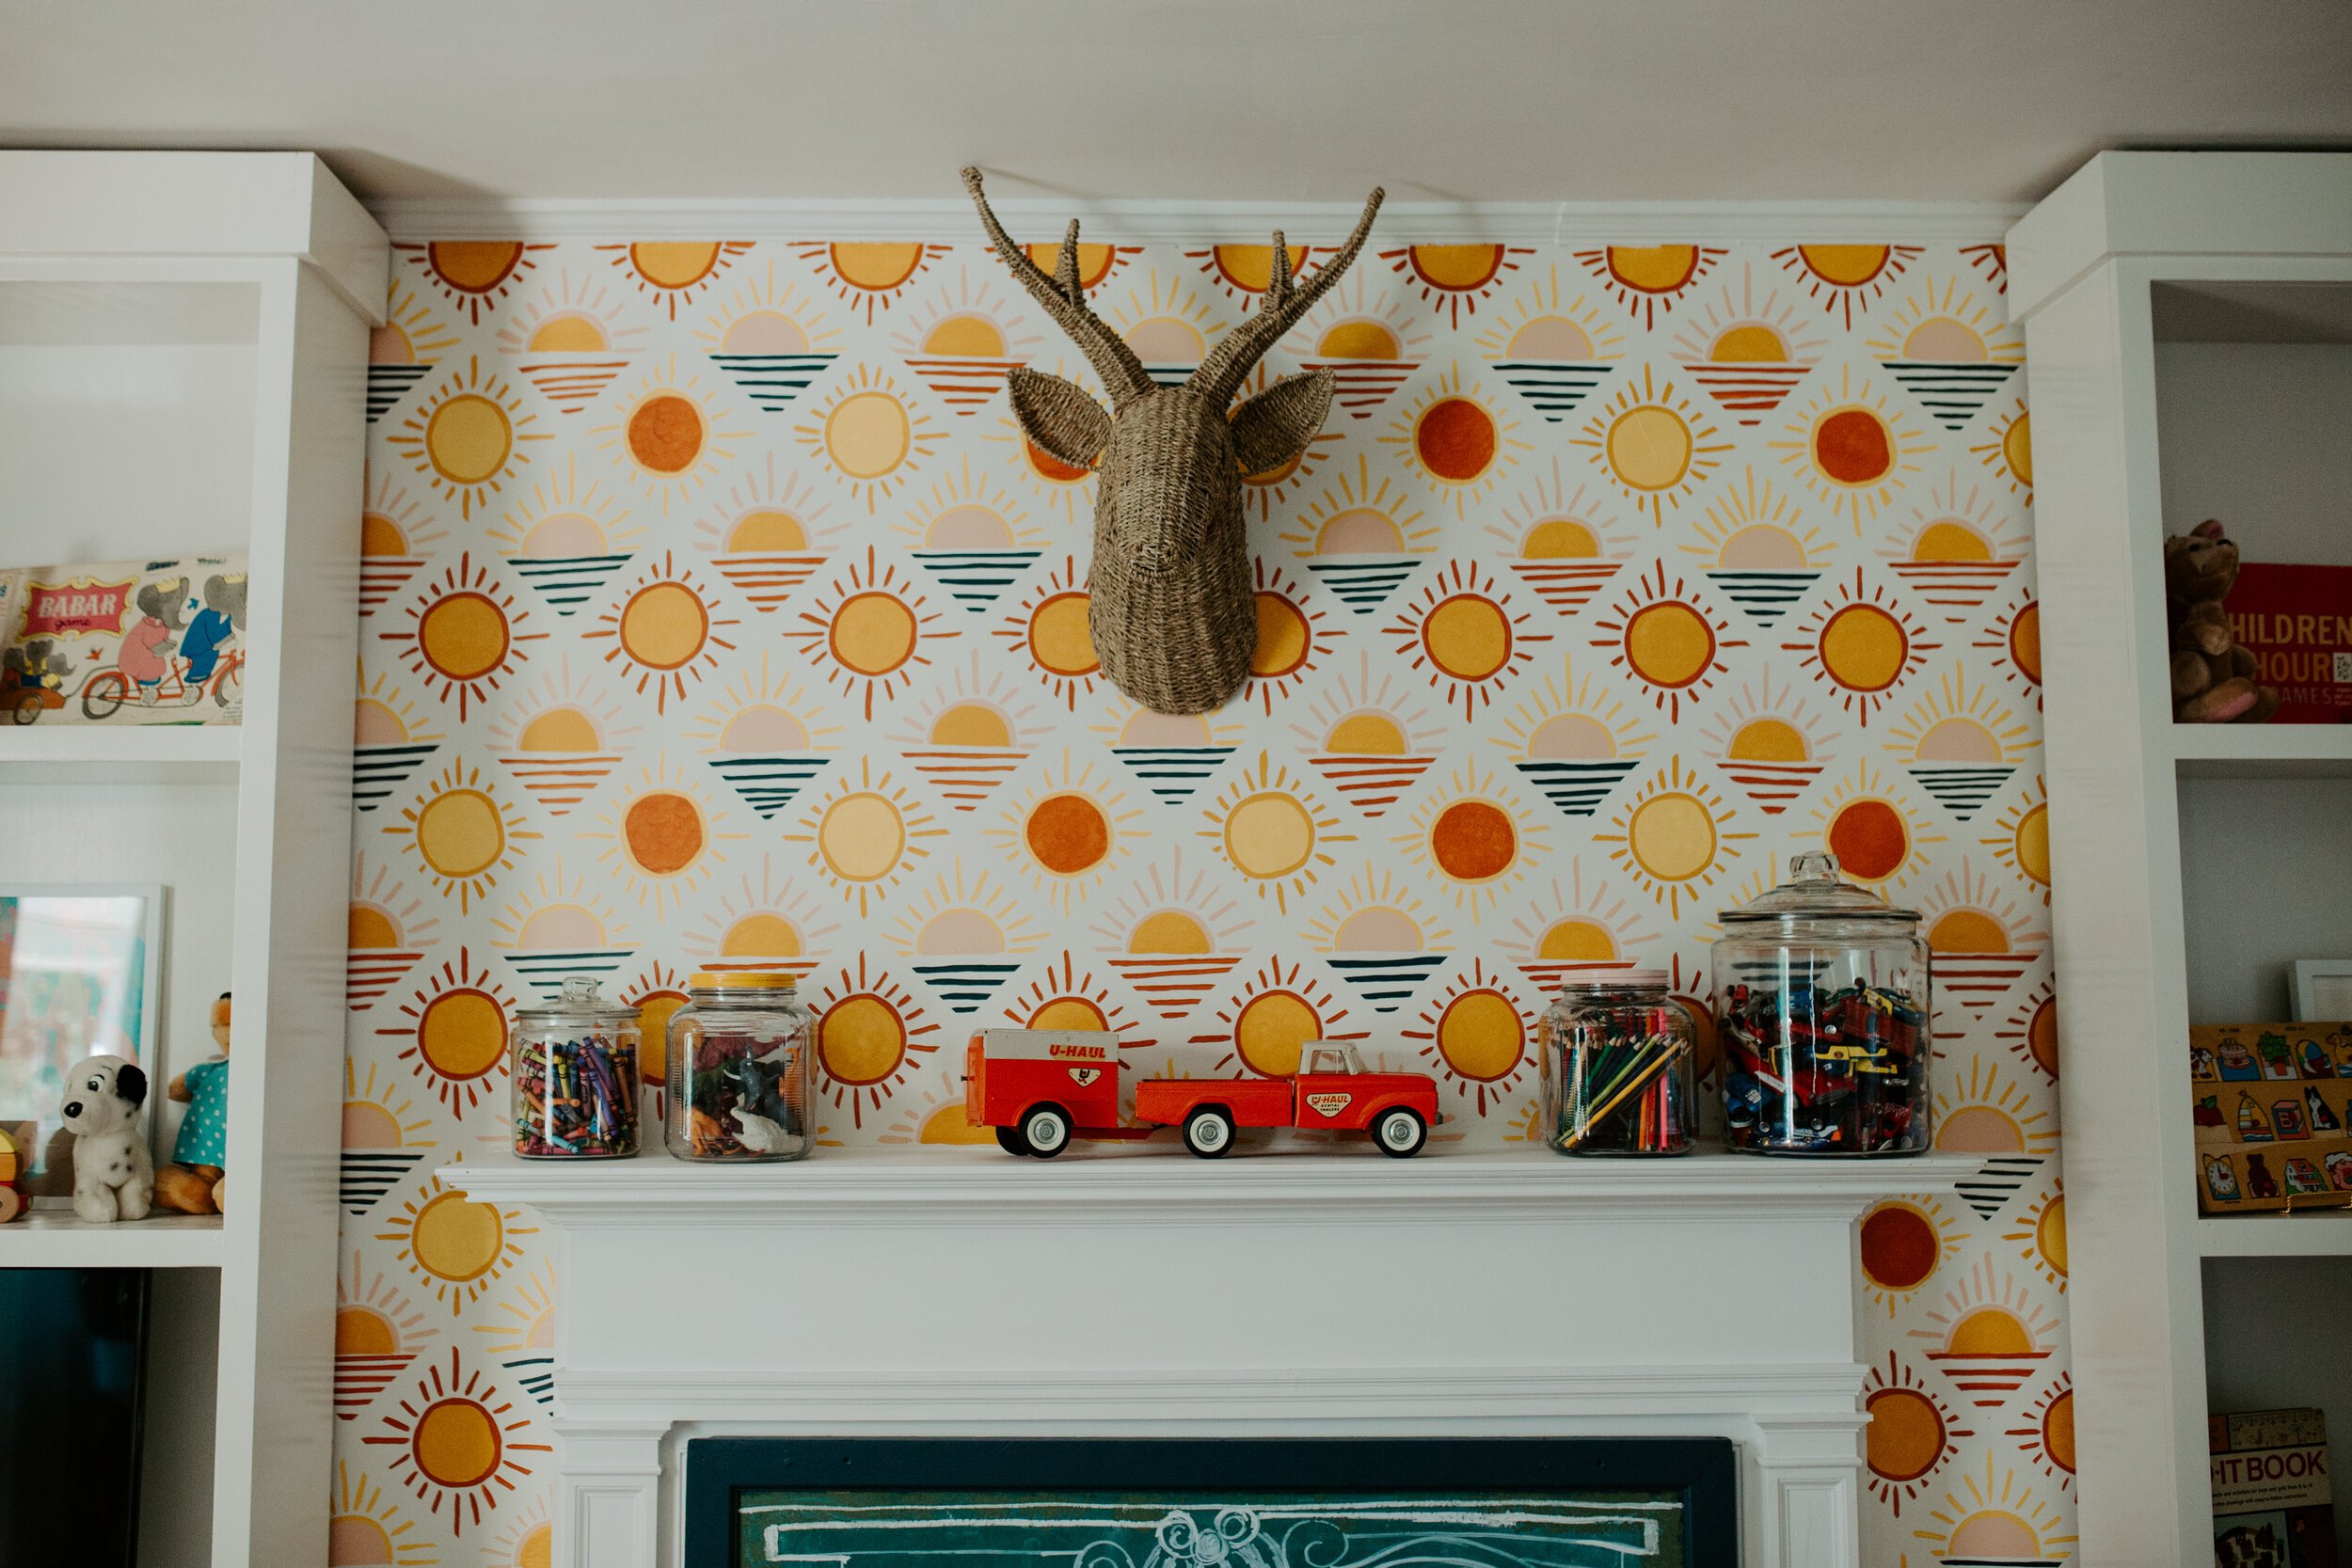
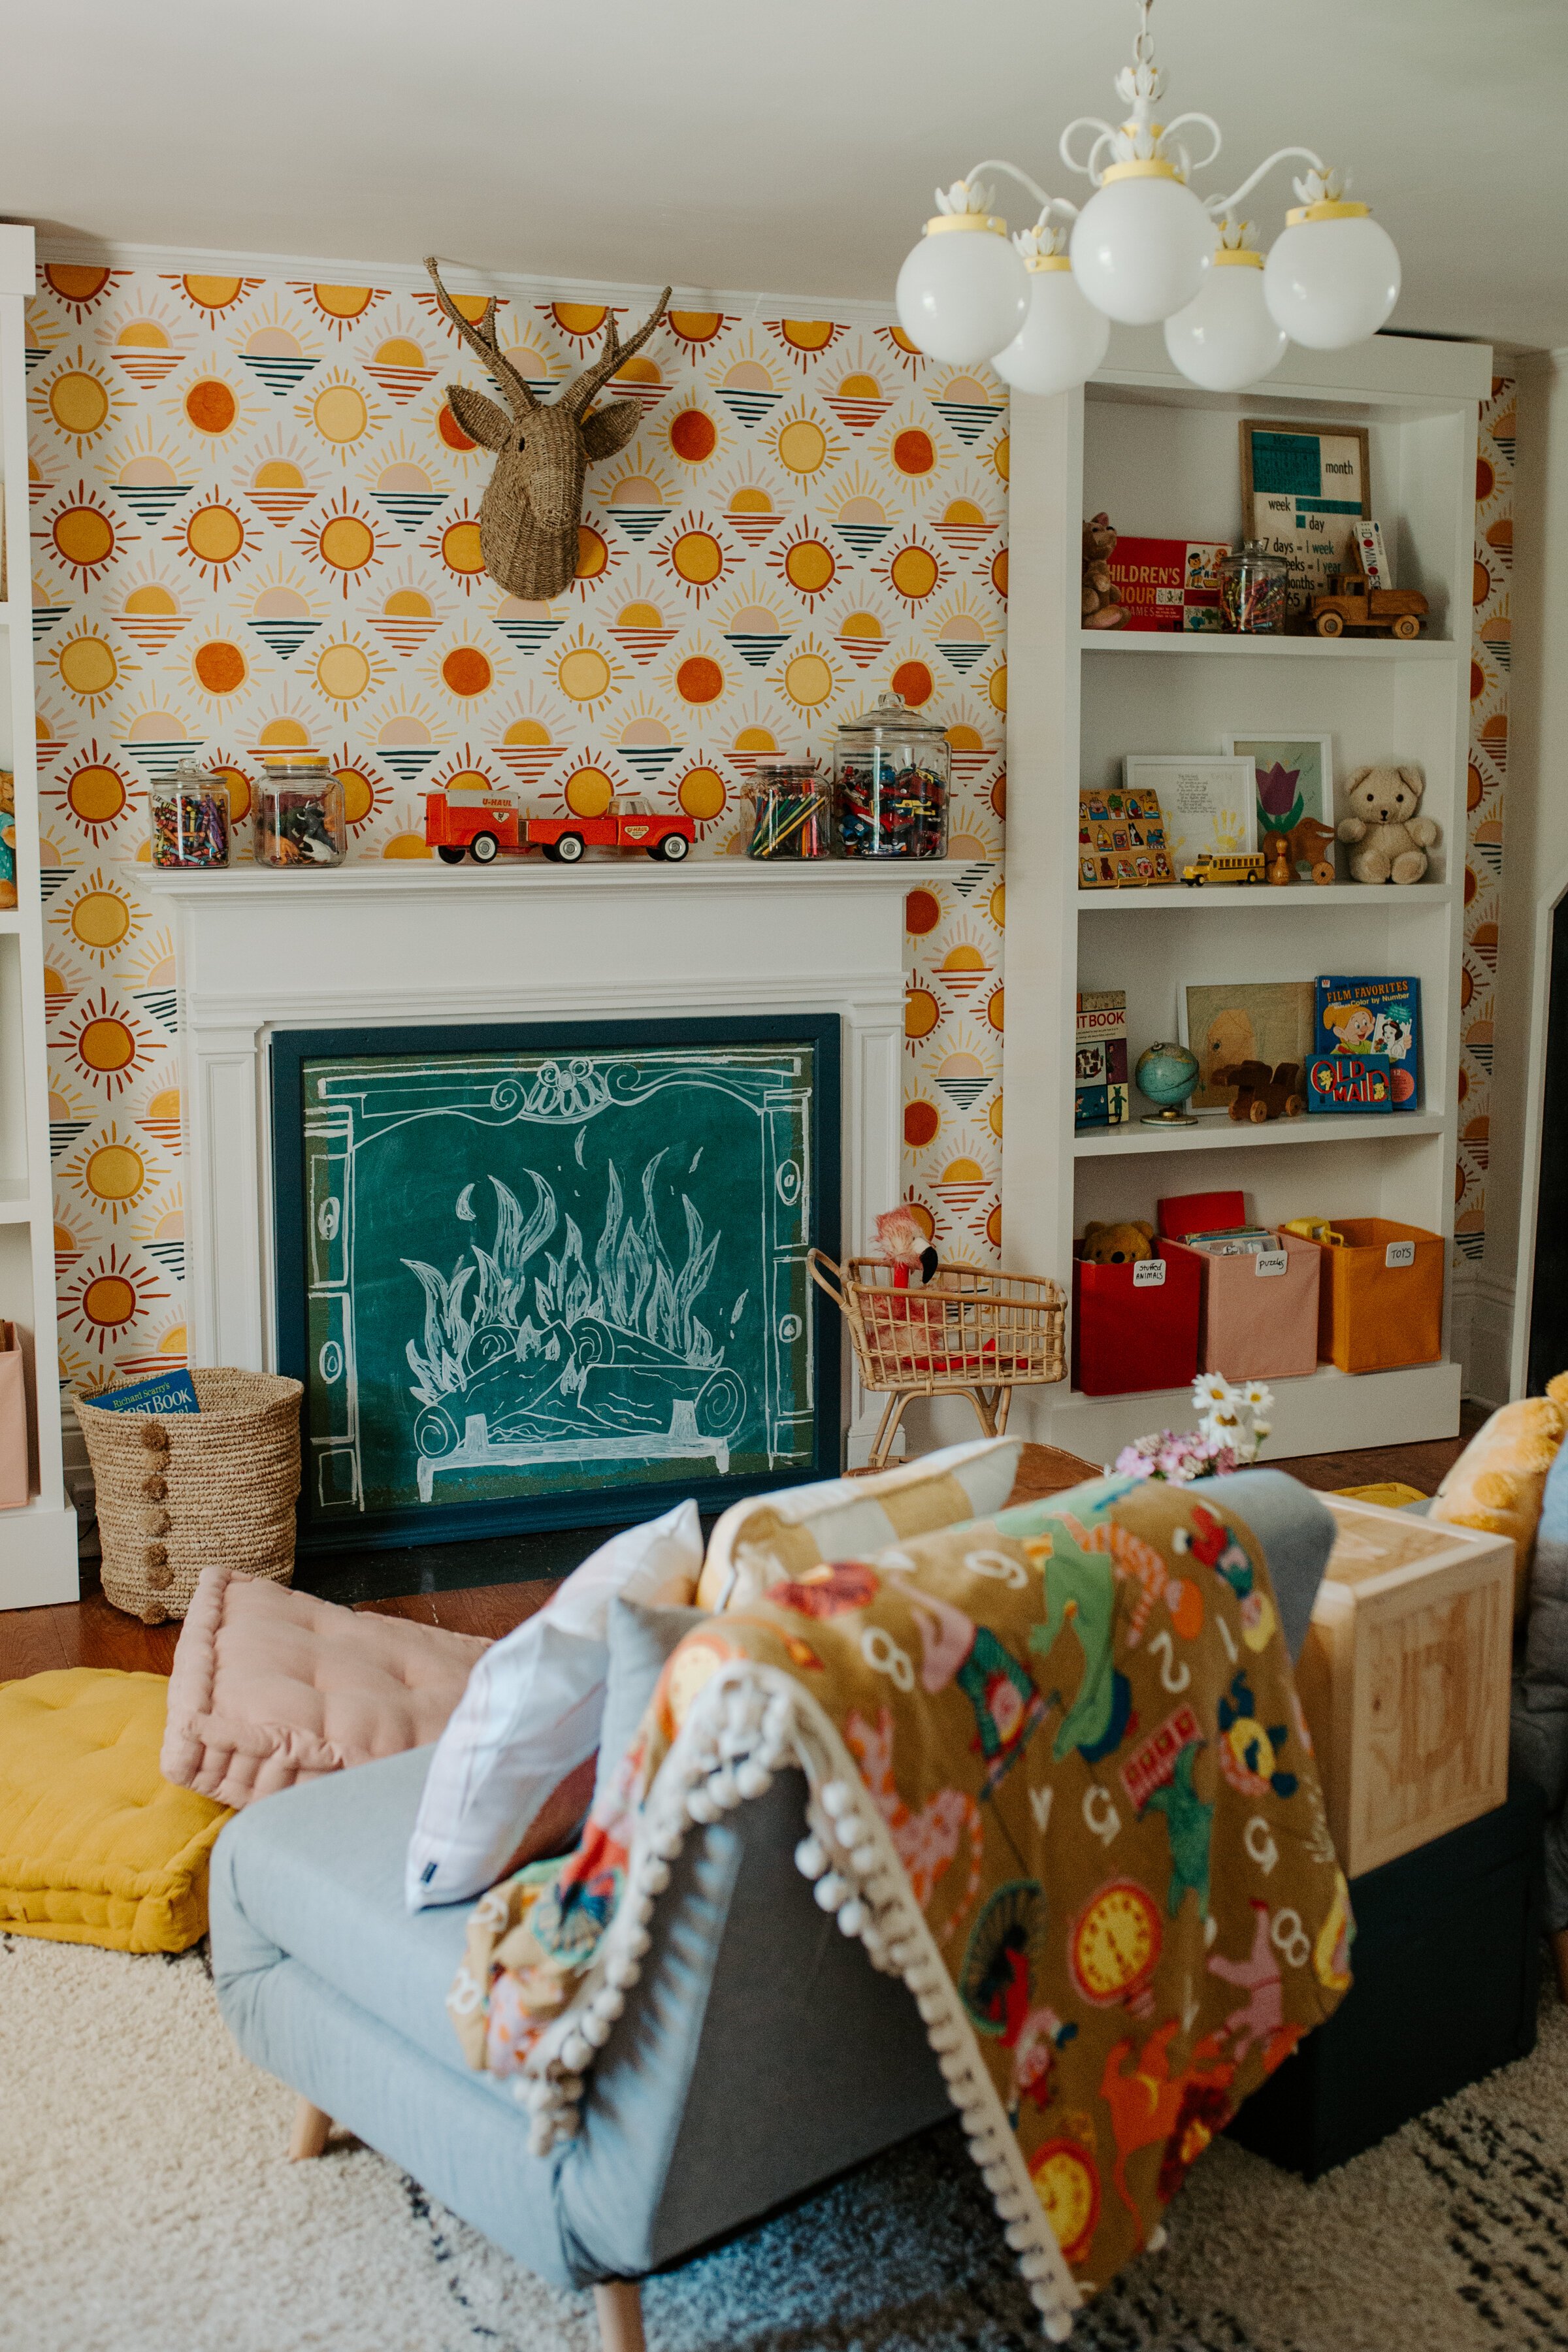
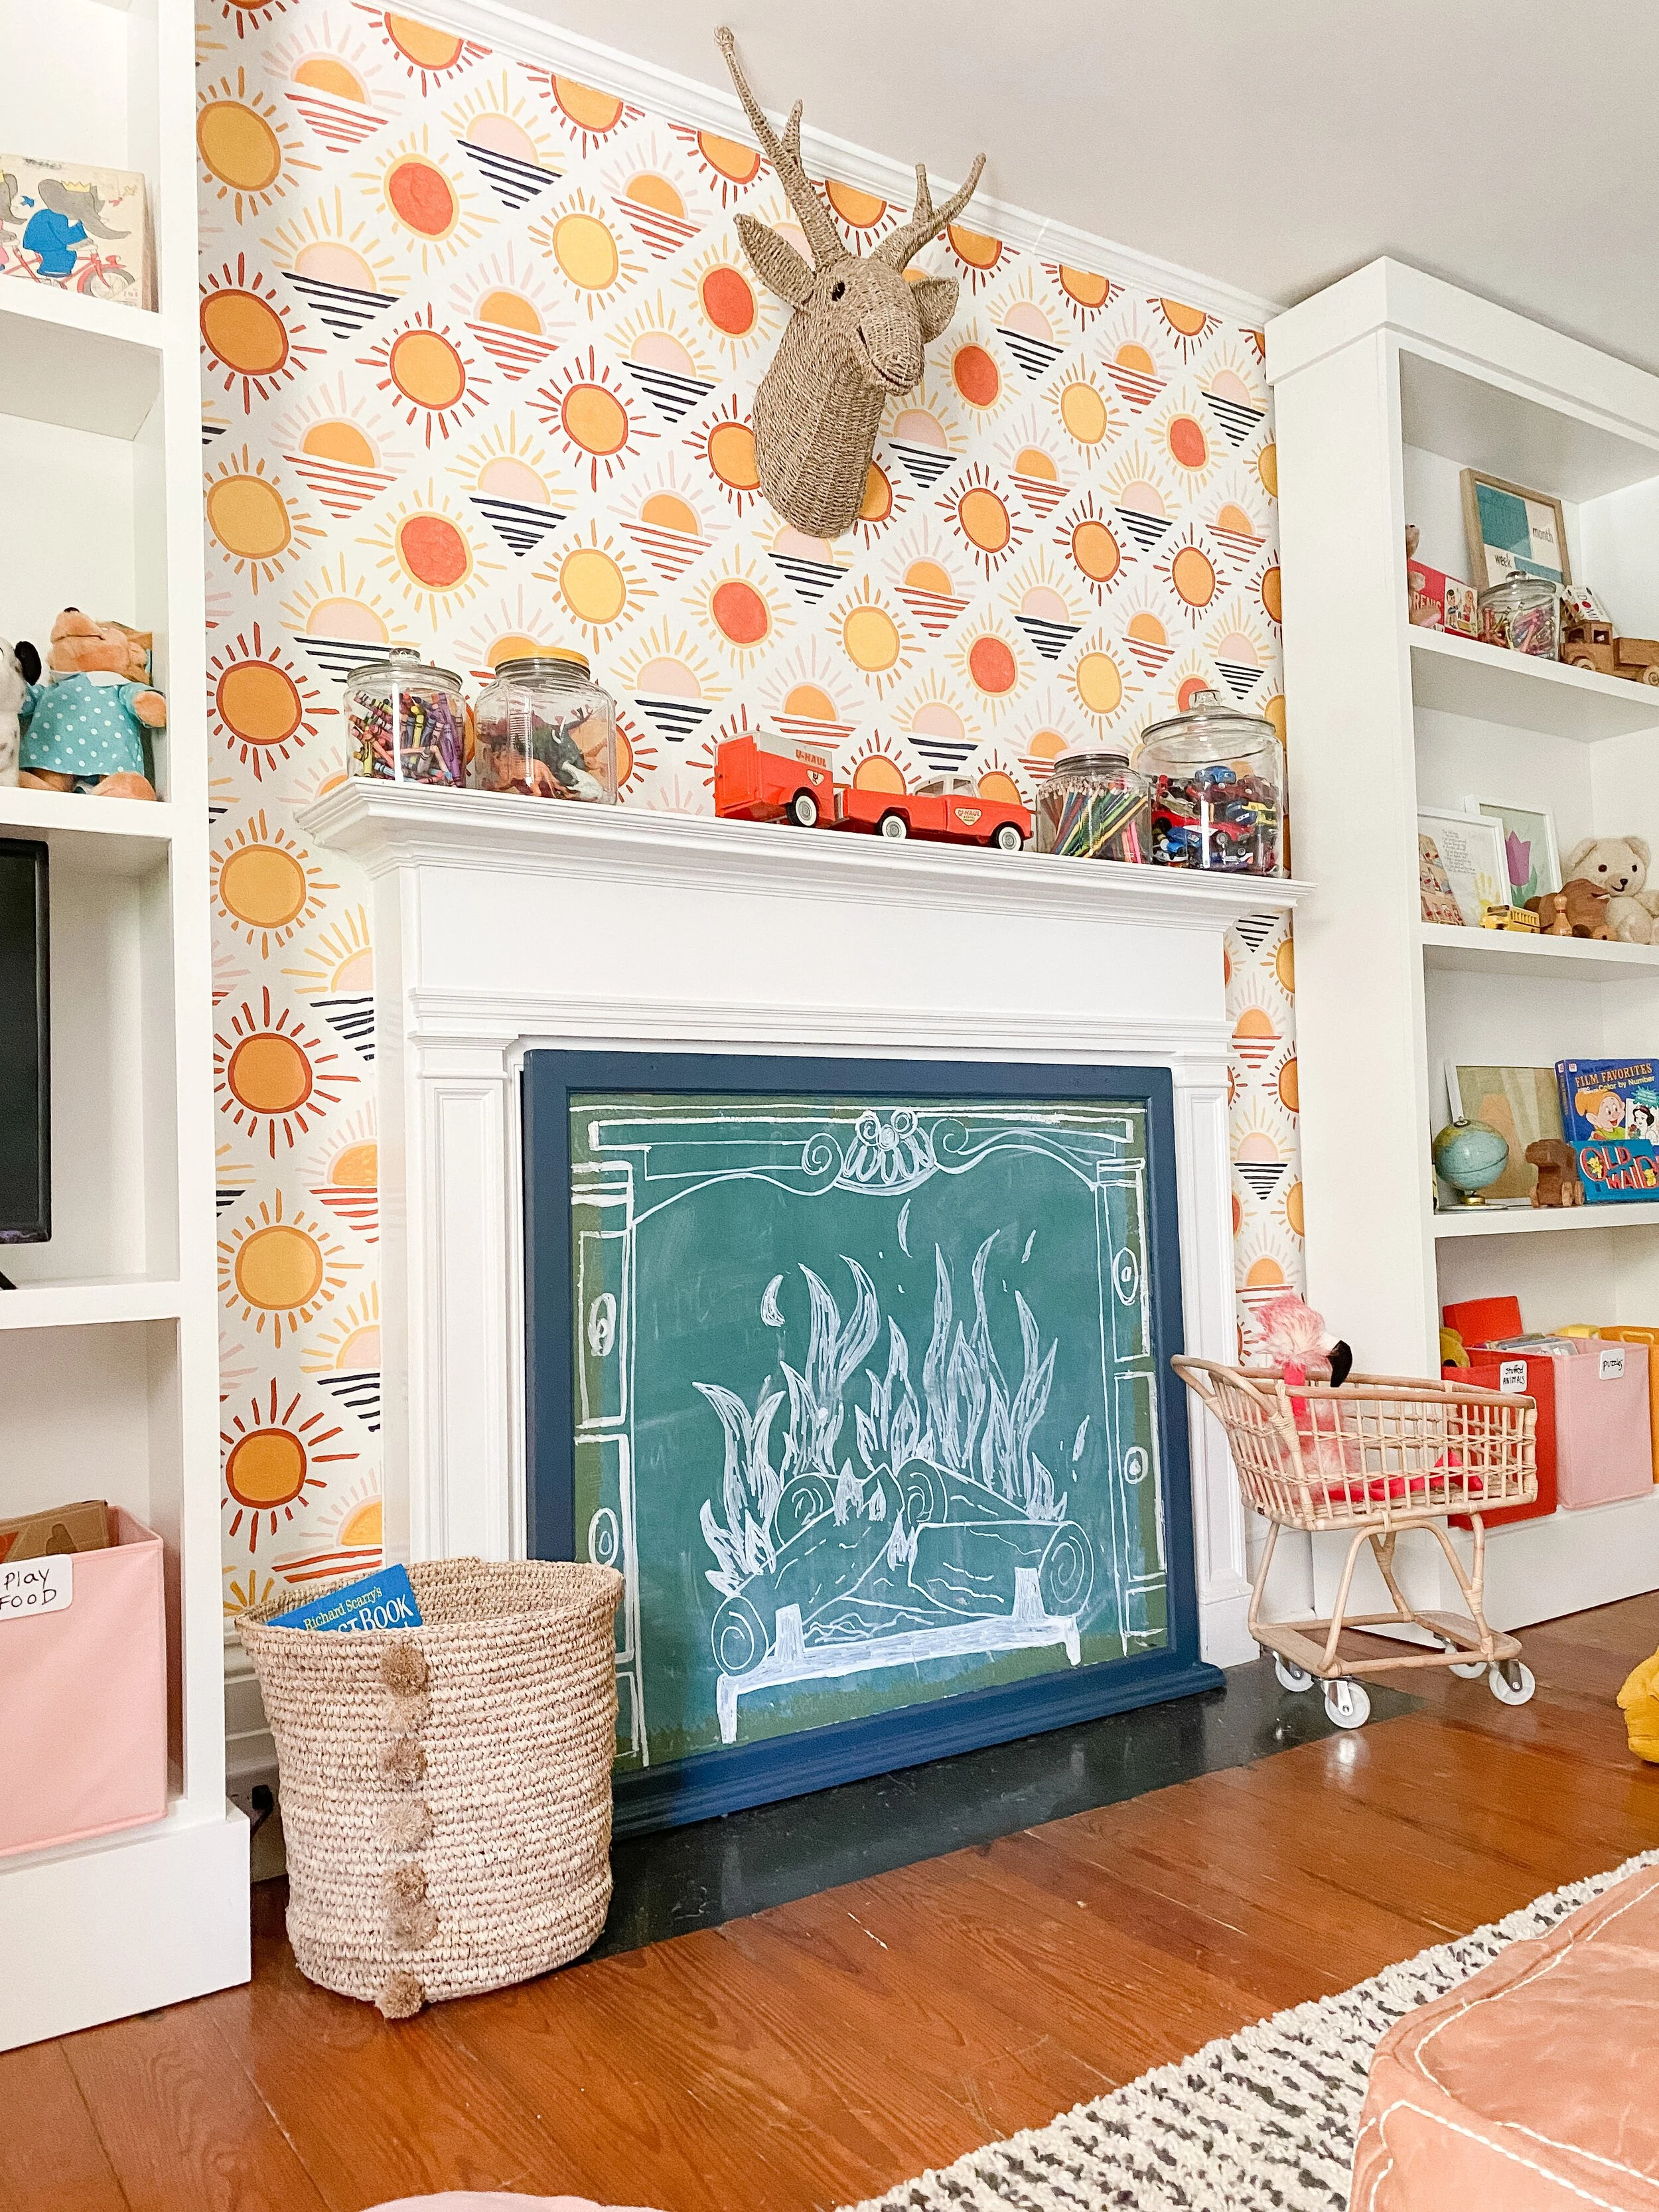
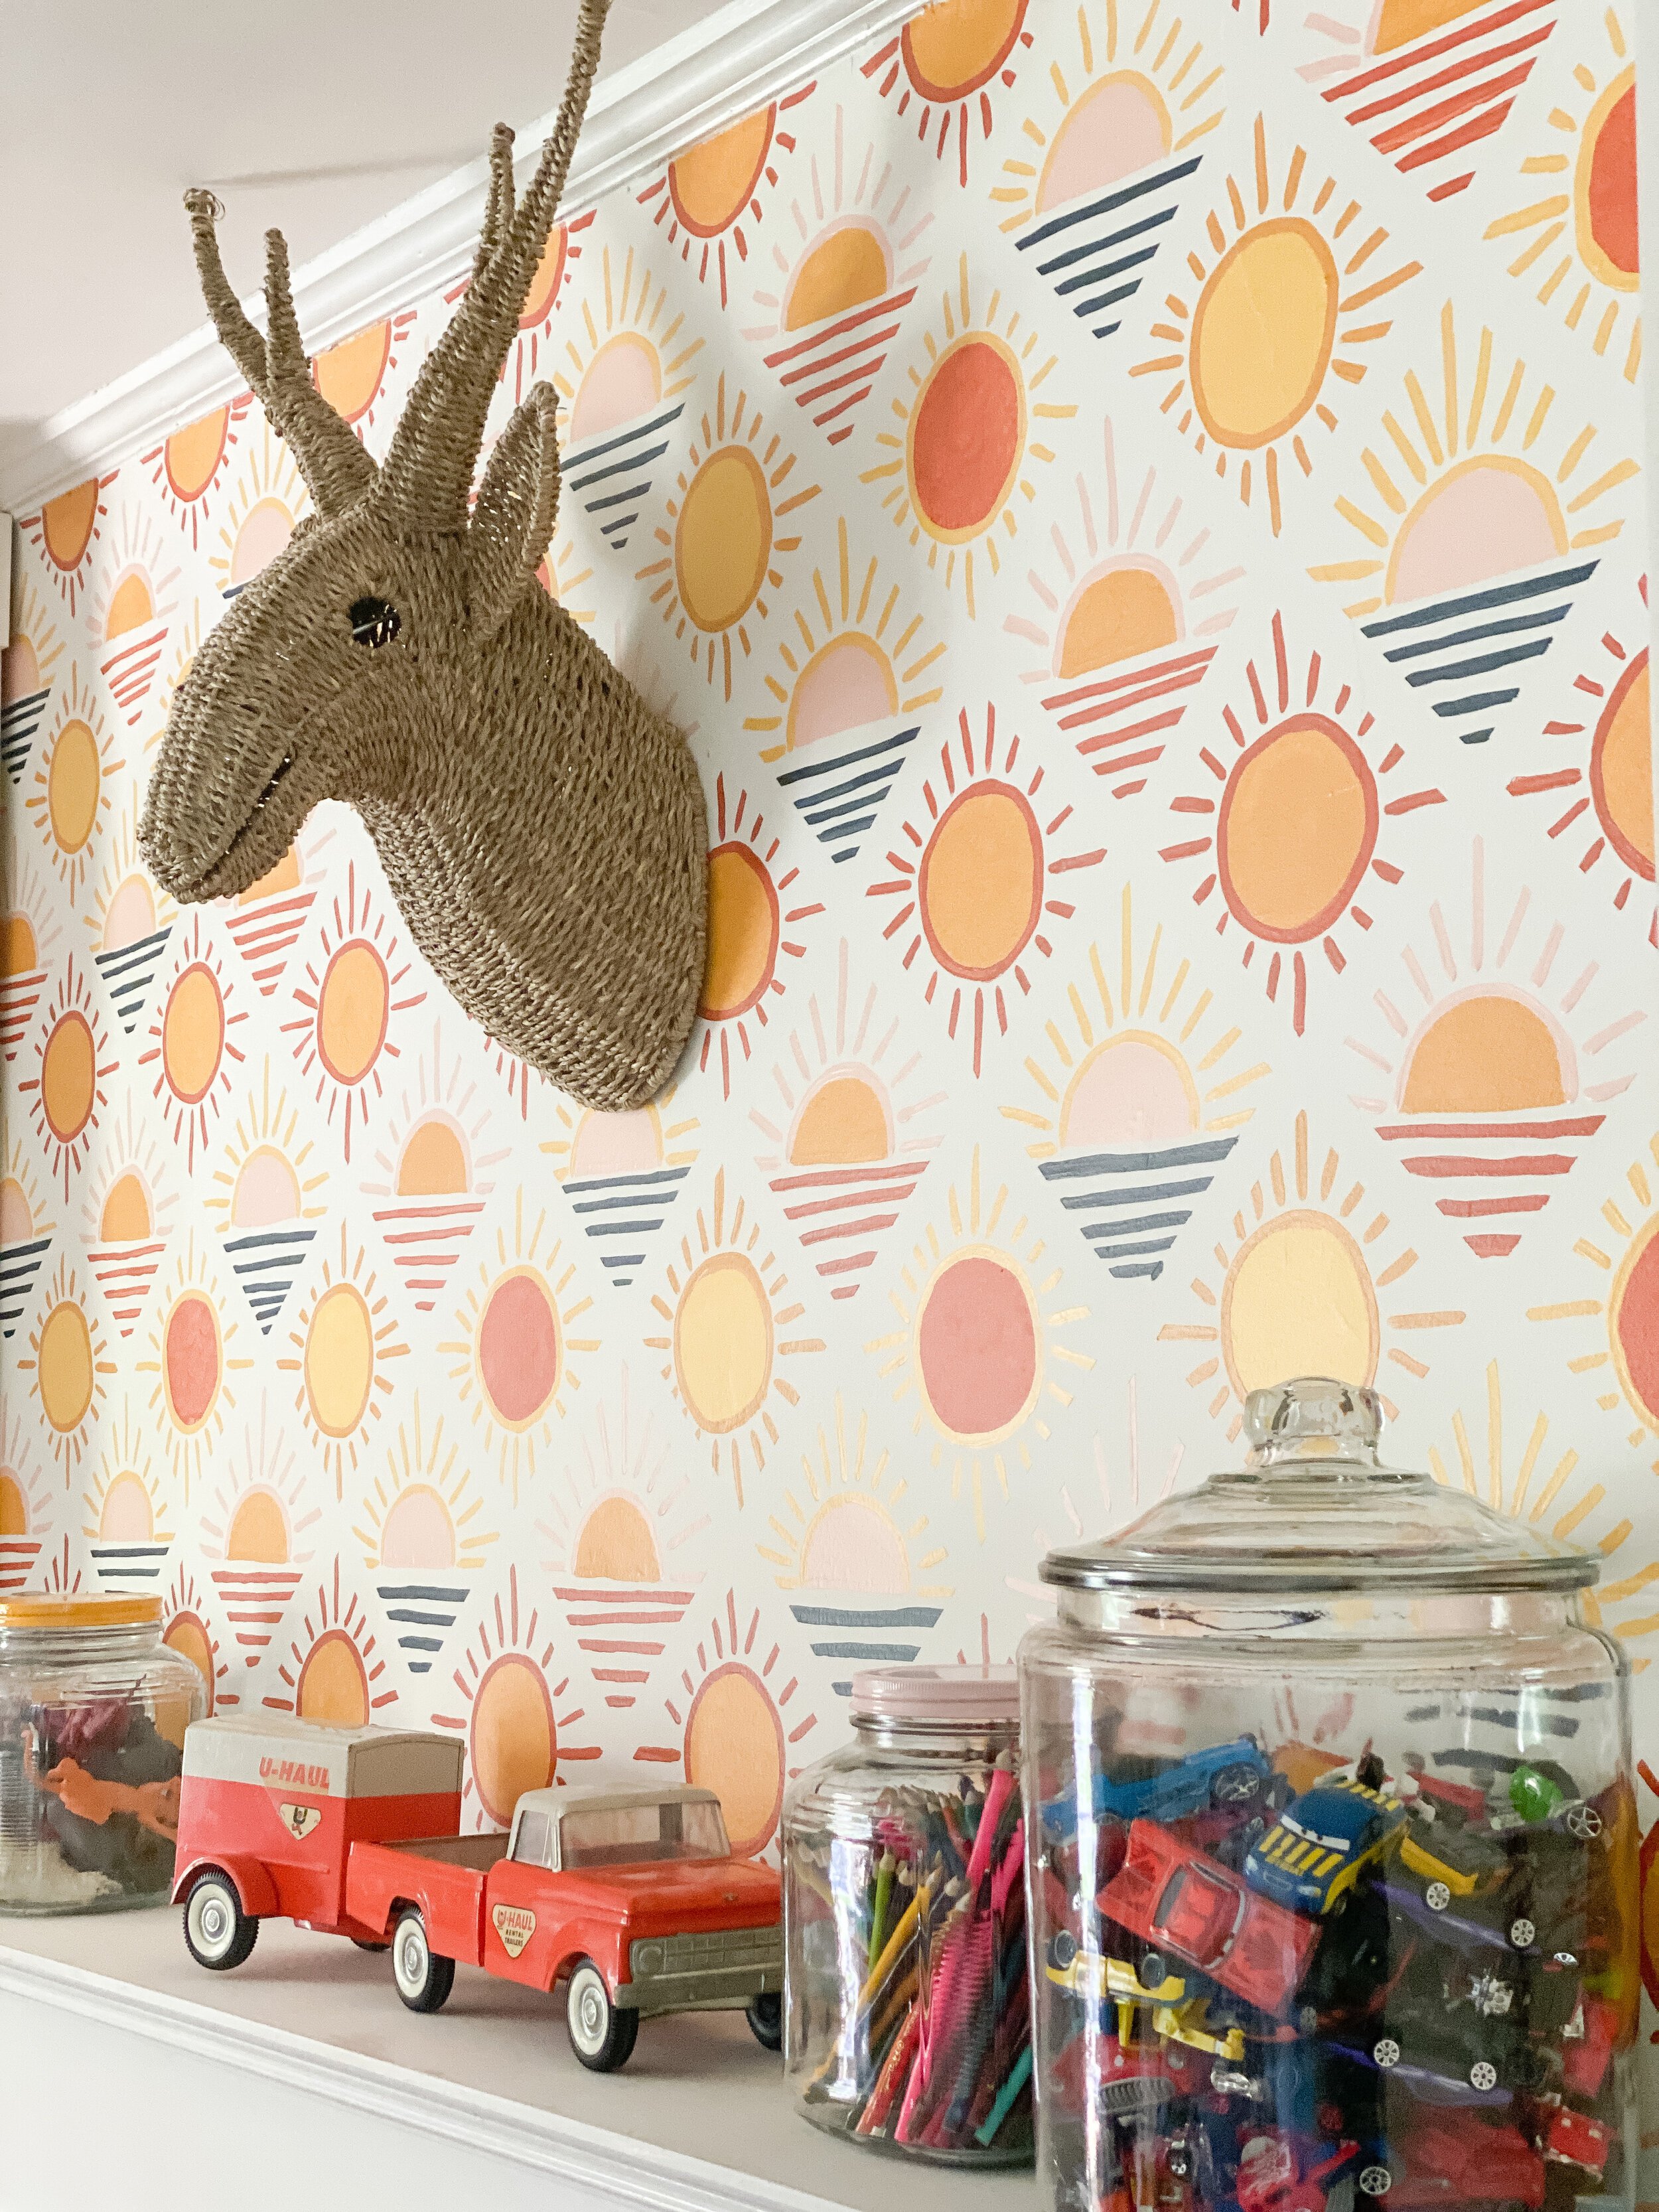
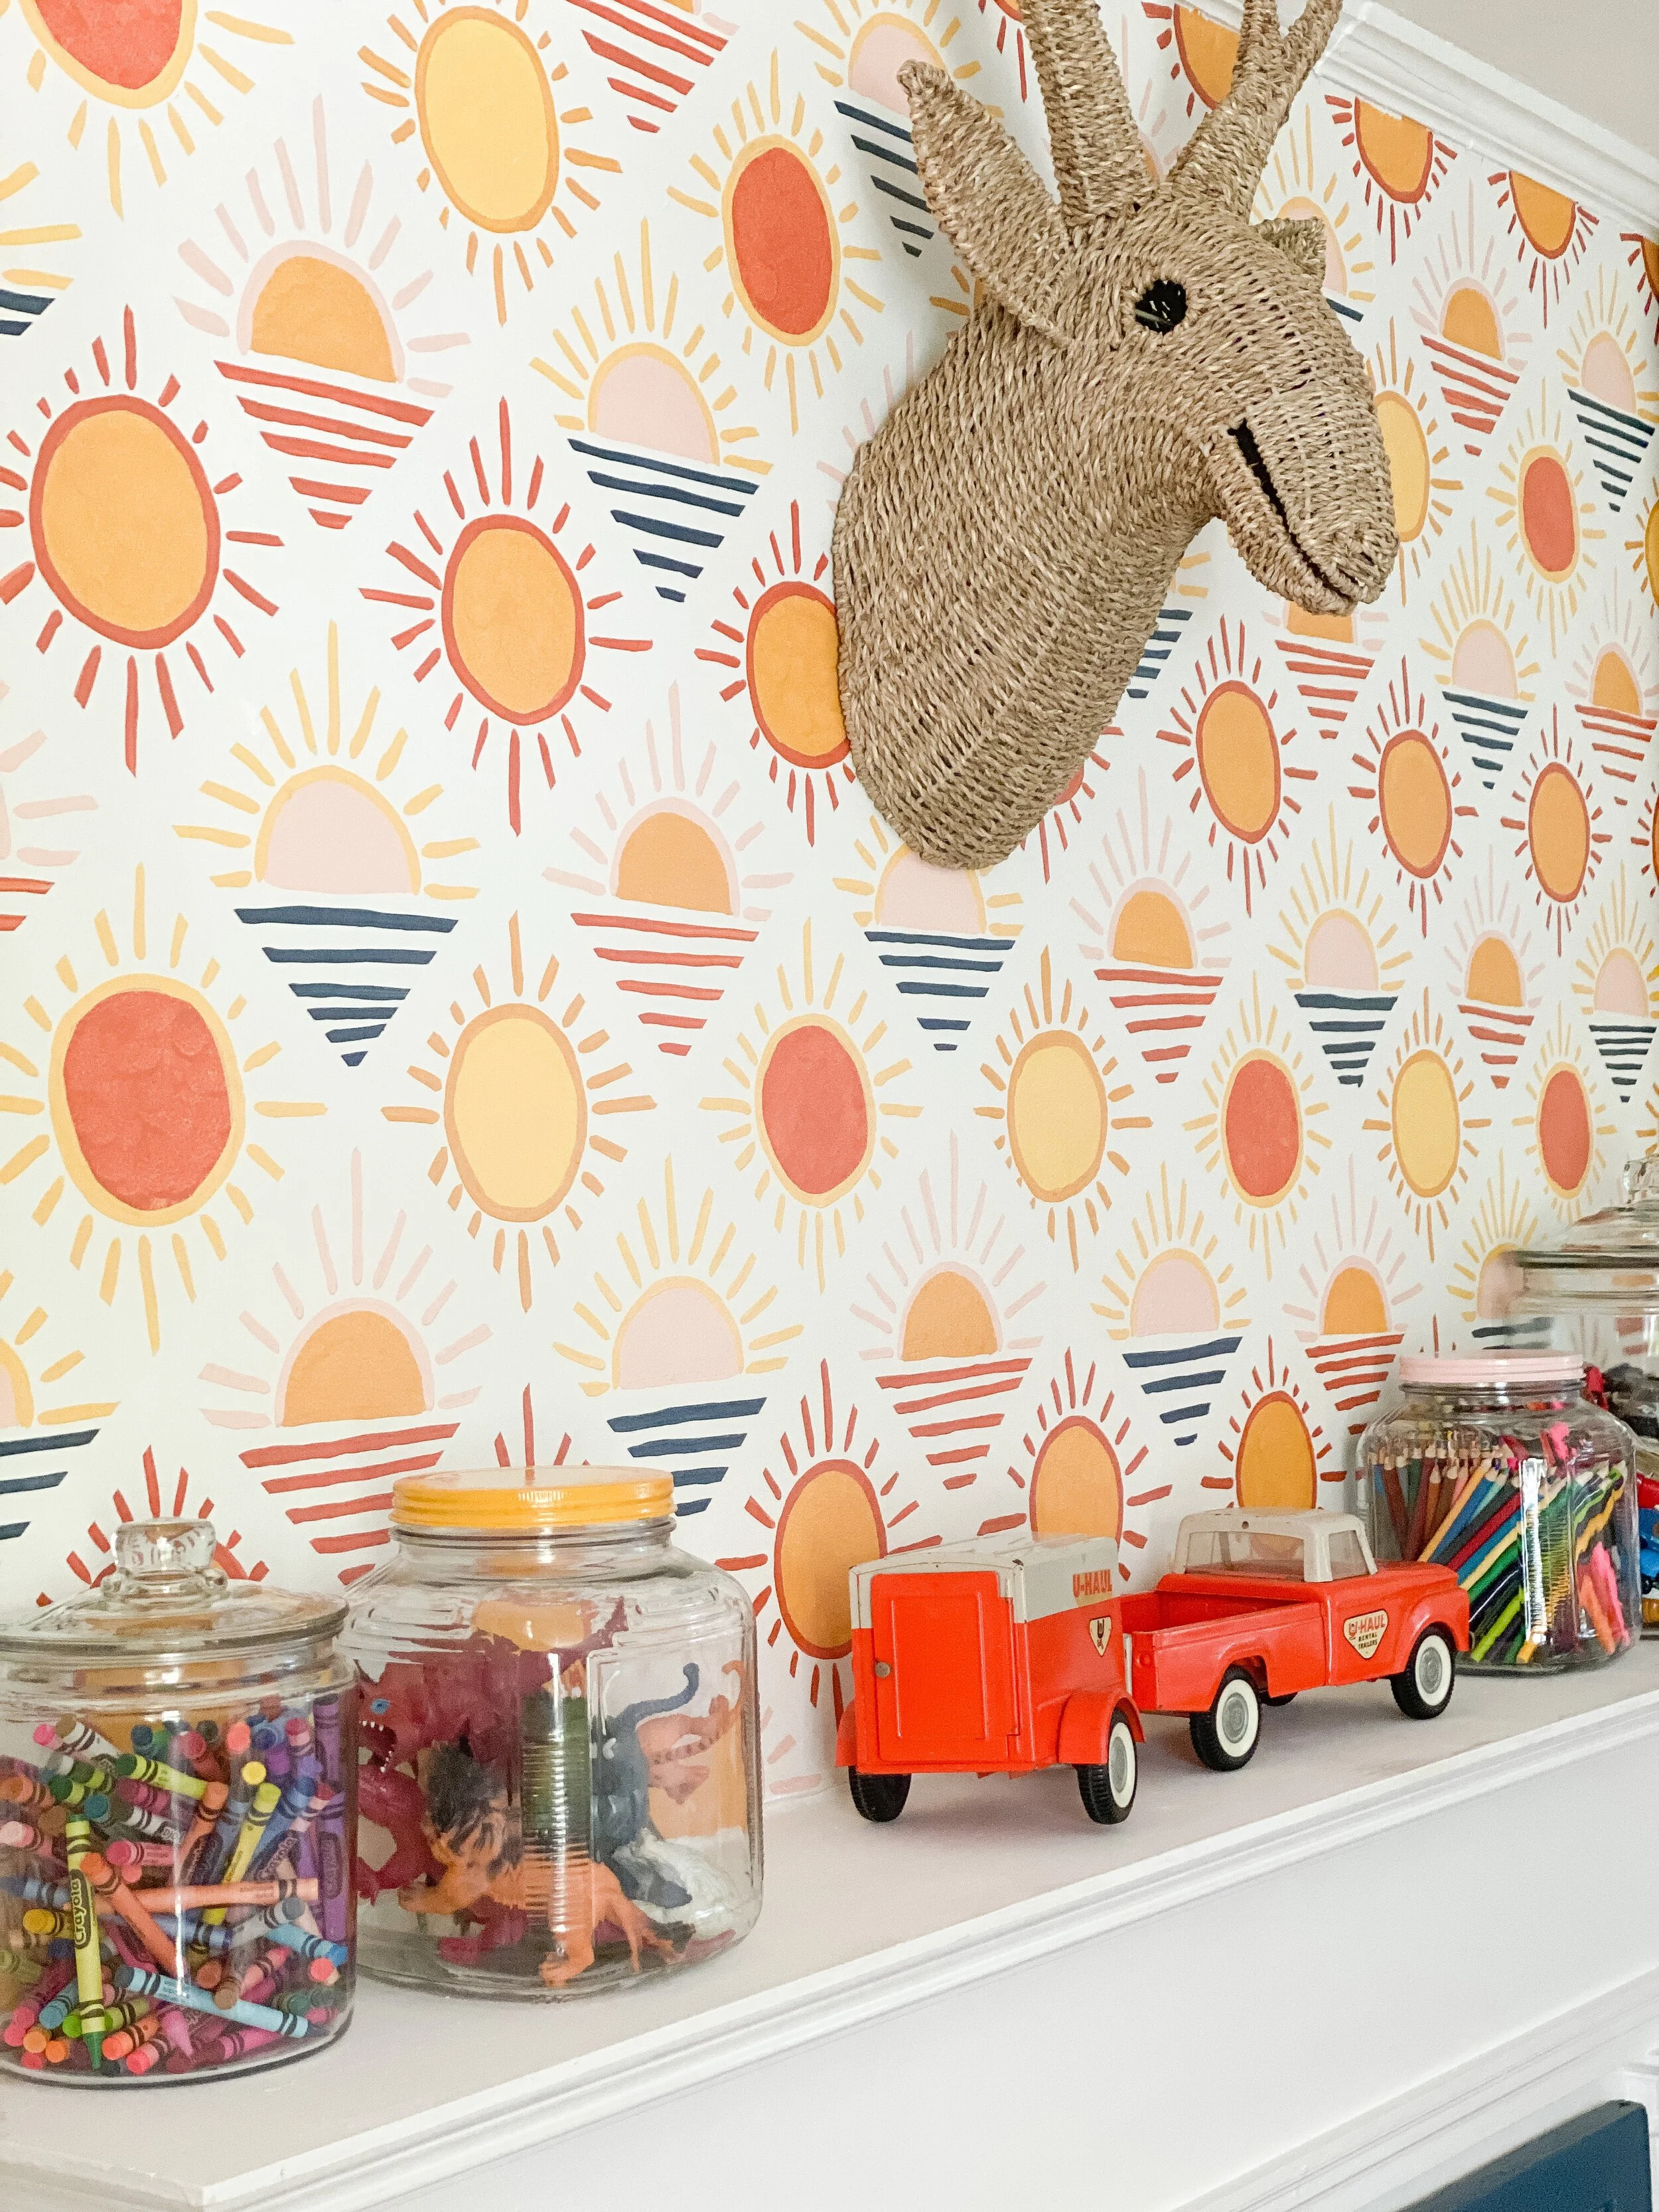
It’s so hard to choose a favorite area of this space, as it just kept getting better and better as I added more! Overall though the area that was the most labor intensive and rewarding would have to be the DIY stenciled wallpaper project (see more of this entire process in week 4 and 6’s posts here + here). To sum it up, I basically fell in love with the perfect wallpaper for this room during my design phase, to only find out it was $50 per small sheet, not roll! I tried to find something similar, but just couldn’t get the original wallpaper out of my head, and I really wanted to design the entire room around it.
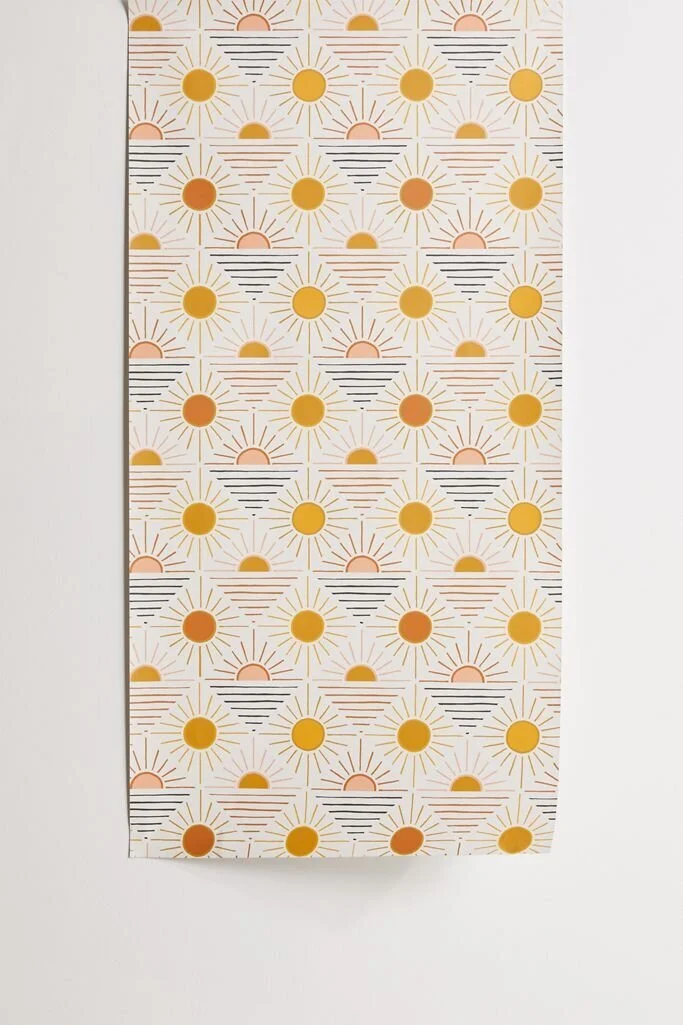
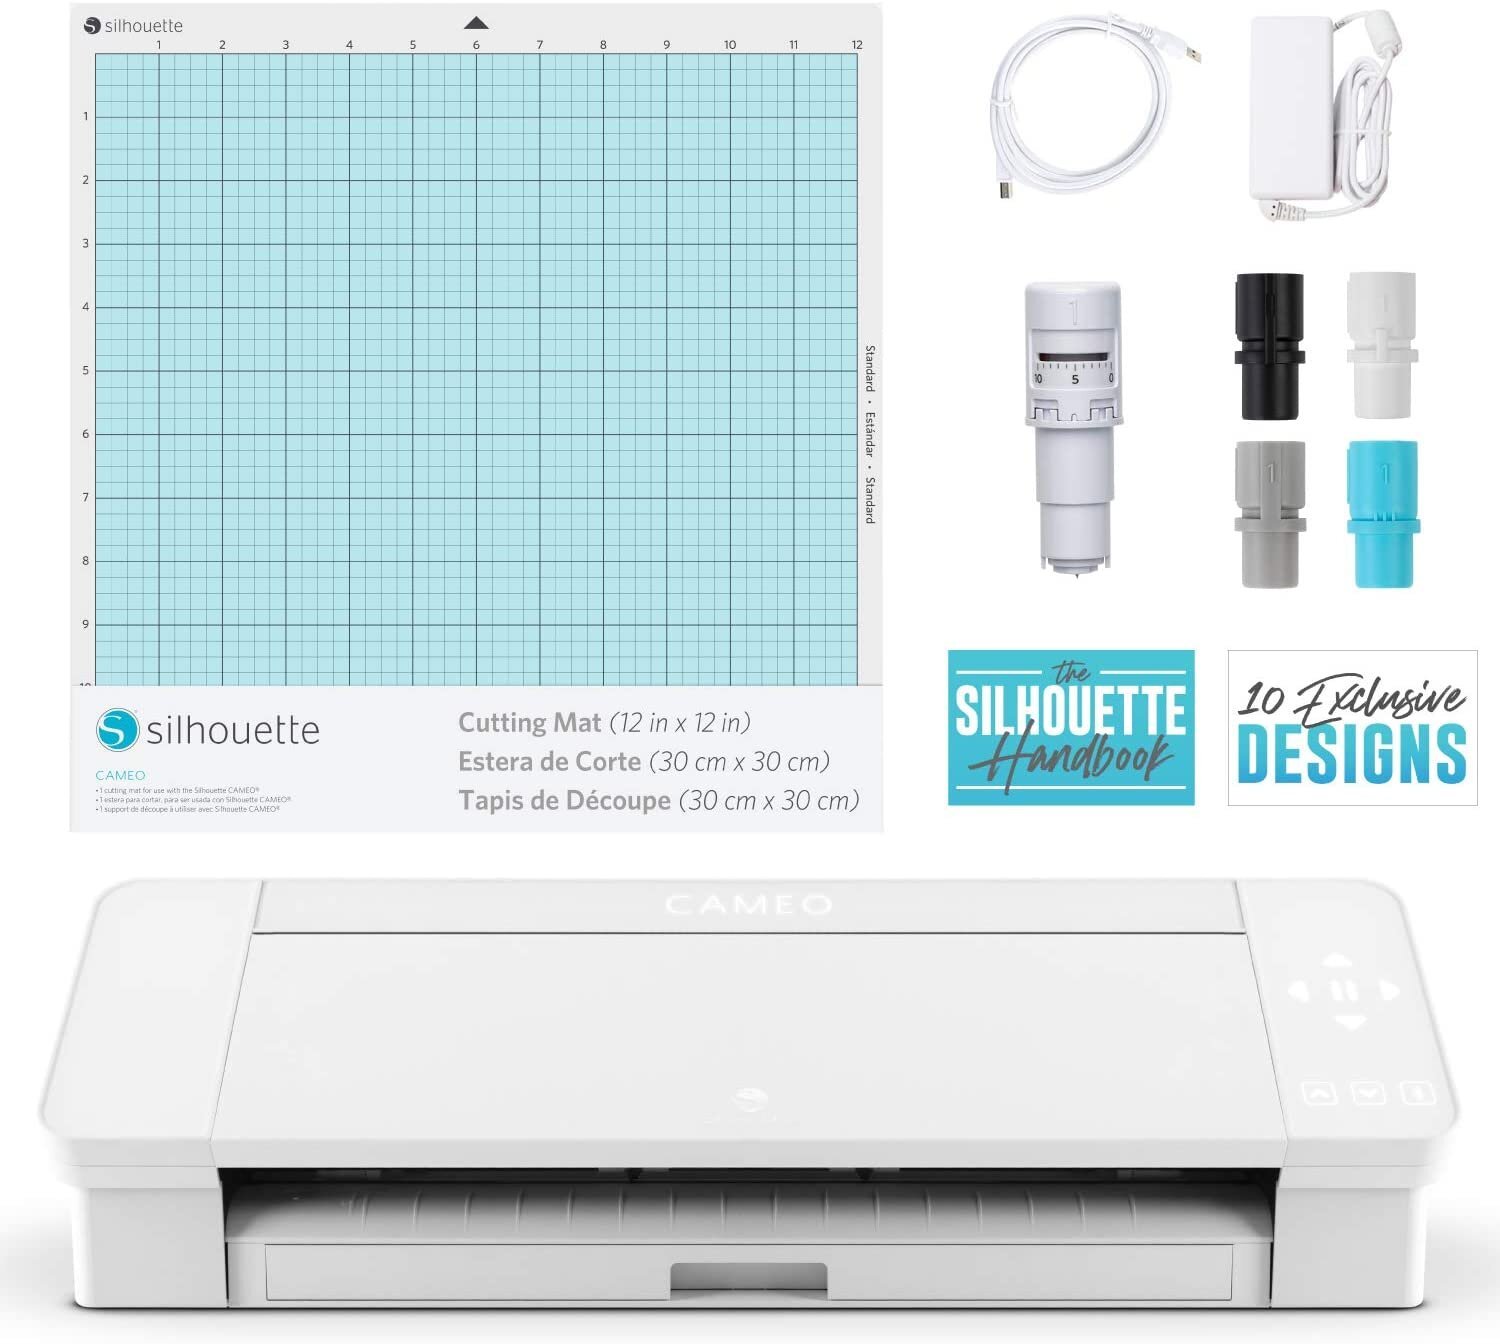
I started thinking about how I could DIY this in some way since it was overall a pretty simple, geometric design. I decided to try making stencils using my Silhouette Cameo machine and then through a process of trial and error (which I detailed completely in this post), I finally found a method that worked for duplicating the inspiration wallpaper perfectly and I started rolling with it. I am so happy with how it turned out and this wall really makes the entire room and set the entire theme for the space.
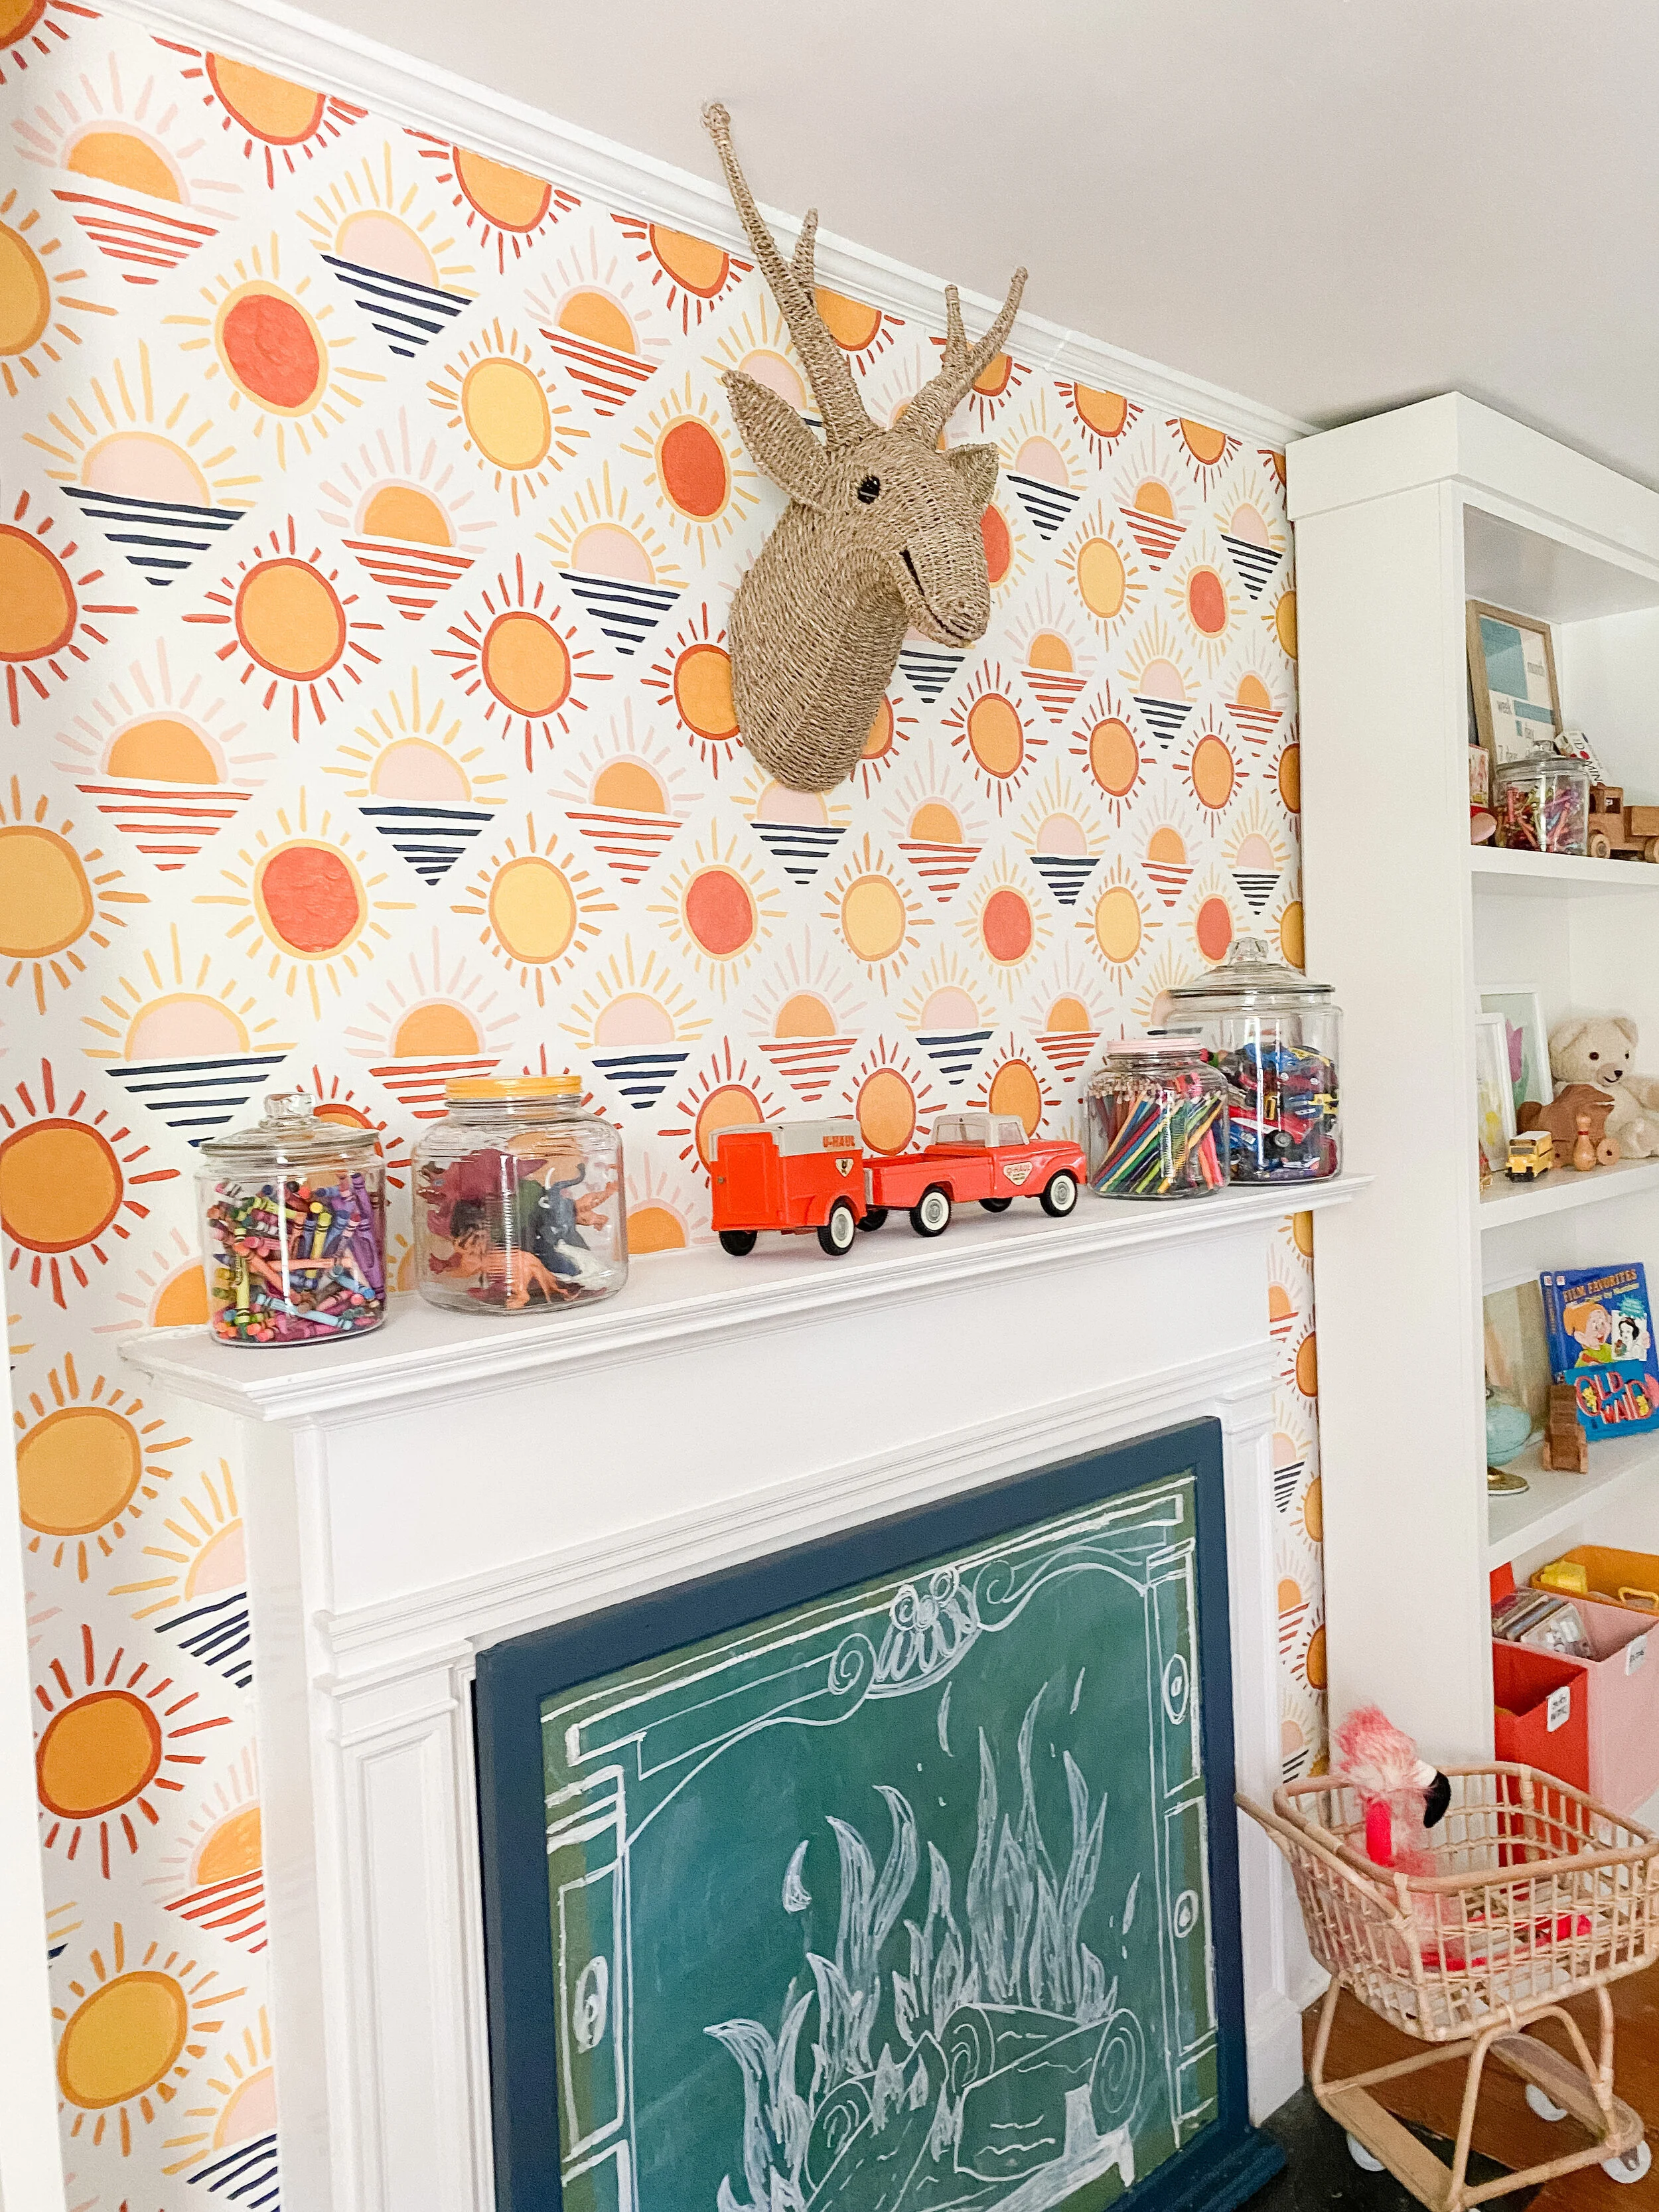
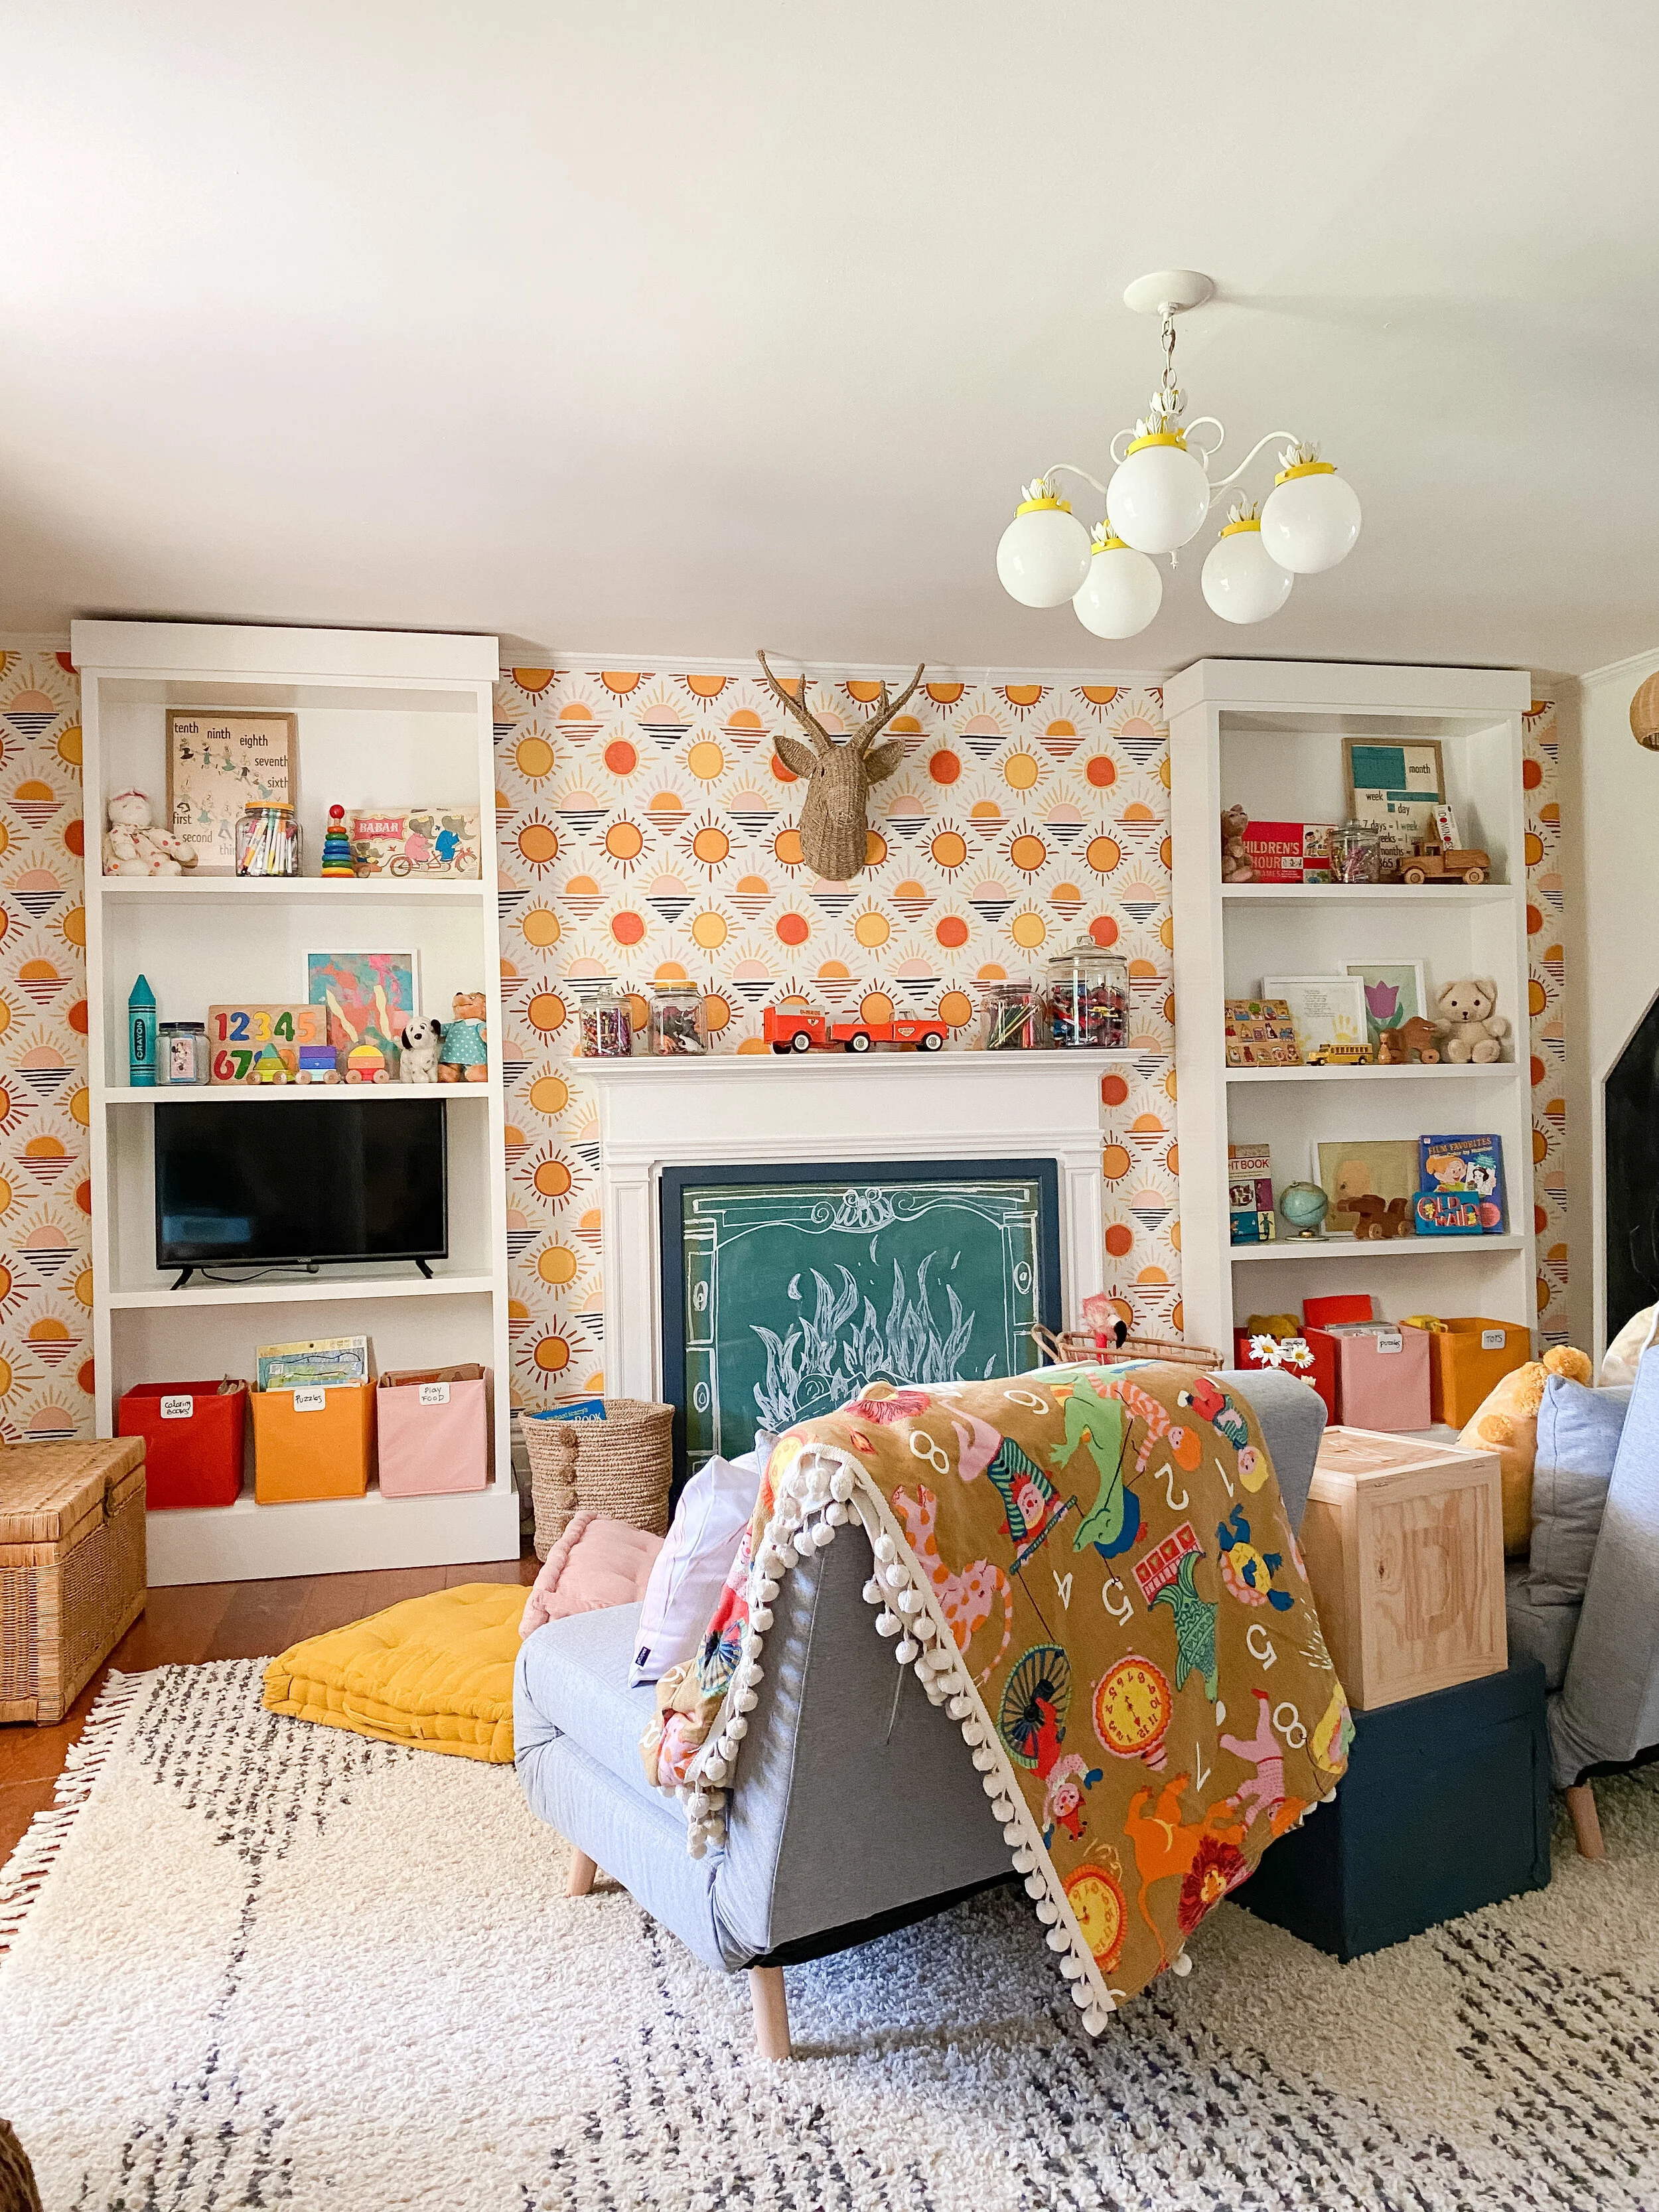
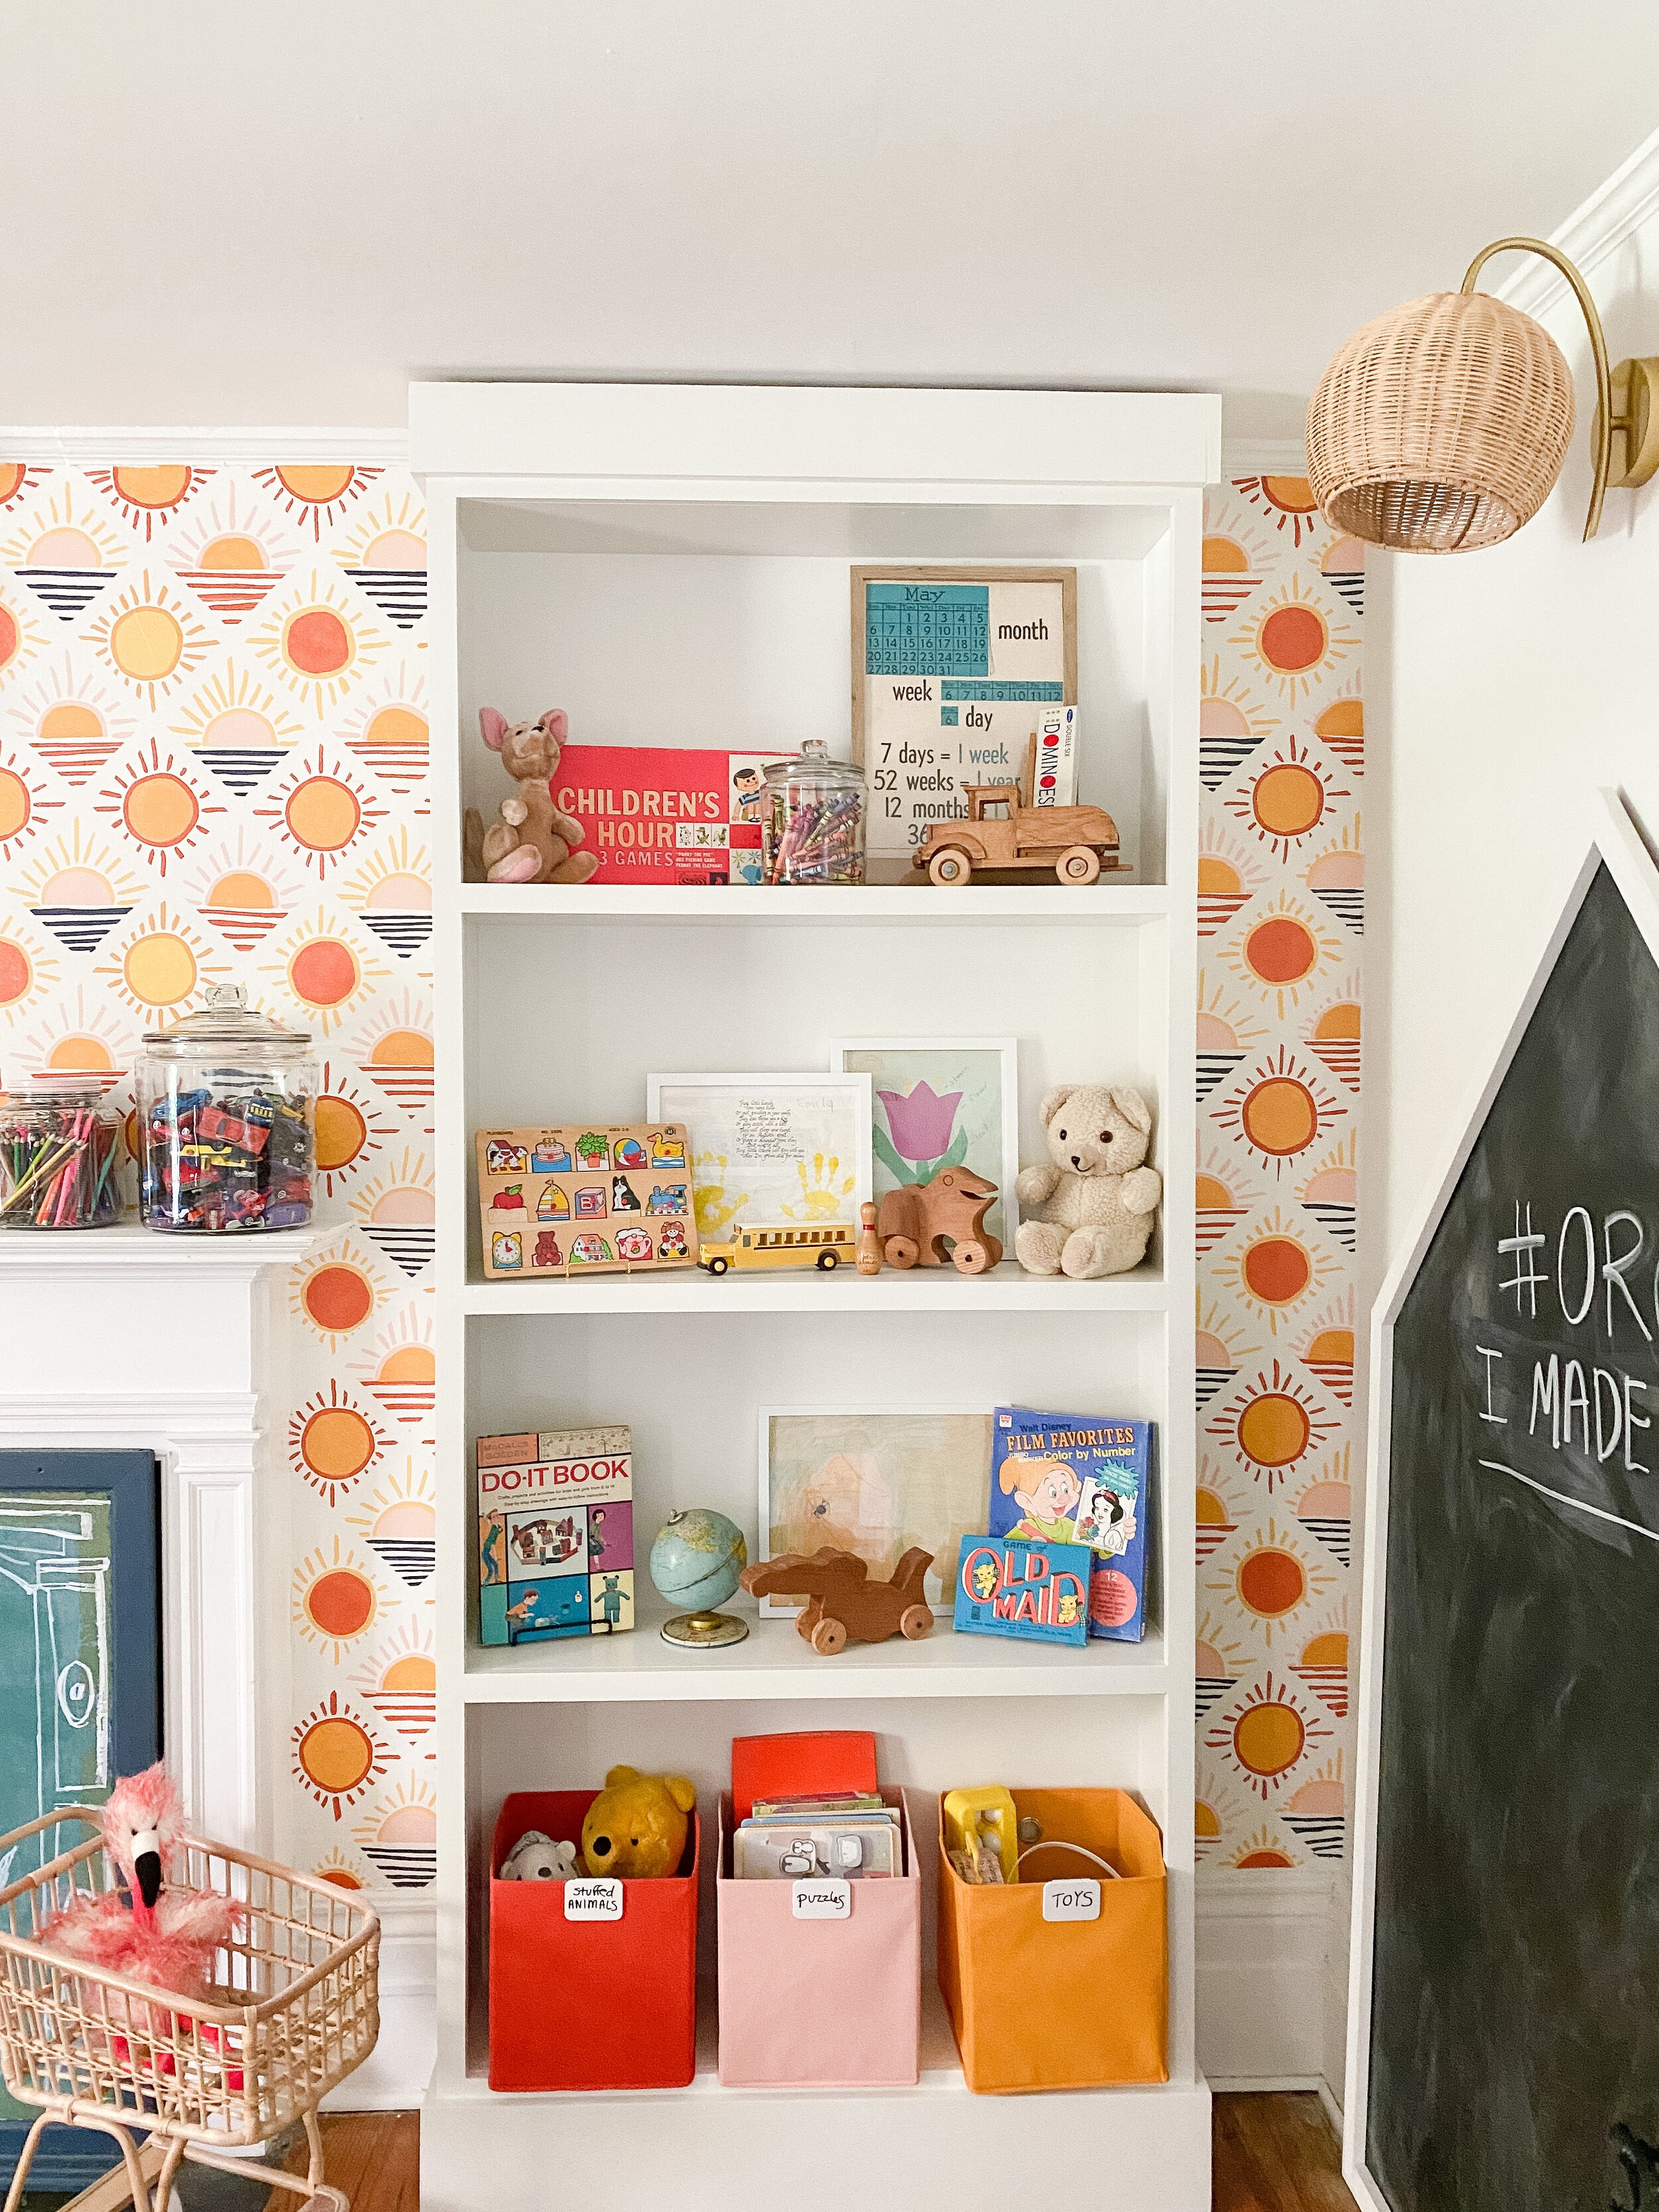
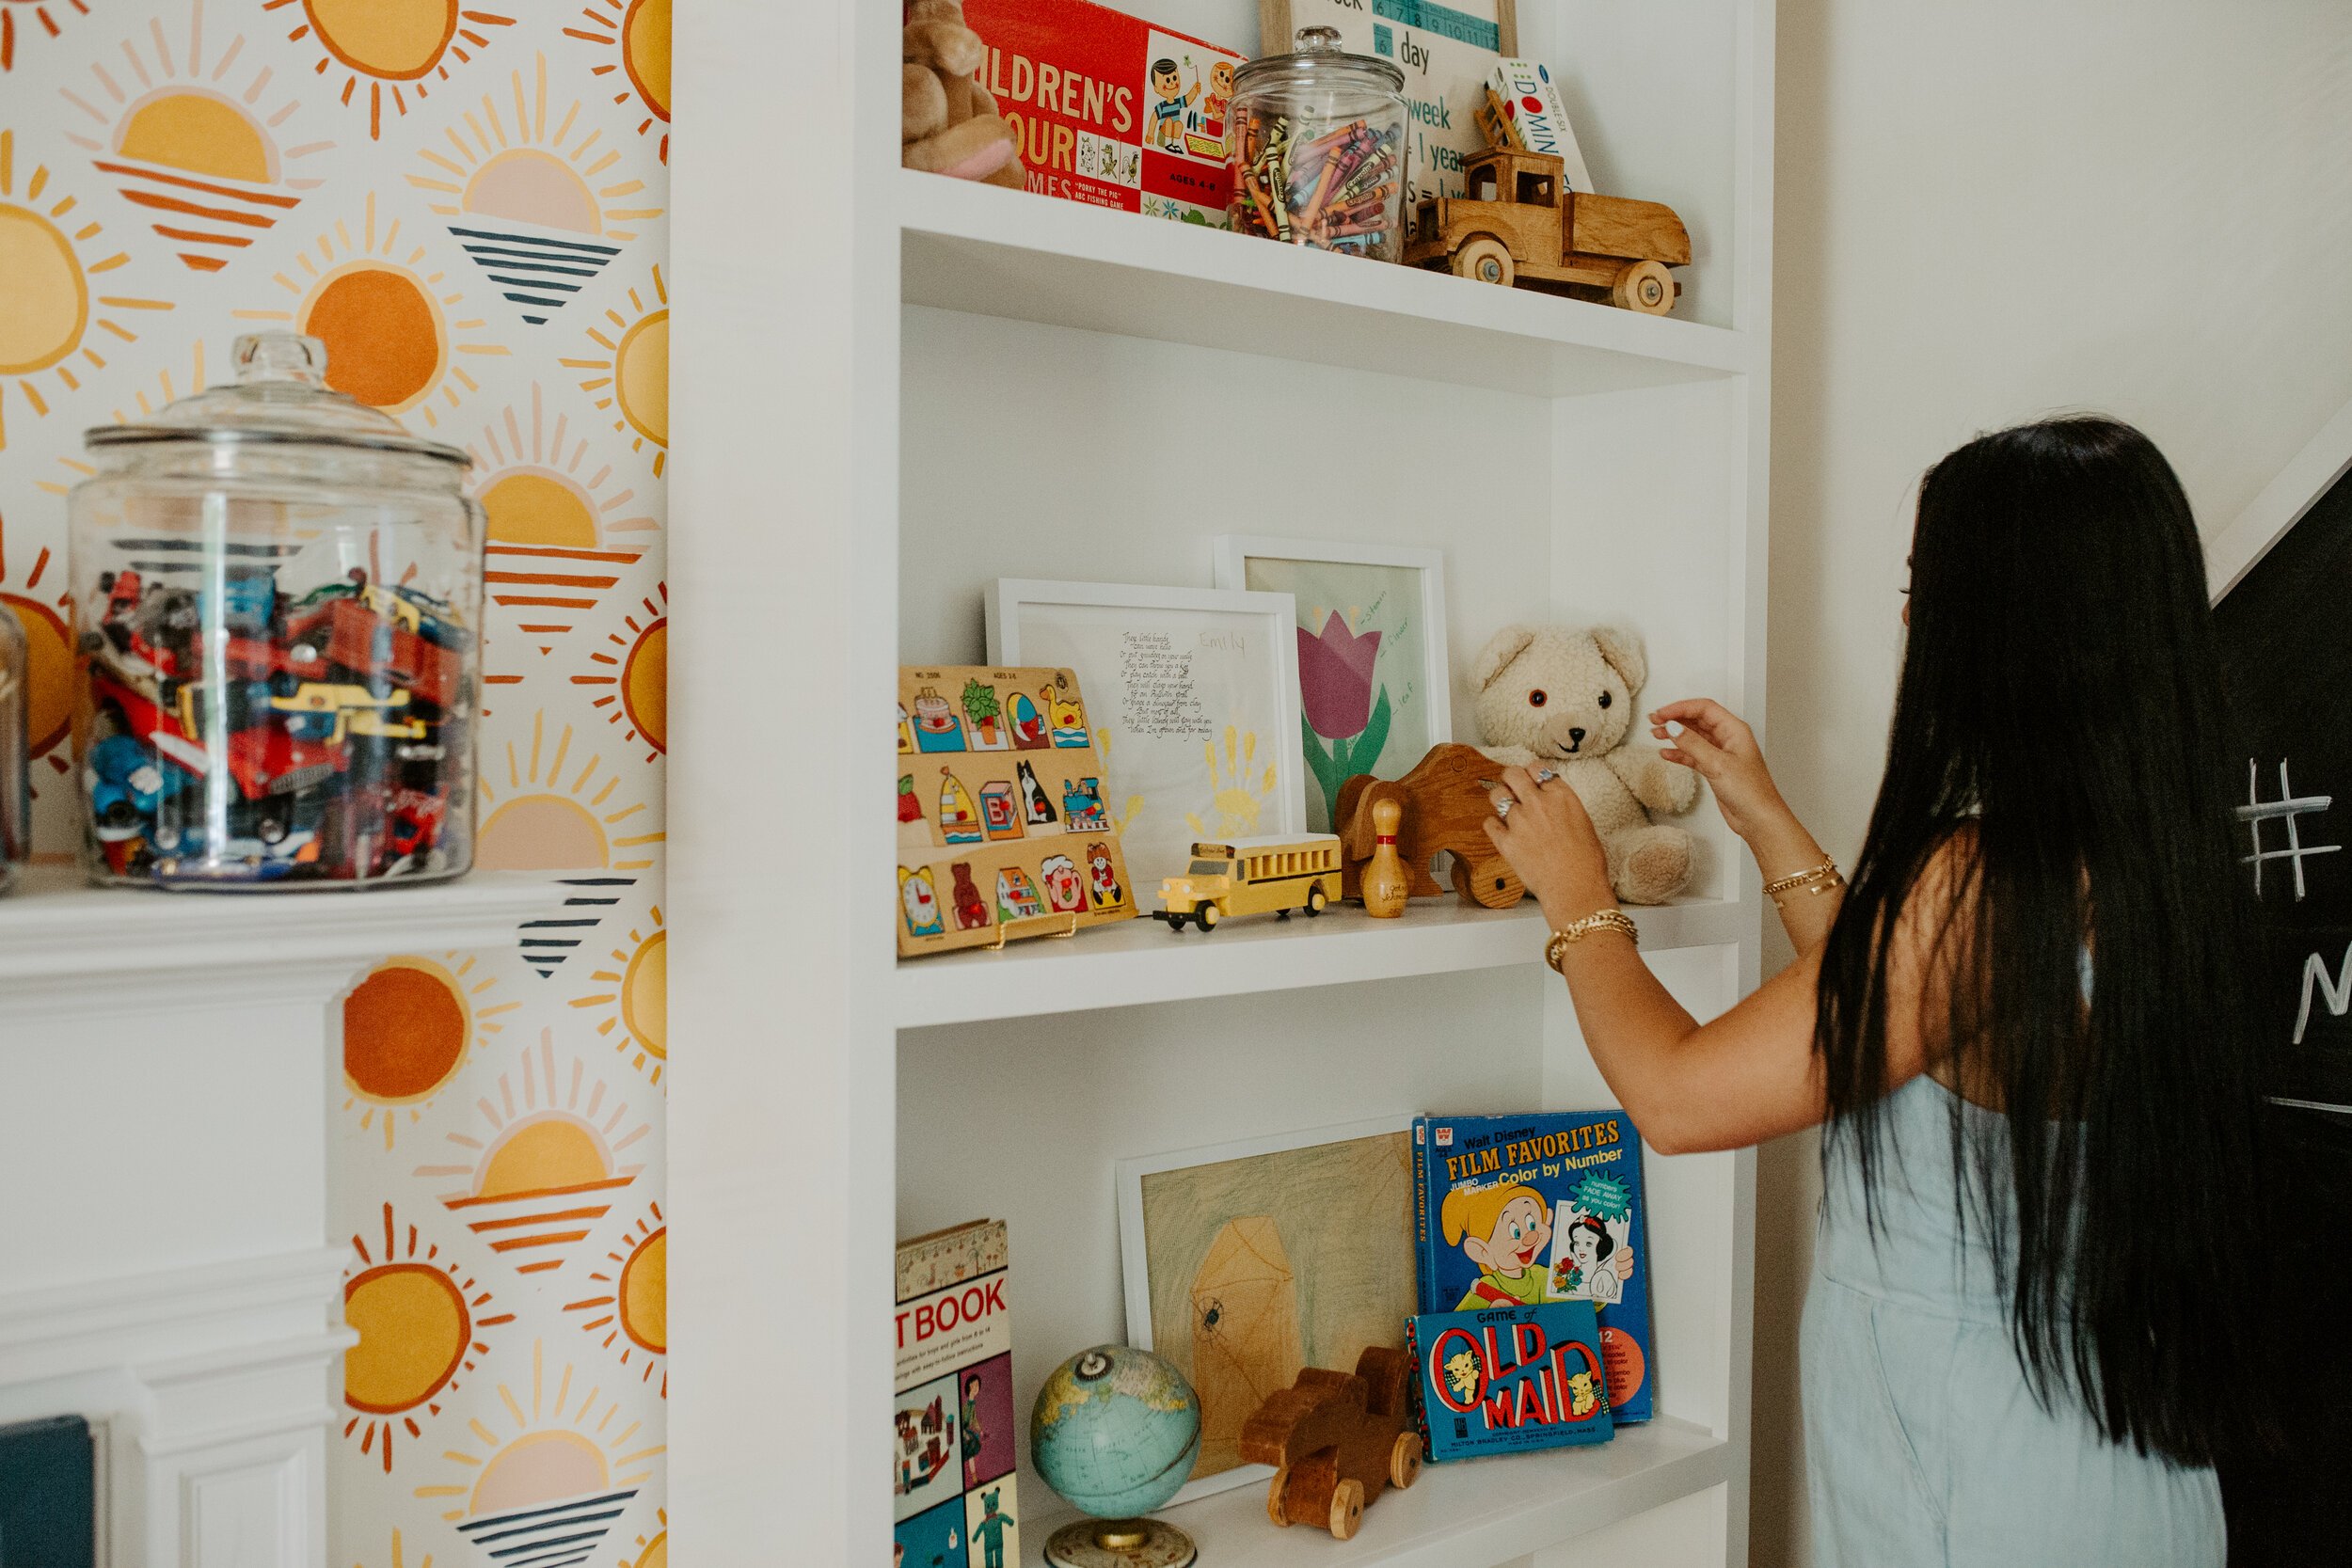
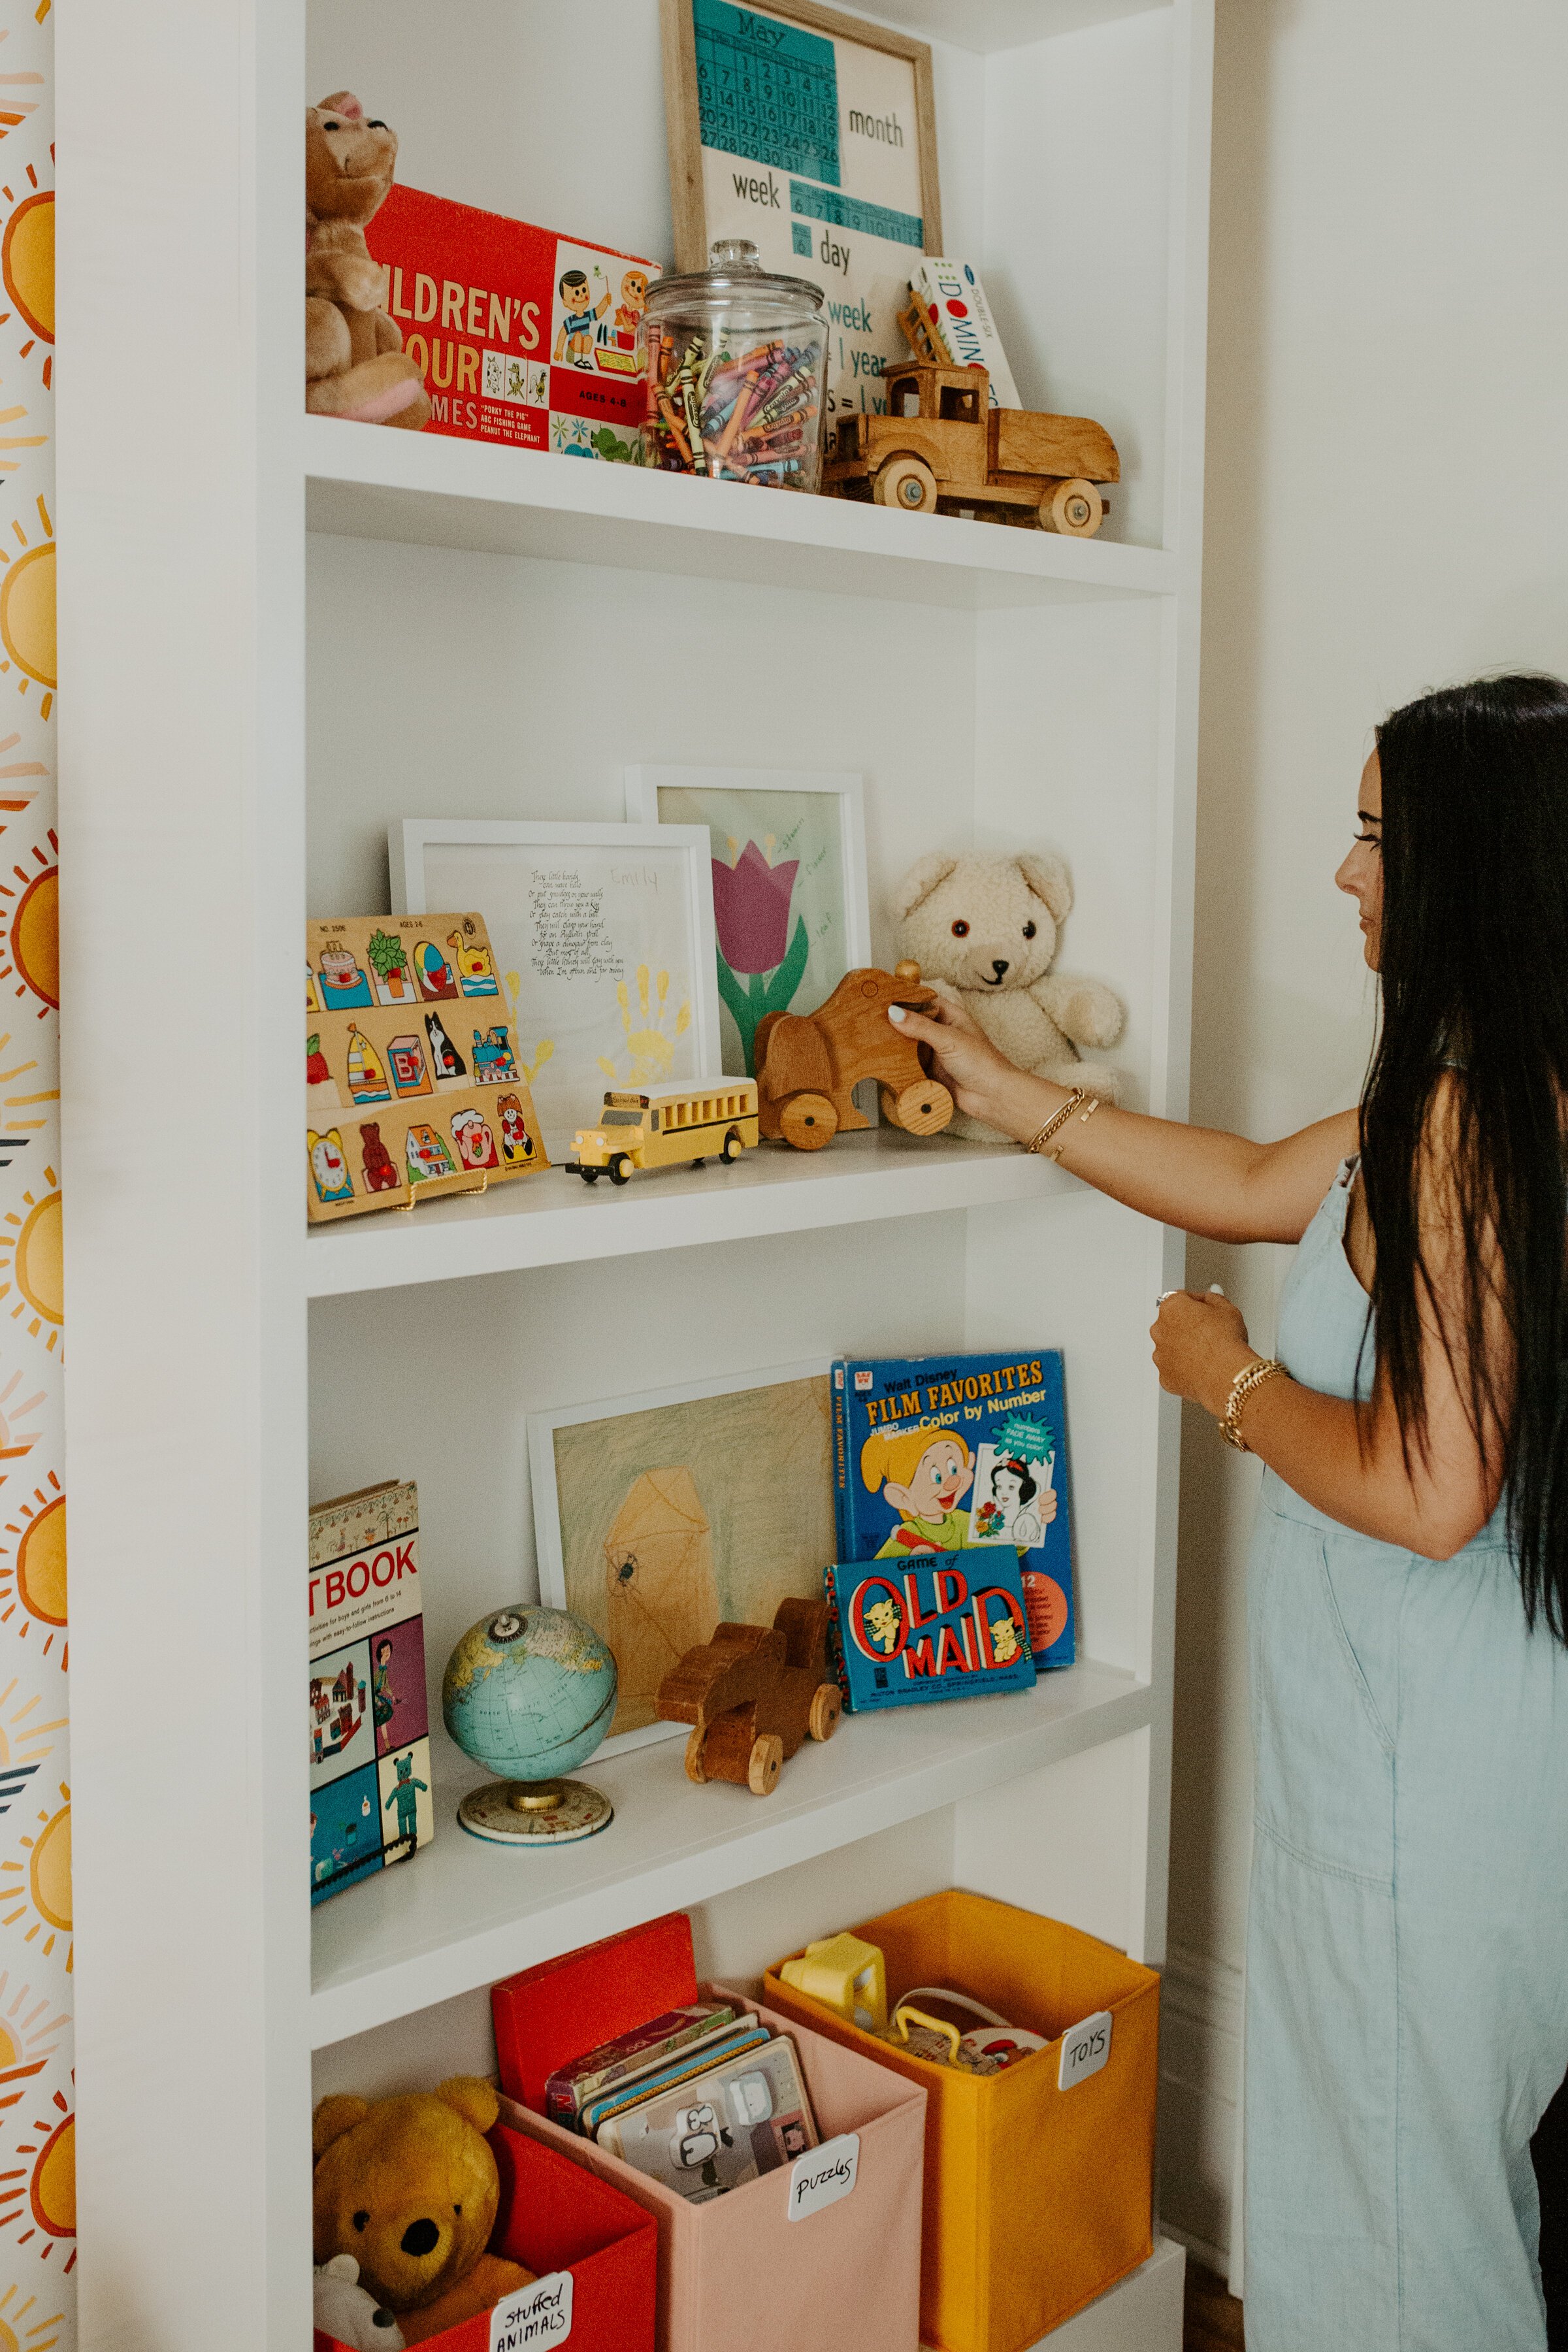
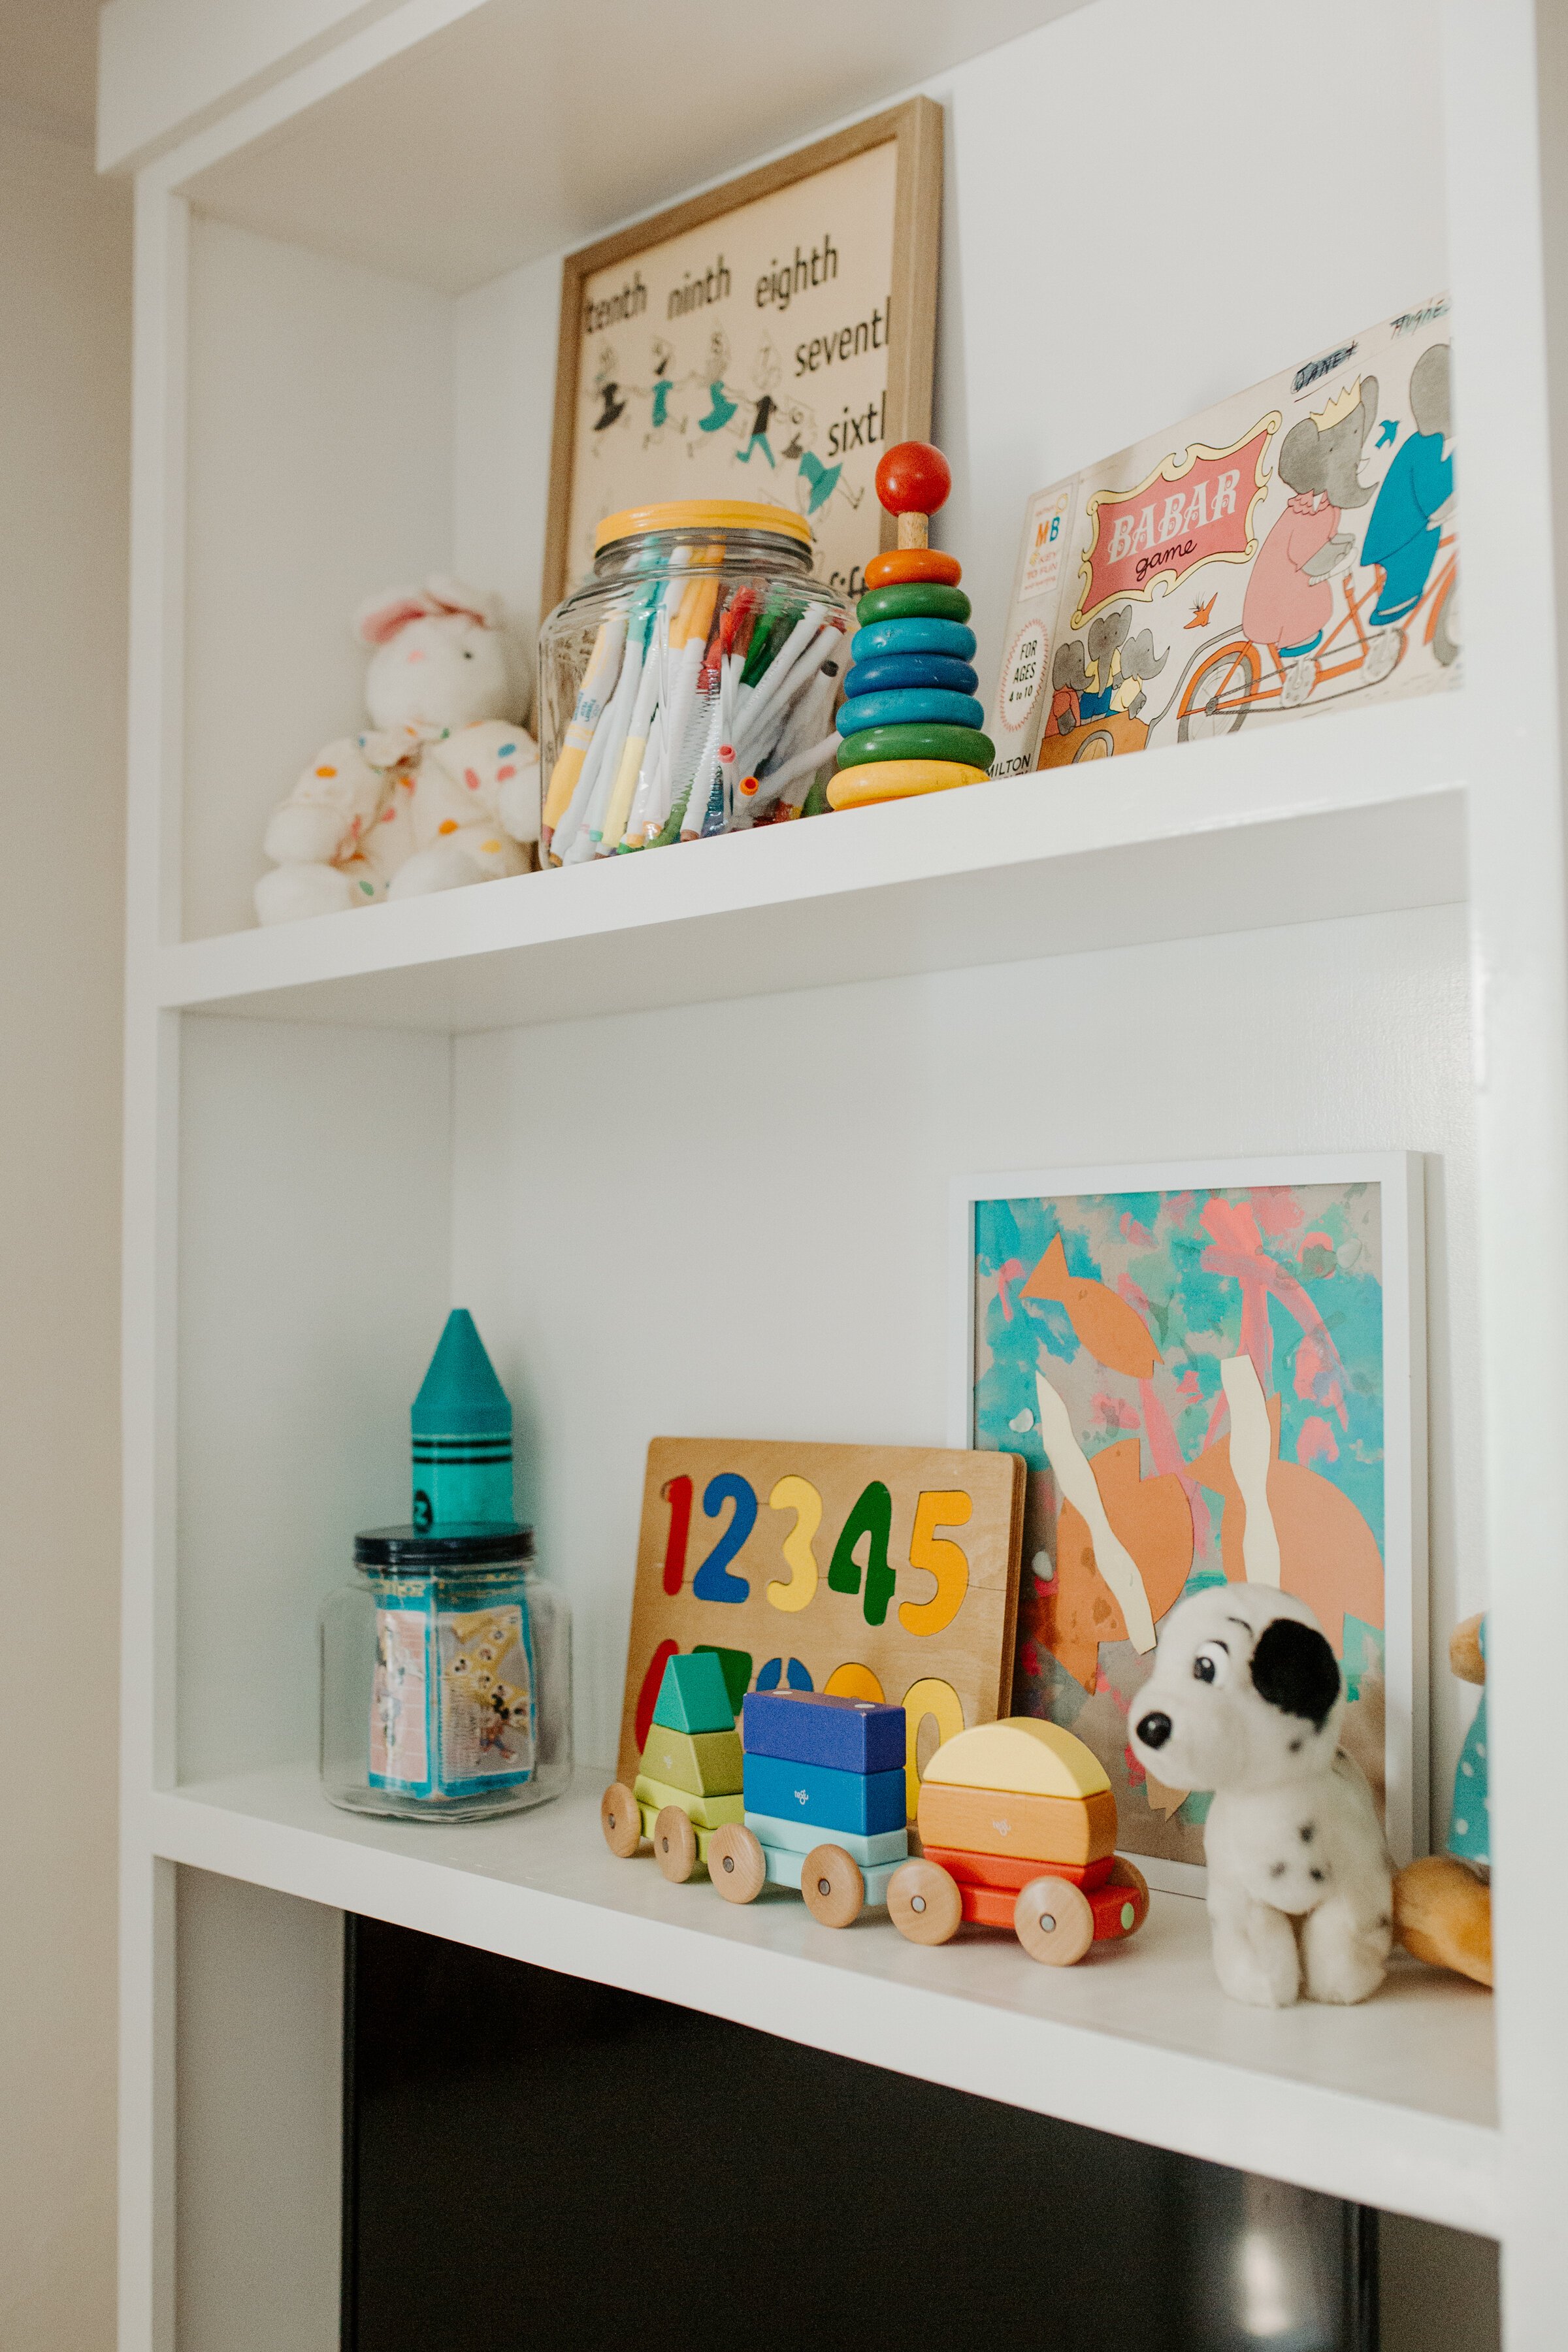
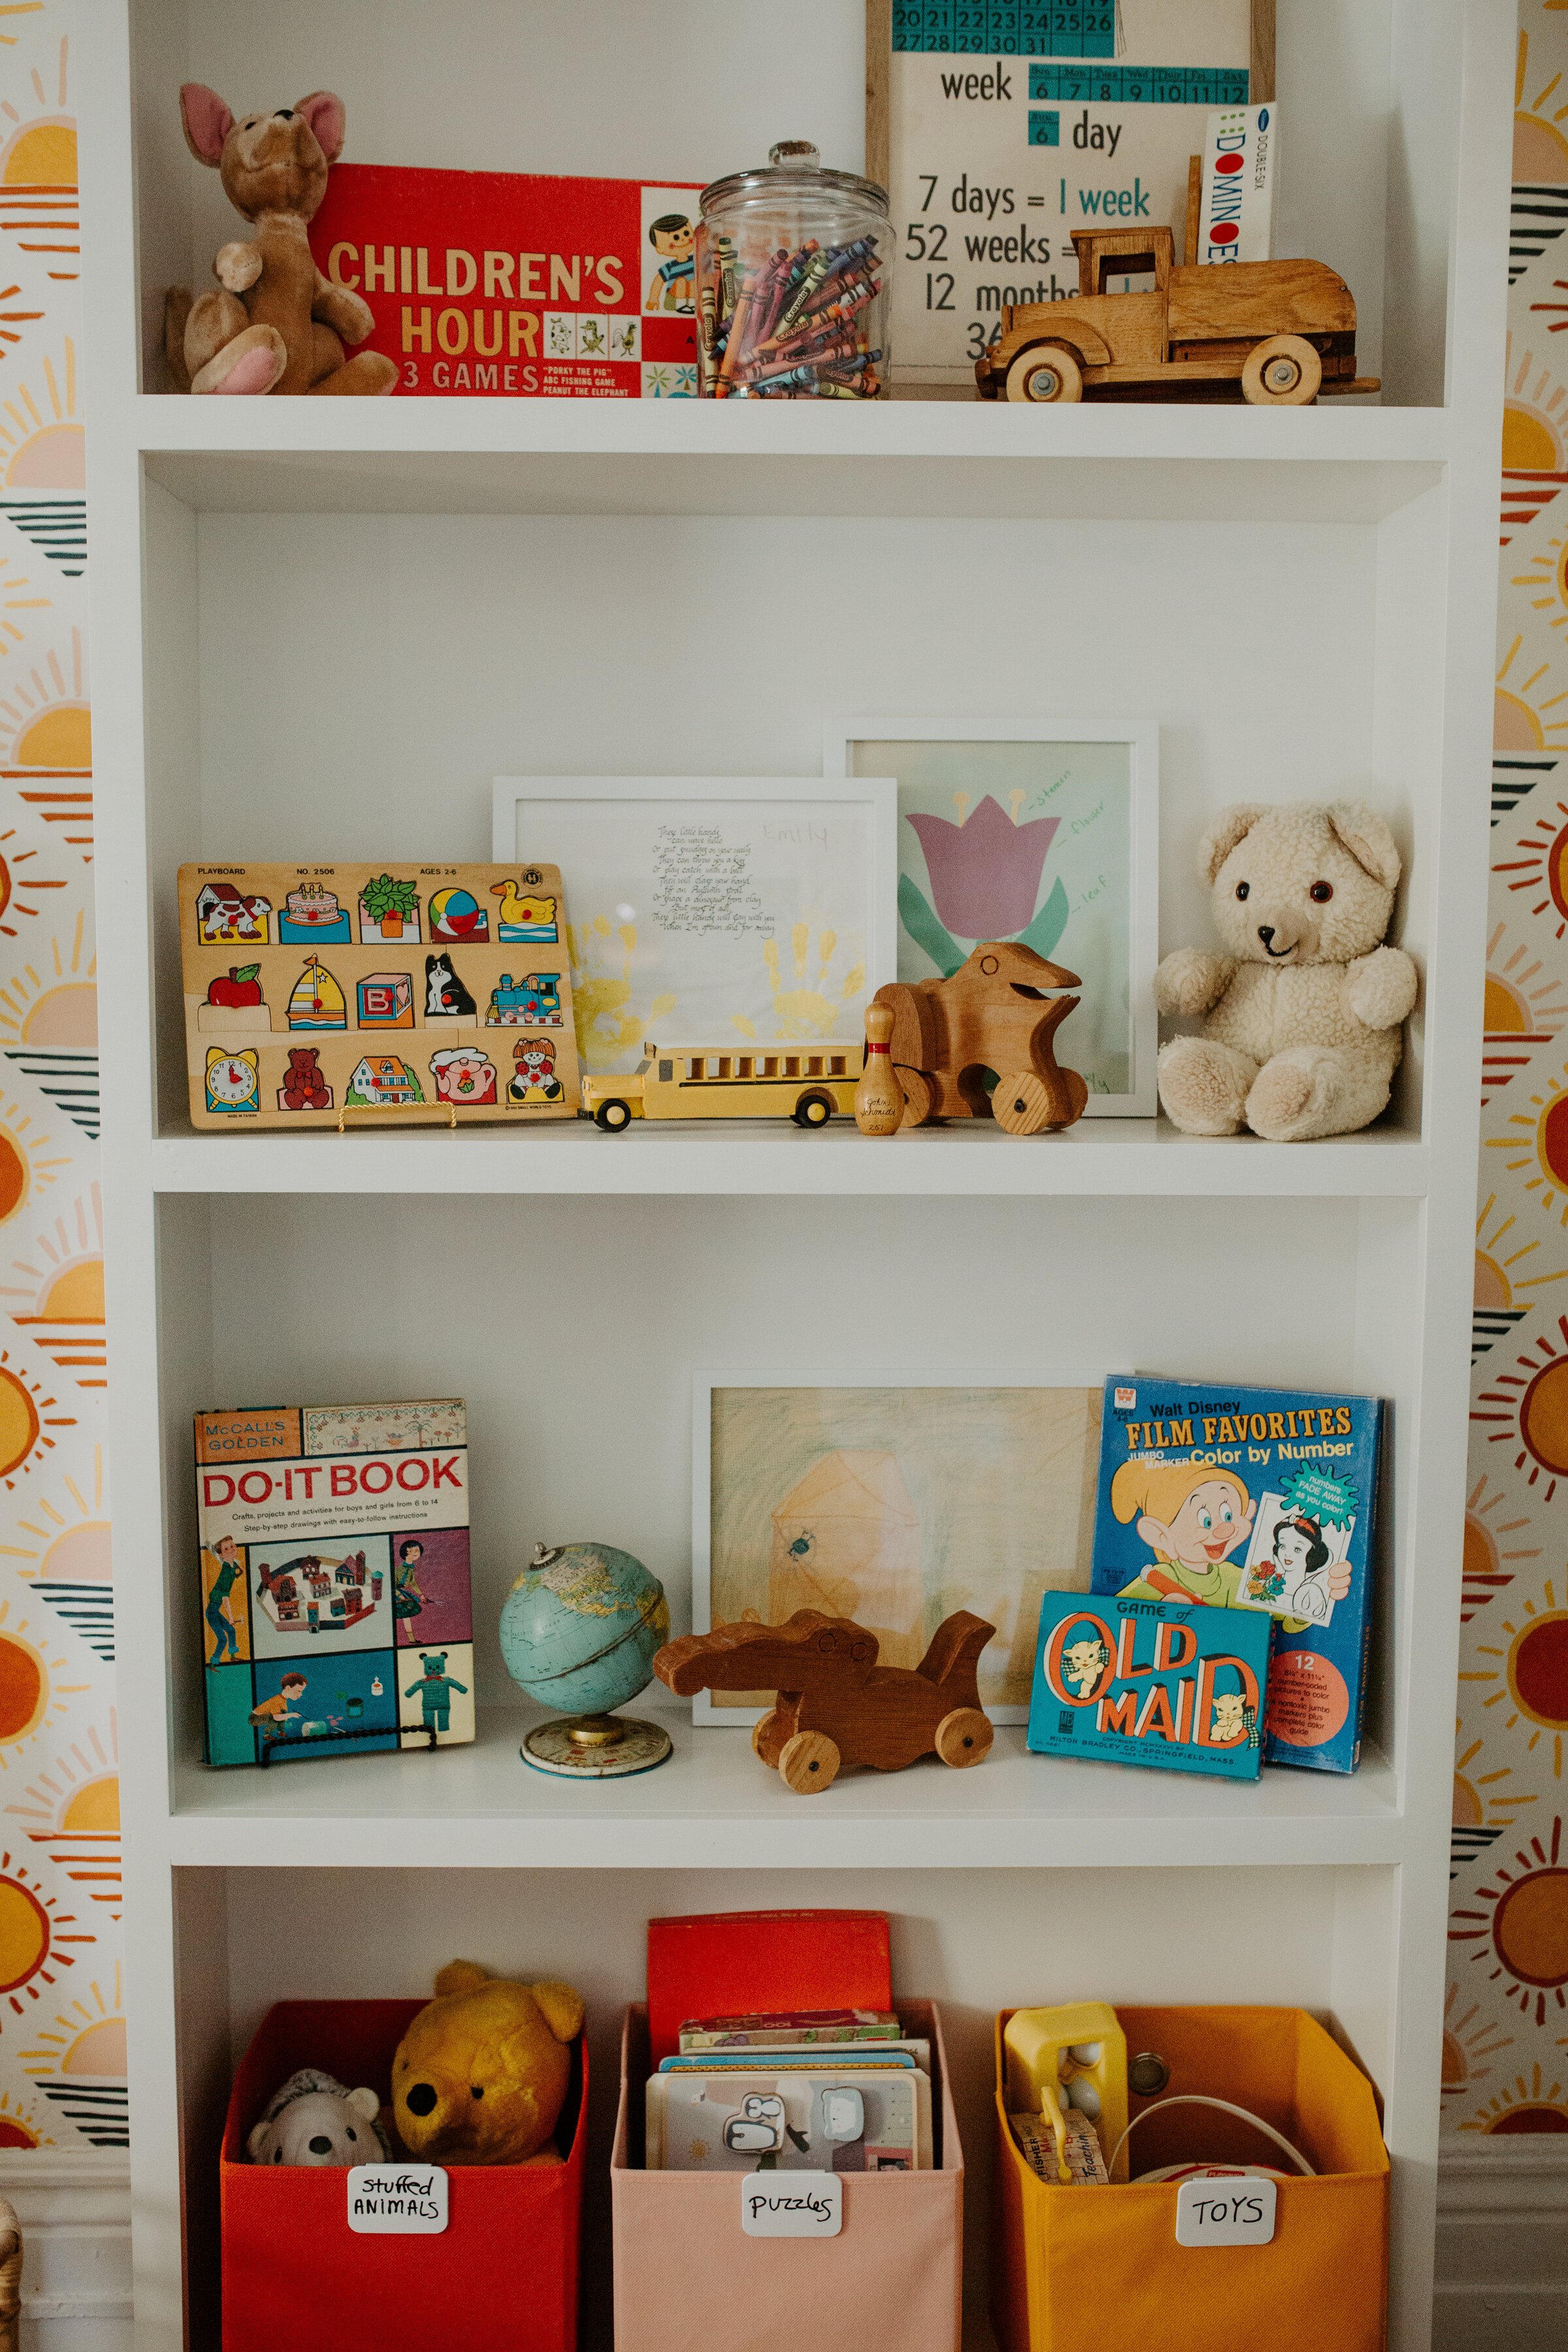
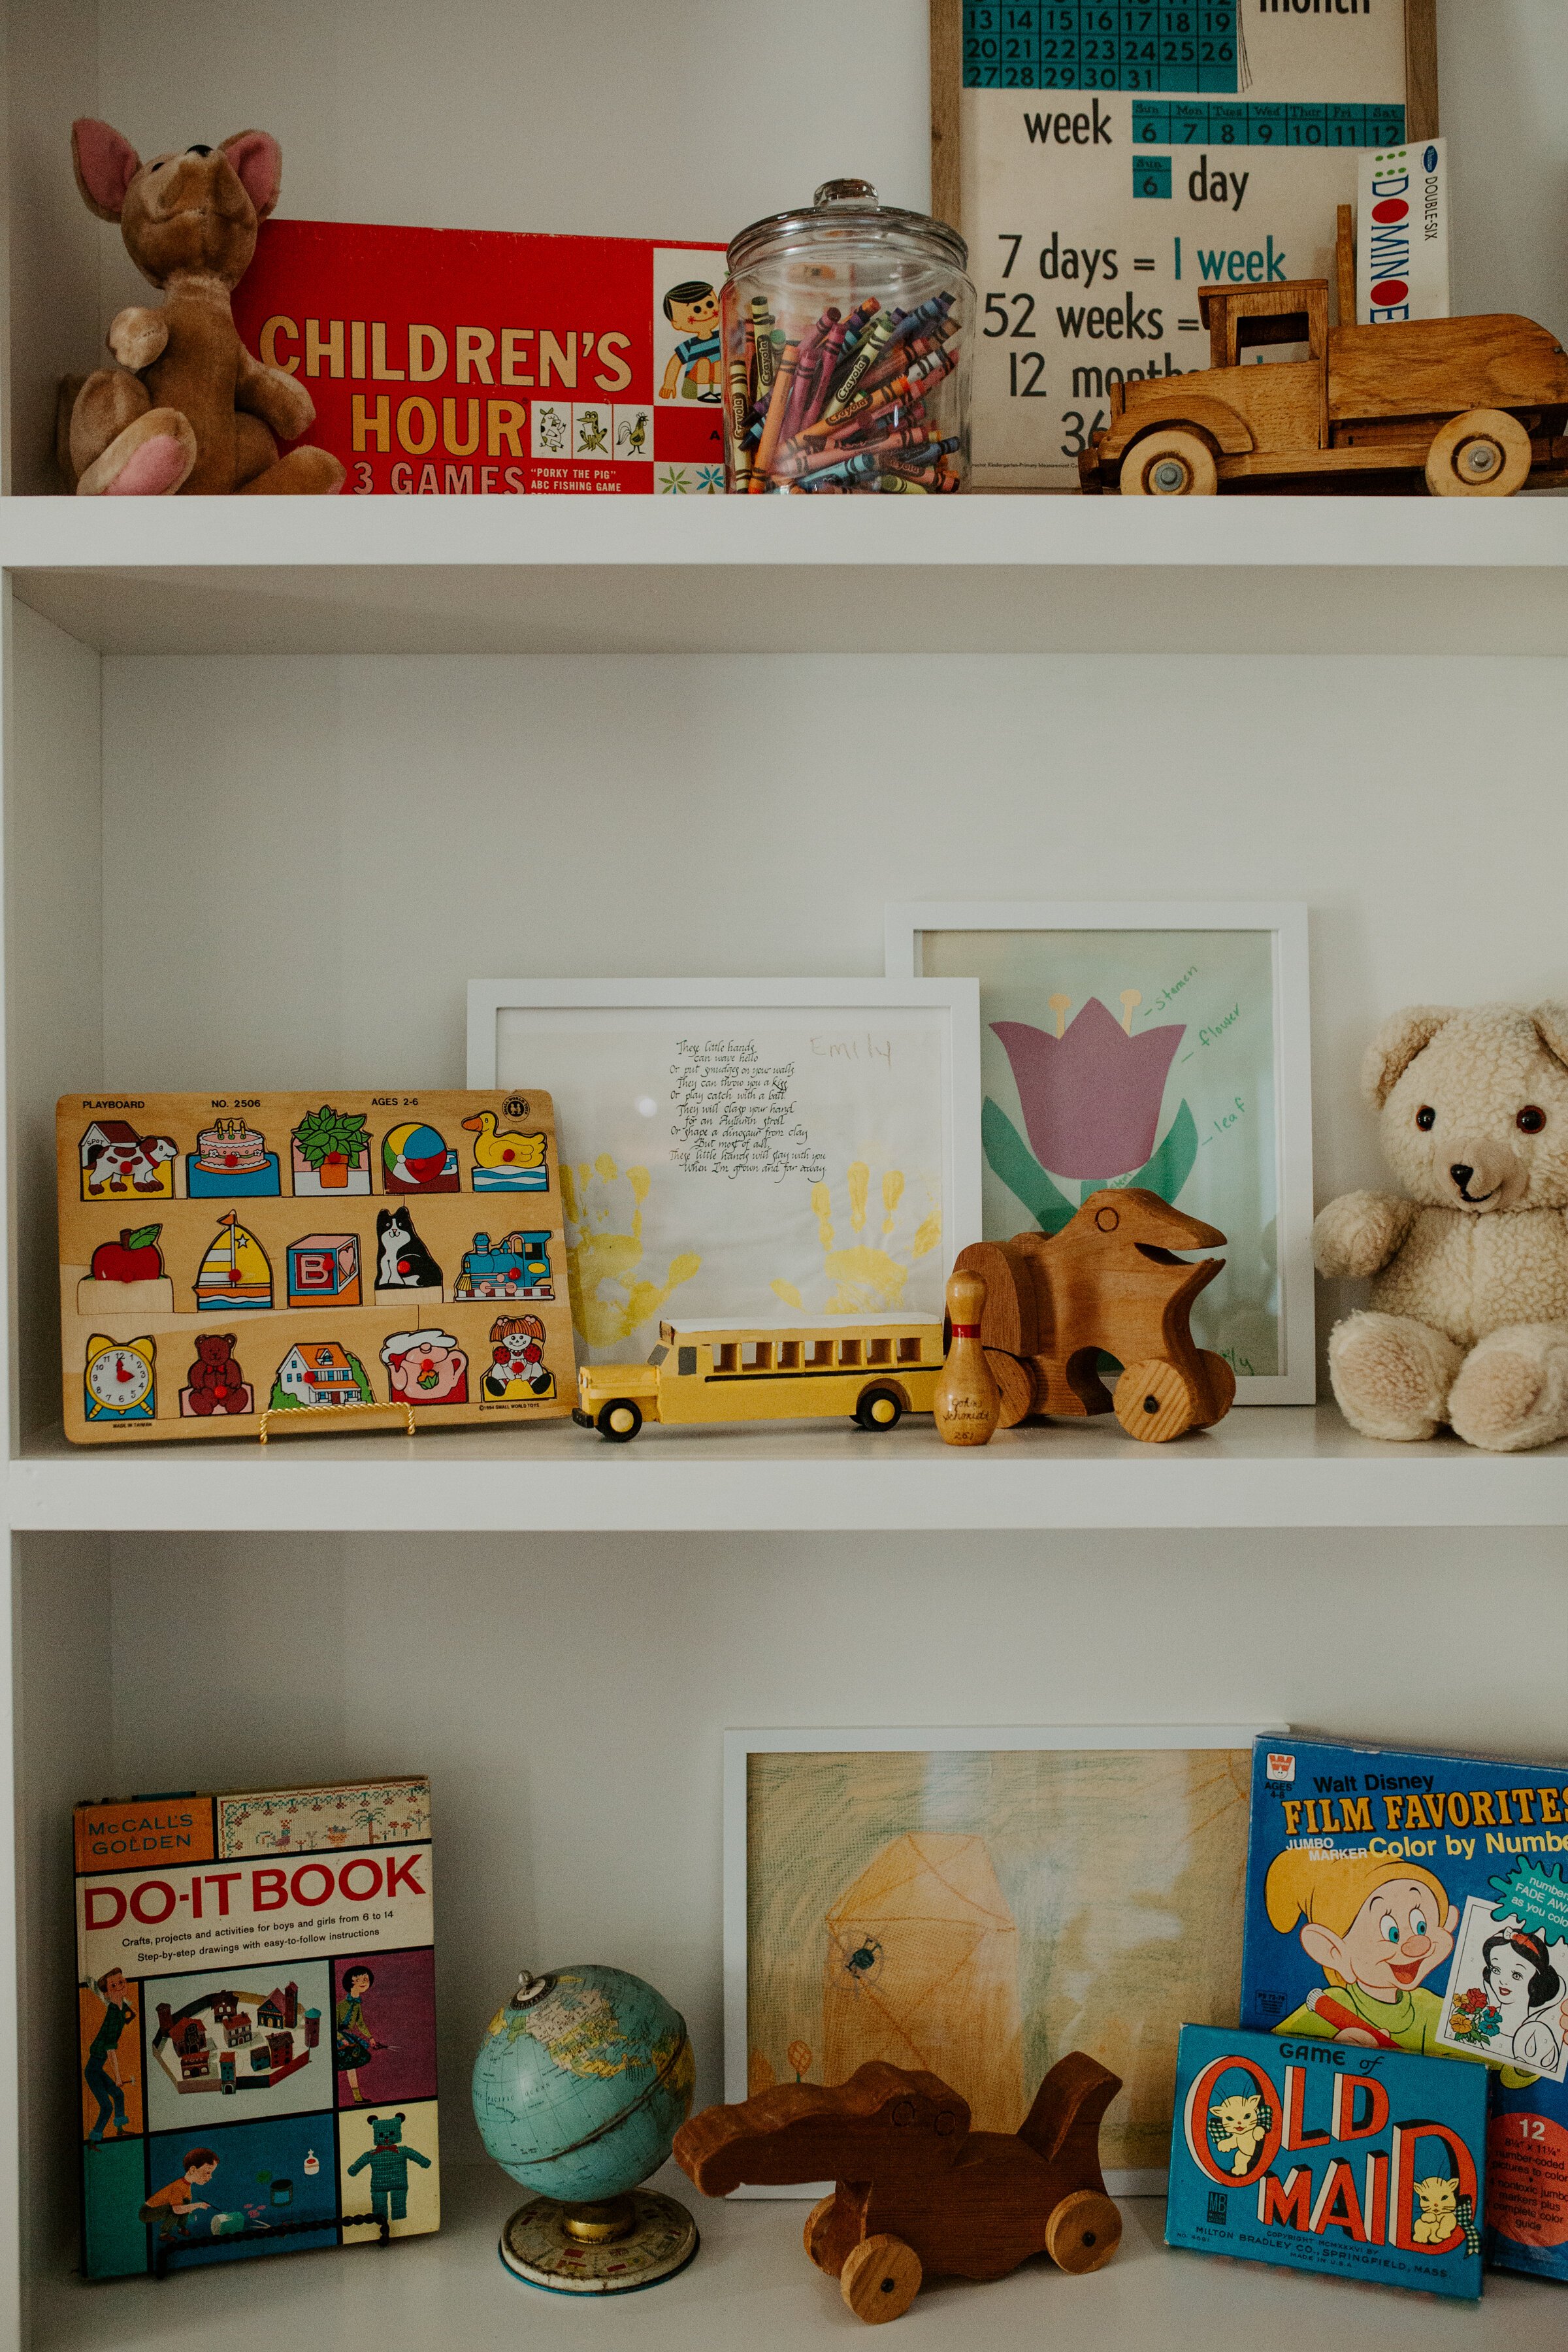
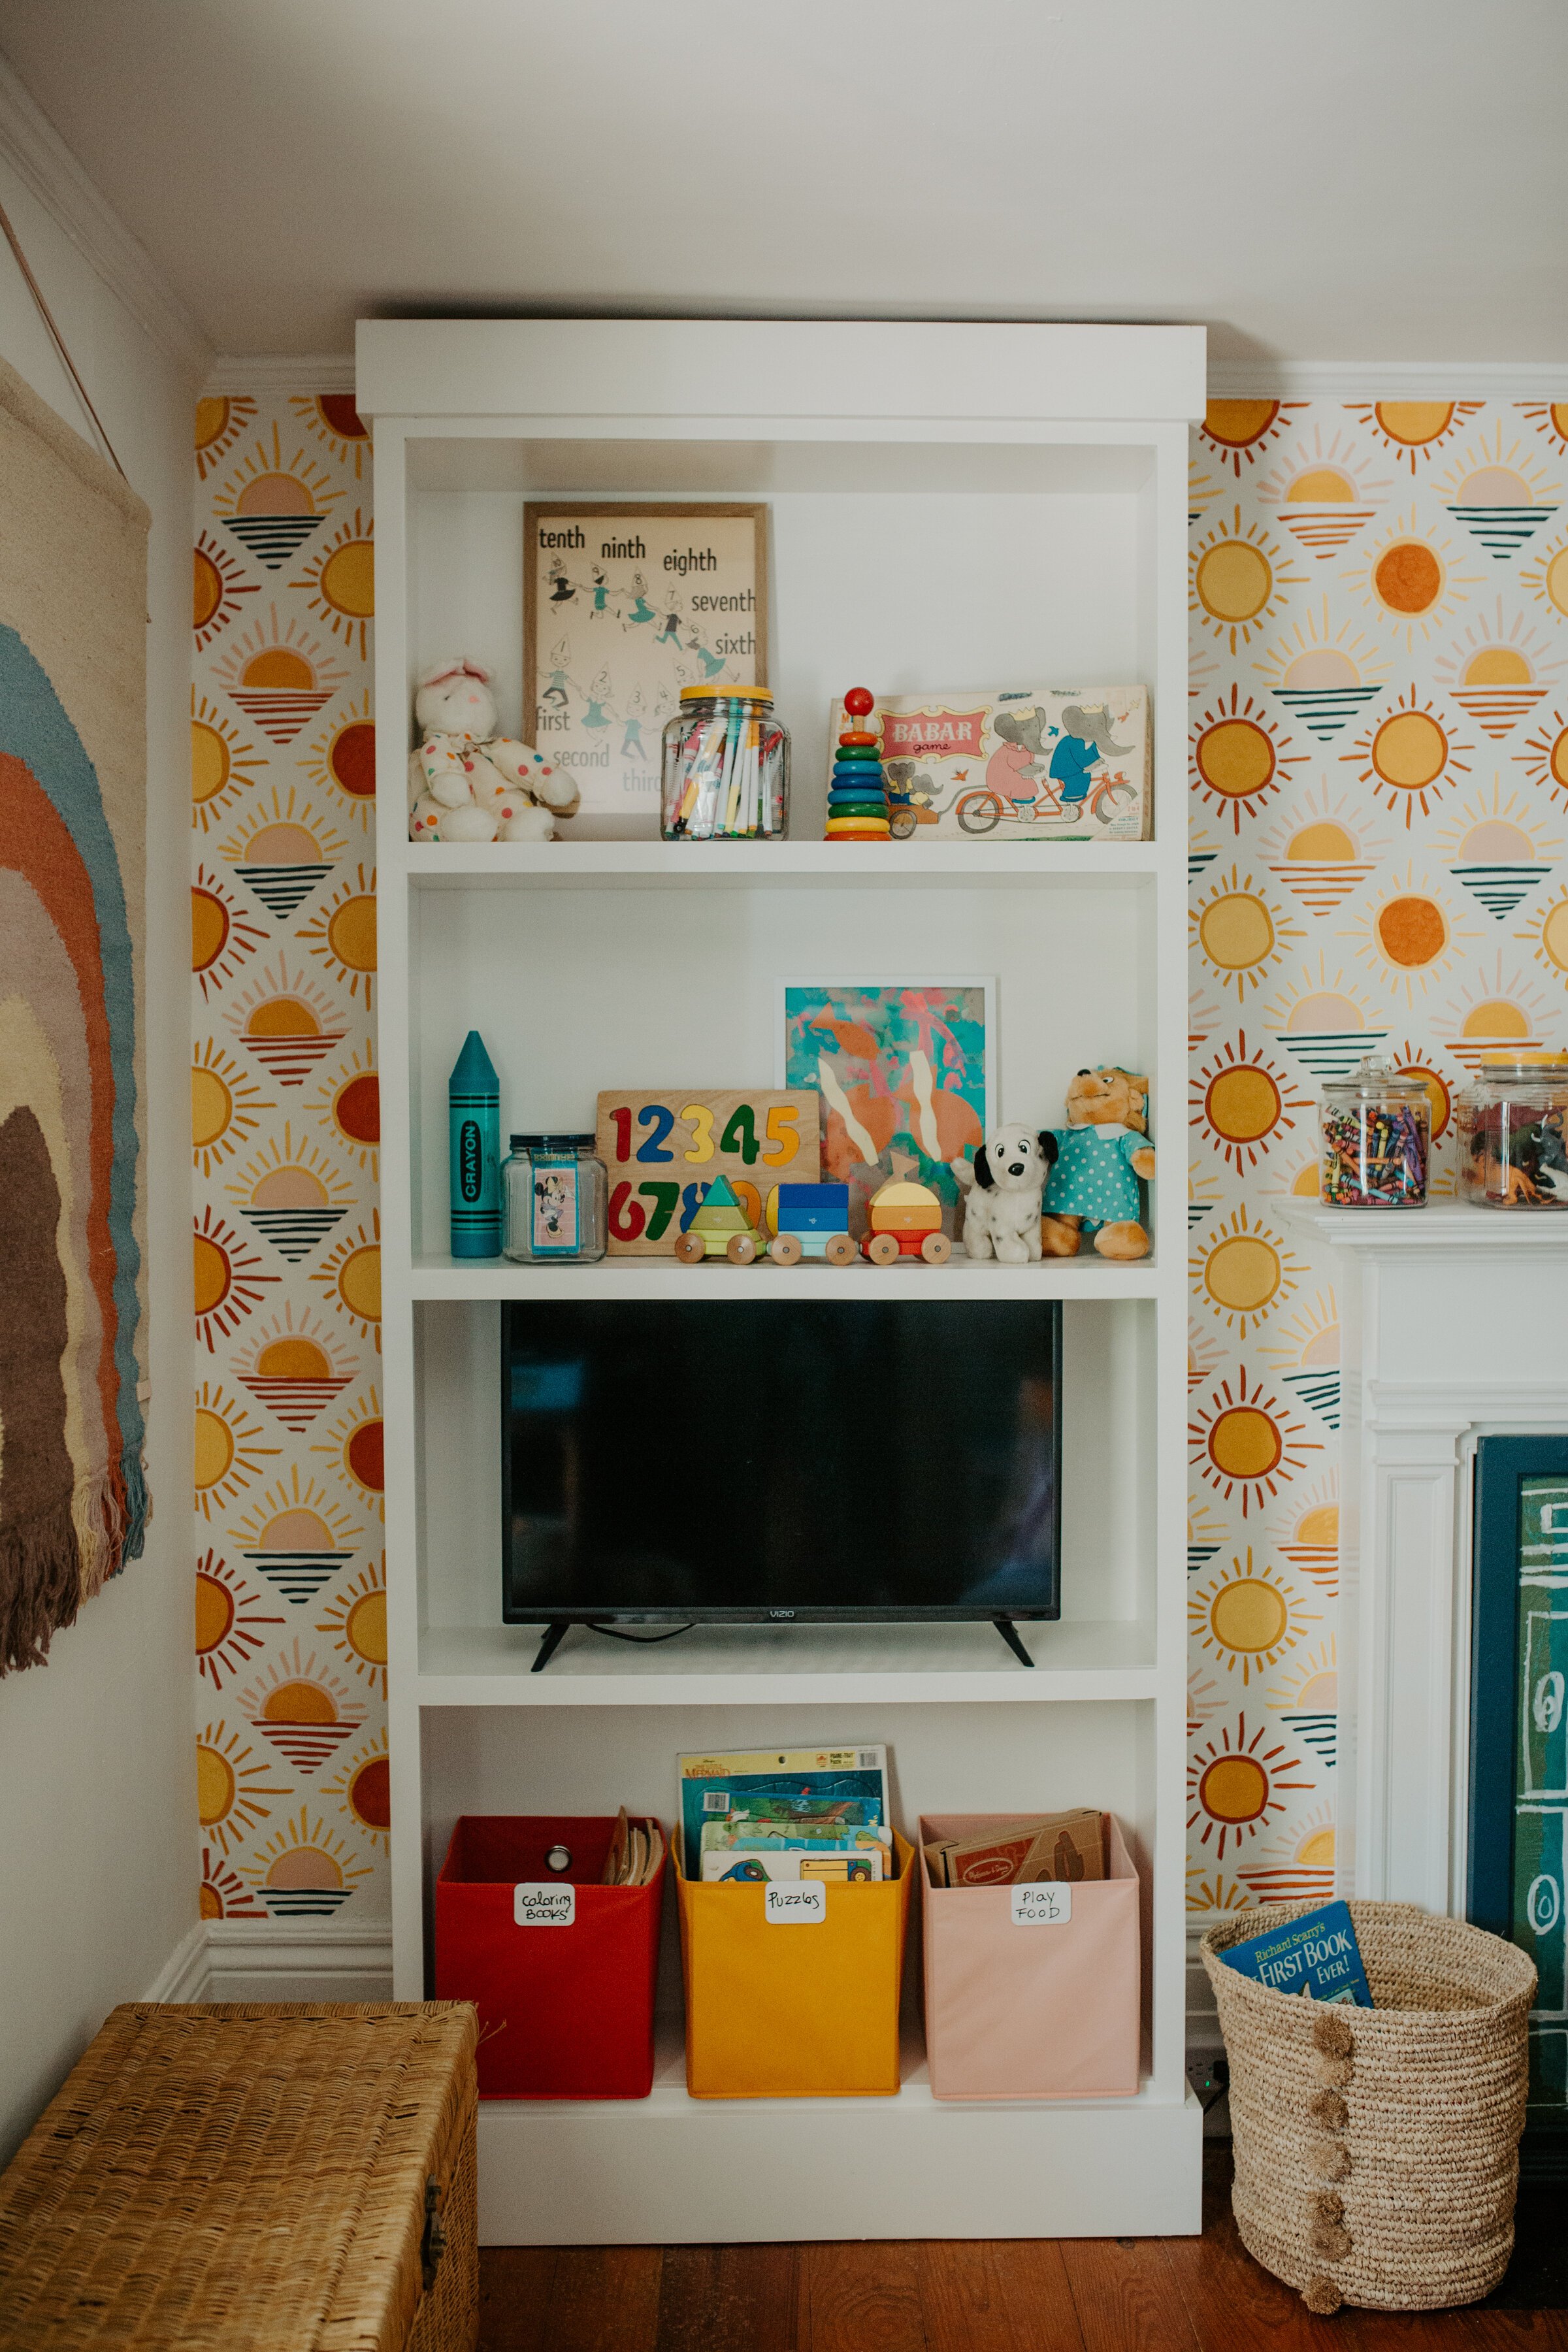
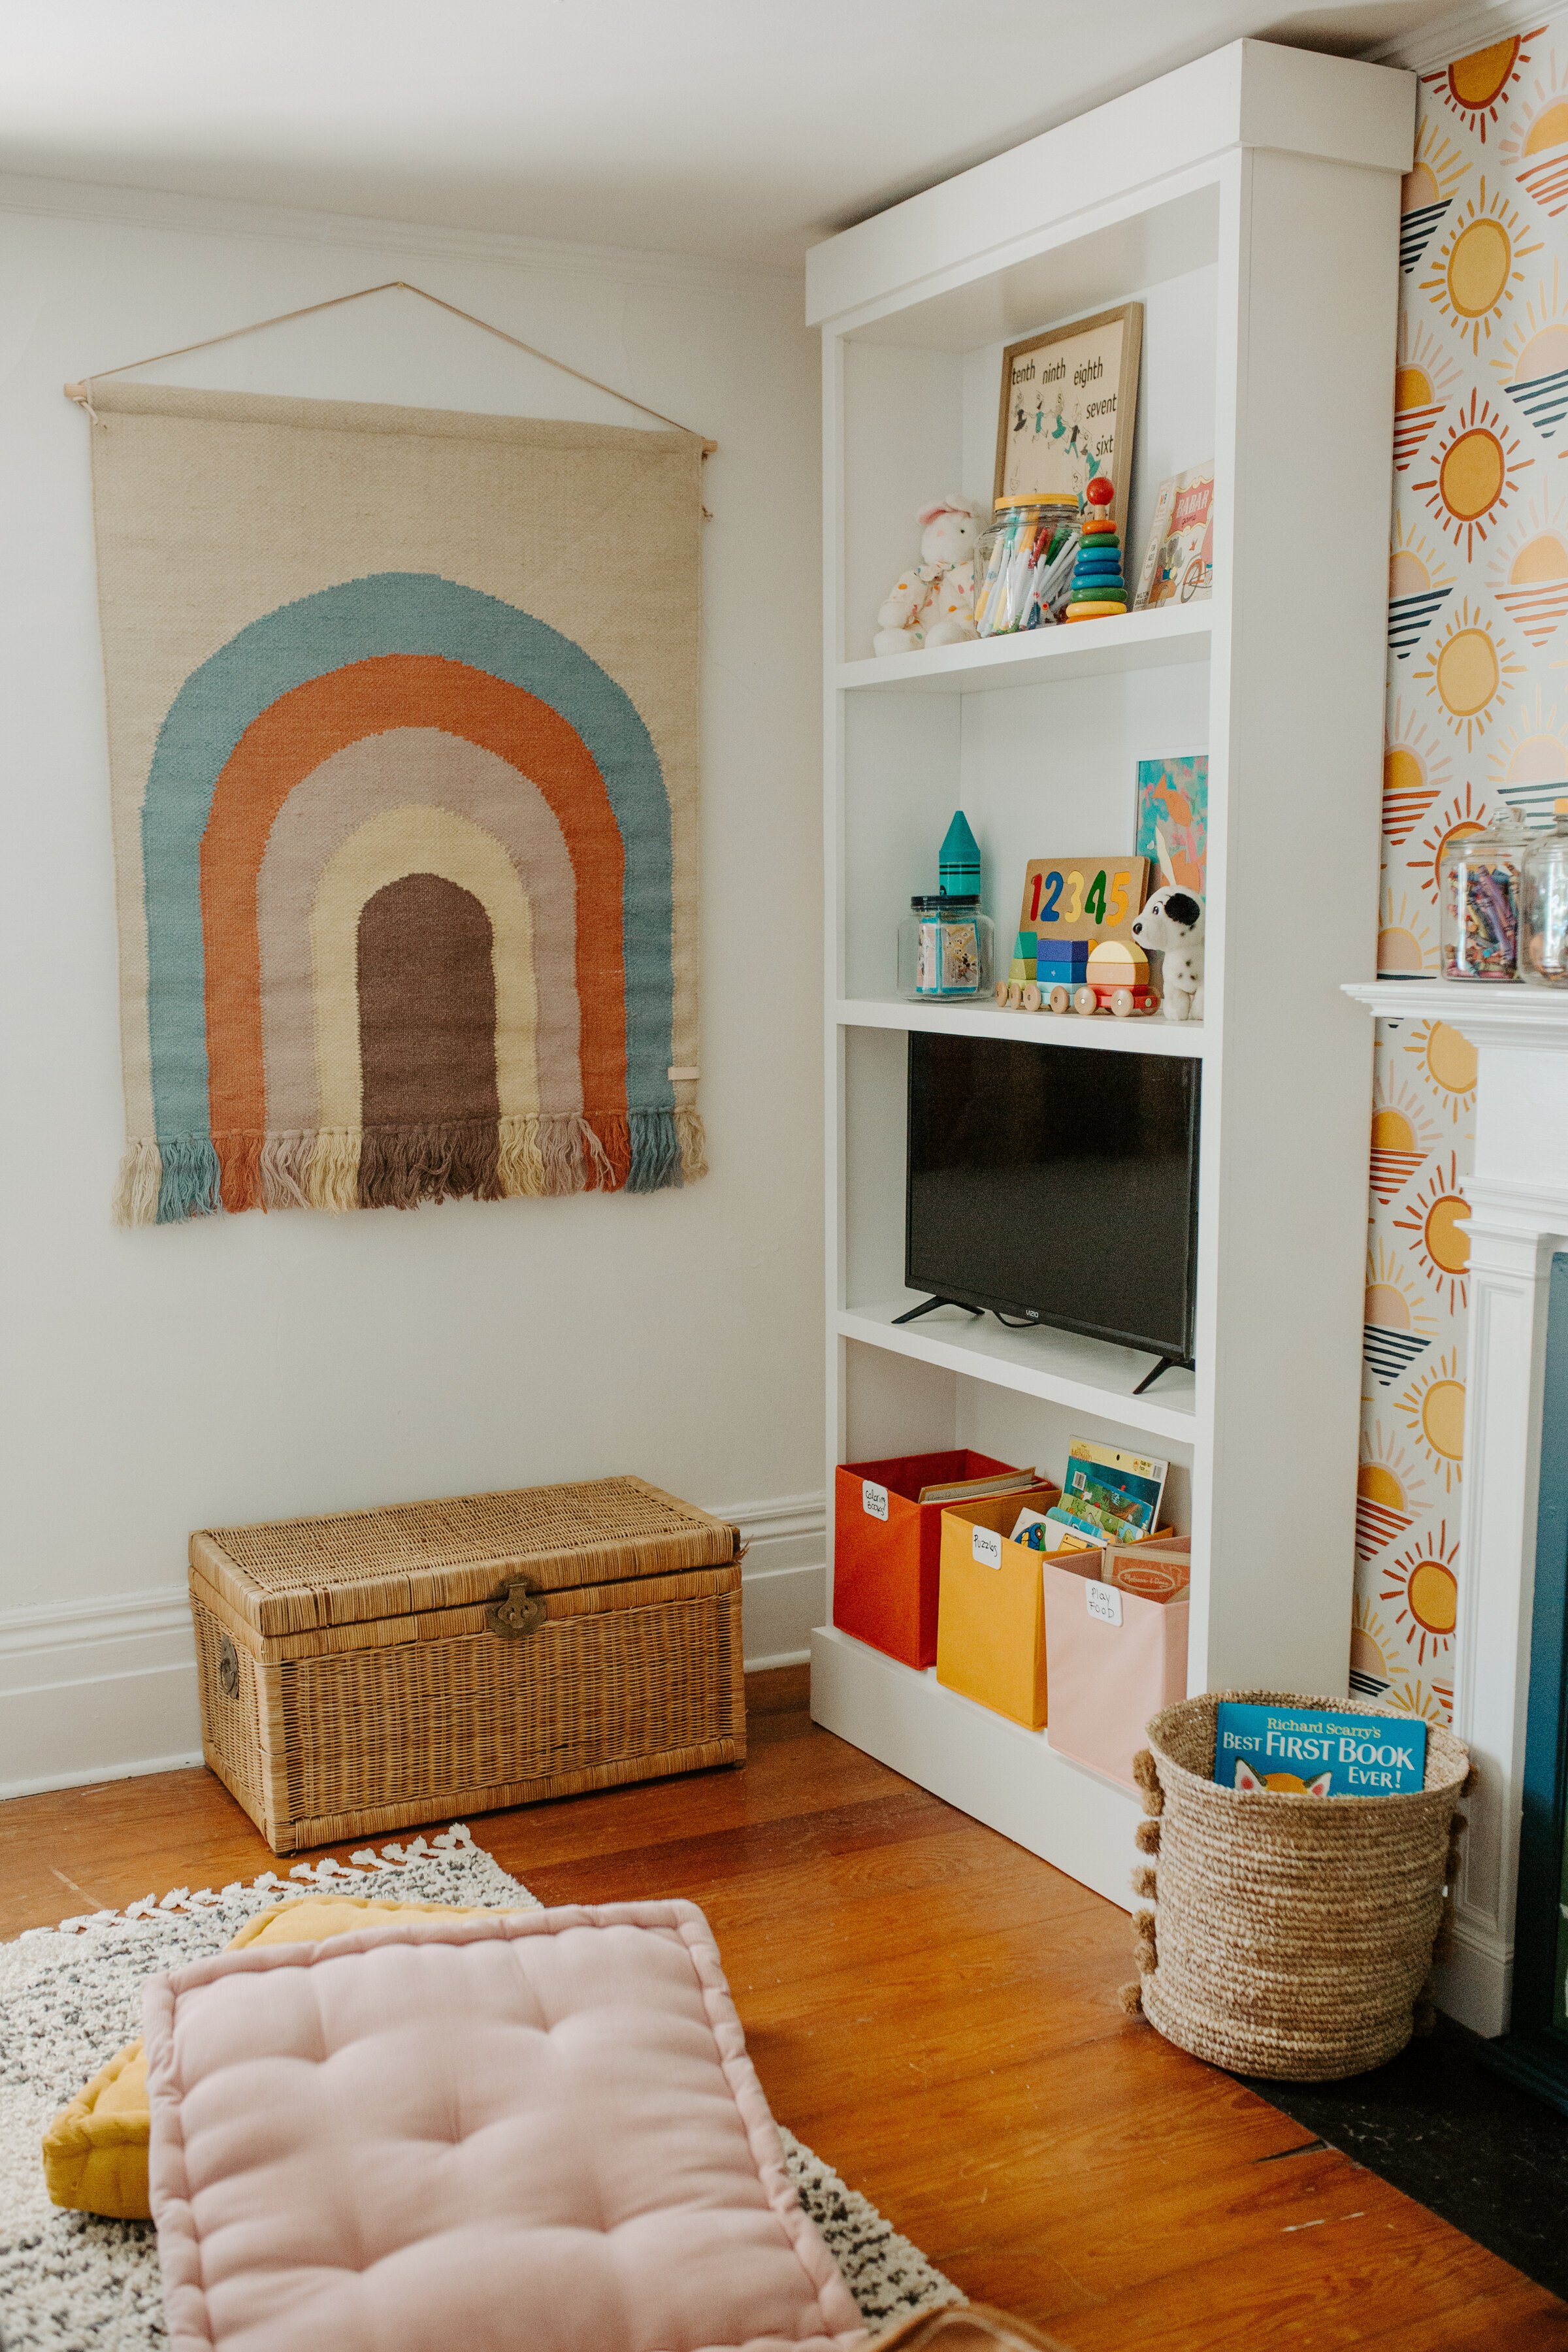
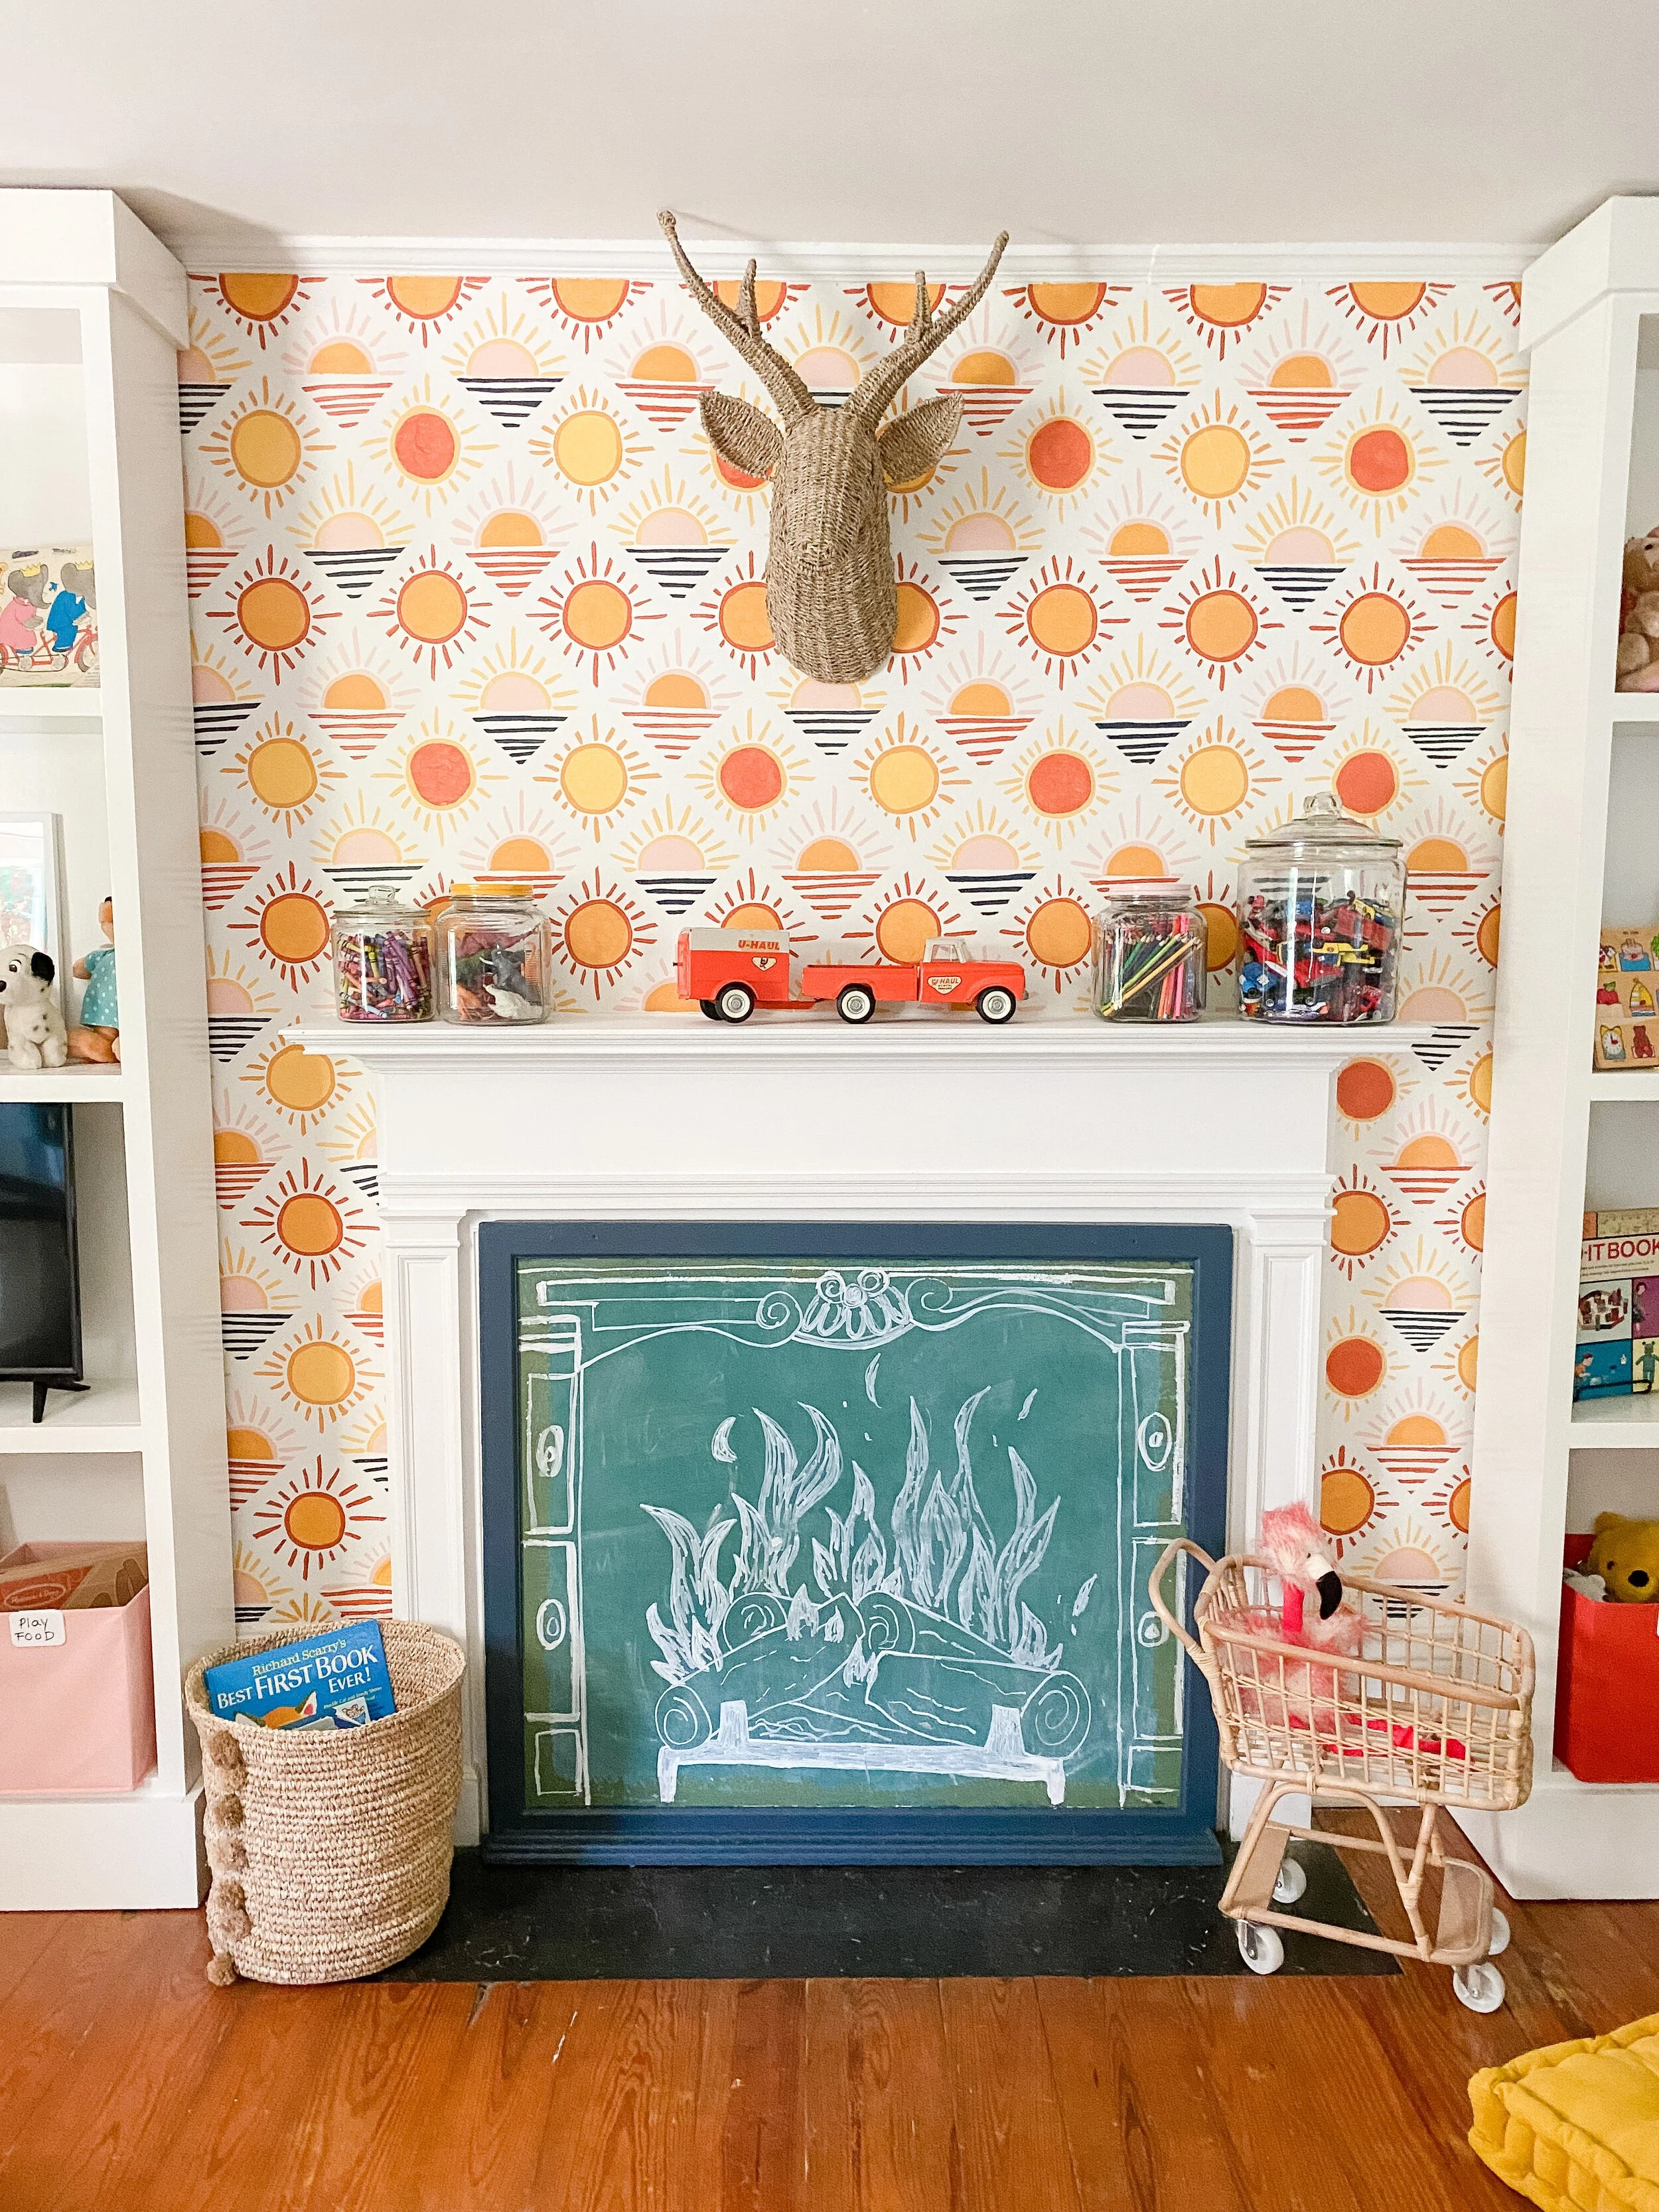
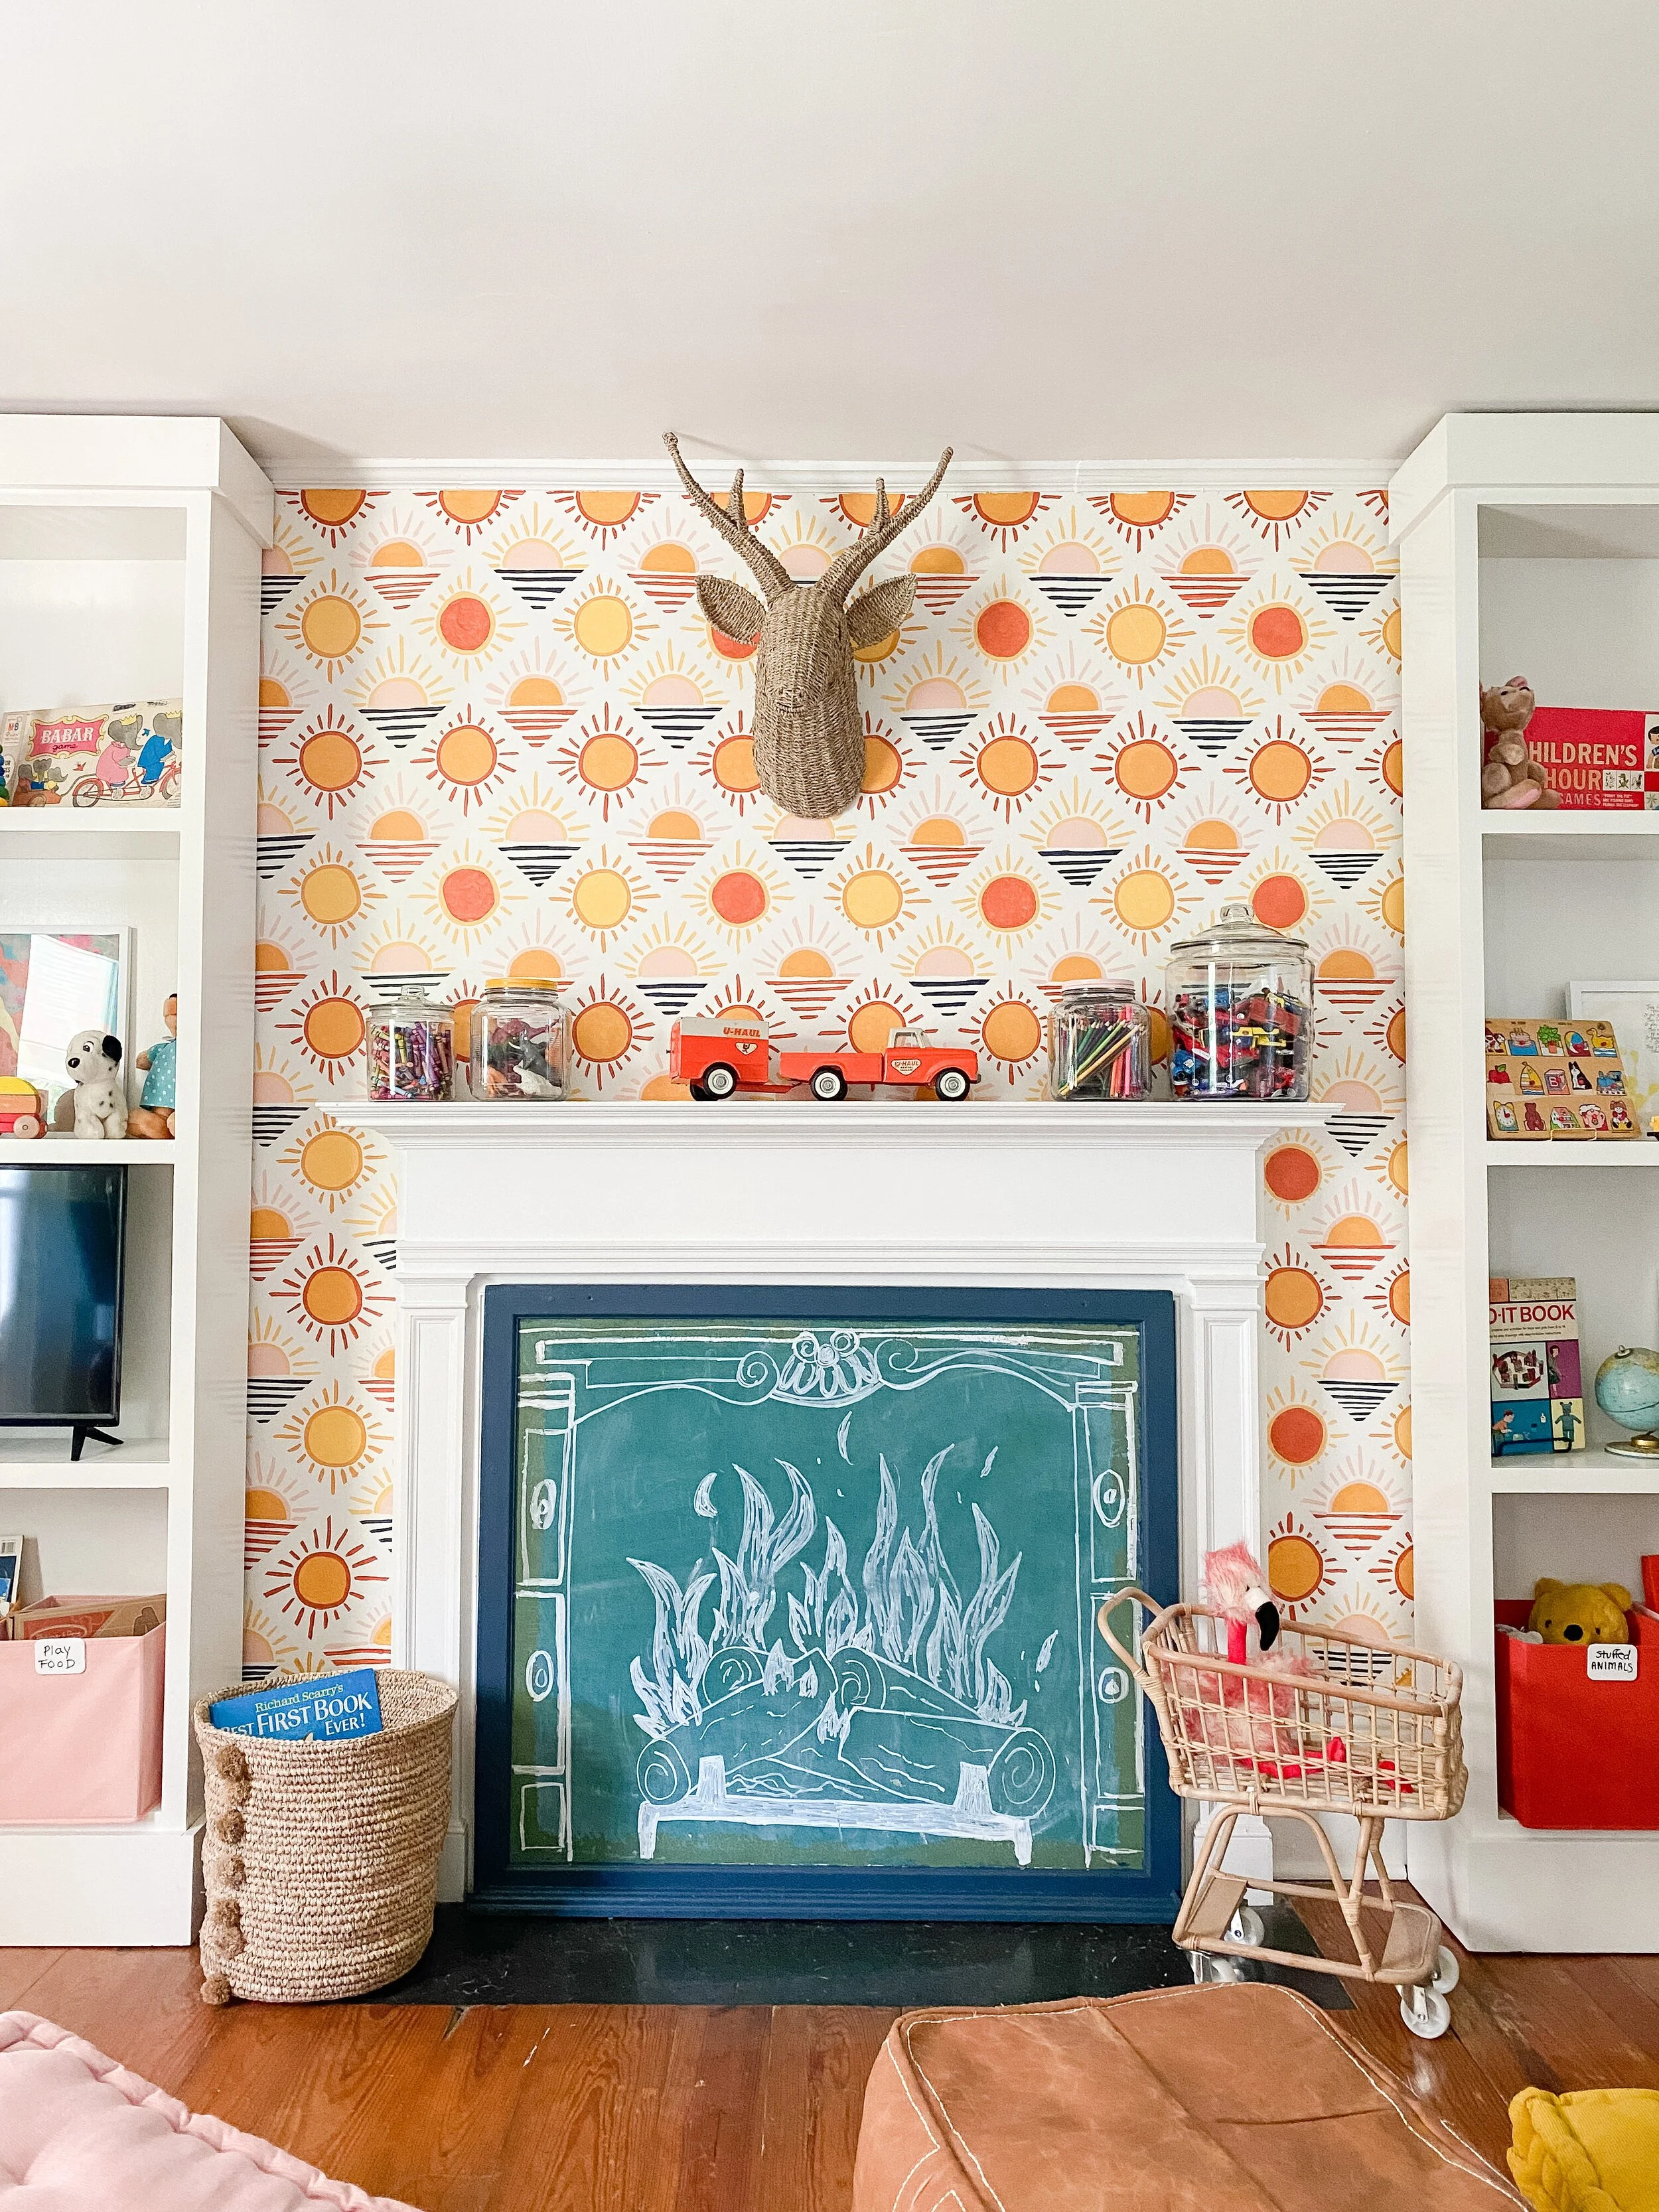
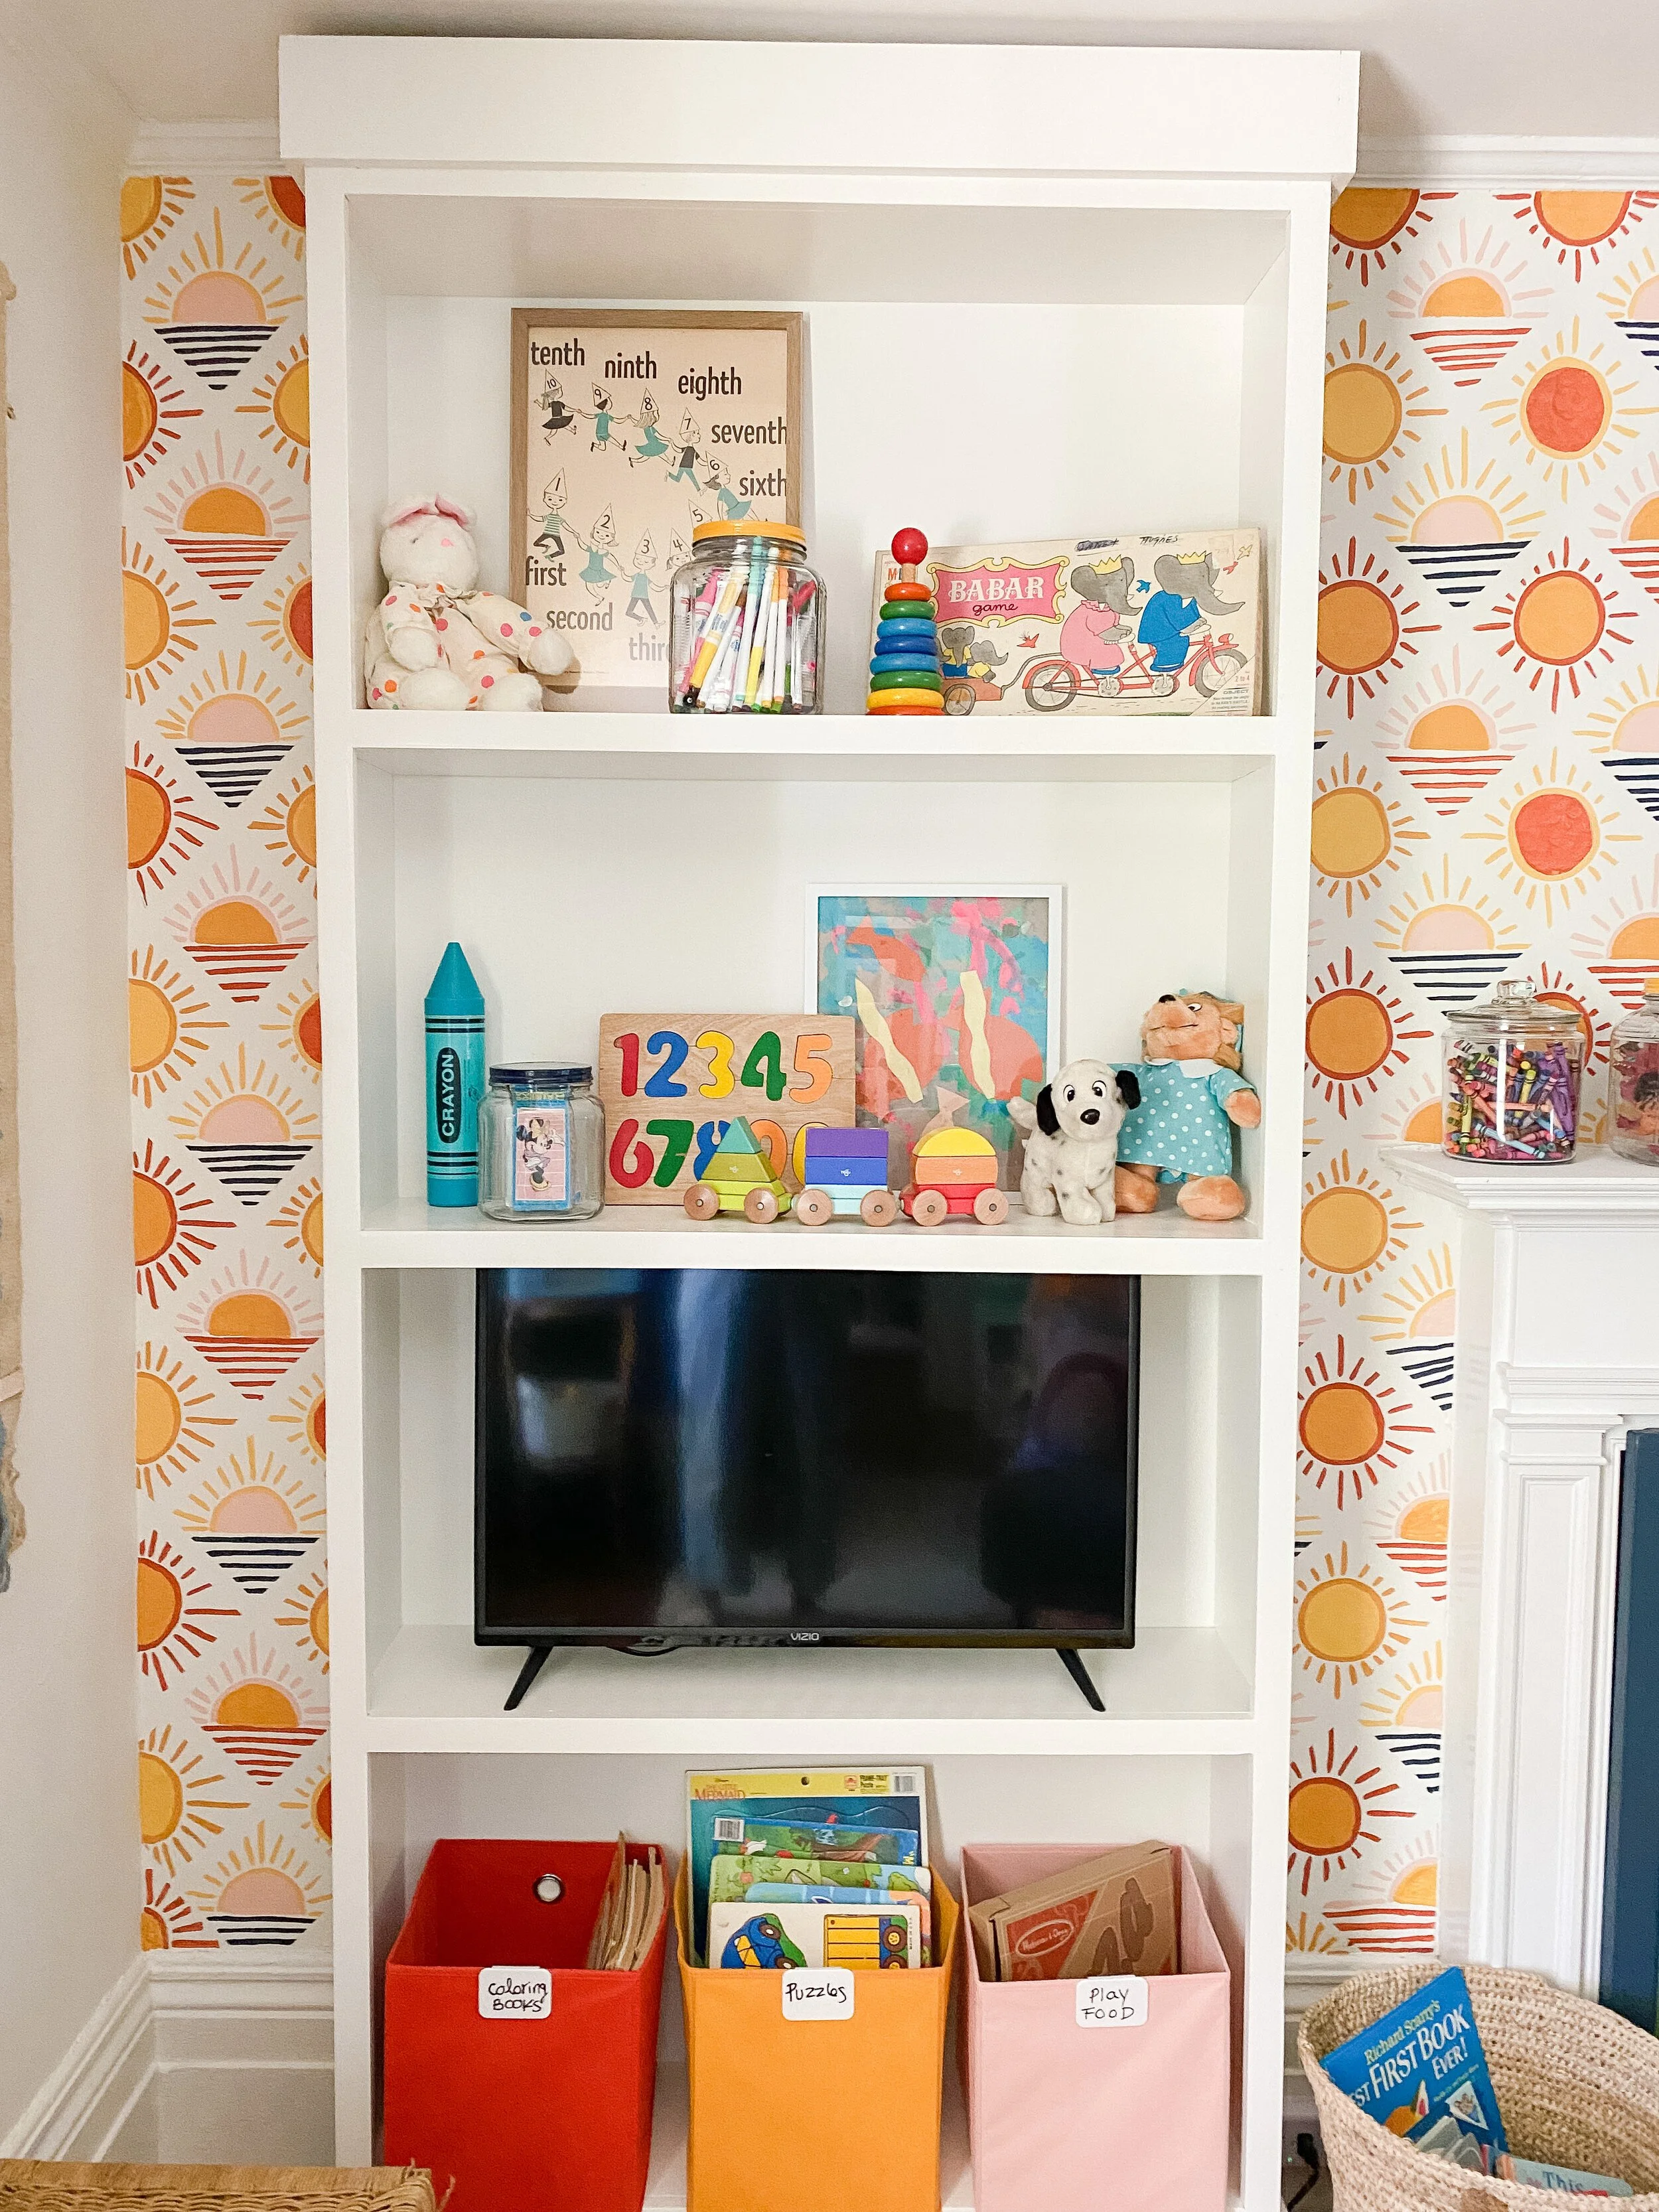
I also knew from the beginning I wanted to do some kind of built-in shelving on this wall on each side of the fireplace. I don’t love the fireplace shape/details as-is and wanted to leave room to redo that in the future, so I settled that a floating shelf look on each side would be best for my overall design. Local carpenter MK’s Farmhouse Furniture helped me make my vision a reality and I am so pleased with how these turned out!

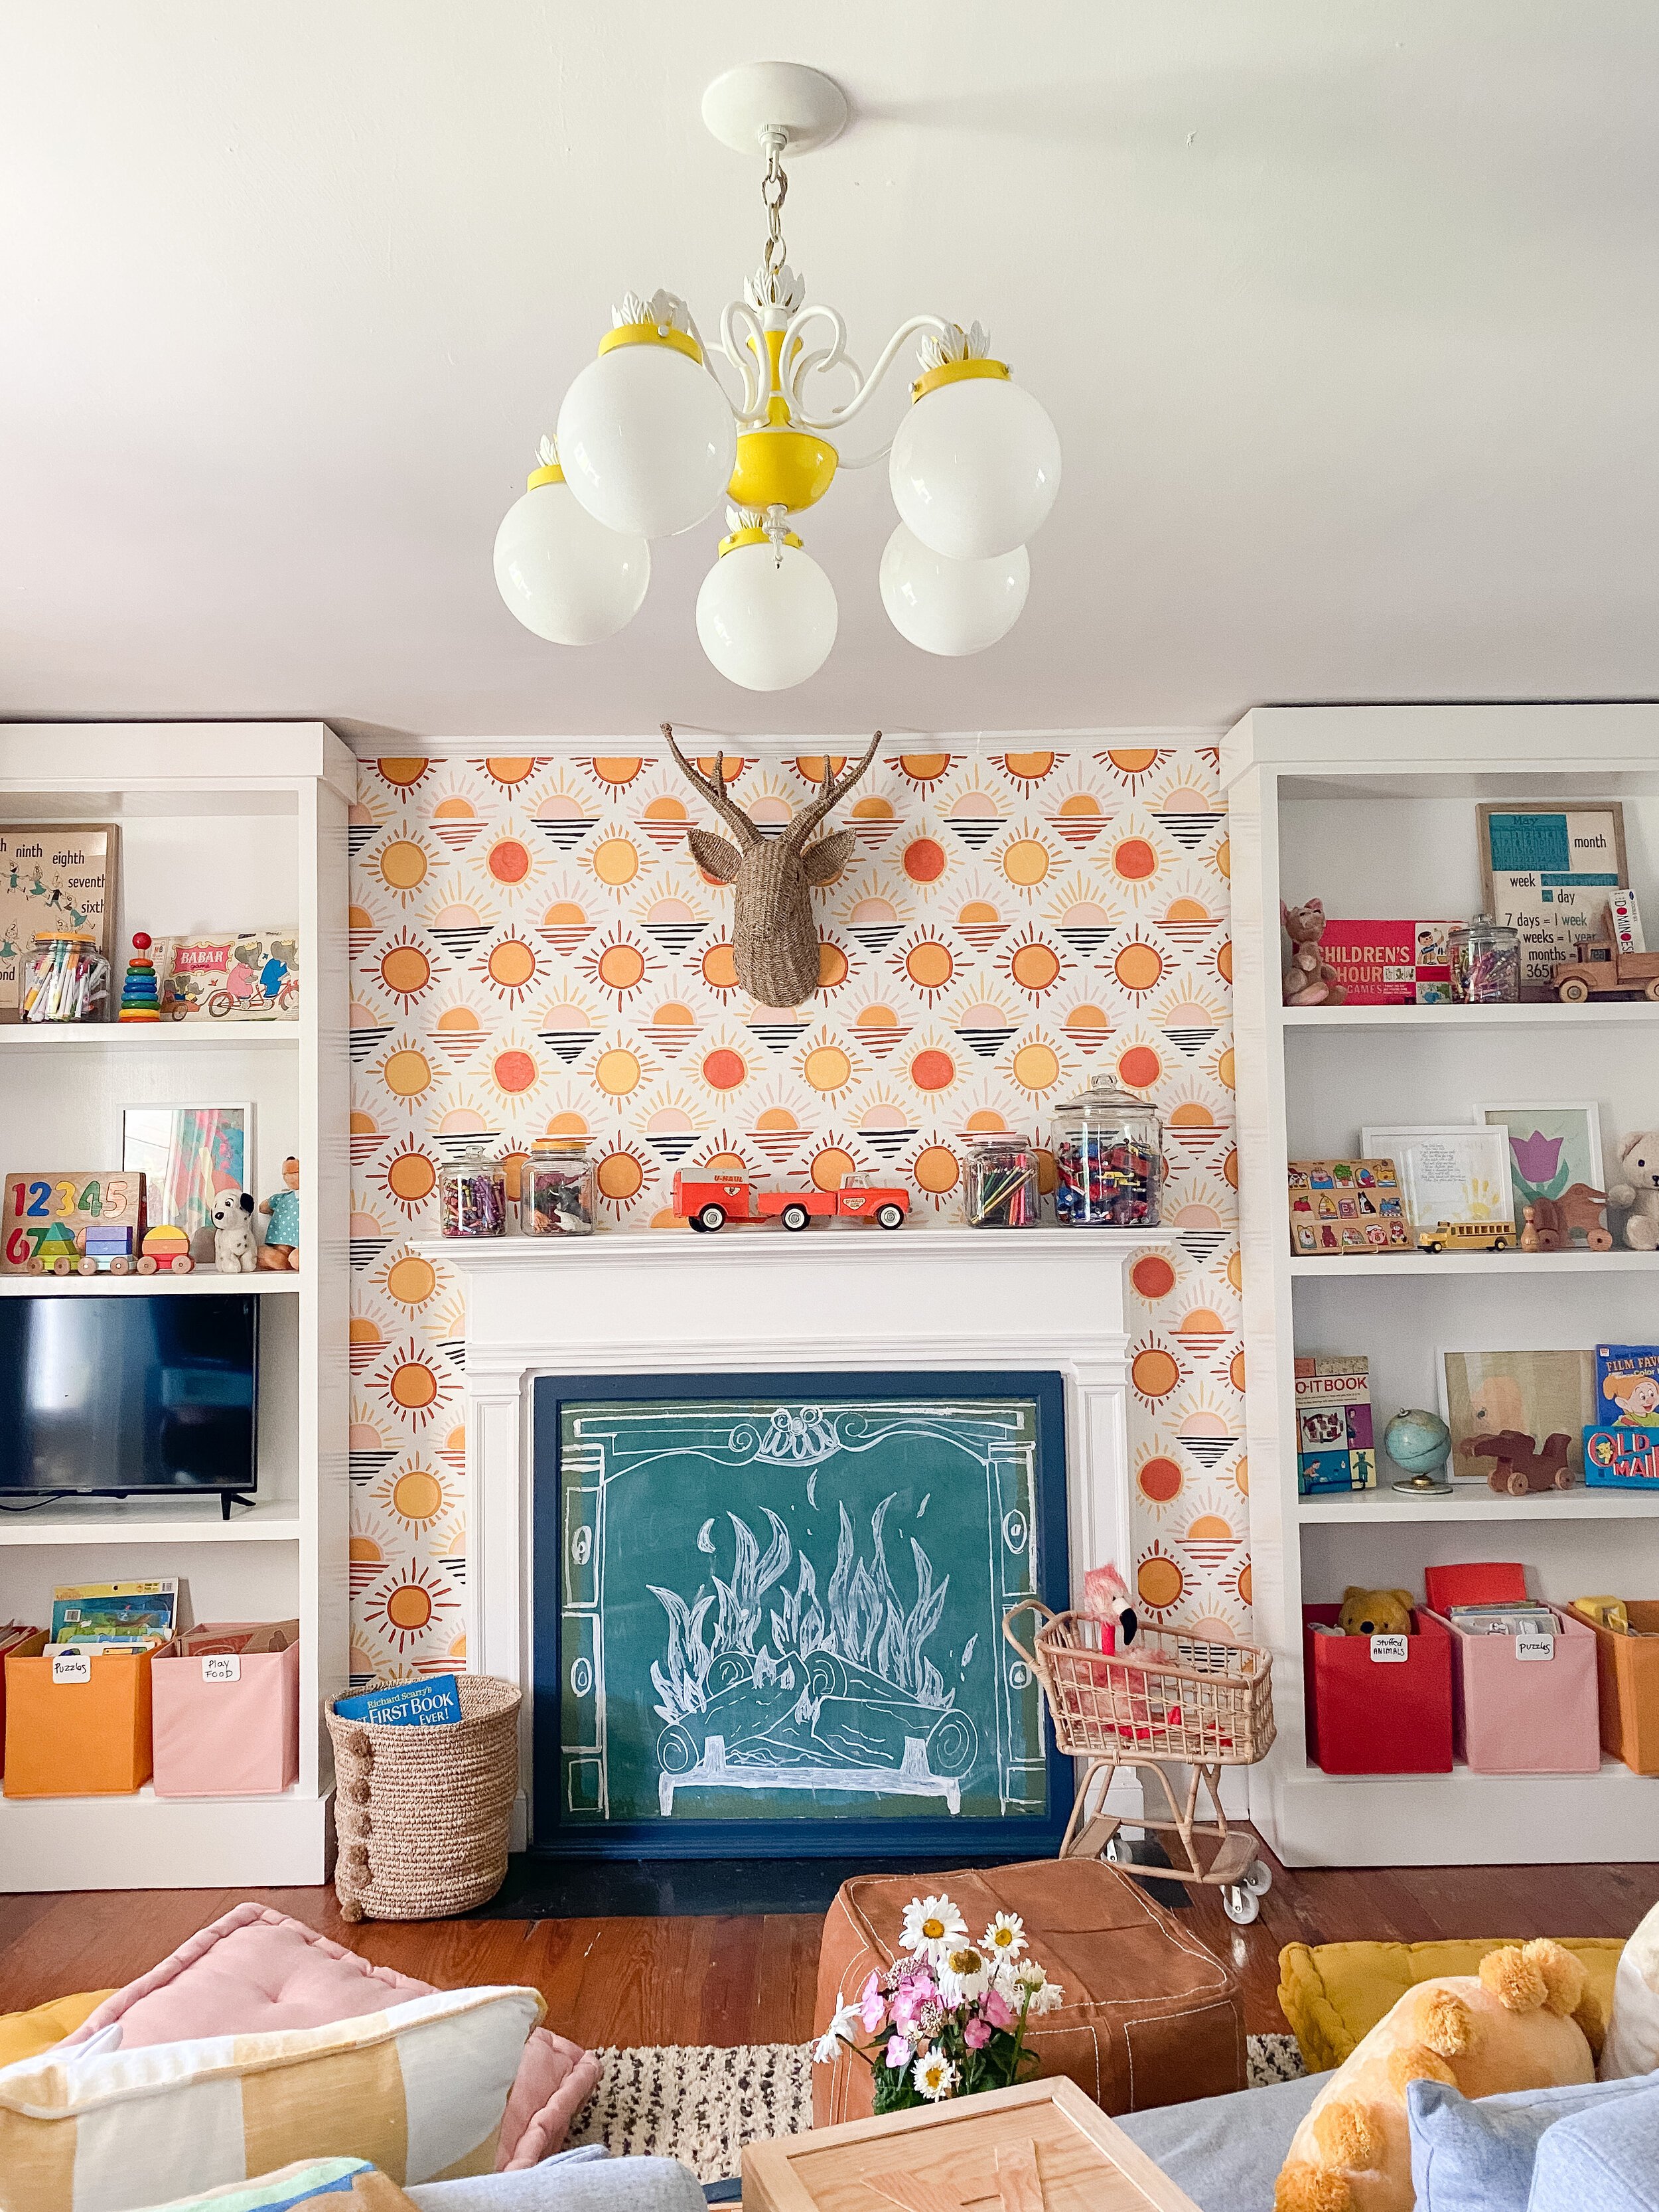
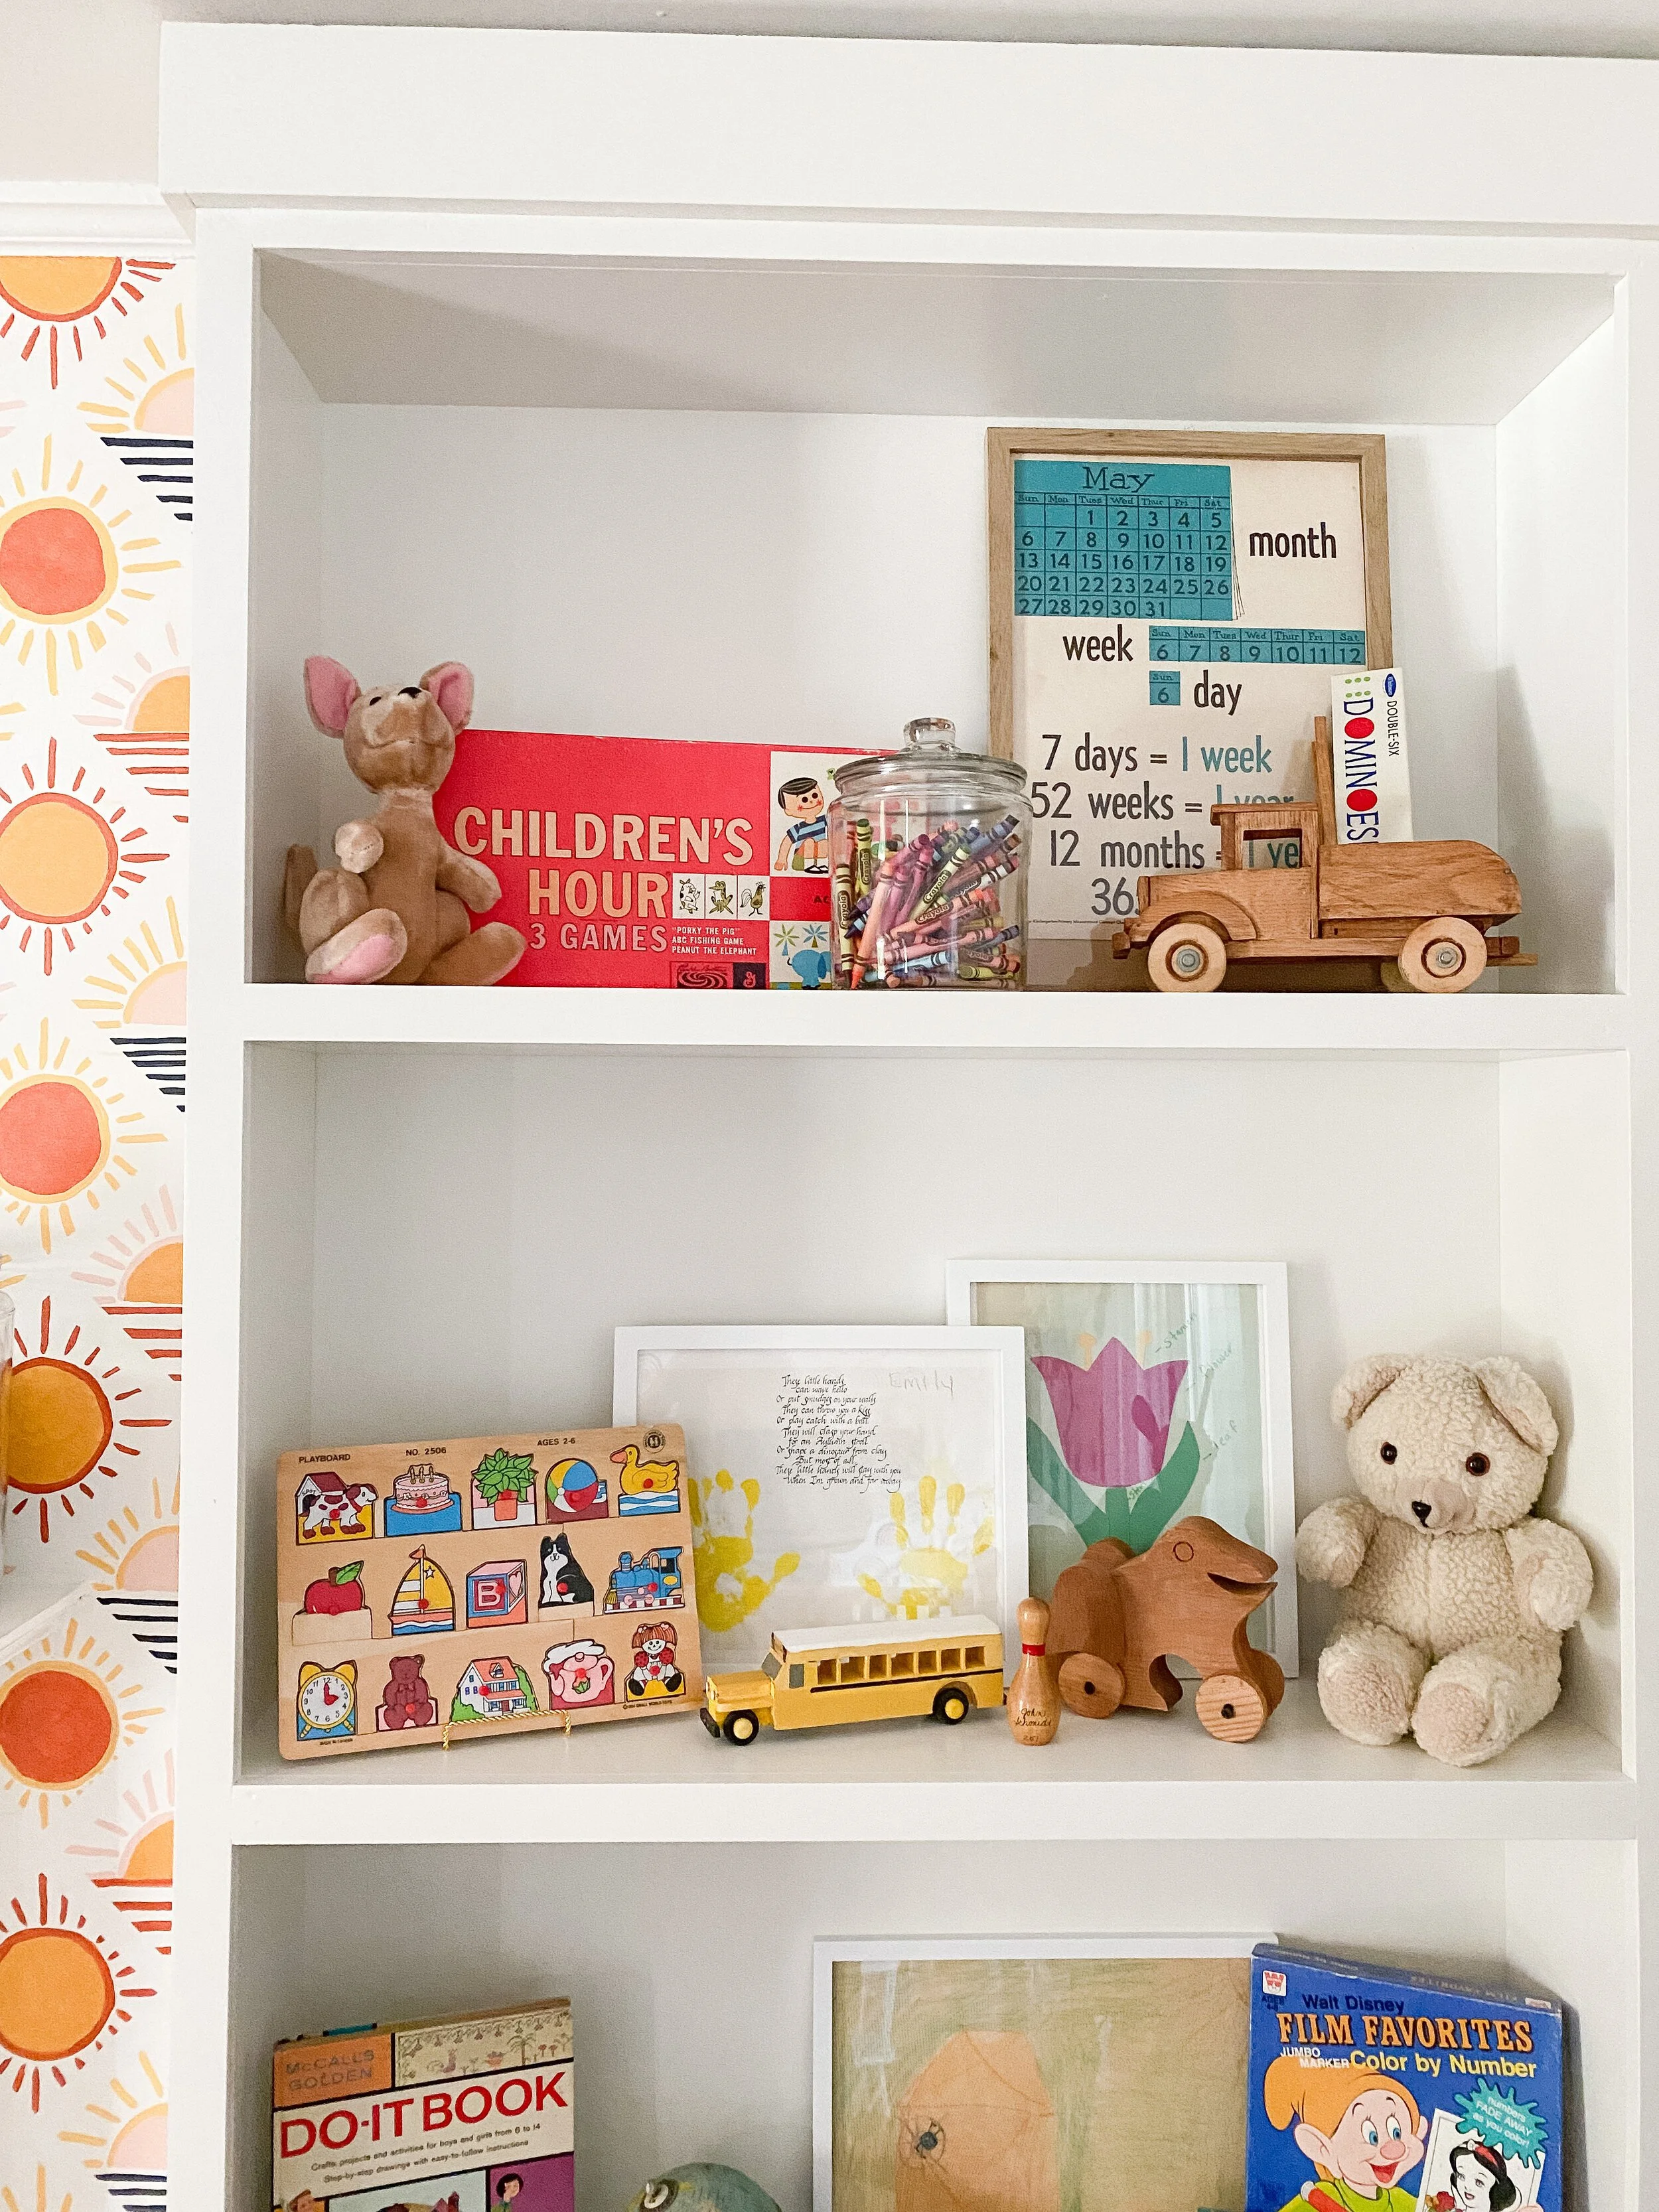
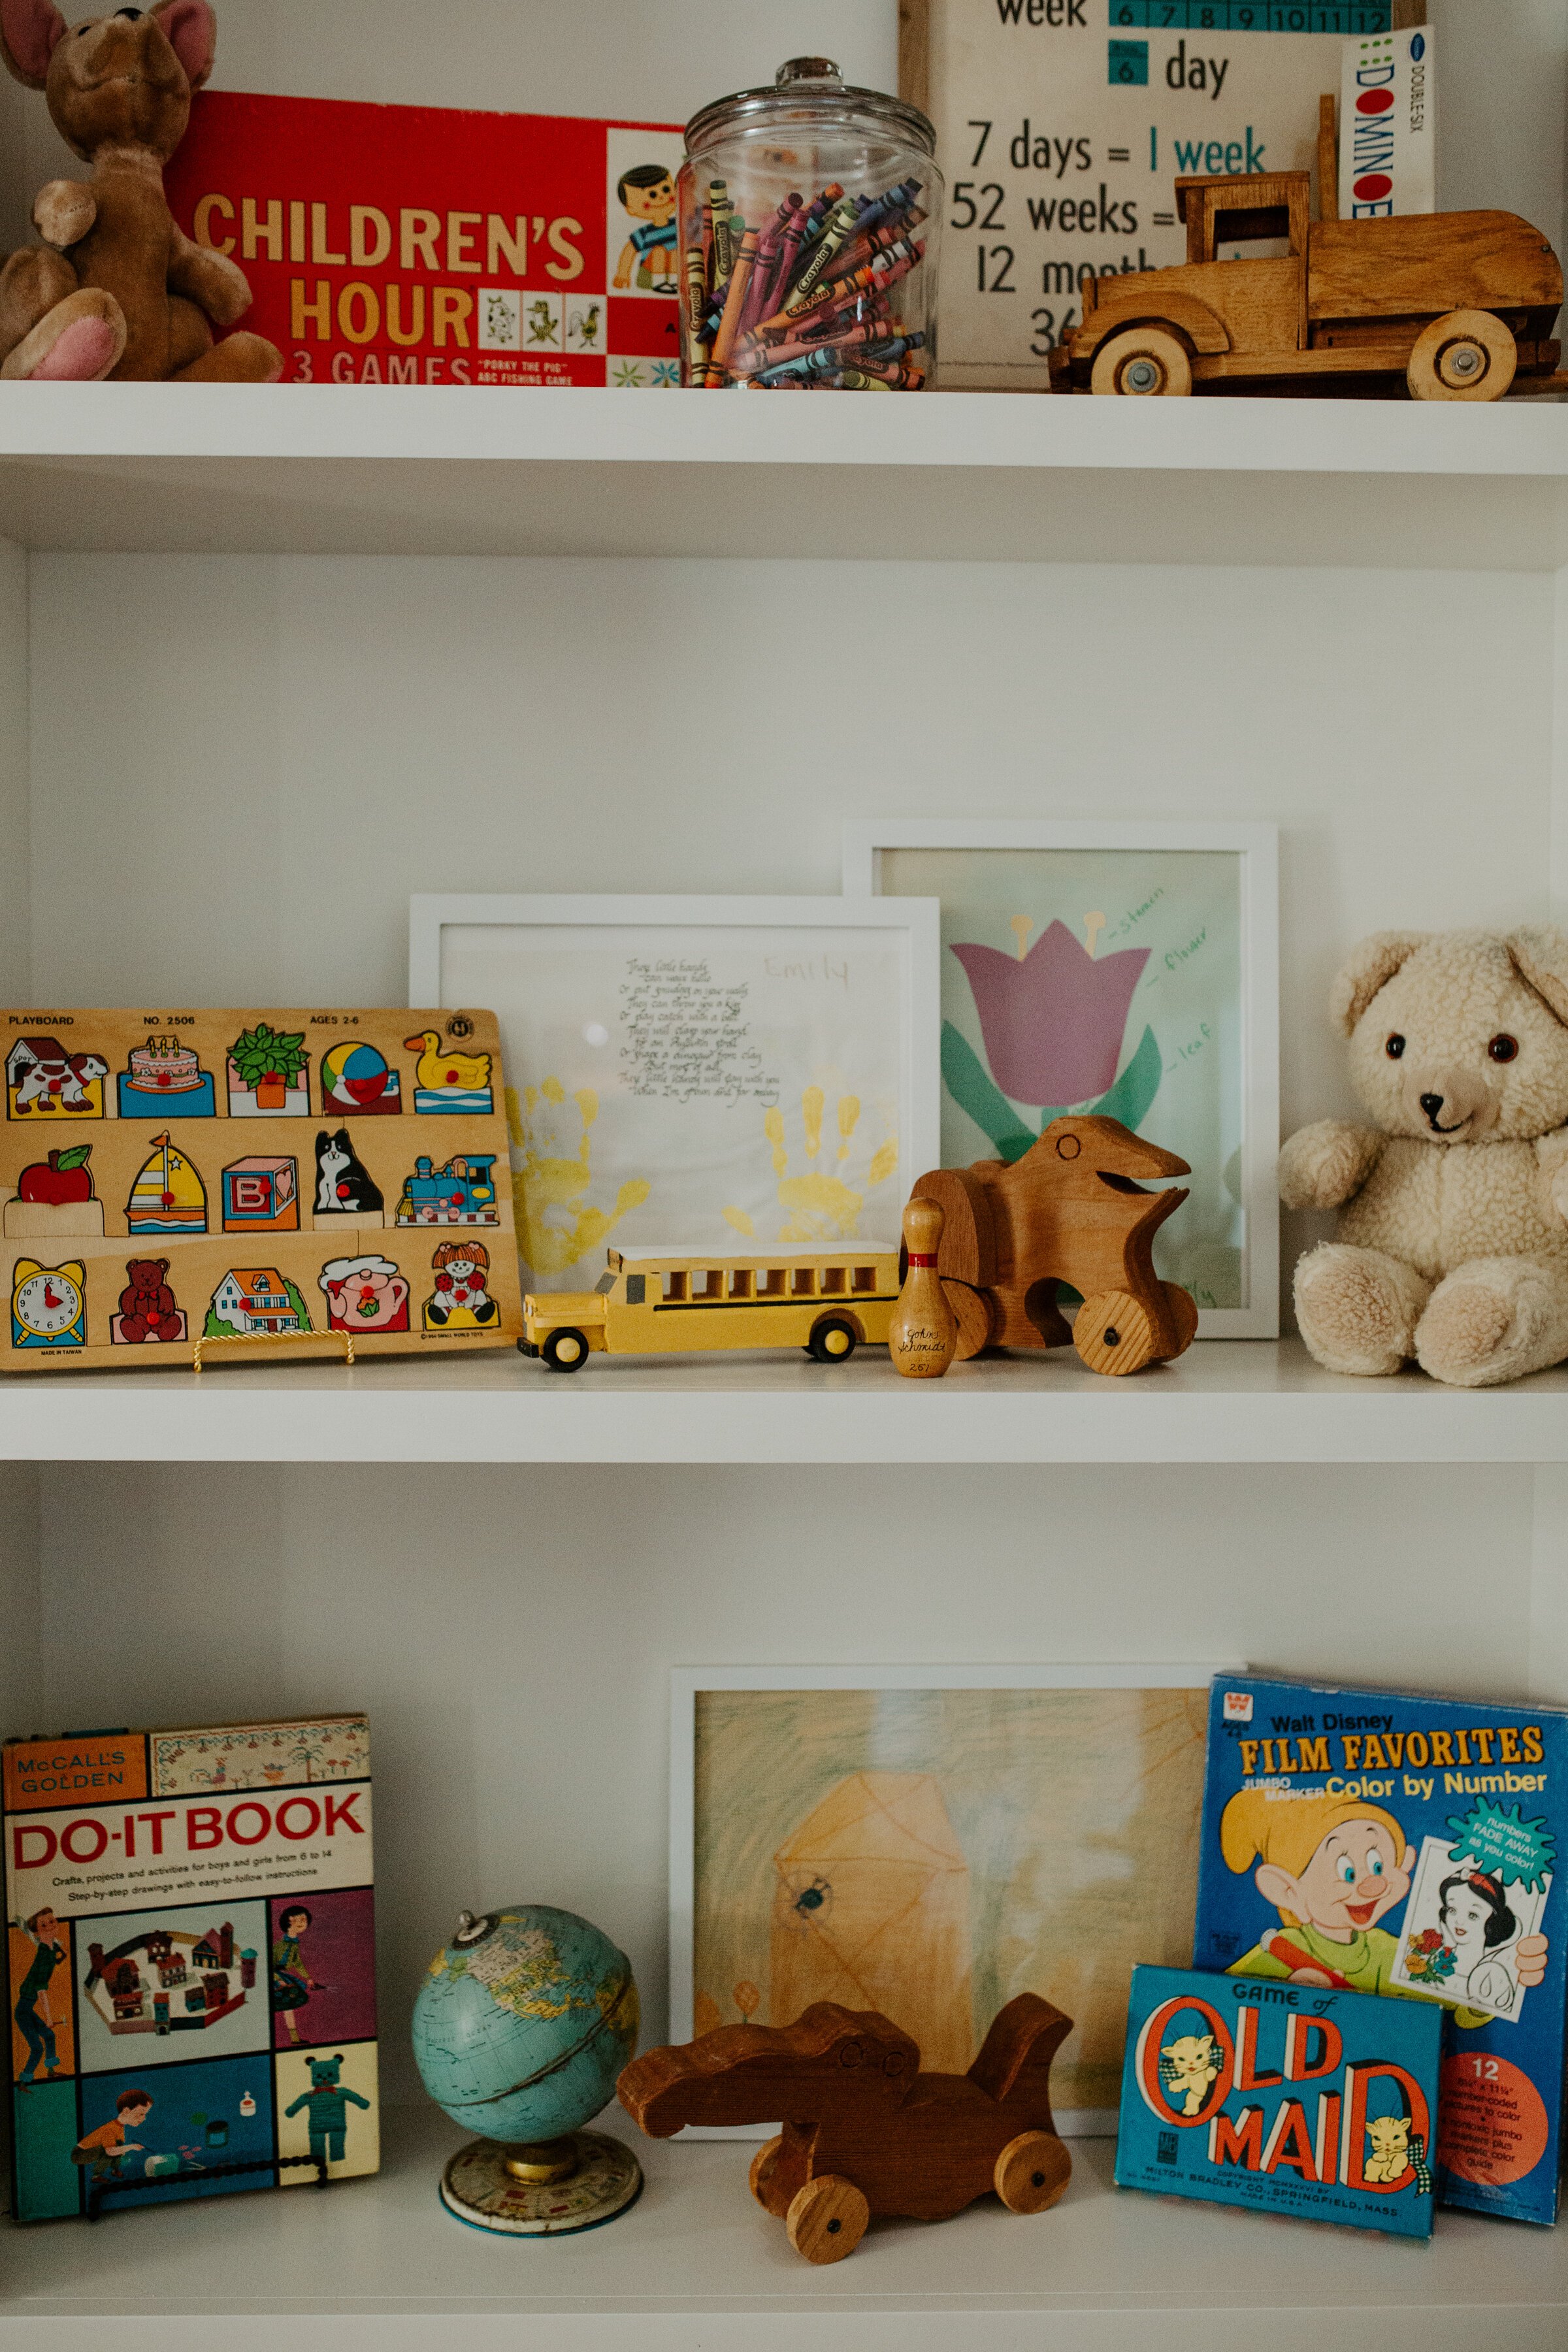
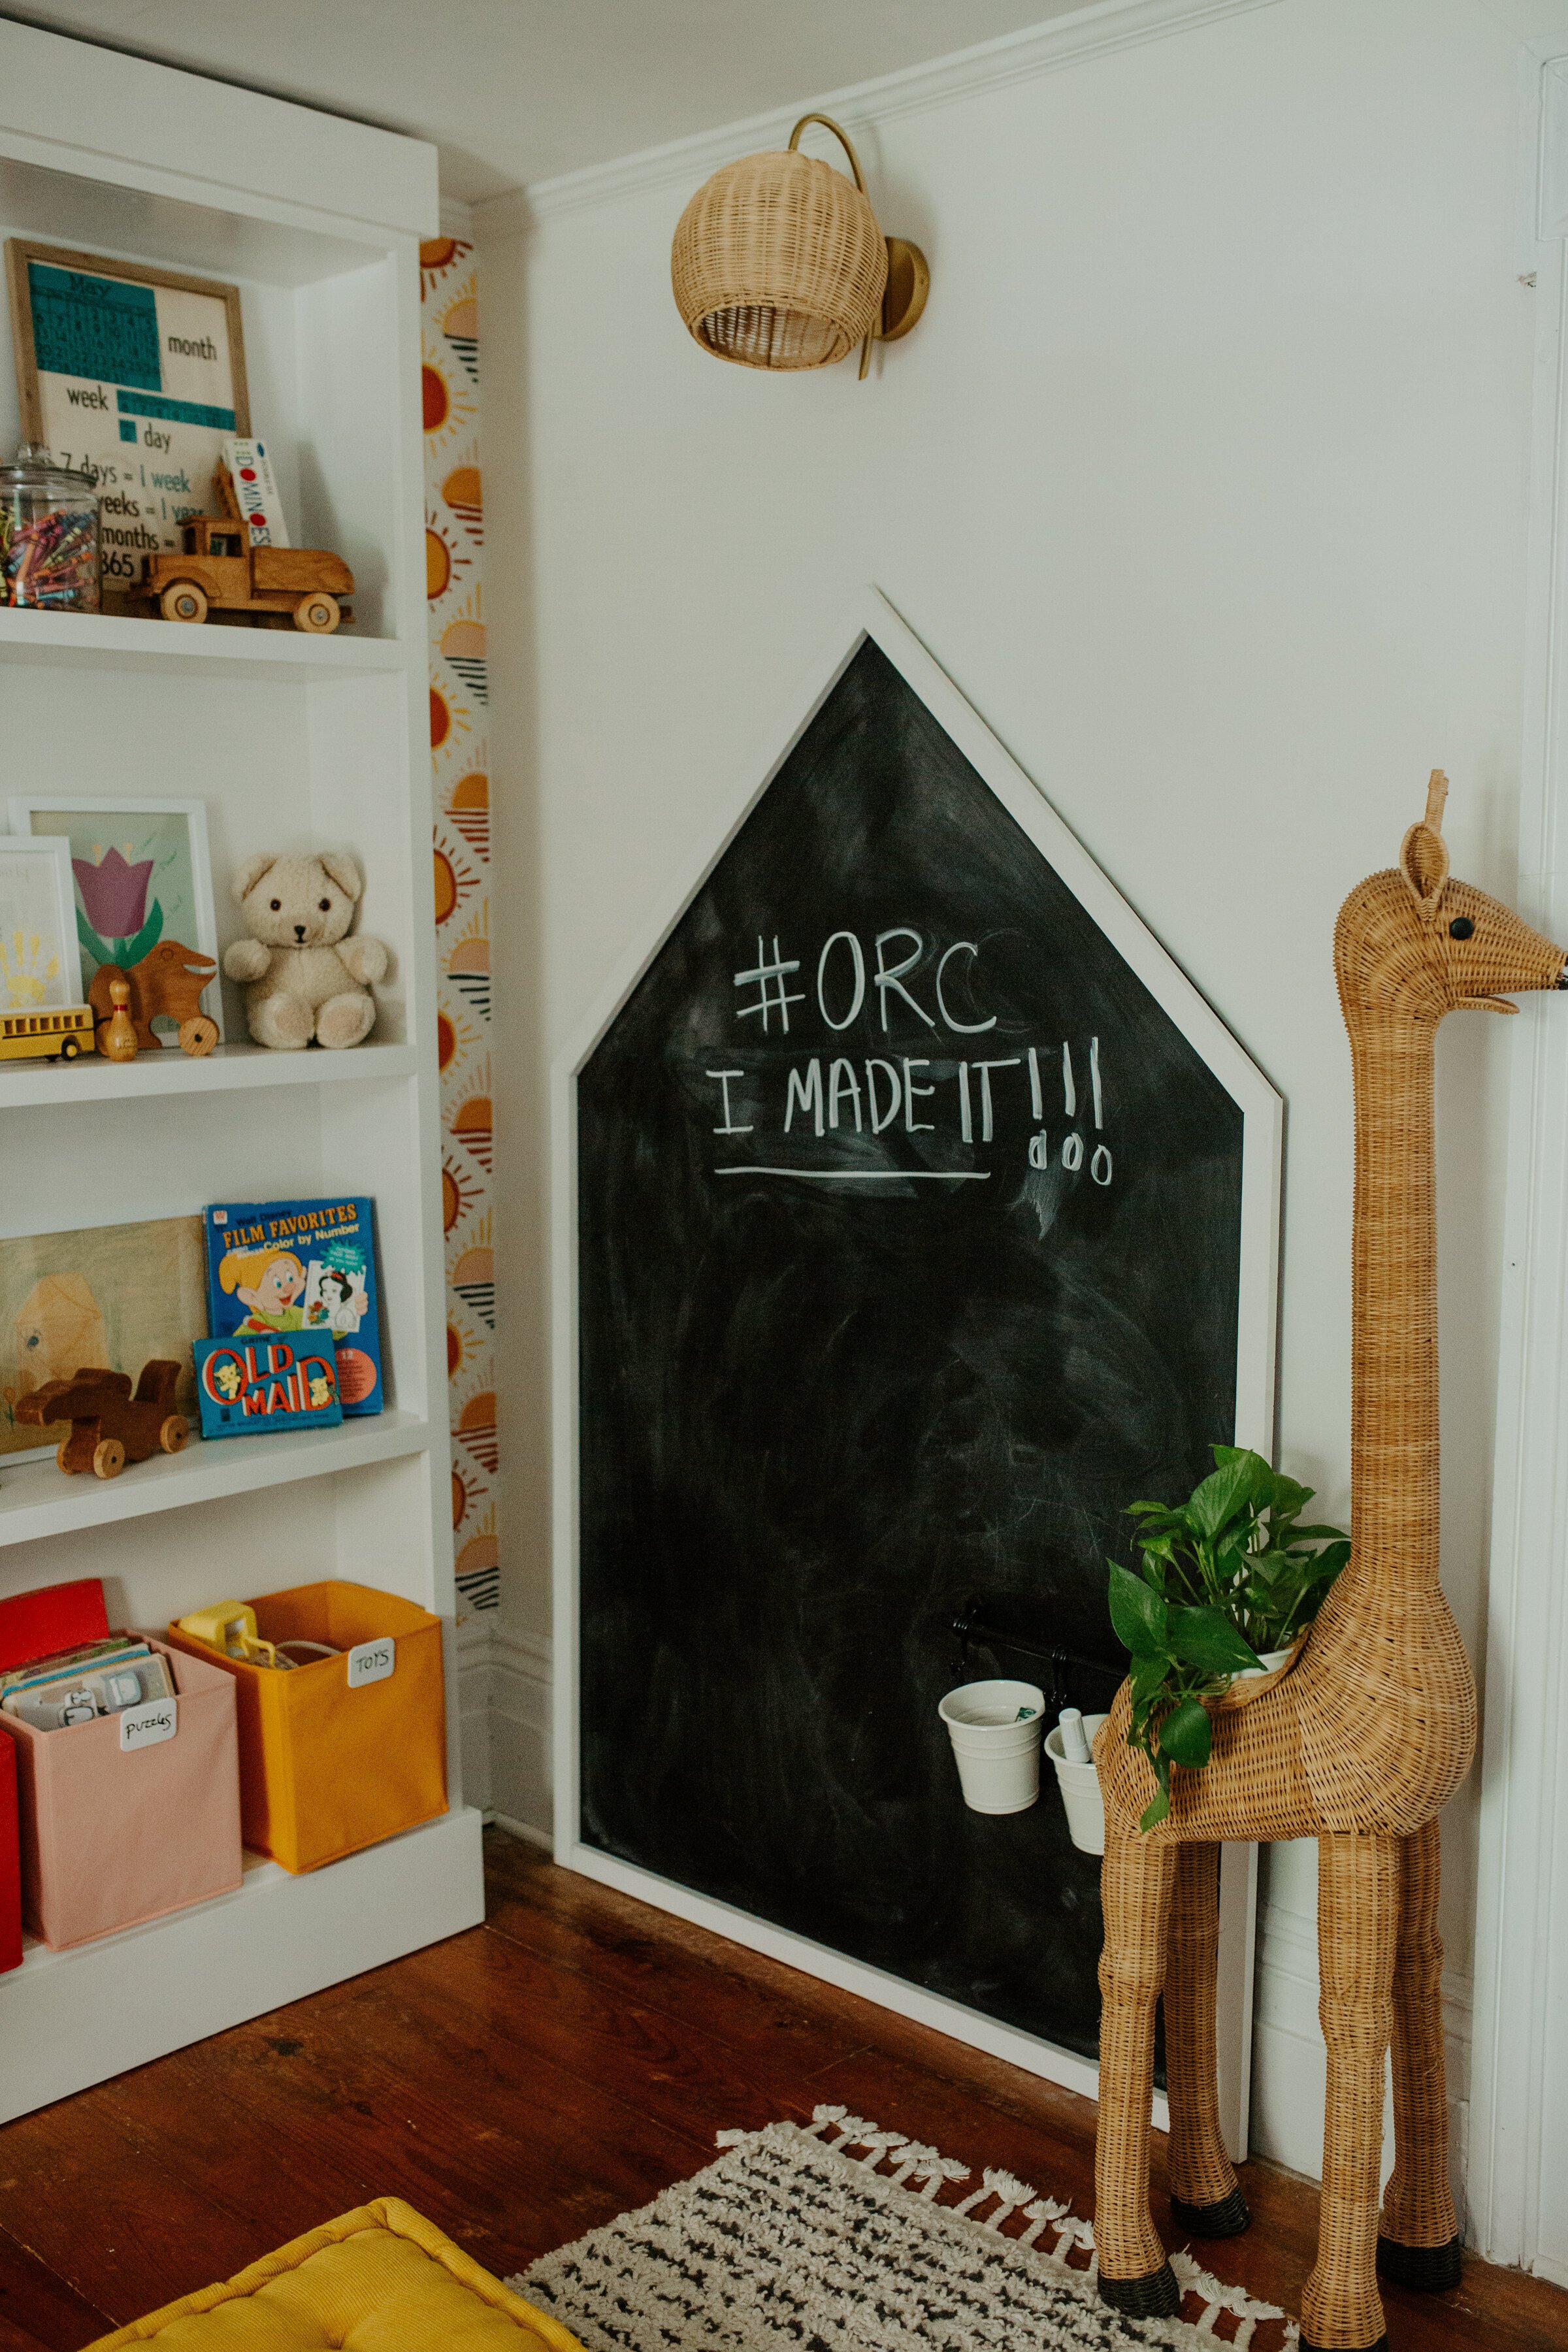
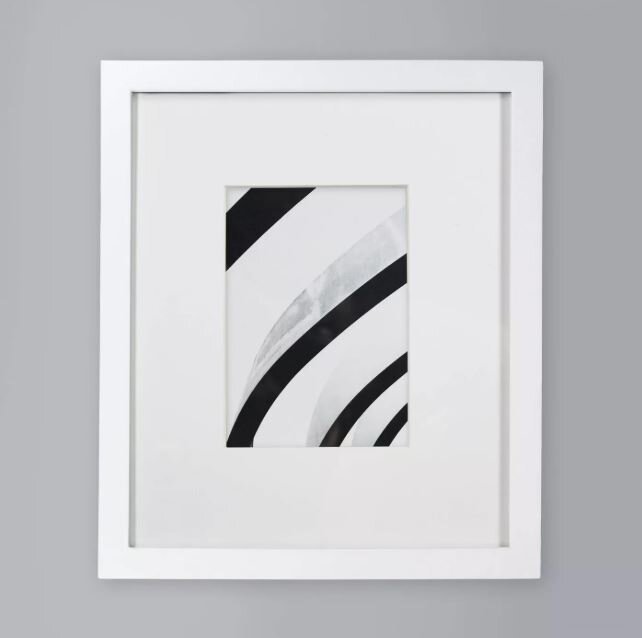
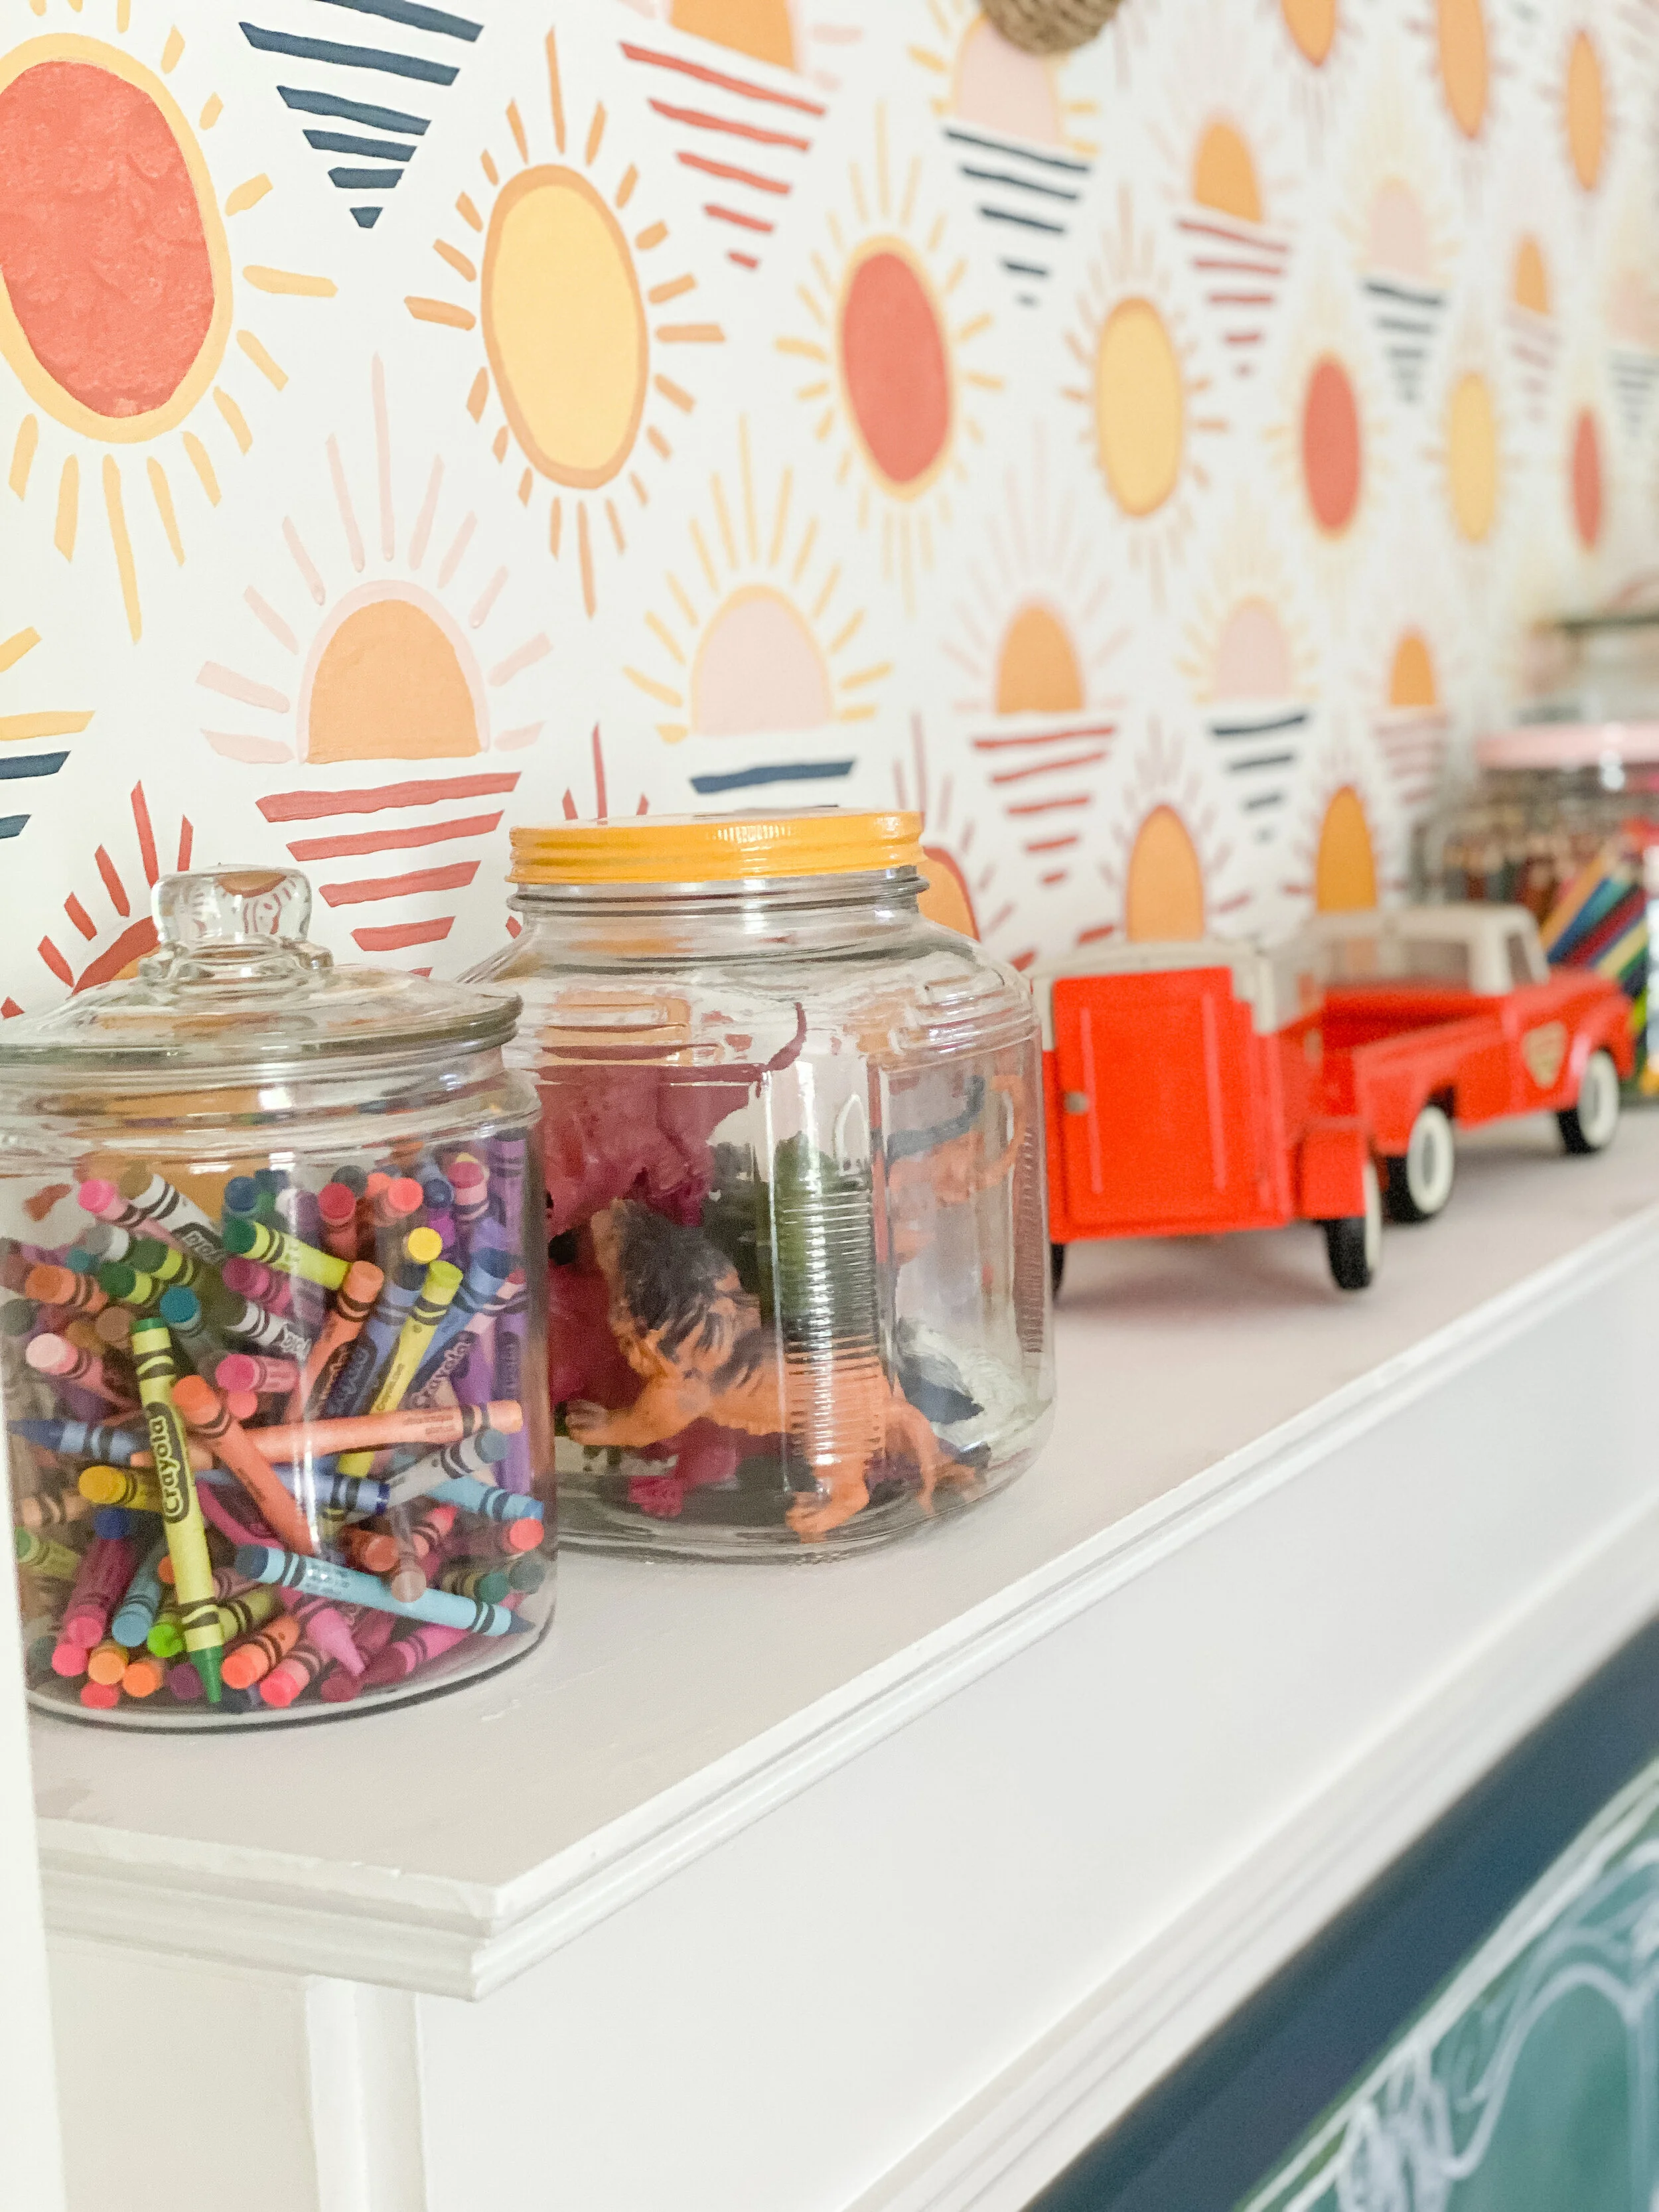
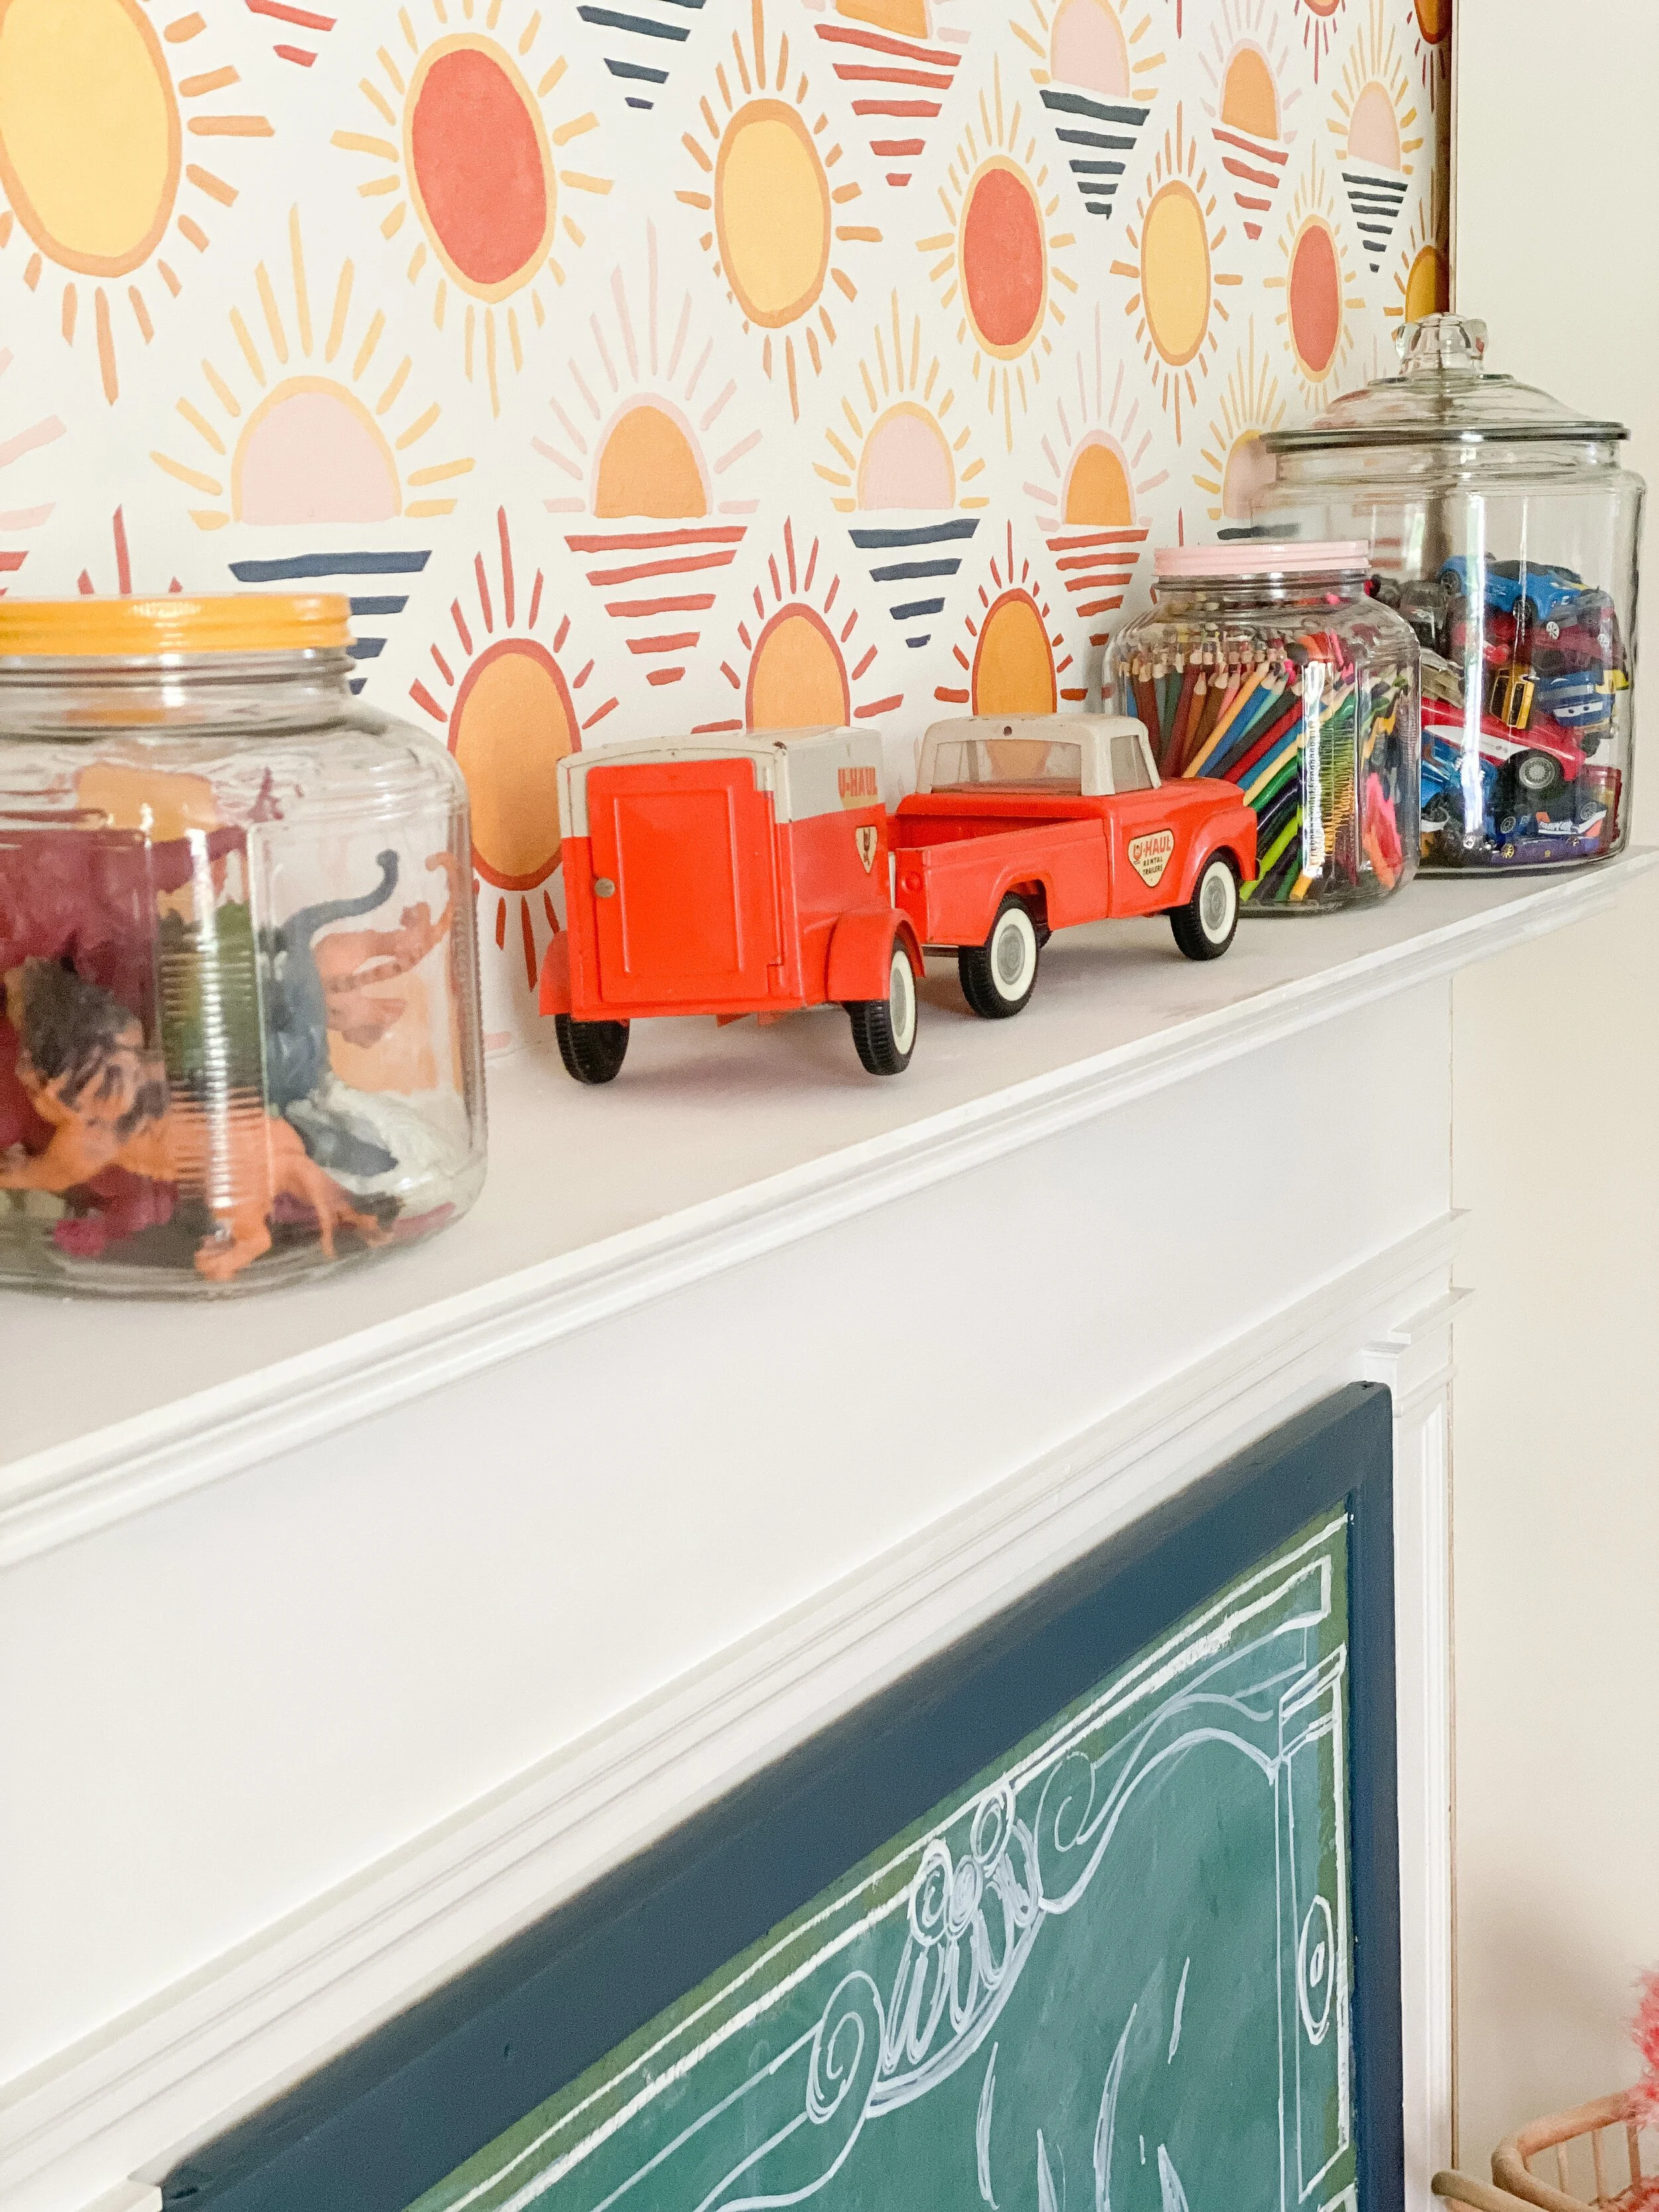
I truly would love these for this space even if it wasn’t a playroom- they will be useful no matter what this room transforms into. I had him paint them the same color as the walls, Sherwin William’s Alabaster, but in a glossy finish. I filled them with a mix of my old toys, vintage pieces I had collected over the years, framed artwork/vintage posters, and some bins. One extra DIY I did for this space as well was spray painting the tops of these glass jars using the same colors used in the DIY wallpaper. It added an extra pop of color to these jars that would have been kind of blah without. I filled them up with markers, crayons, colored pencils, toy dinosaurs, and toy cars.
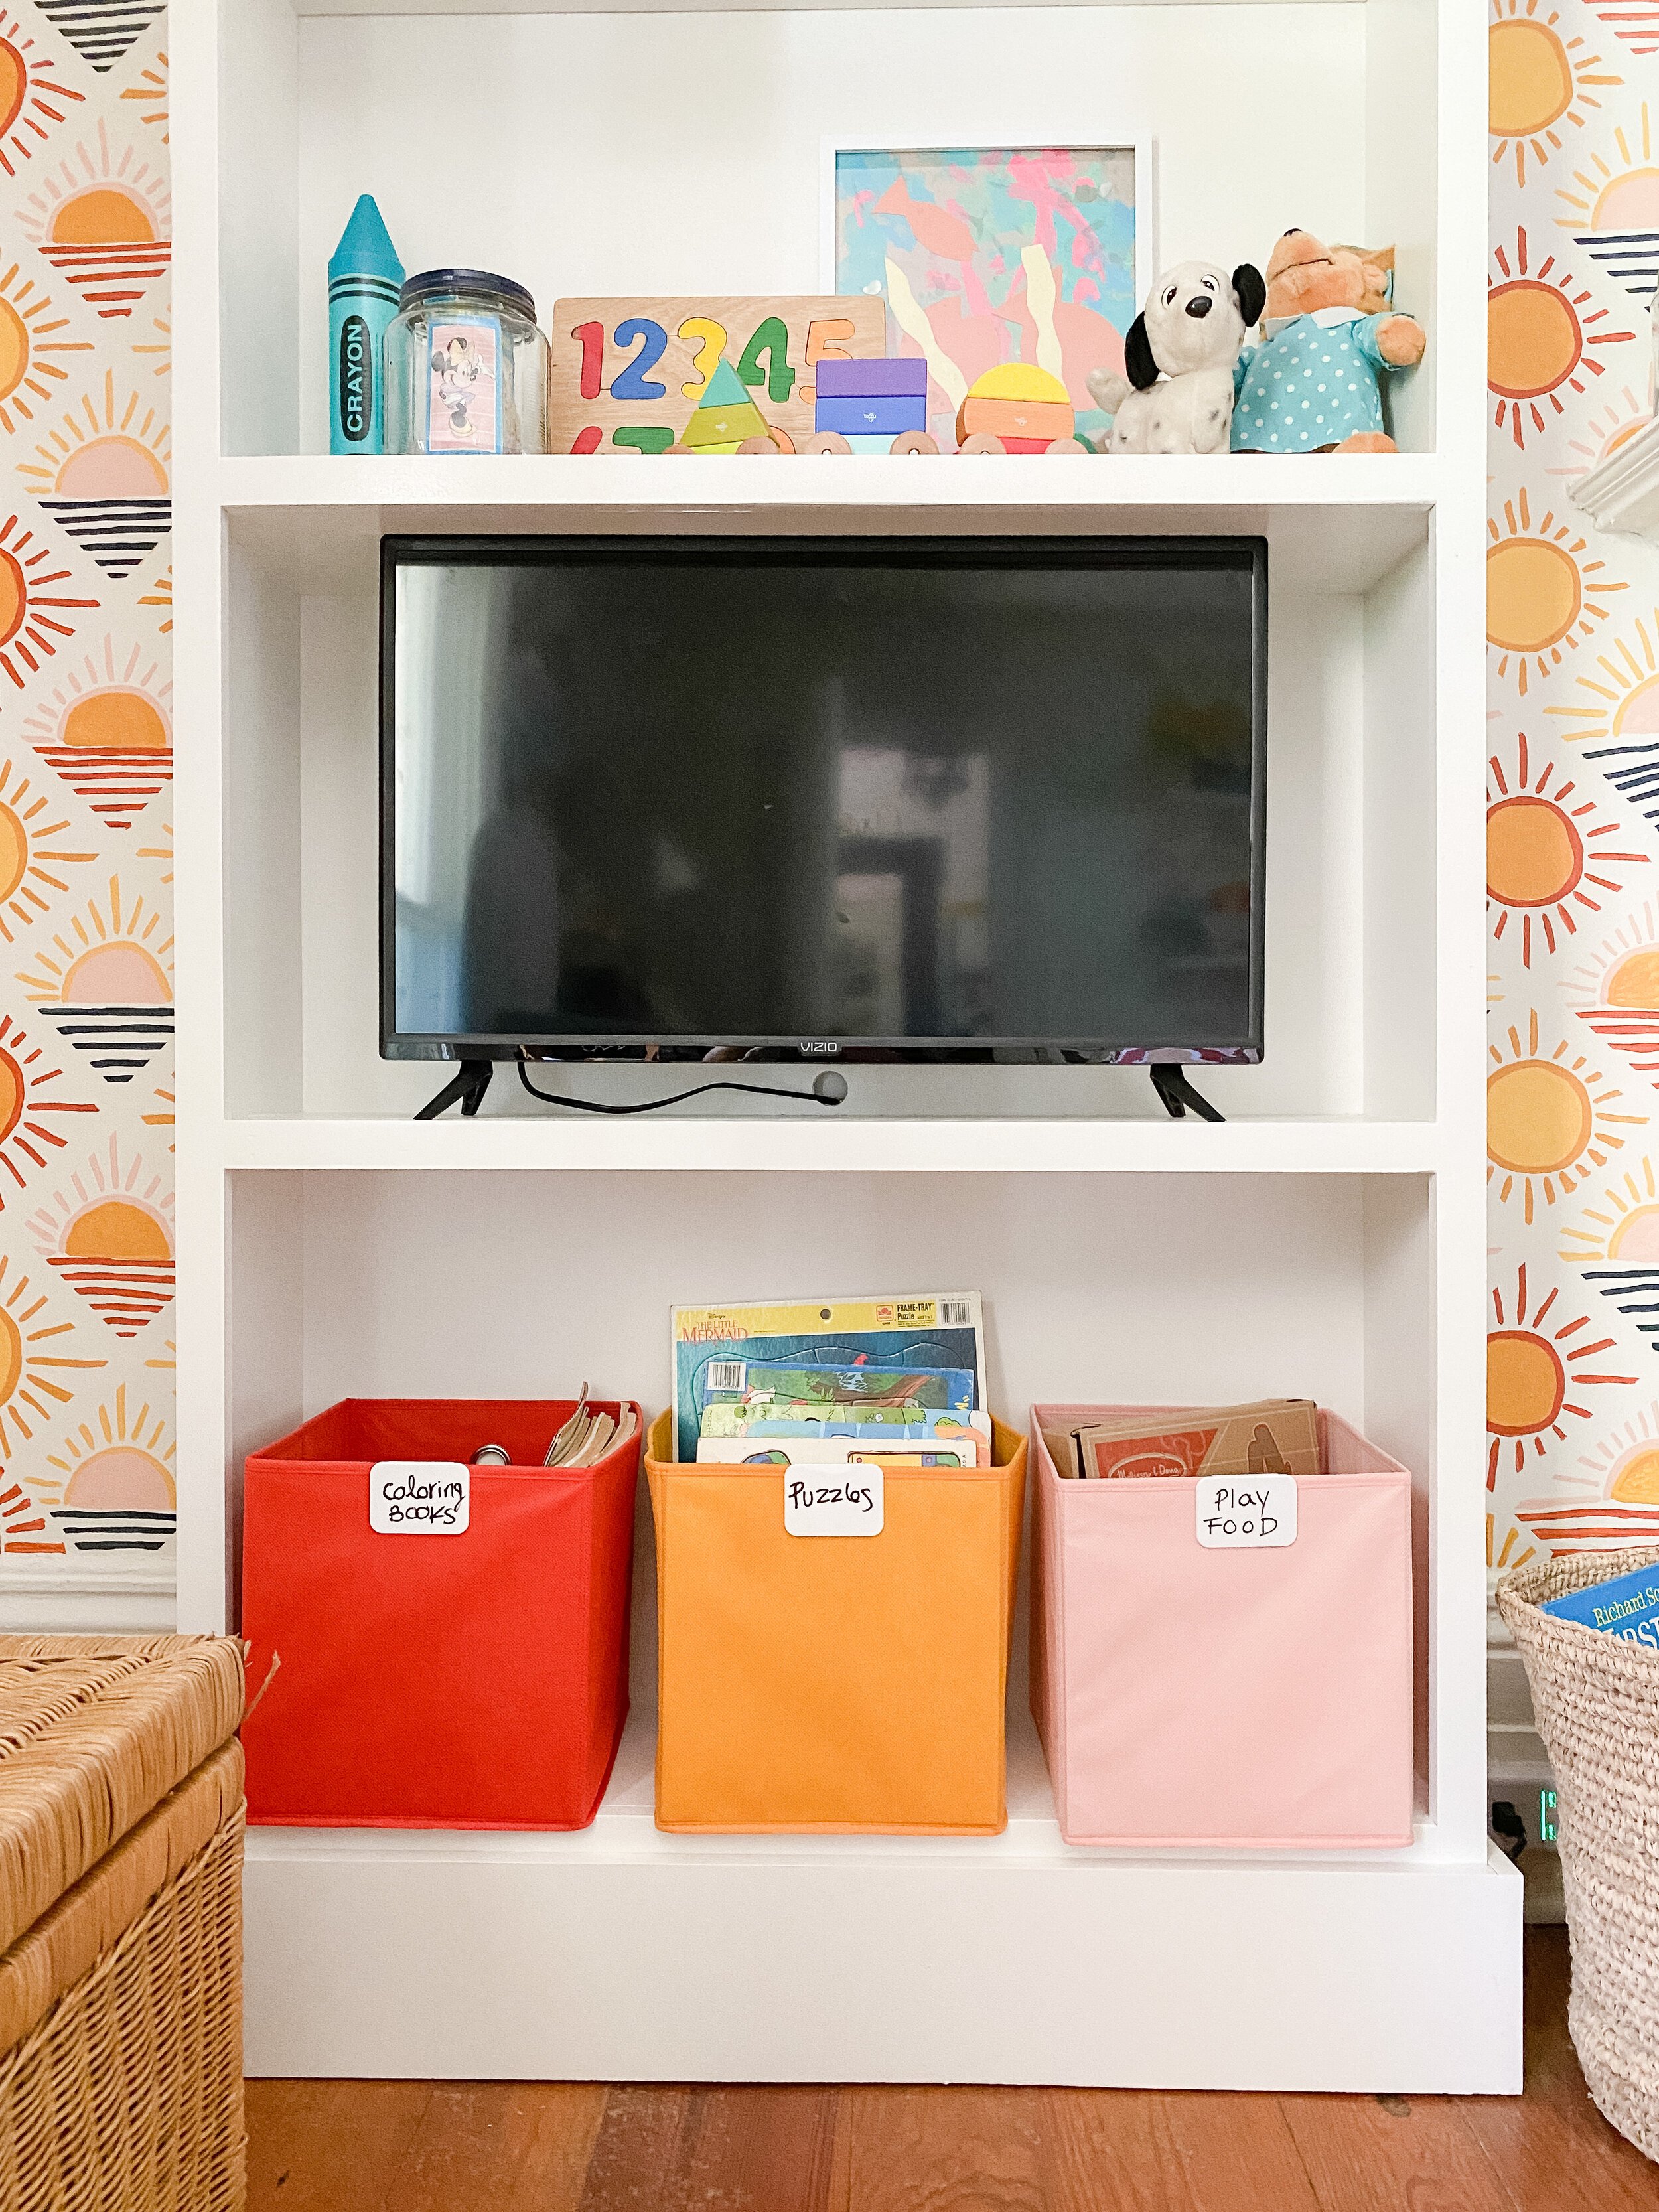
I also made sure that we could put the television inside one shelf so that it wasn’t the centerpiece of the room over the television. I may still move it up one shelf and put it on a swivel mount so it can be pulled out and moved depending on where you are sitting in the room. I love having this extra storage space and the focal point it creates for the room. Also an unintended bonus was that it was less painting for me because I didn’t have to fill the entire wall!


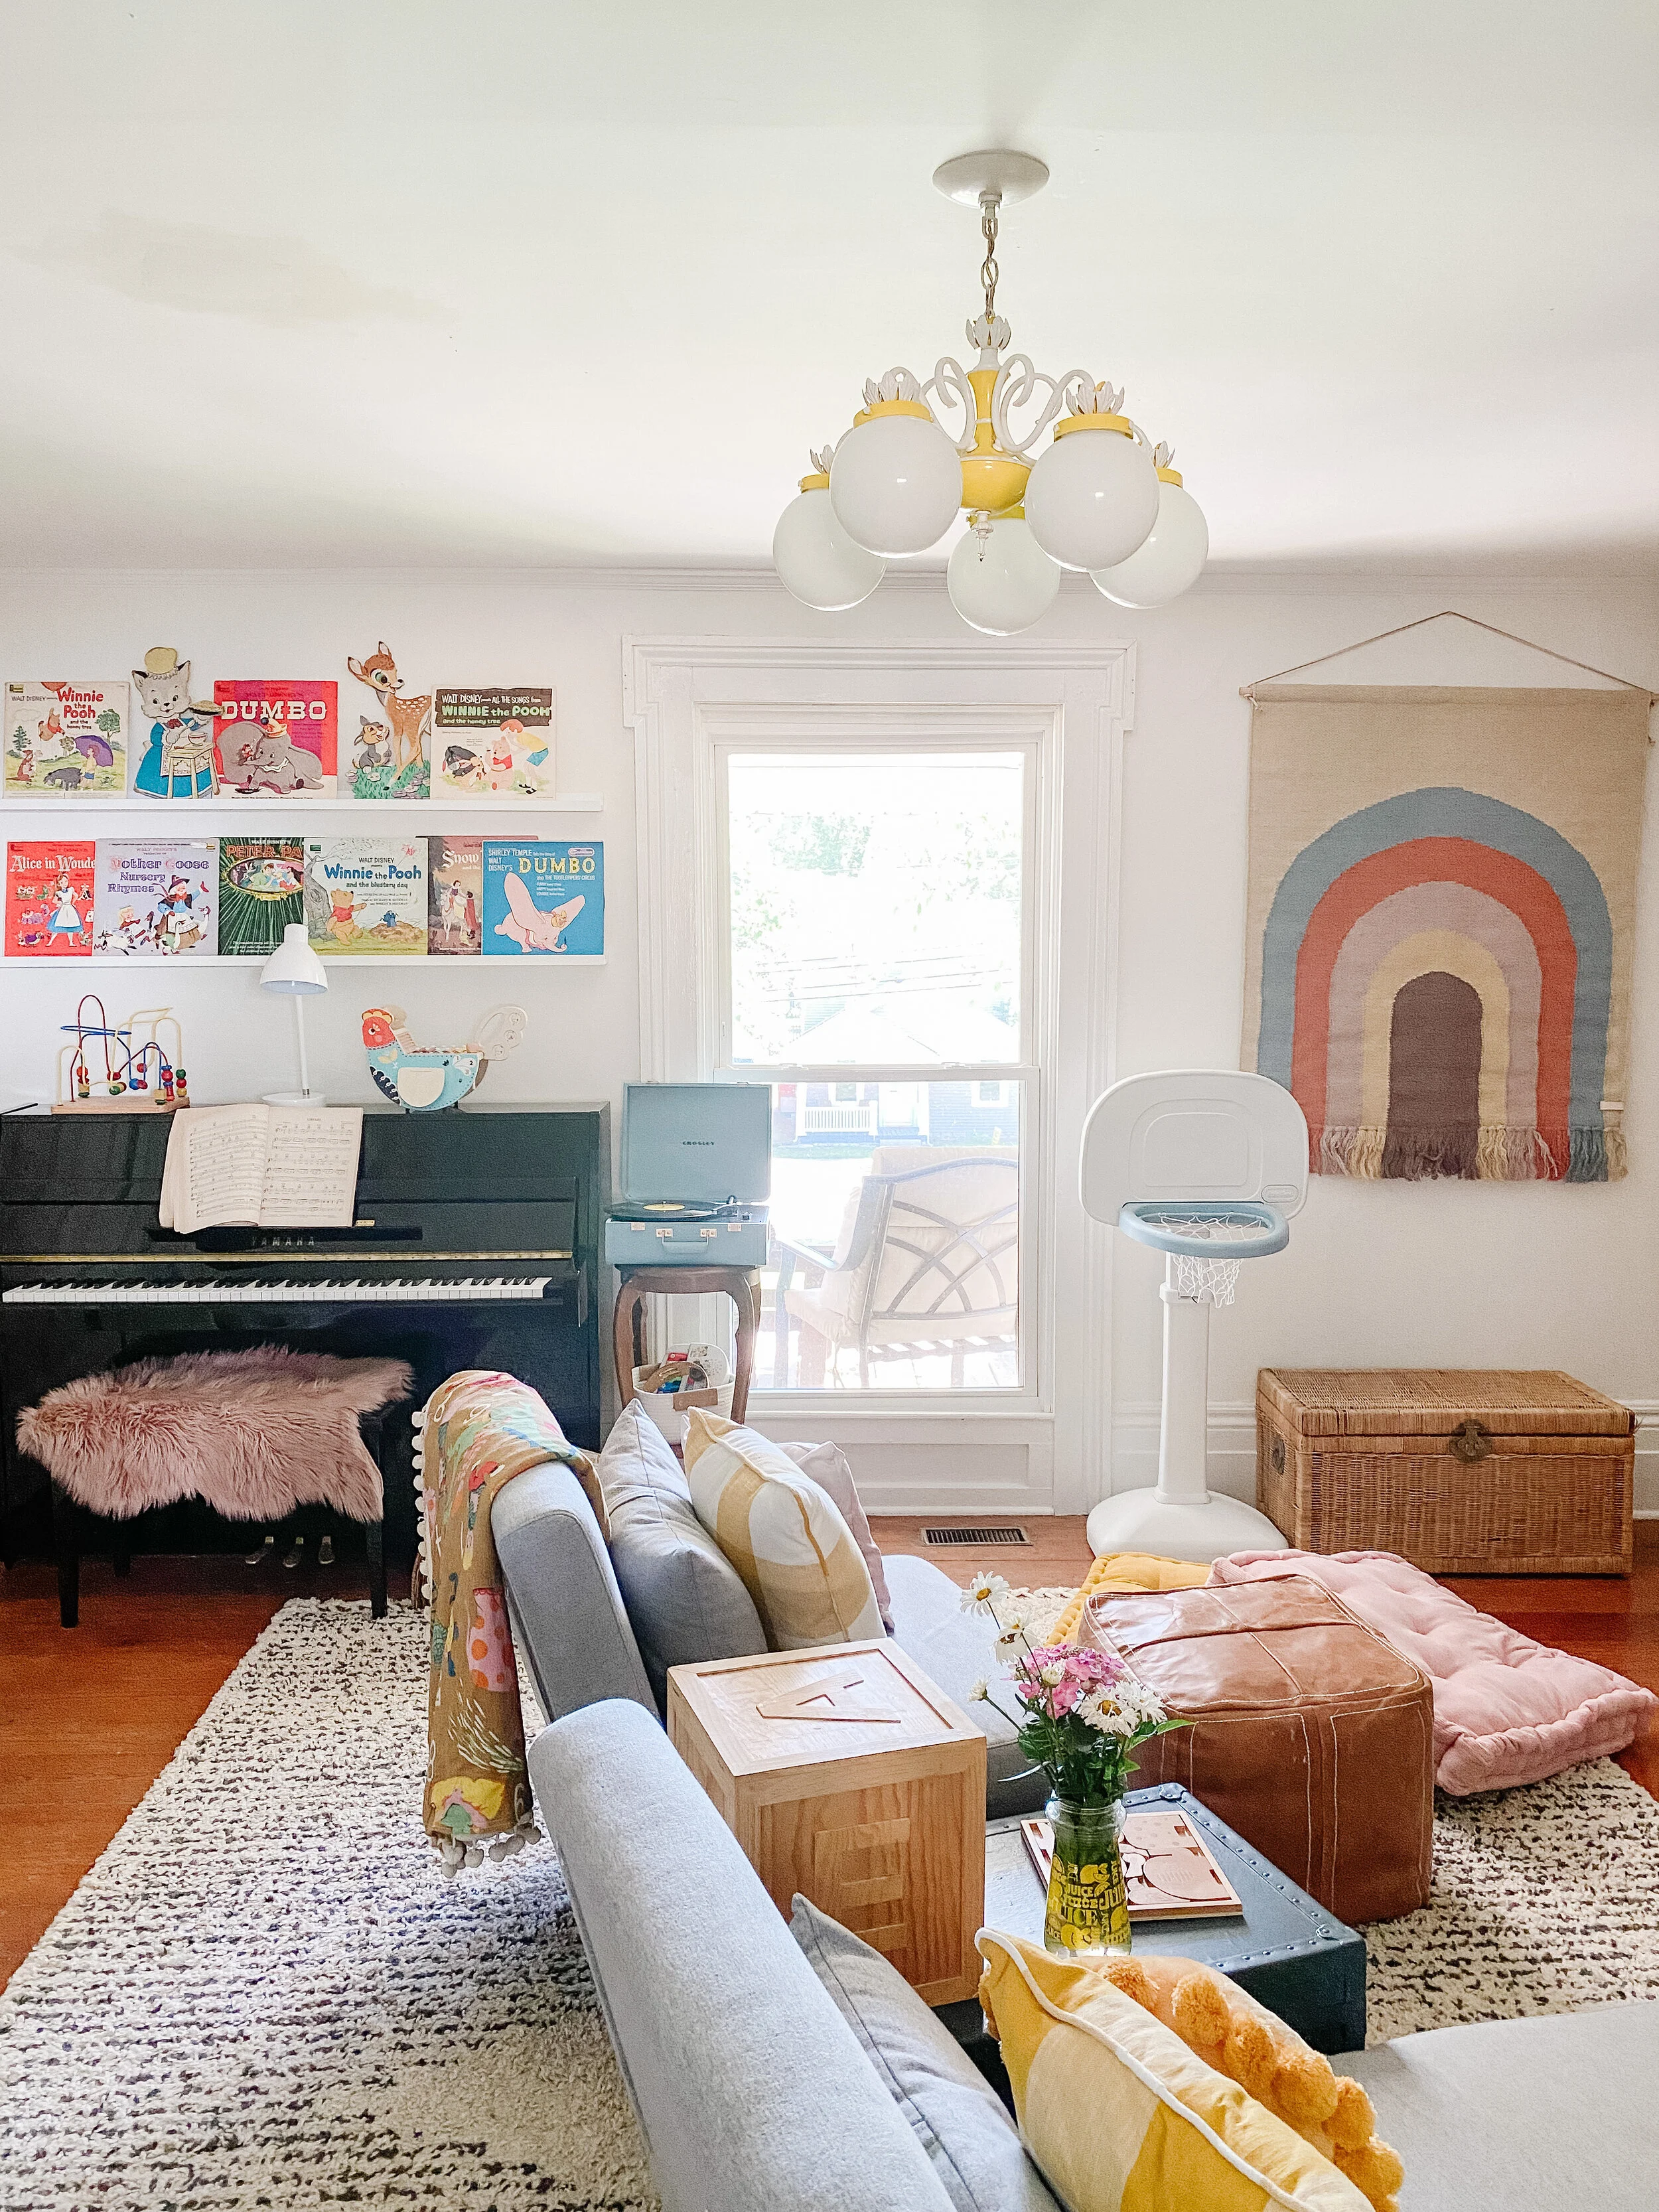
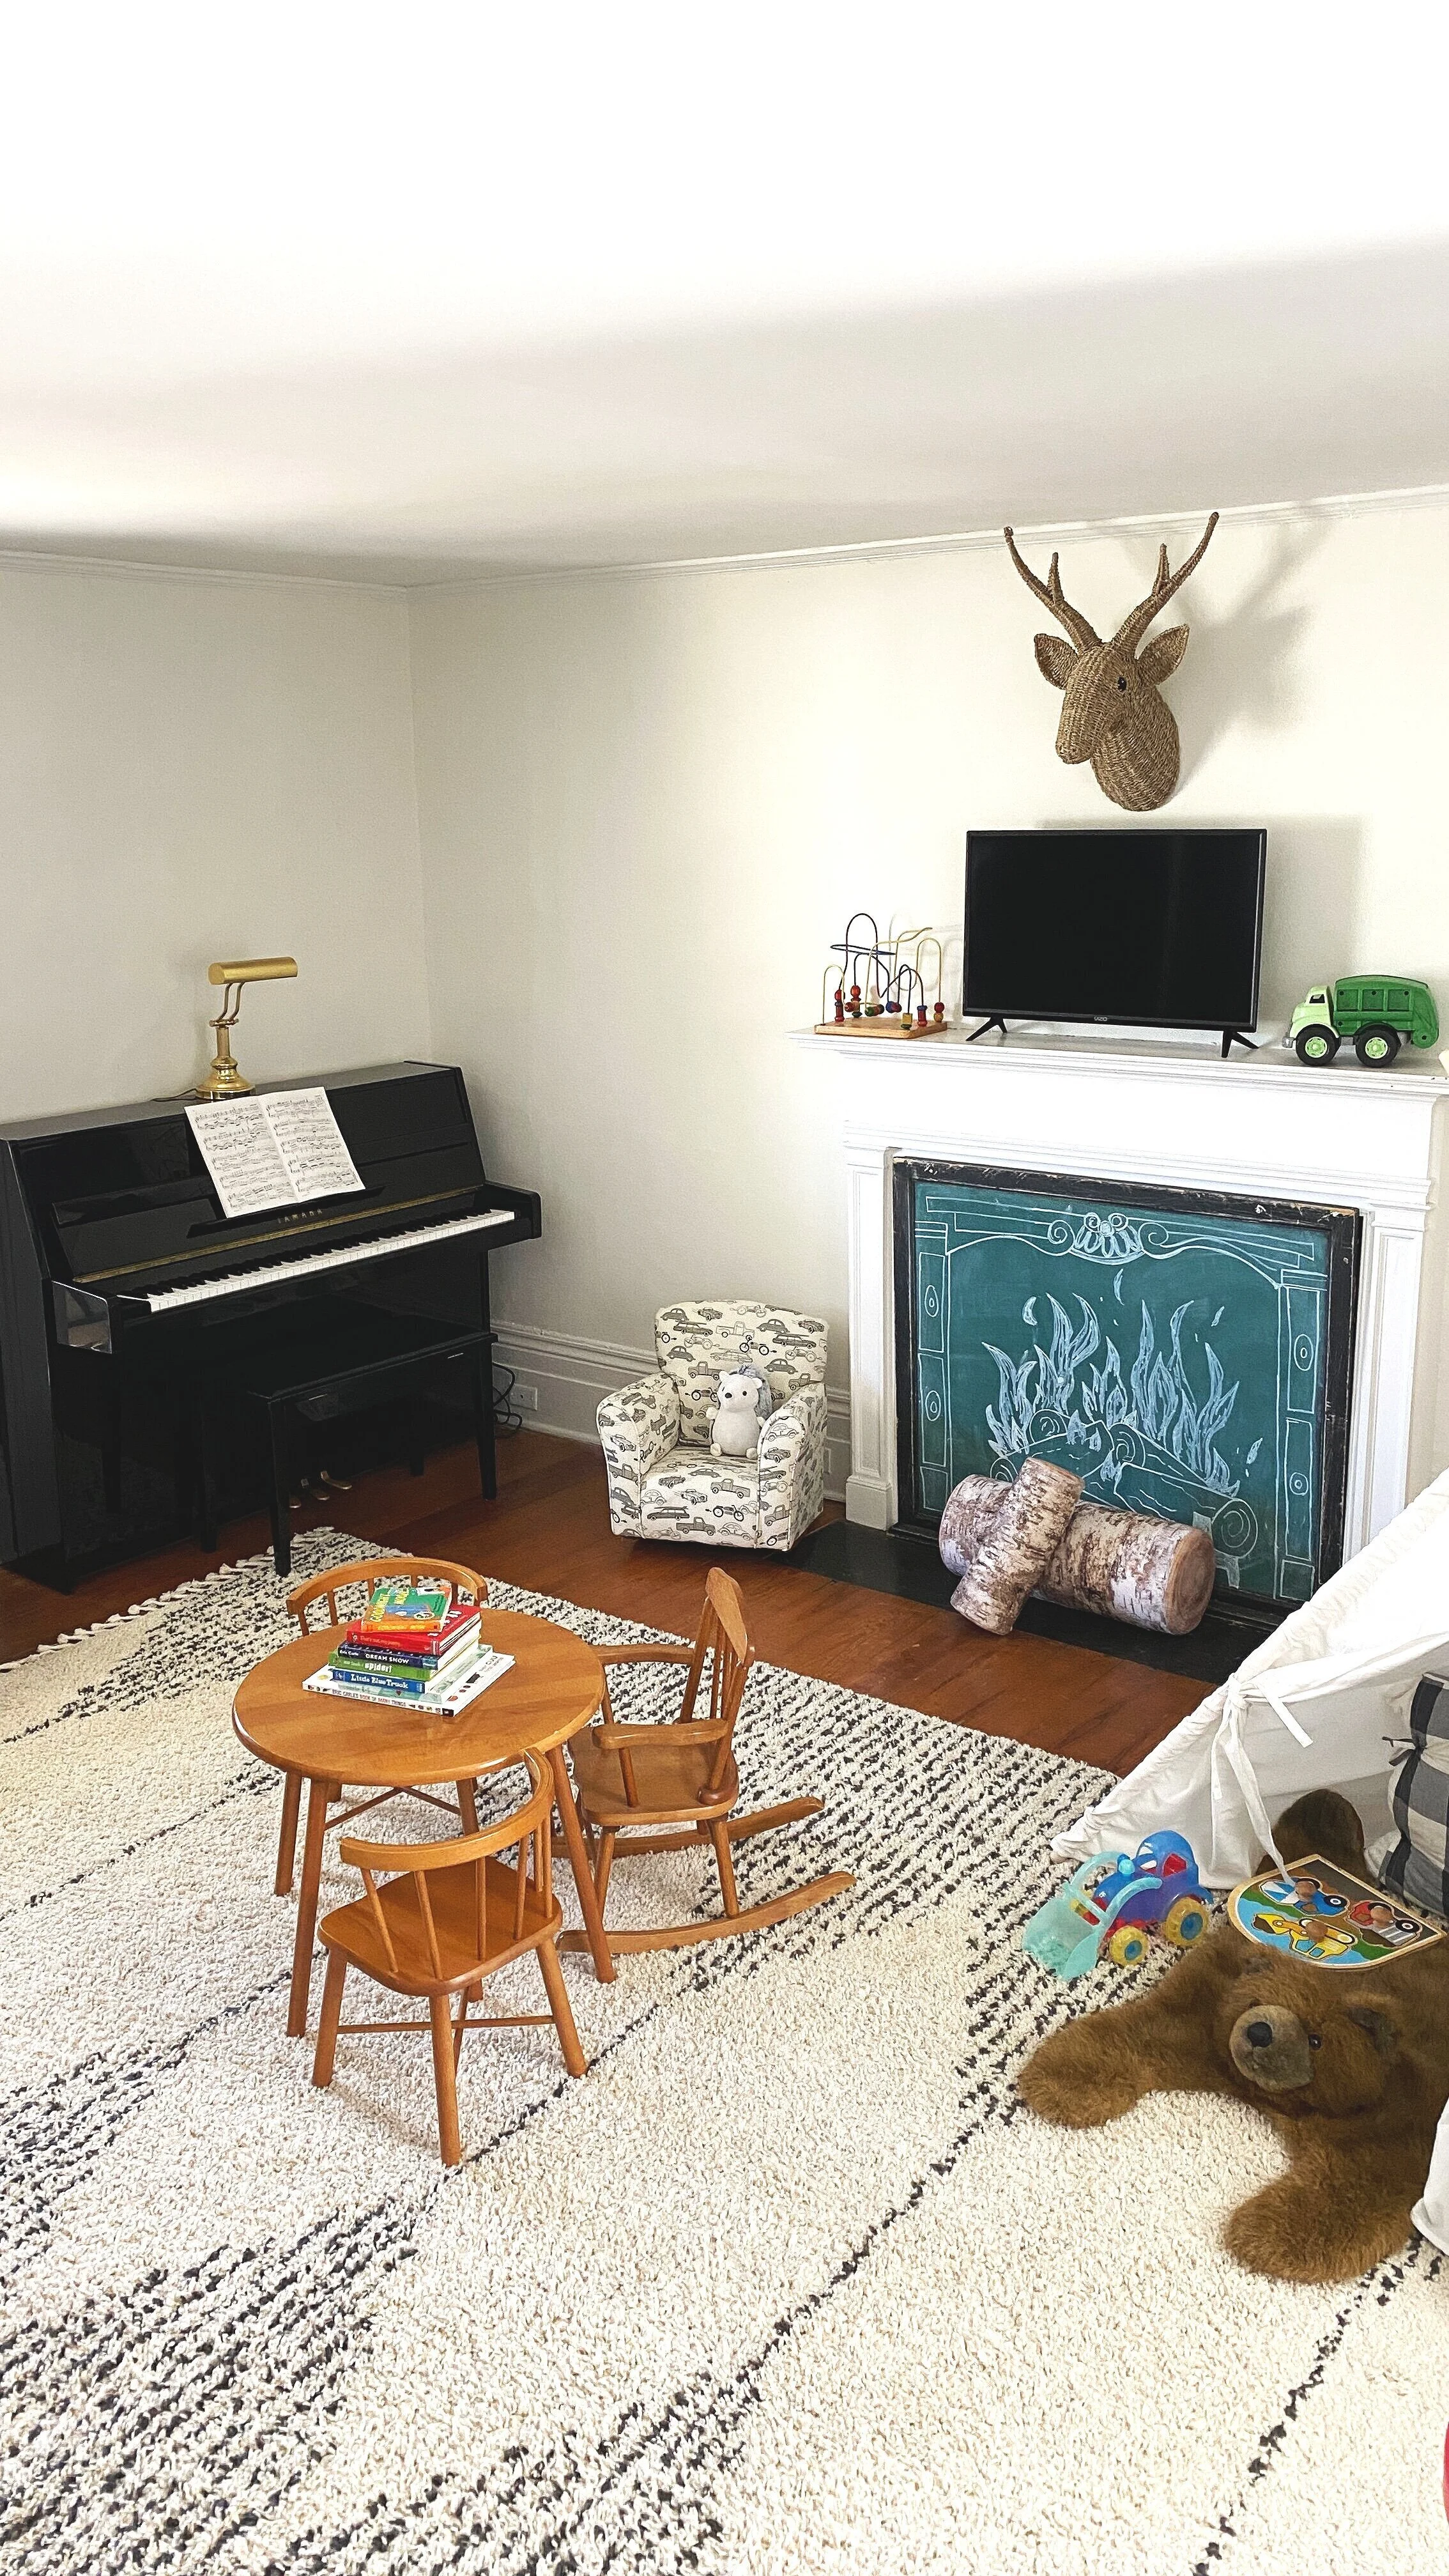
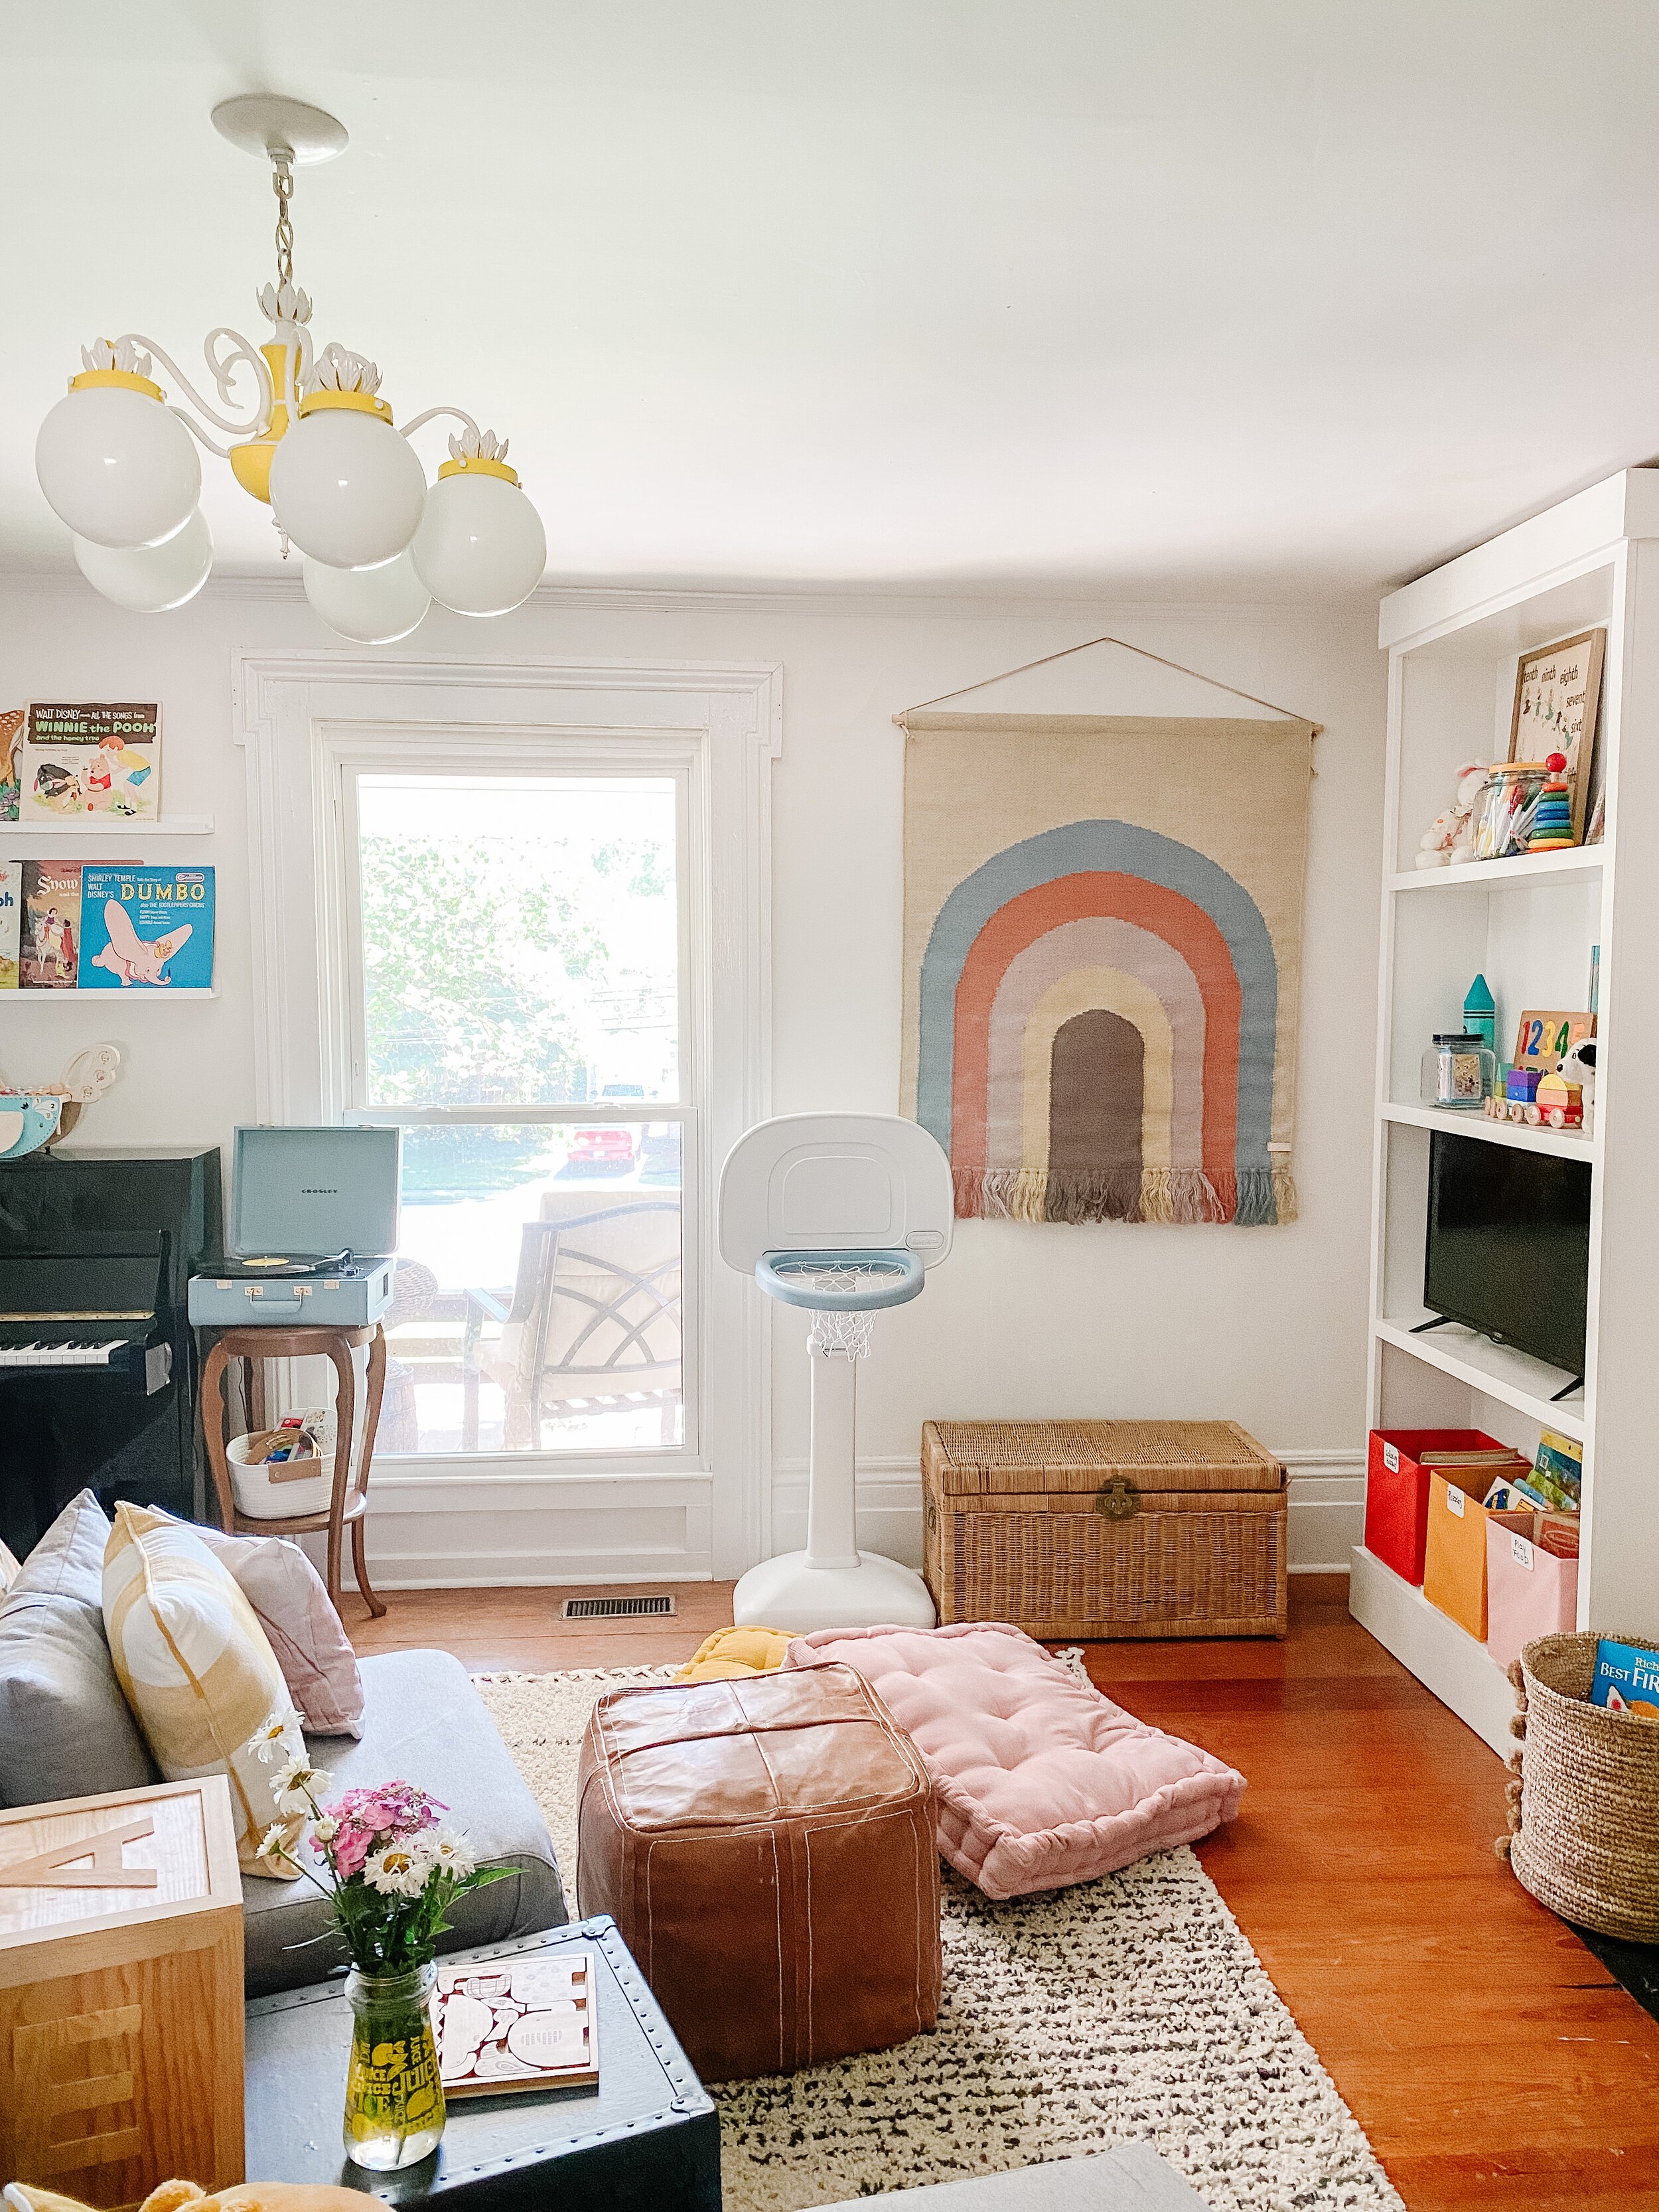
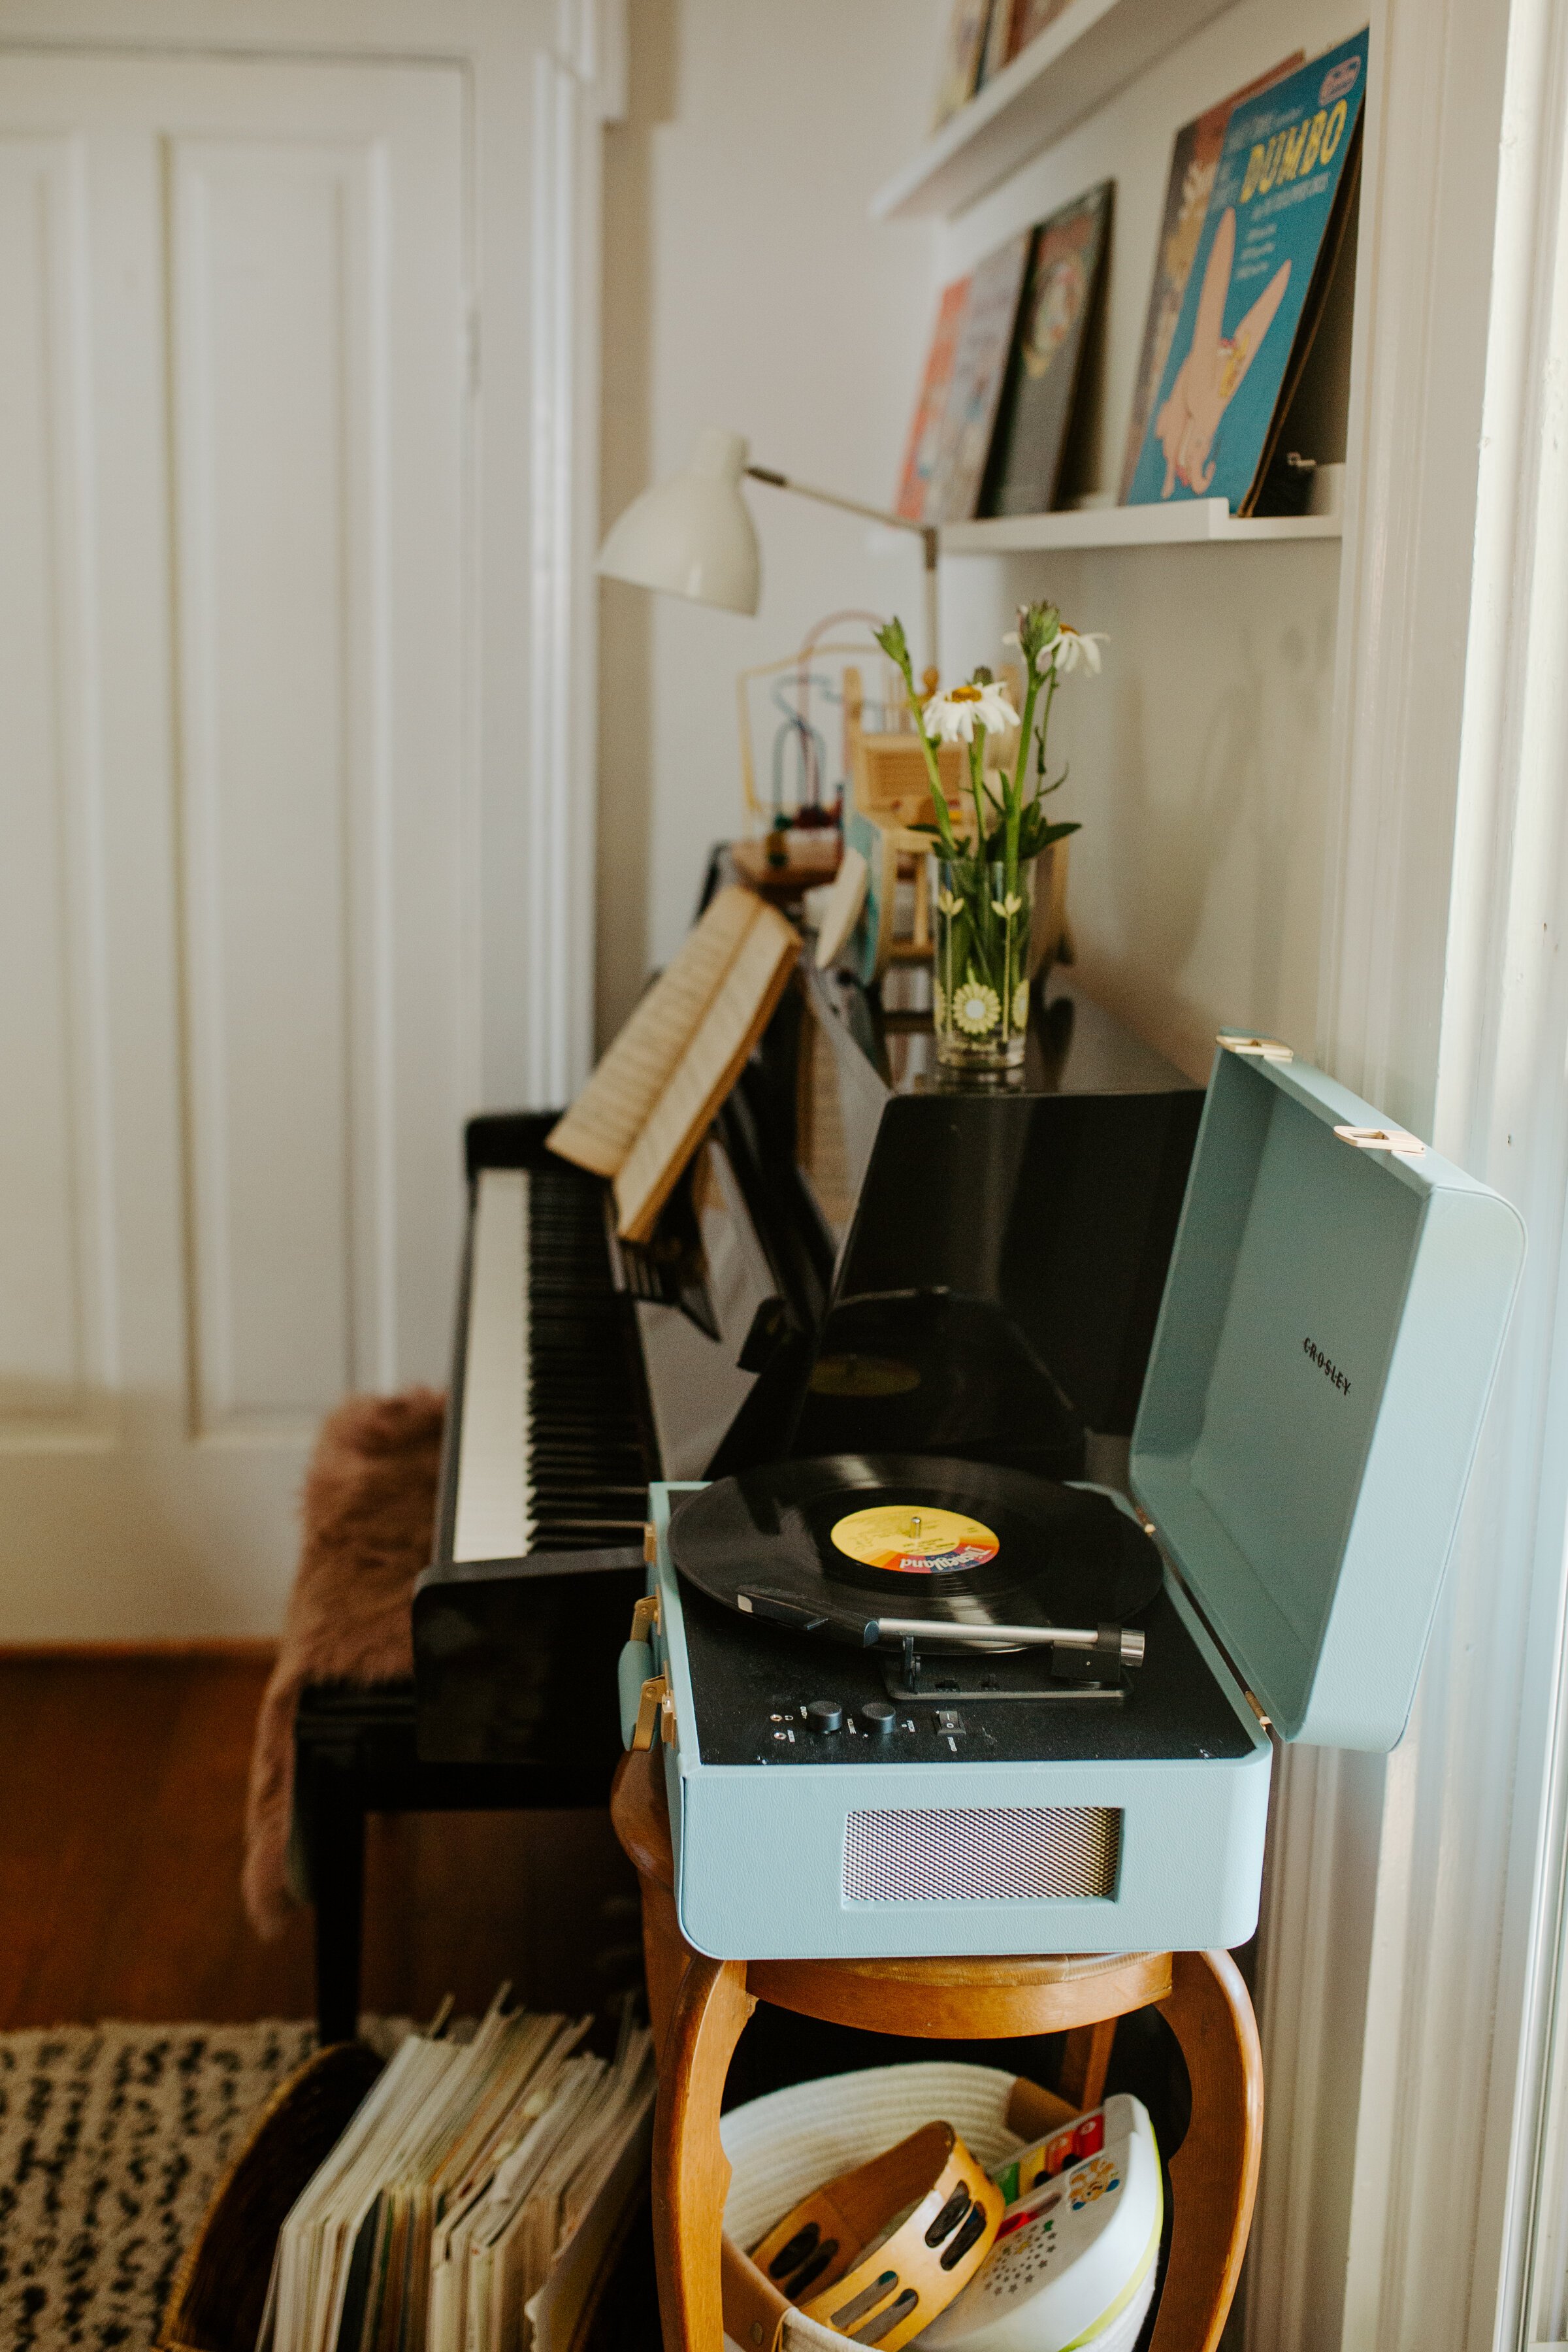
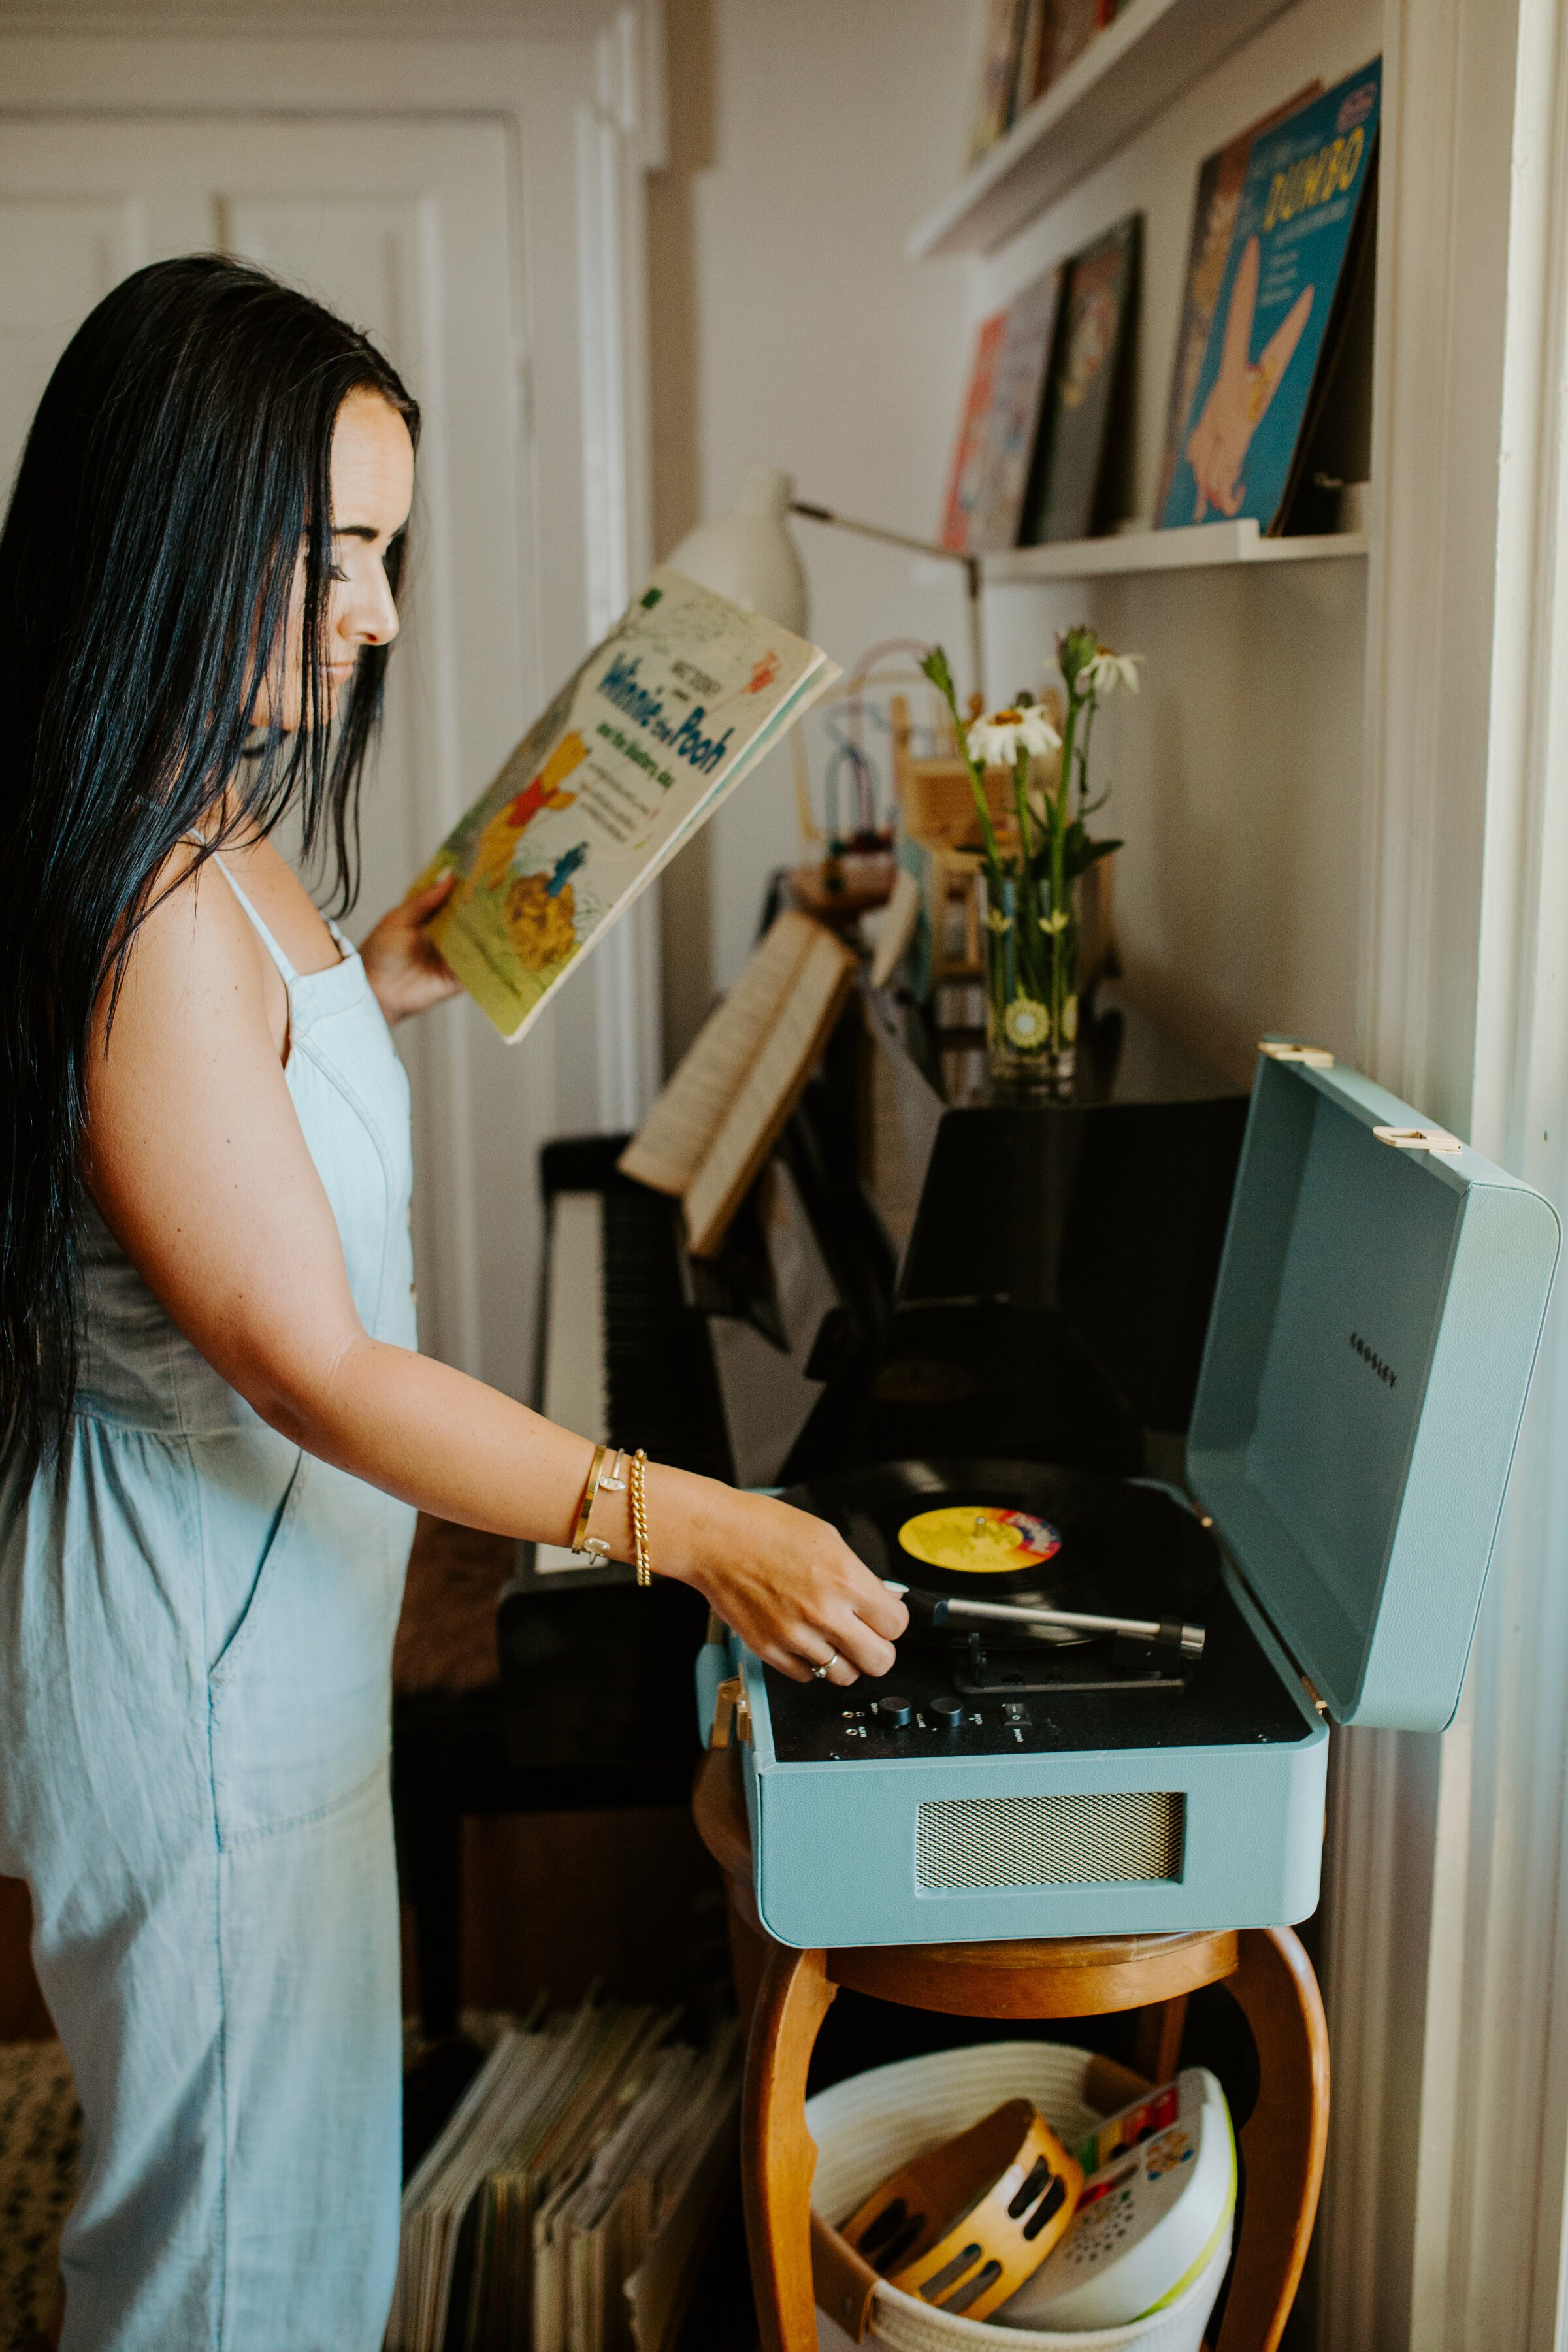
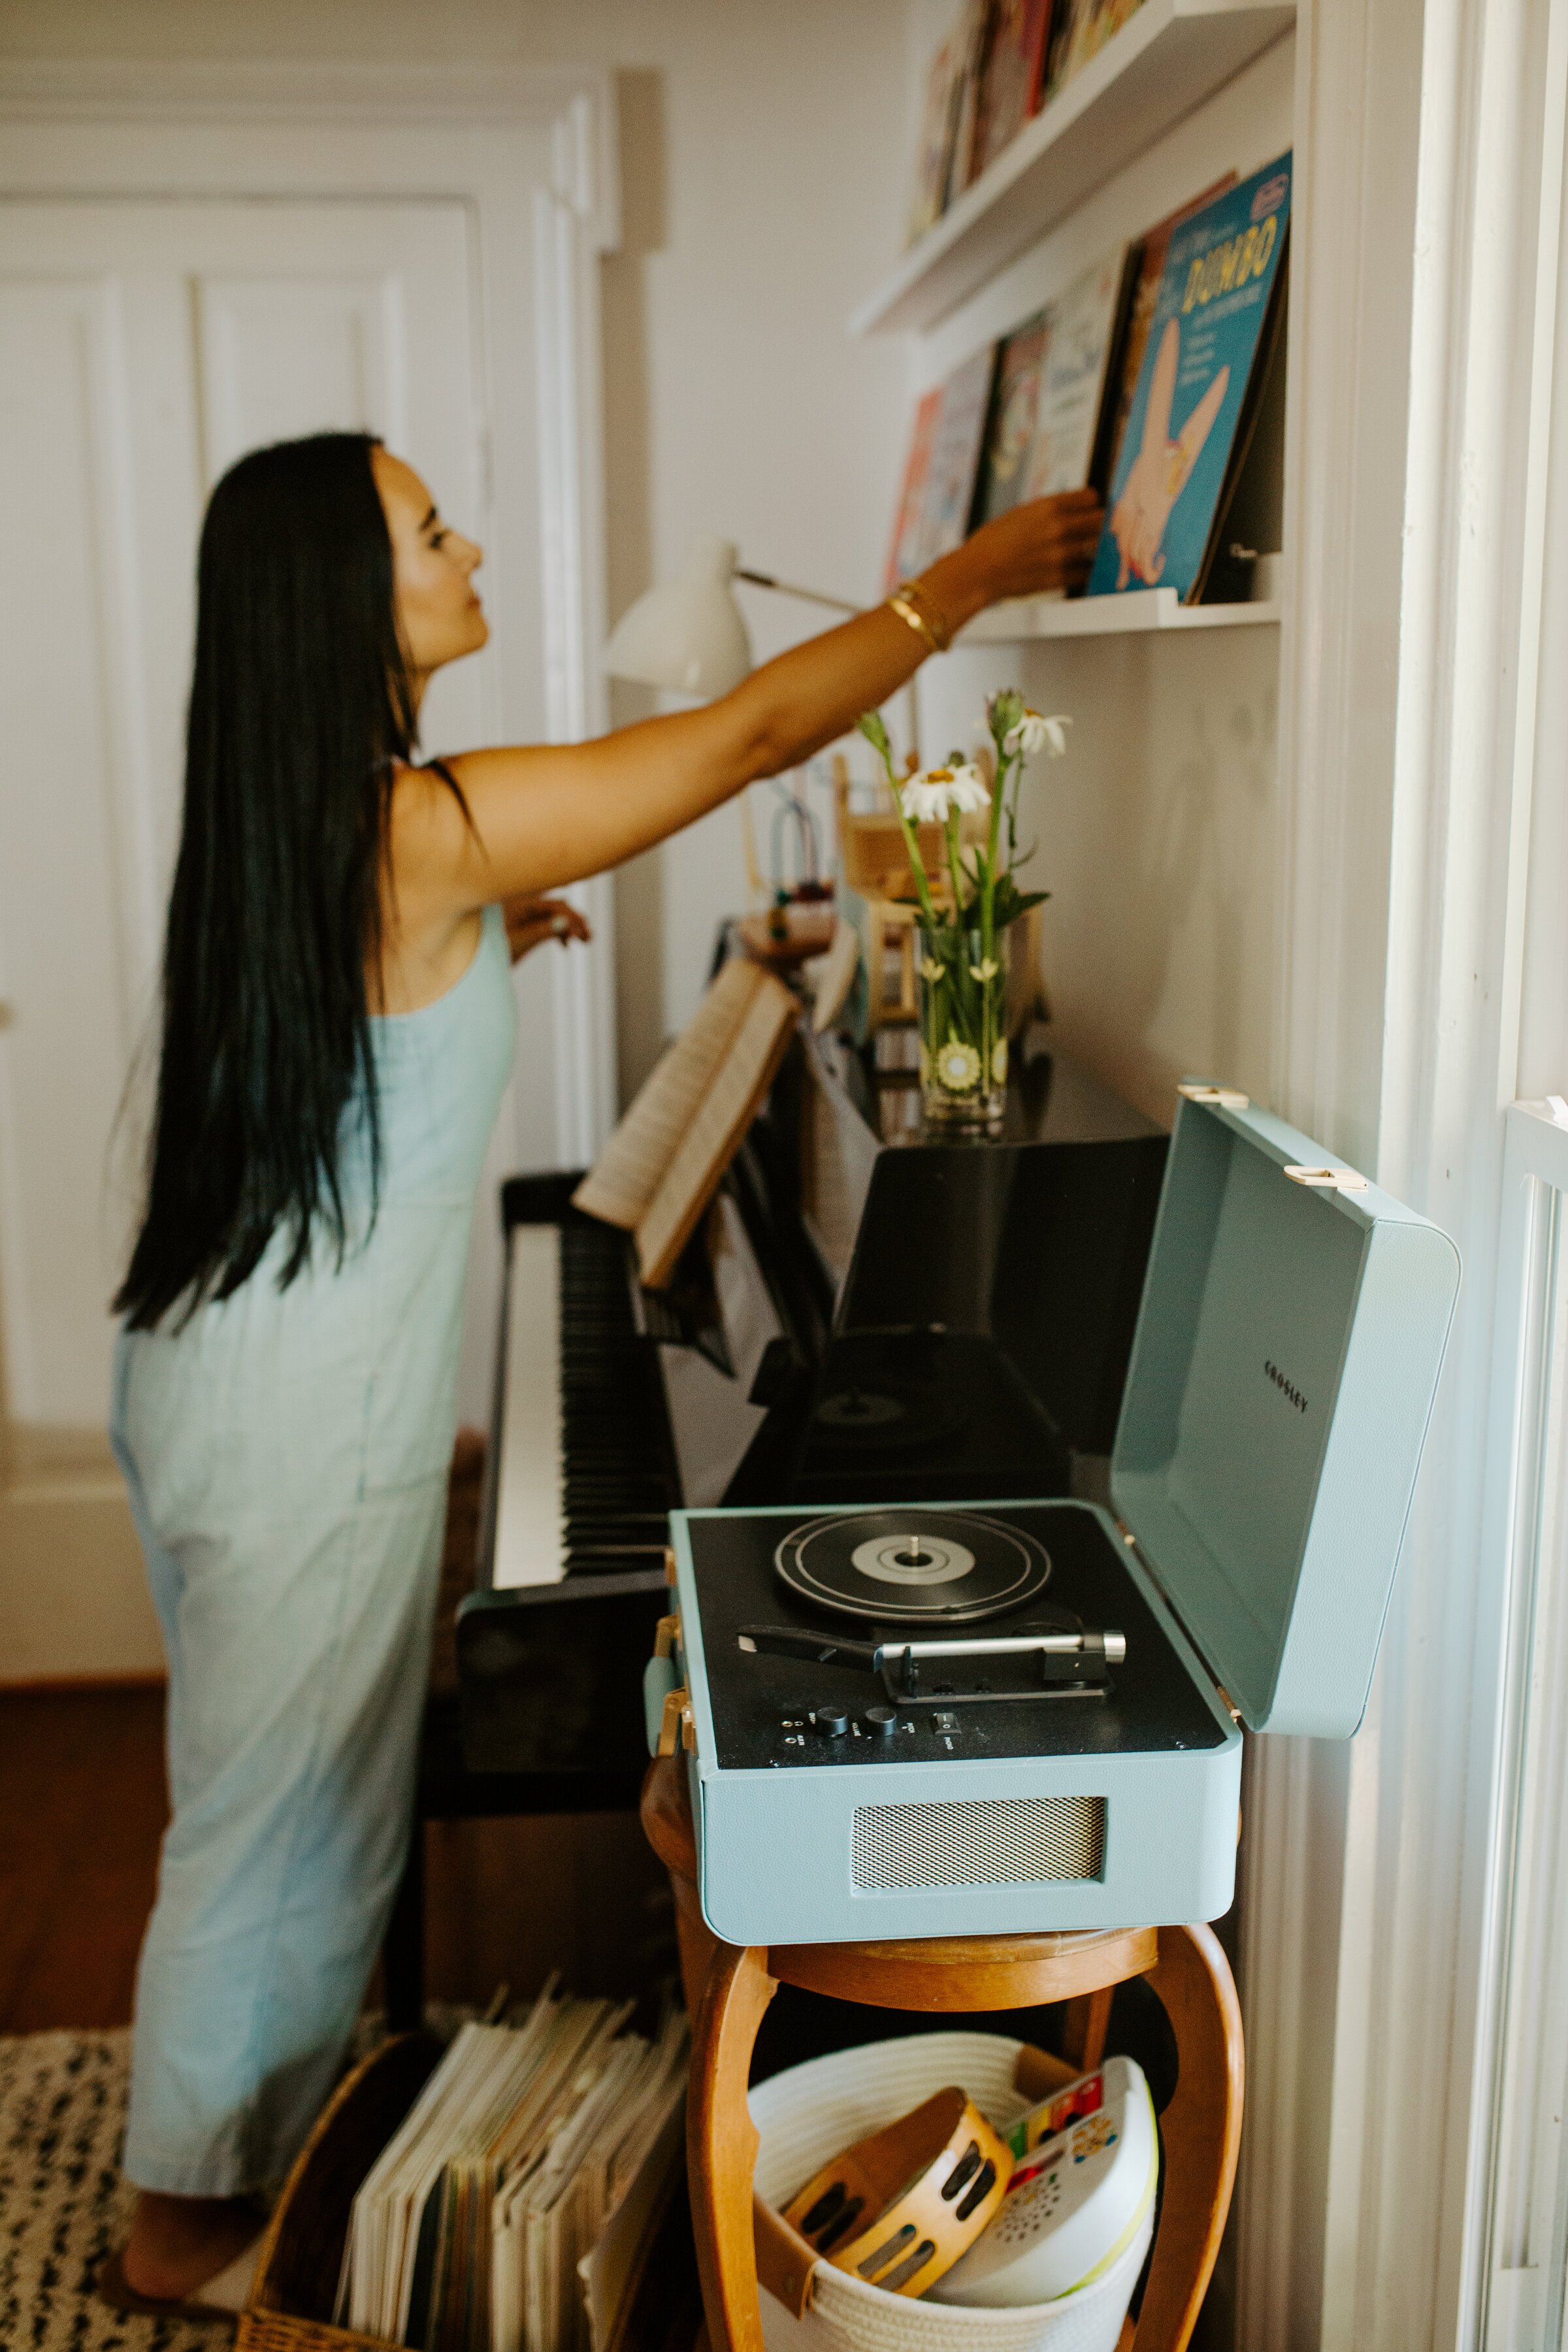
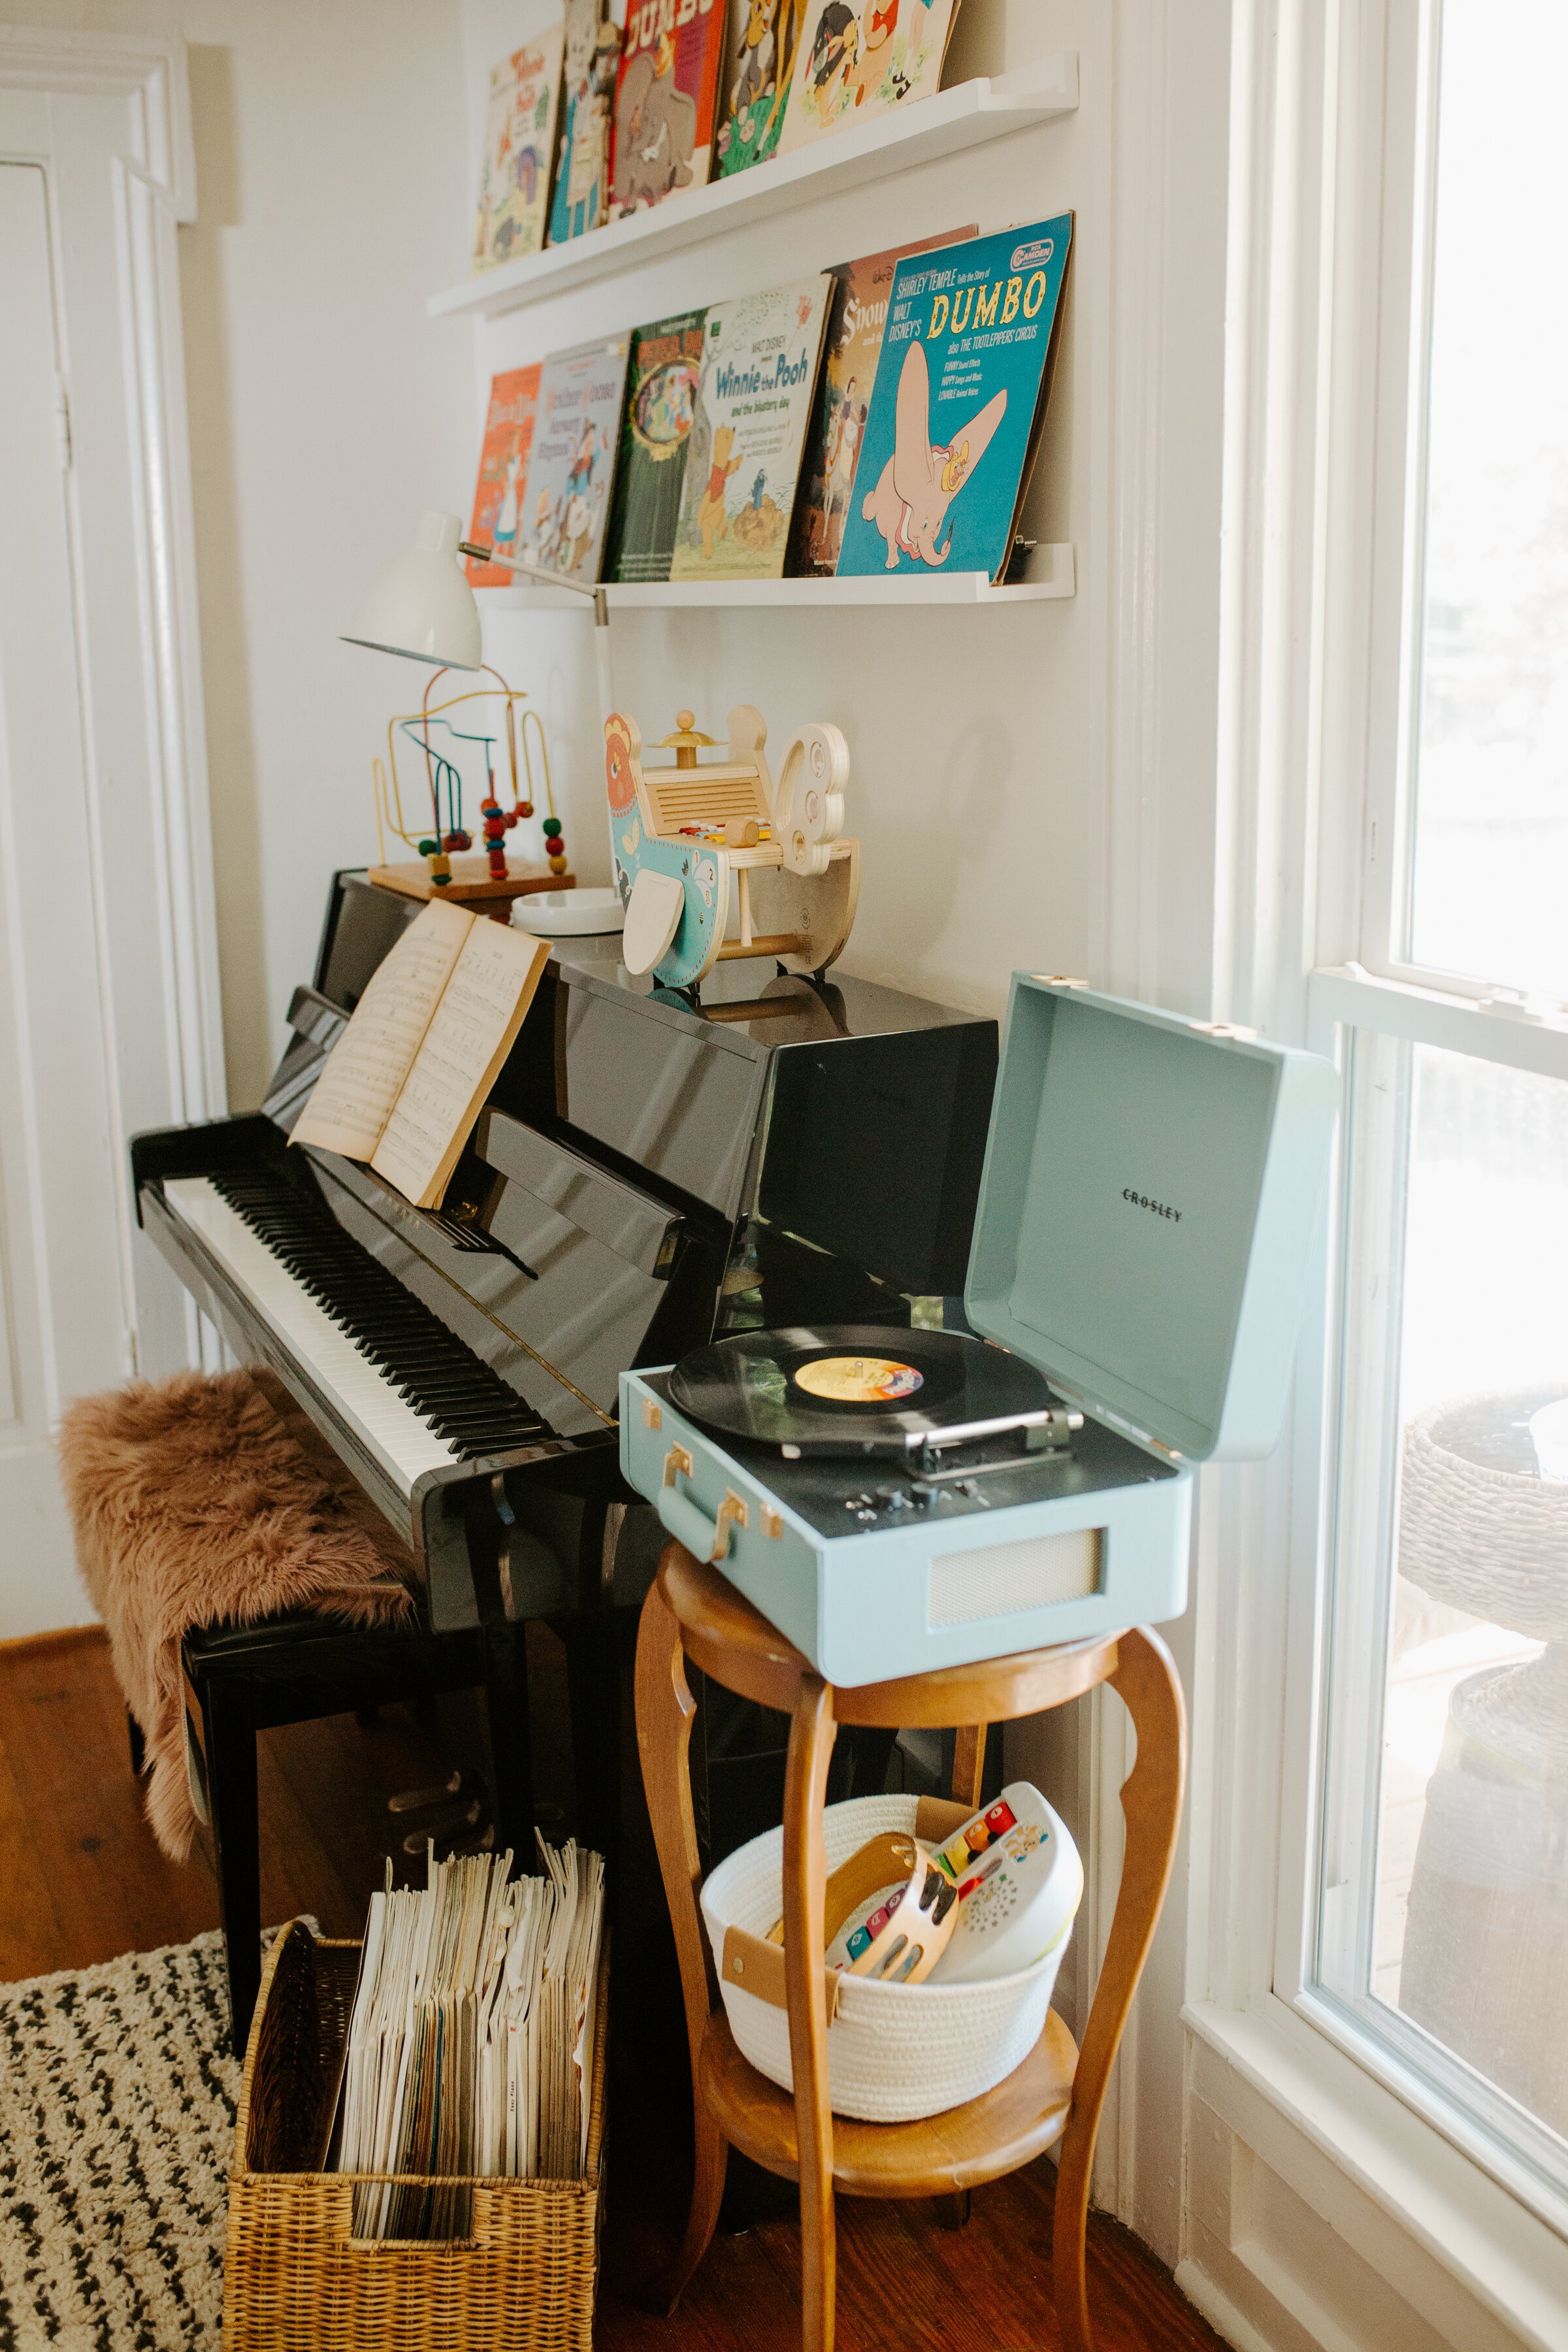
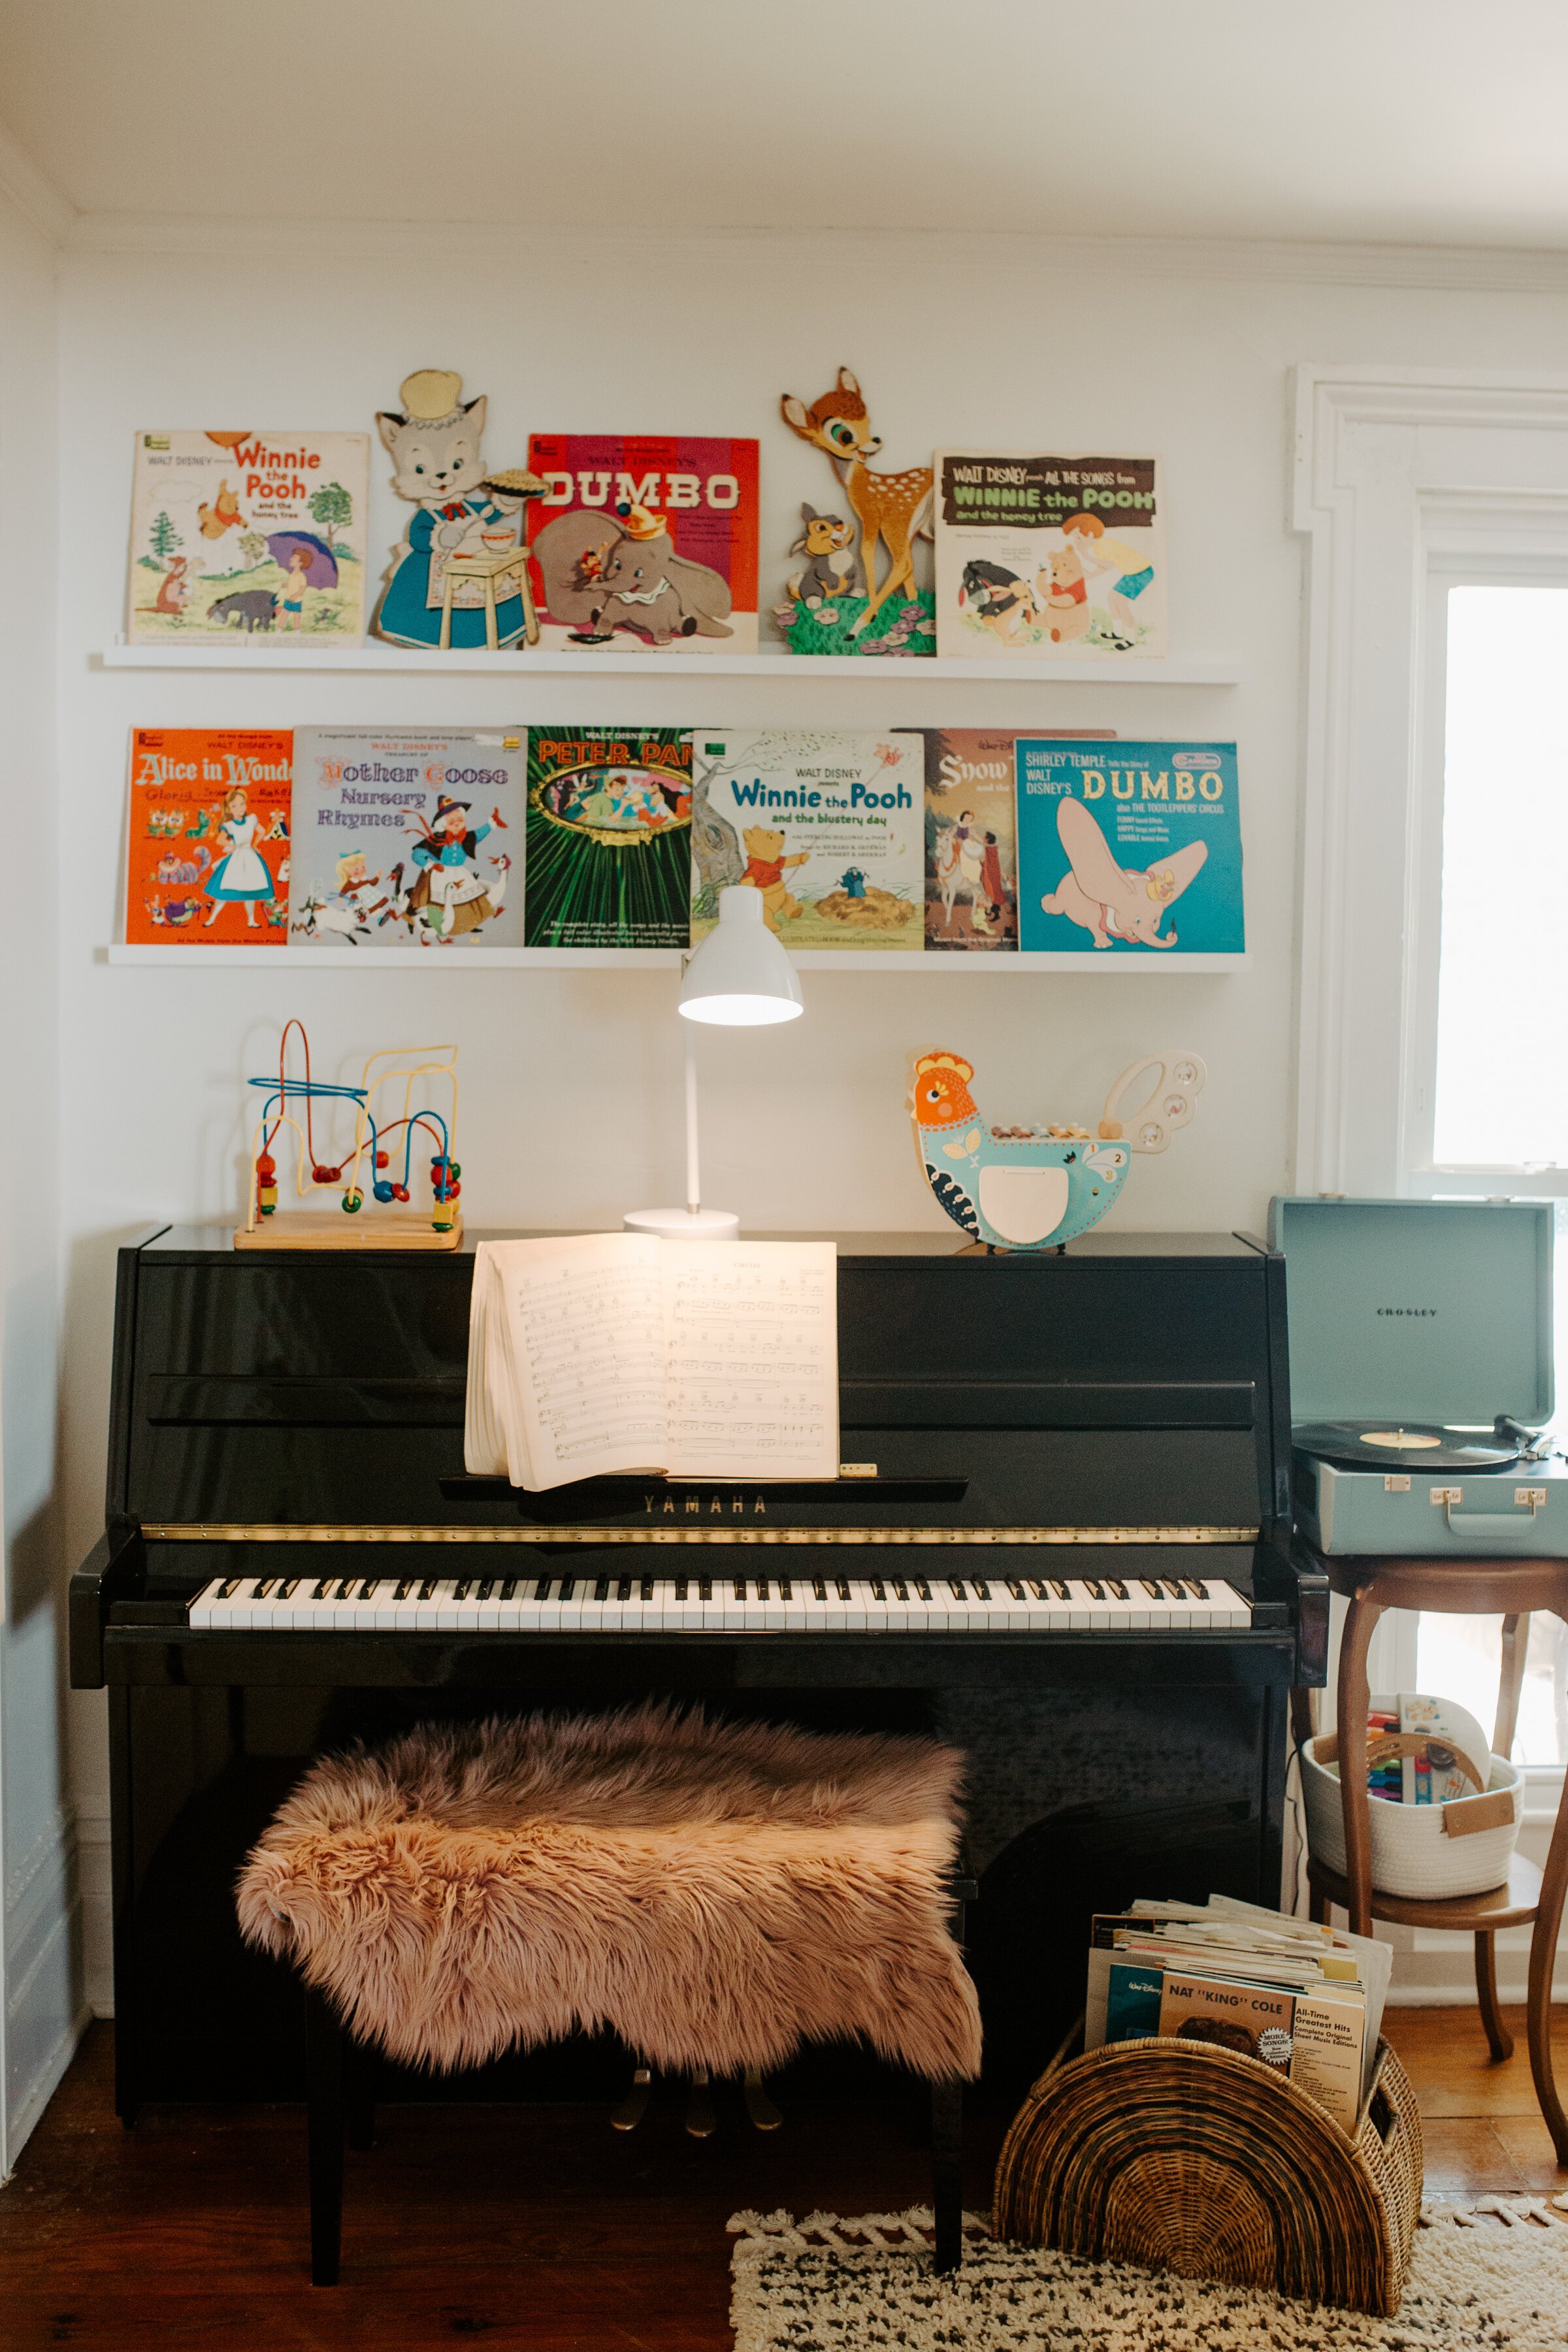
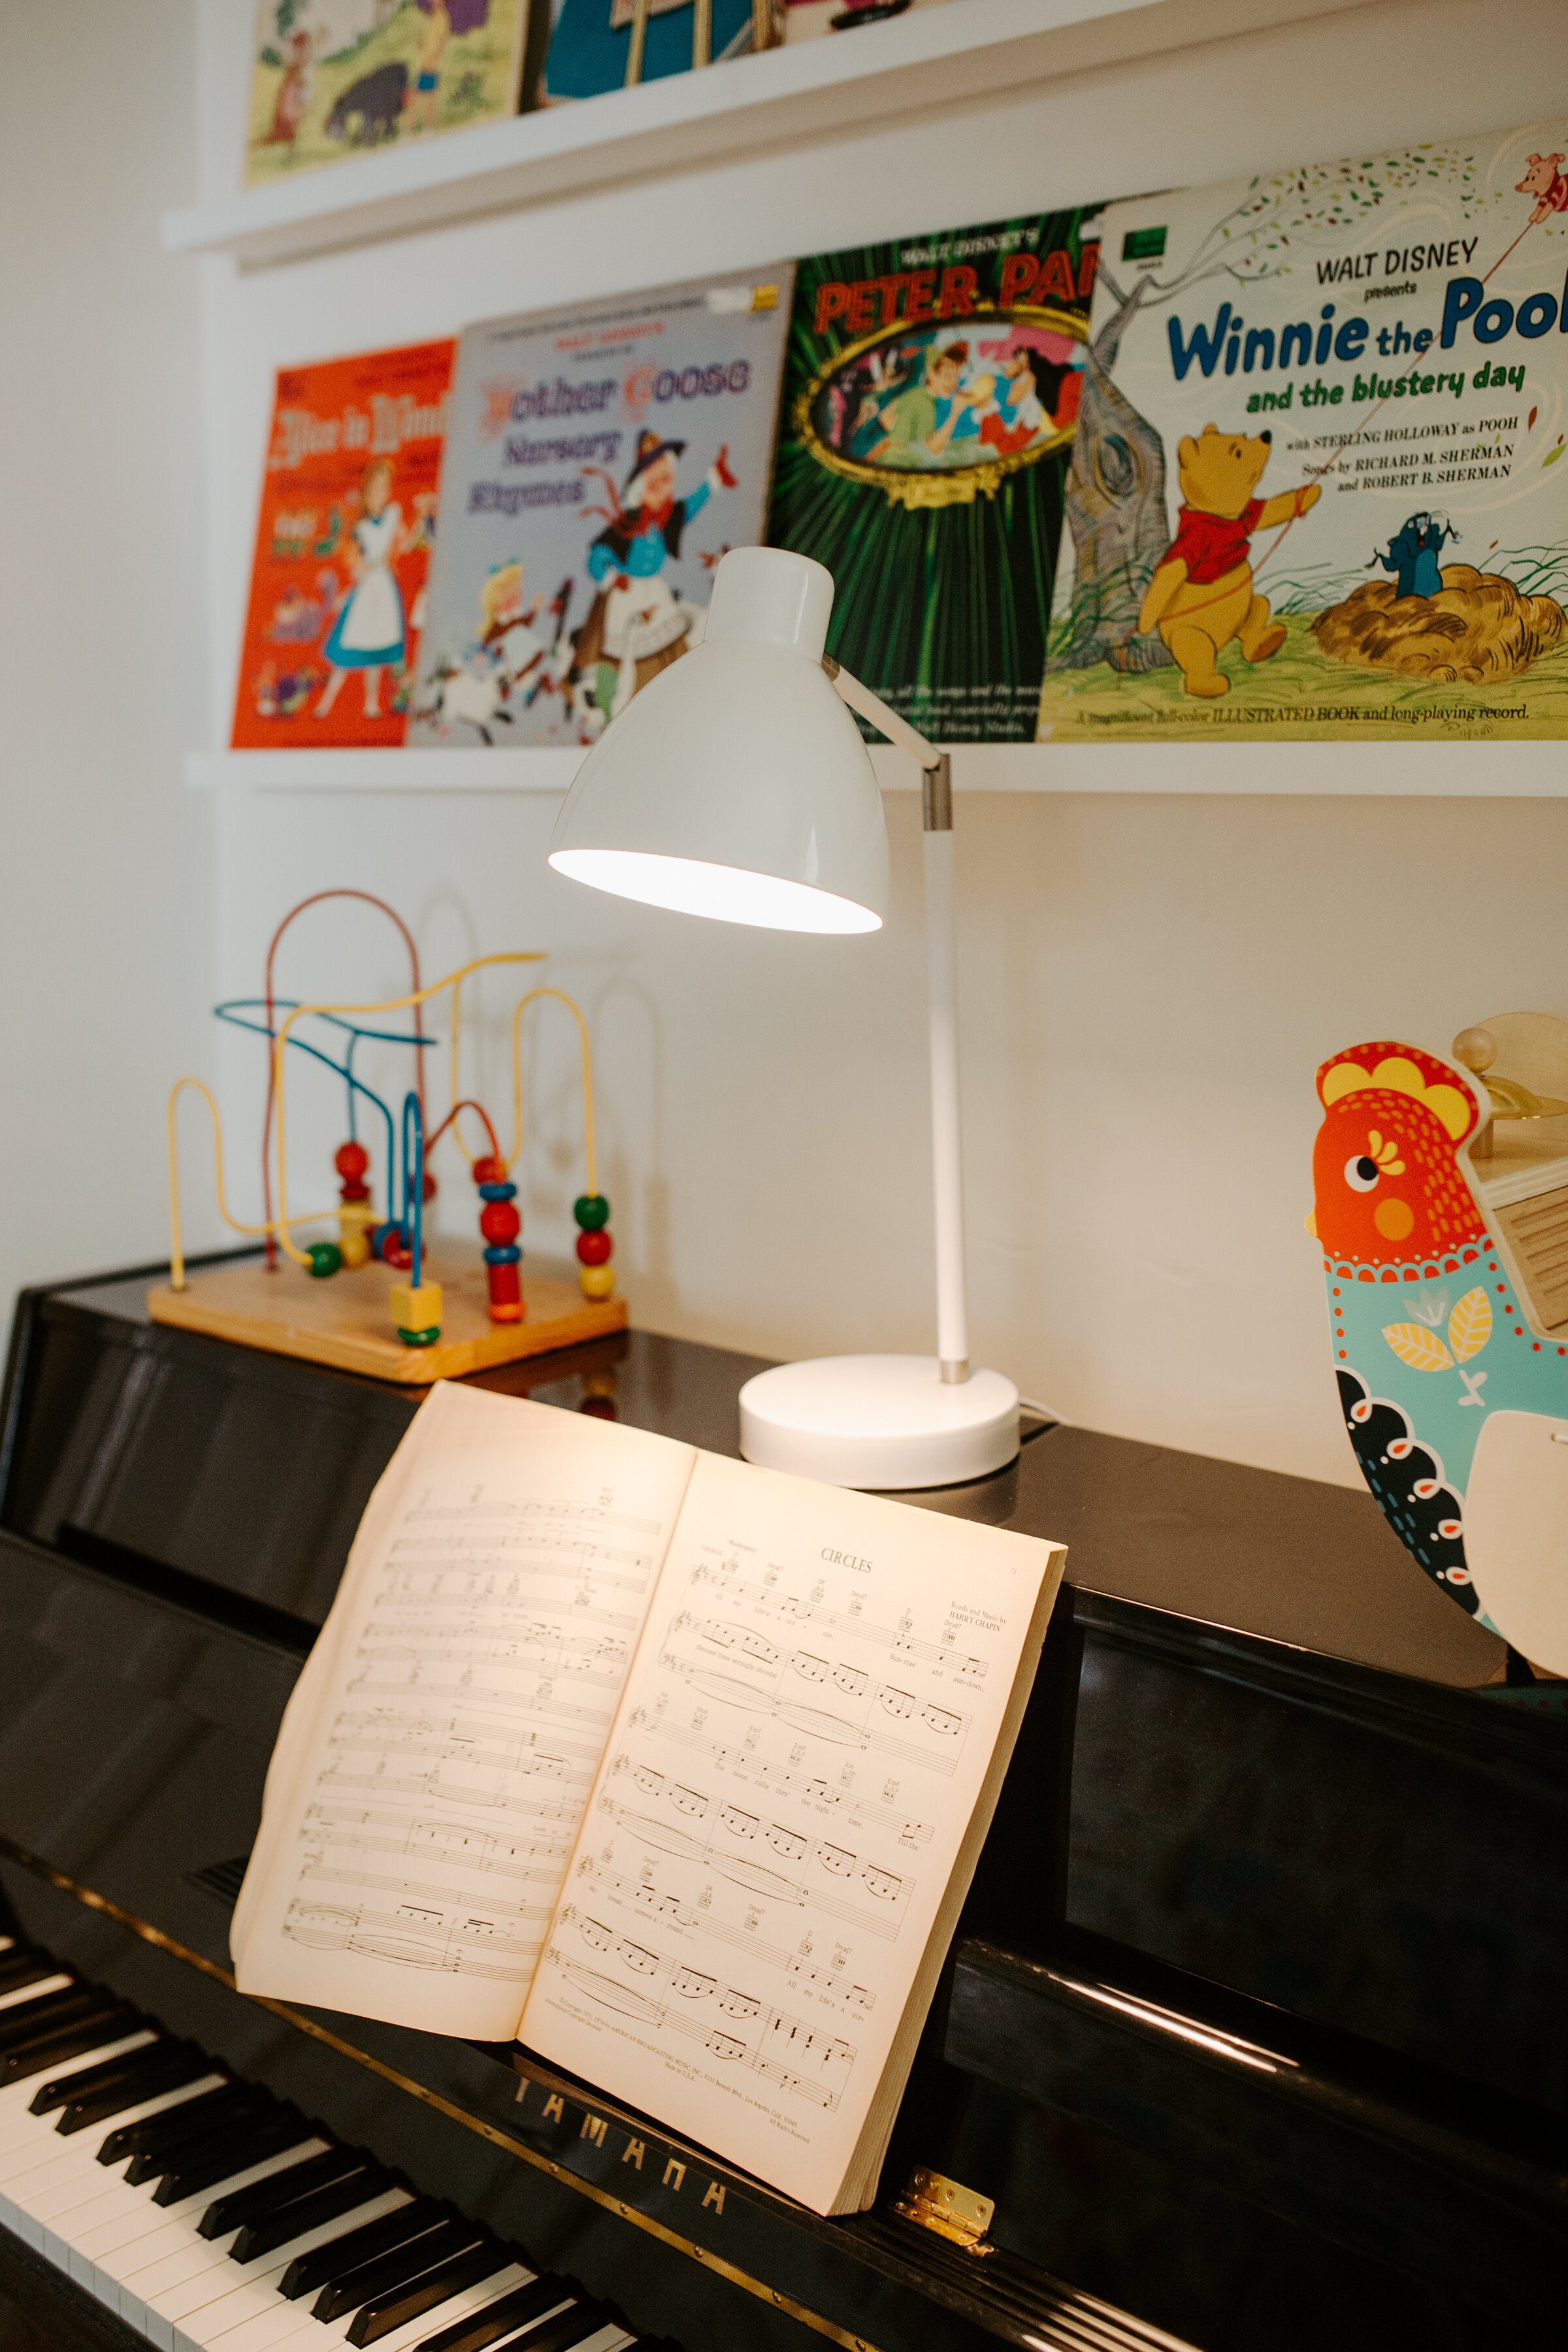
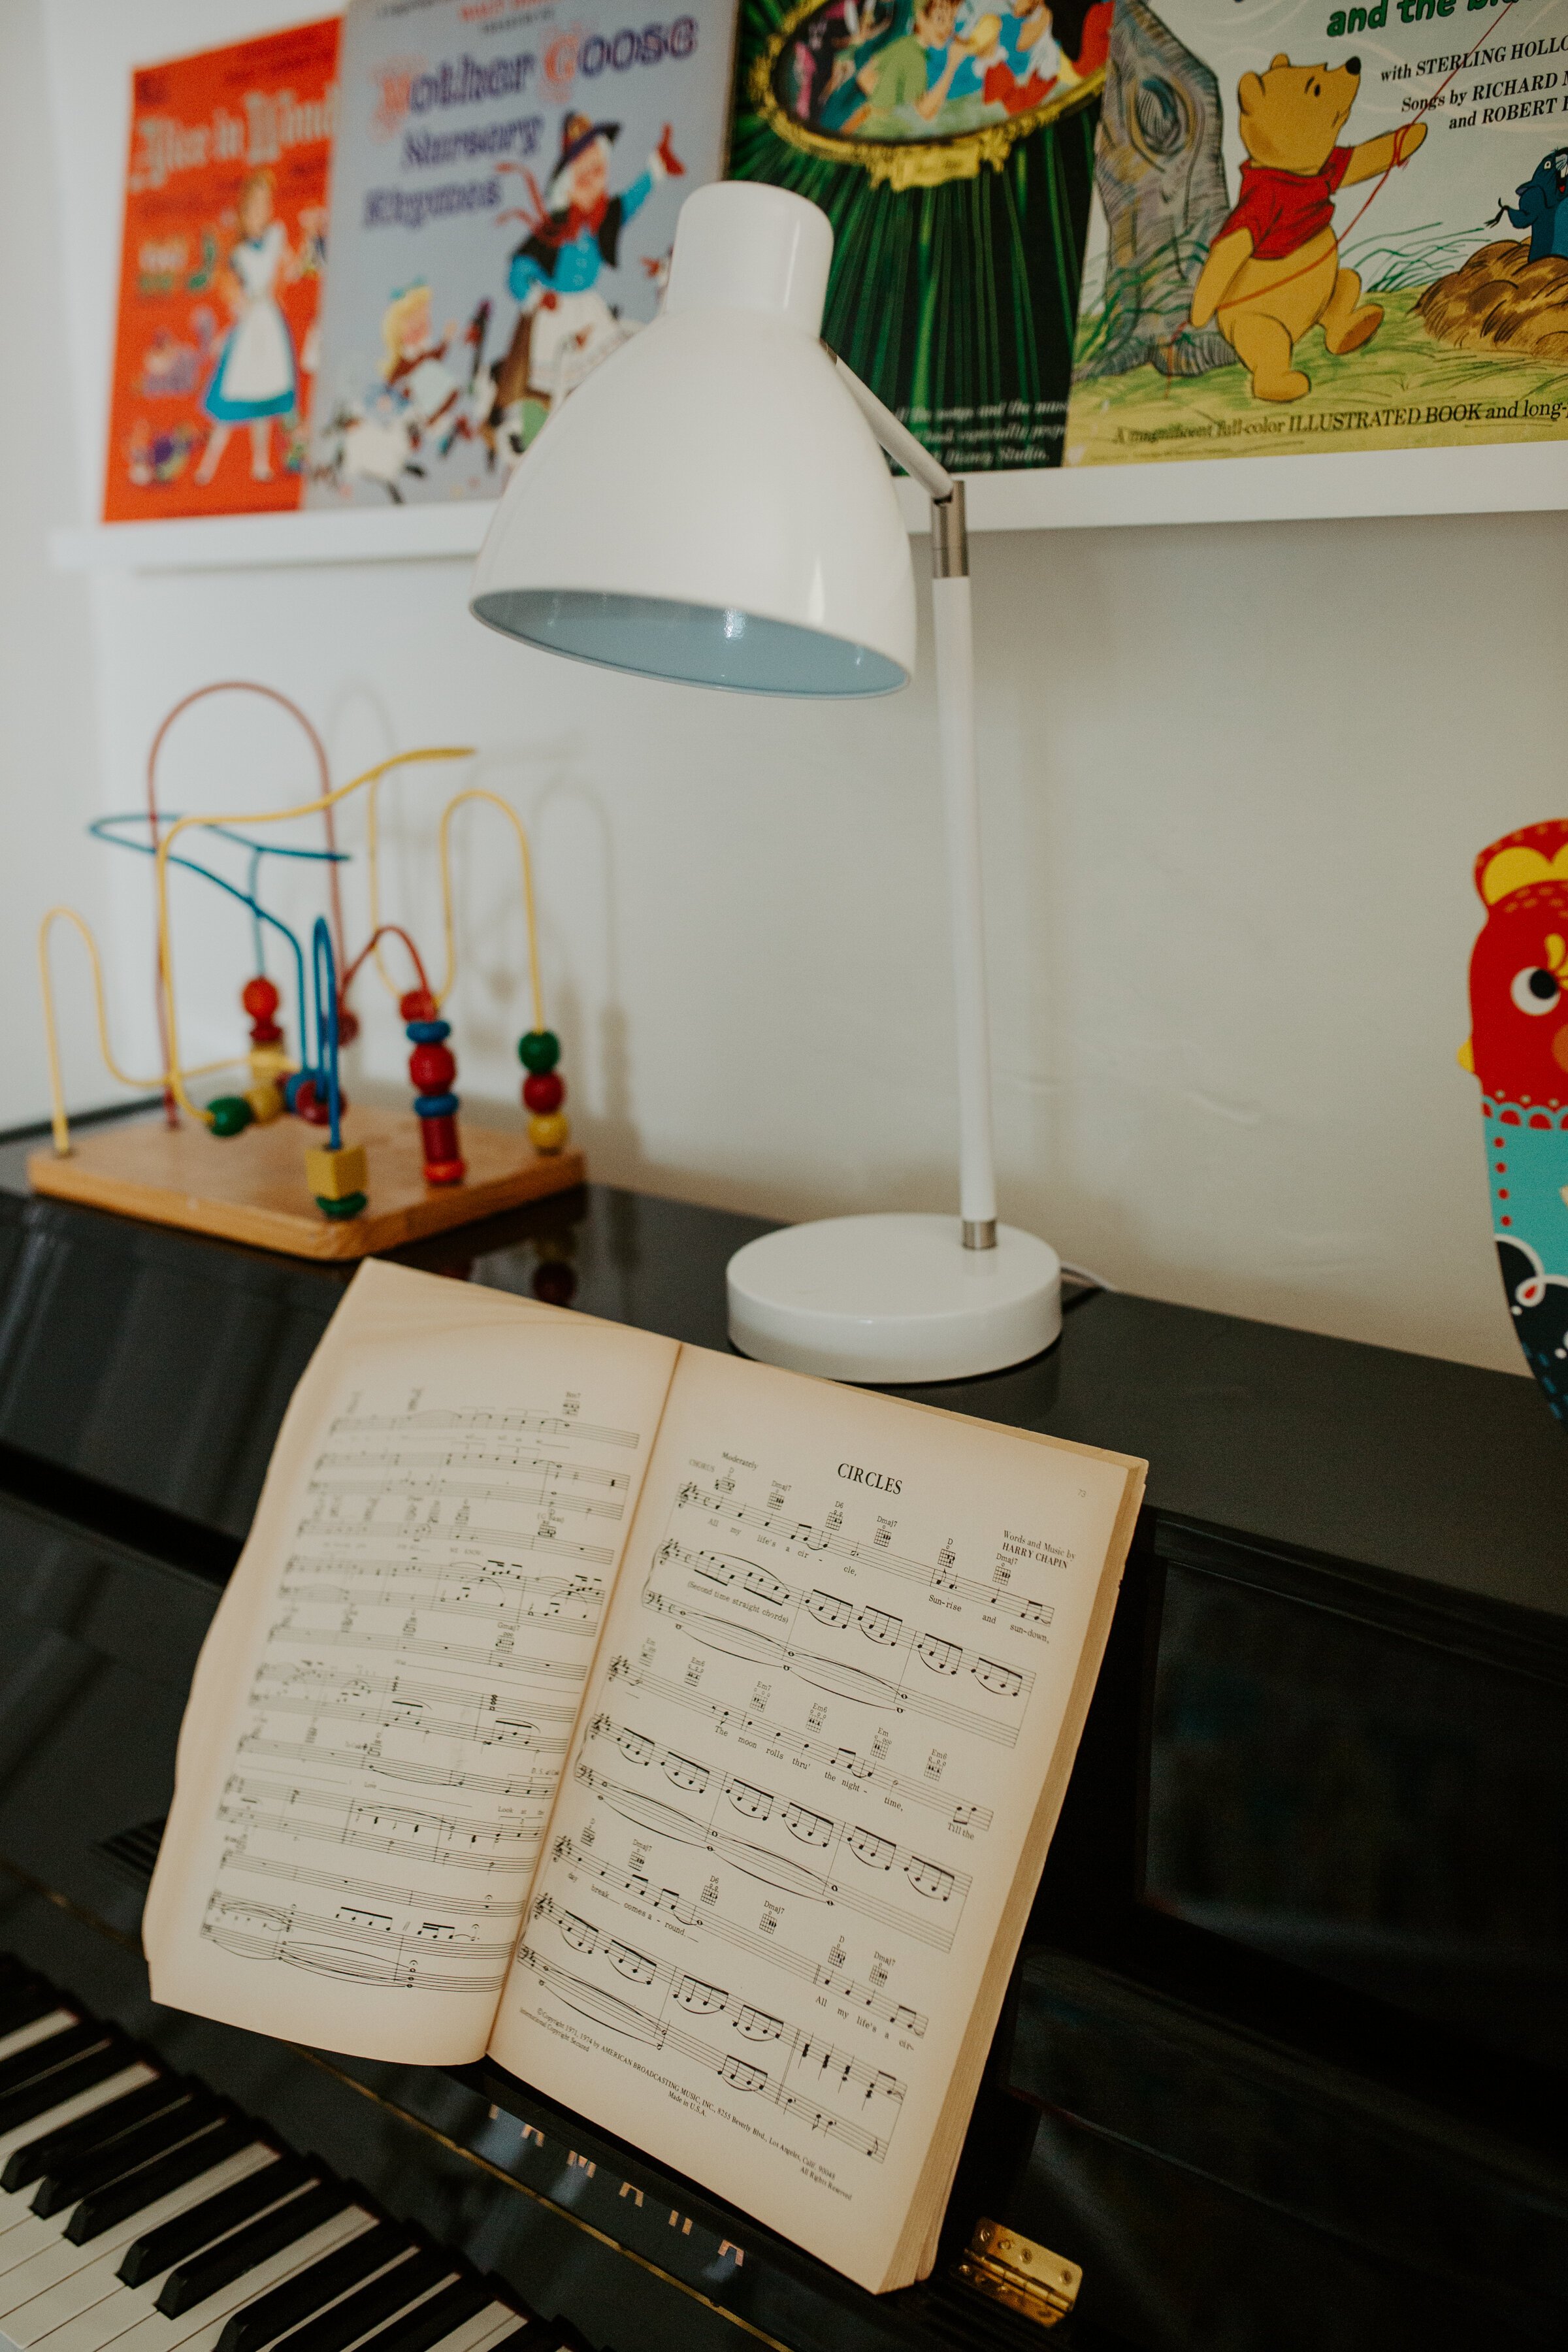
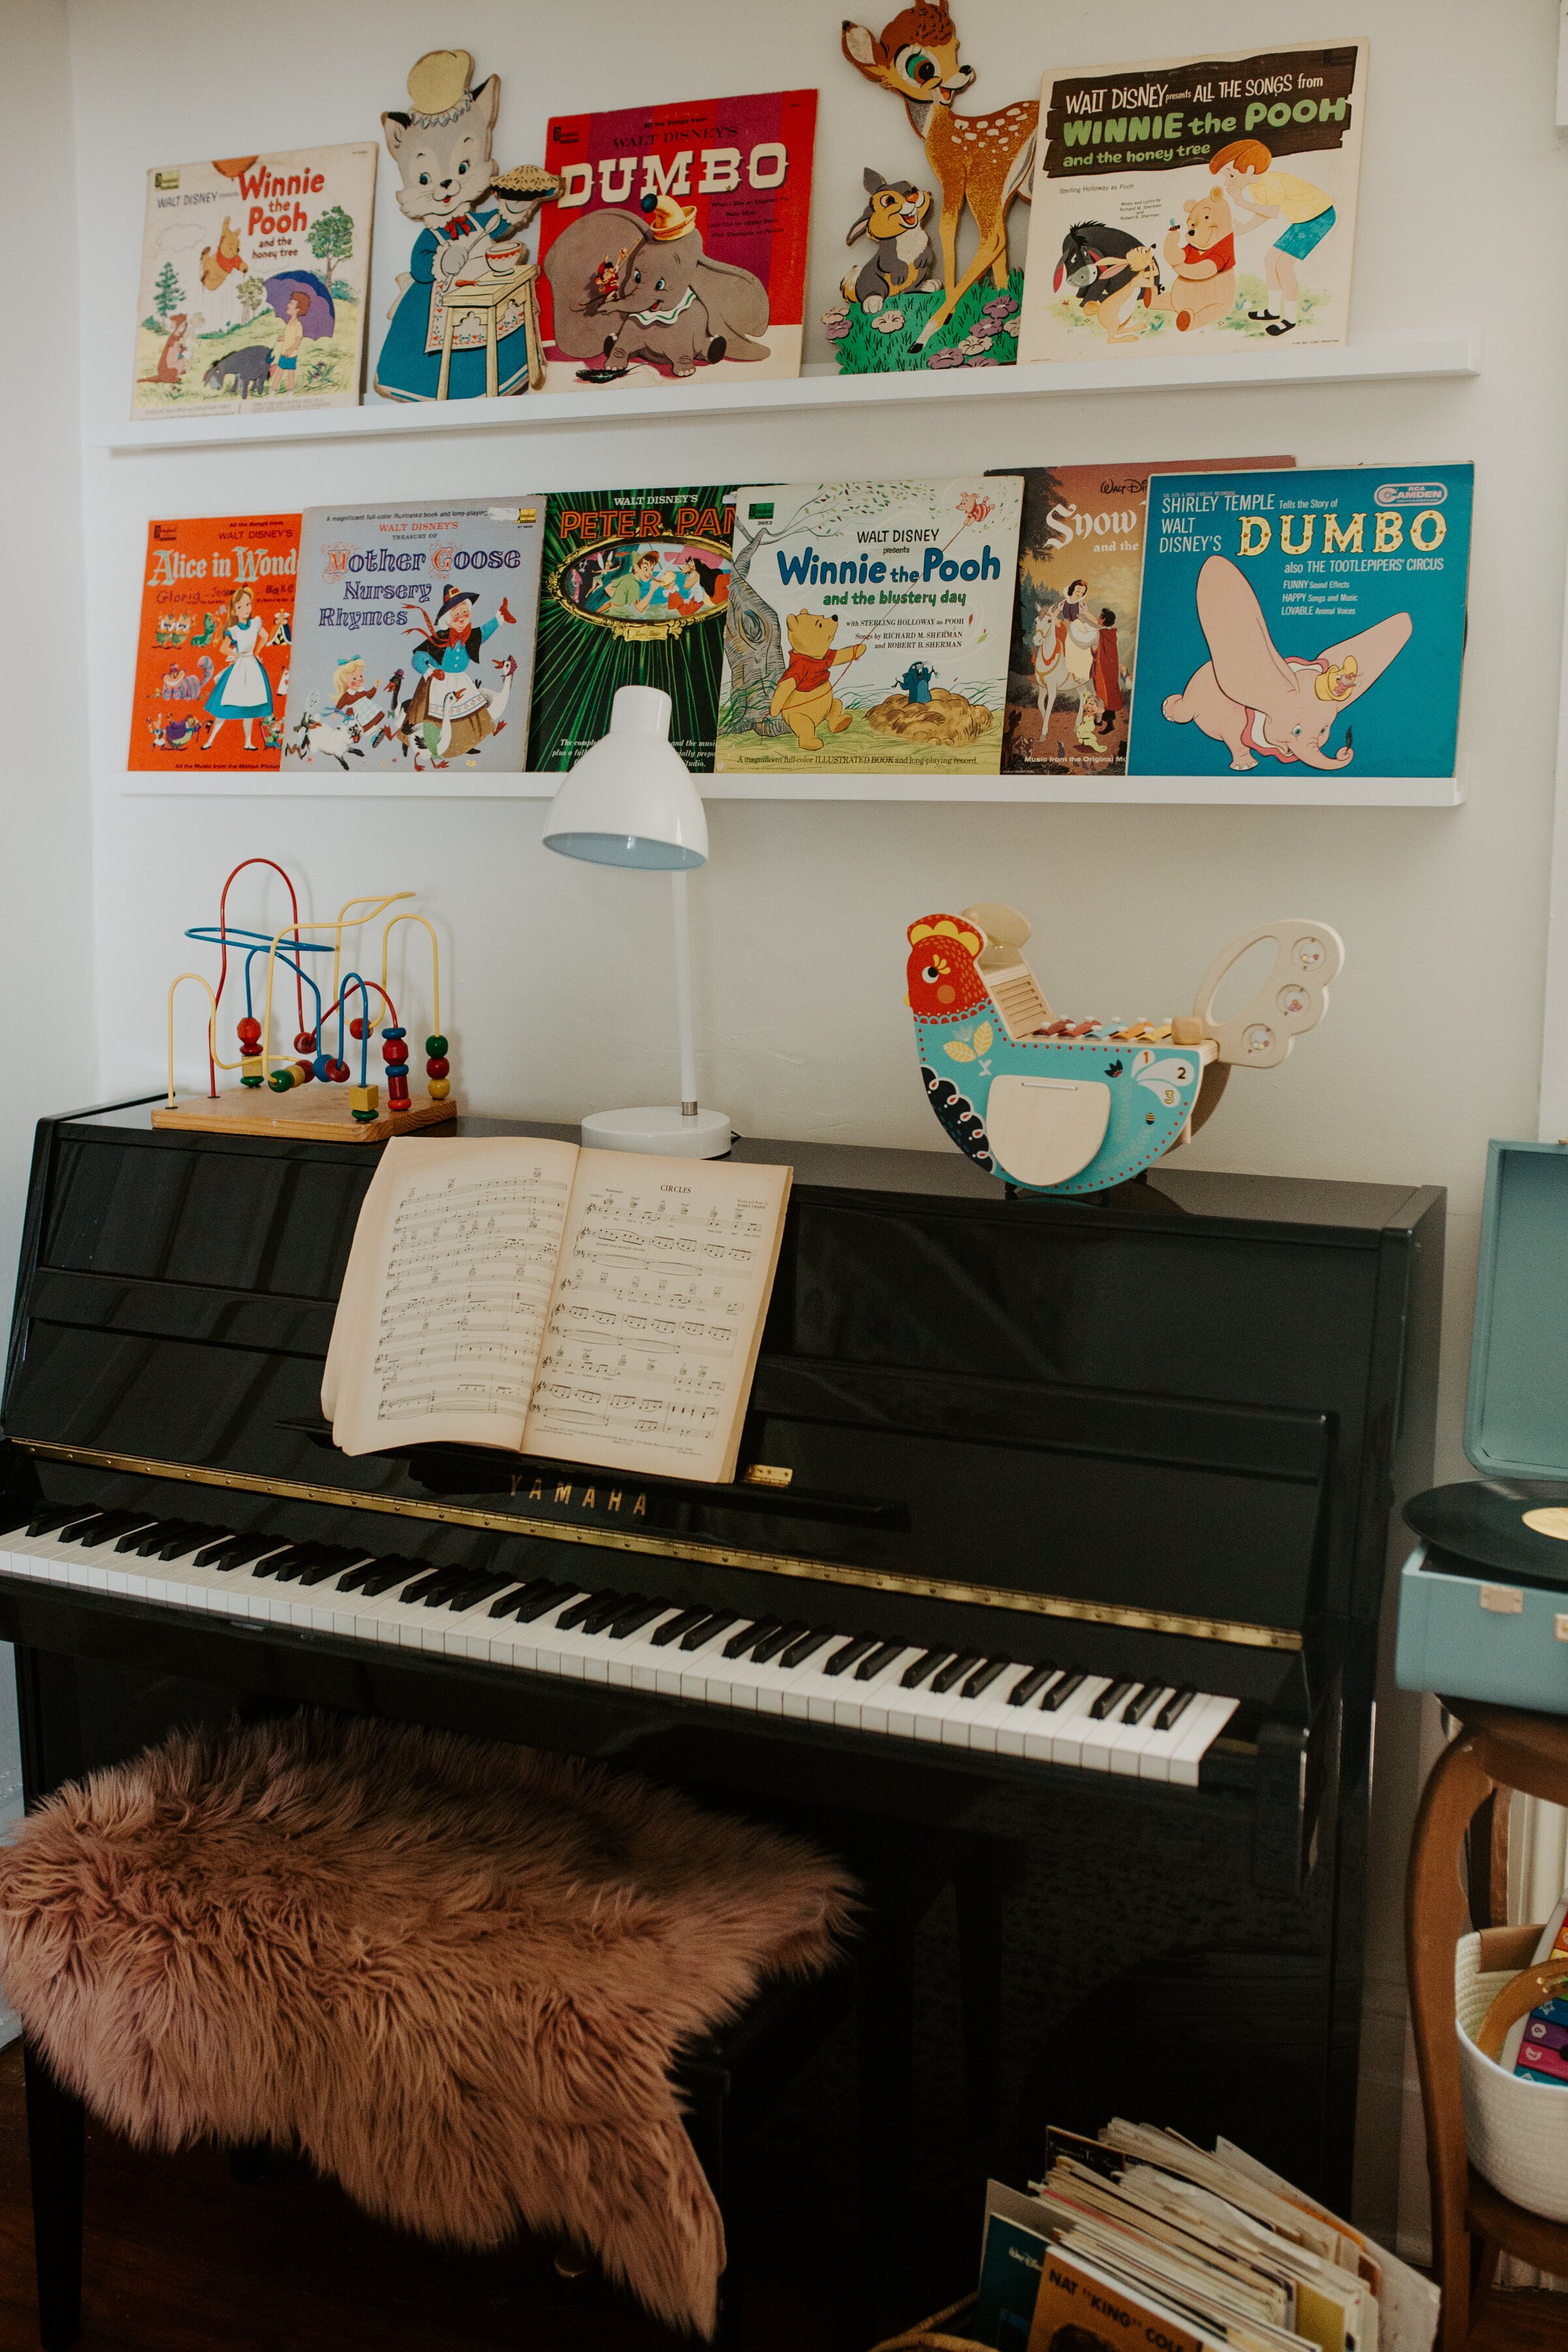
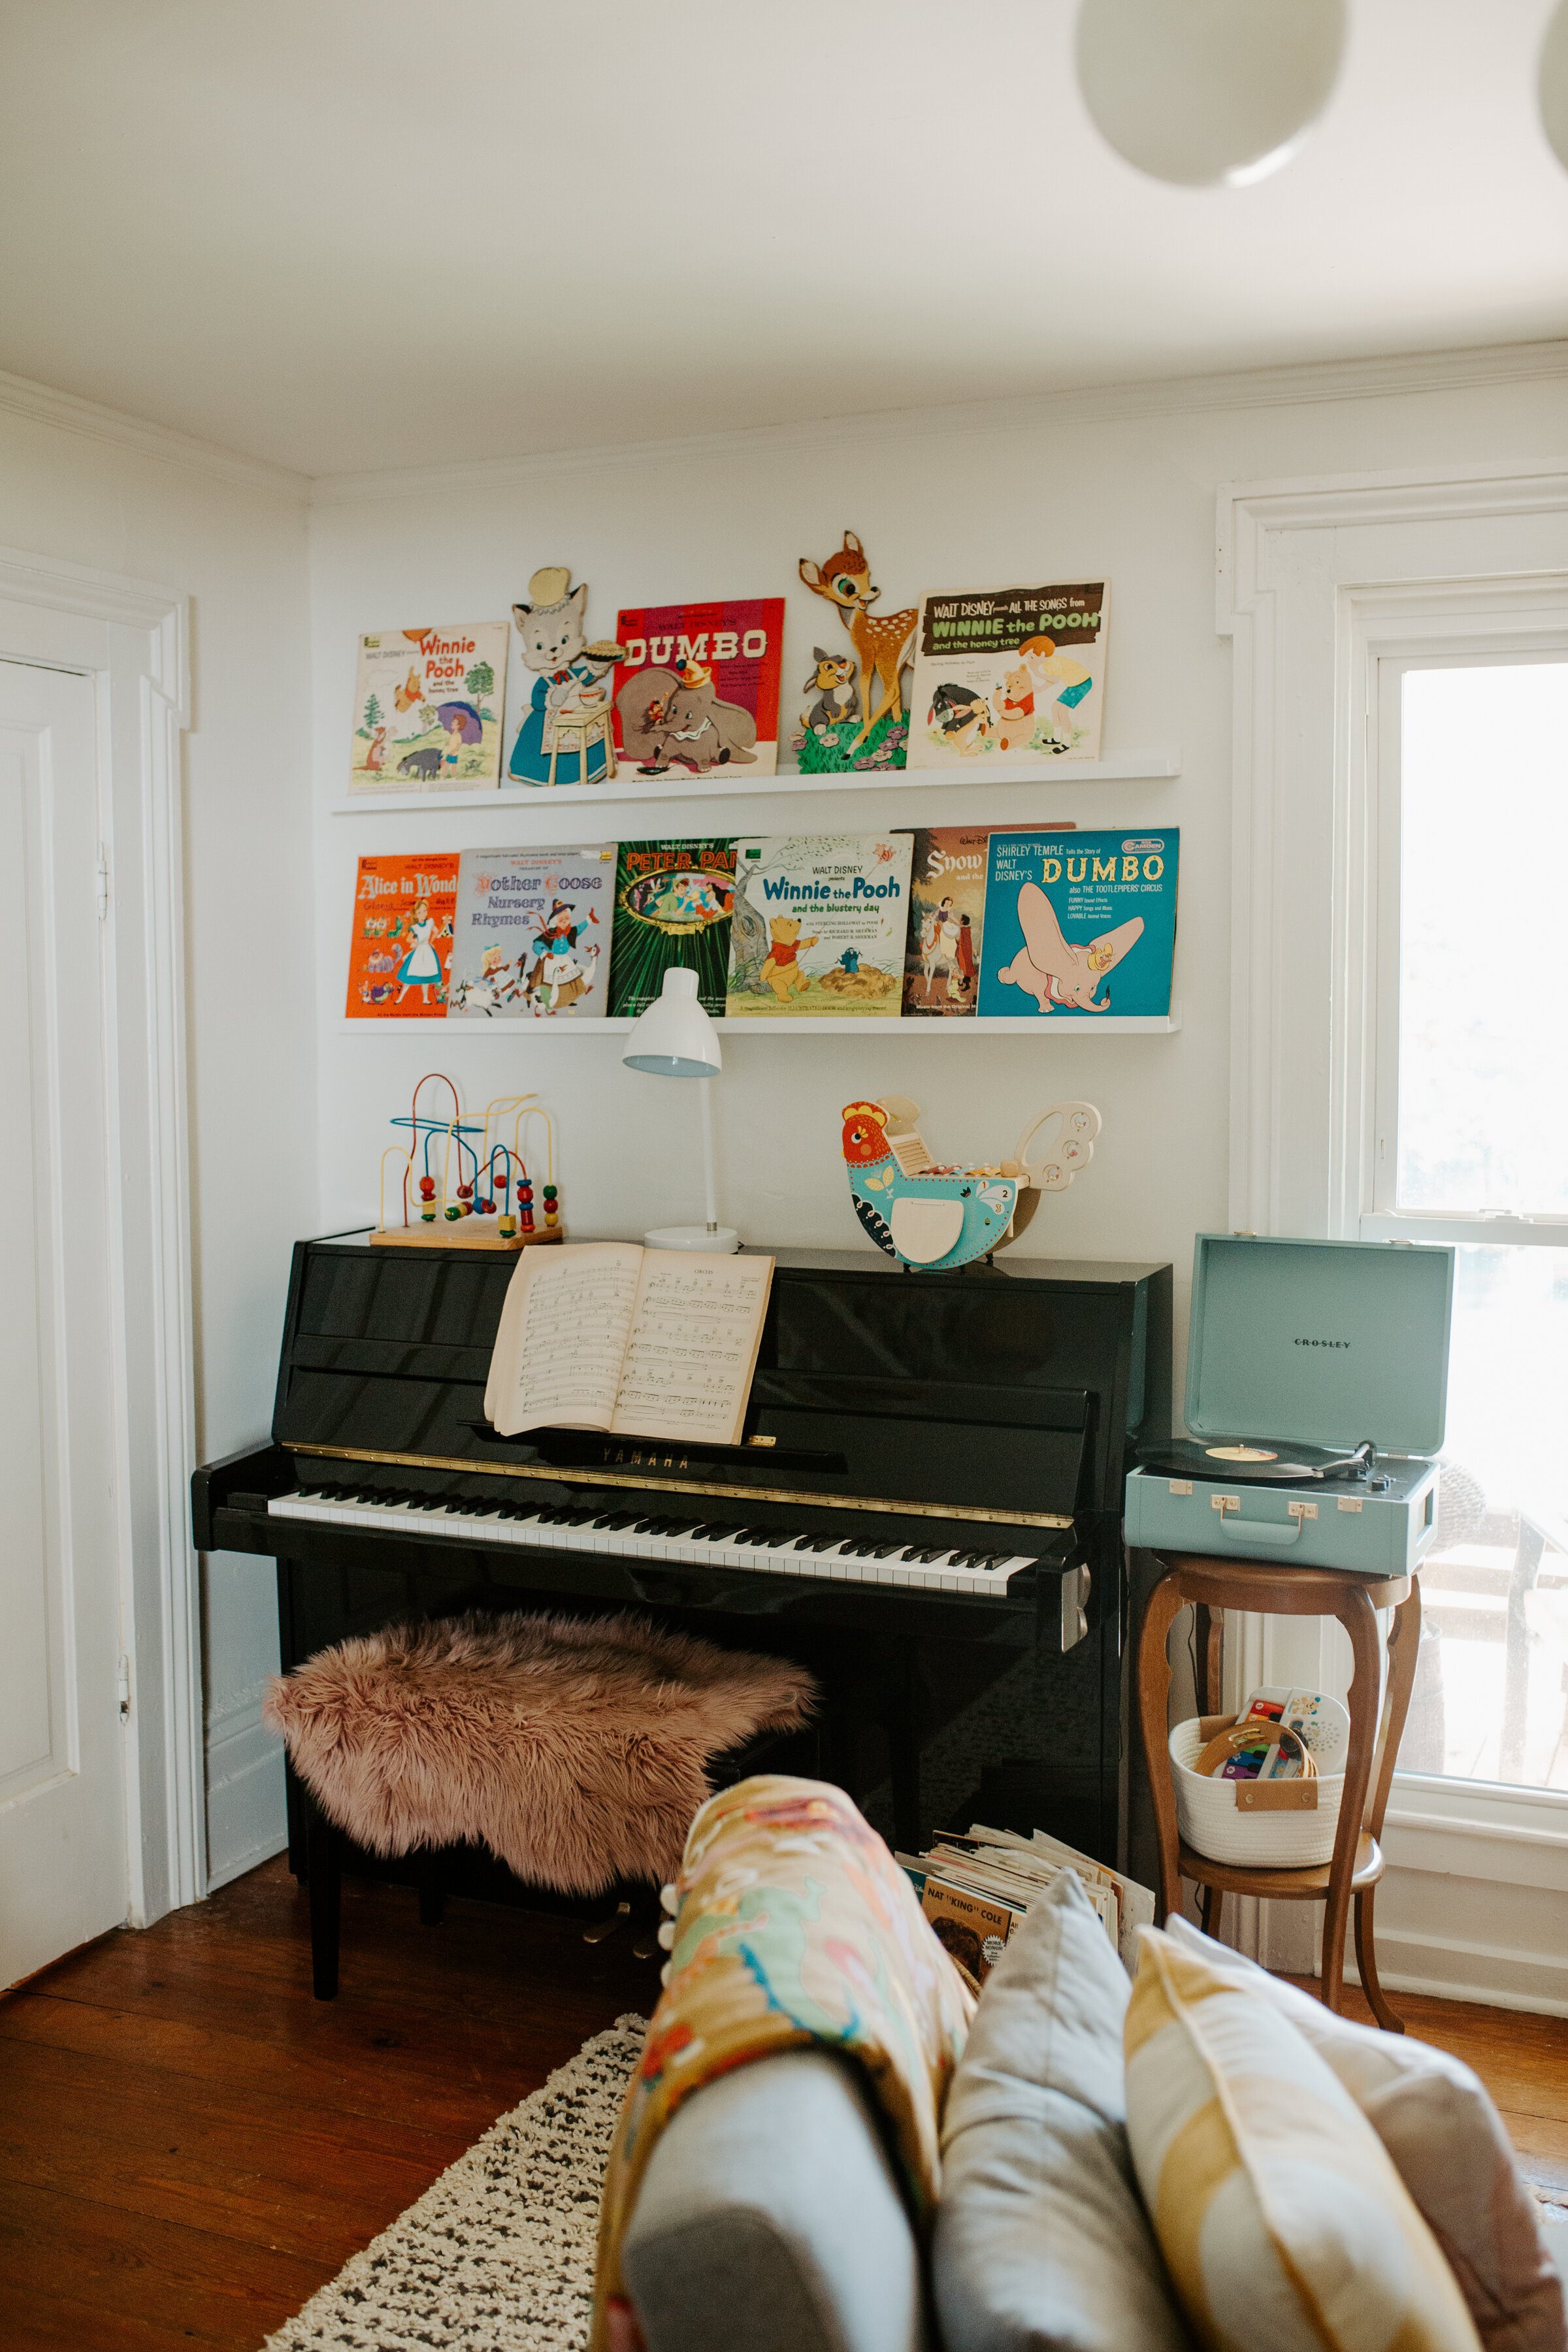
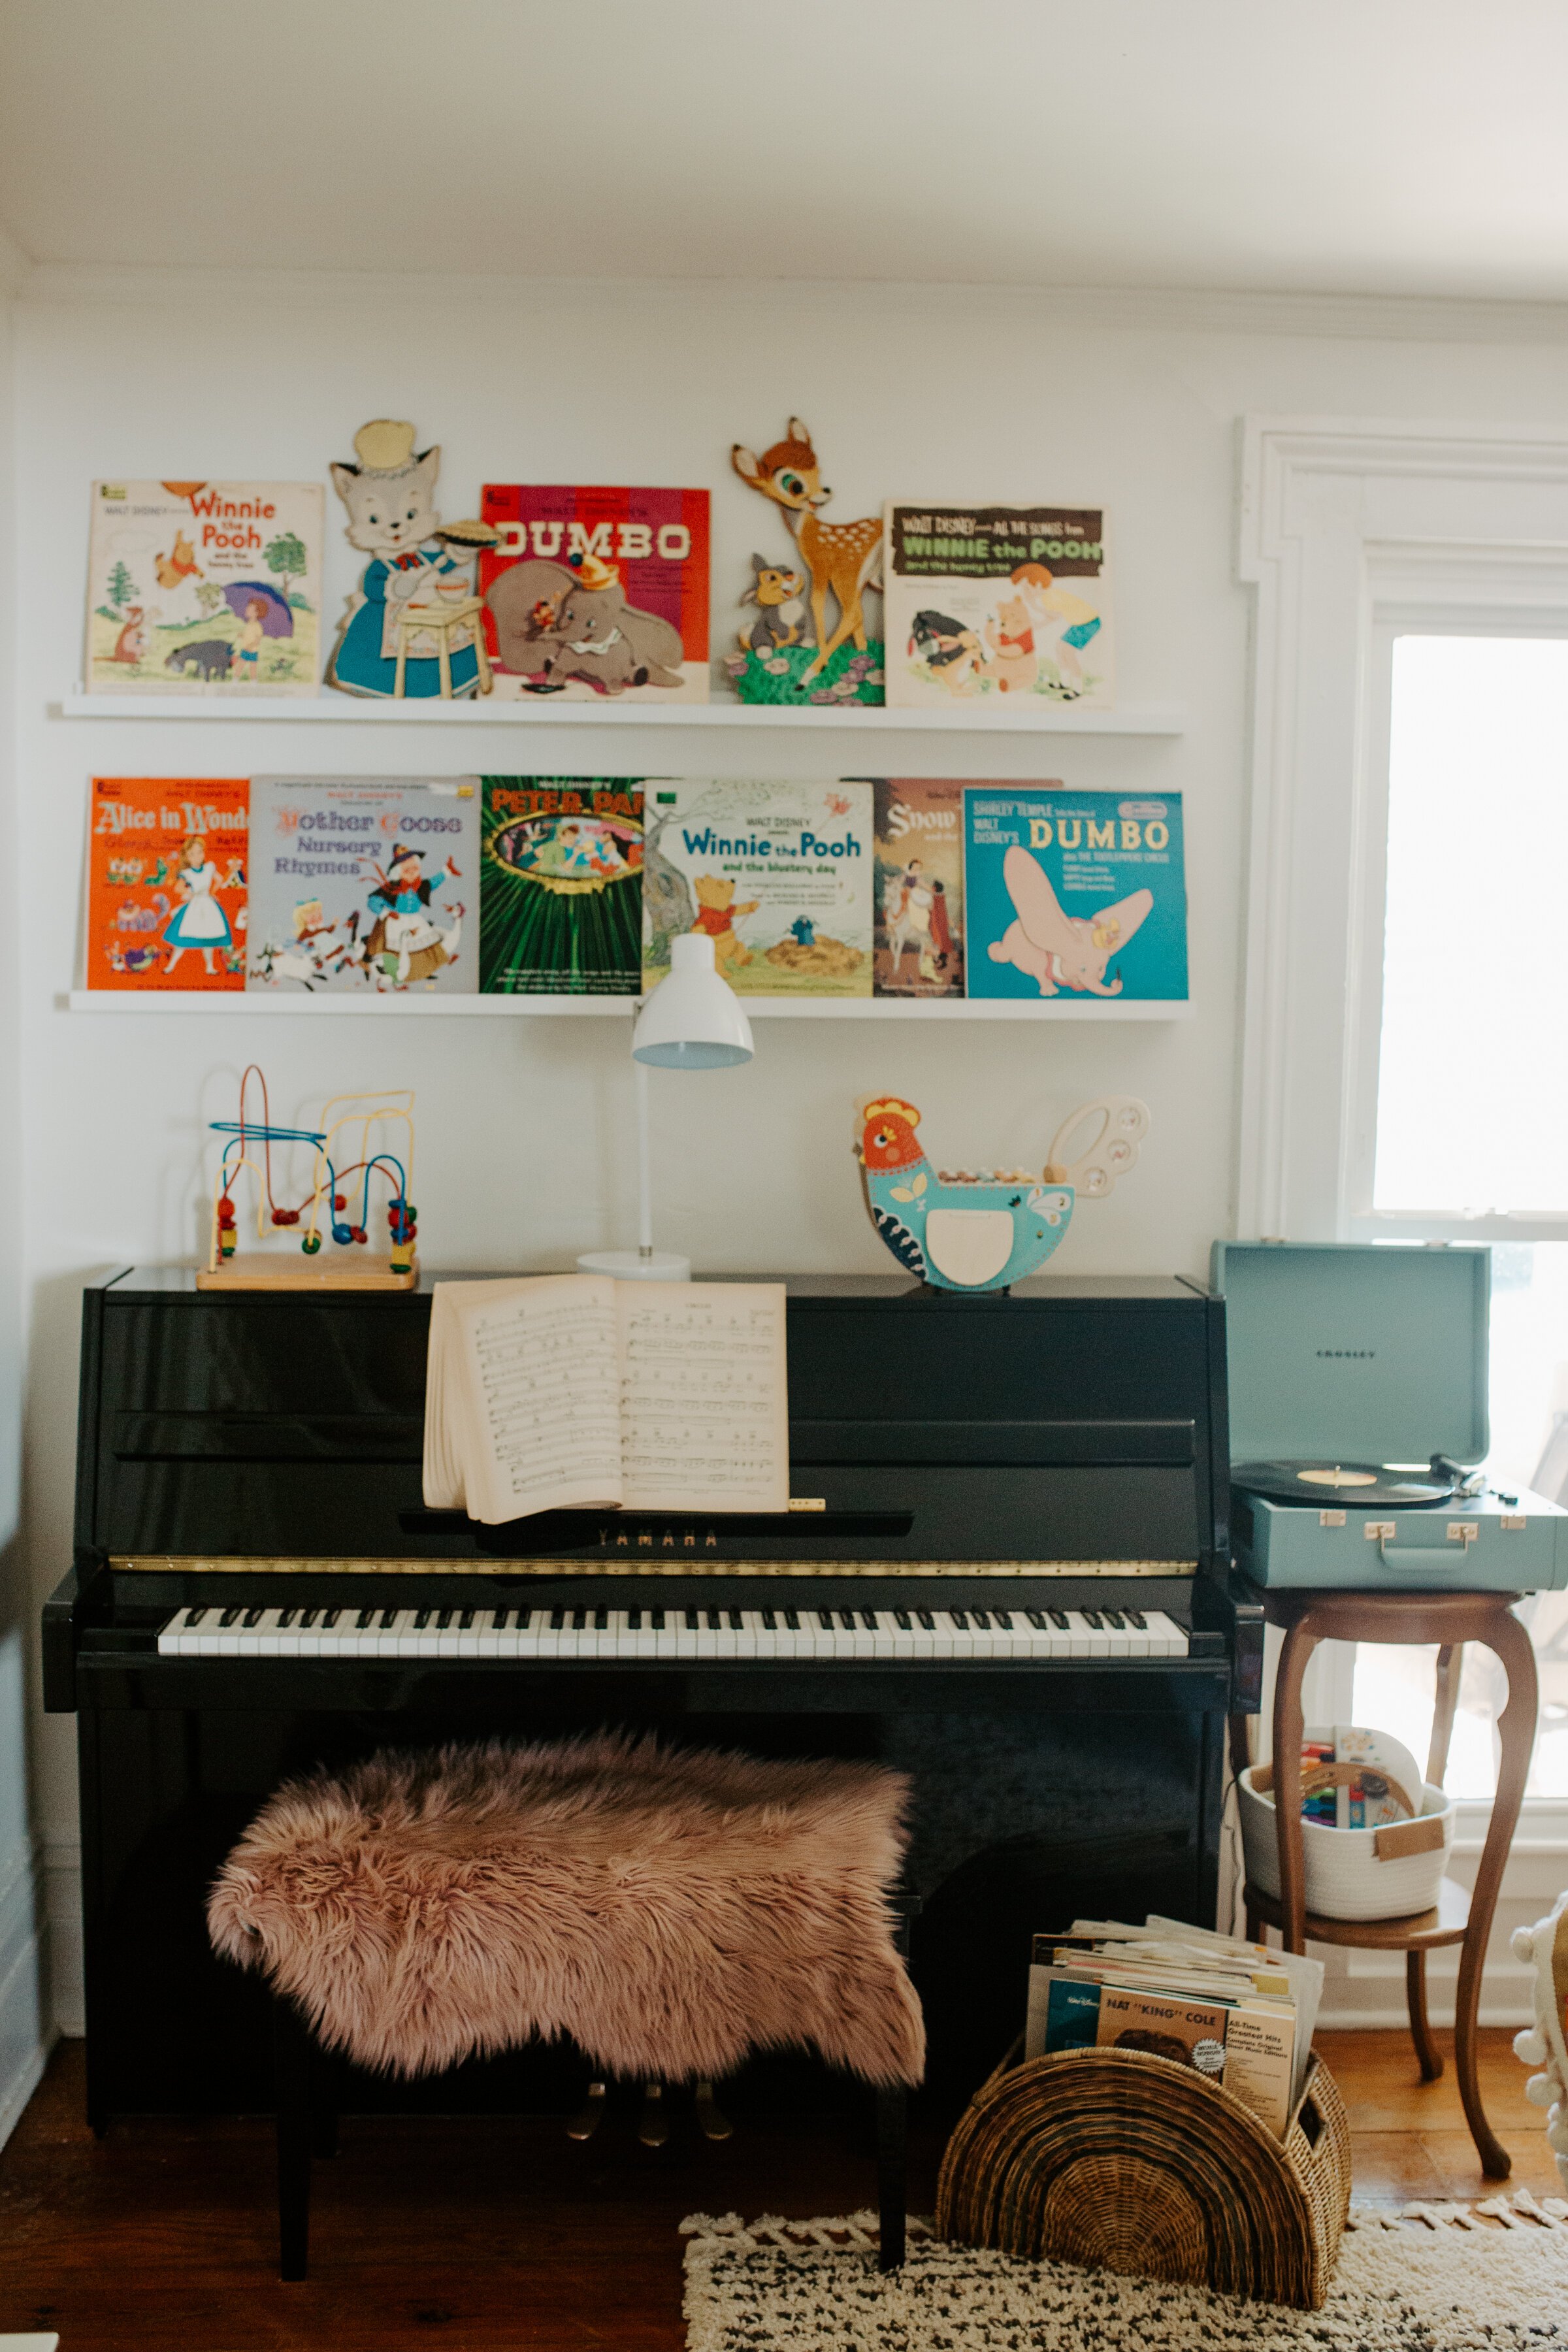
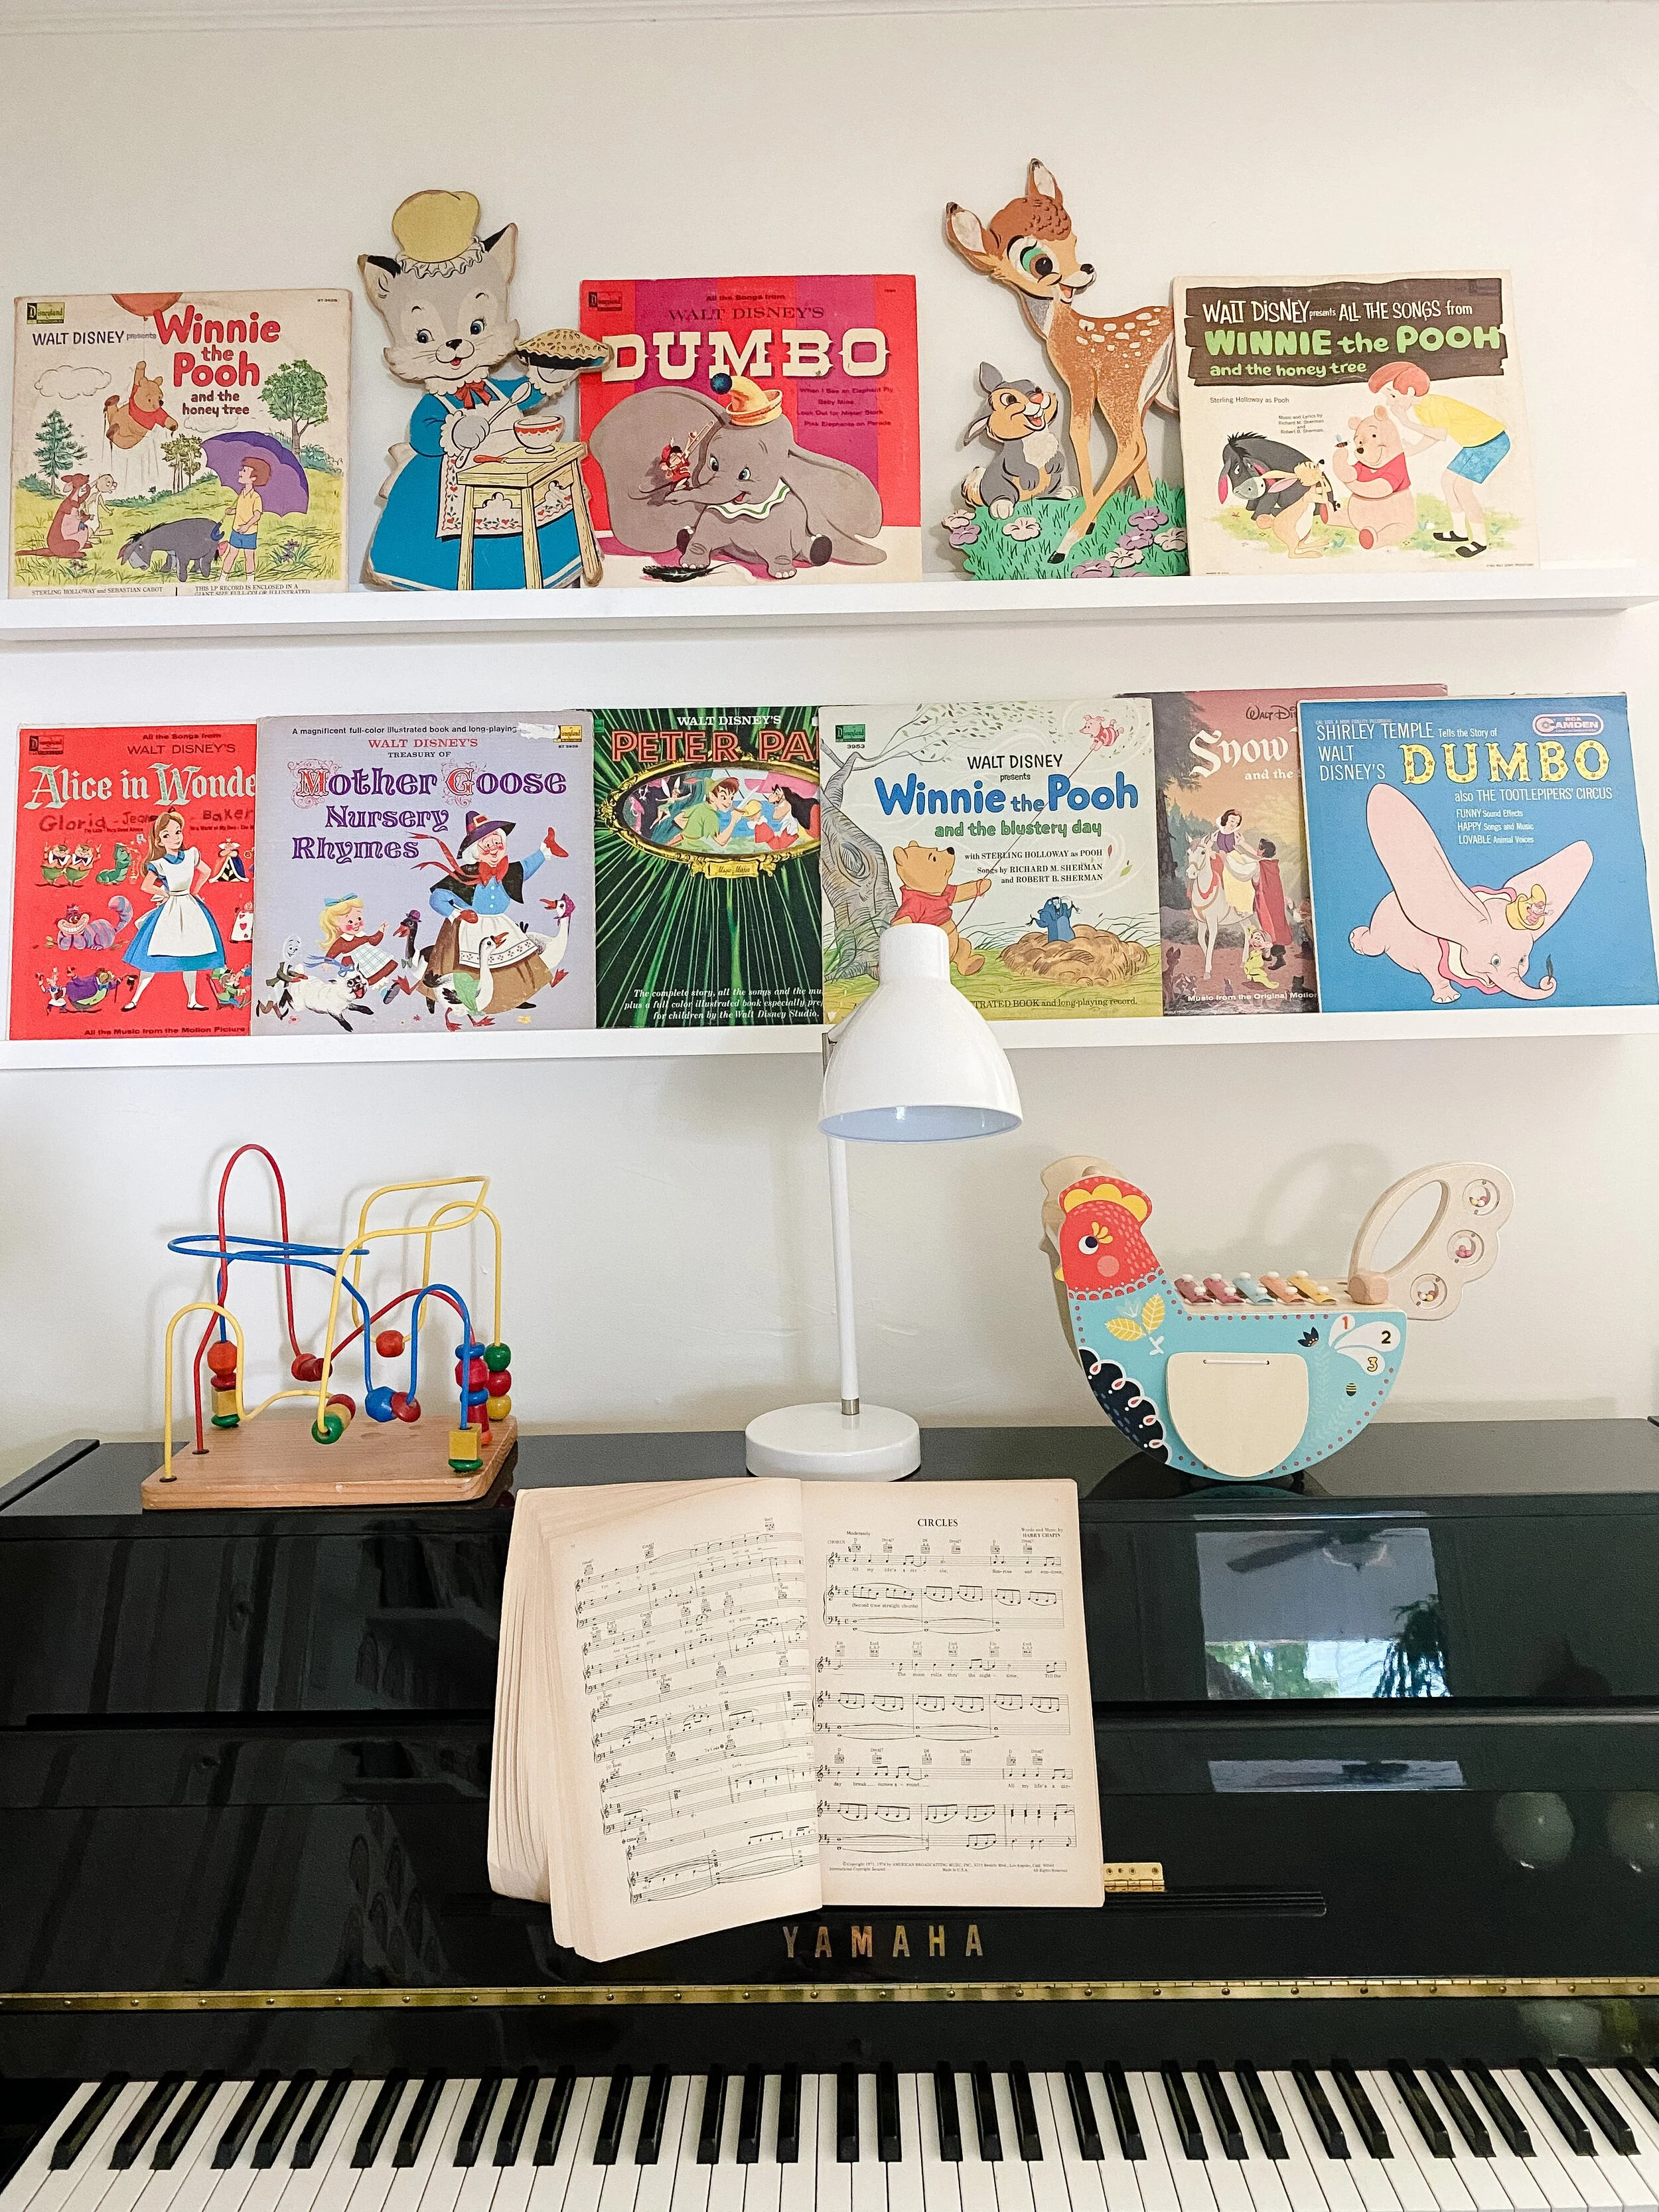
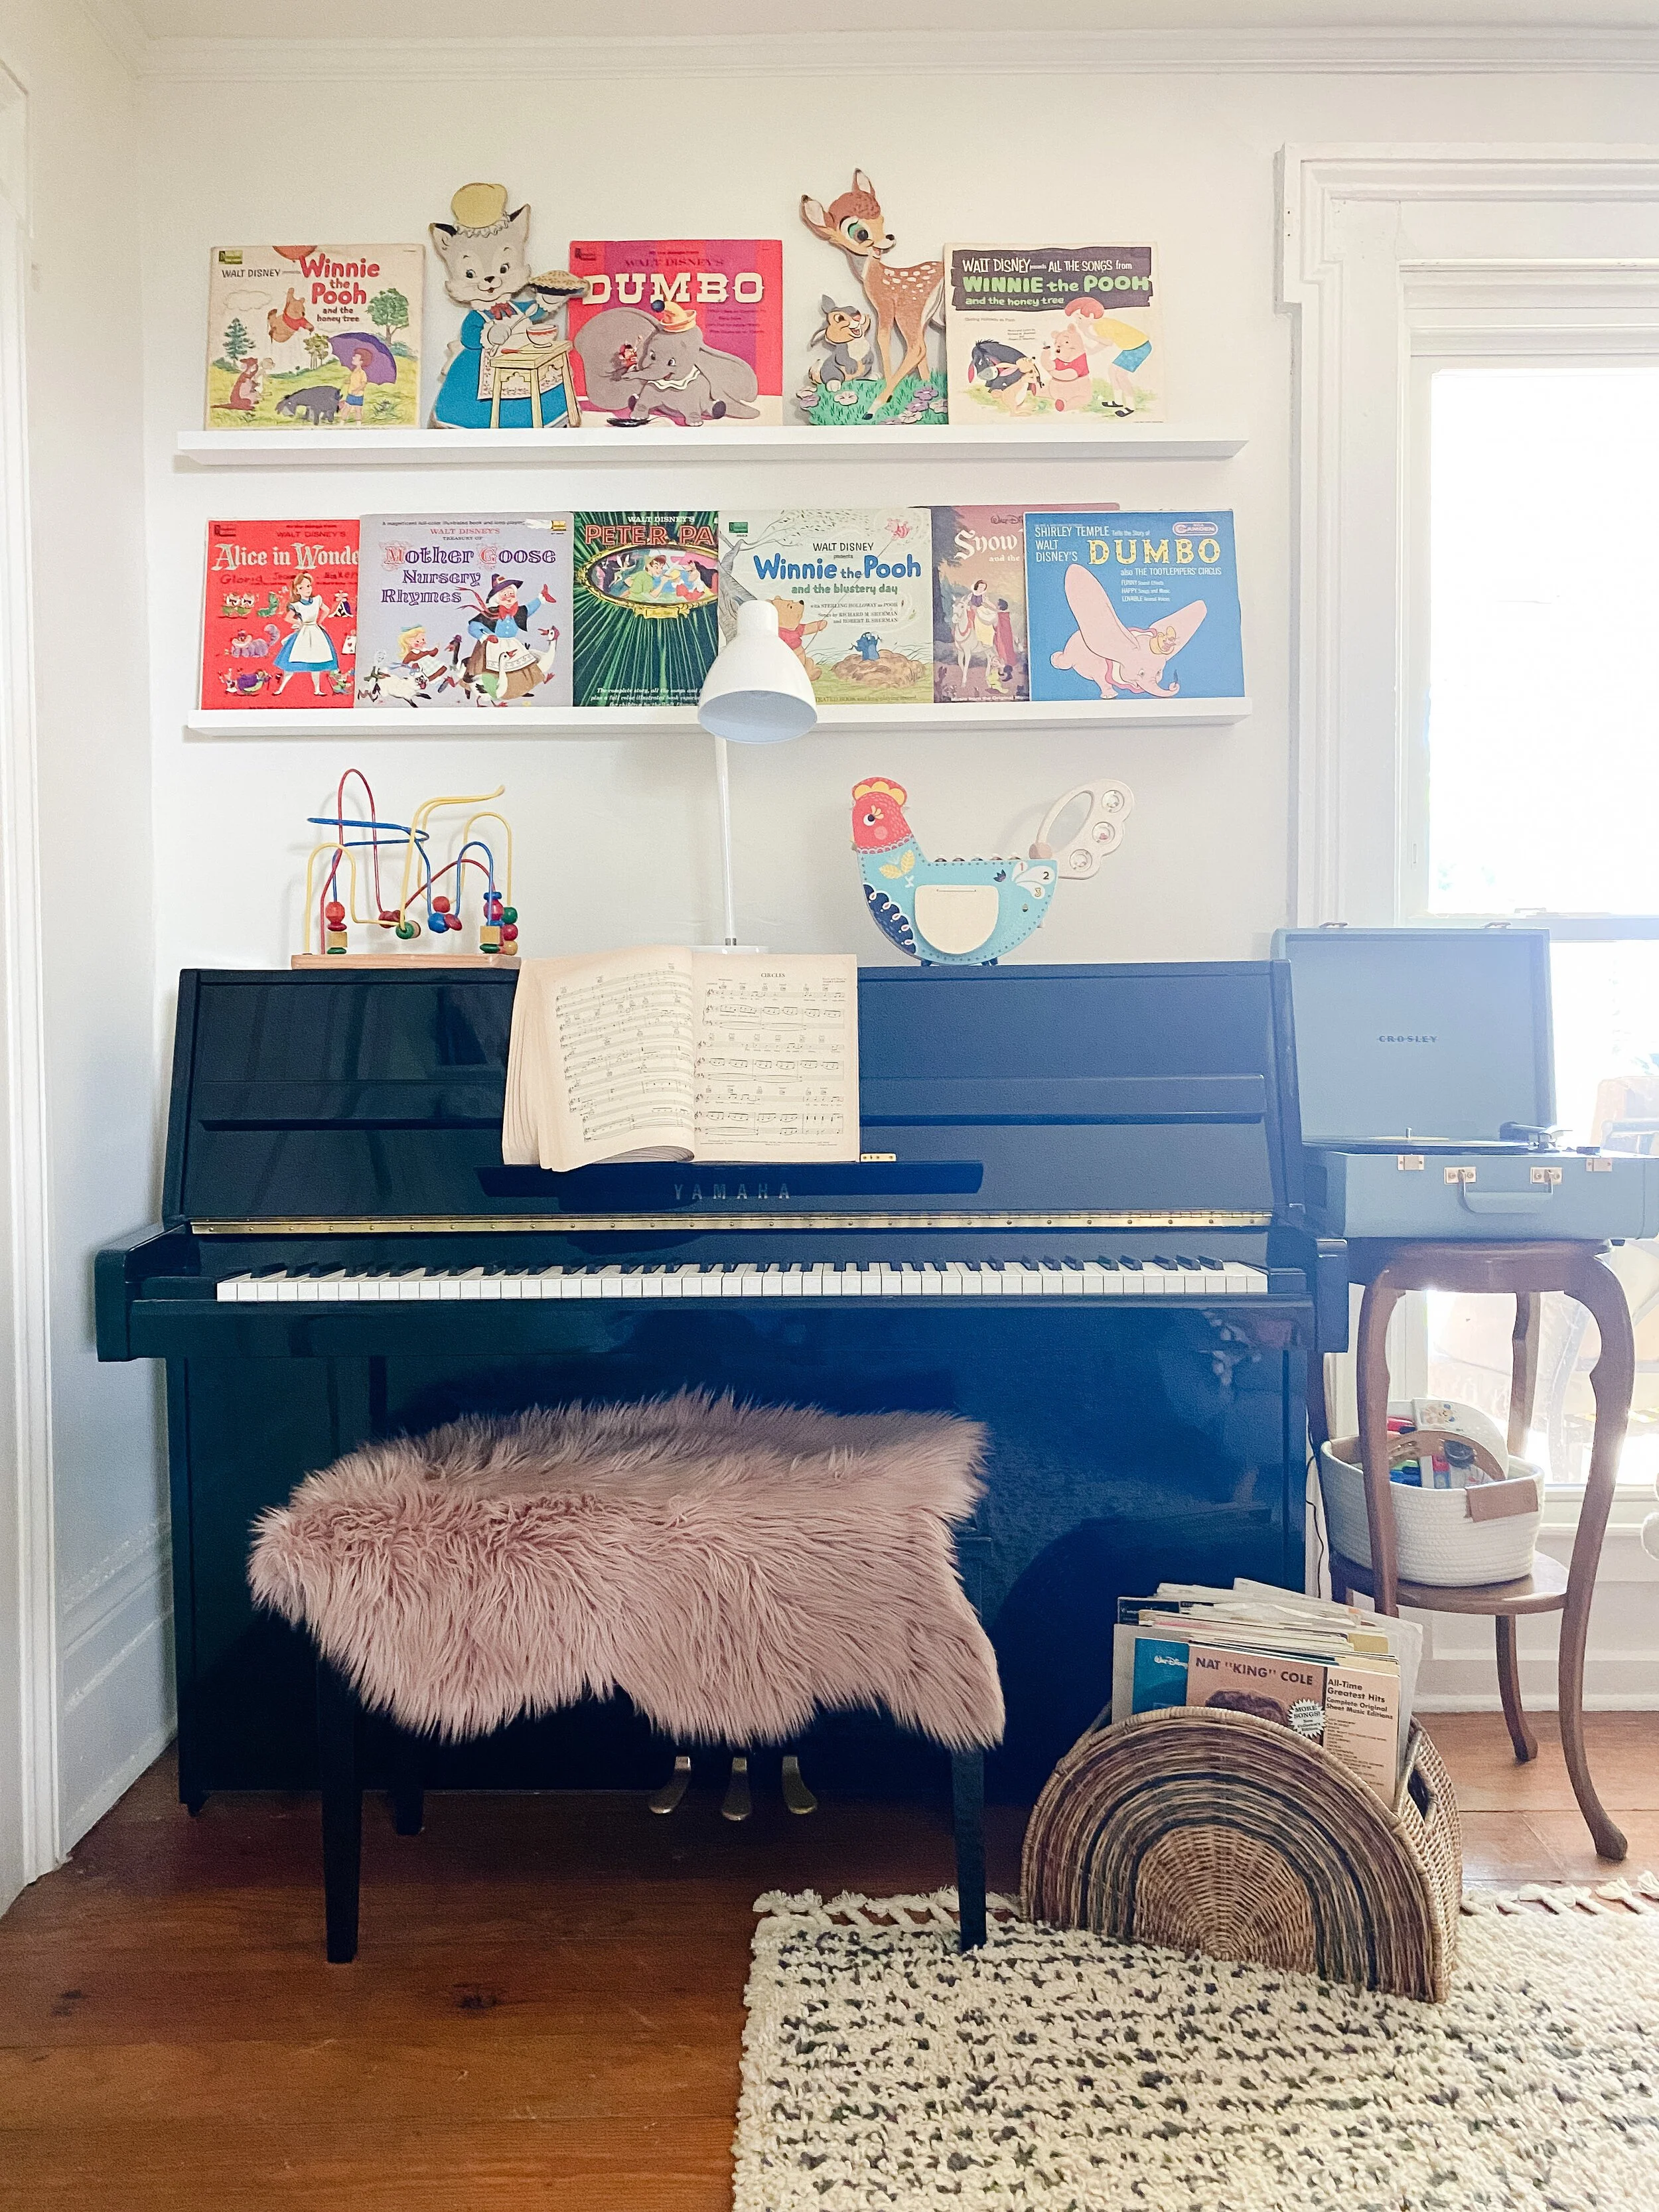
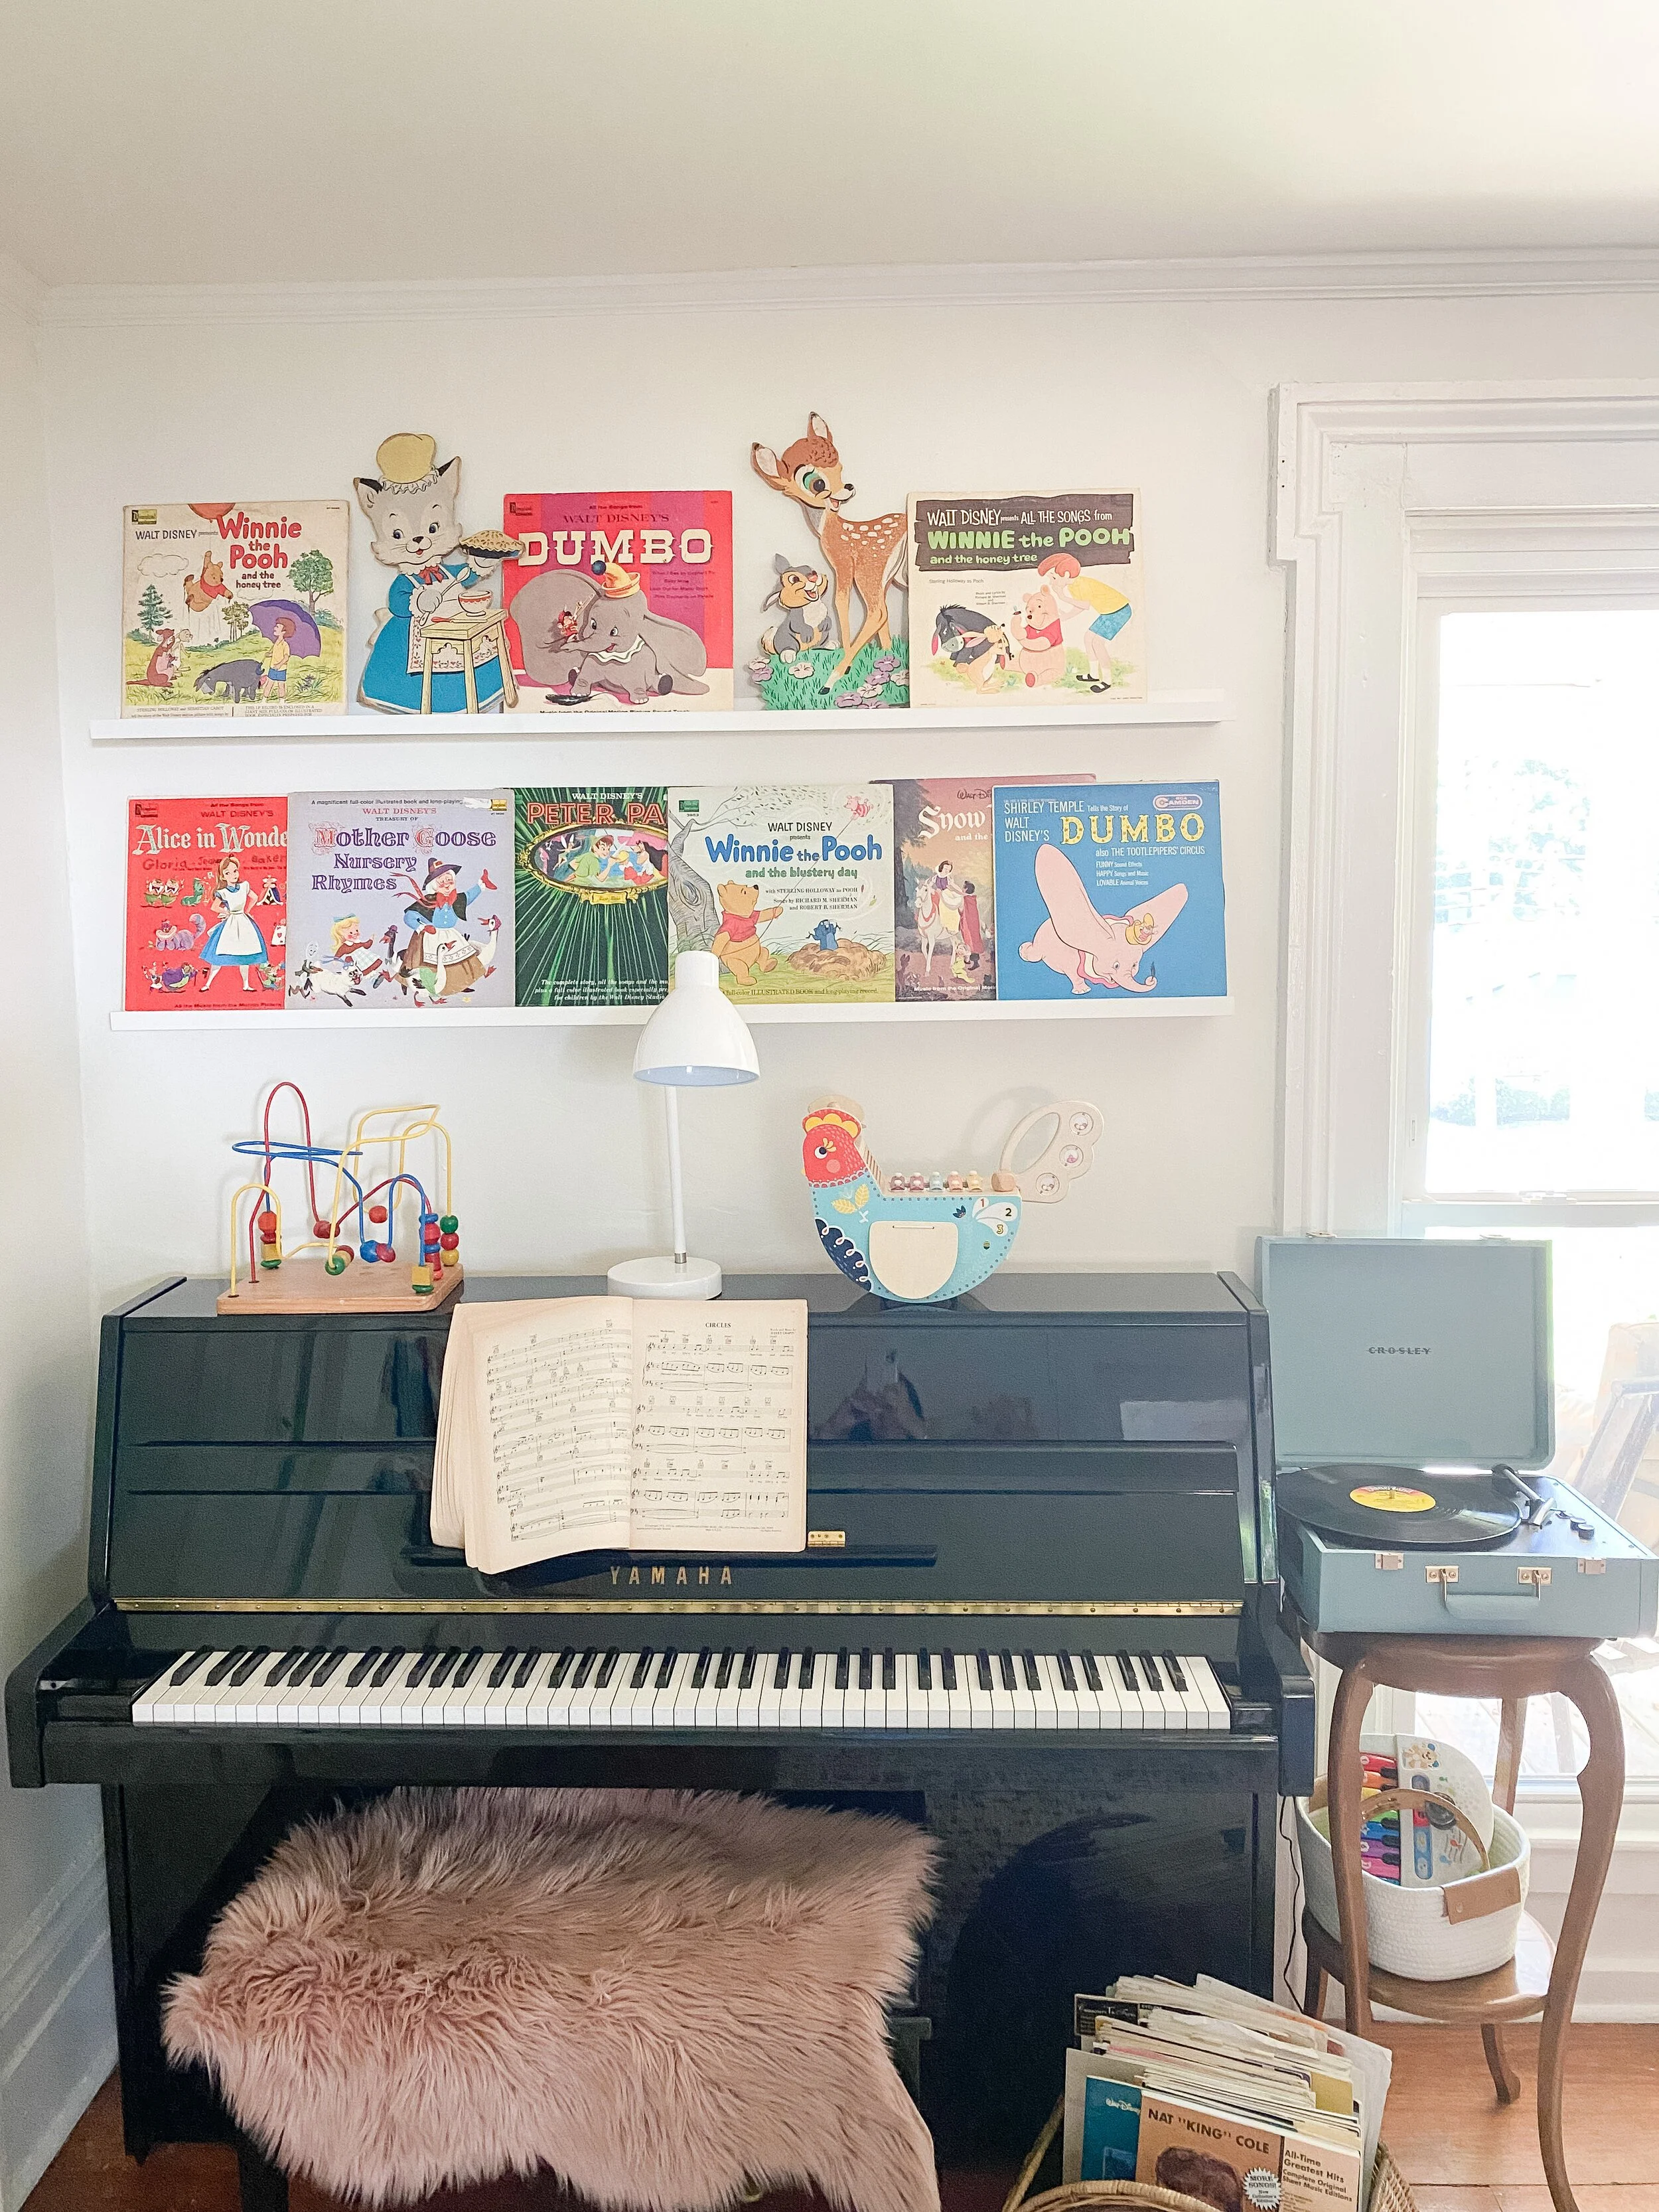
I knew from the beginning that I wanted a dedicated space for the piano. It’s kind of untraditional but I just love the idea of a piano in a playroom. I hope that it will encourage him to learn and play as much as possible as he grows up and perhaps we can even add more instruments to this space. I shared more details about this space on the week 7 post here, including links to shop everything and details on the little record shelves. I do hope to find a different bench in the future for the piano to just mix it up a little bit, but overall I love this corner so much!
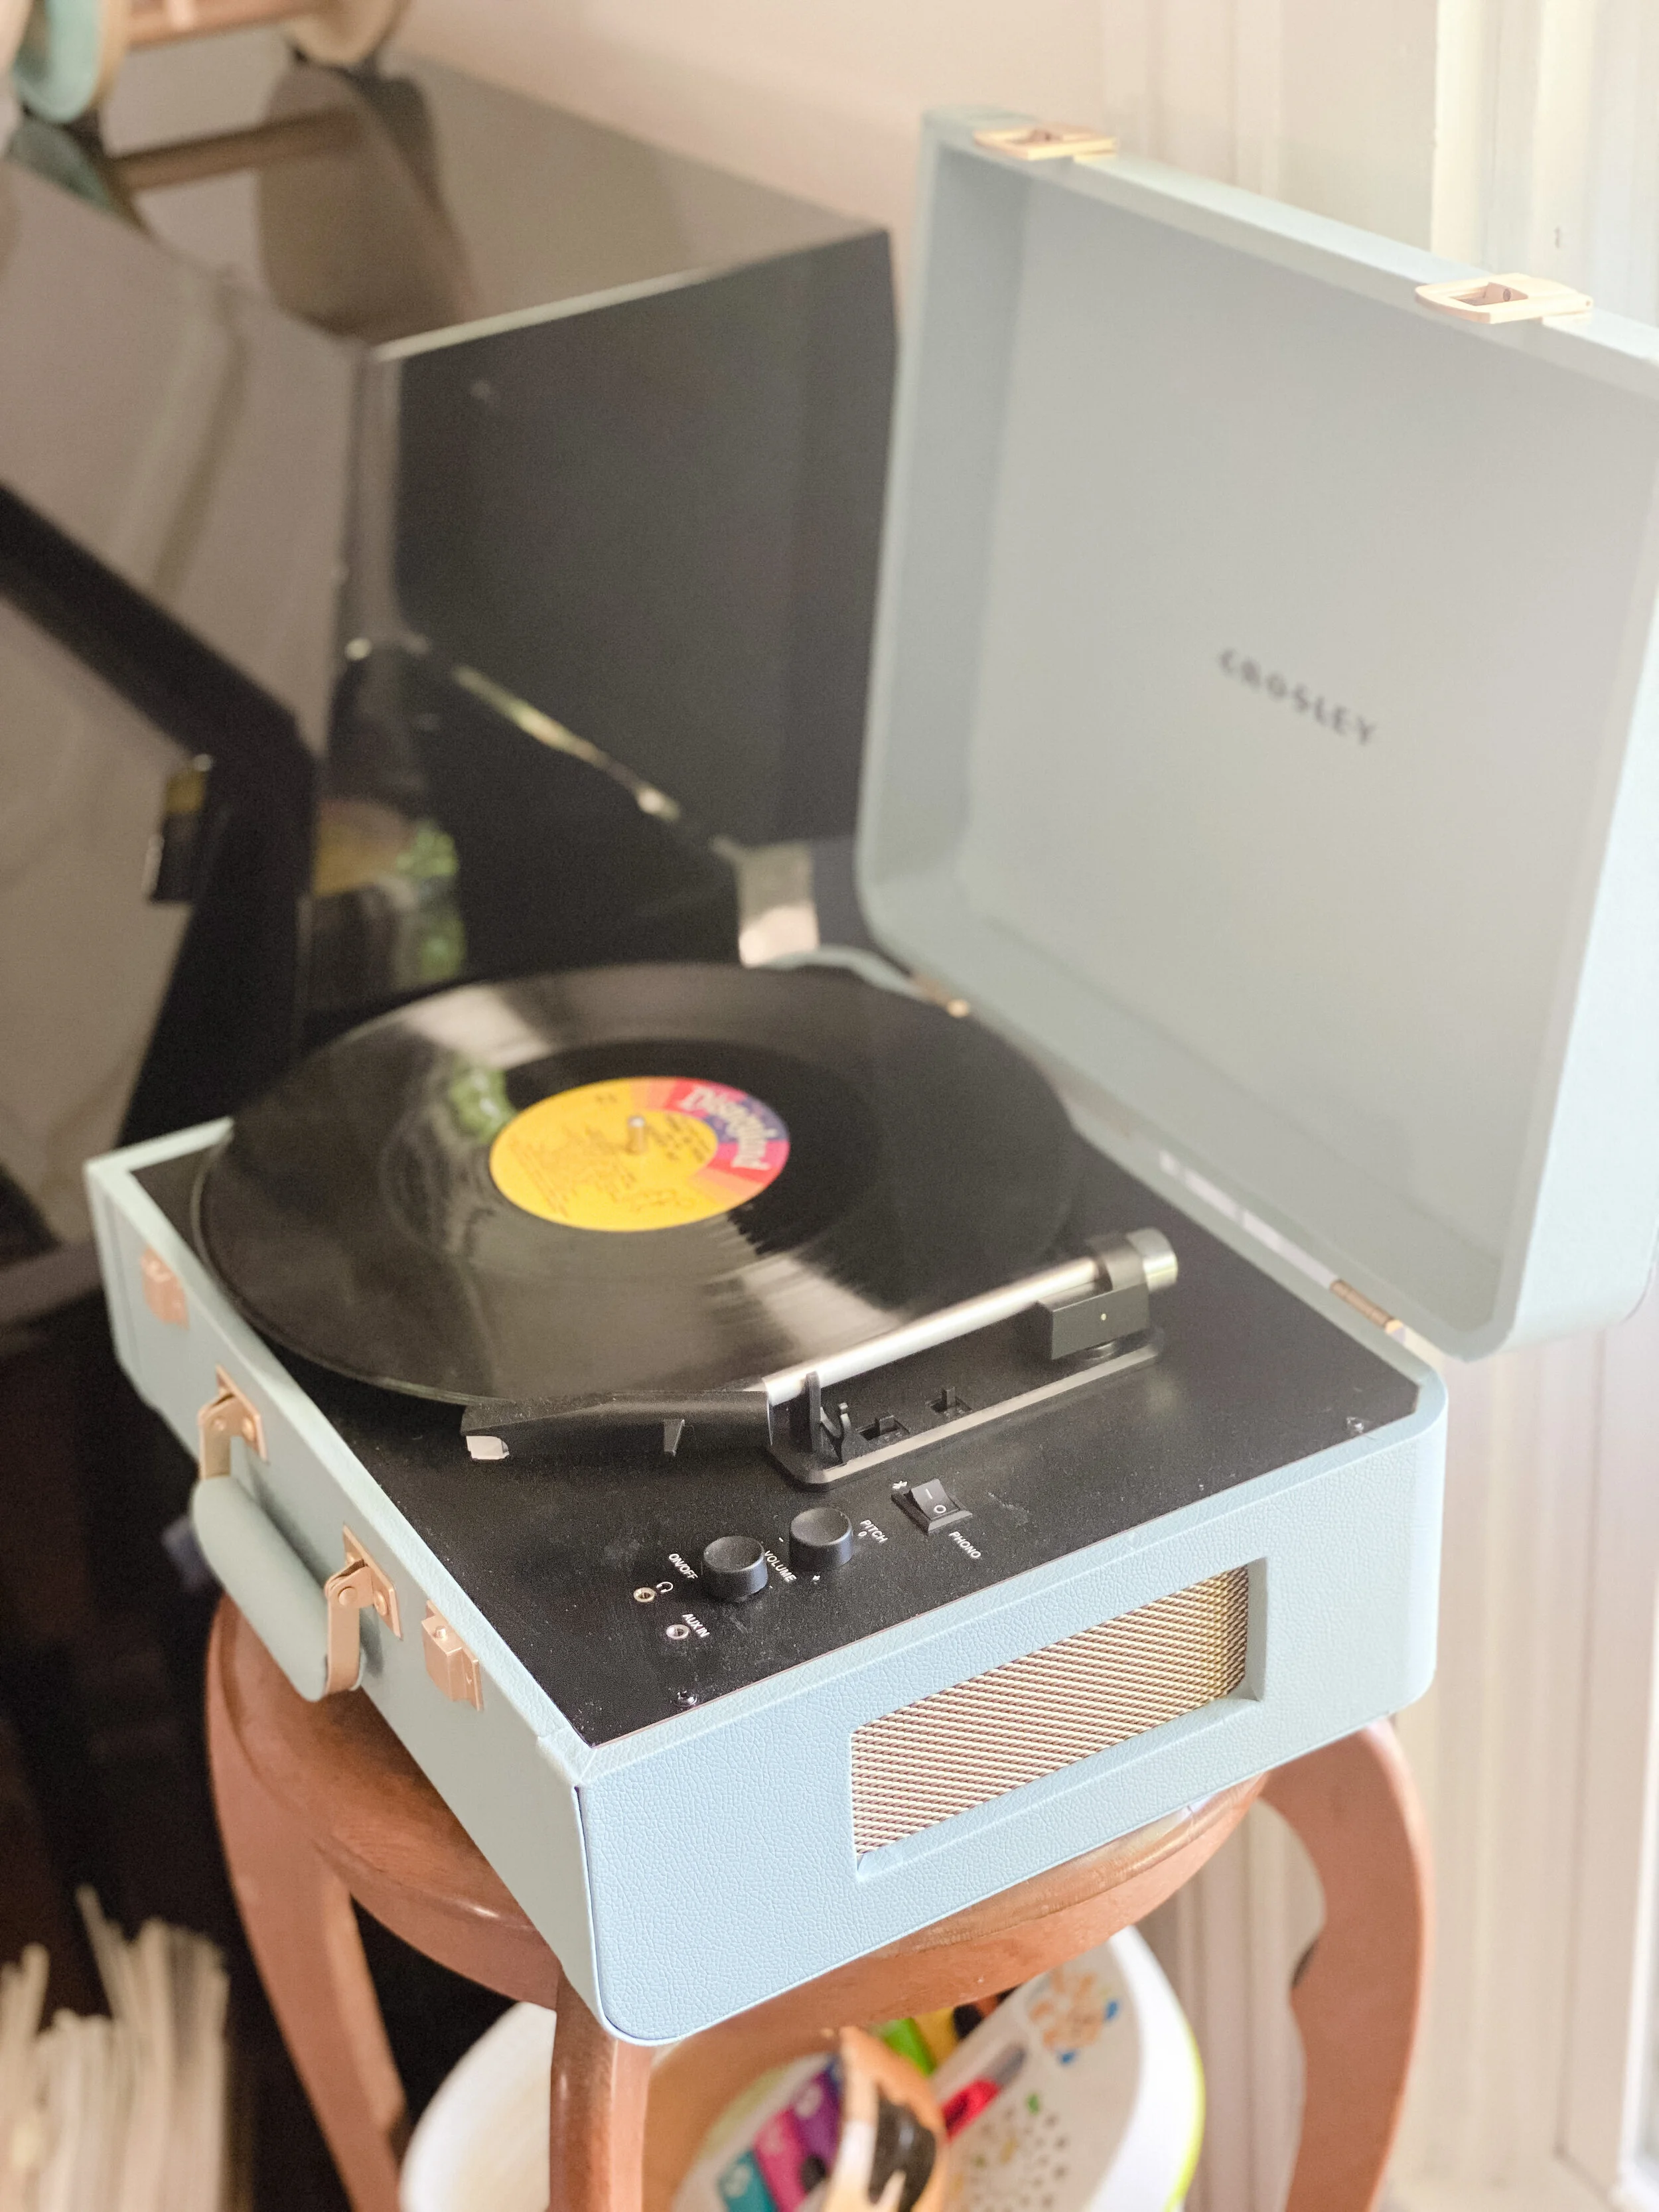
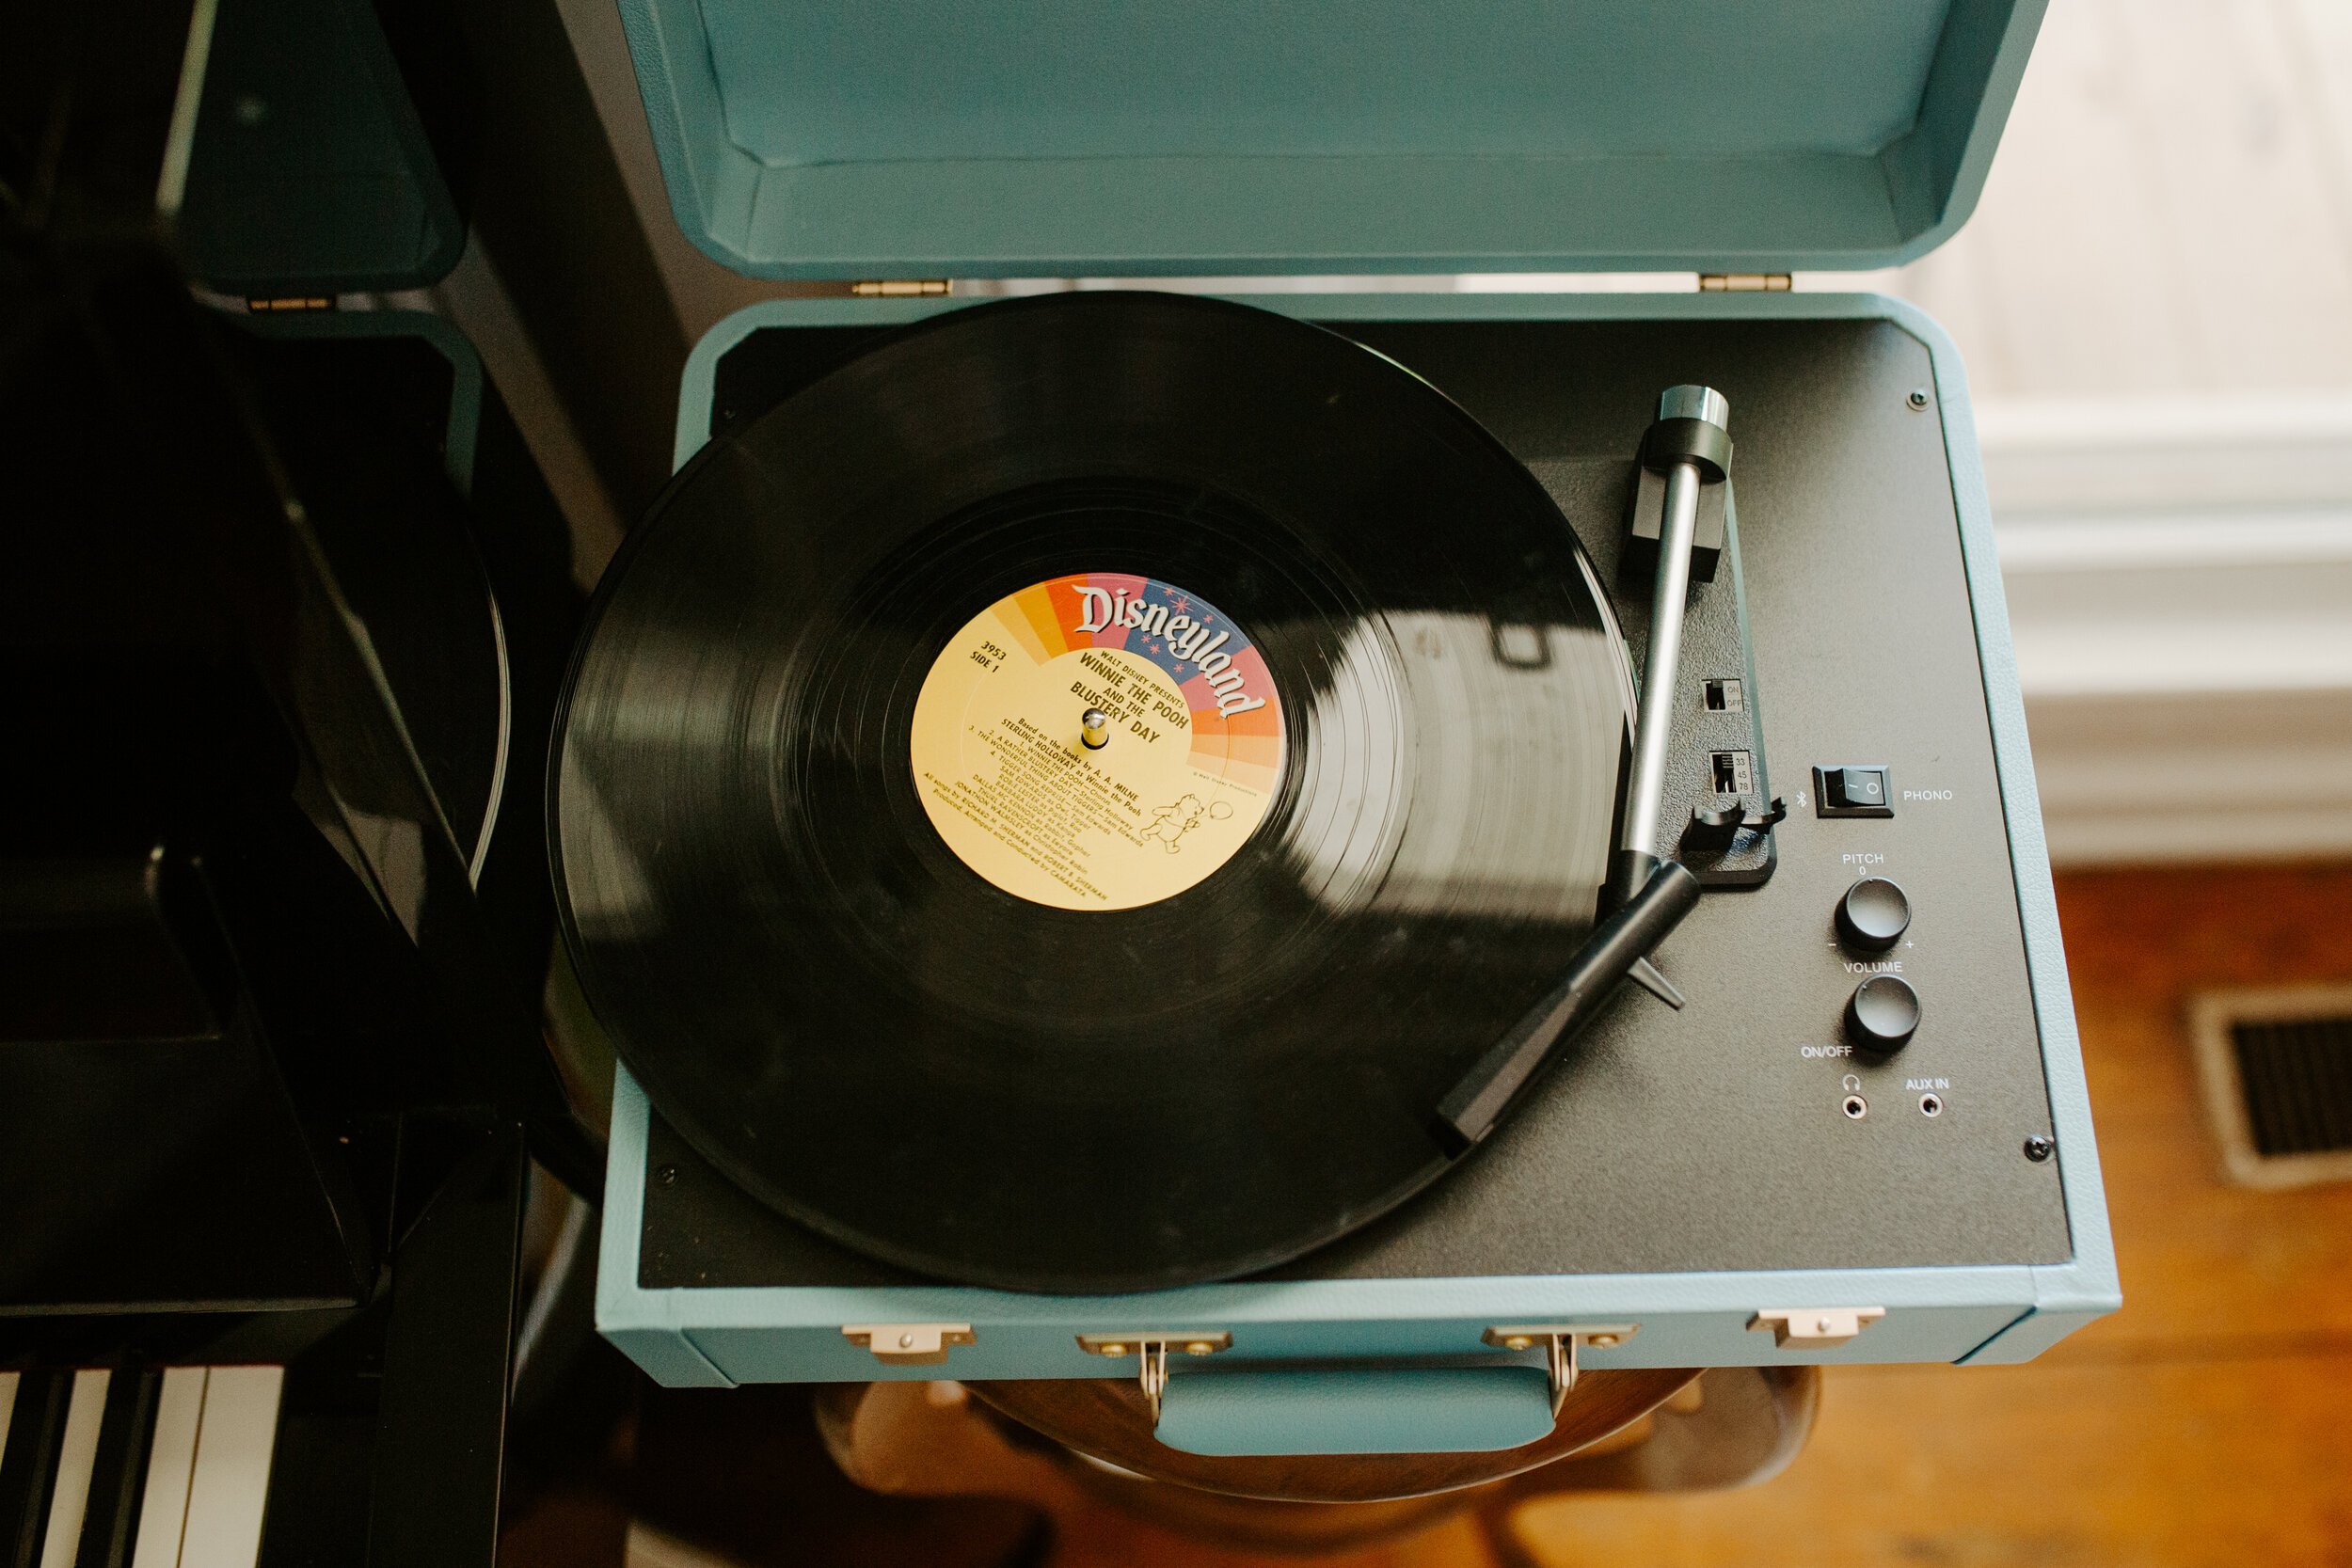
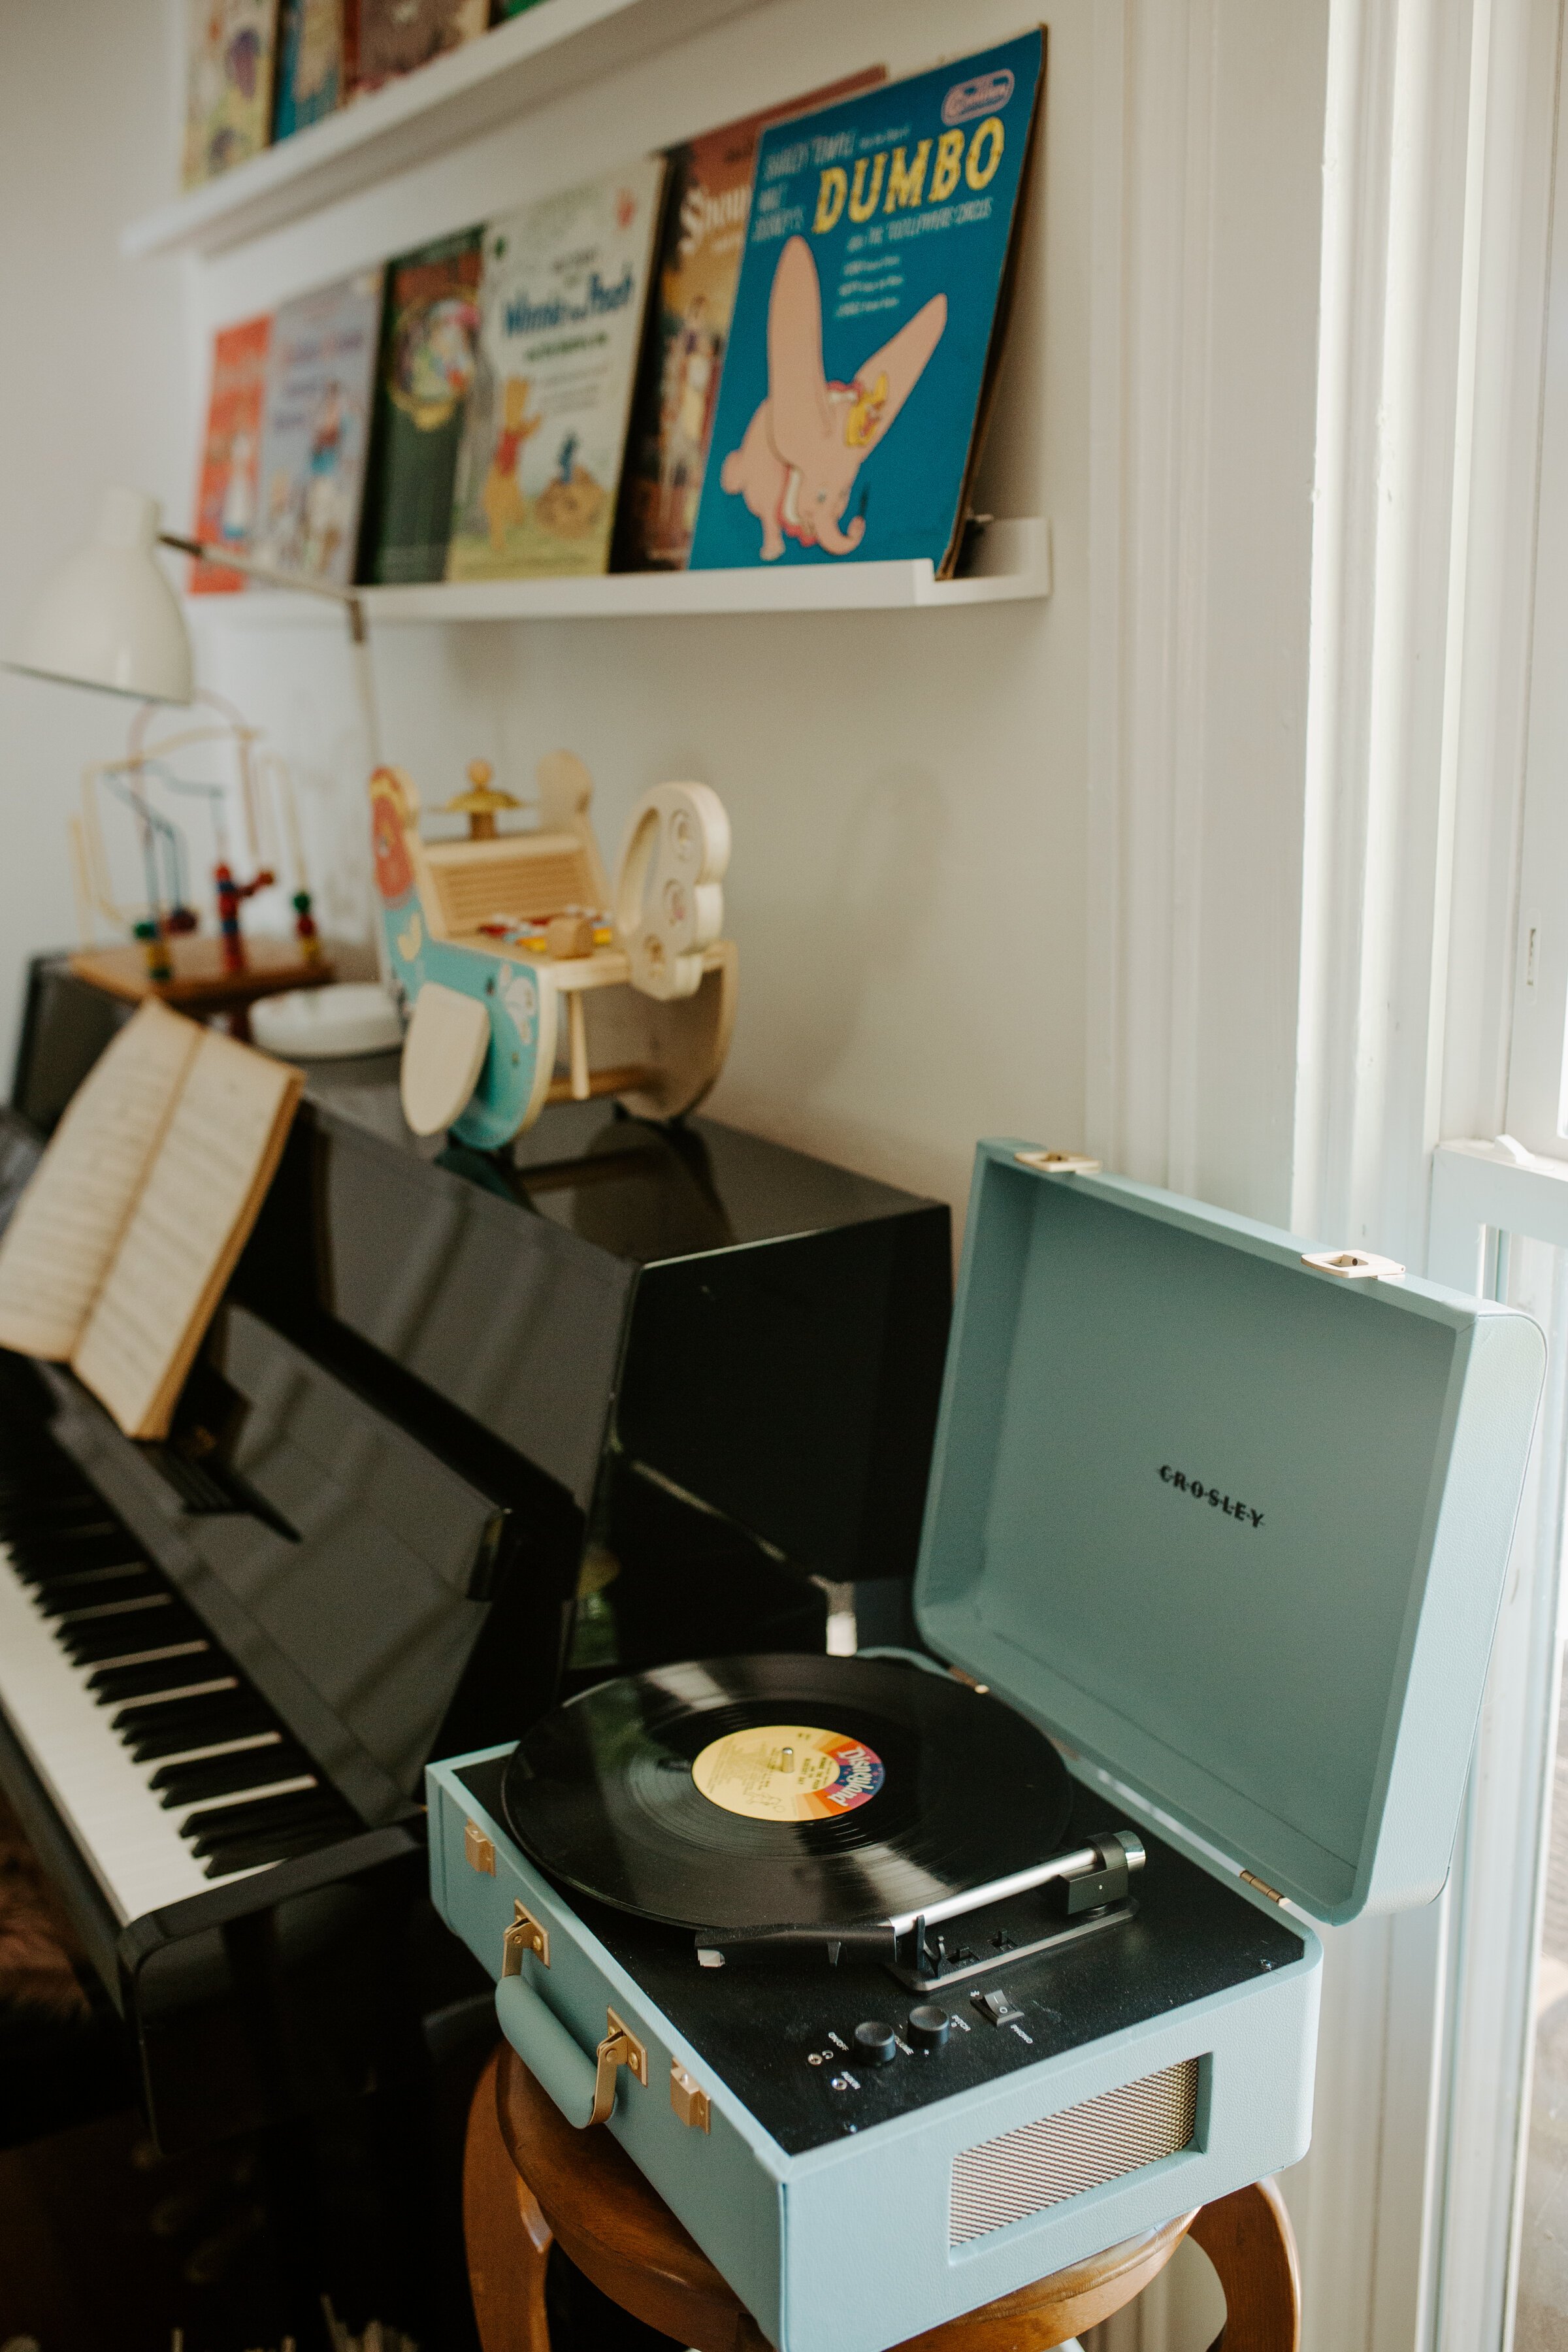
One of my favorite details is the little blue record player. It is a new reproduction piece and I am amazed at the quality and features it has (bluetooth and so easy to use!). I have so enjoyed playing some of my vintage Disney albums on it already and would highly recommend if you’re looking for a small space record player (also easy to move around/take on the go!). It comes in lots of different colors as well (shop it here!).


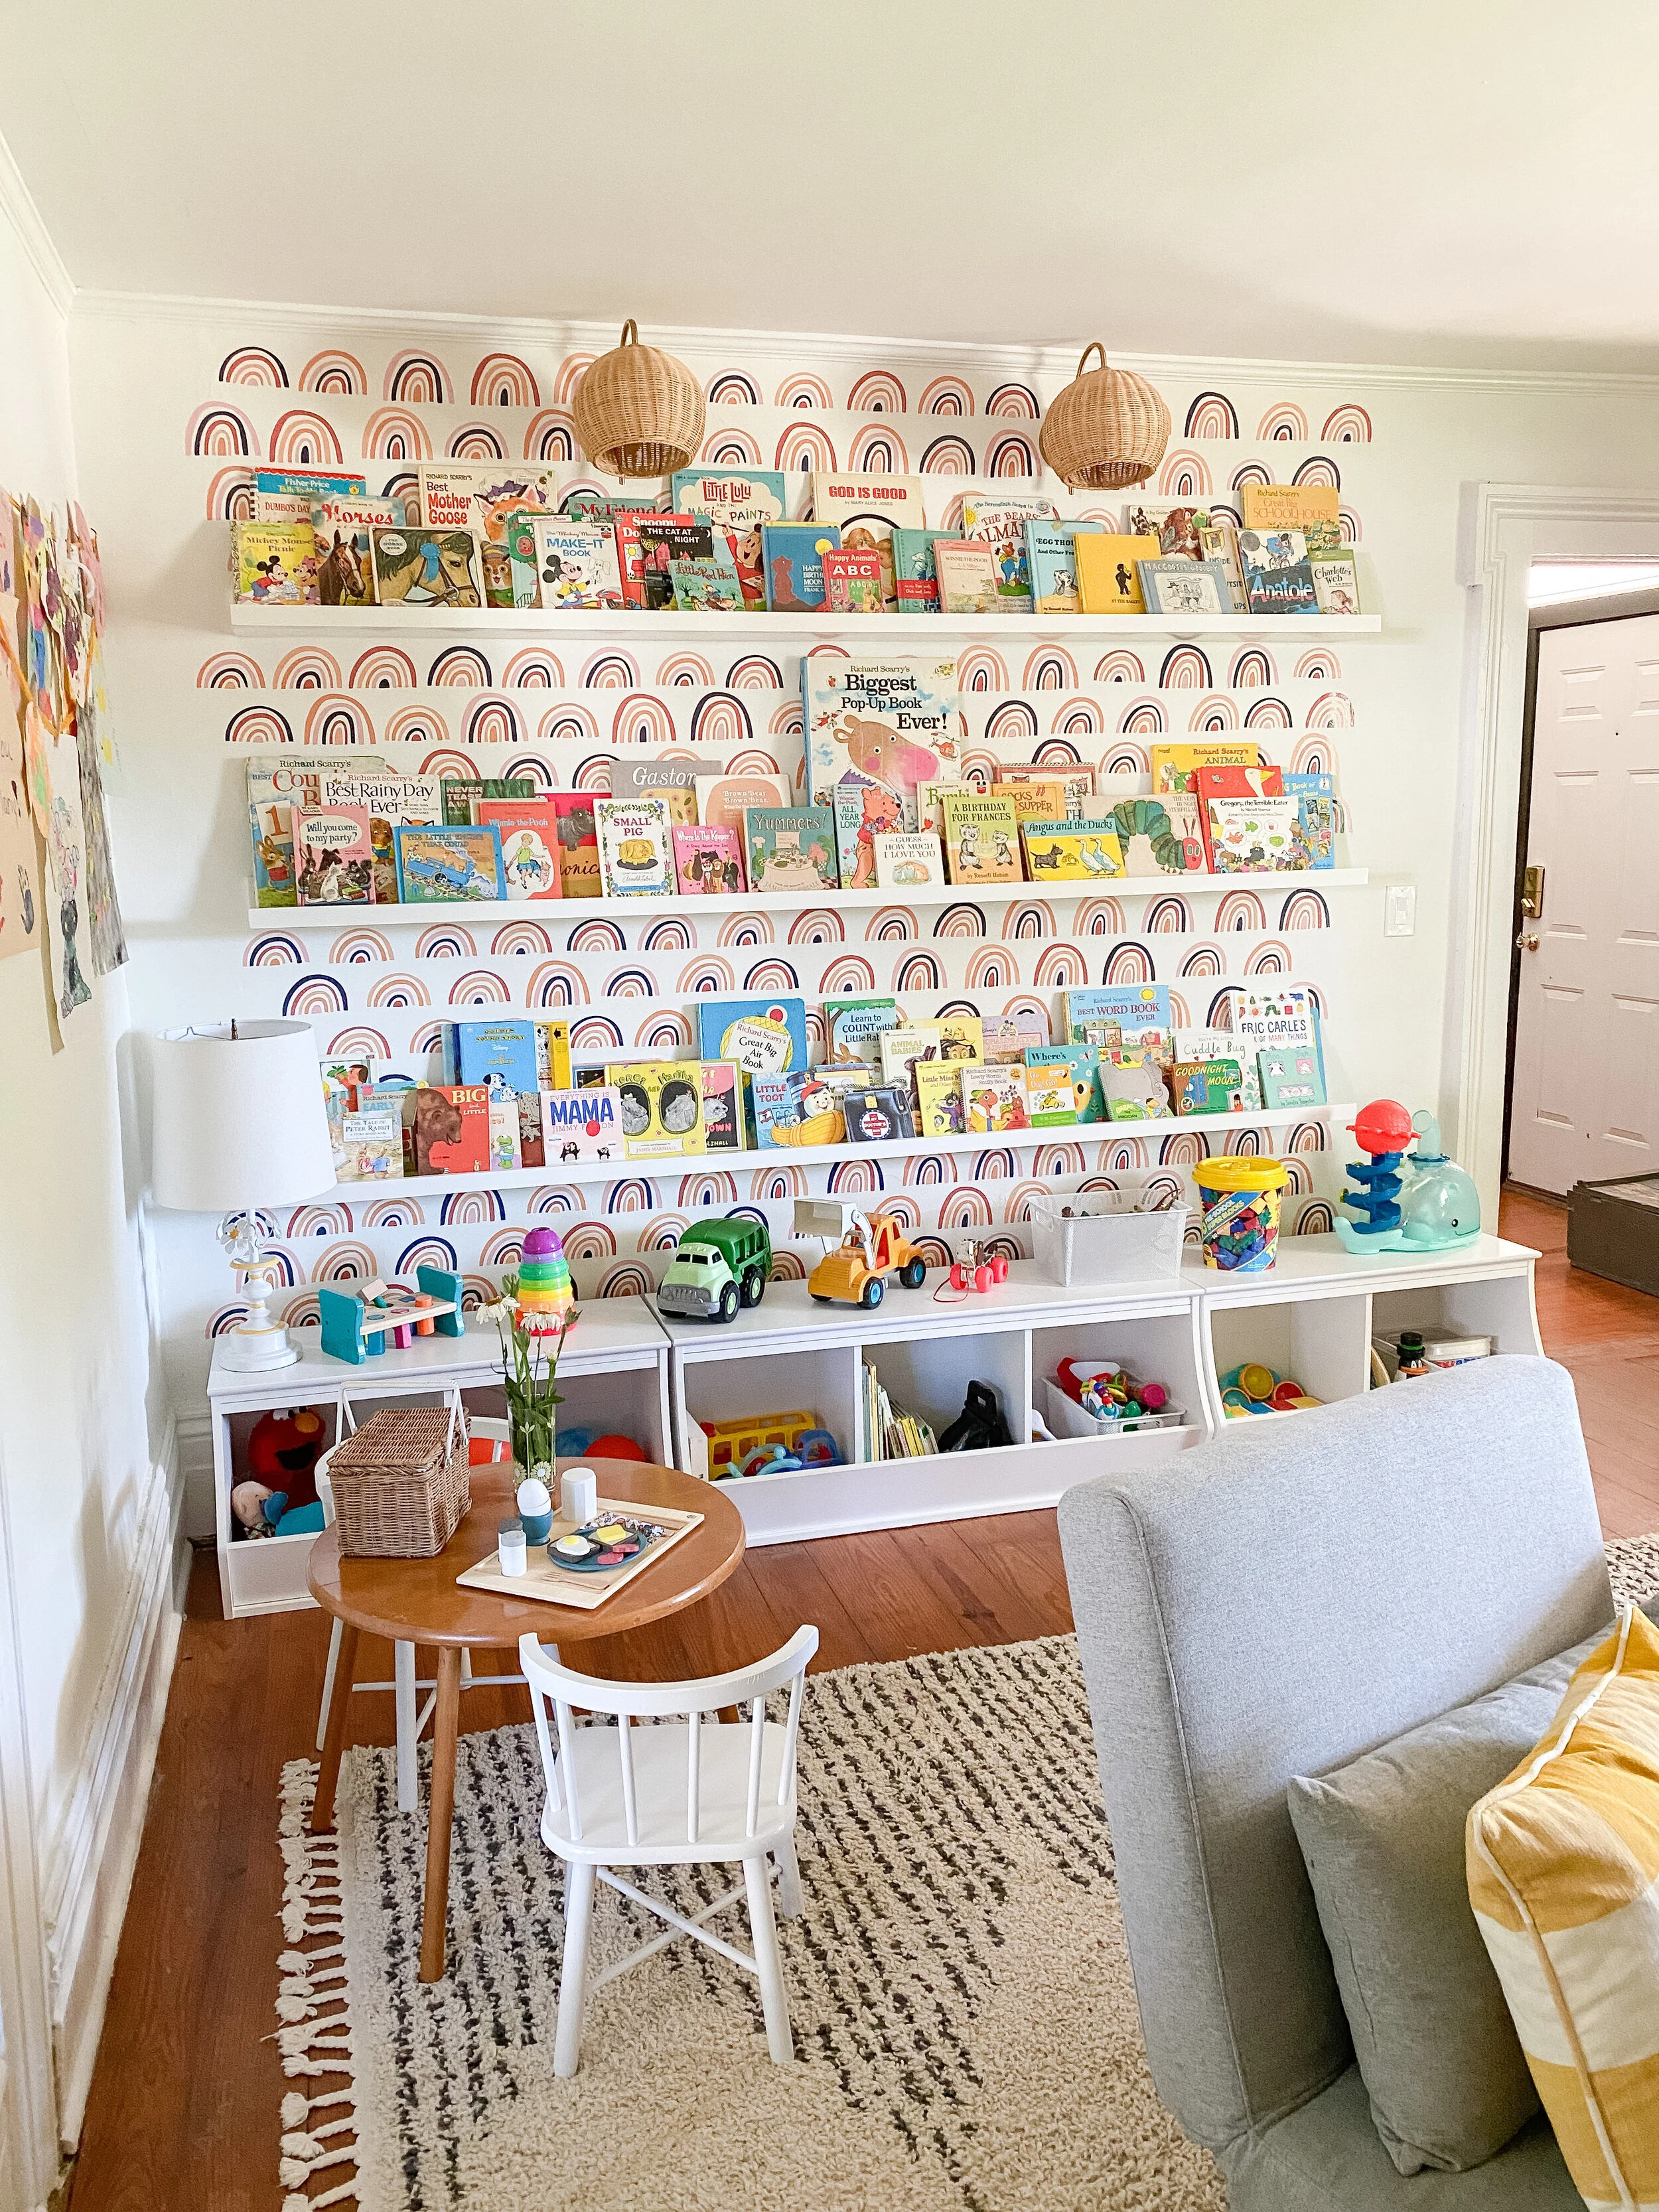
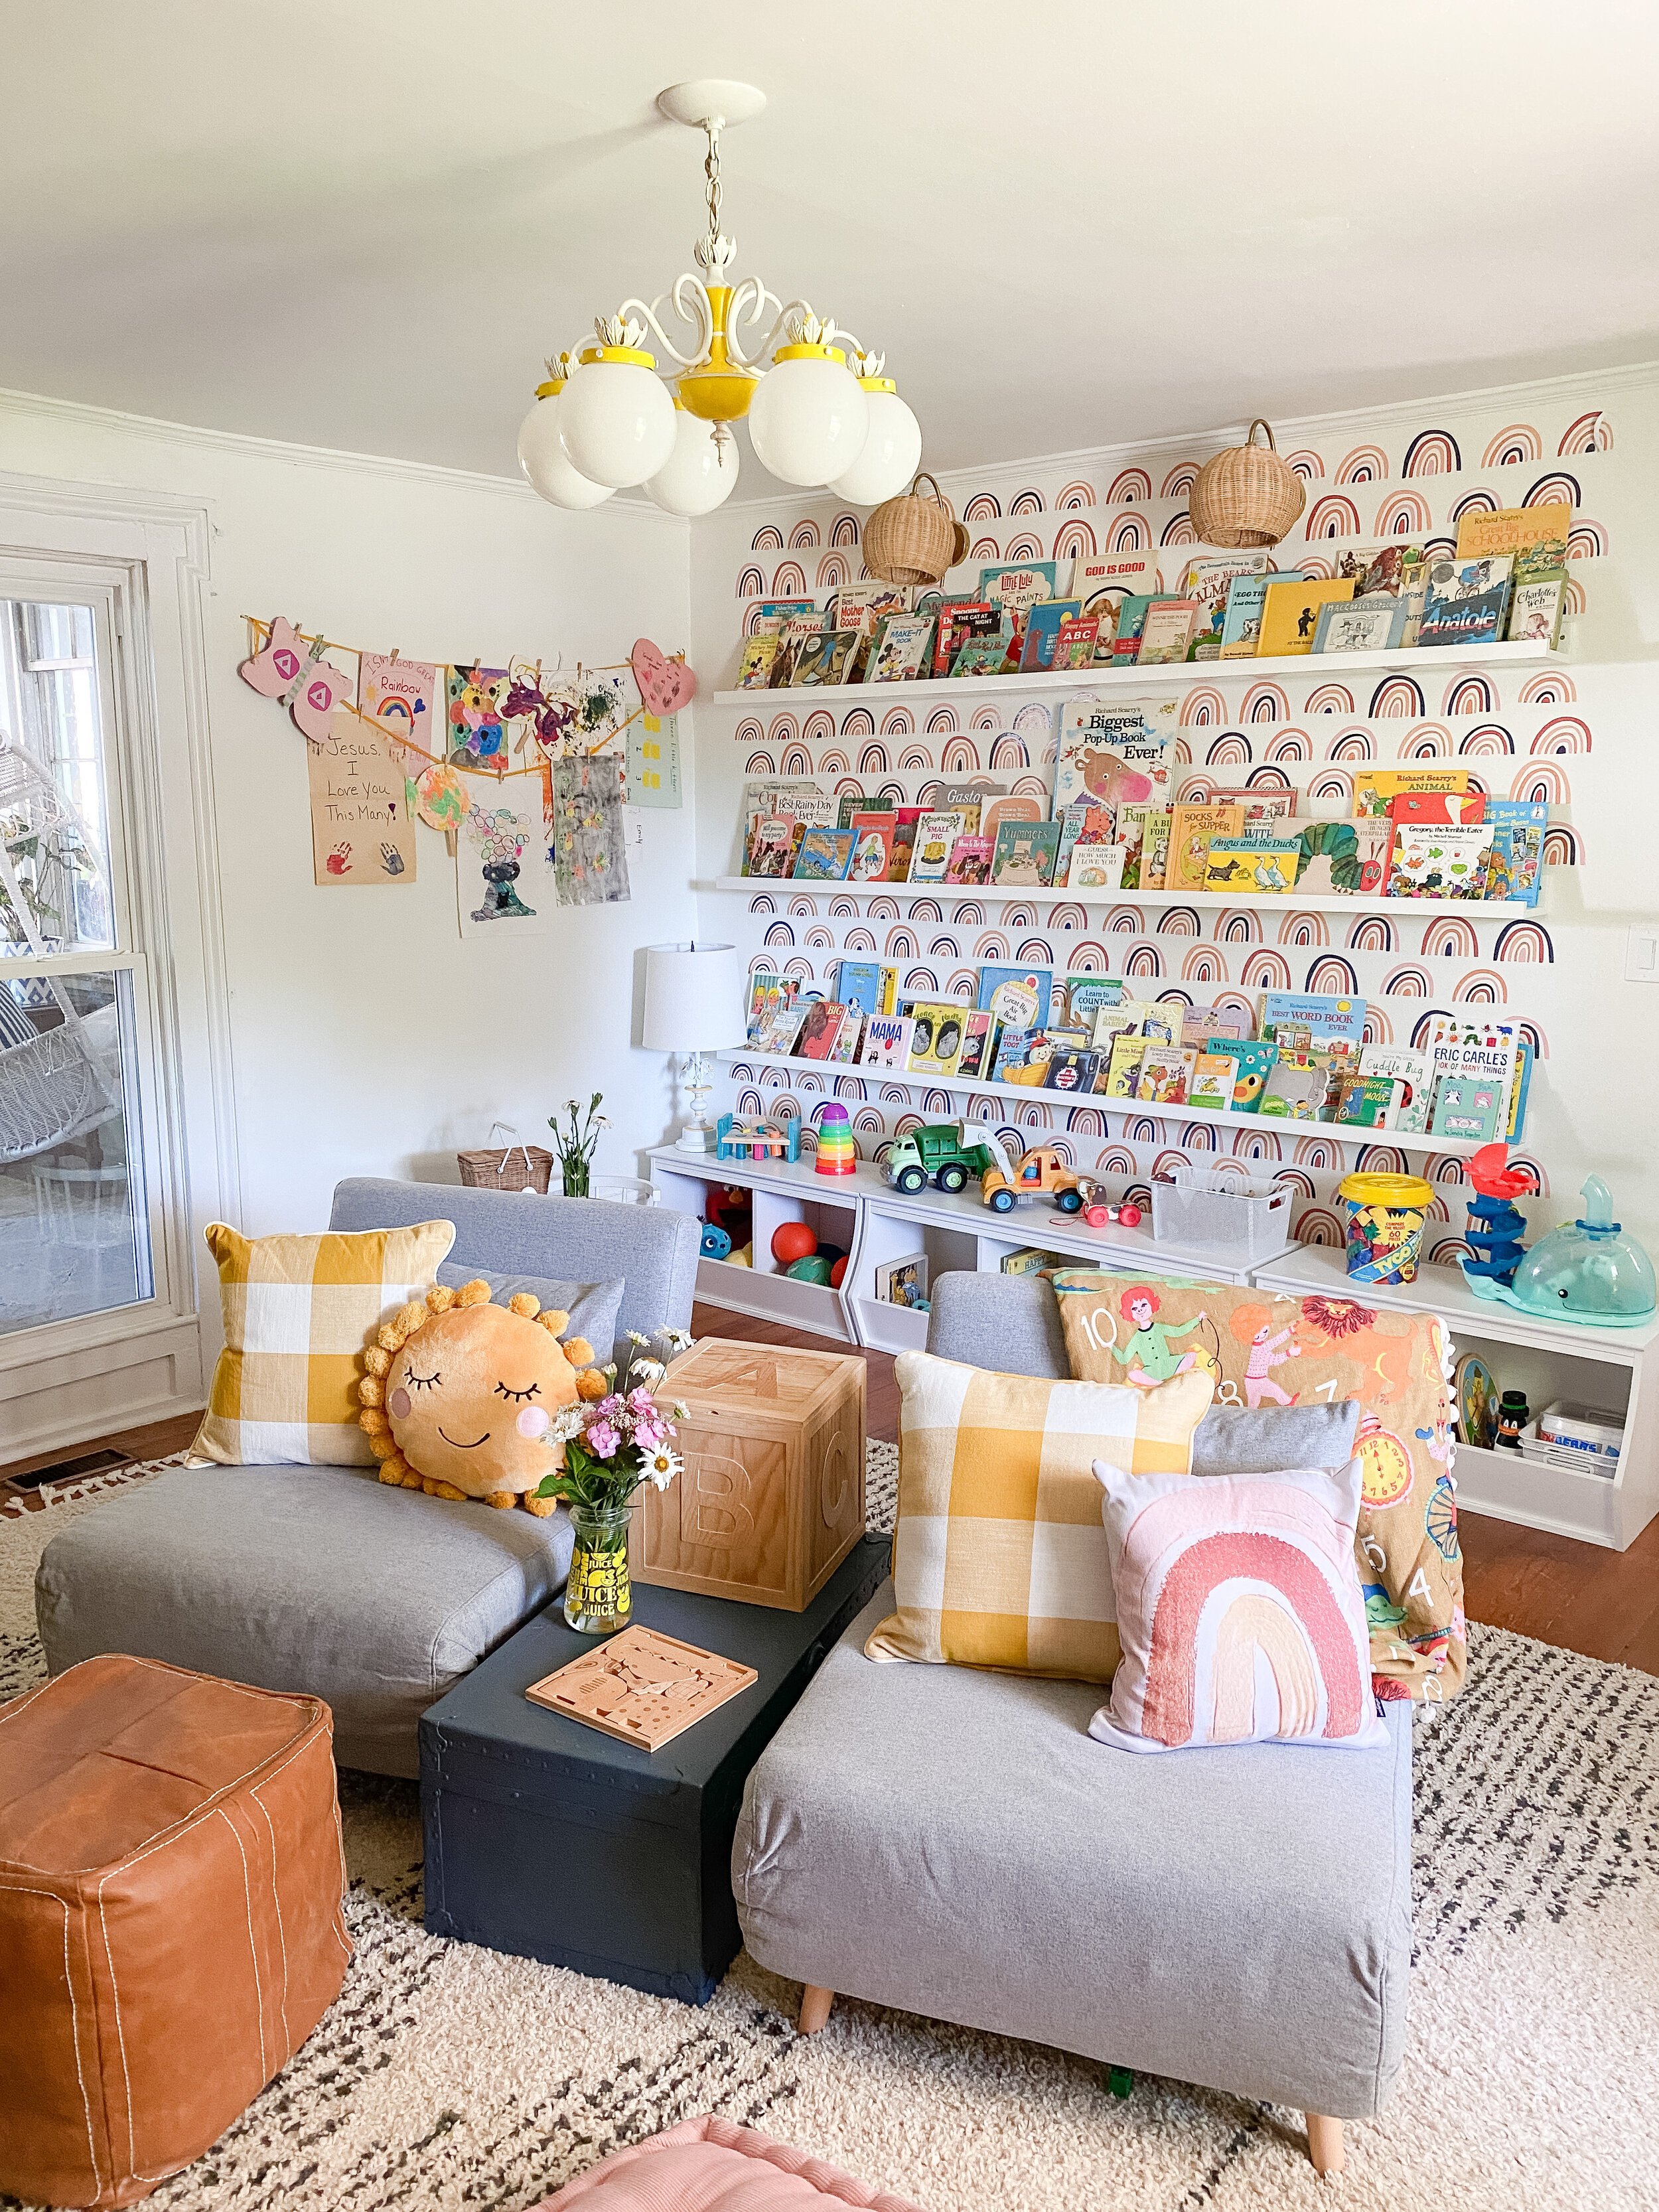
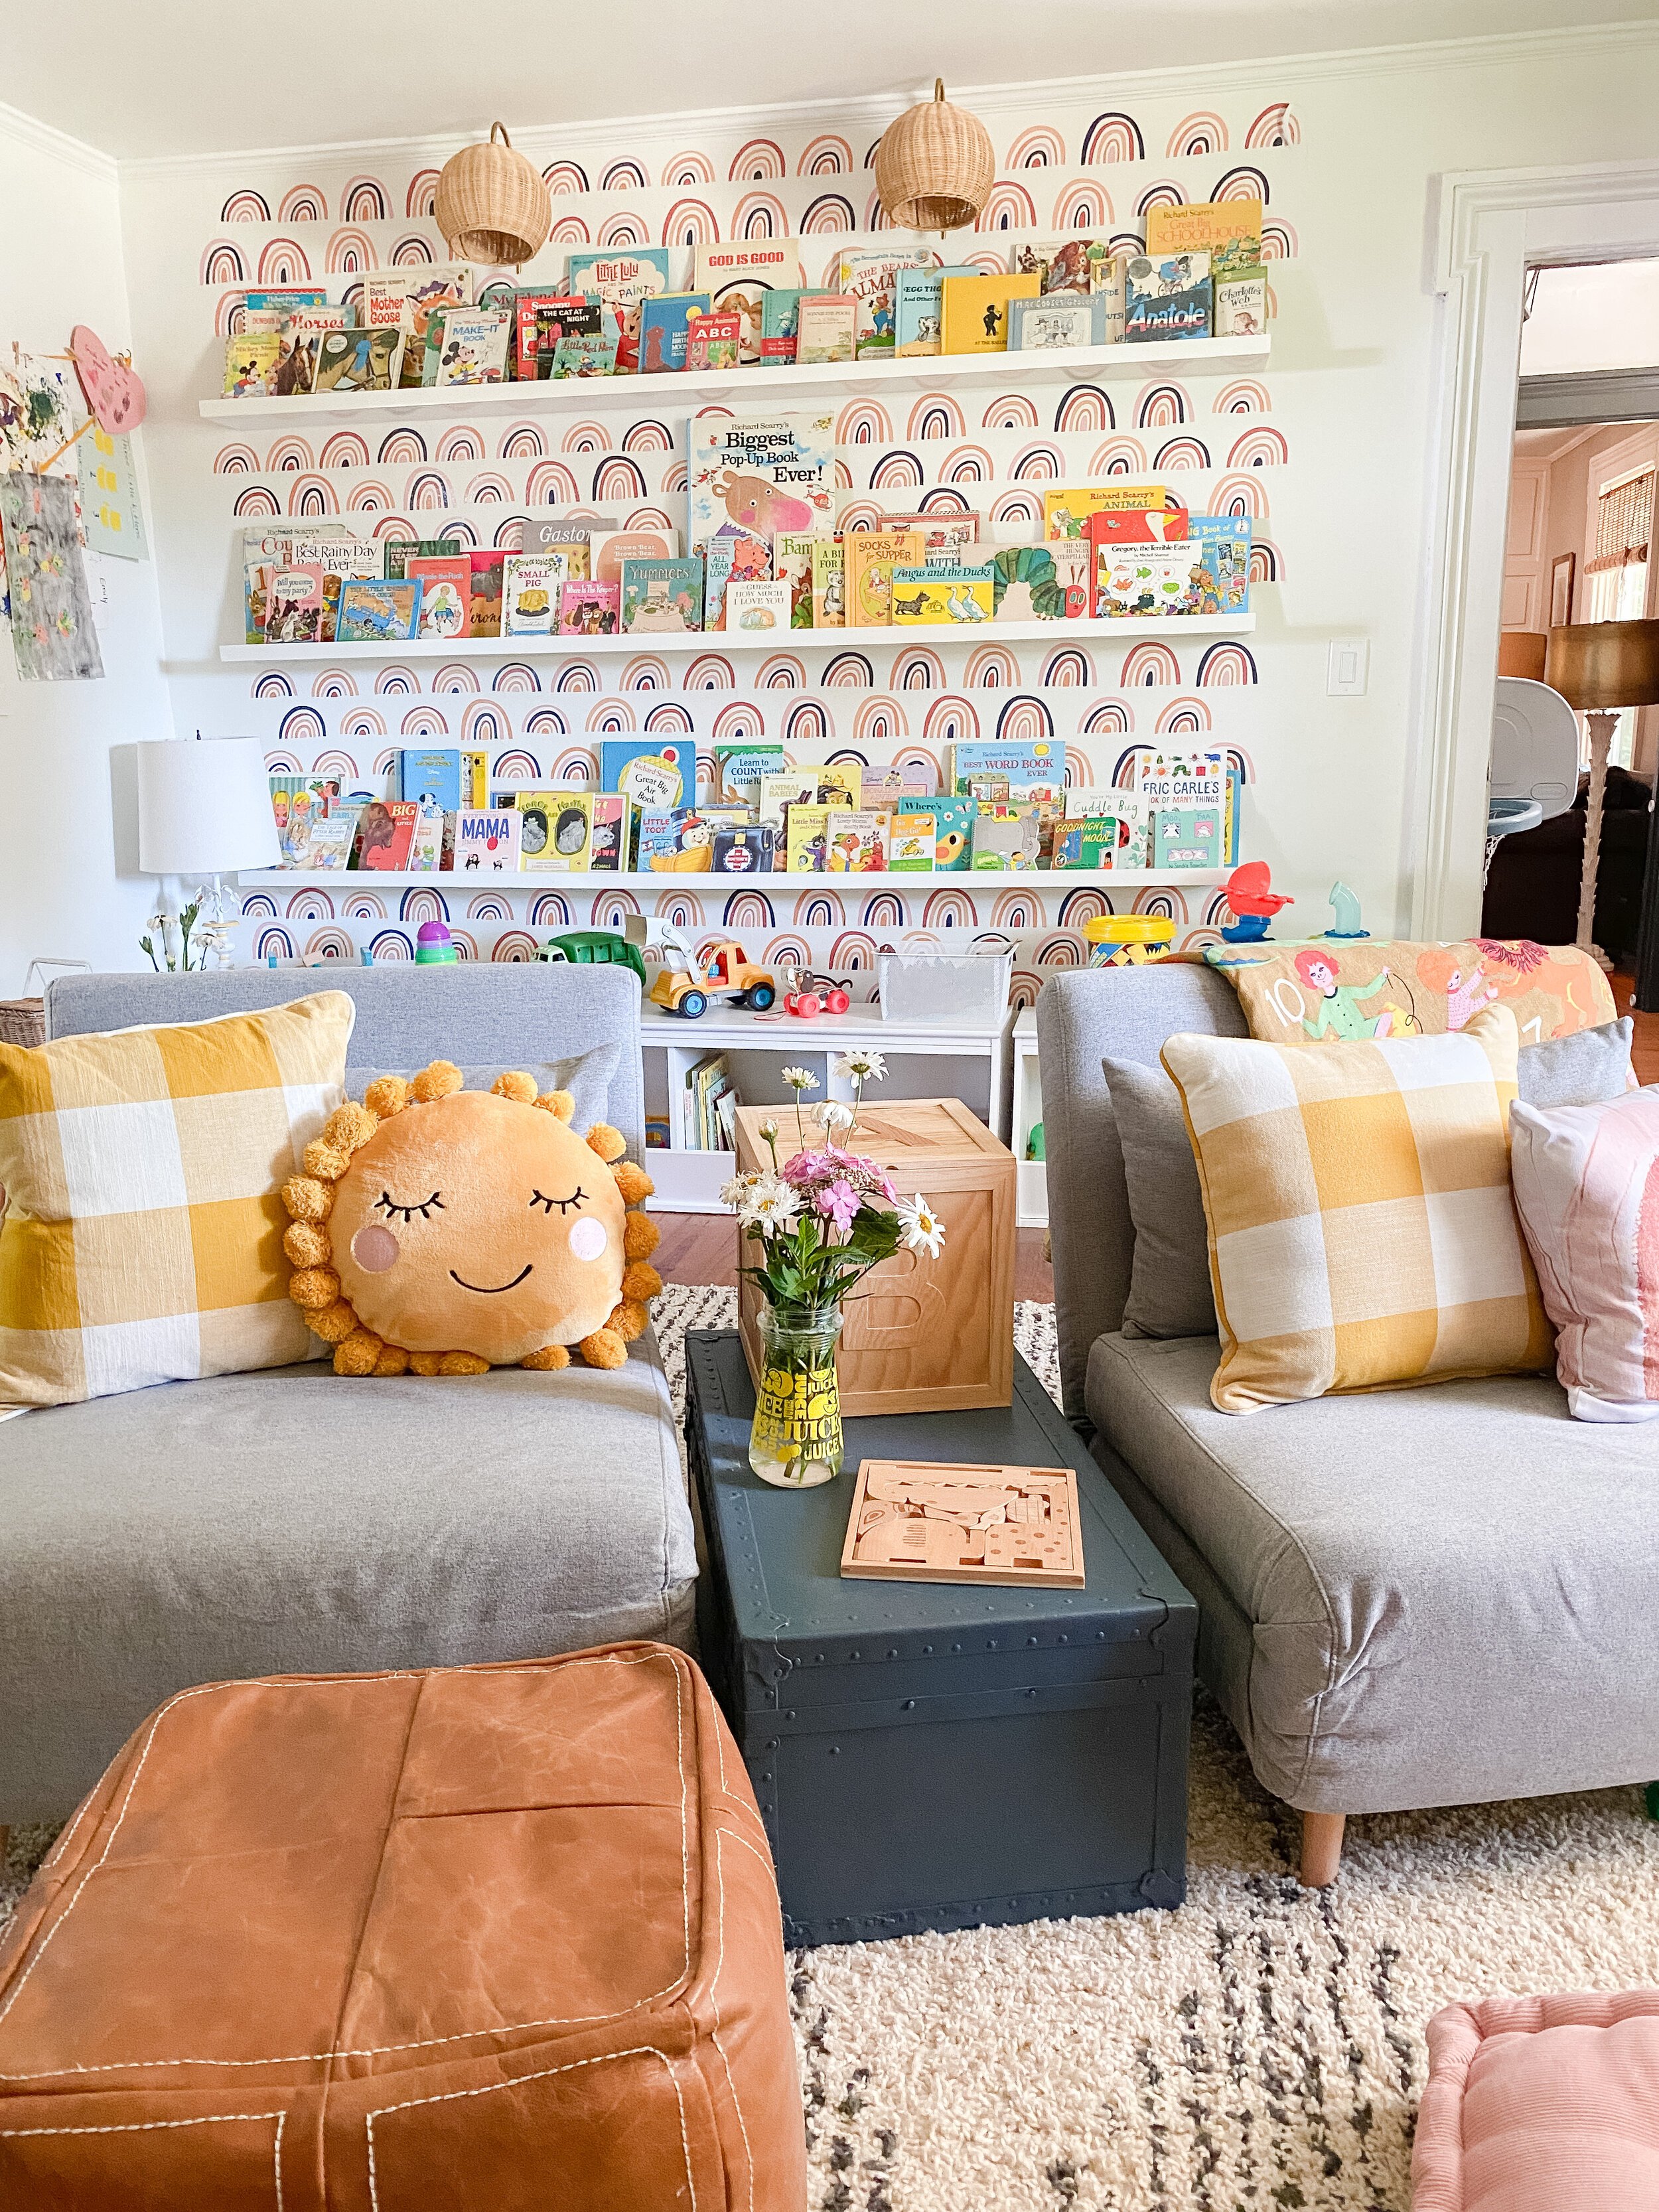
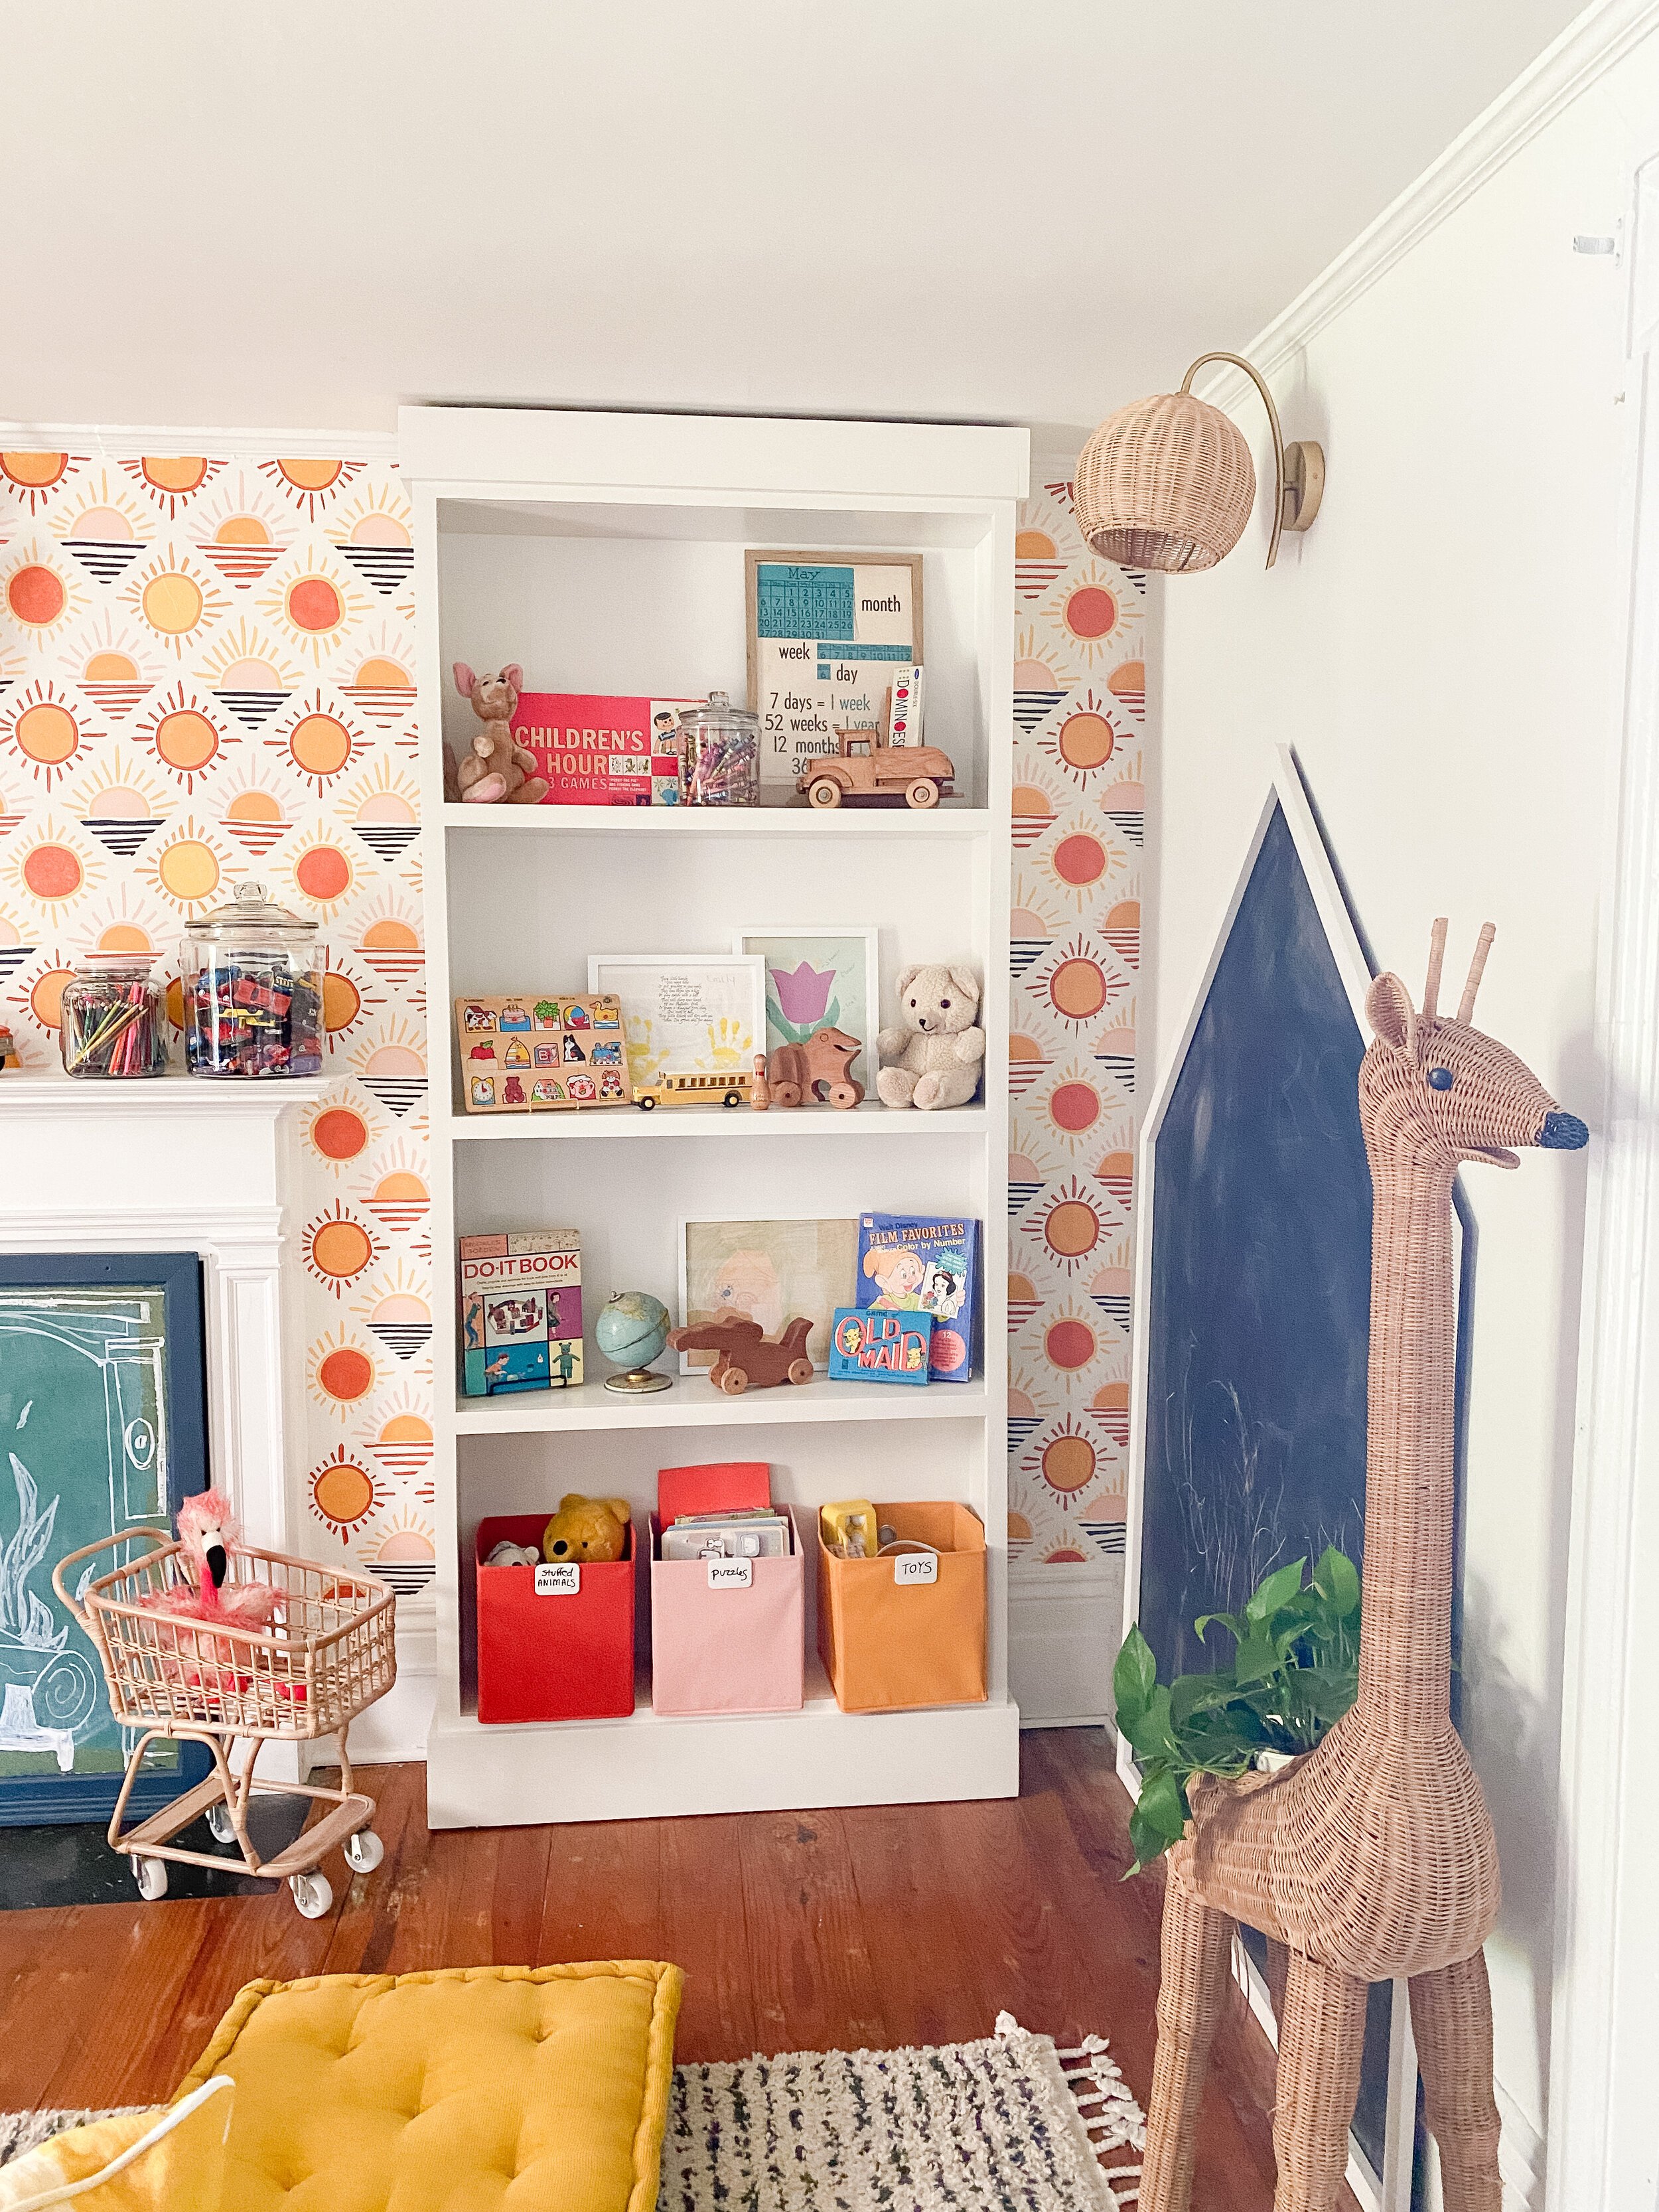
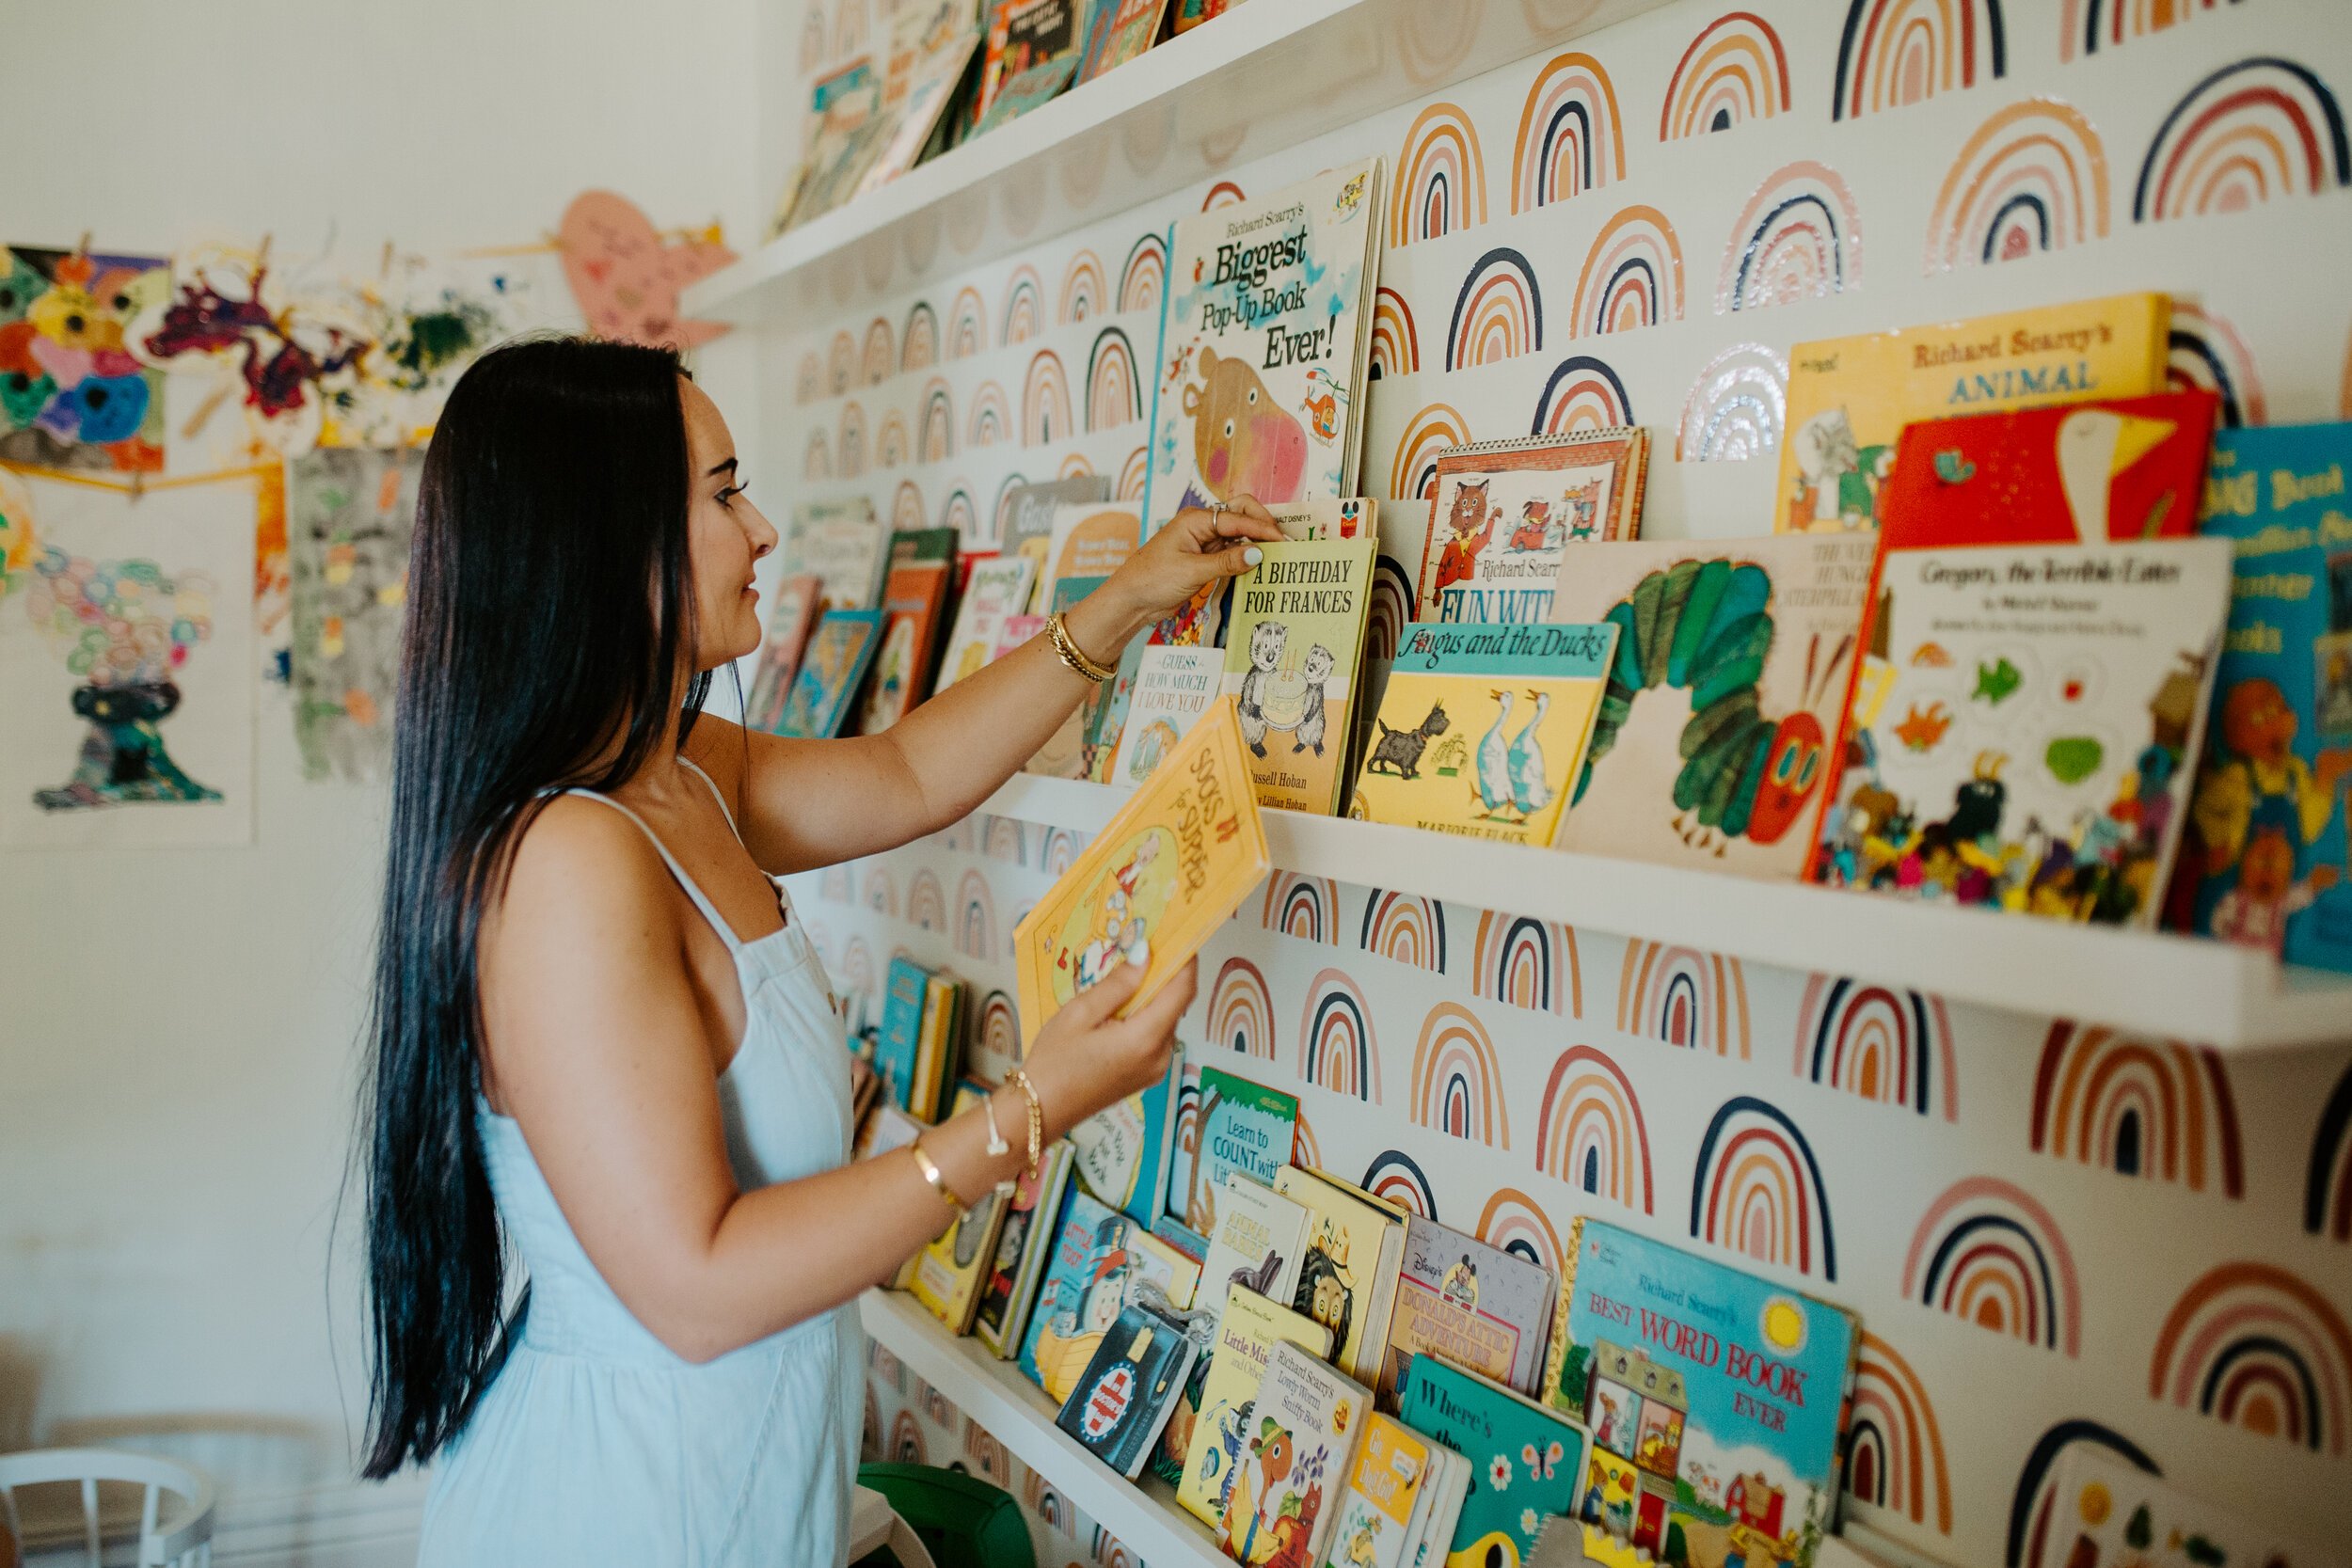
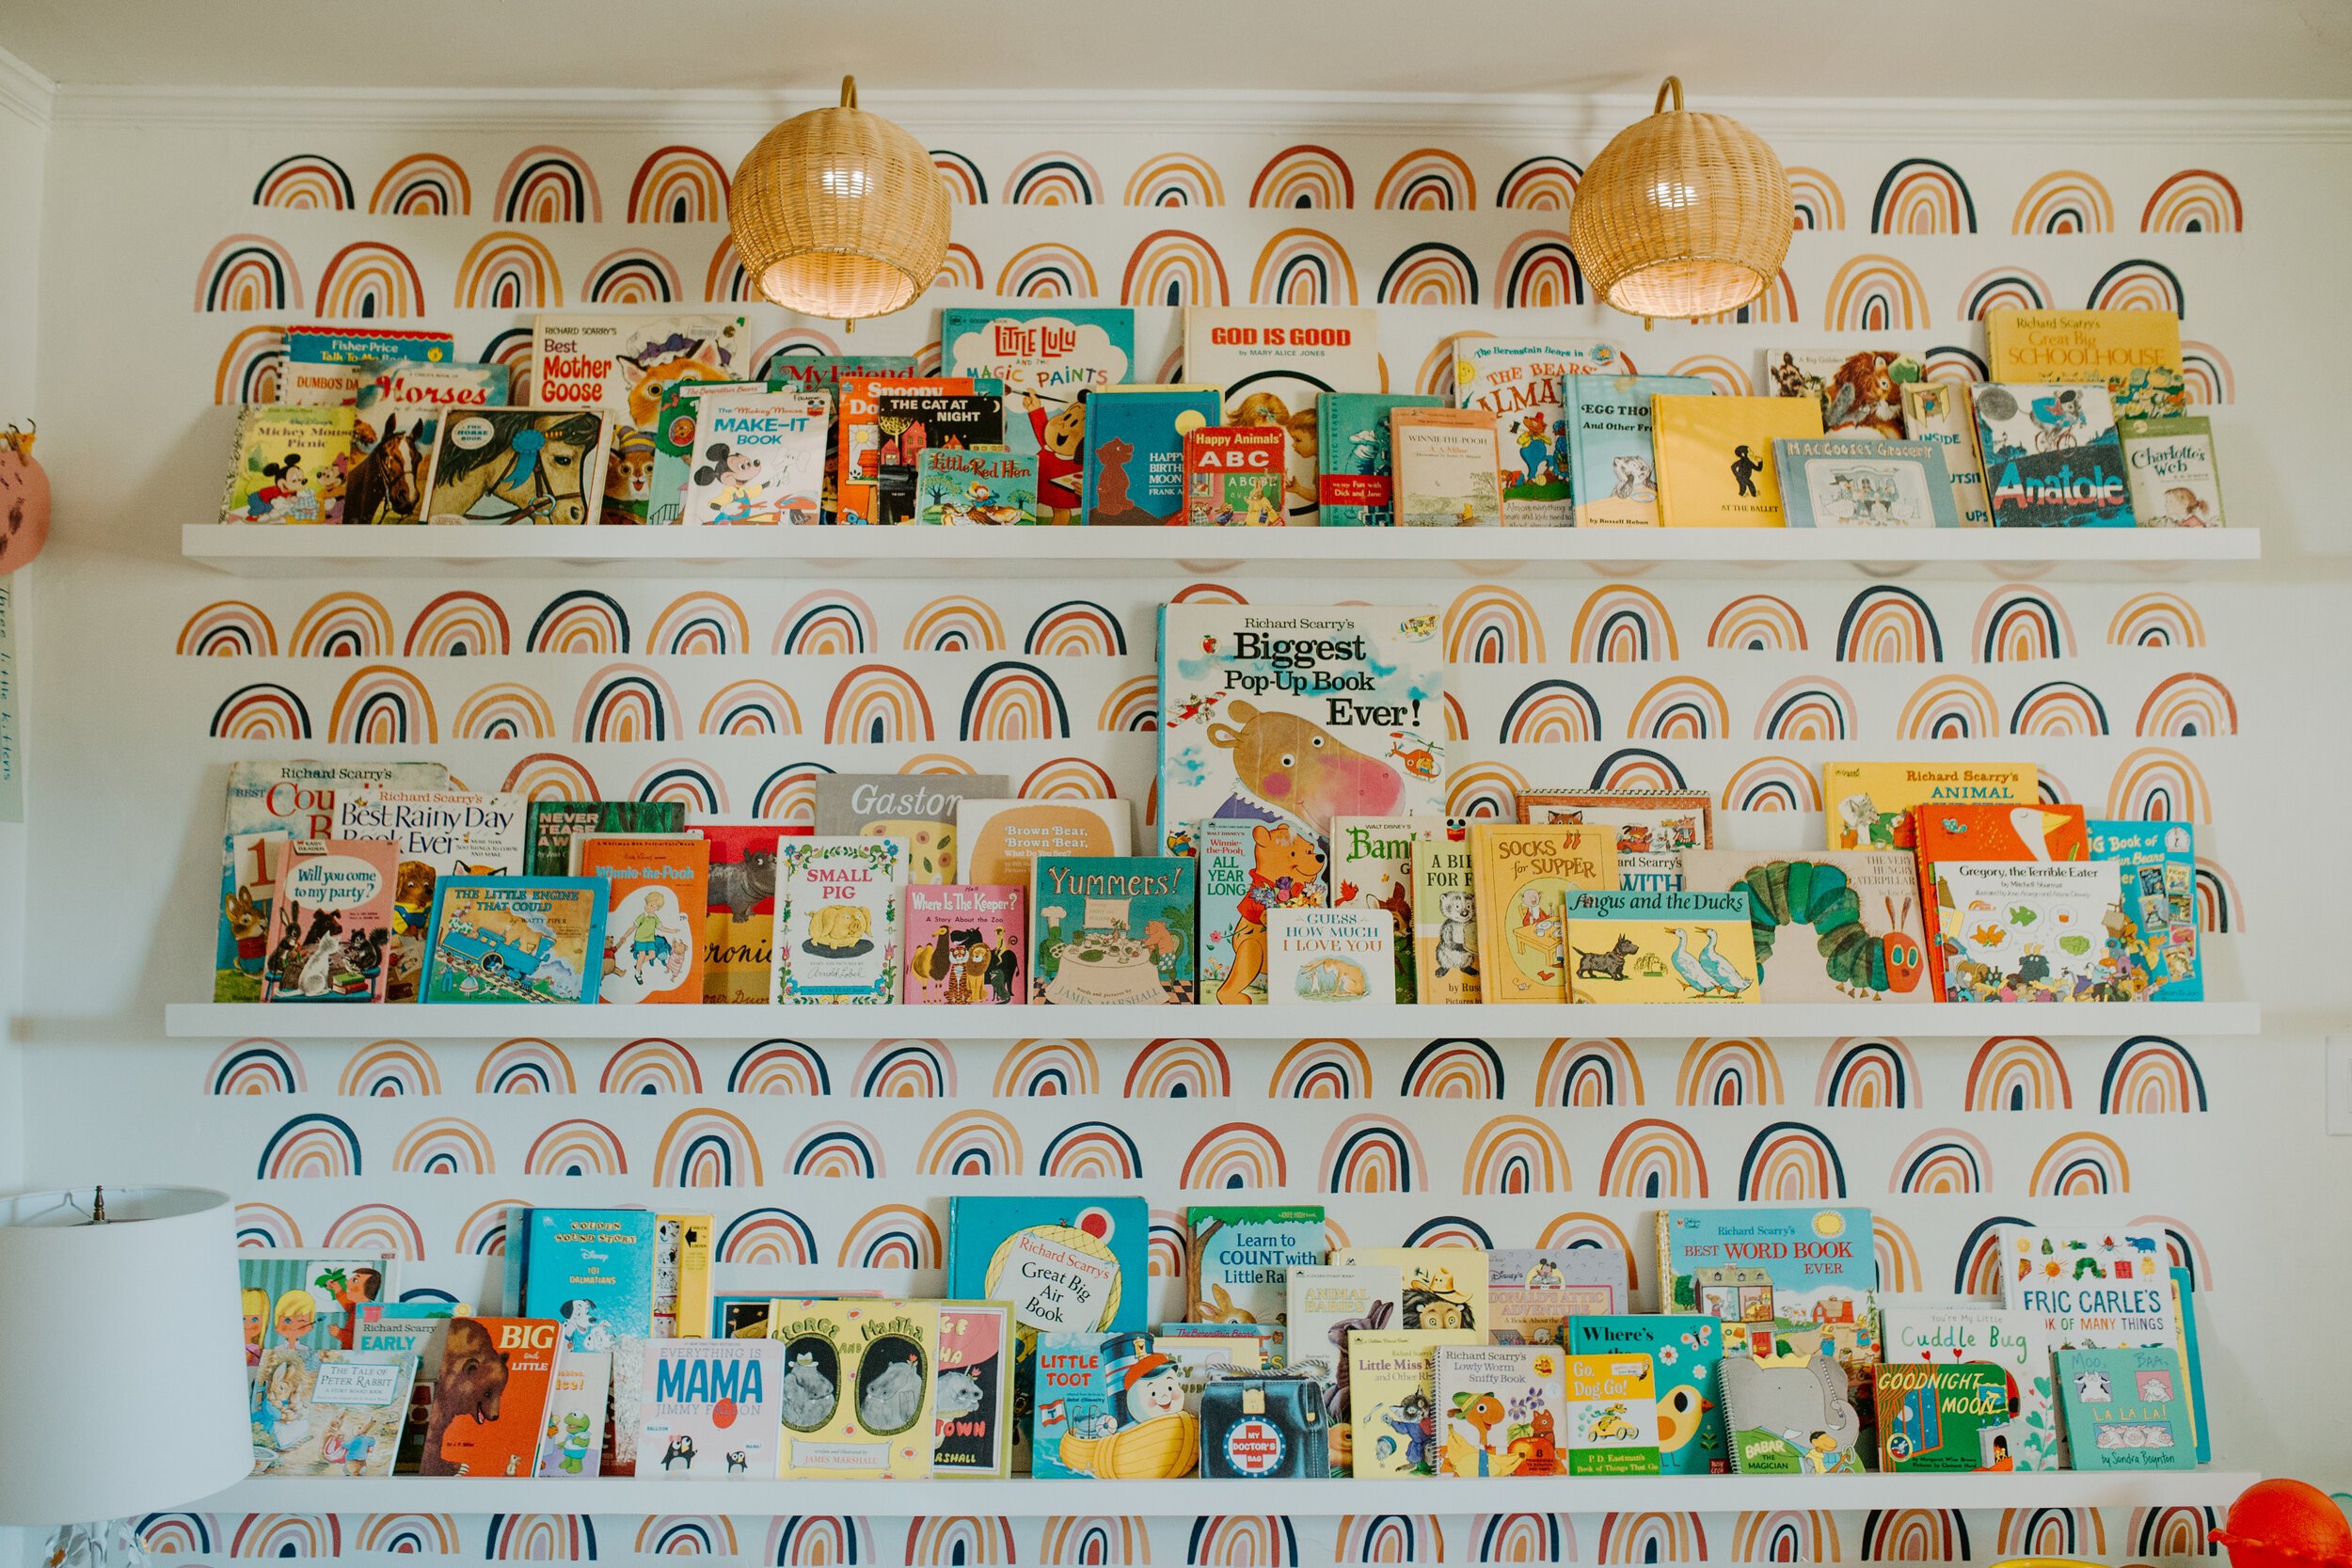
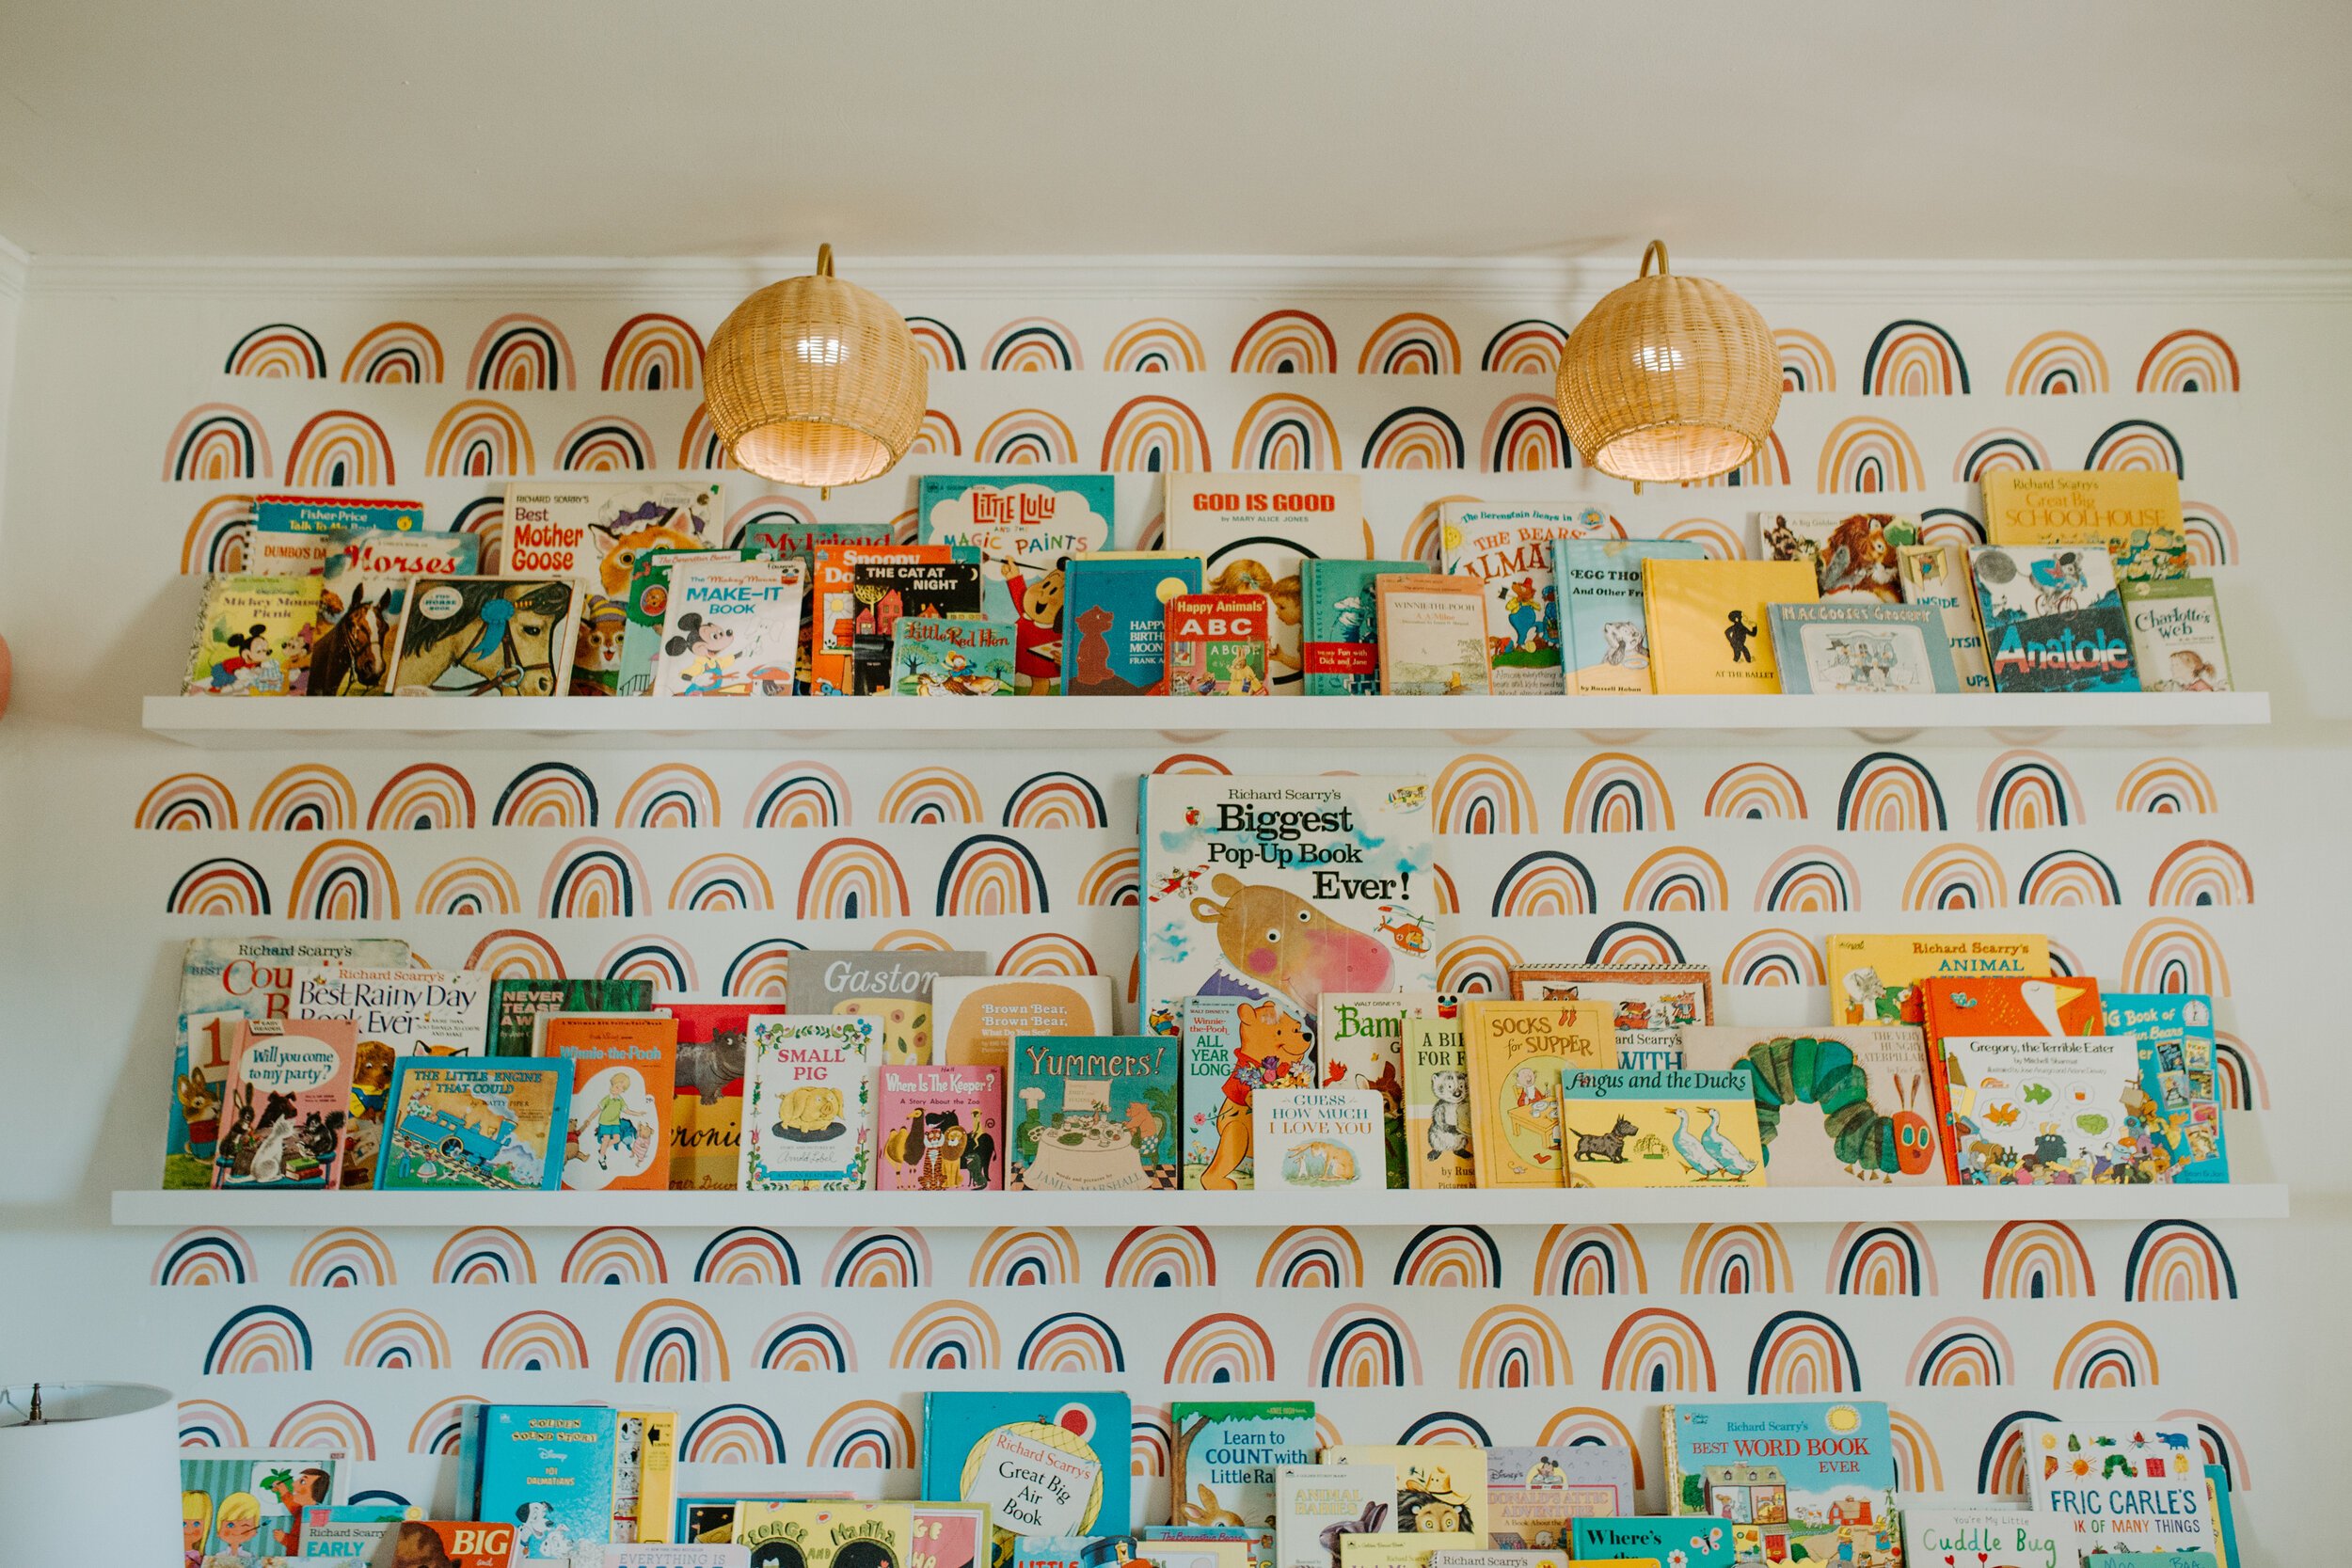
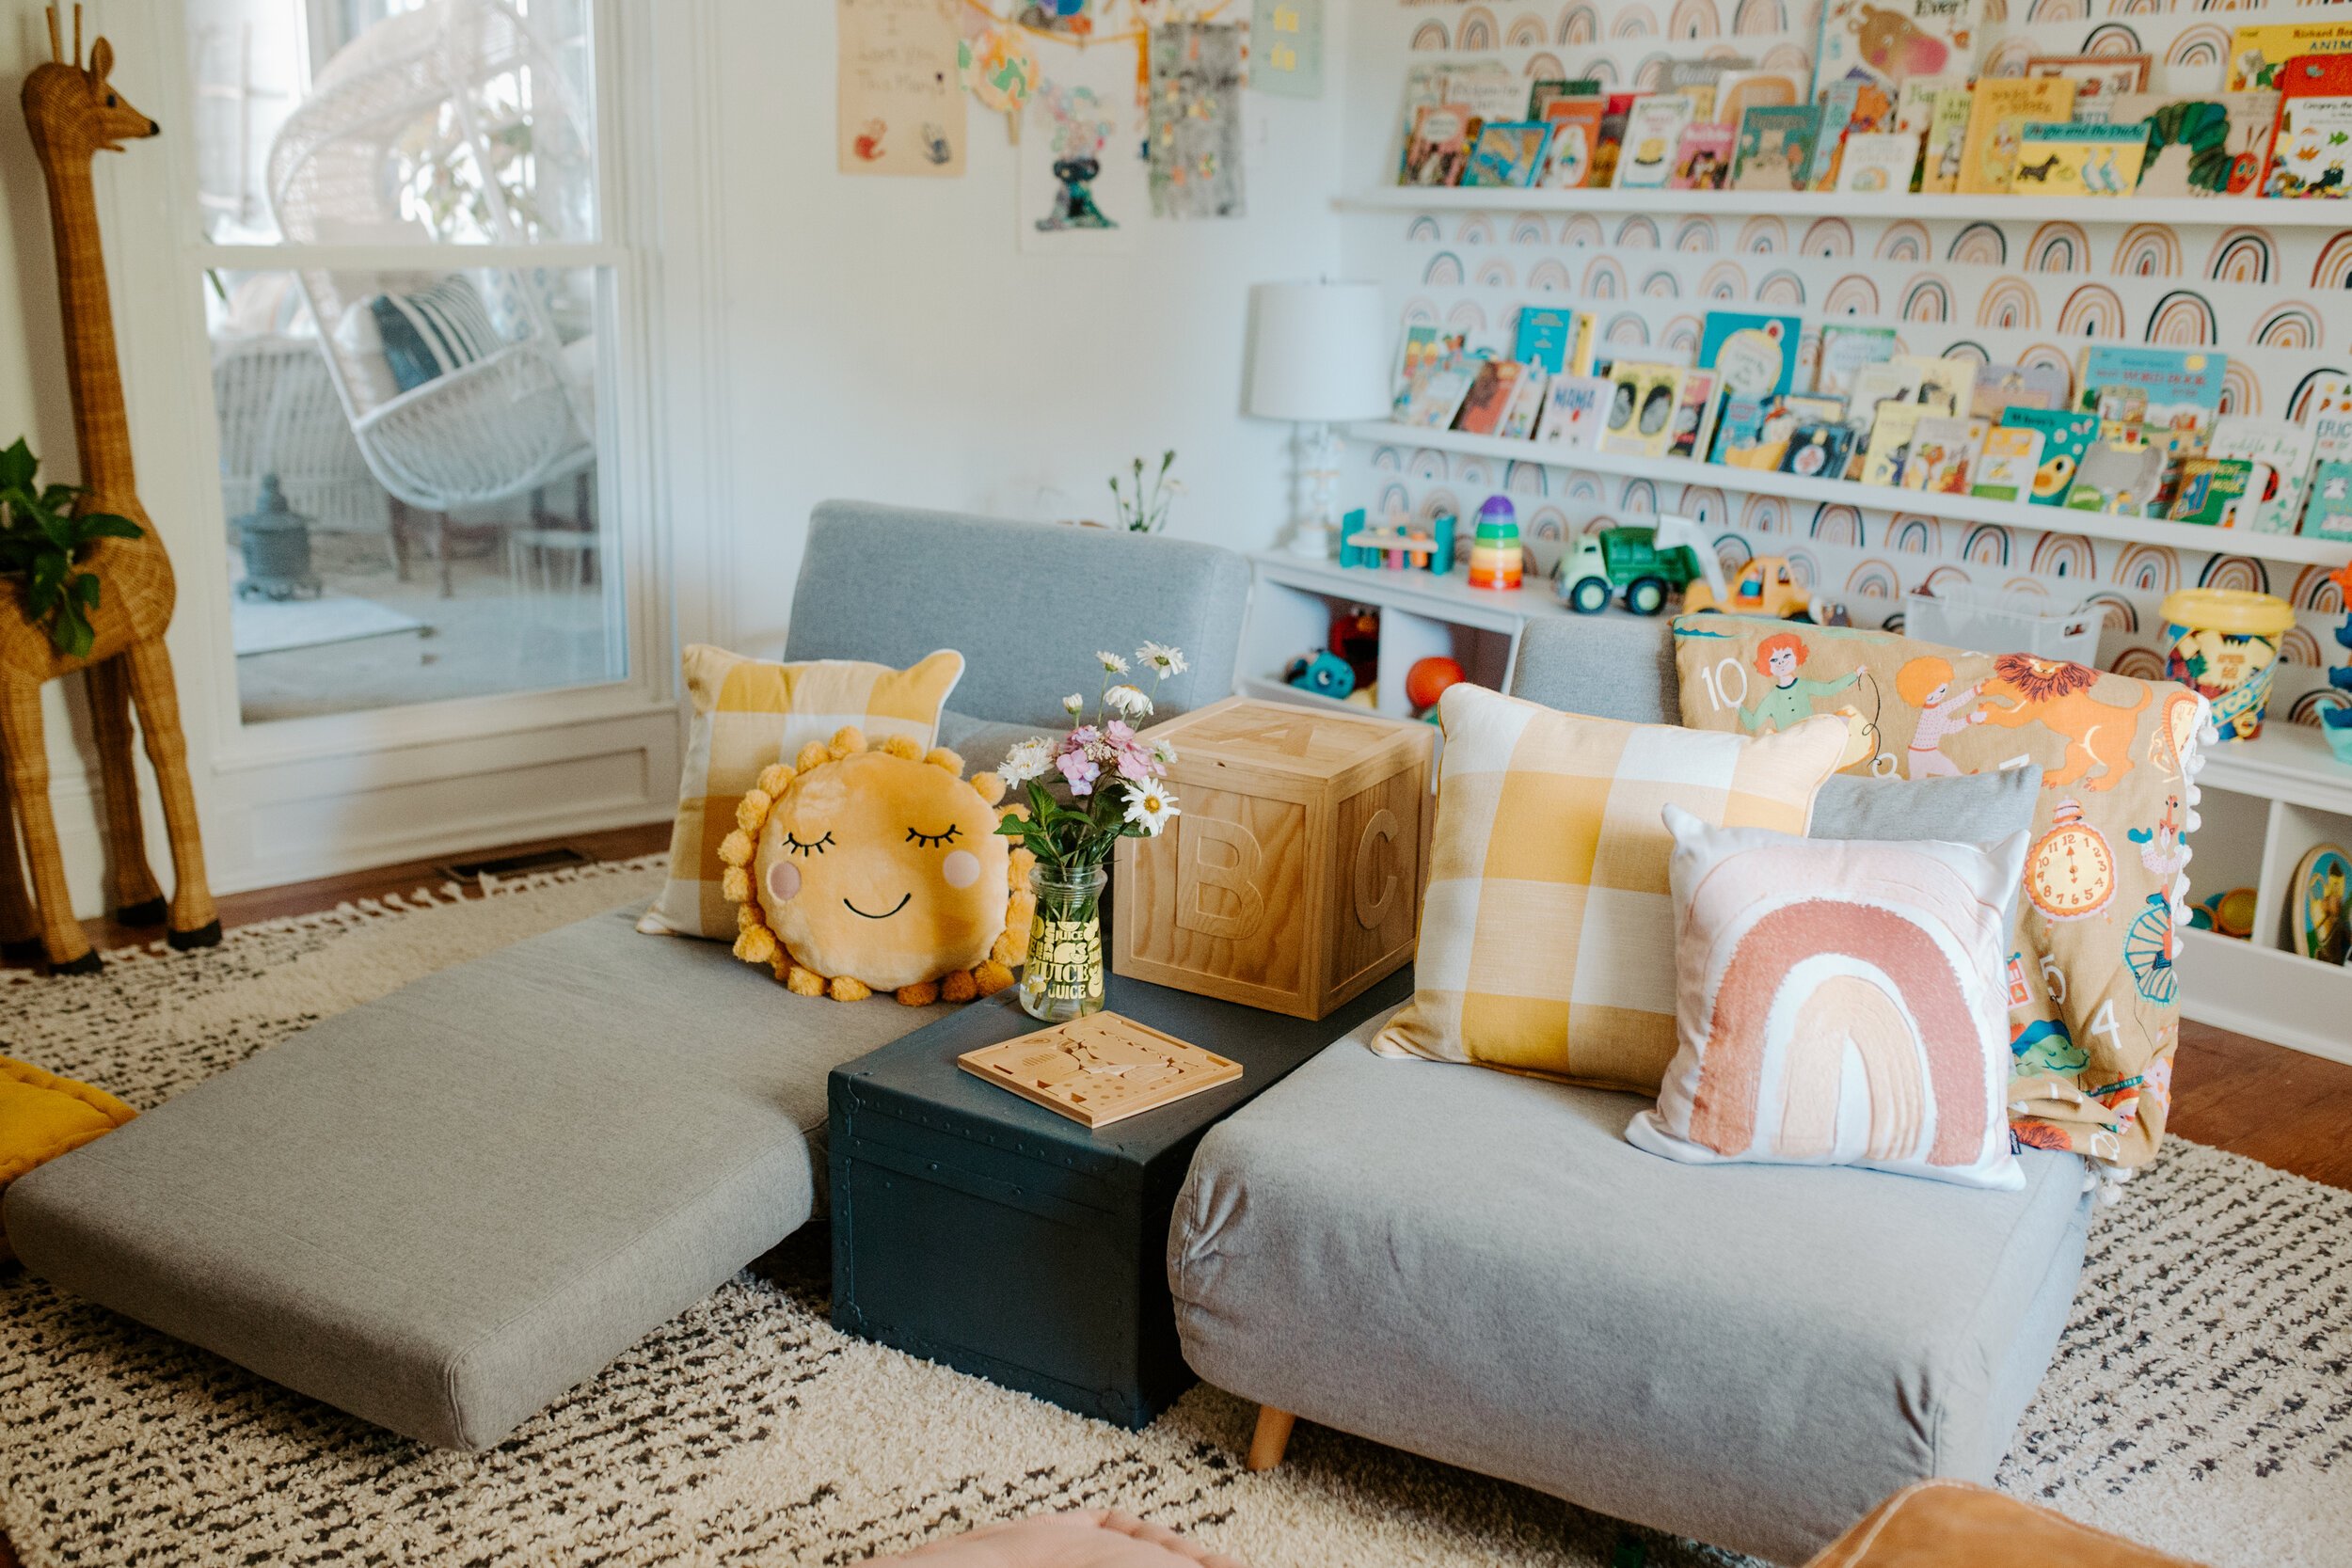
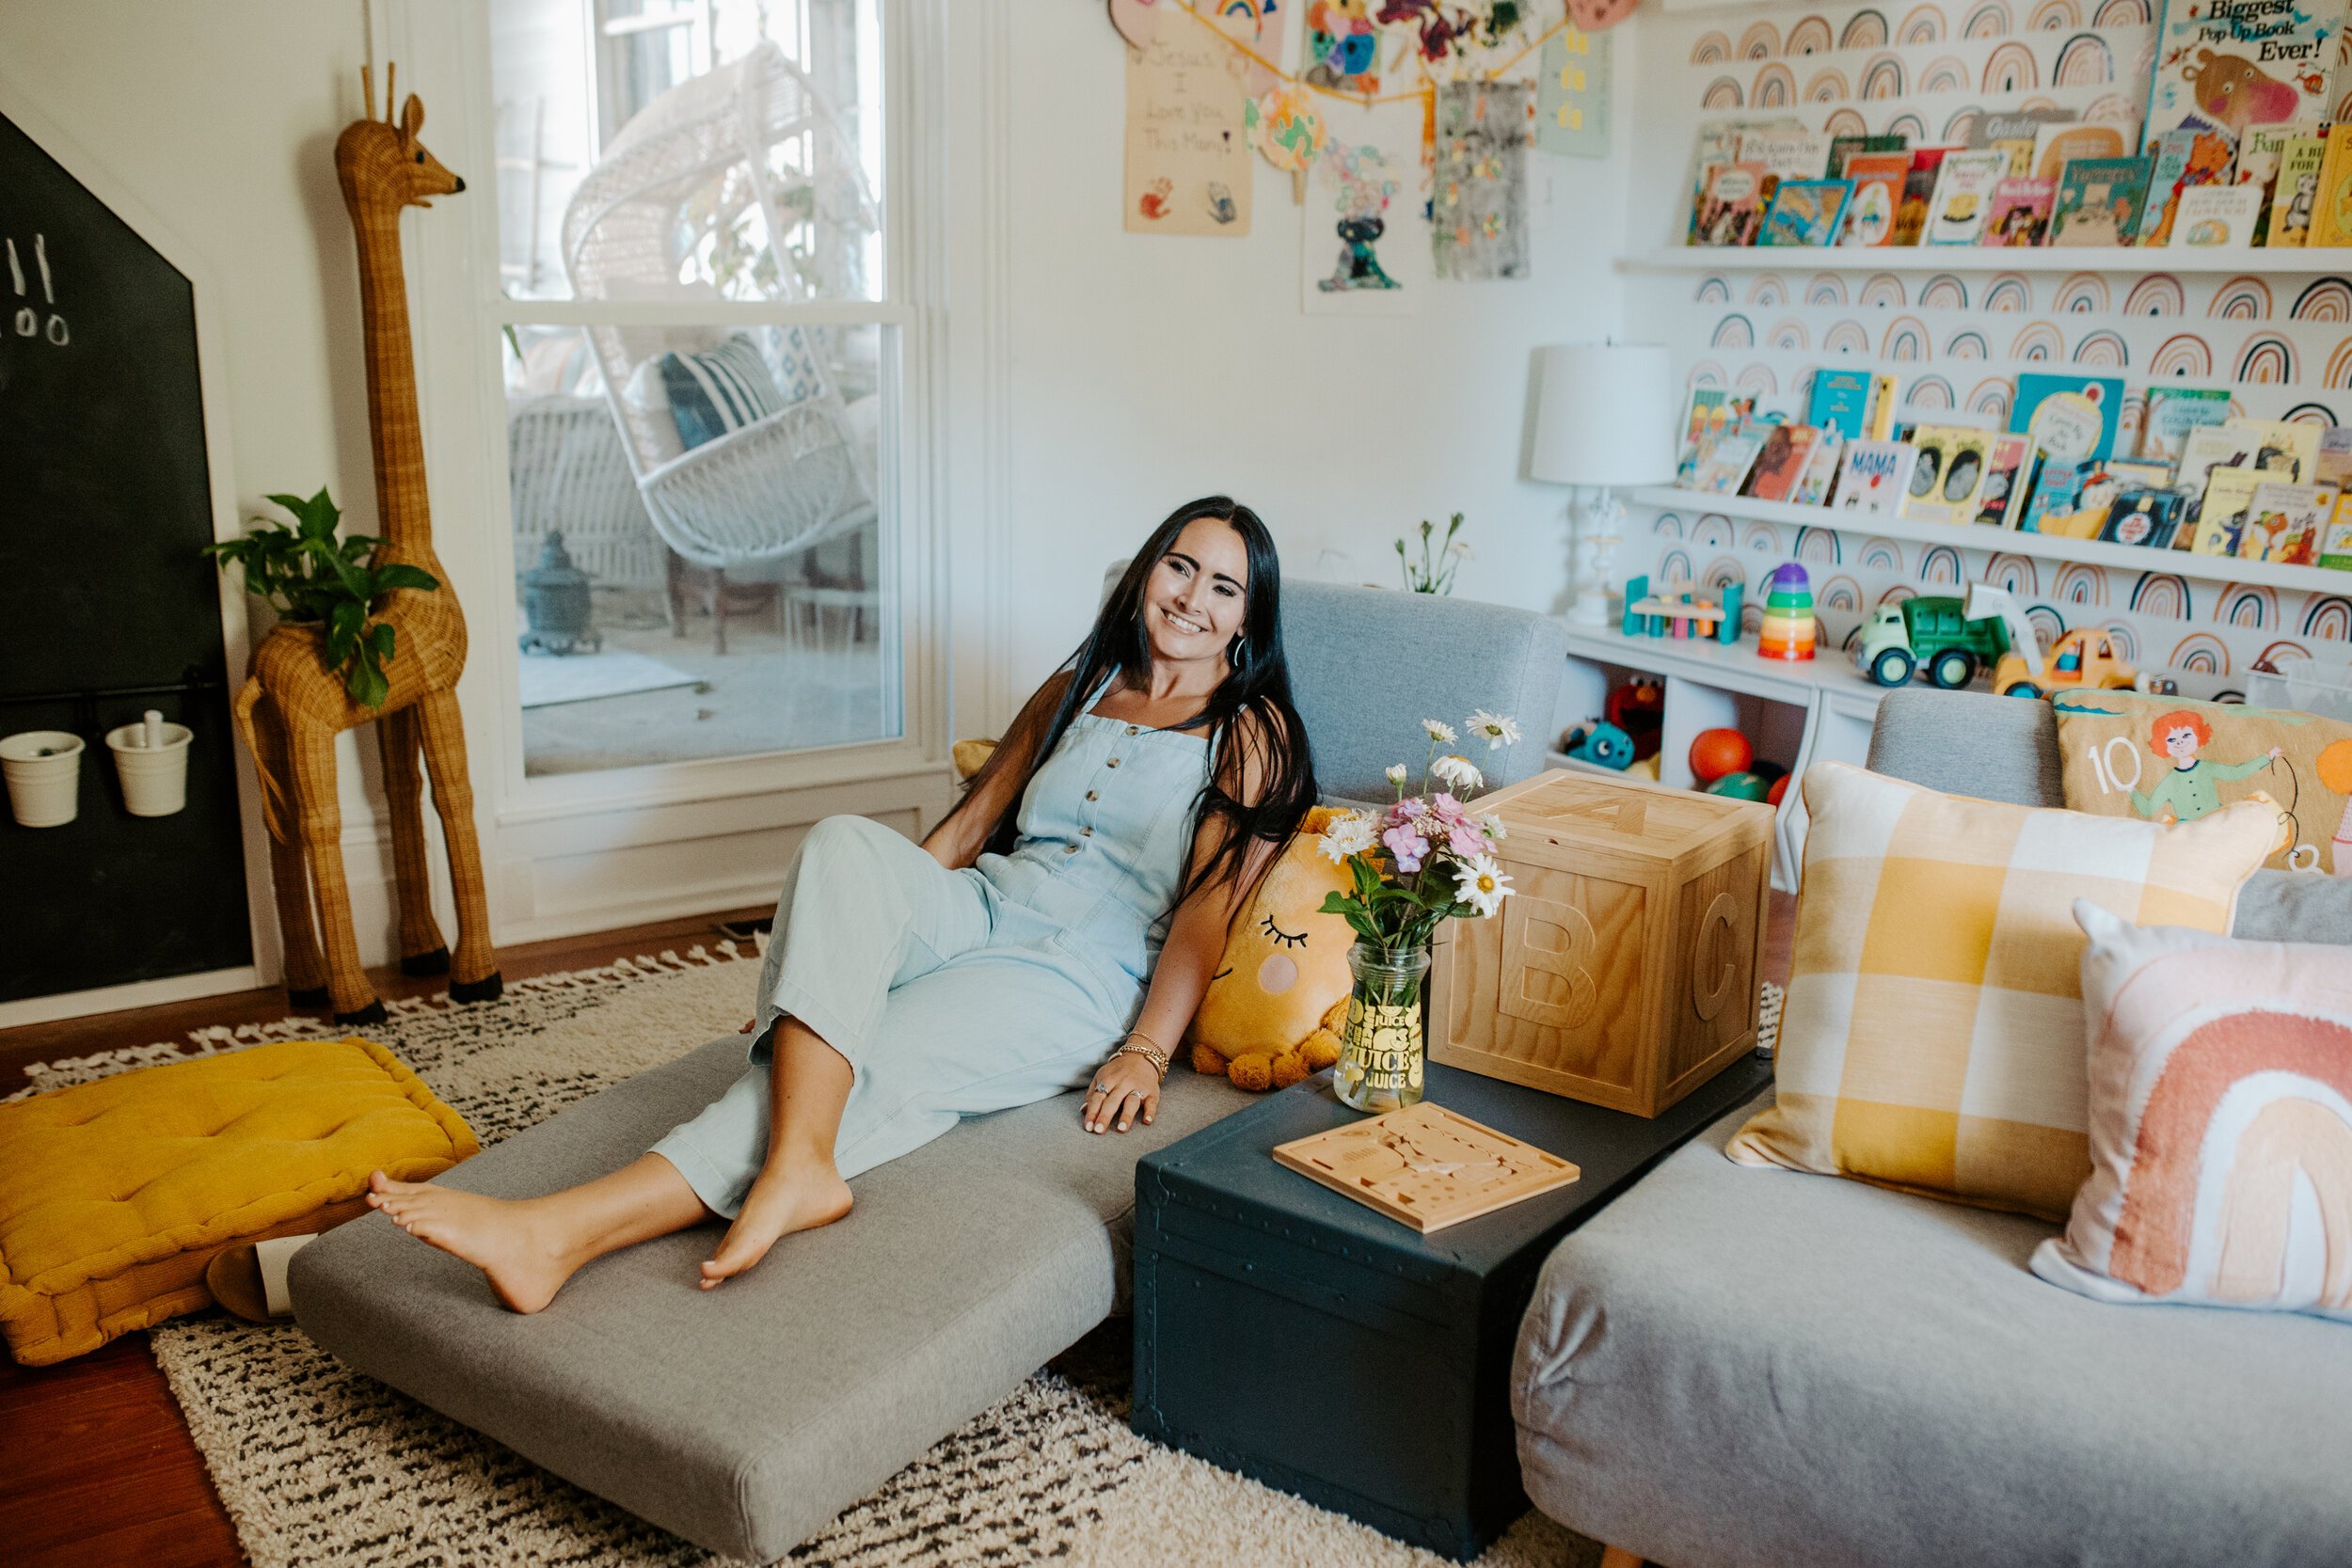
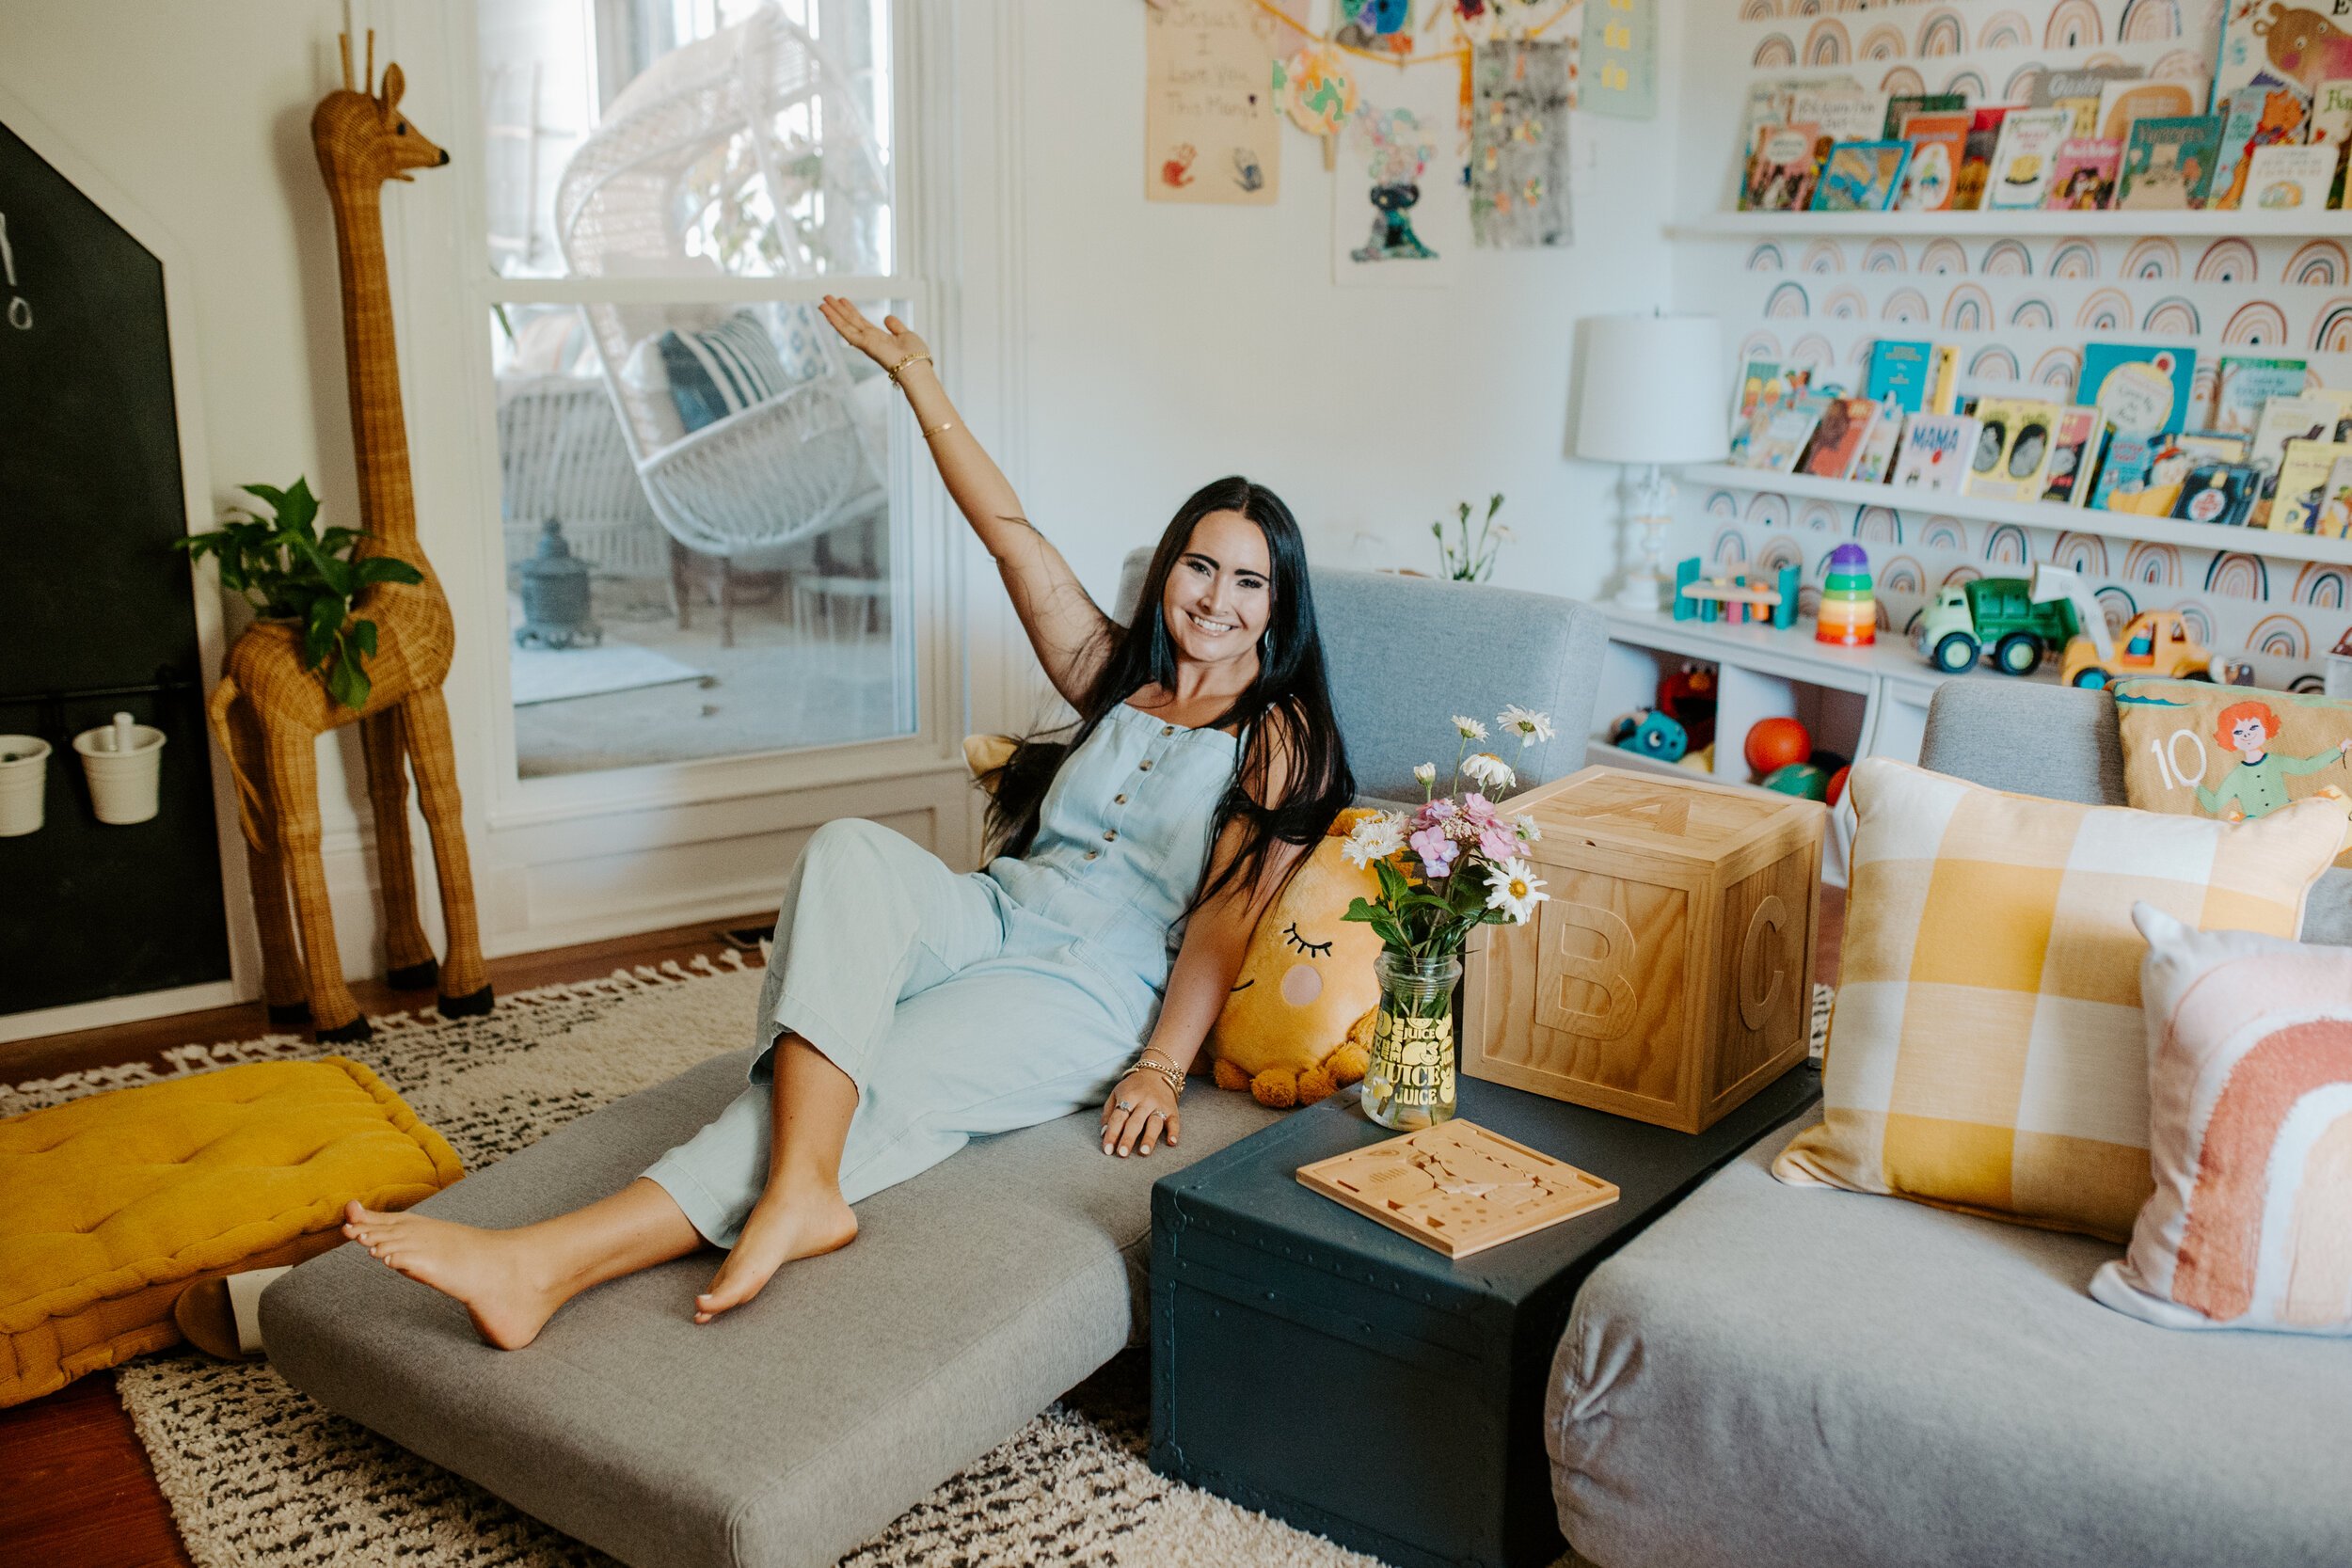
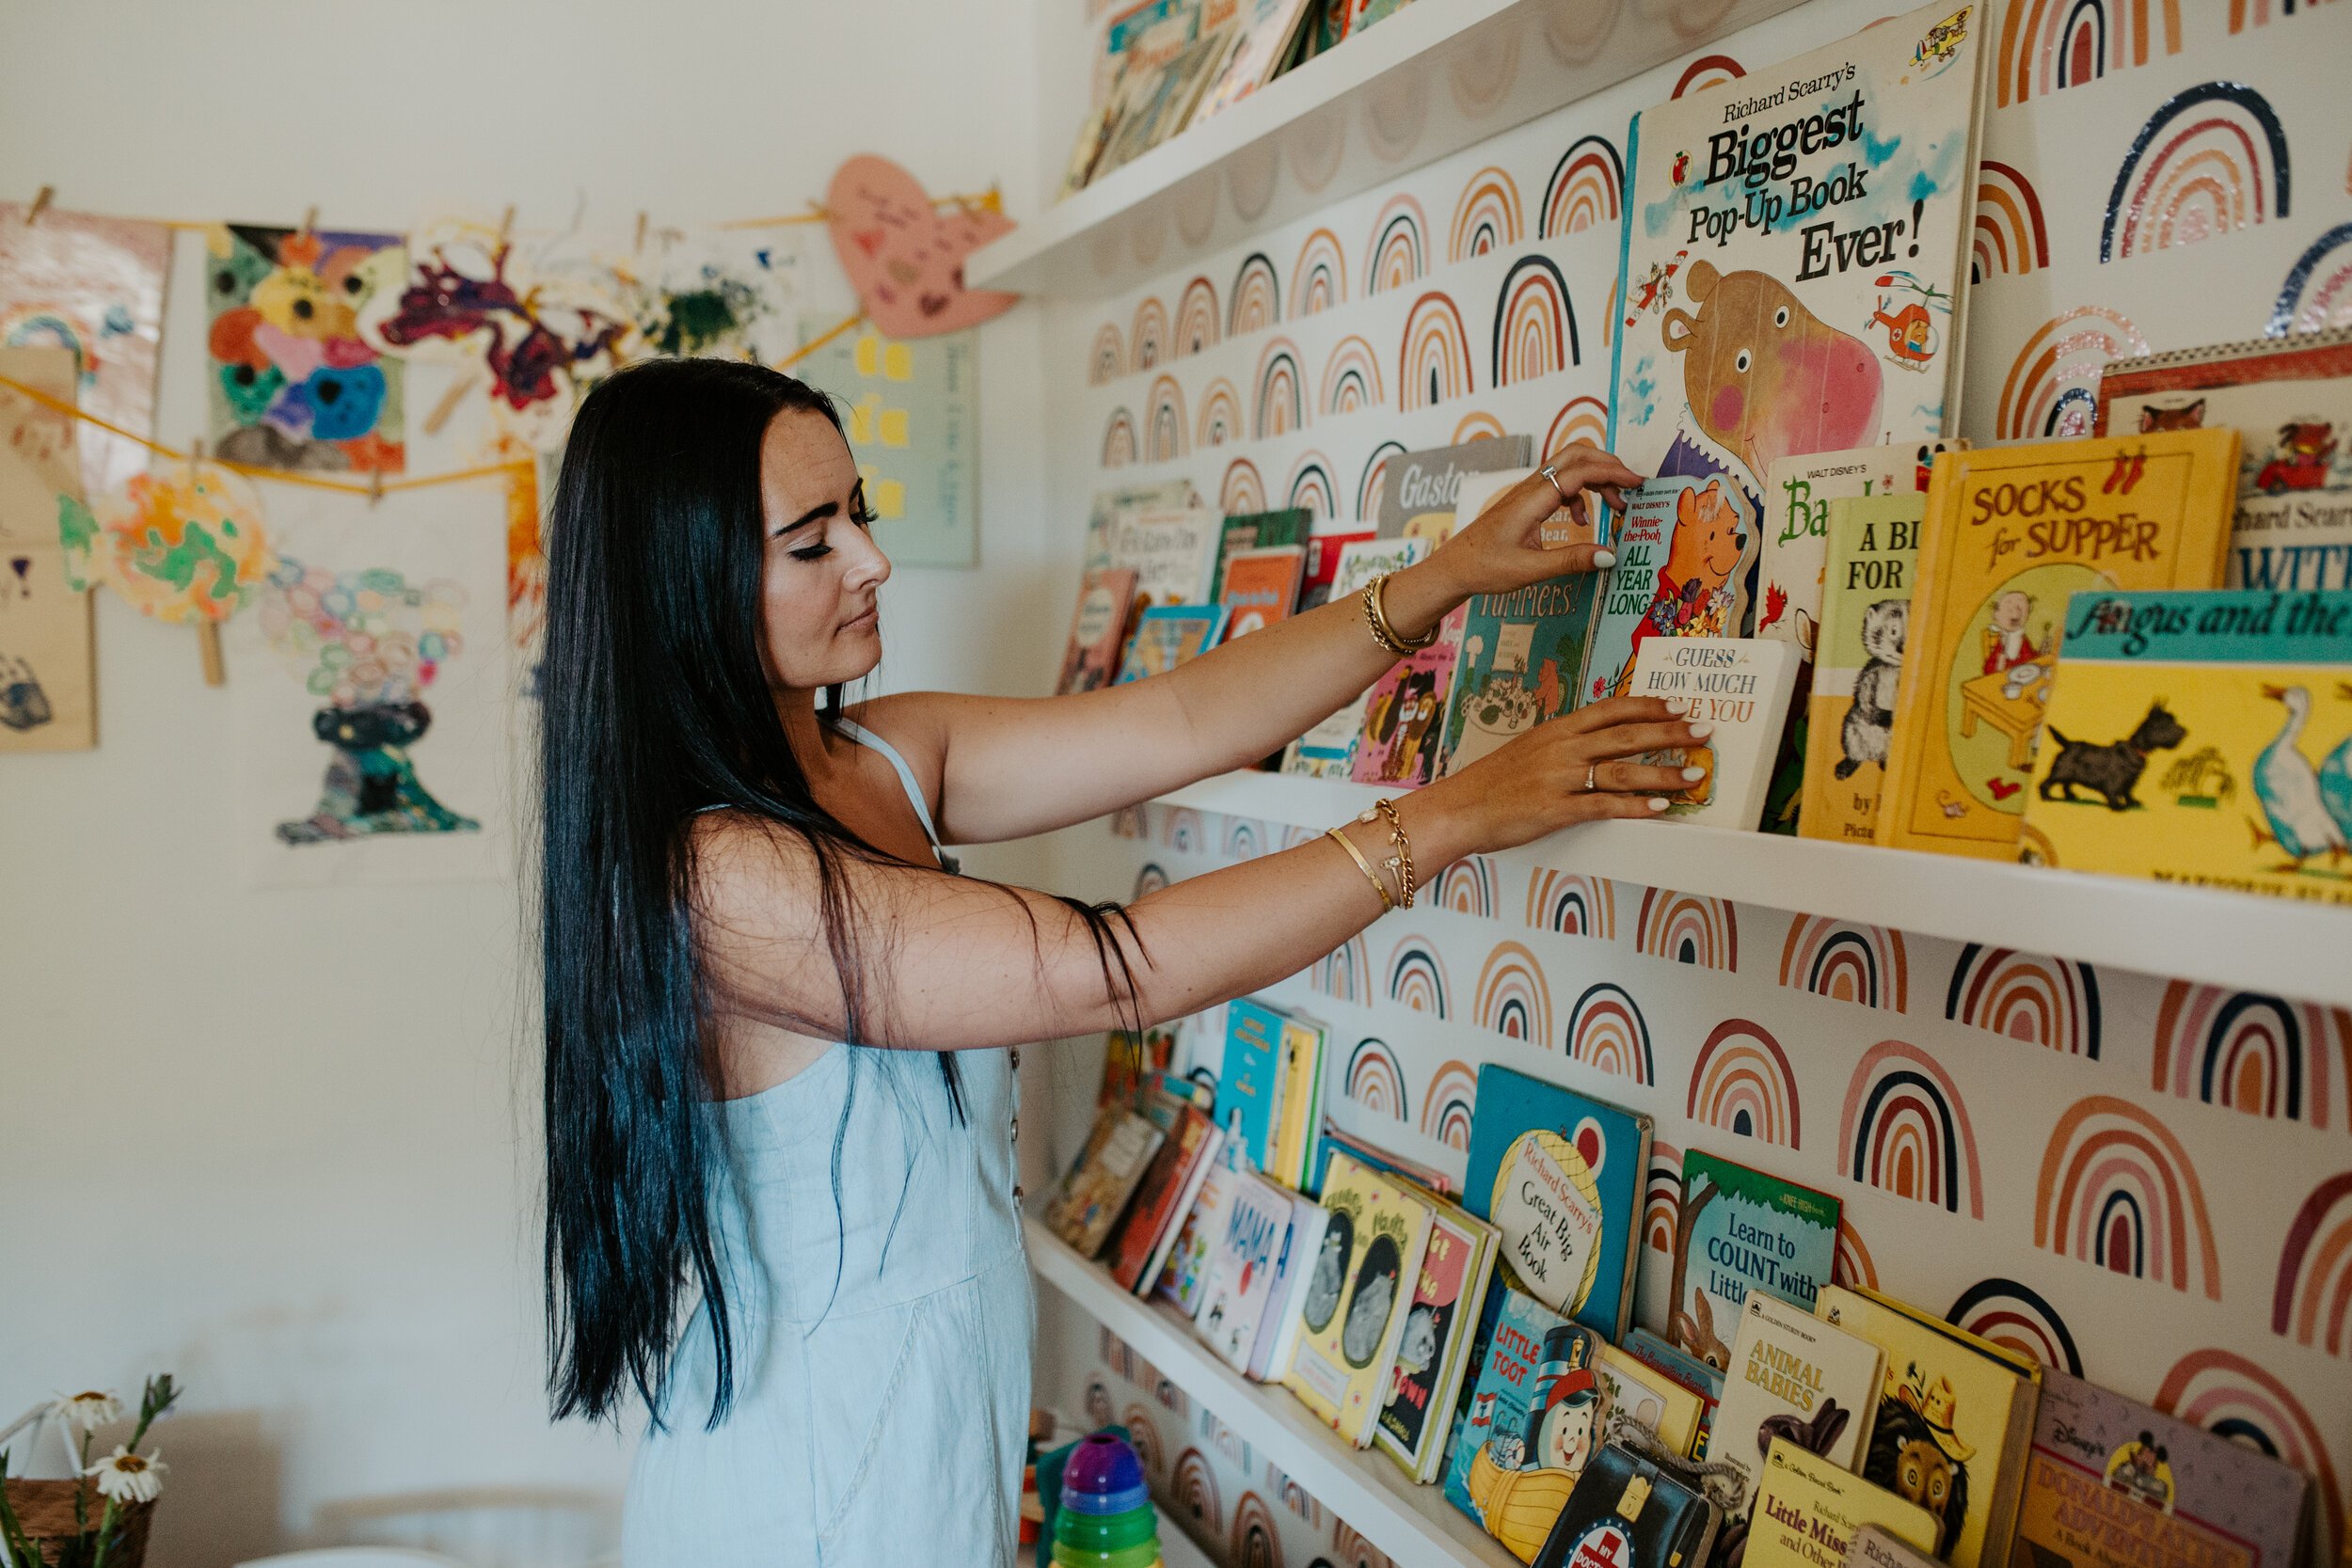
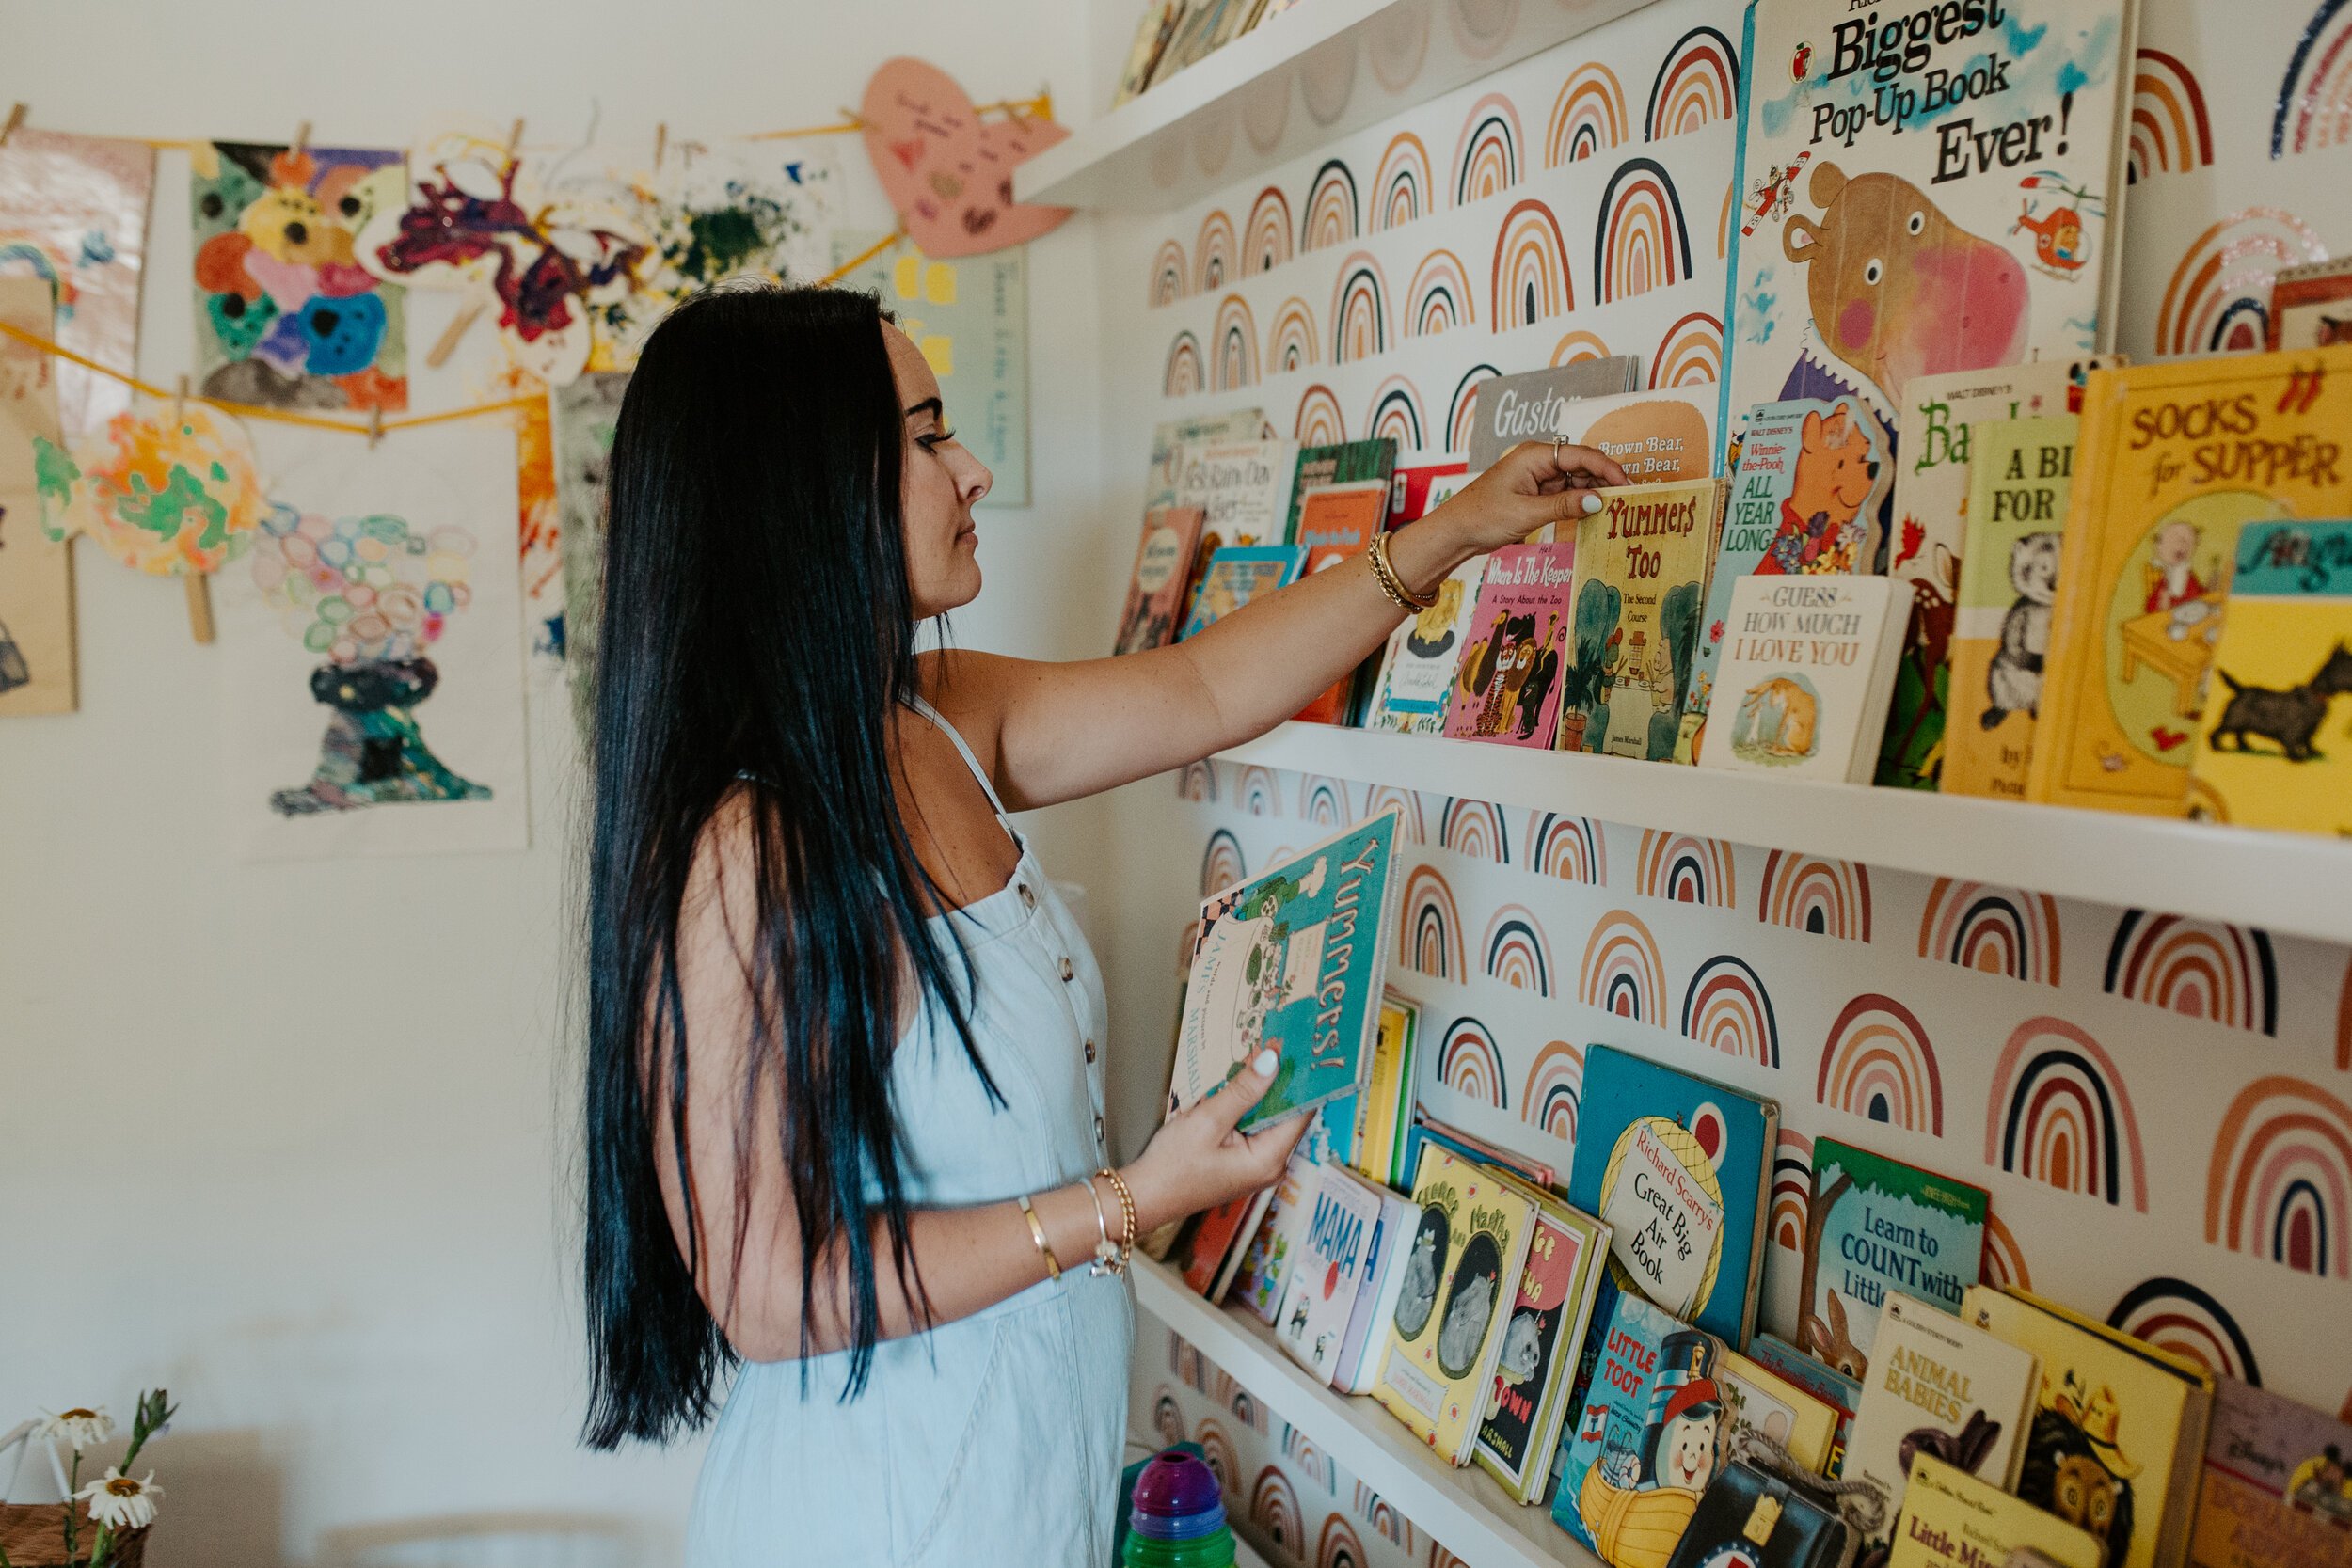
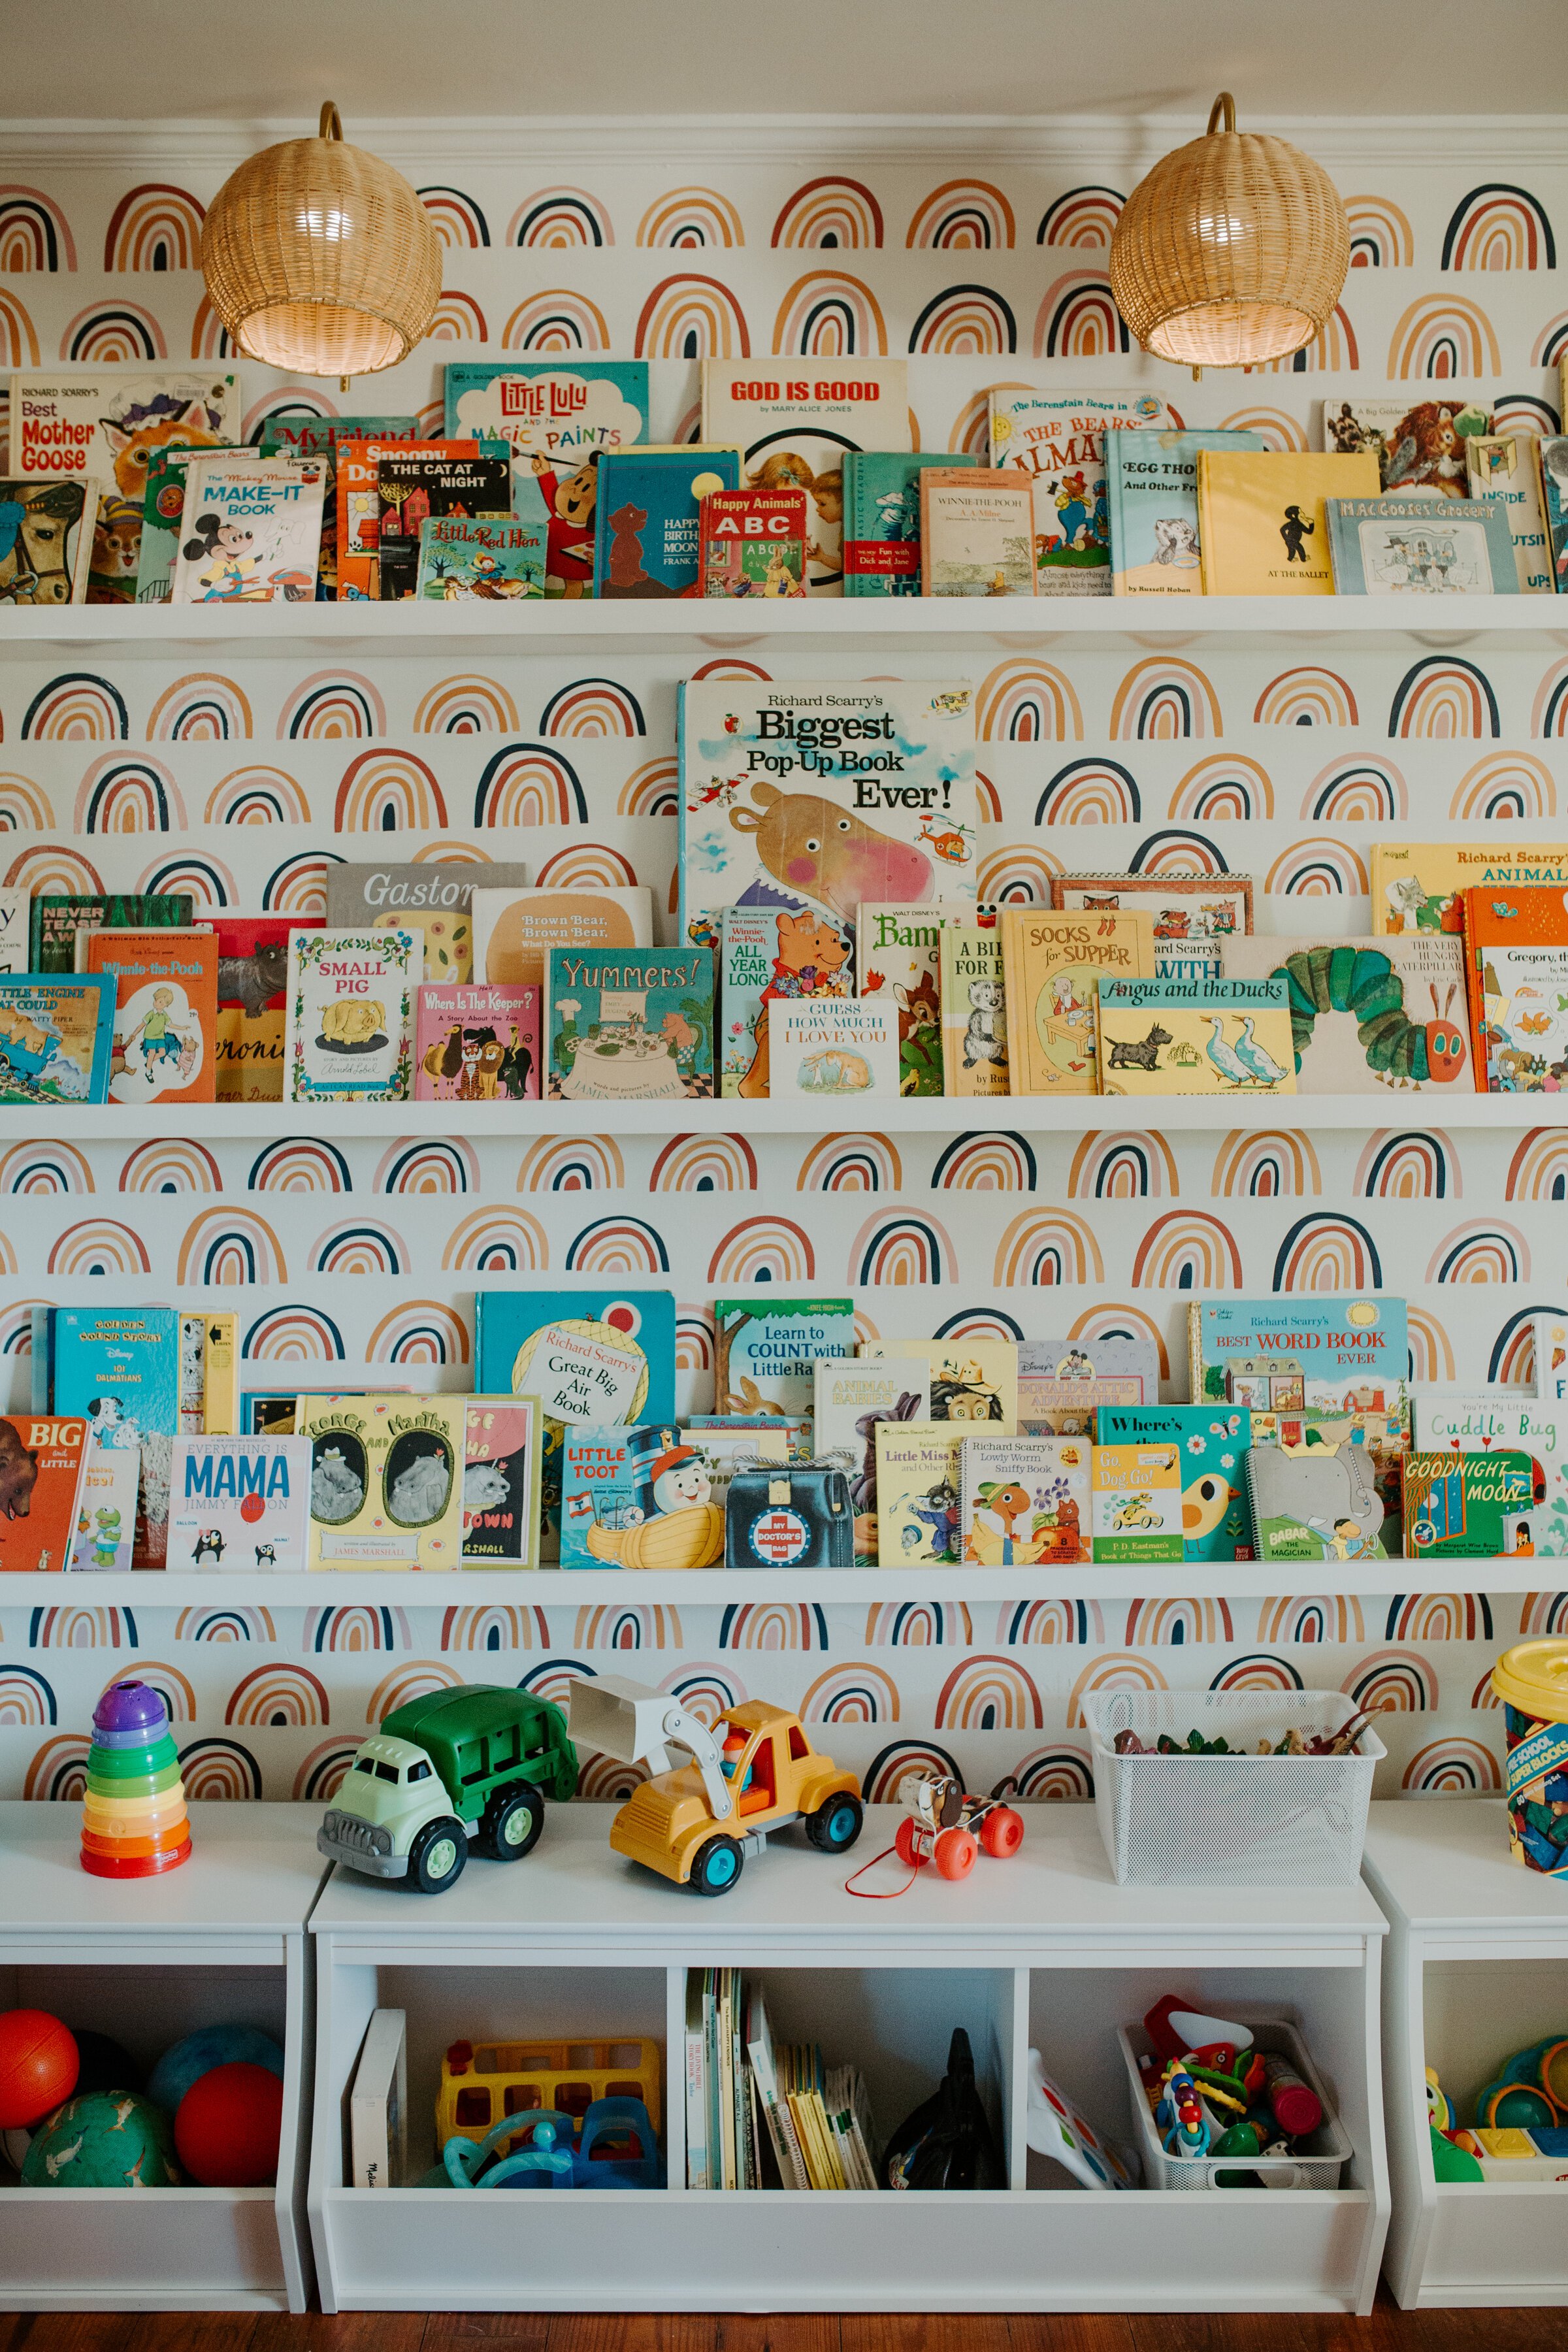
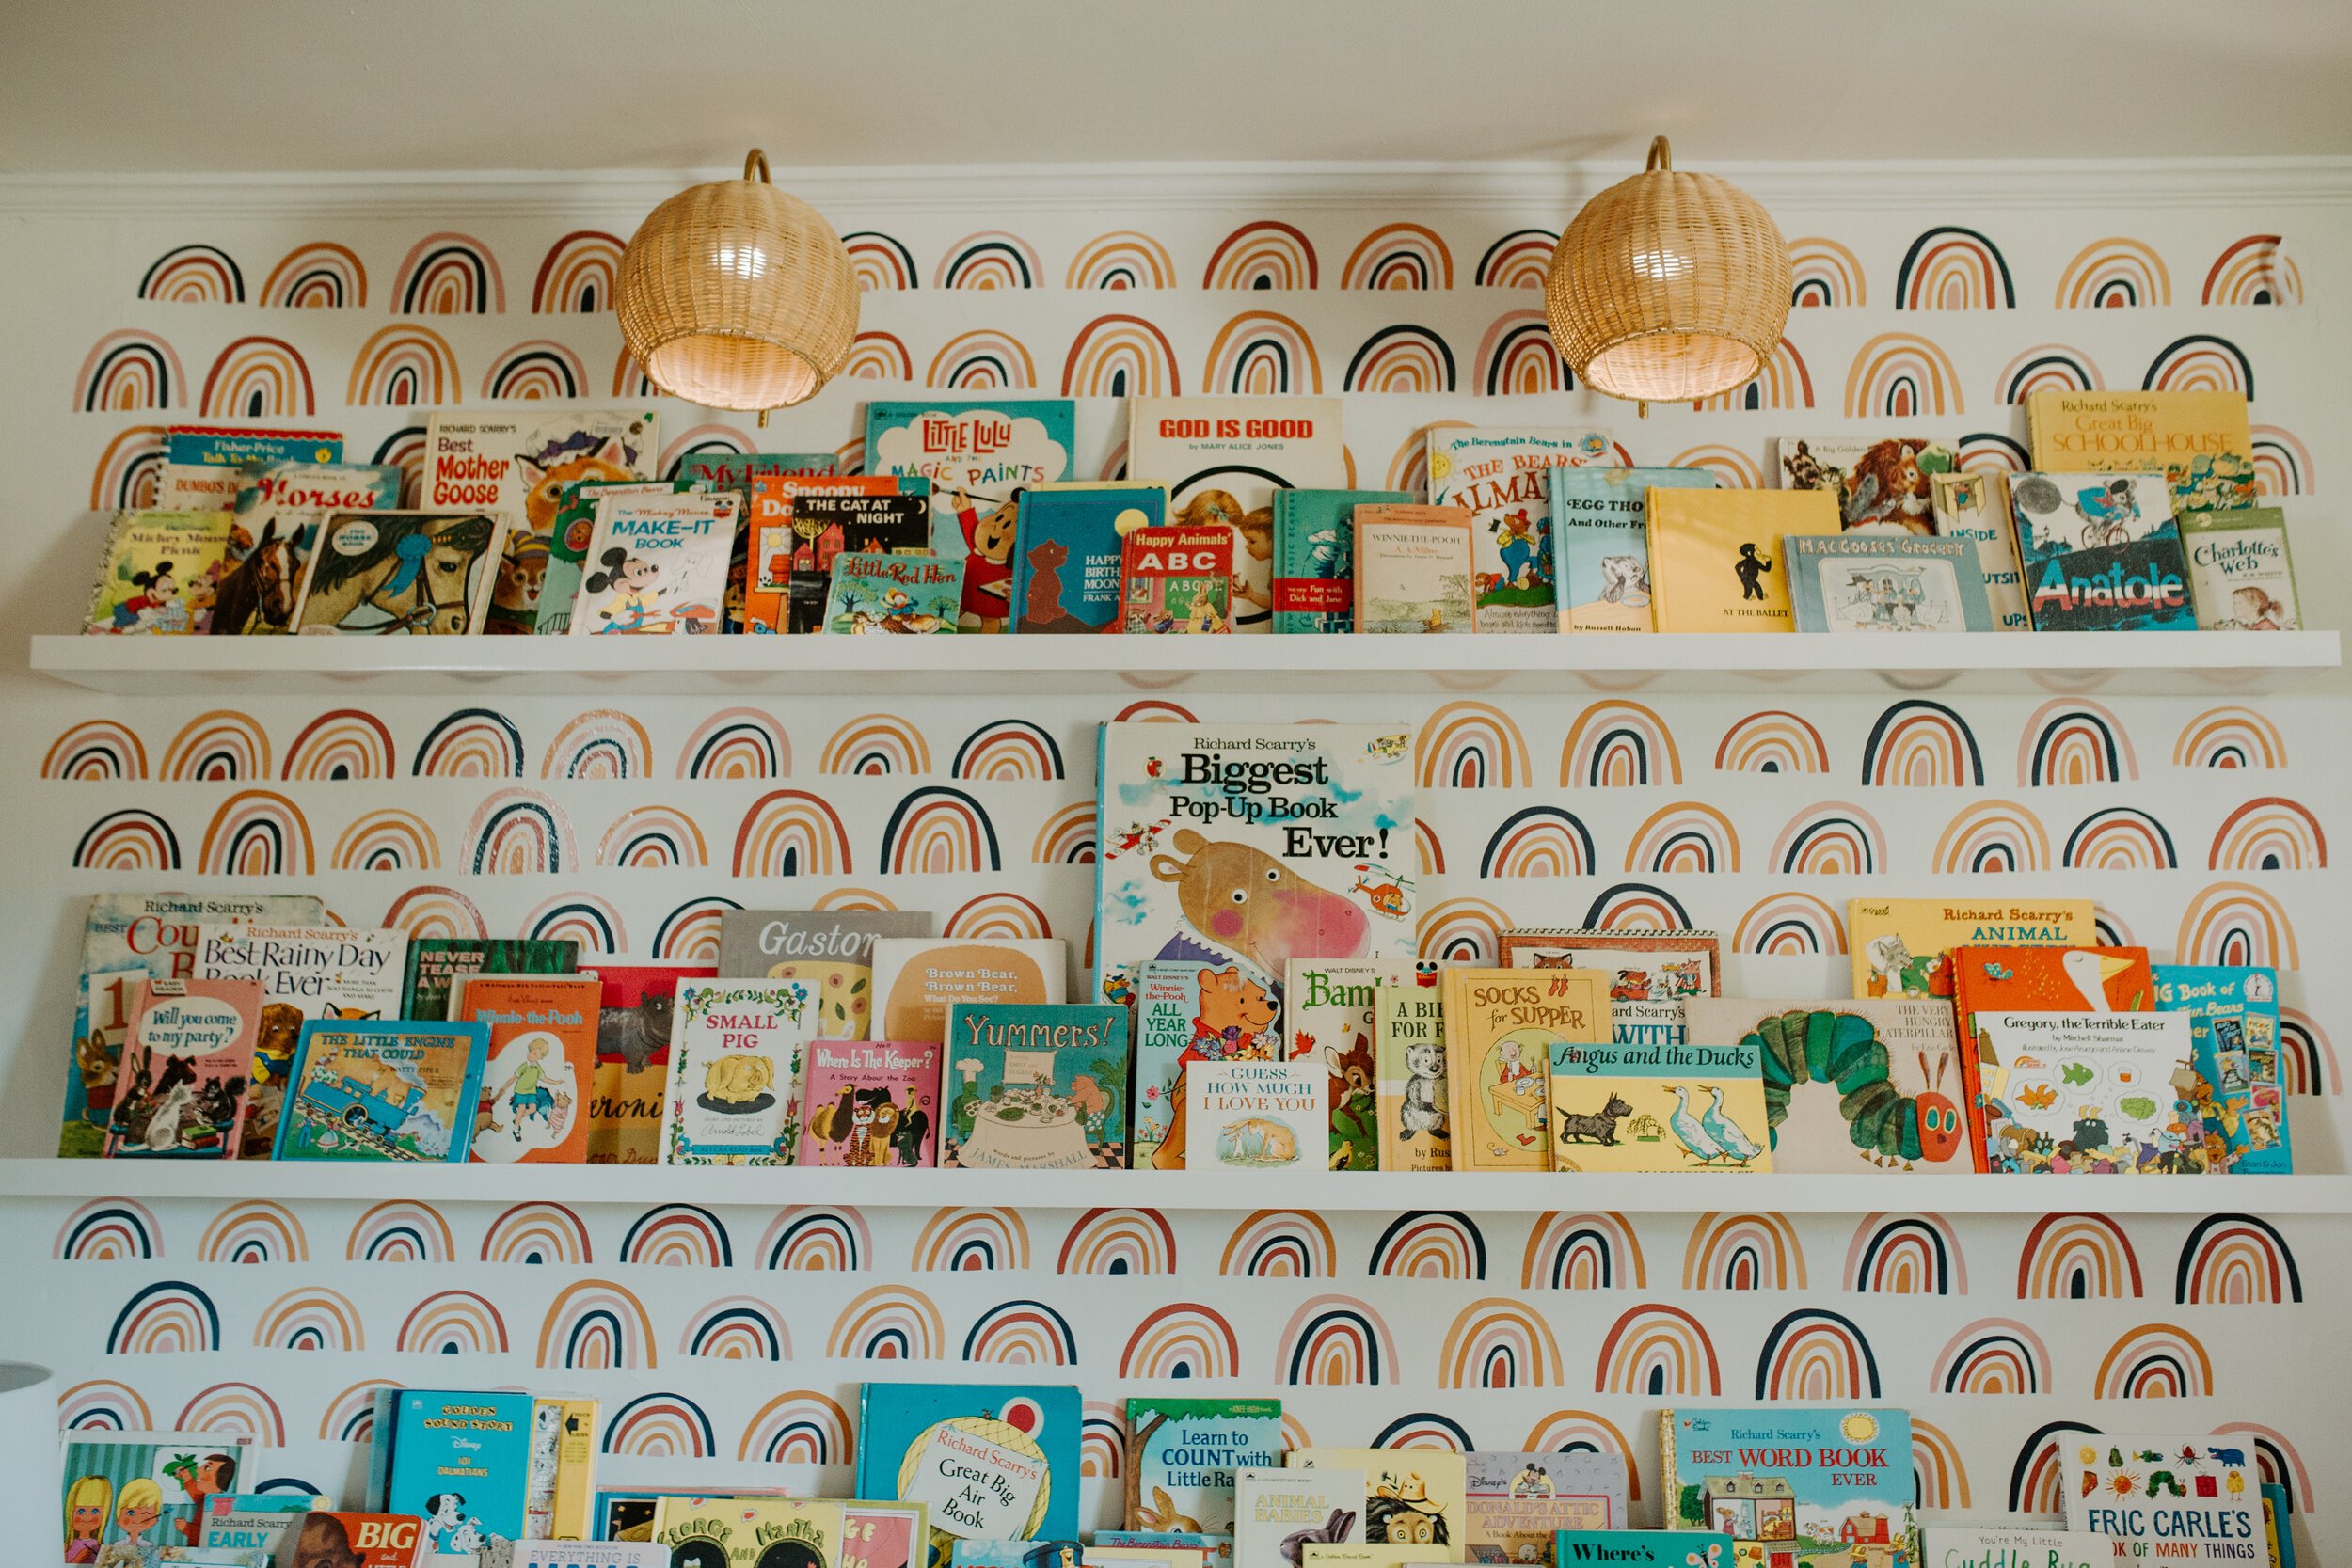
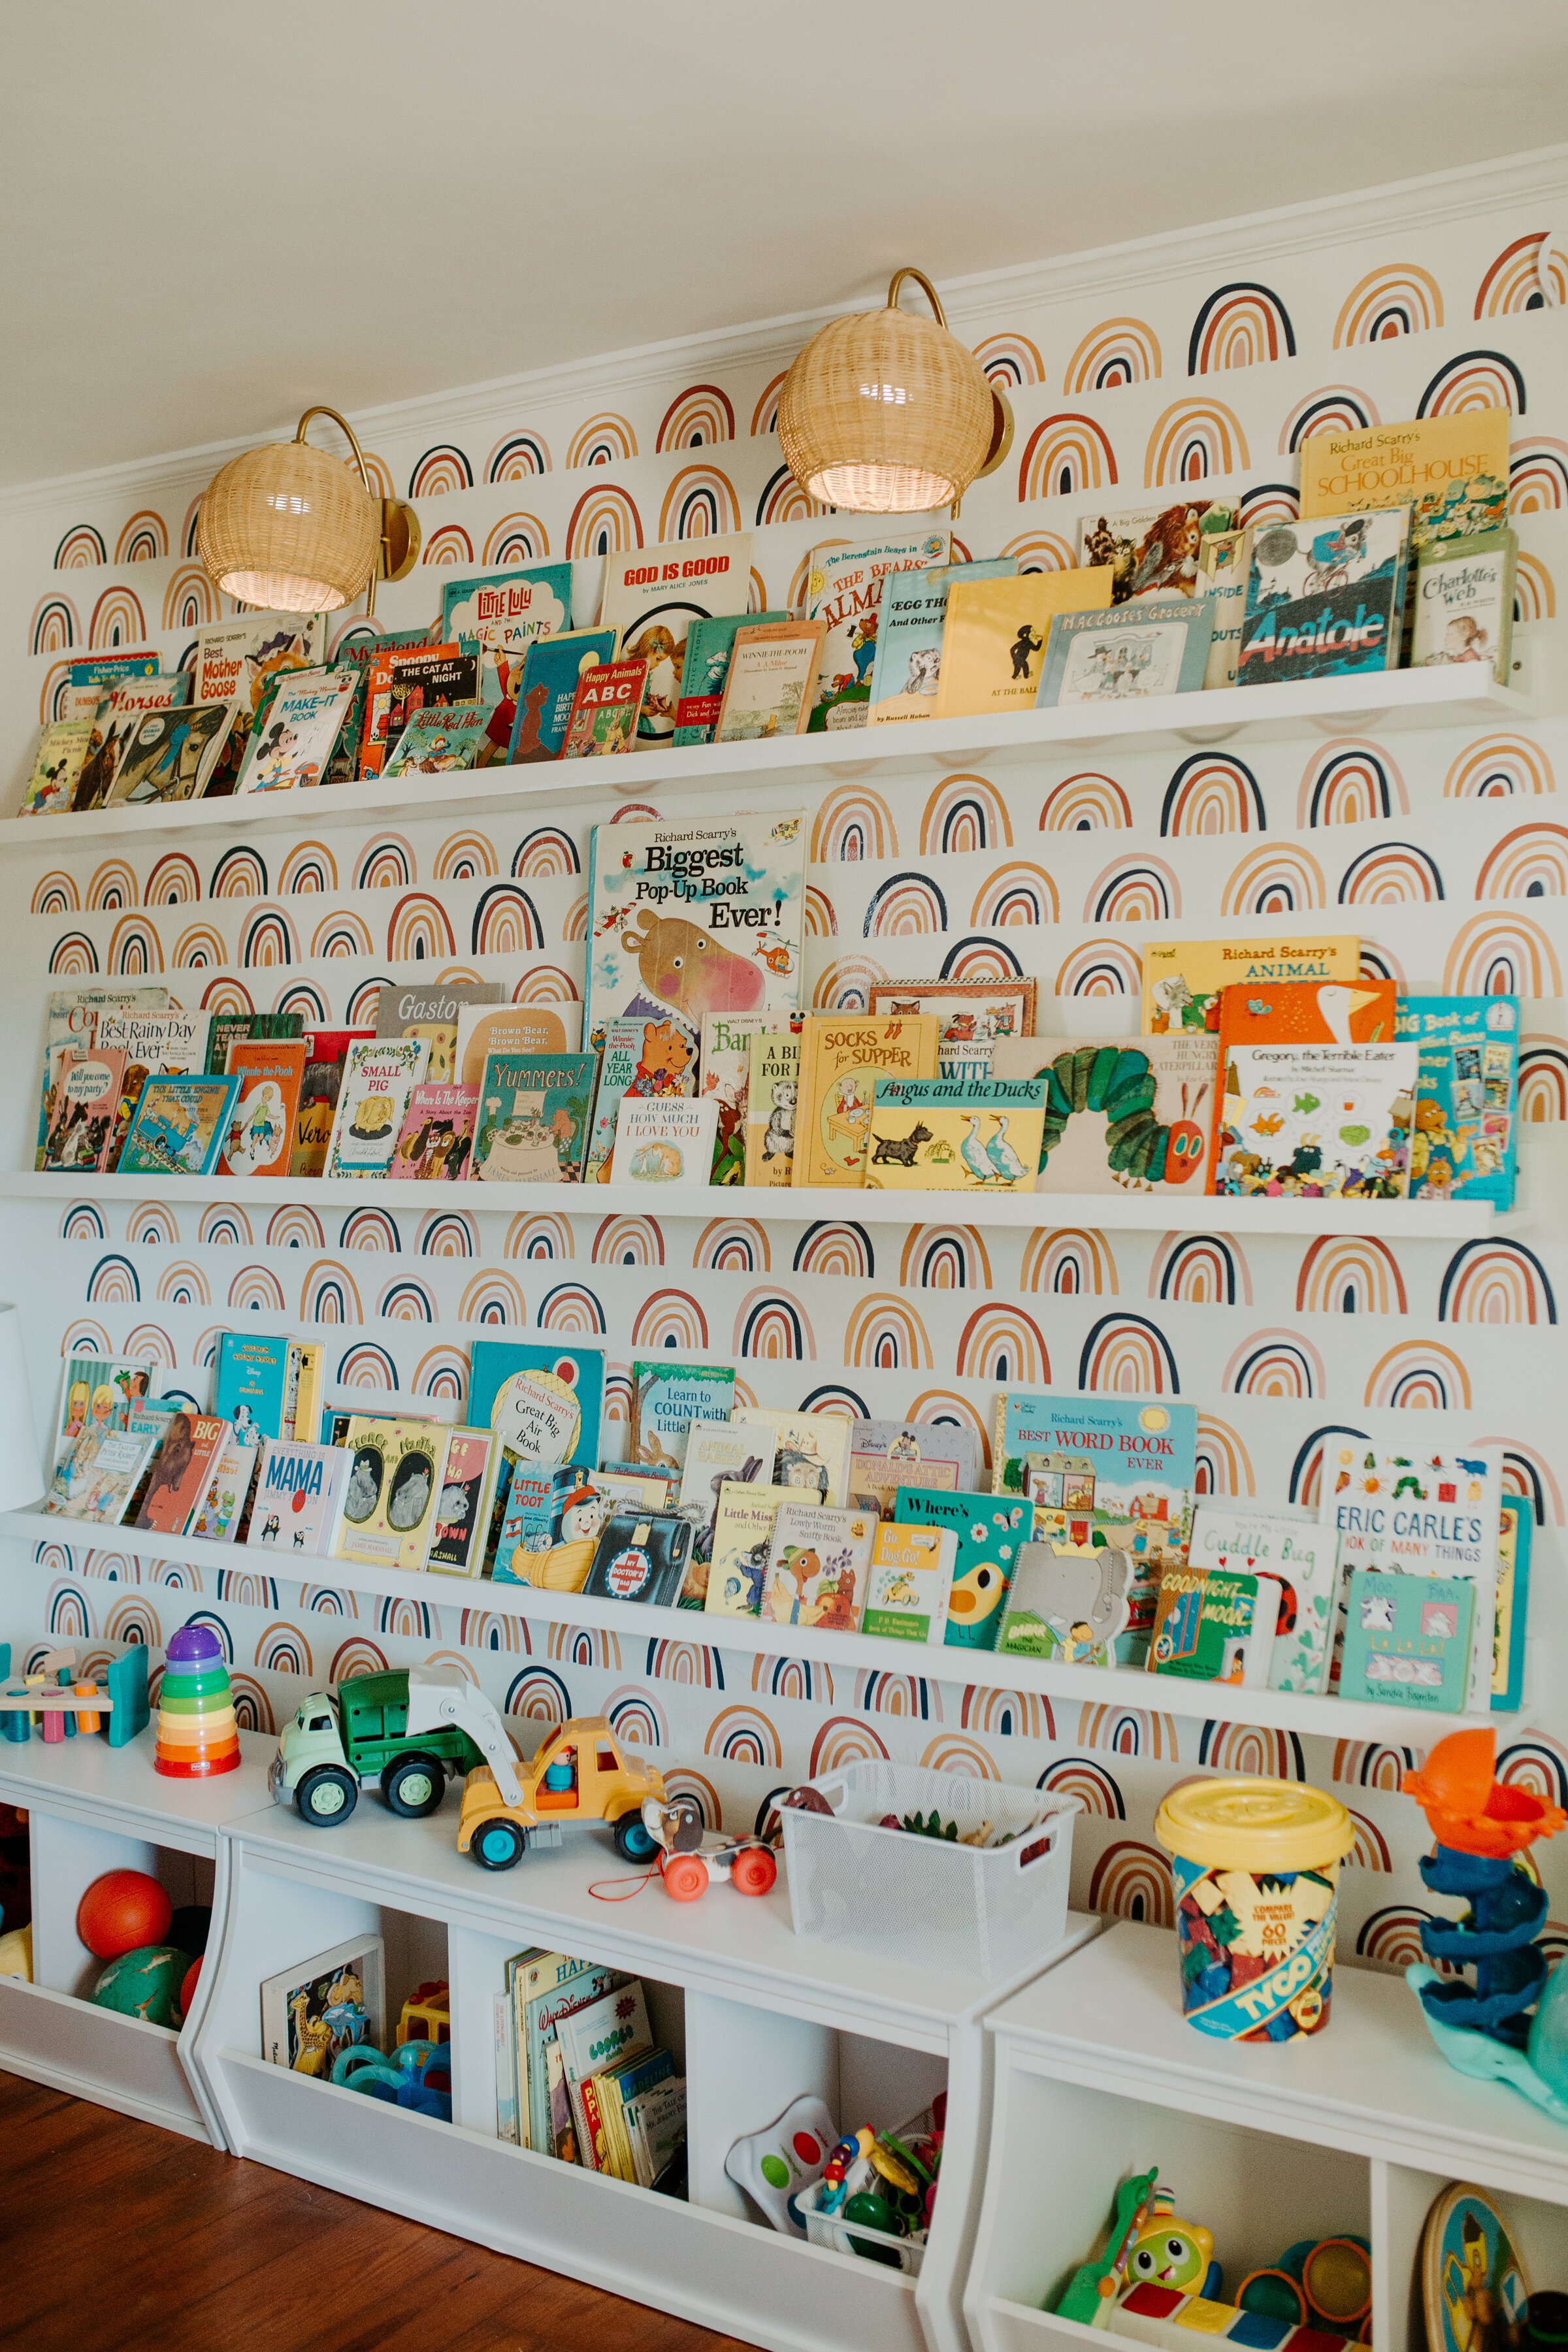
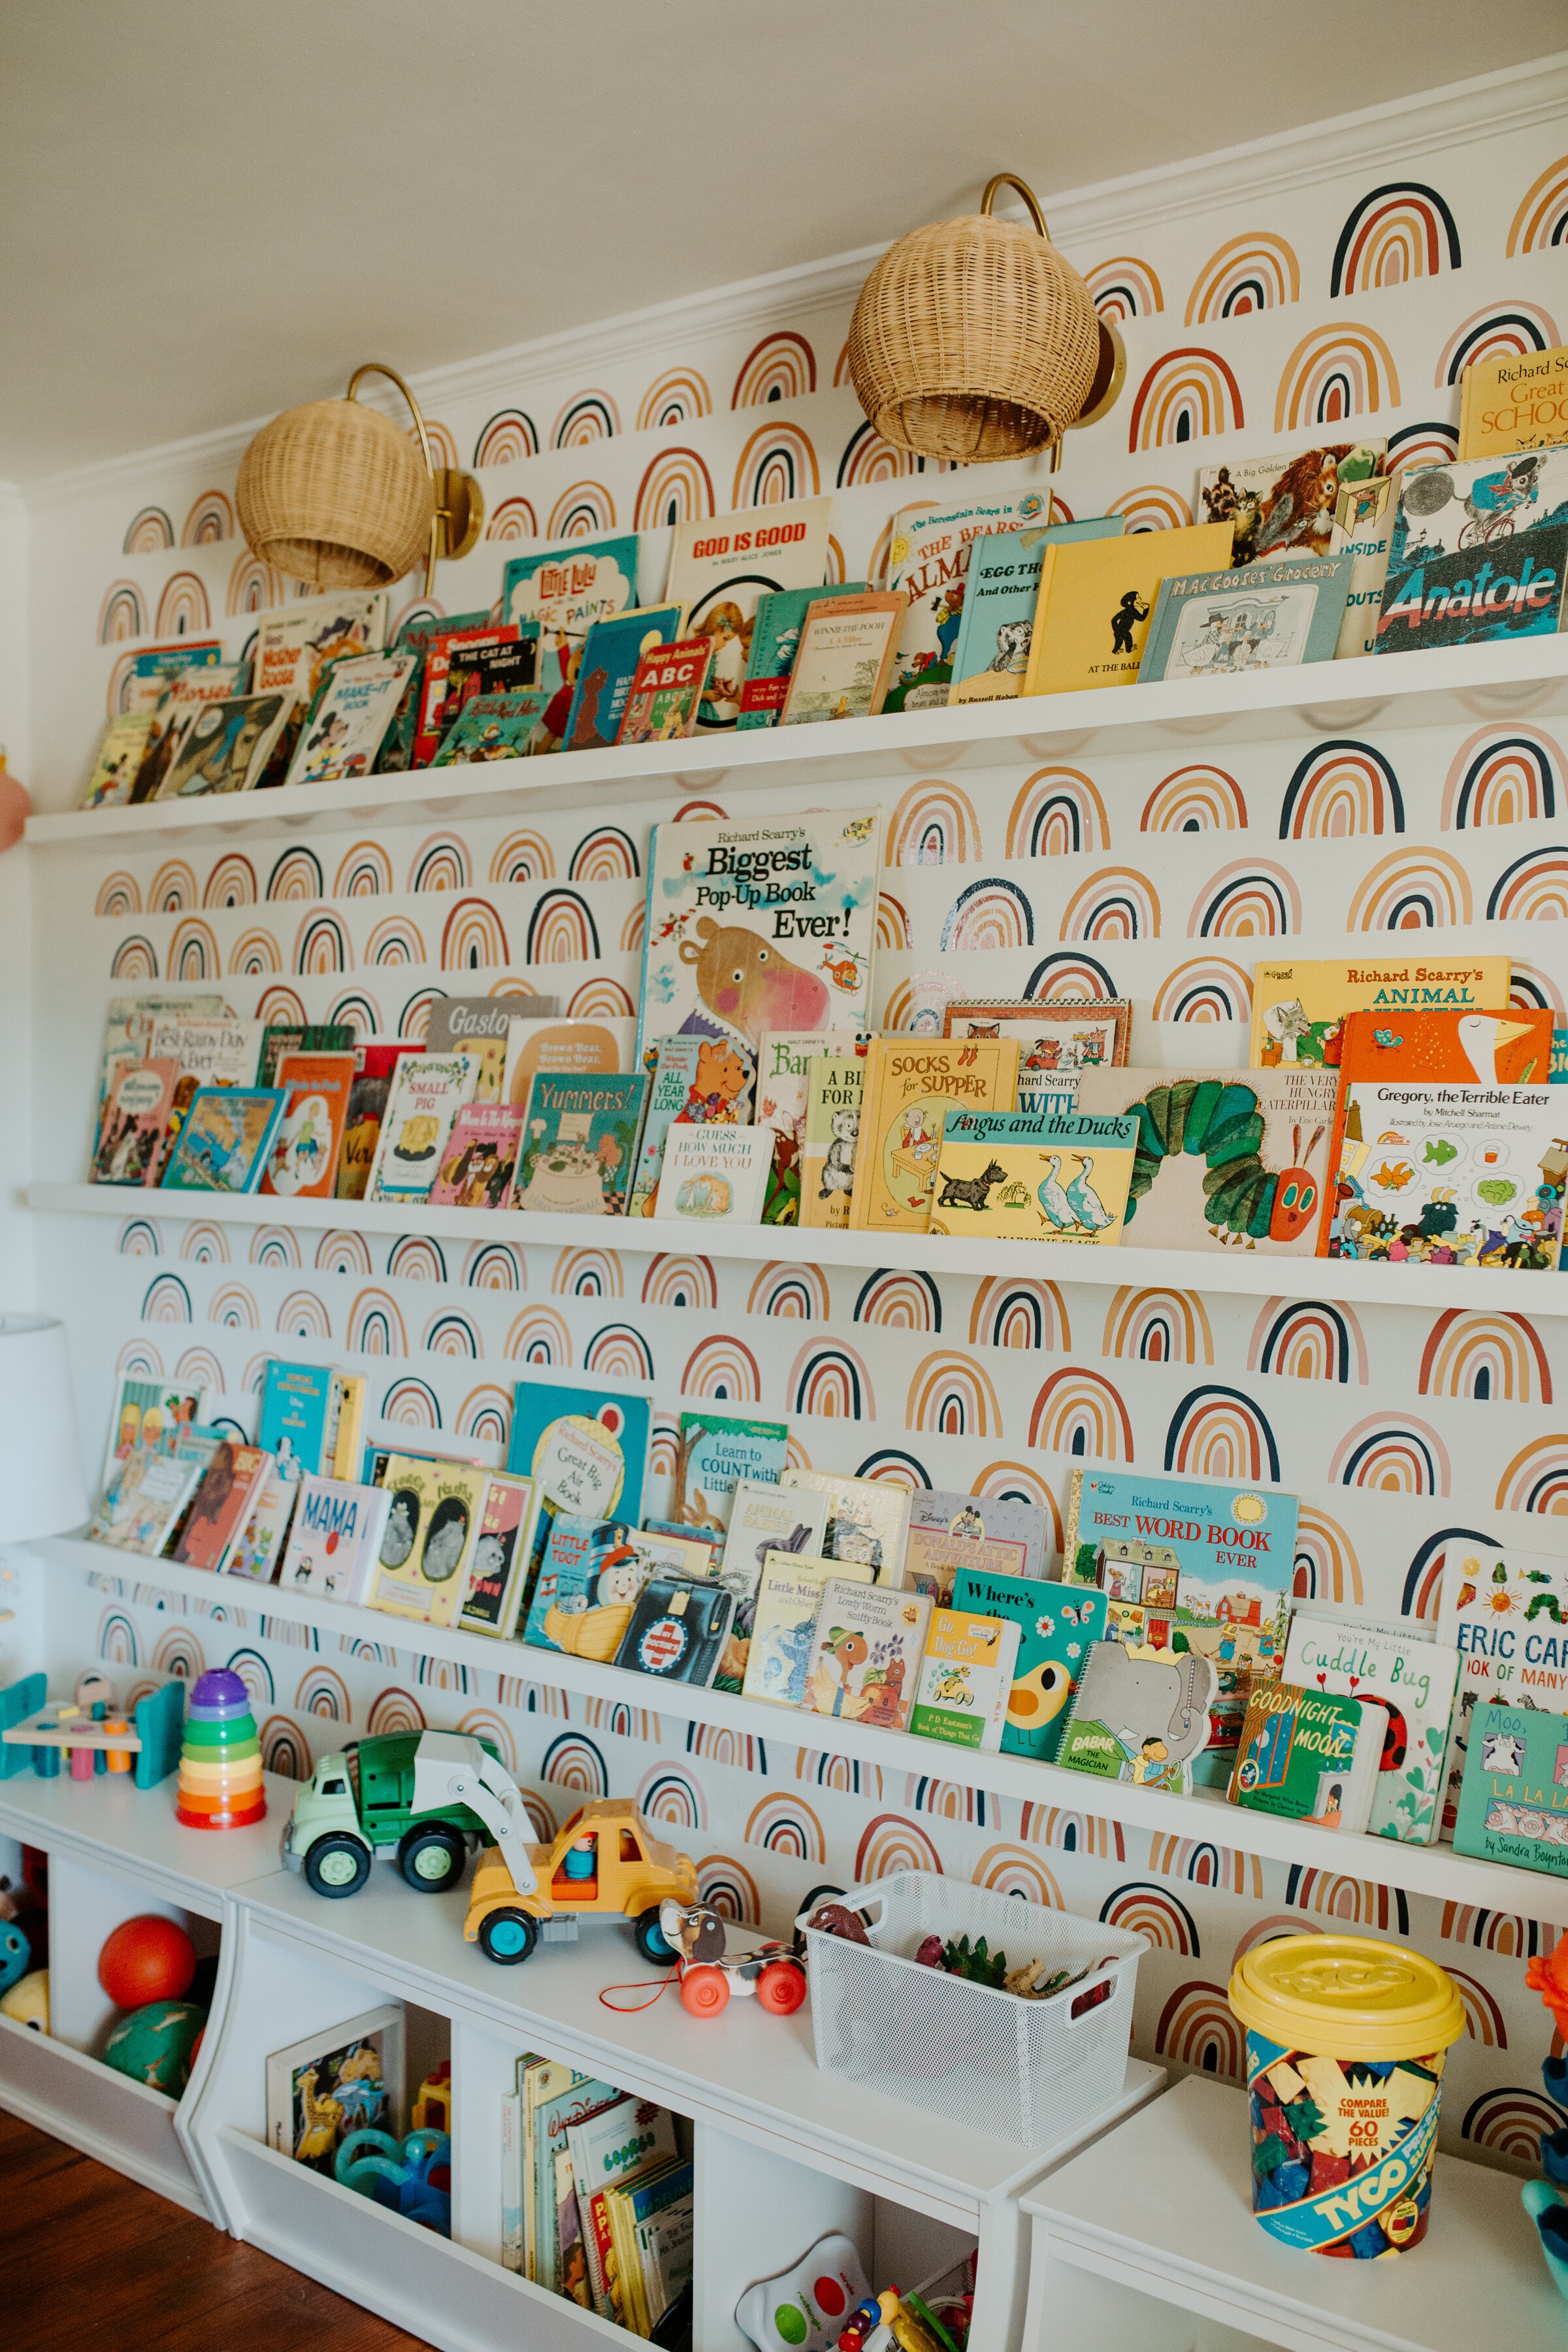
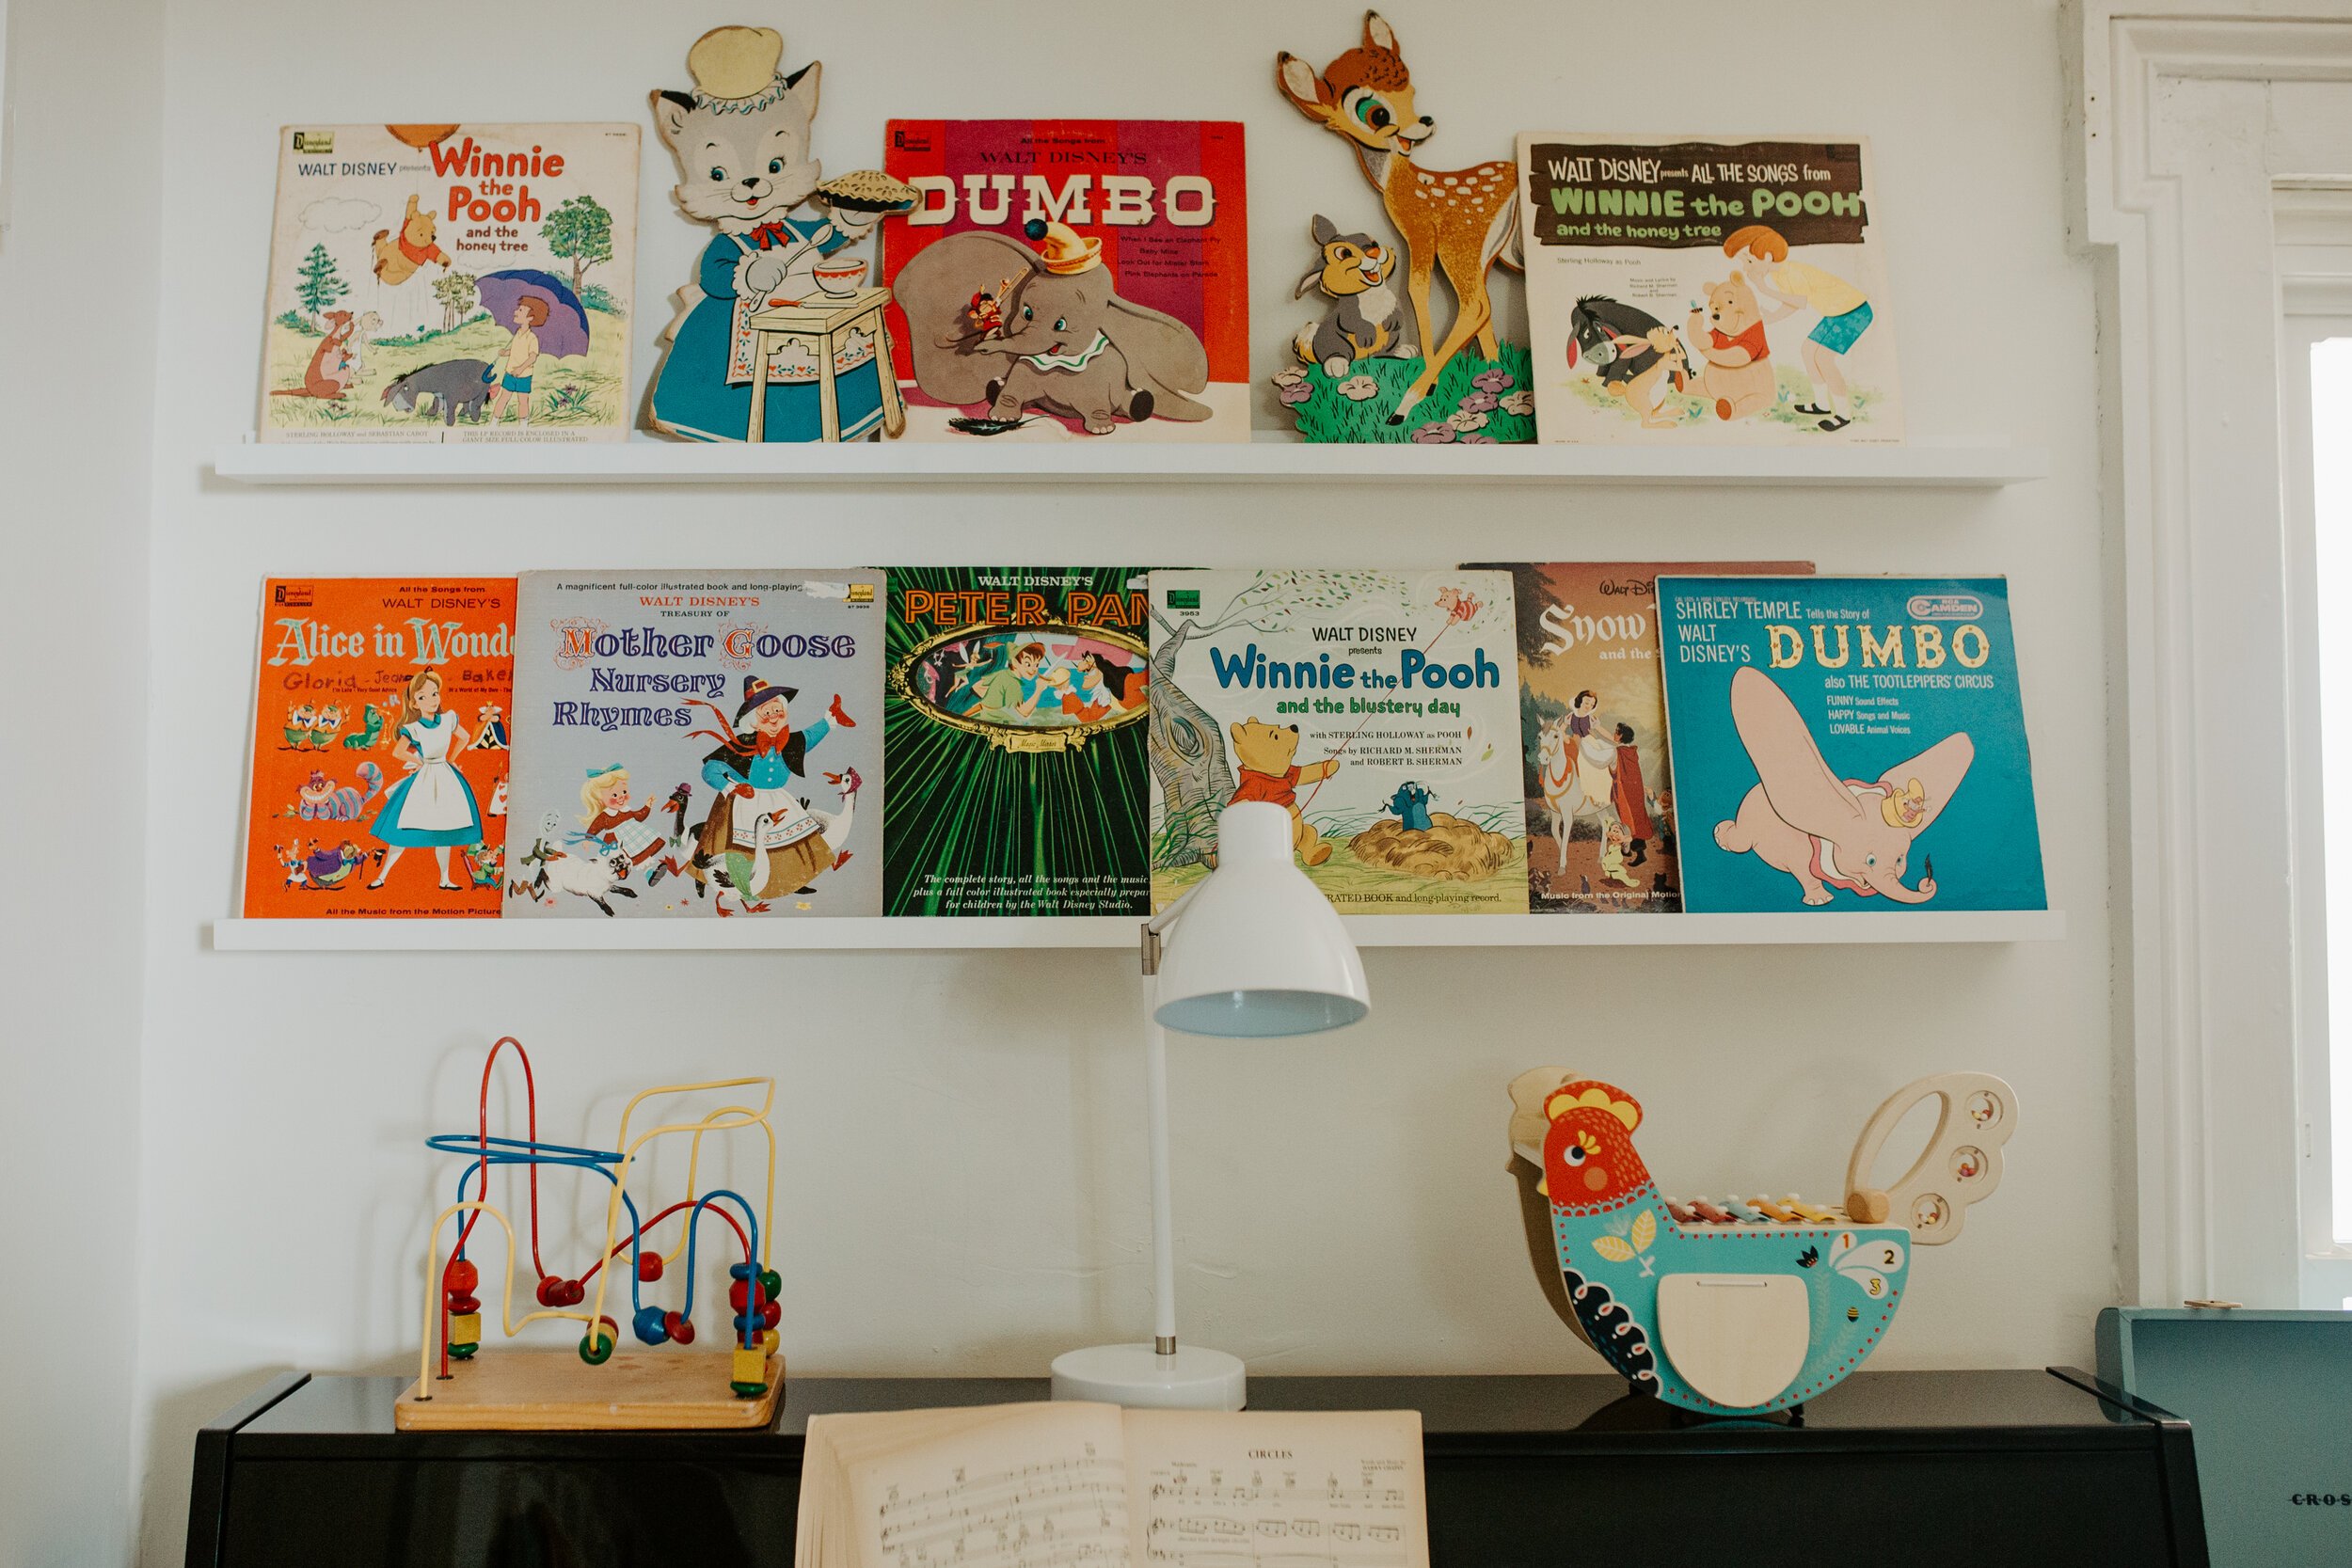
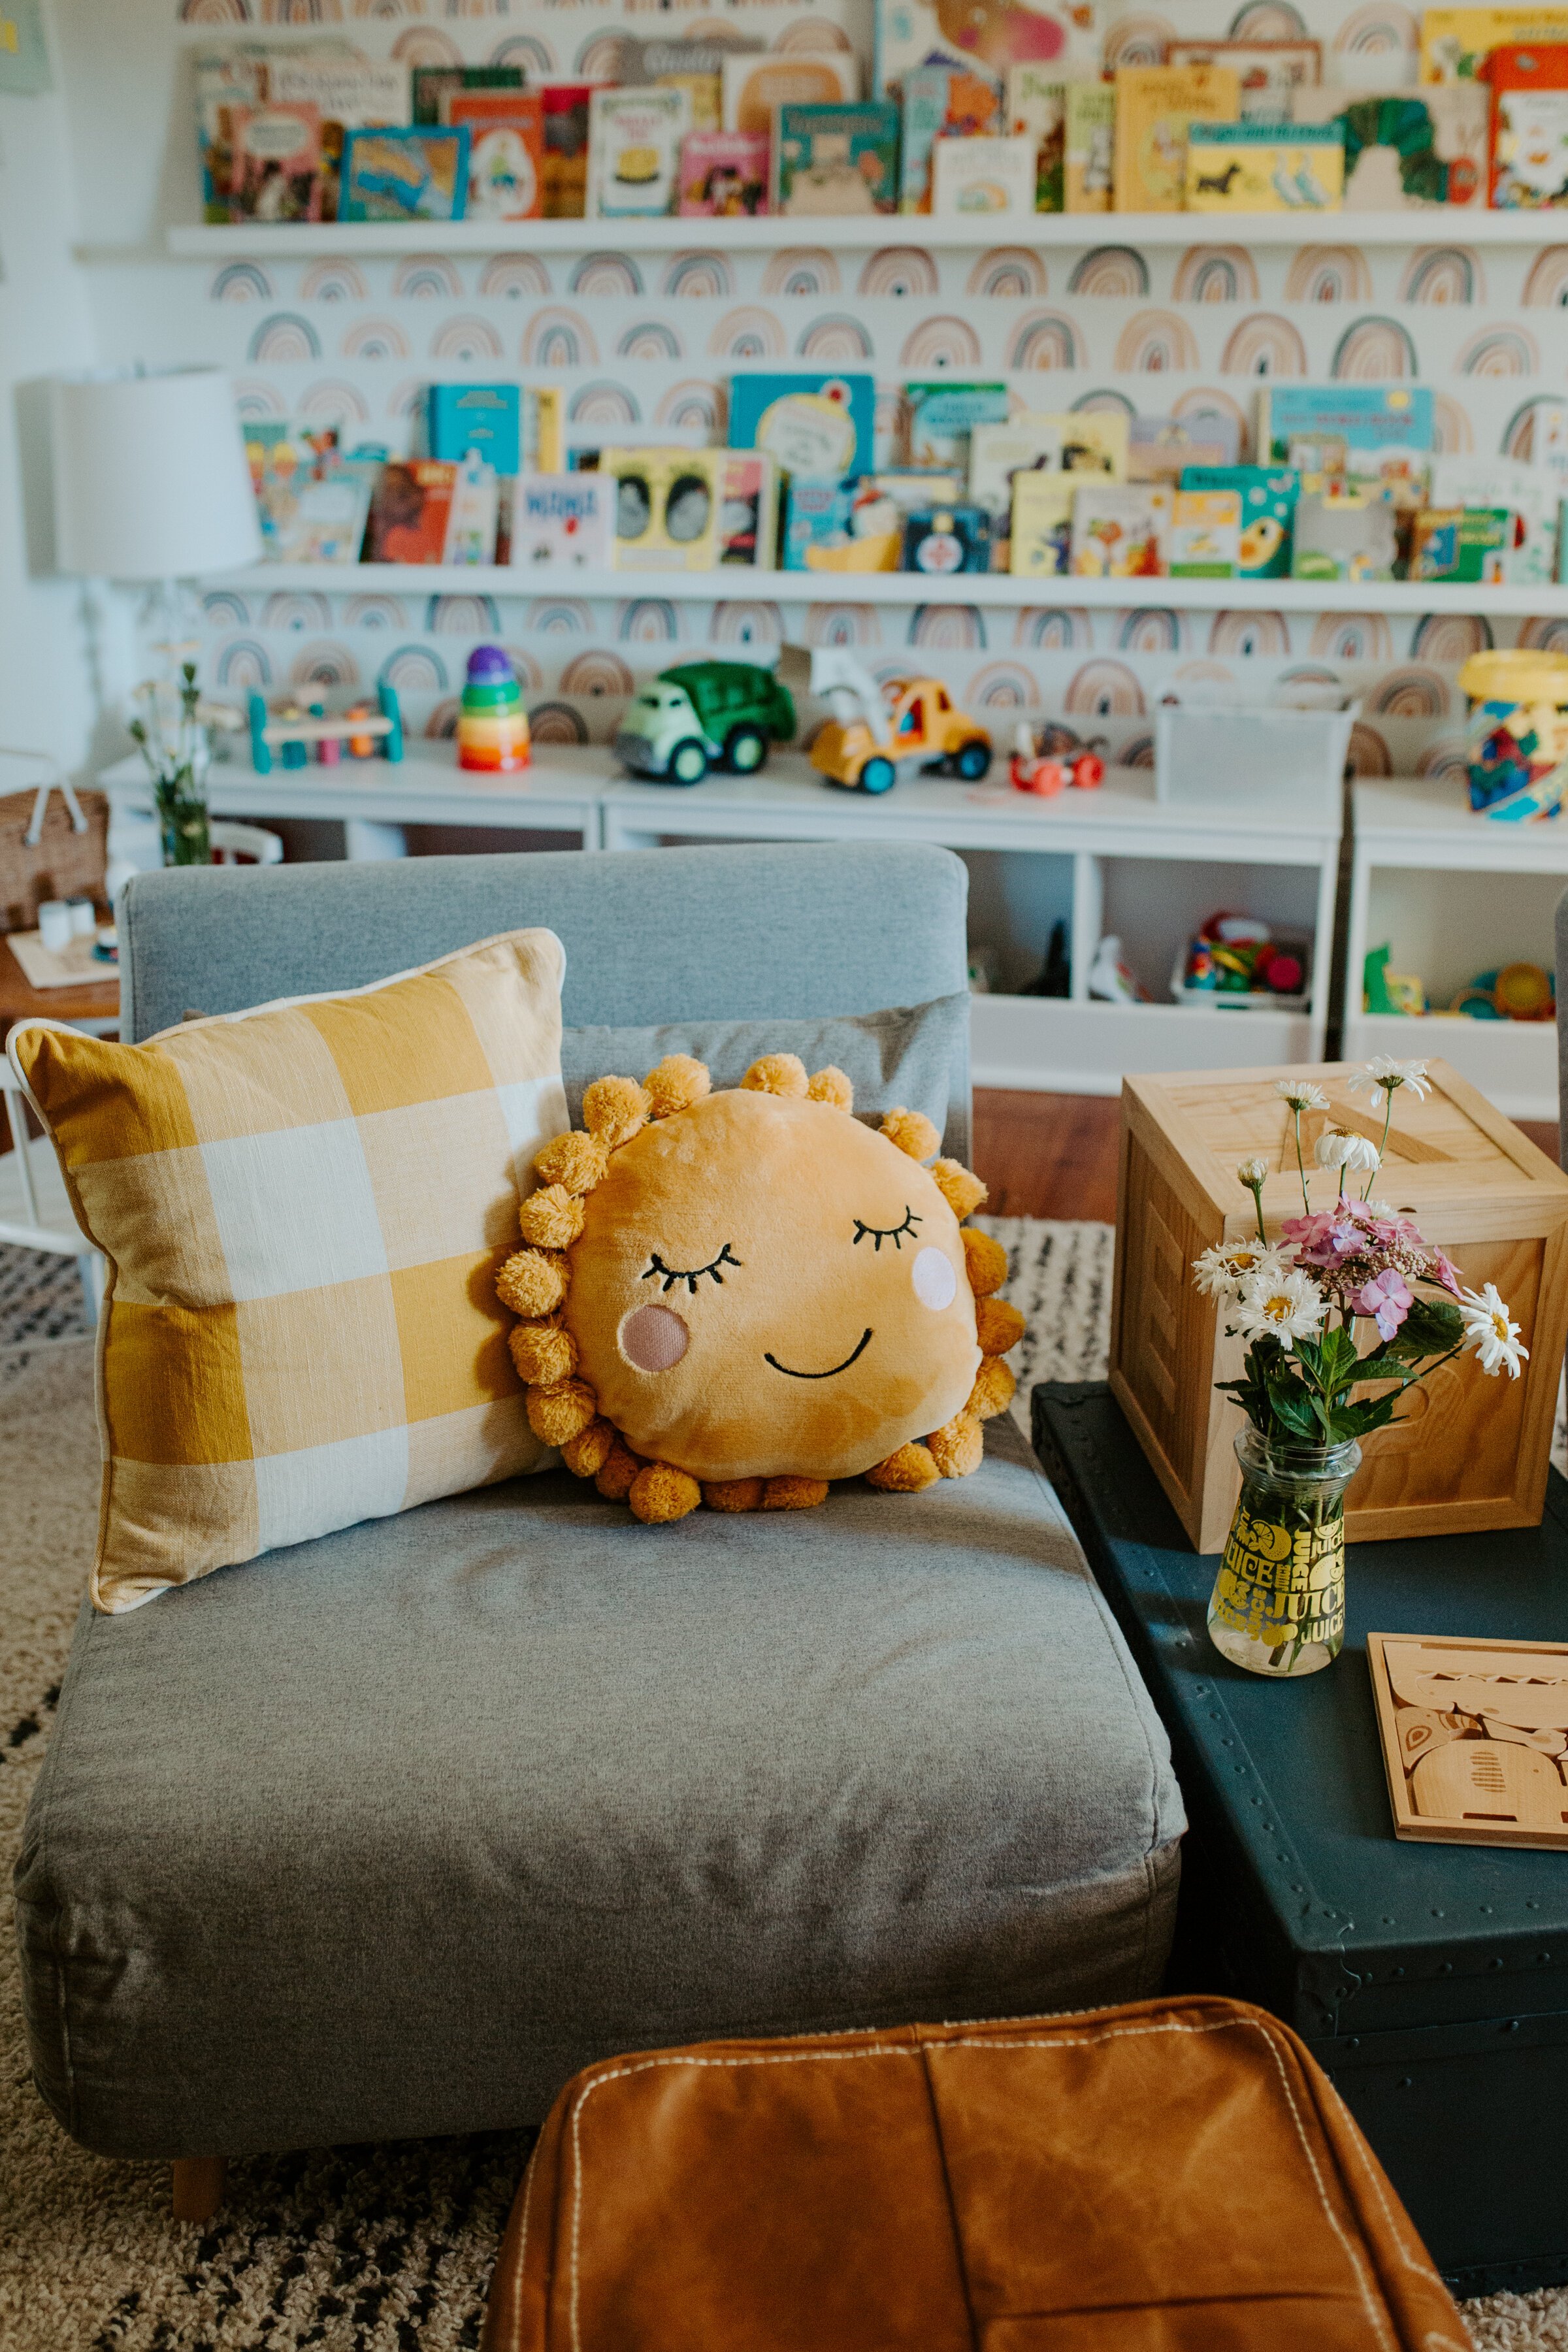
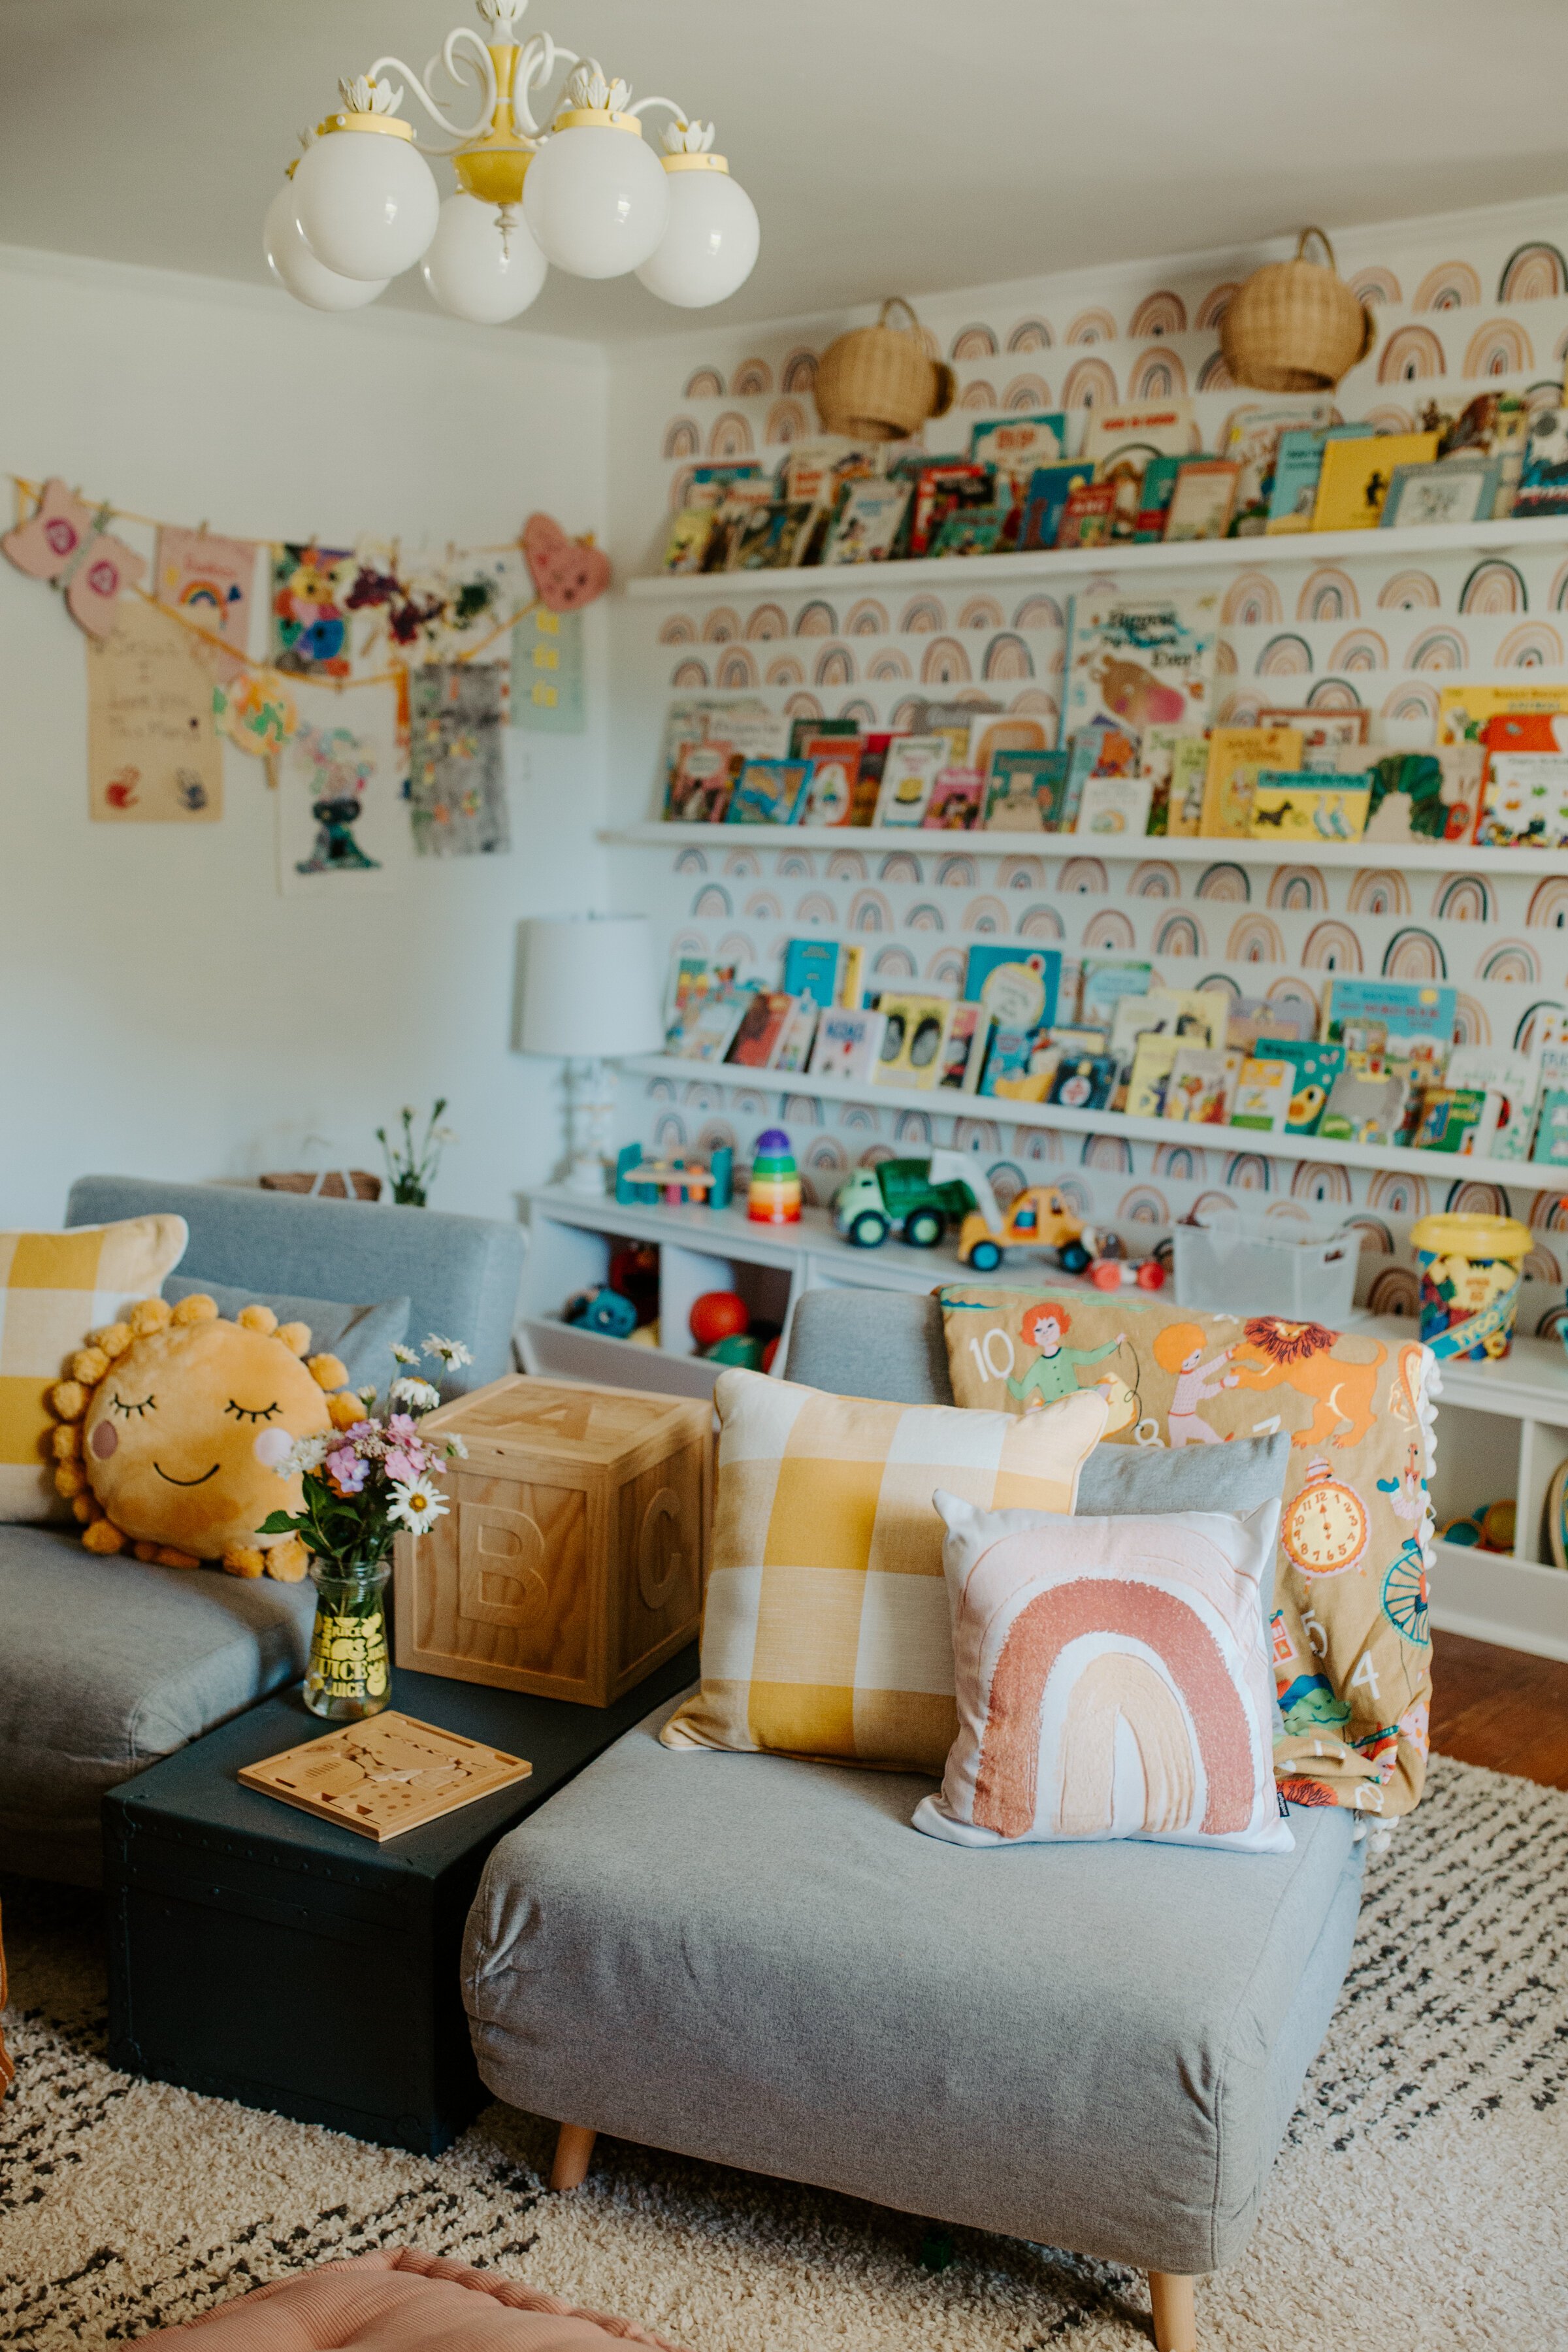
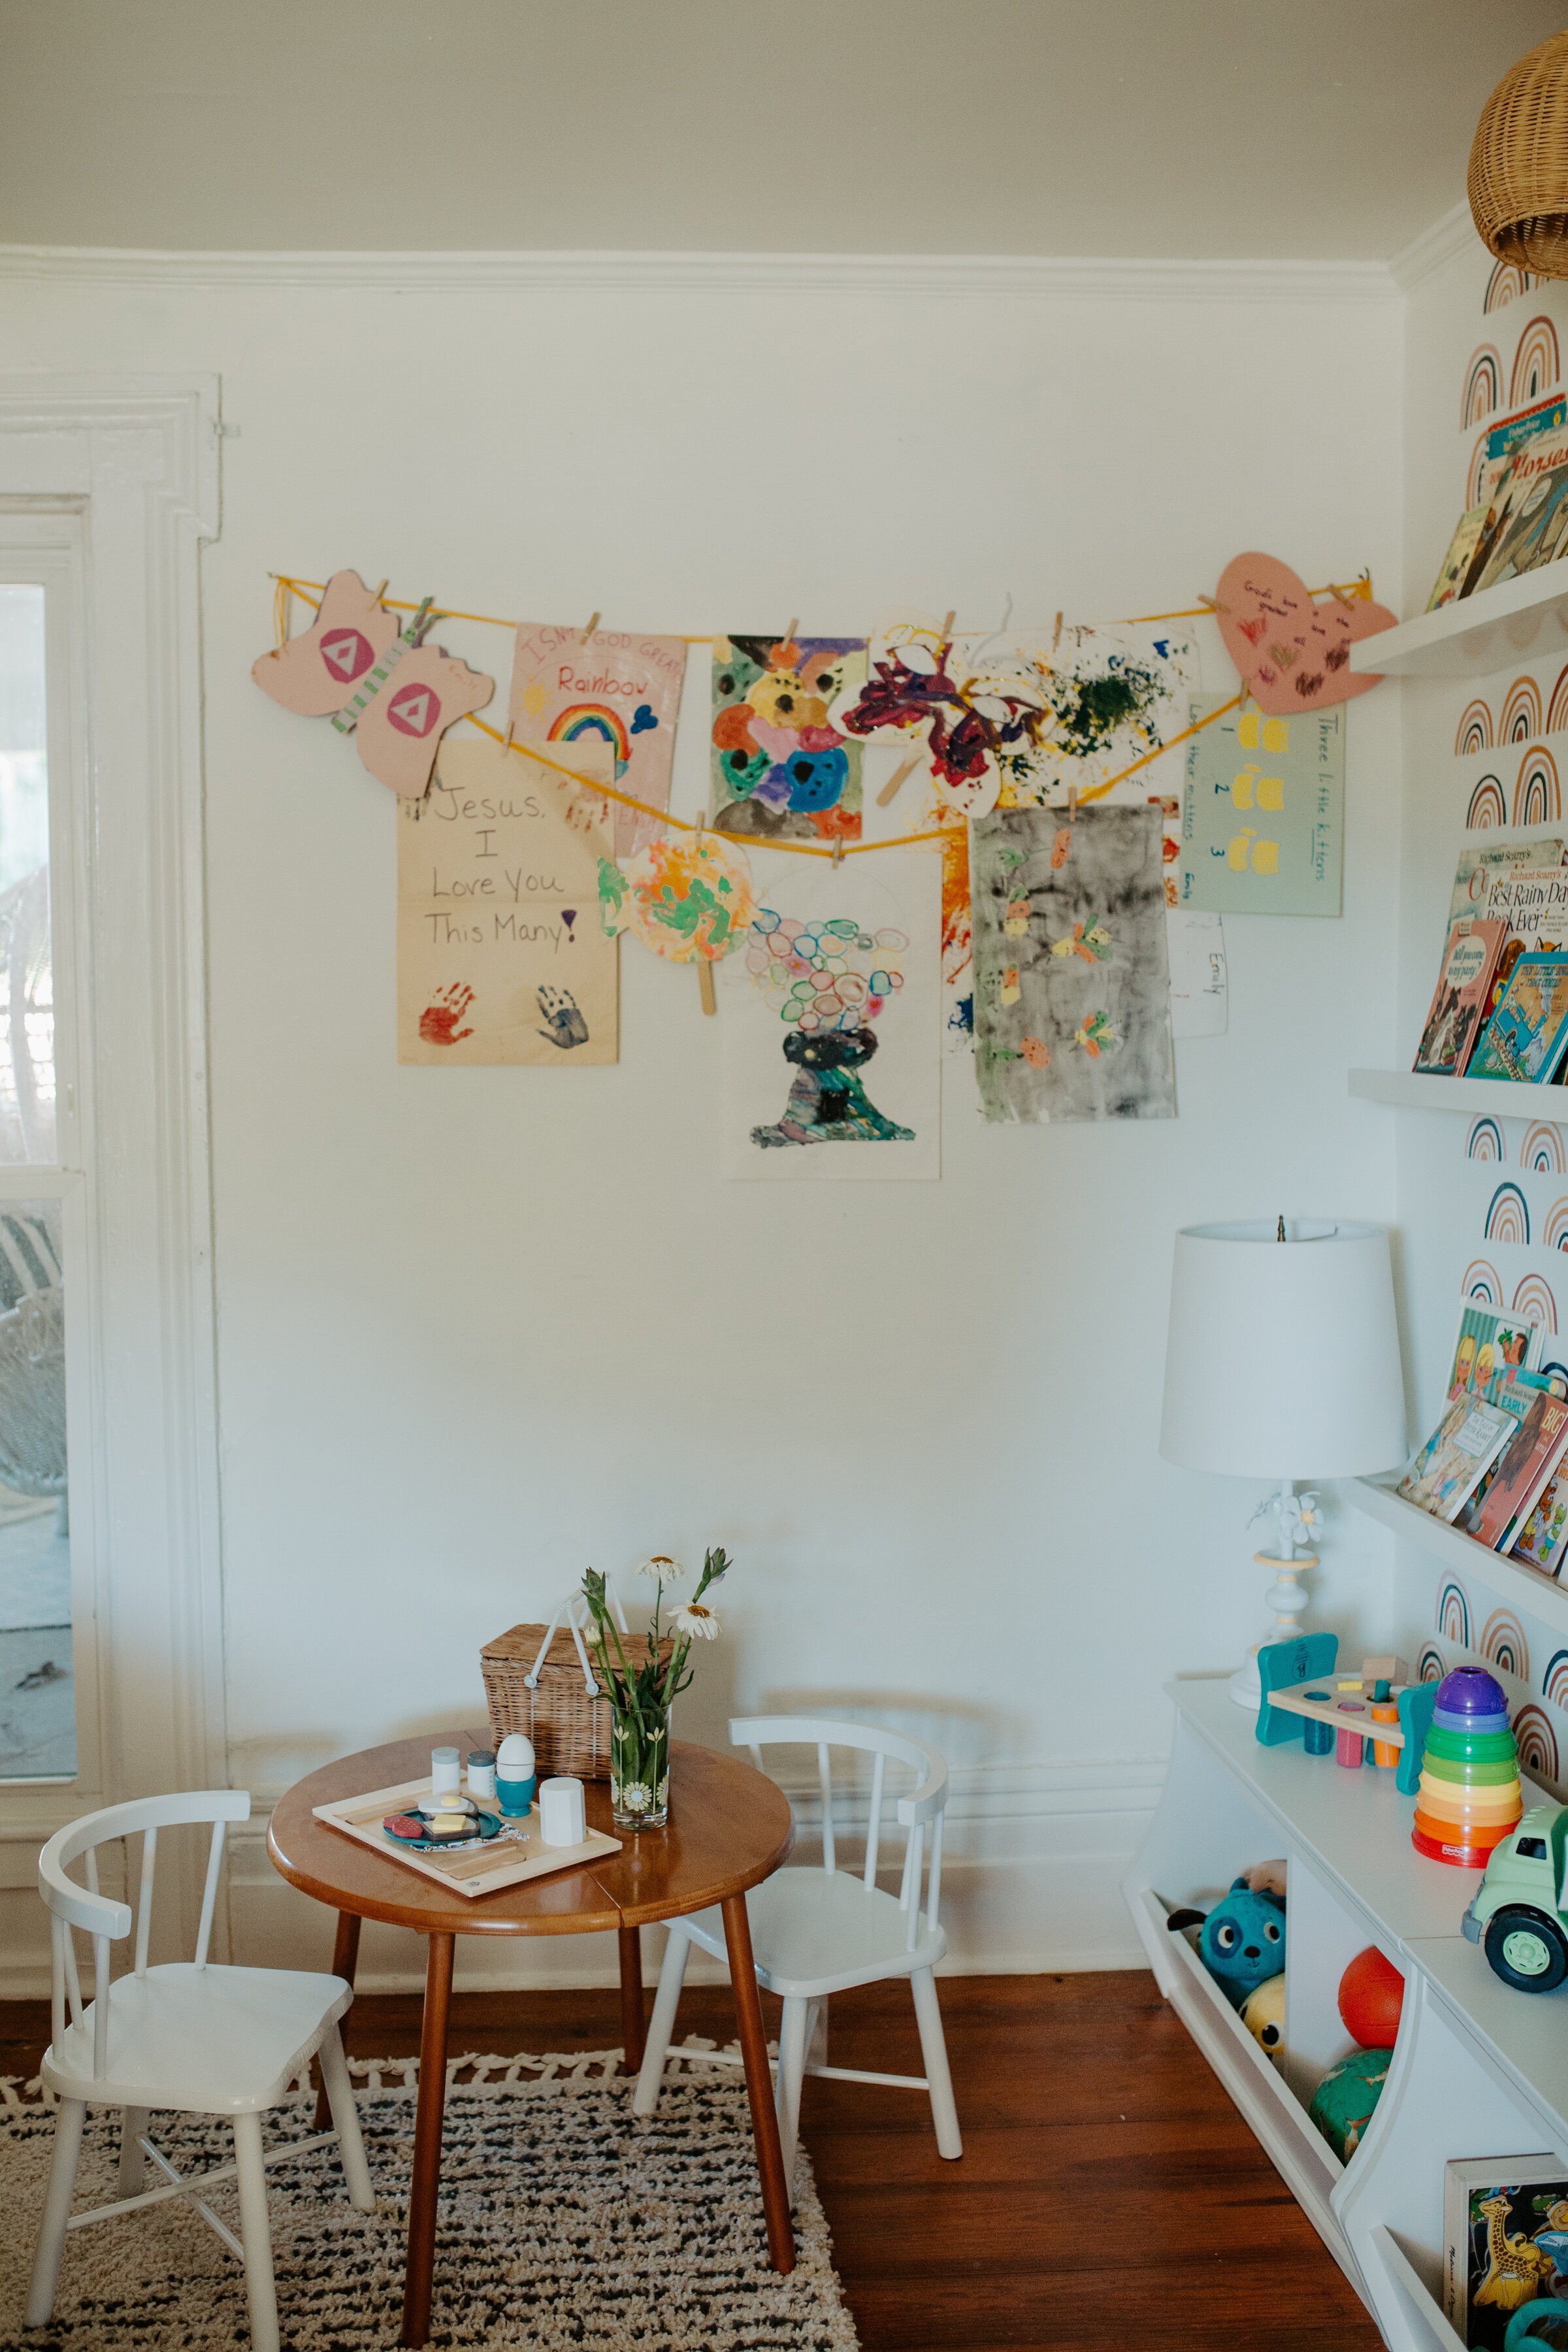
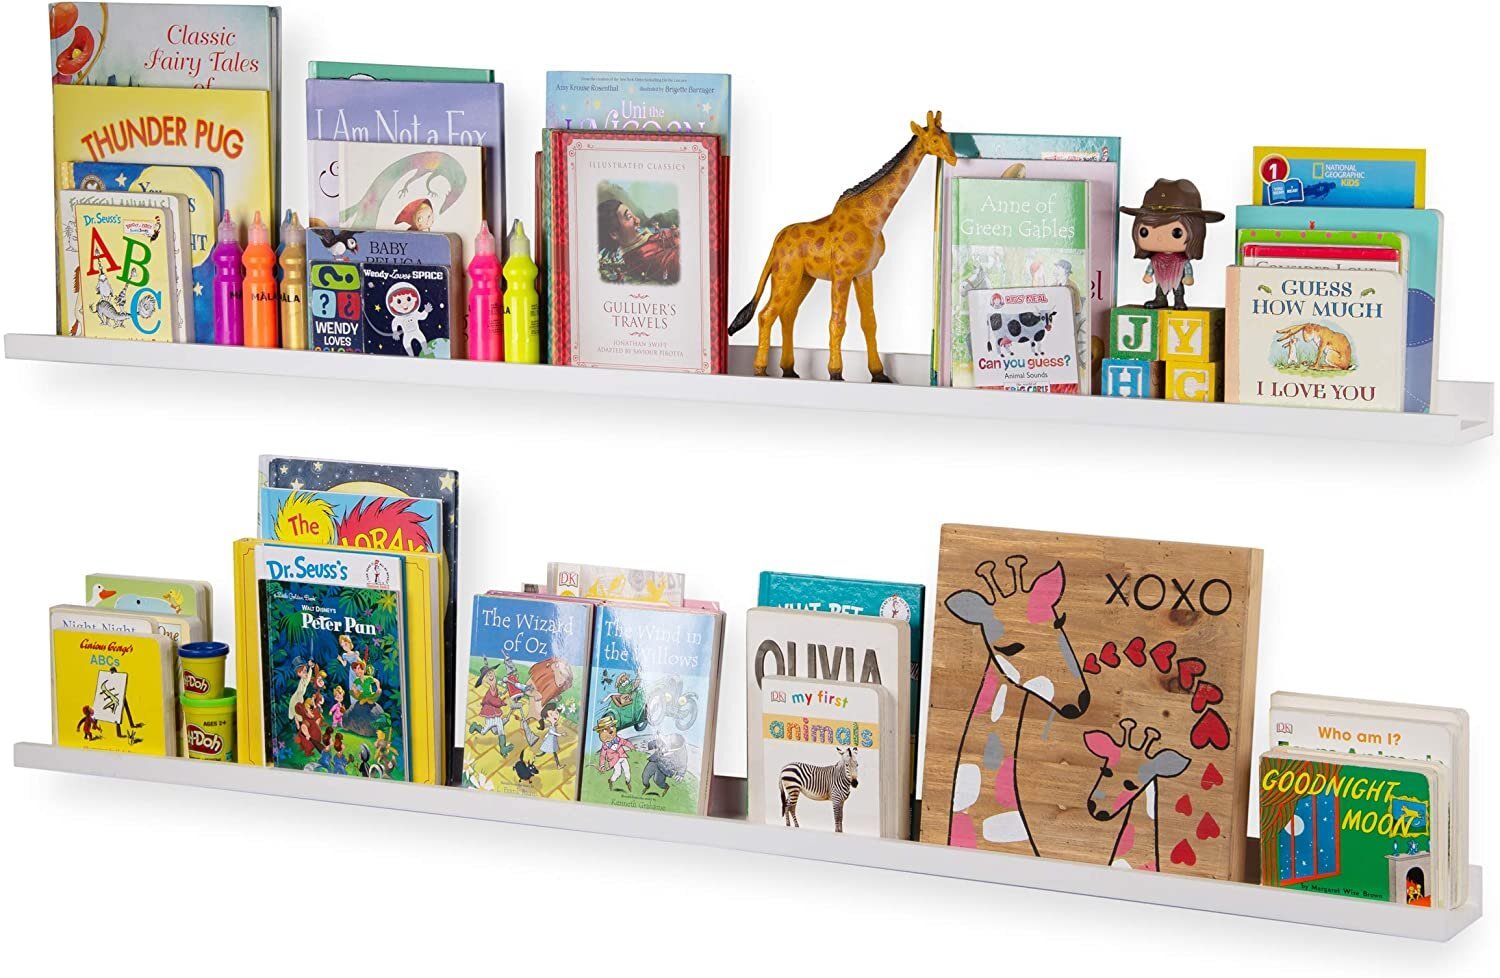
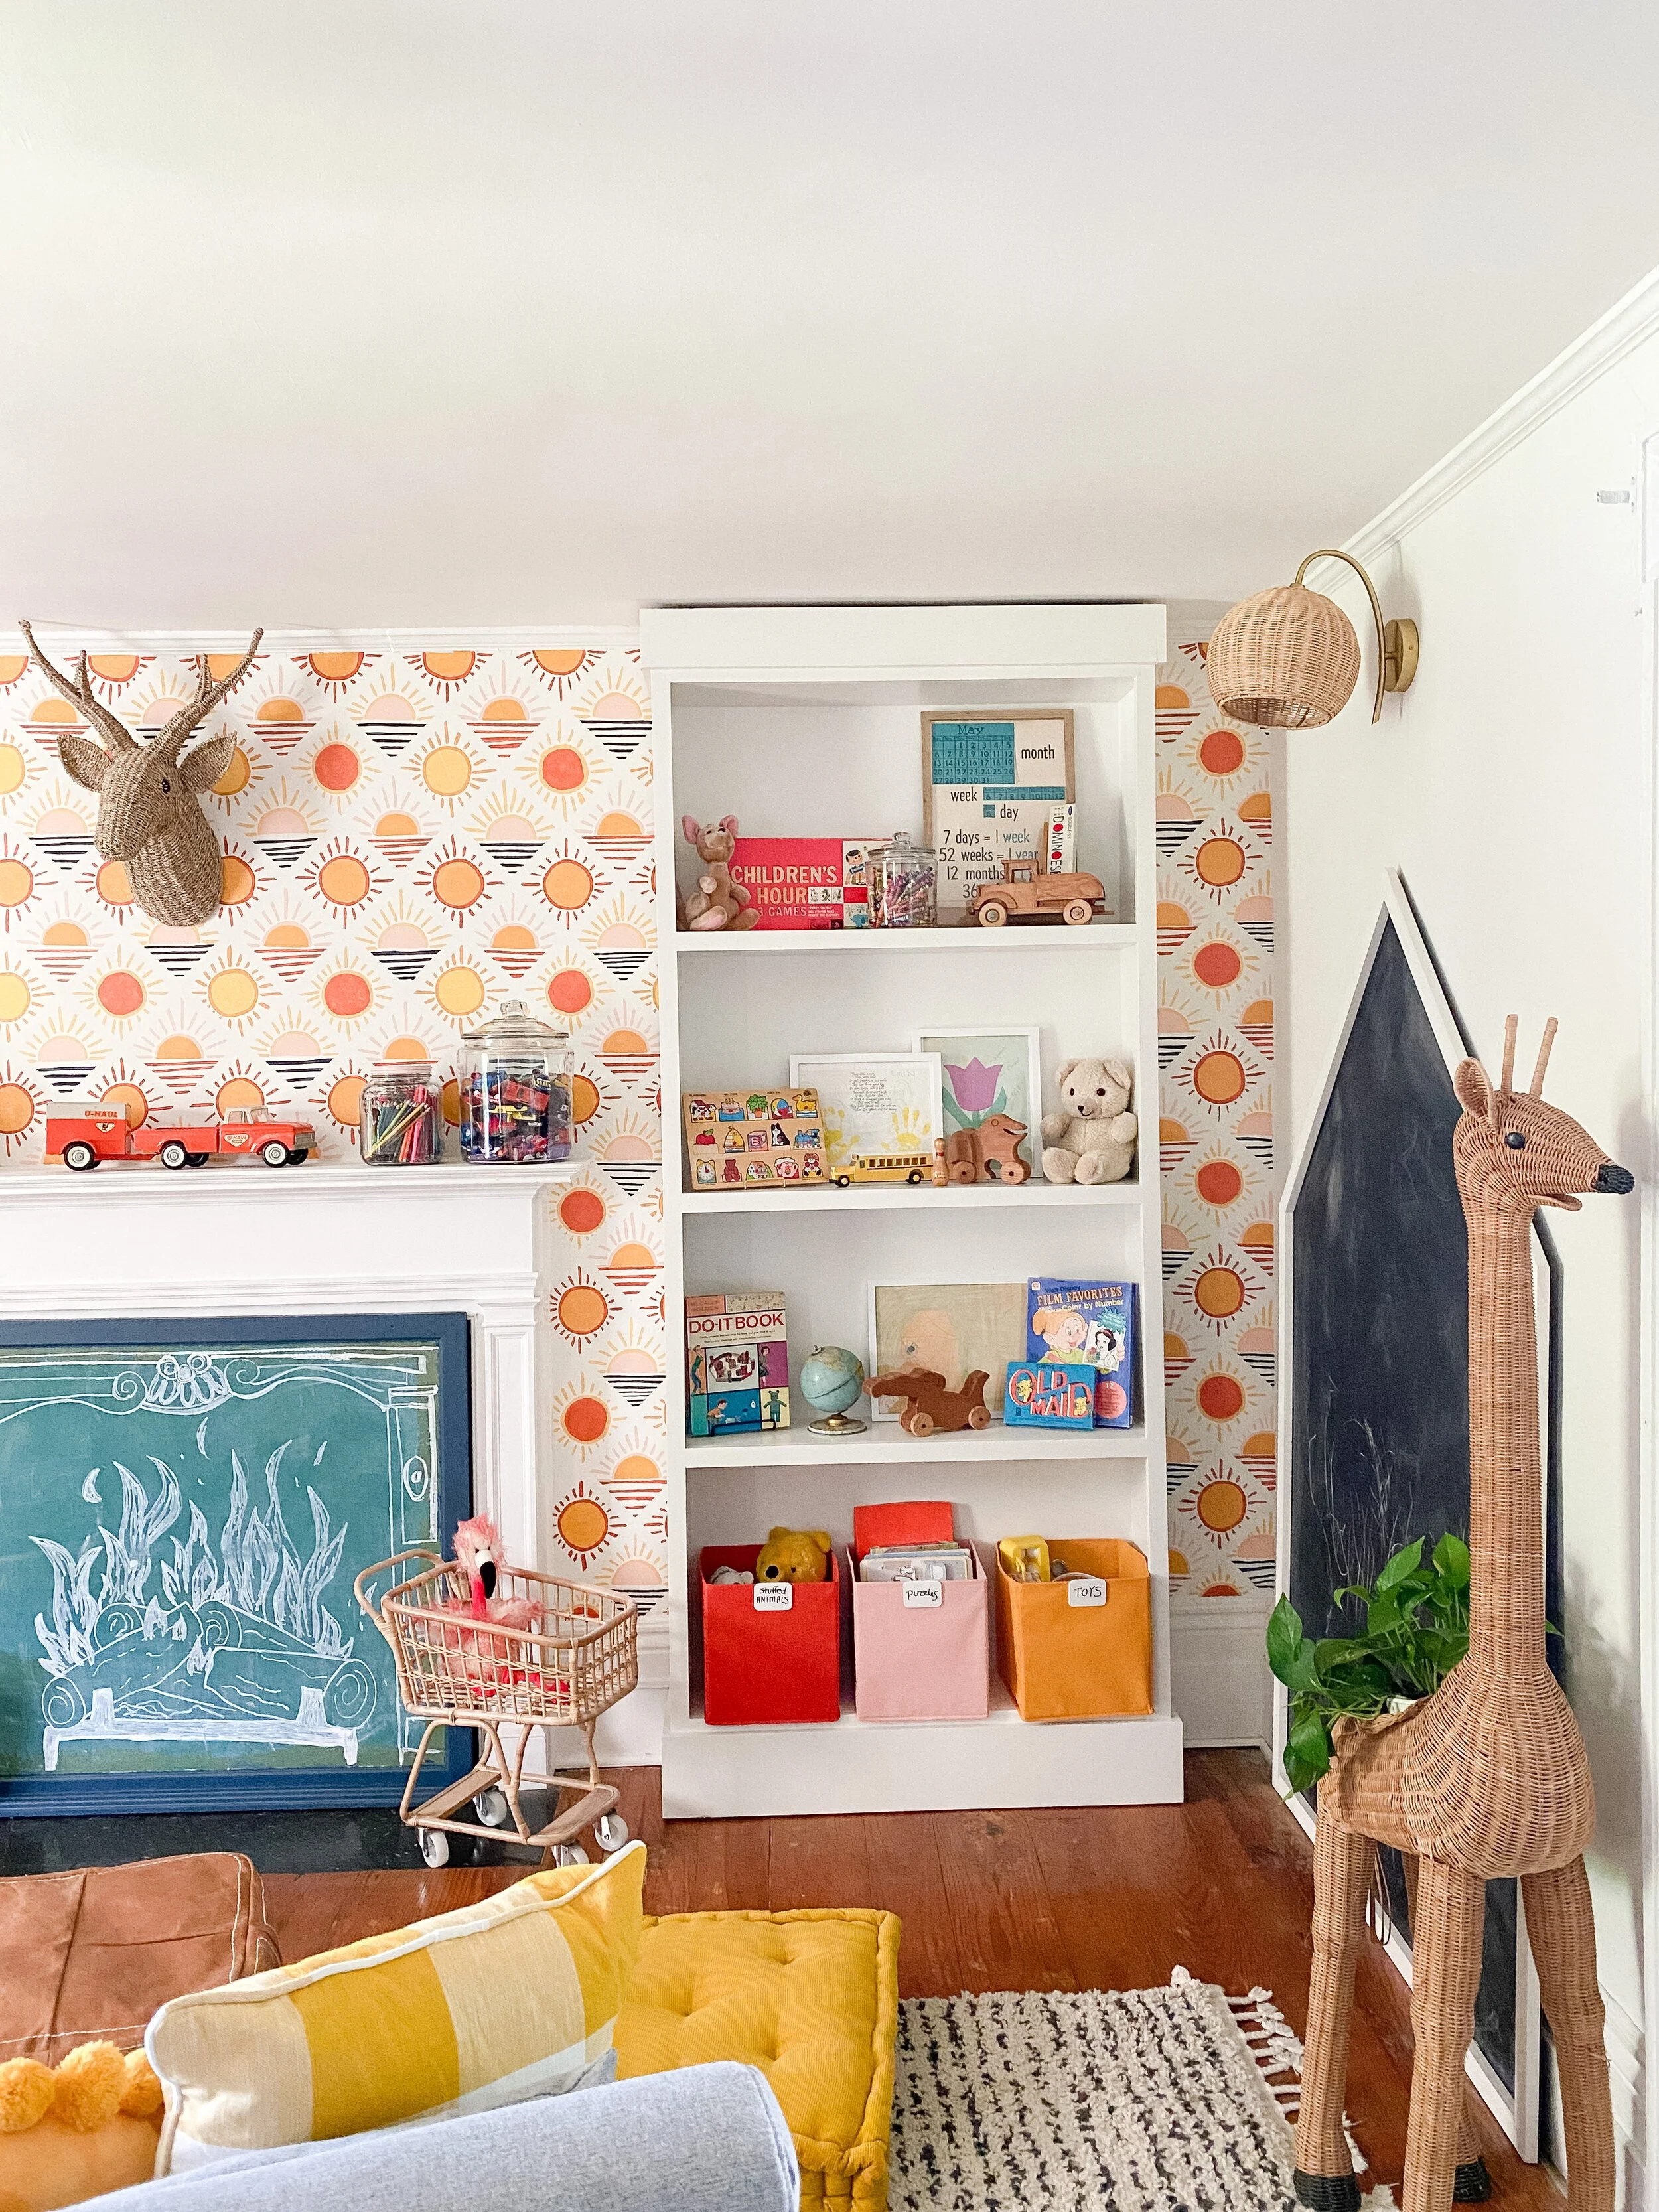
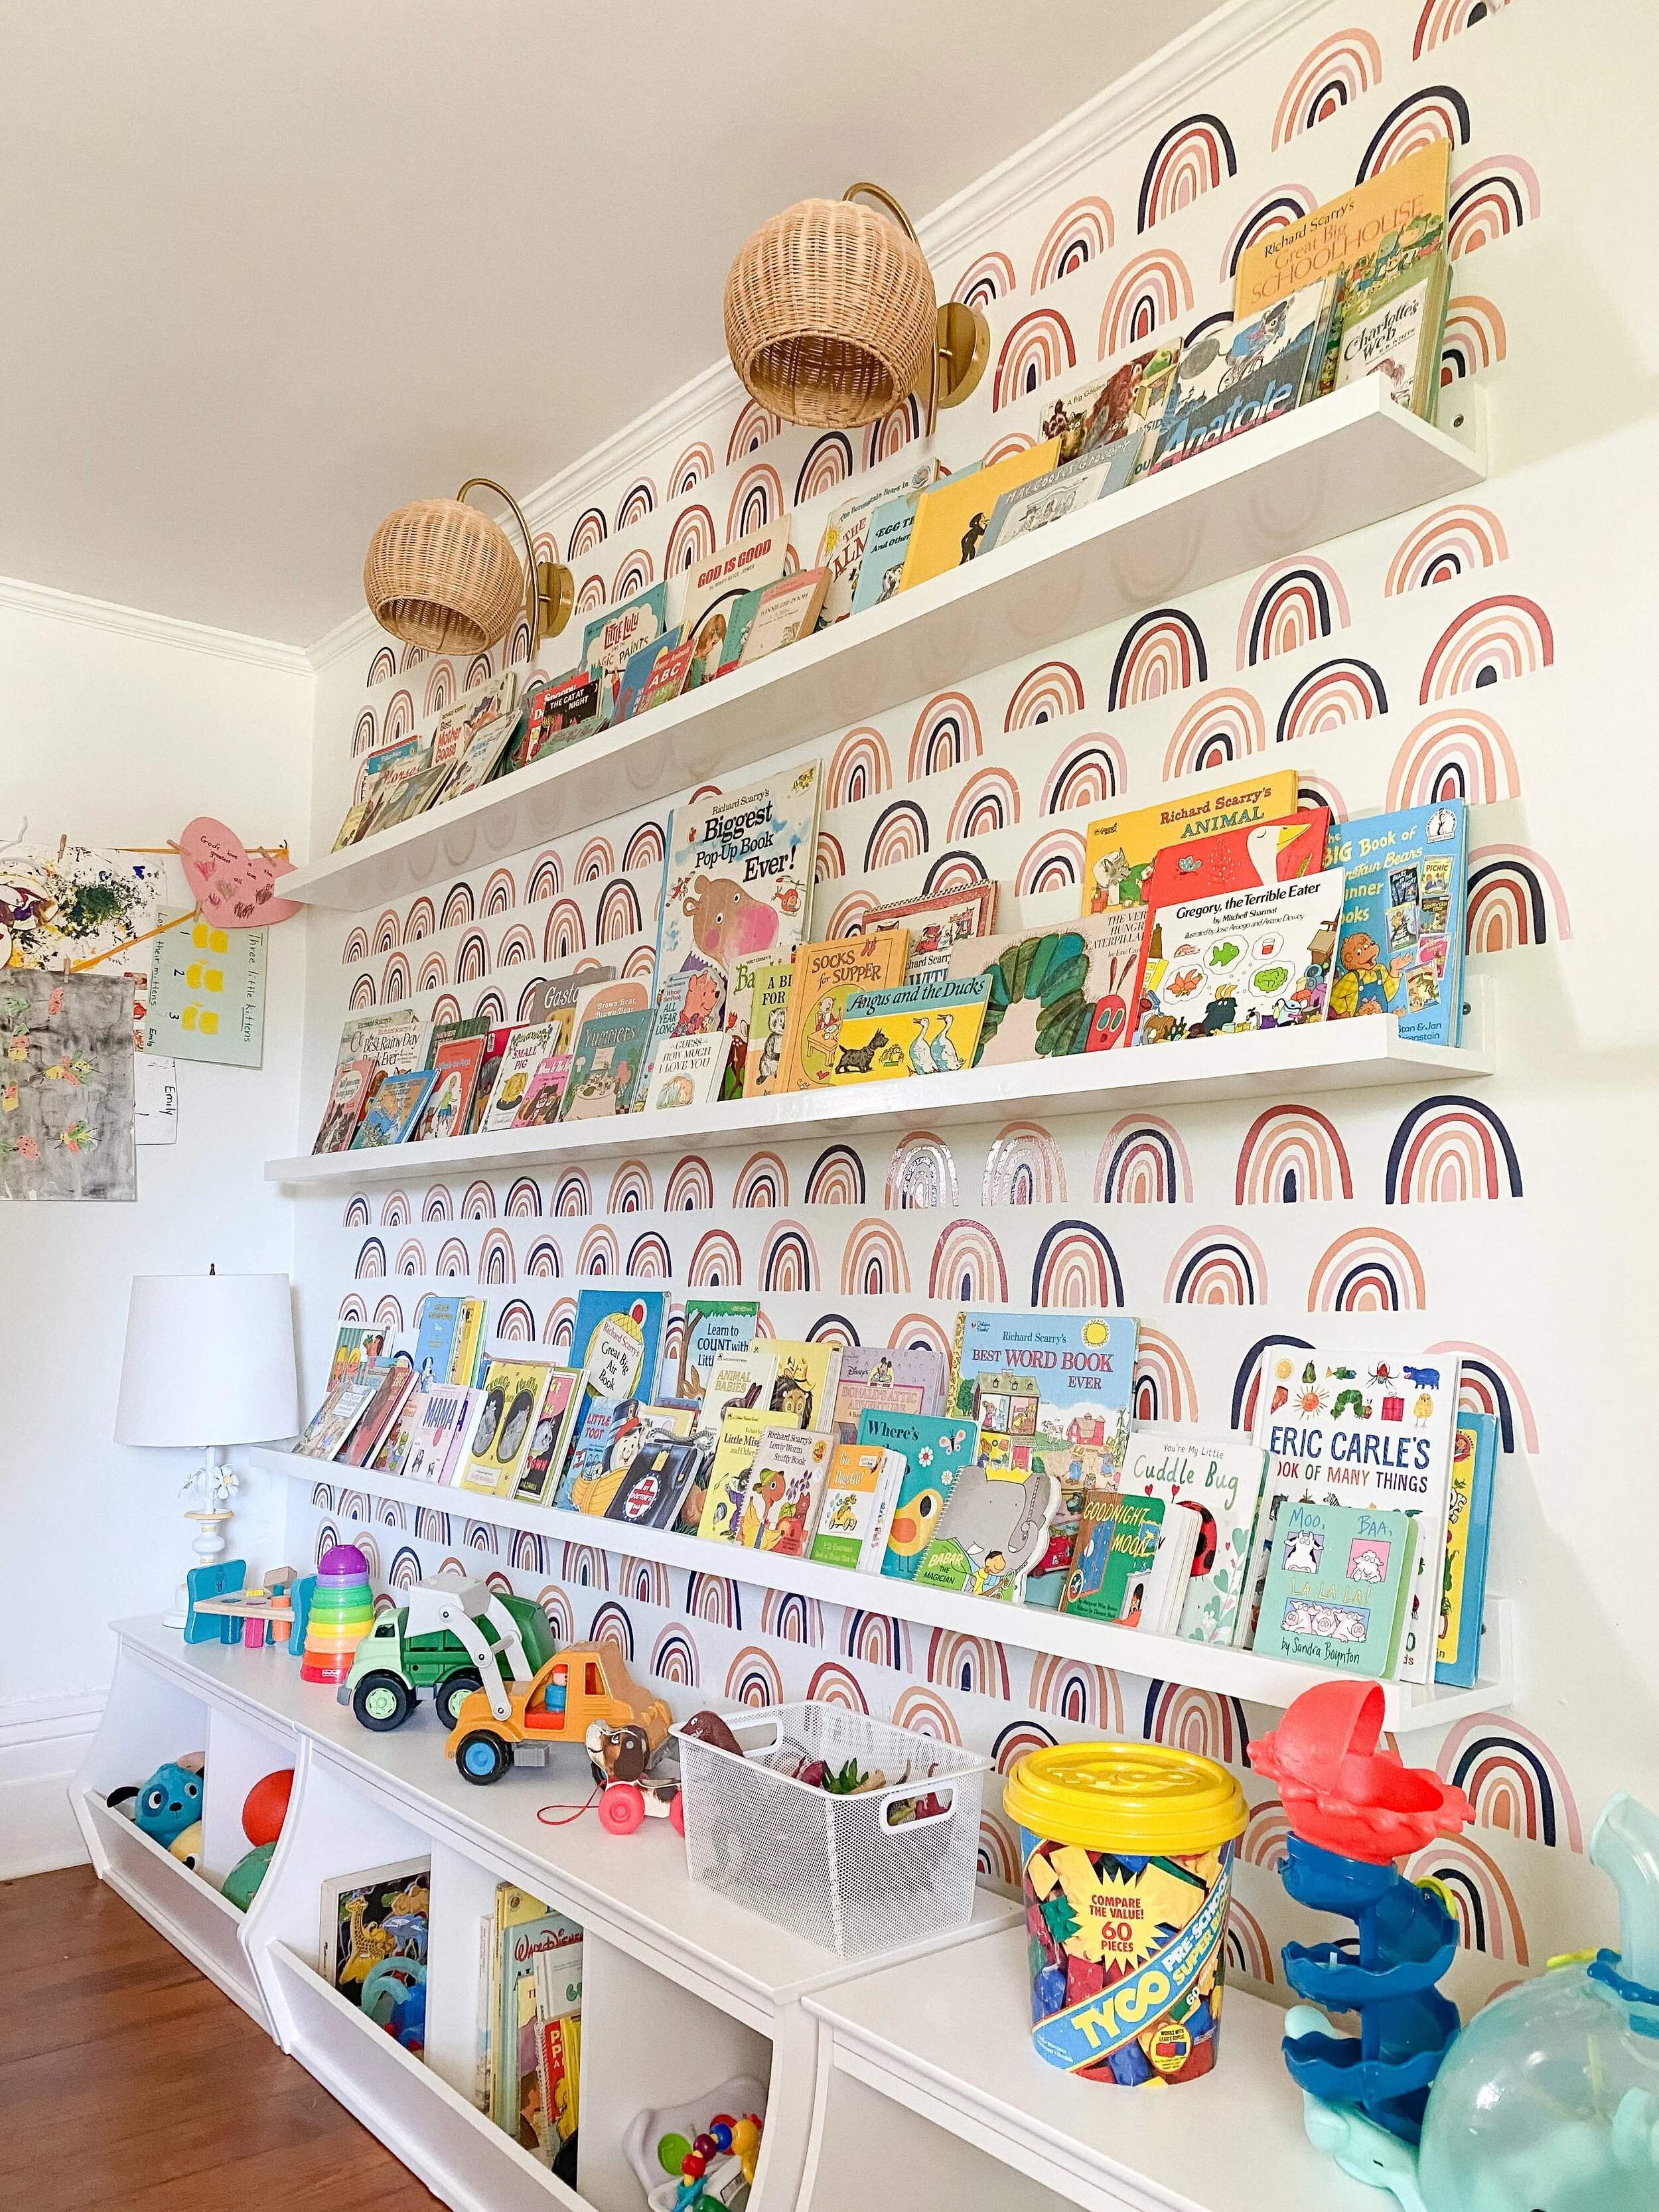
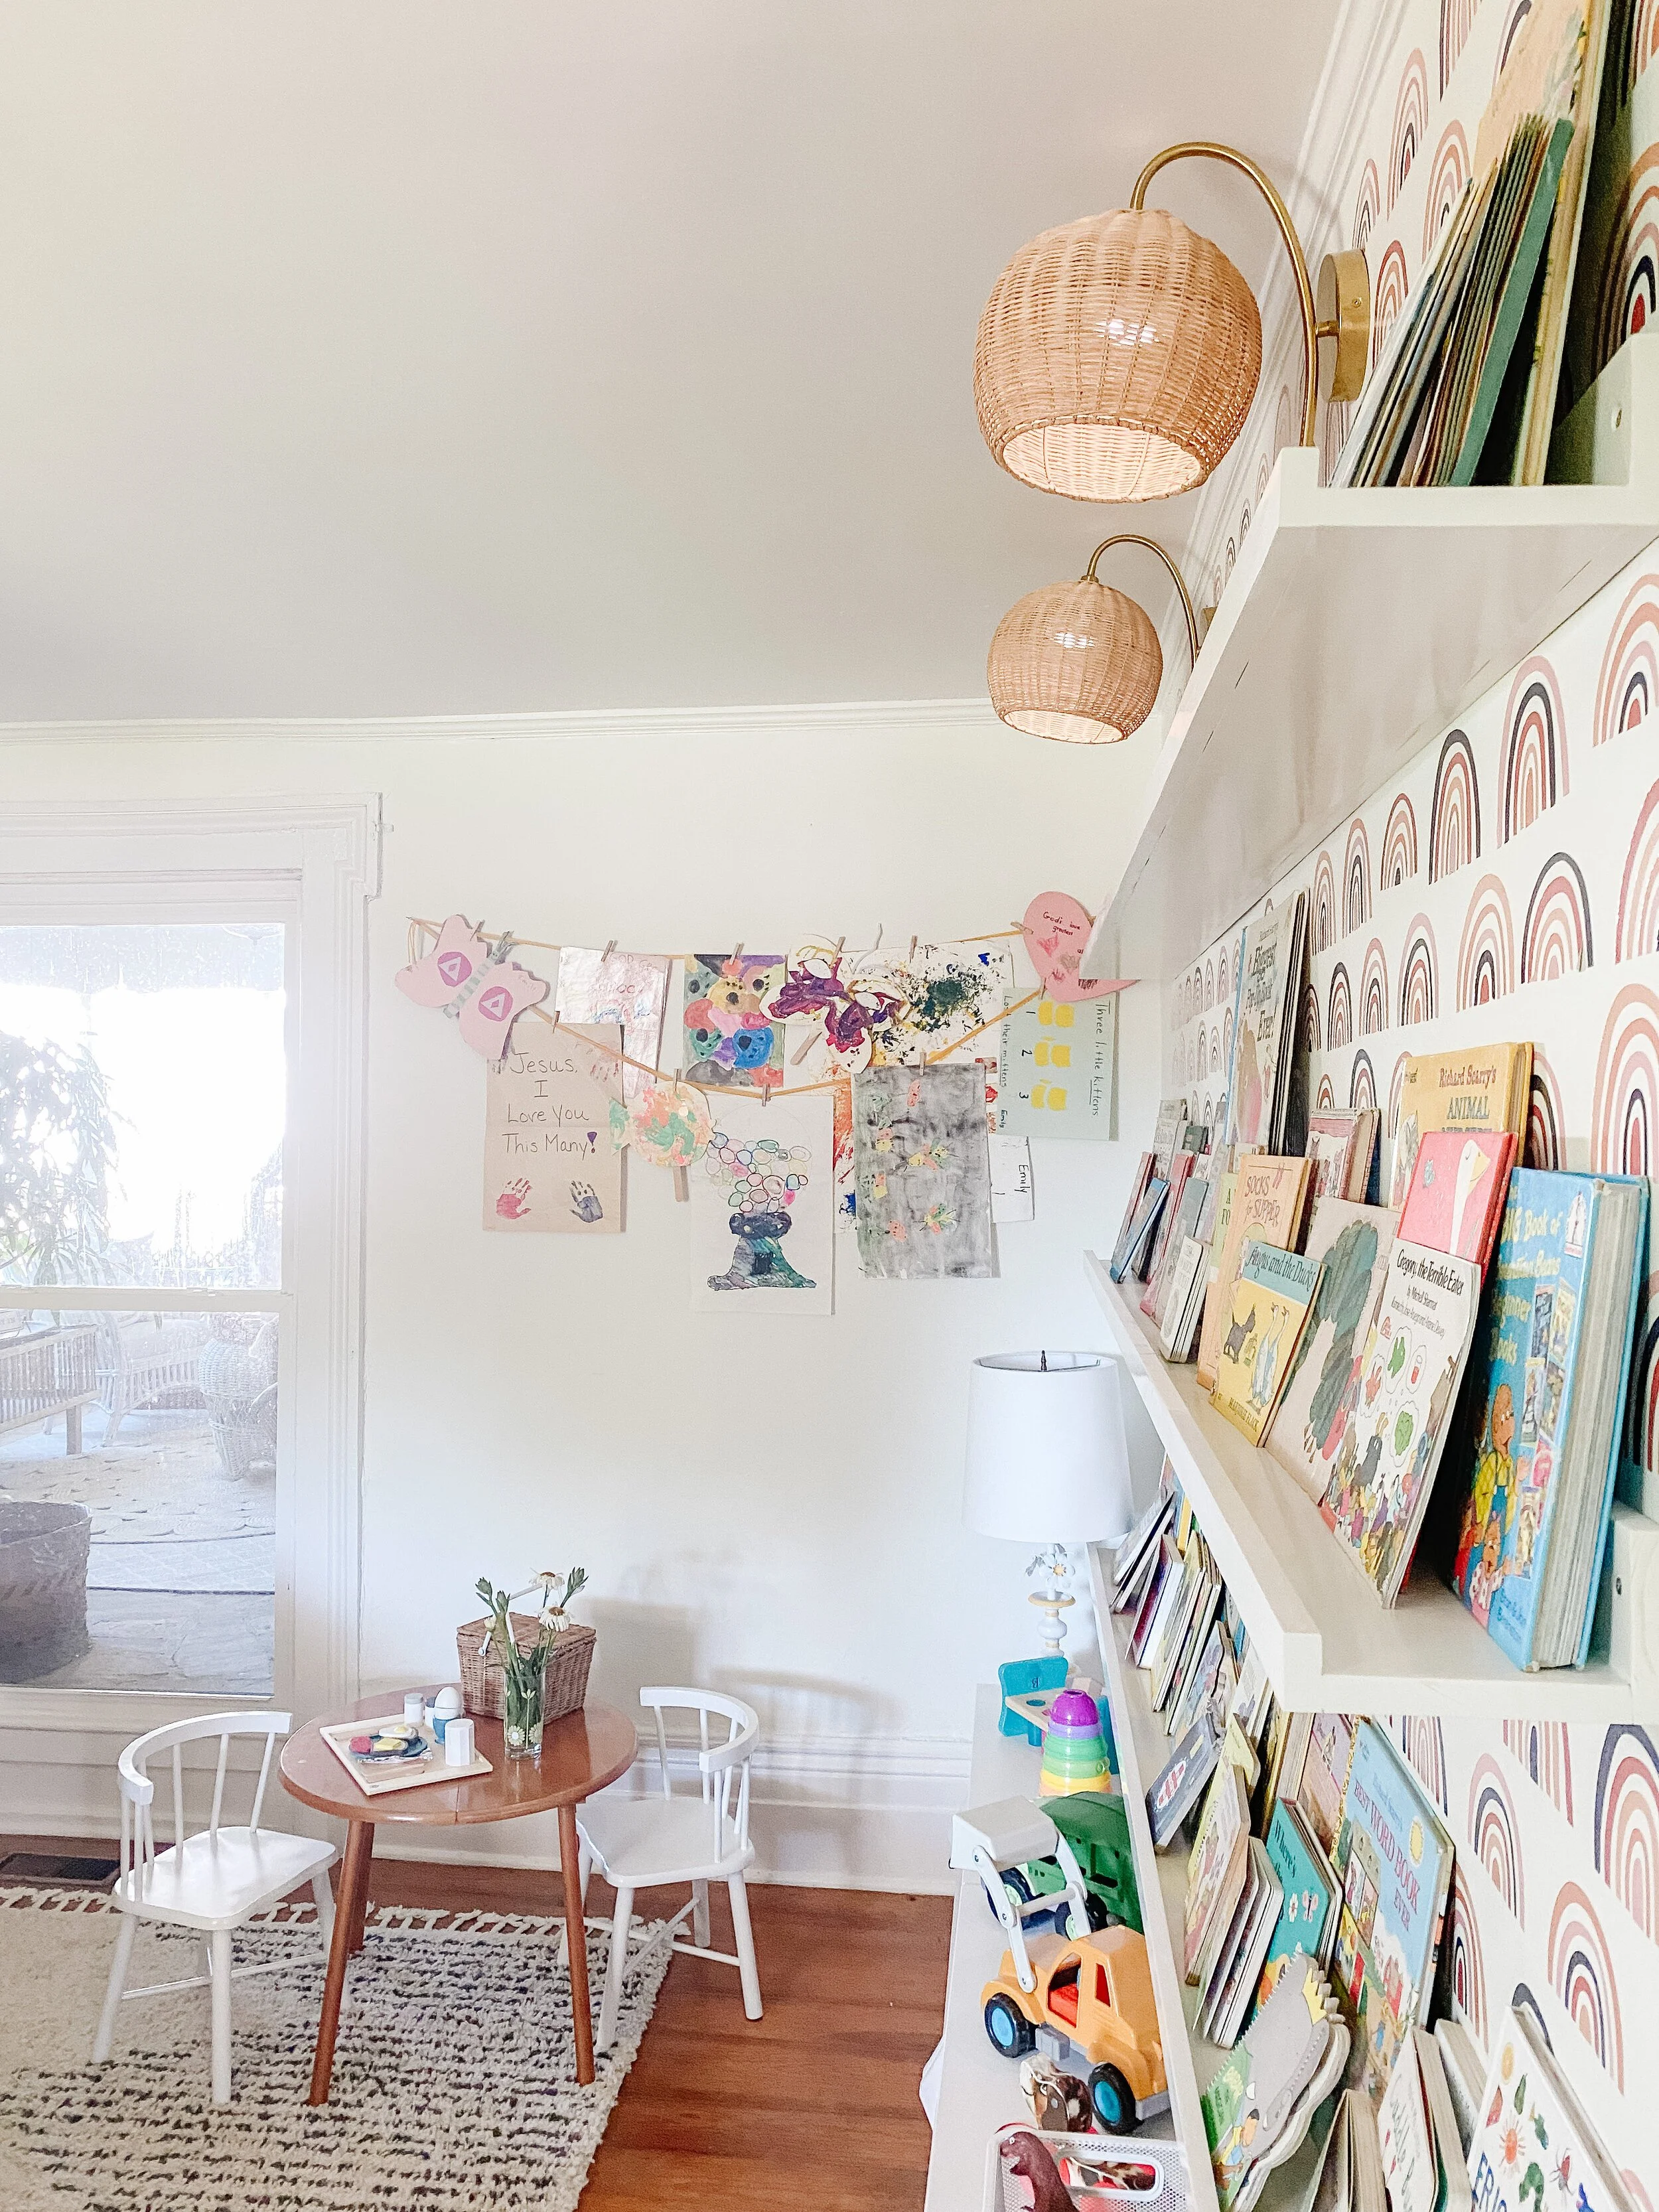
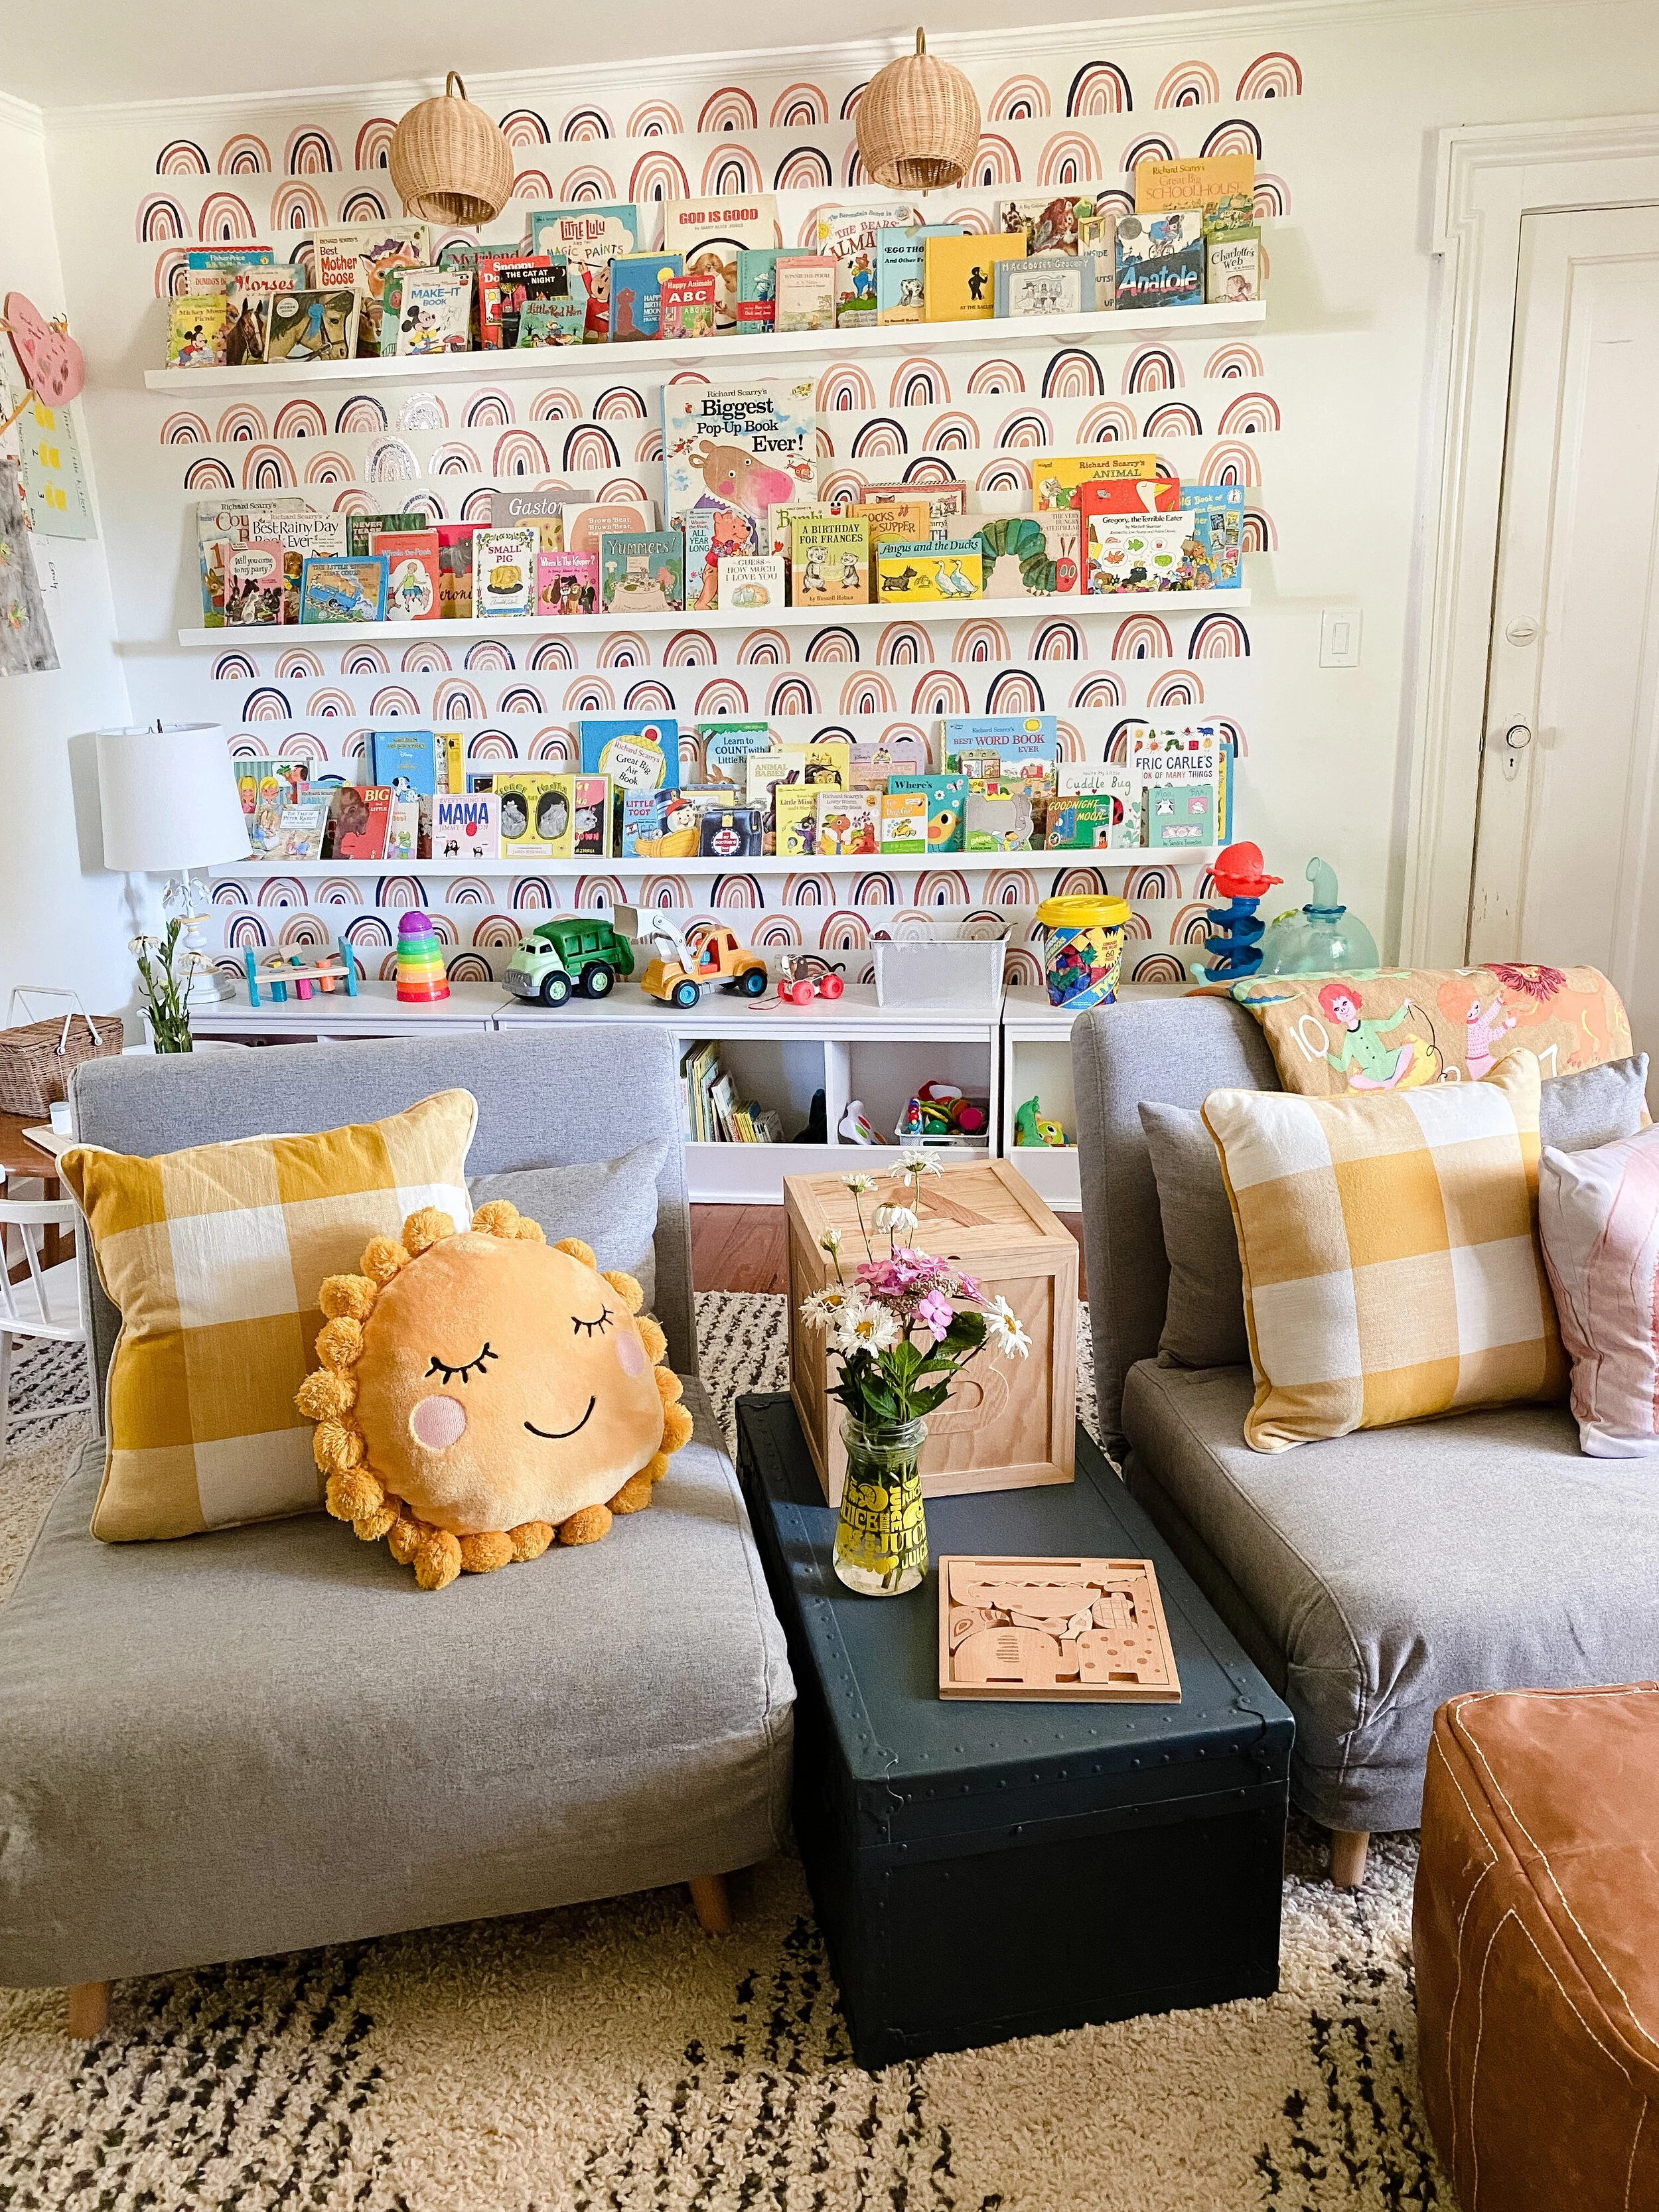
If the fireplace wall is my favorite, the book wall is a close second, veerrryy close! I have dreamed of having a giant book display for my vintage children’s book collection even before I knew I was pregnant. I have lovingly collected these for years with my future children in mind and it’s so special to have them all in one place where they can be enjoyed for years to come. You can find a full rundown of this area in the week 5 post here.
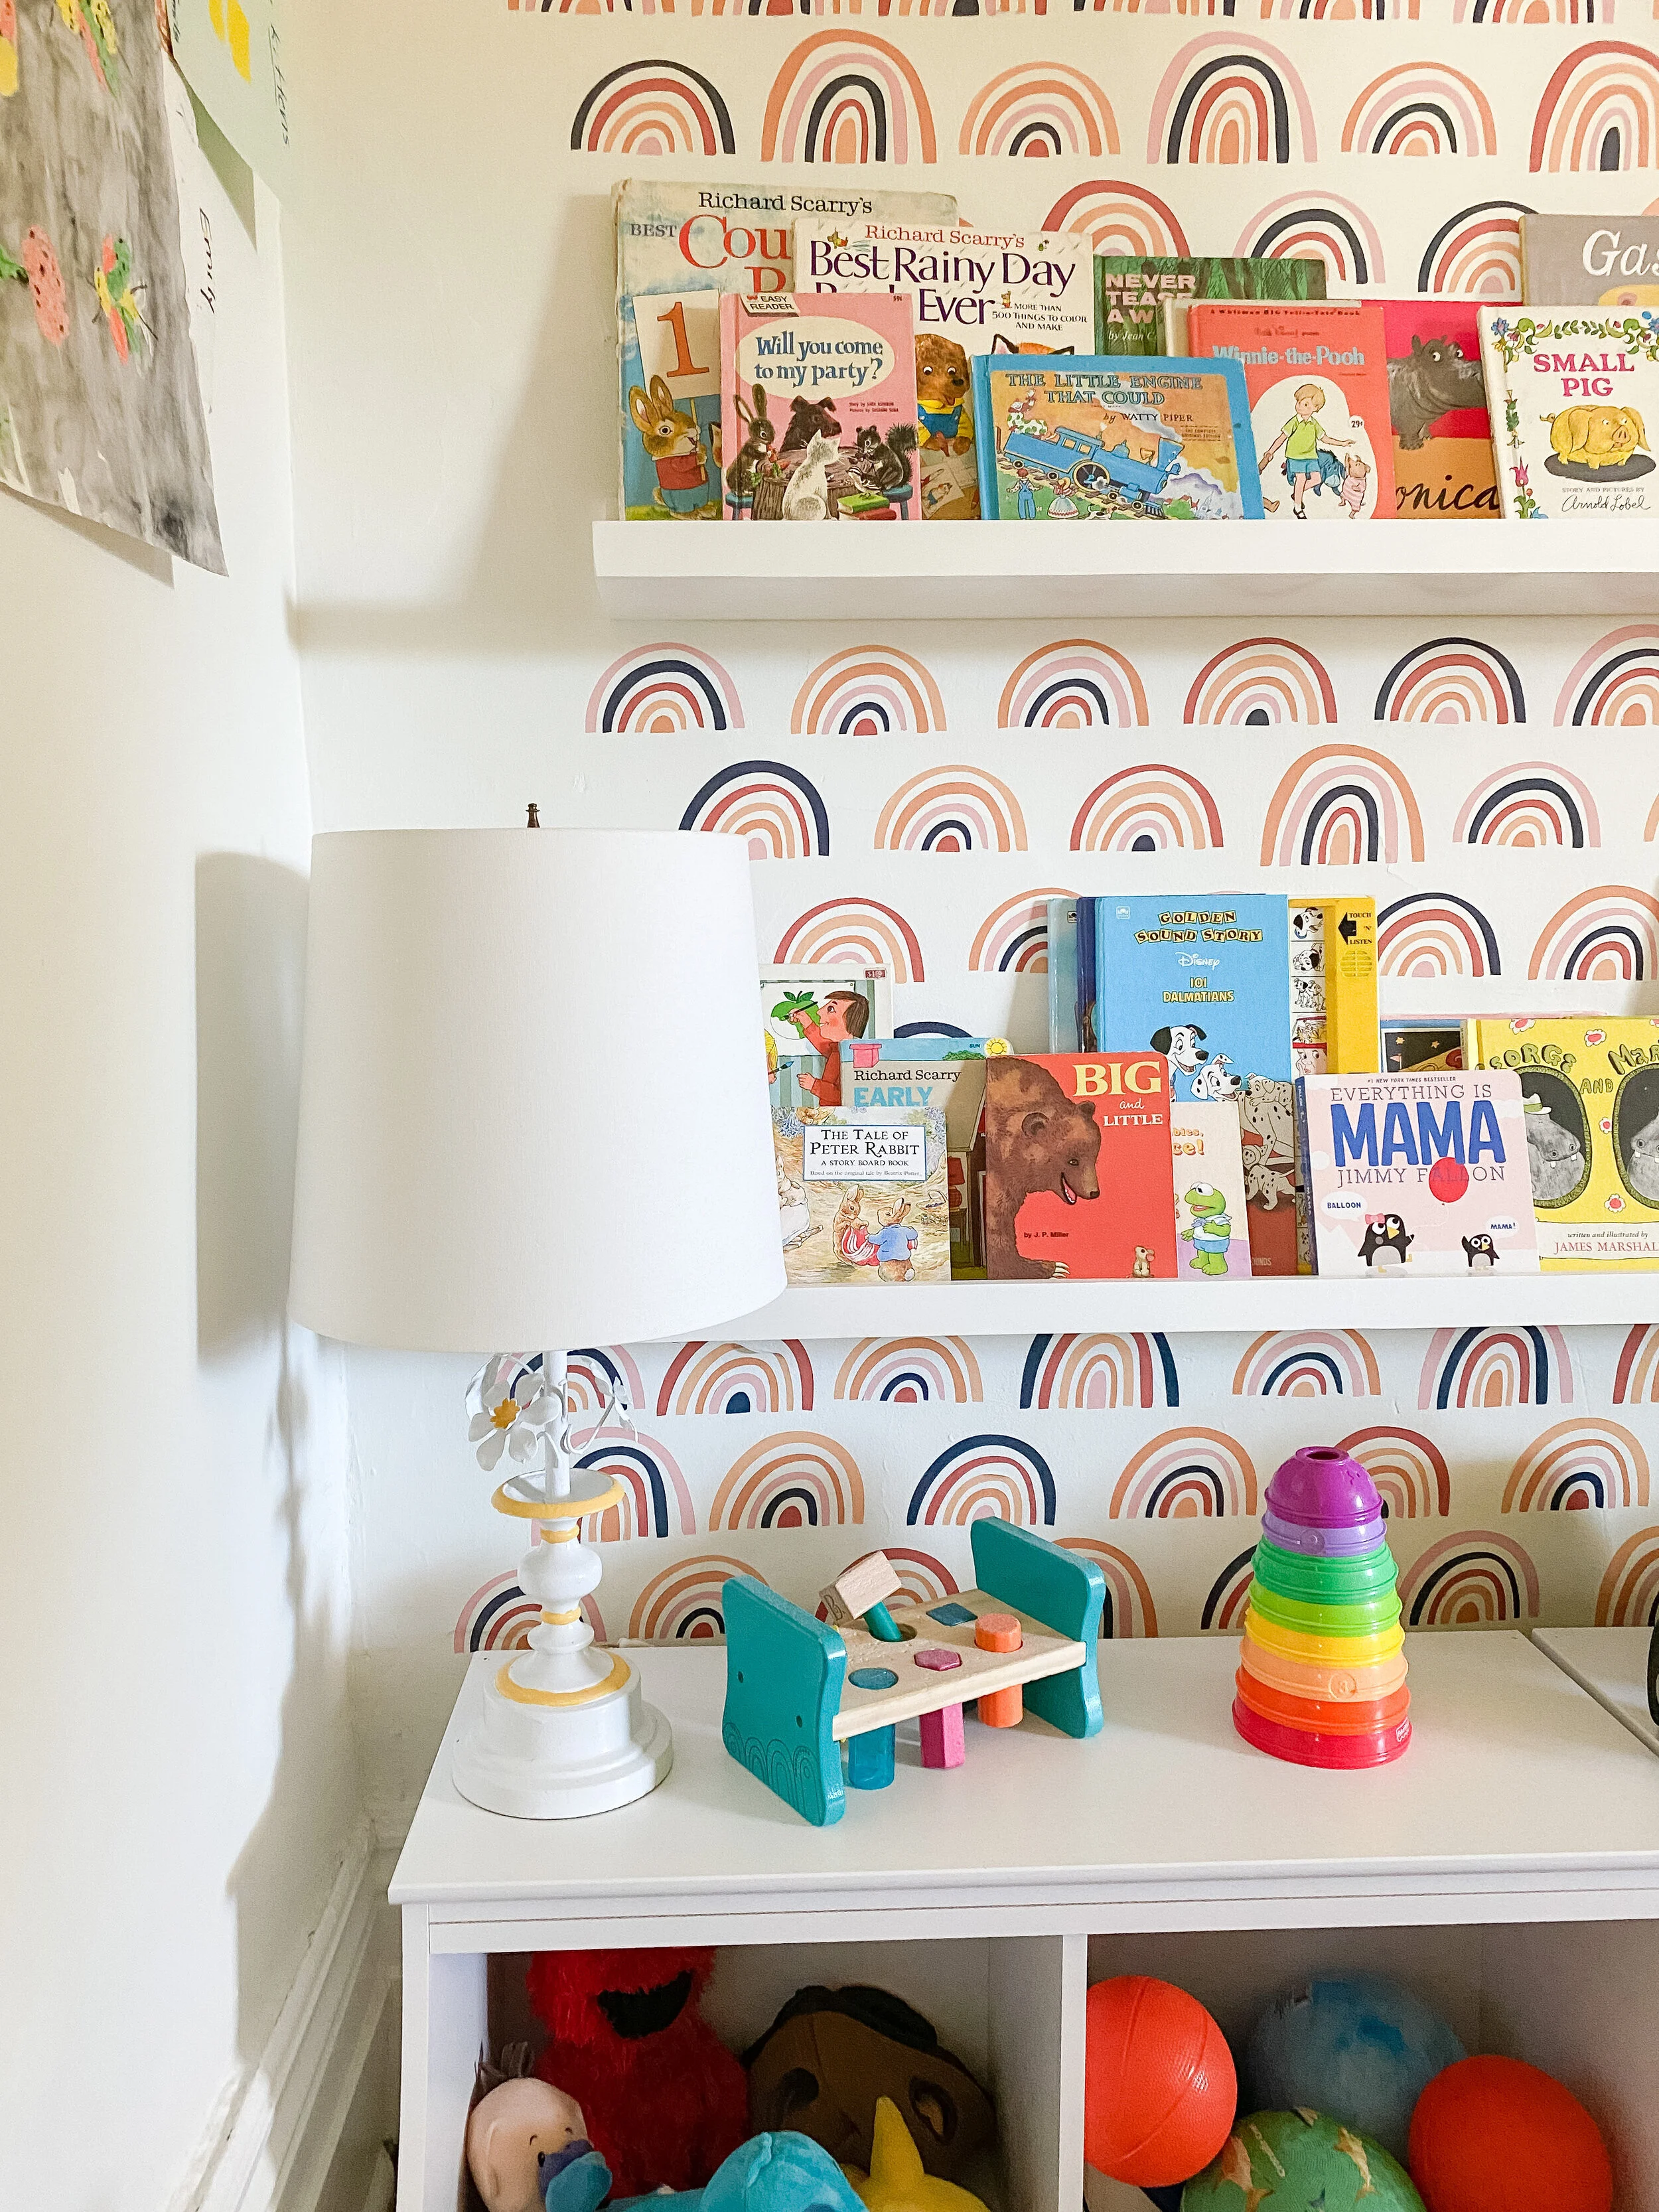
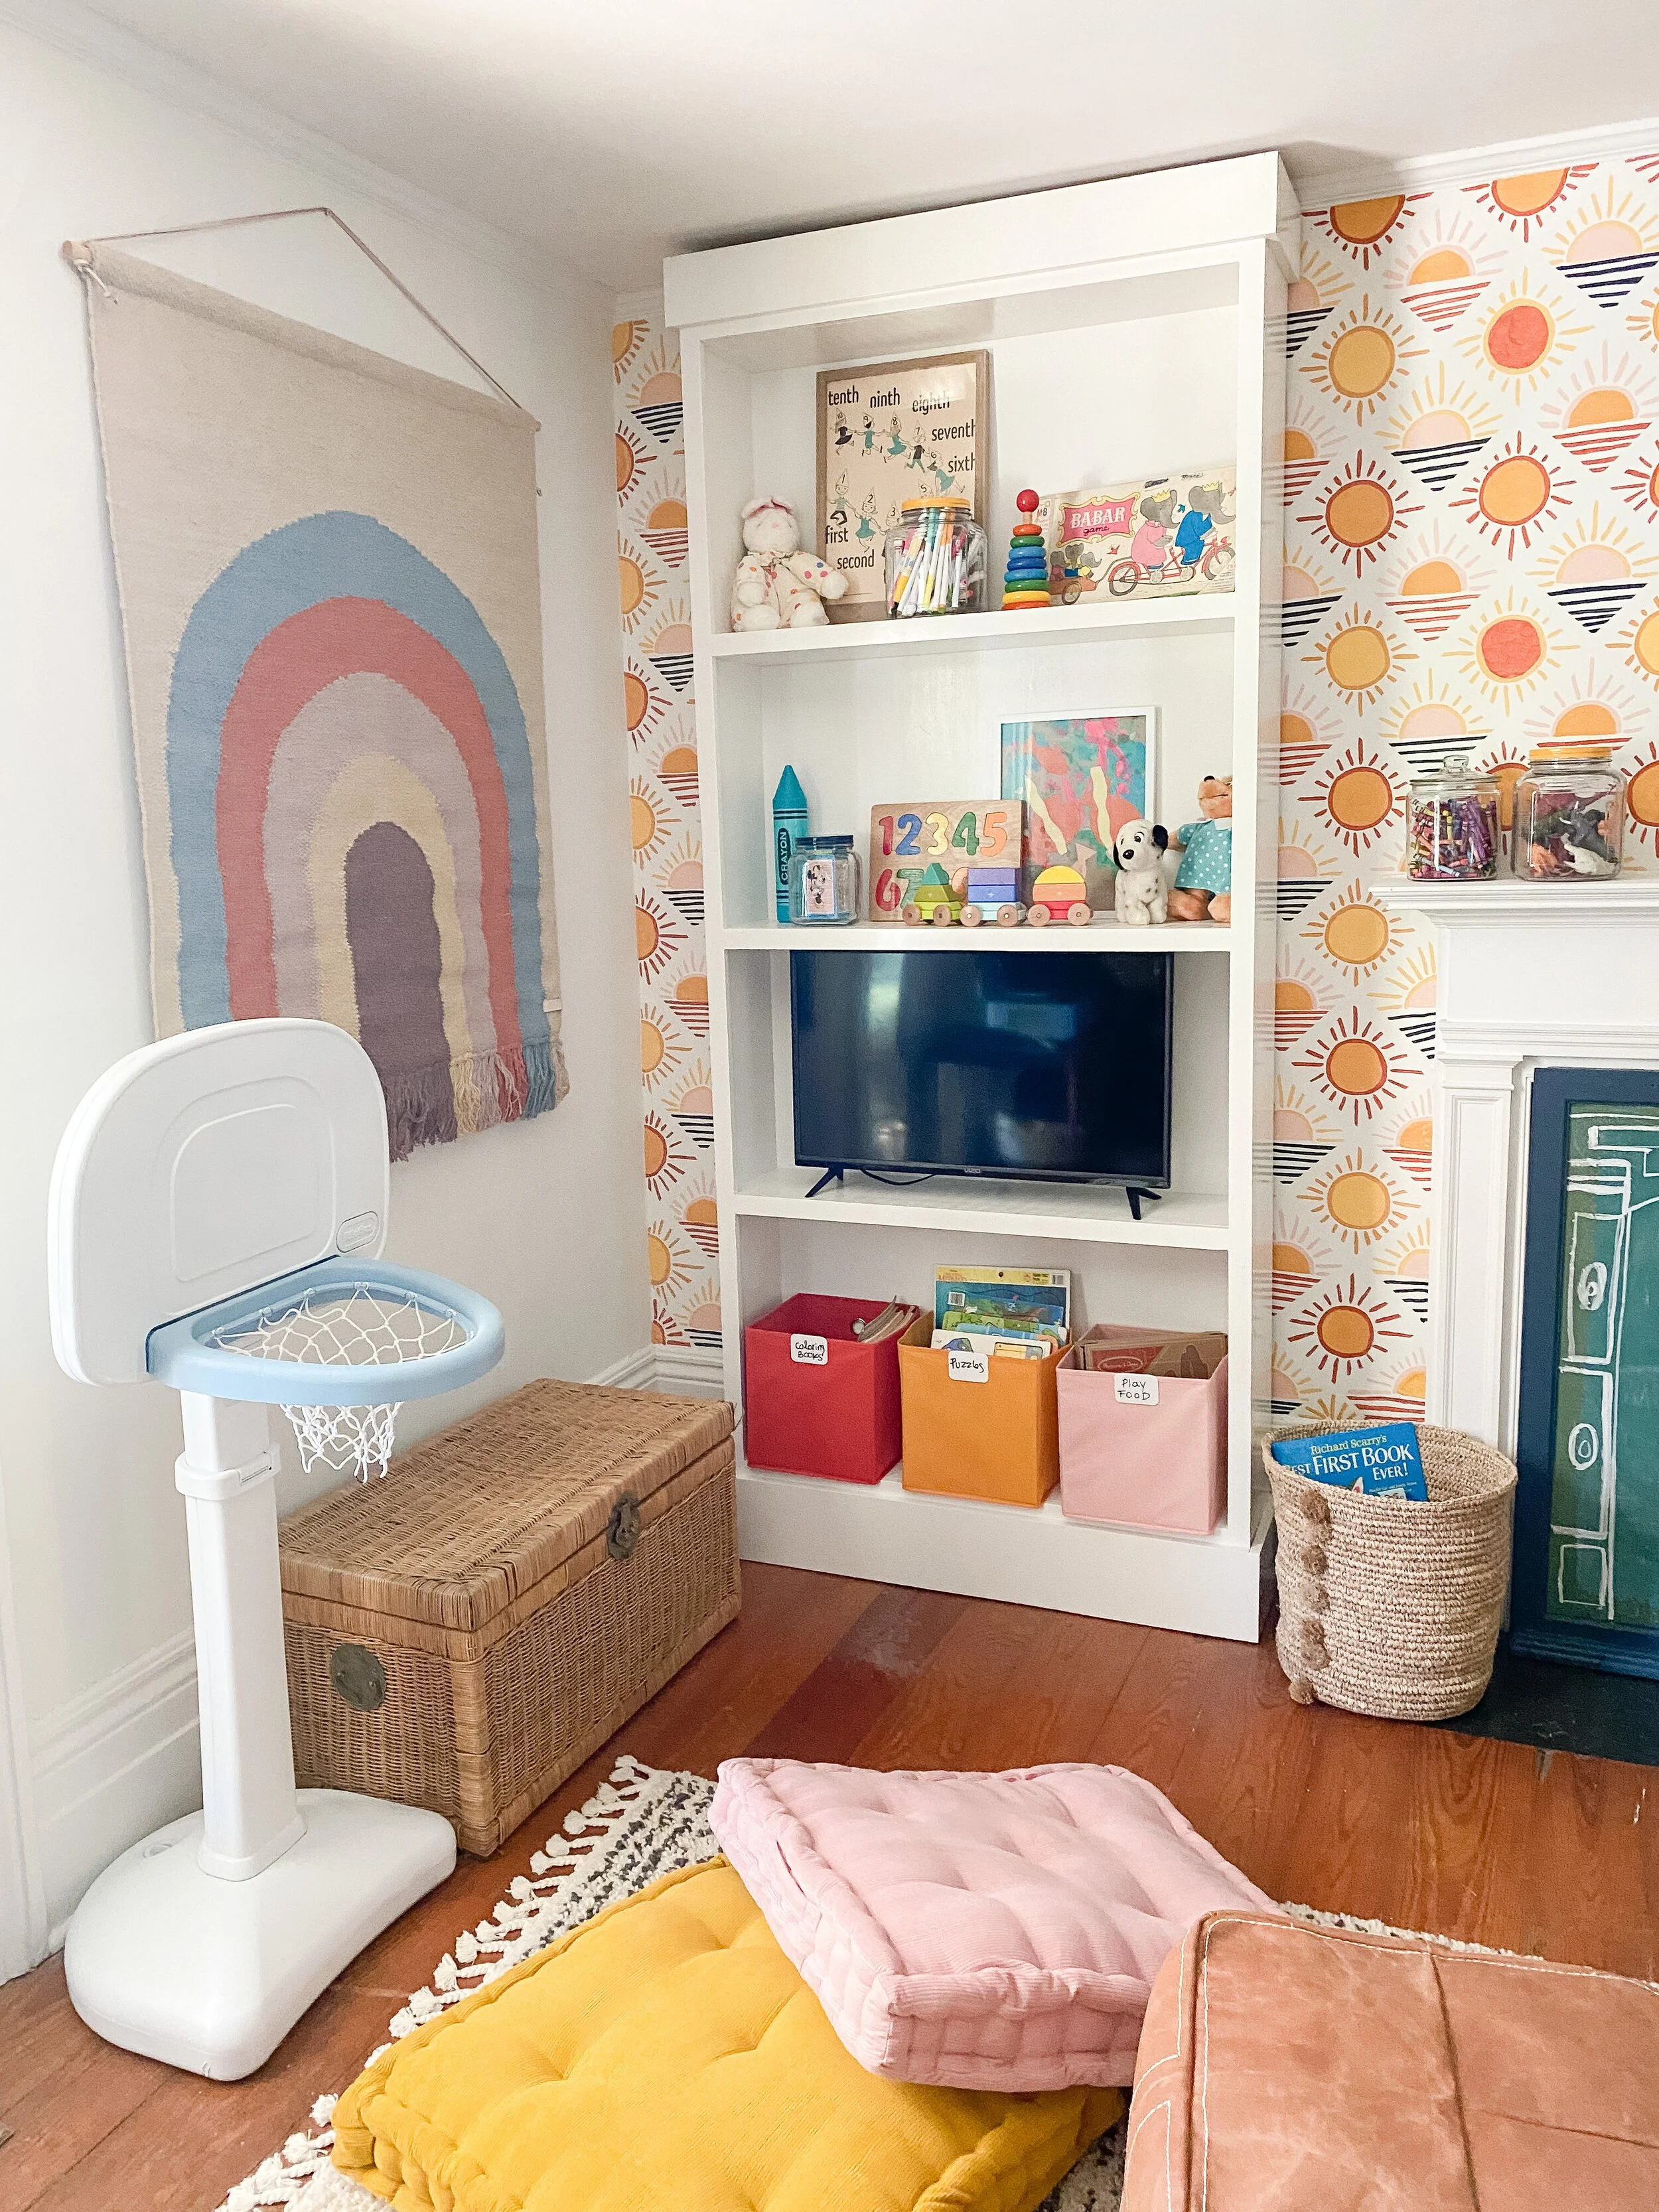
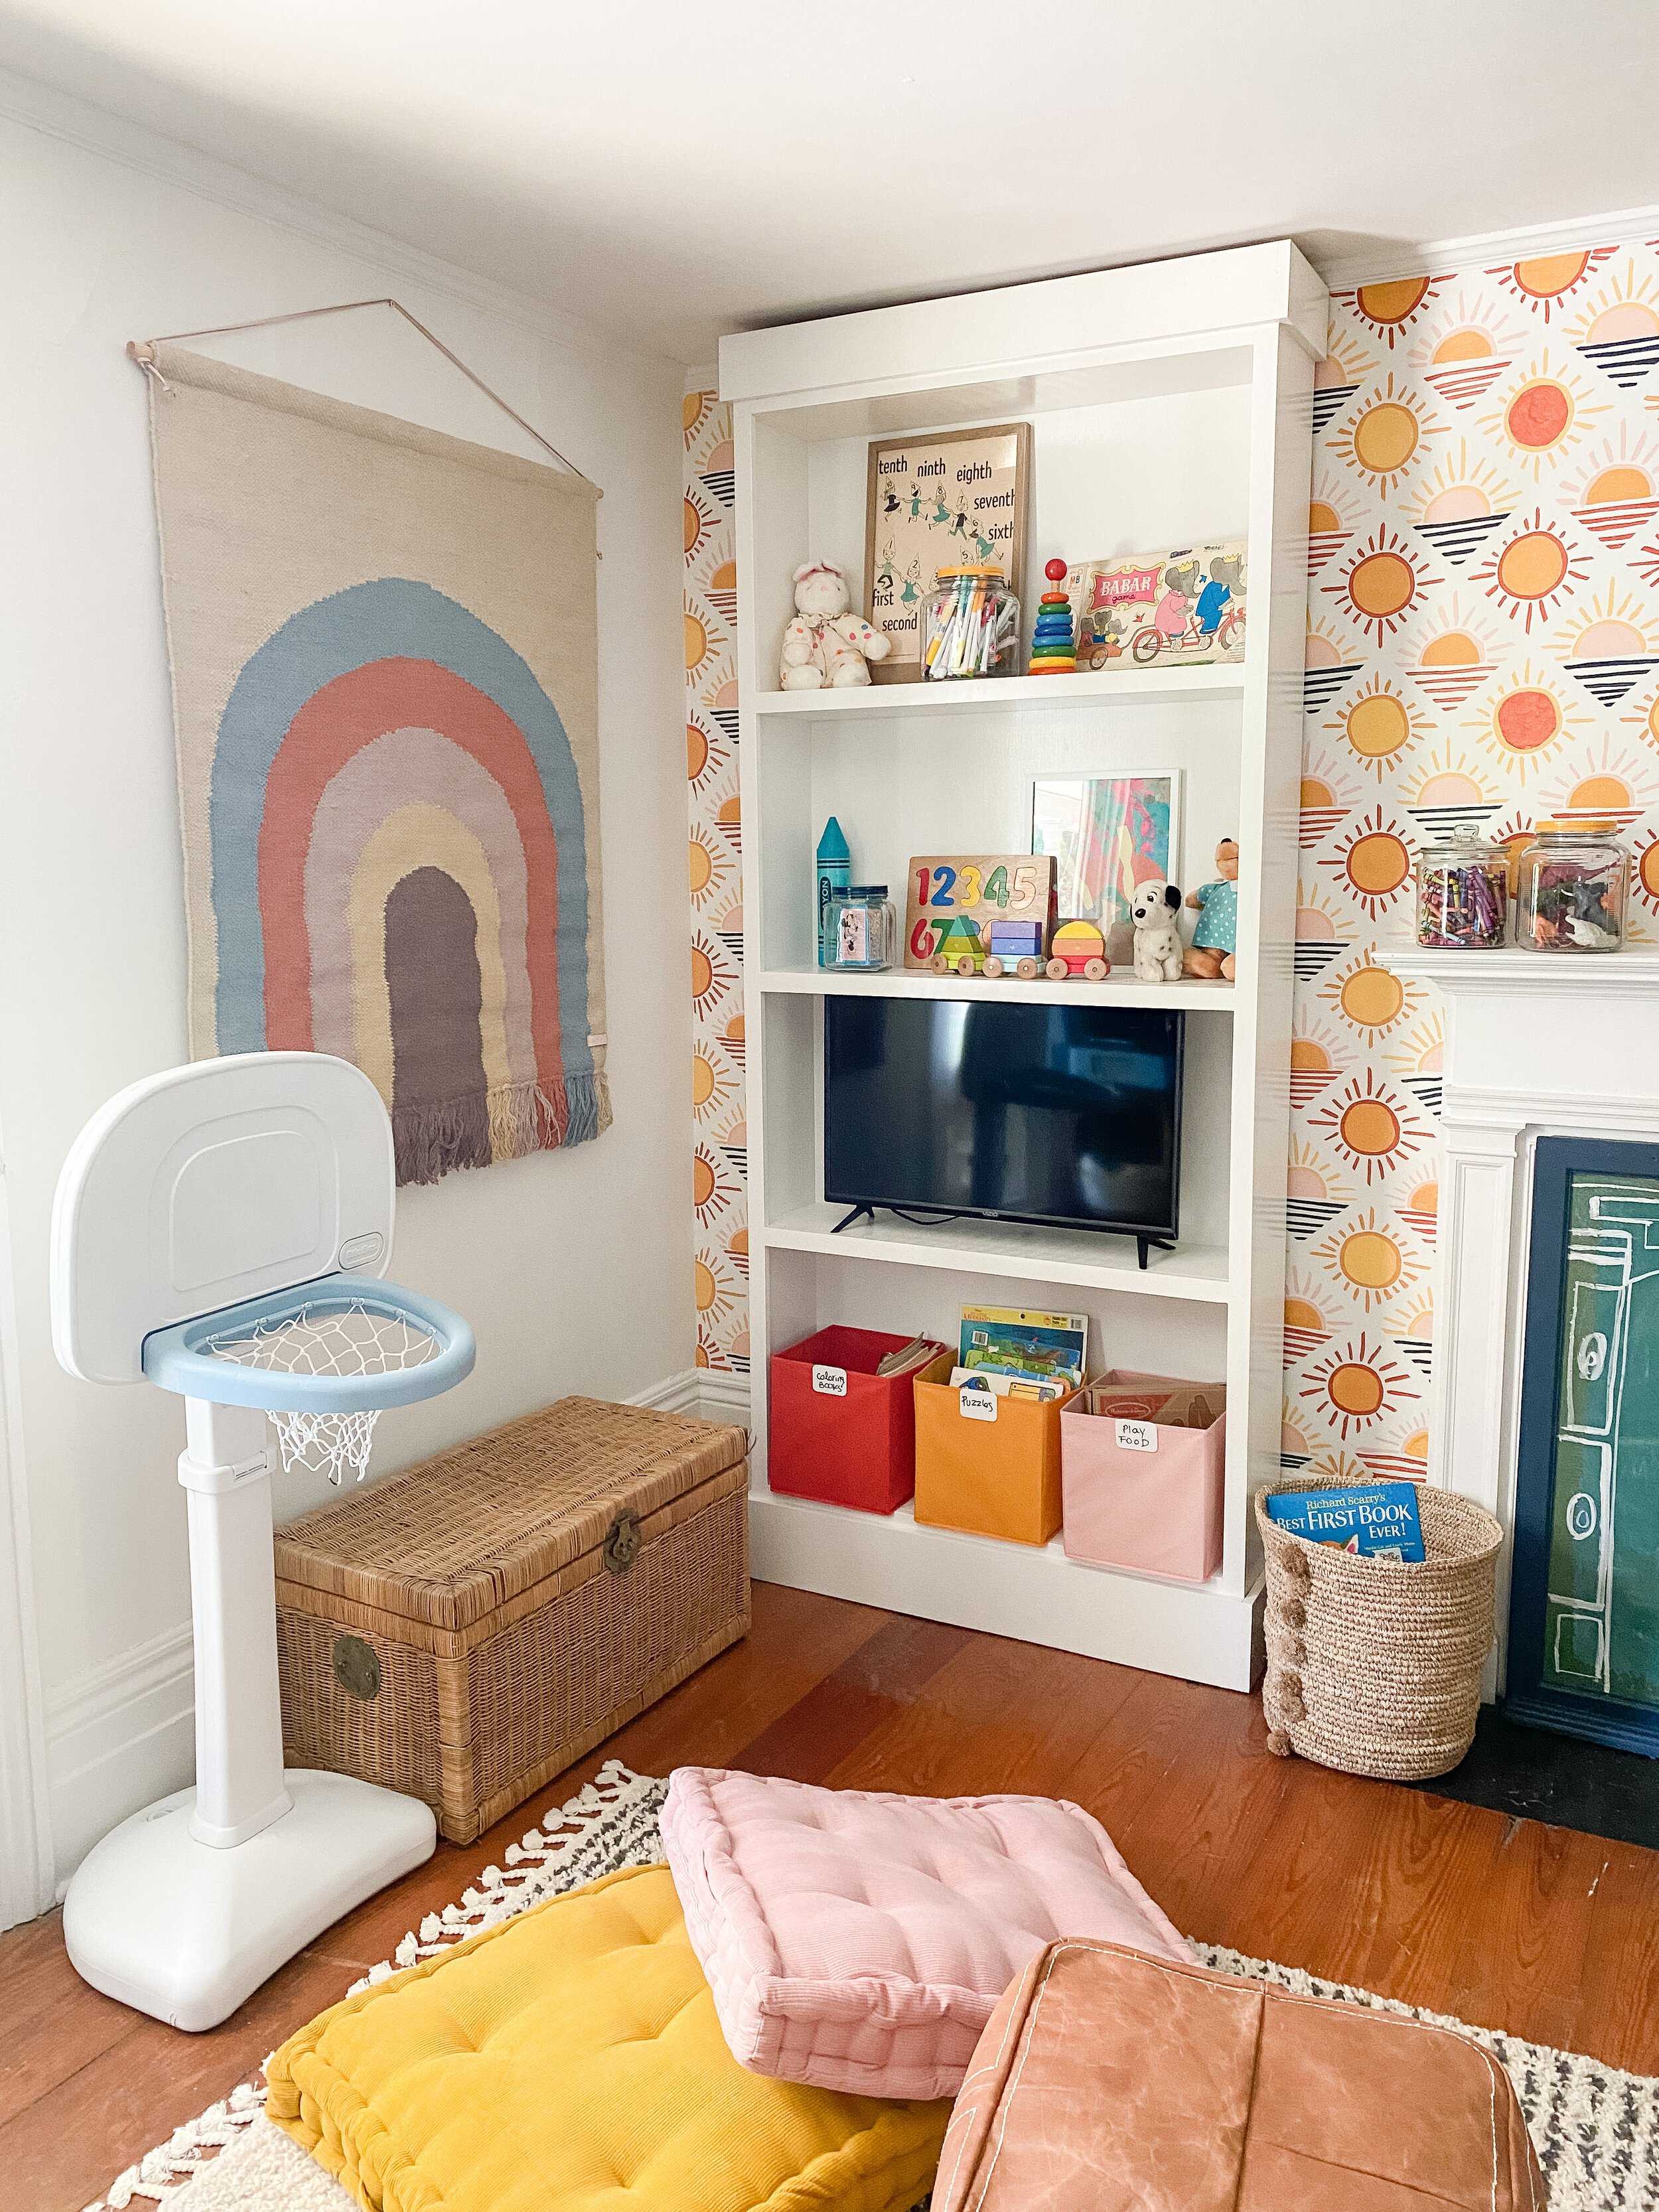
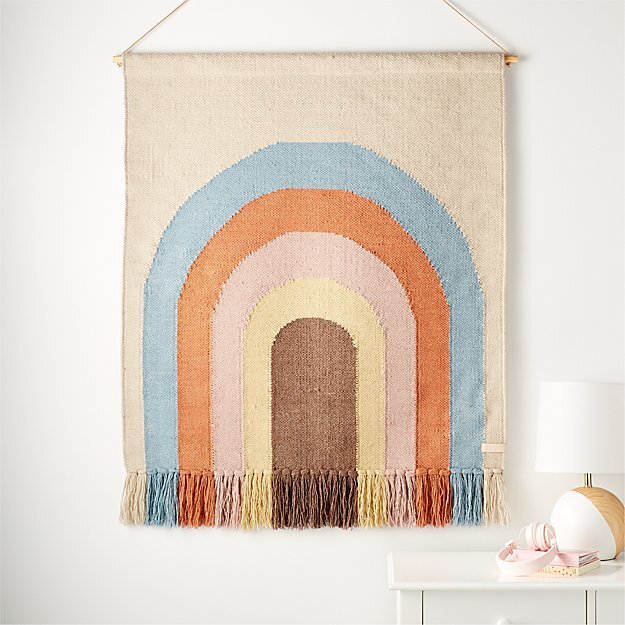
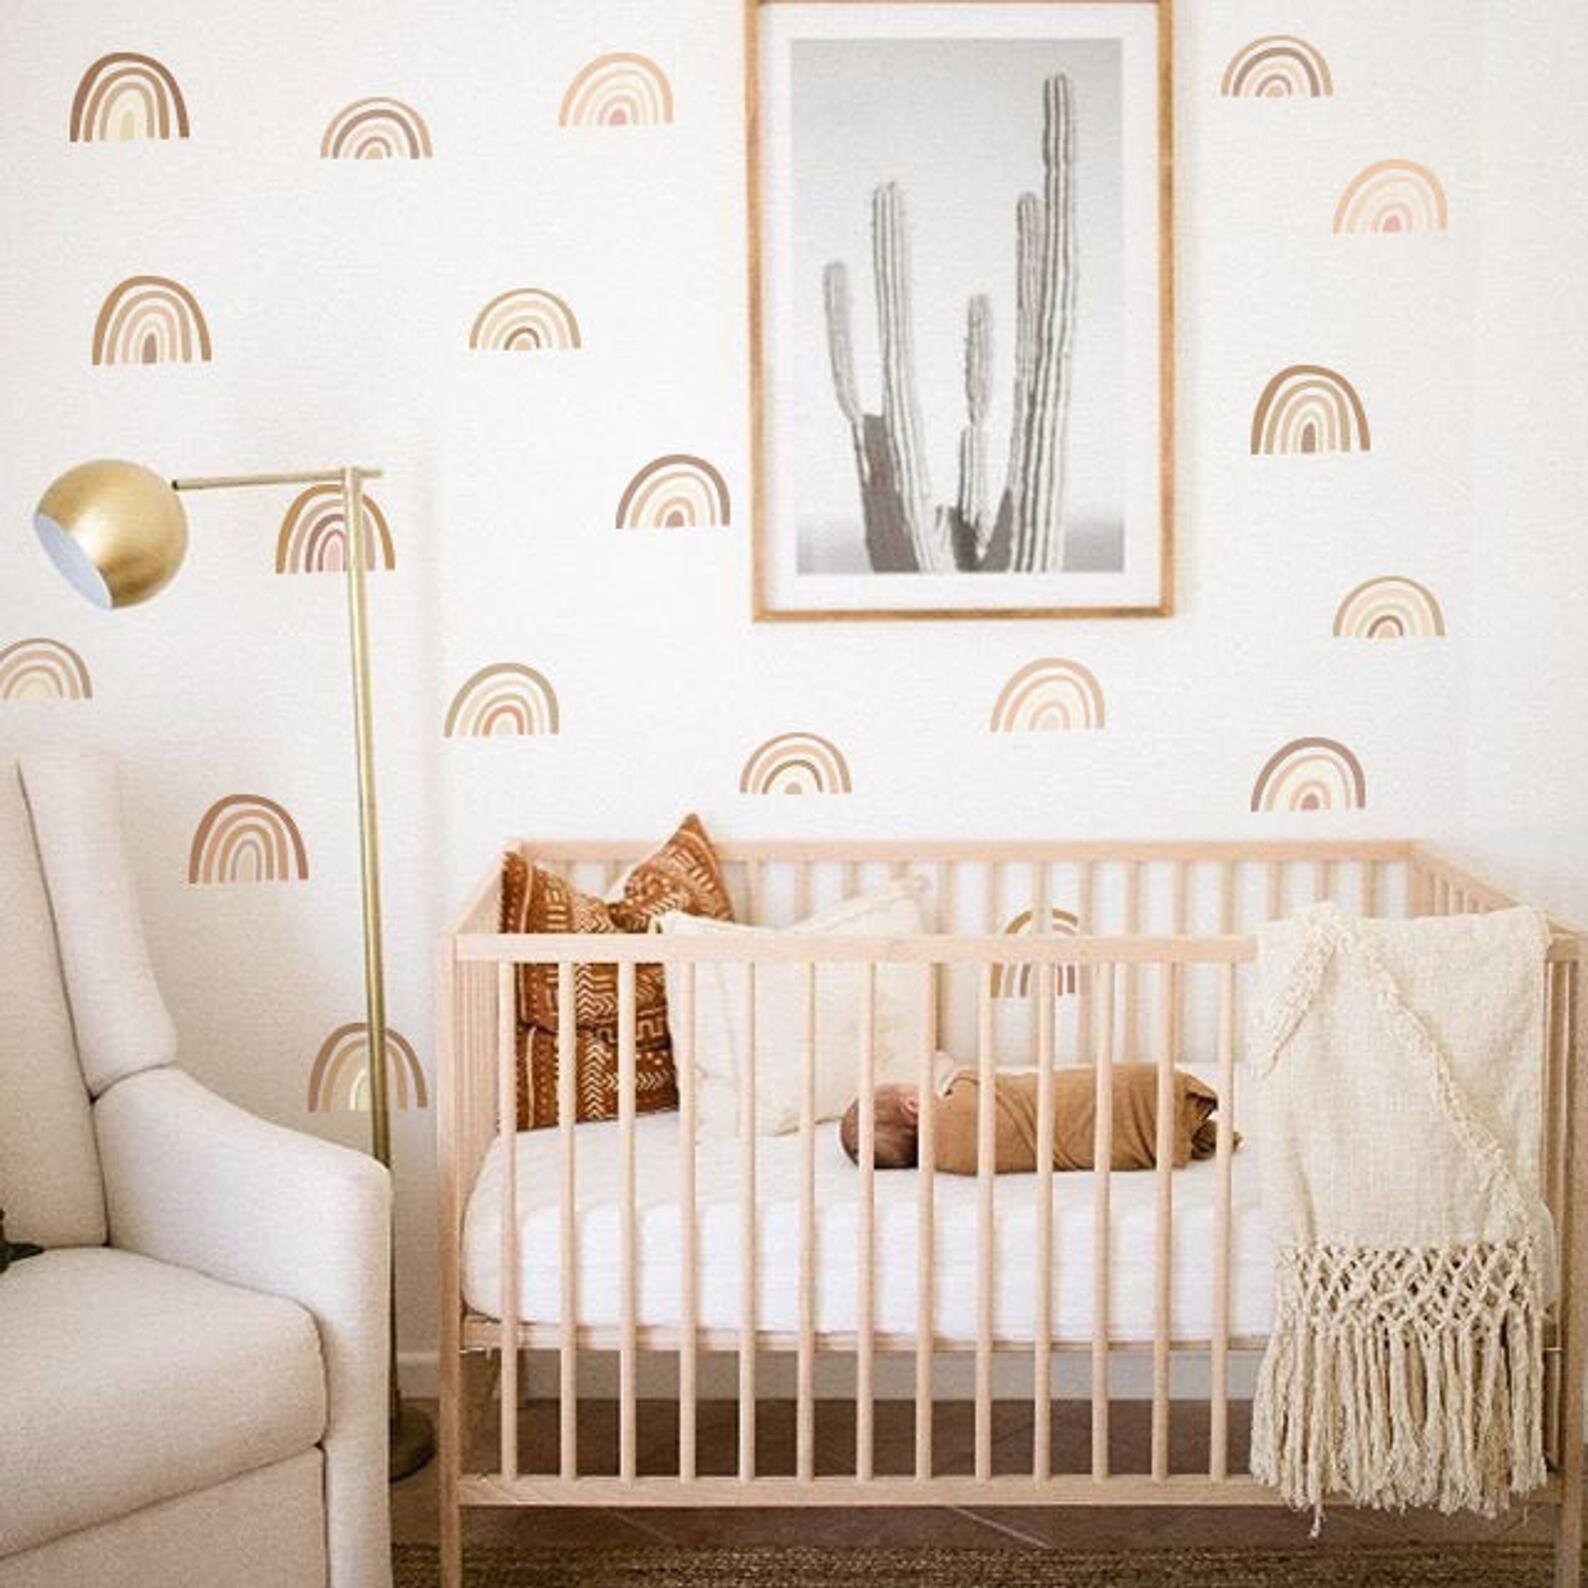
The wall continued to transfom over the weeks as I added these handpainted-look rainbow decals to fill the wall and again look like wallpaper (the theme of this room should be faux wallpaper hacks!). I absolutely love these and was thrilled to find them on Etsy. The maker can customize them in any colors you choose so I did the exact same paint colors used on the sun faux wallpaper on the opposite wall. They were super easy to apply and after I did these I realized something like this also would have worked well for the sun wall too.
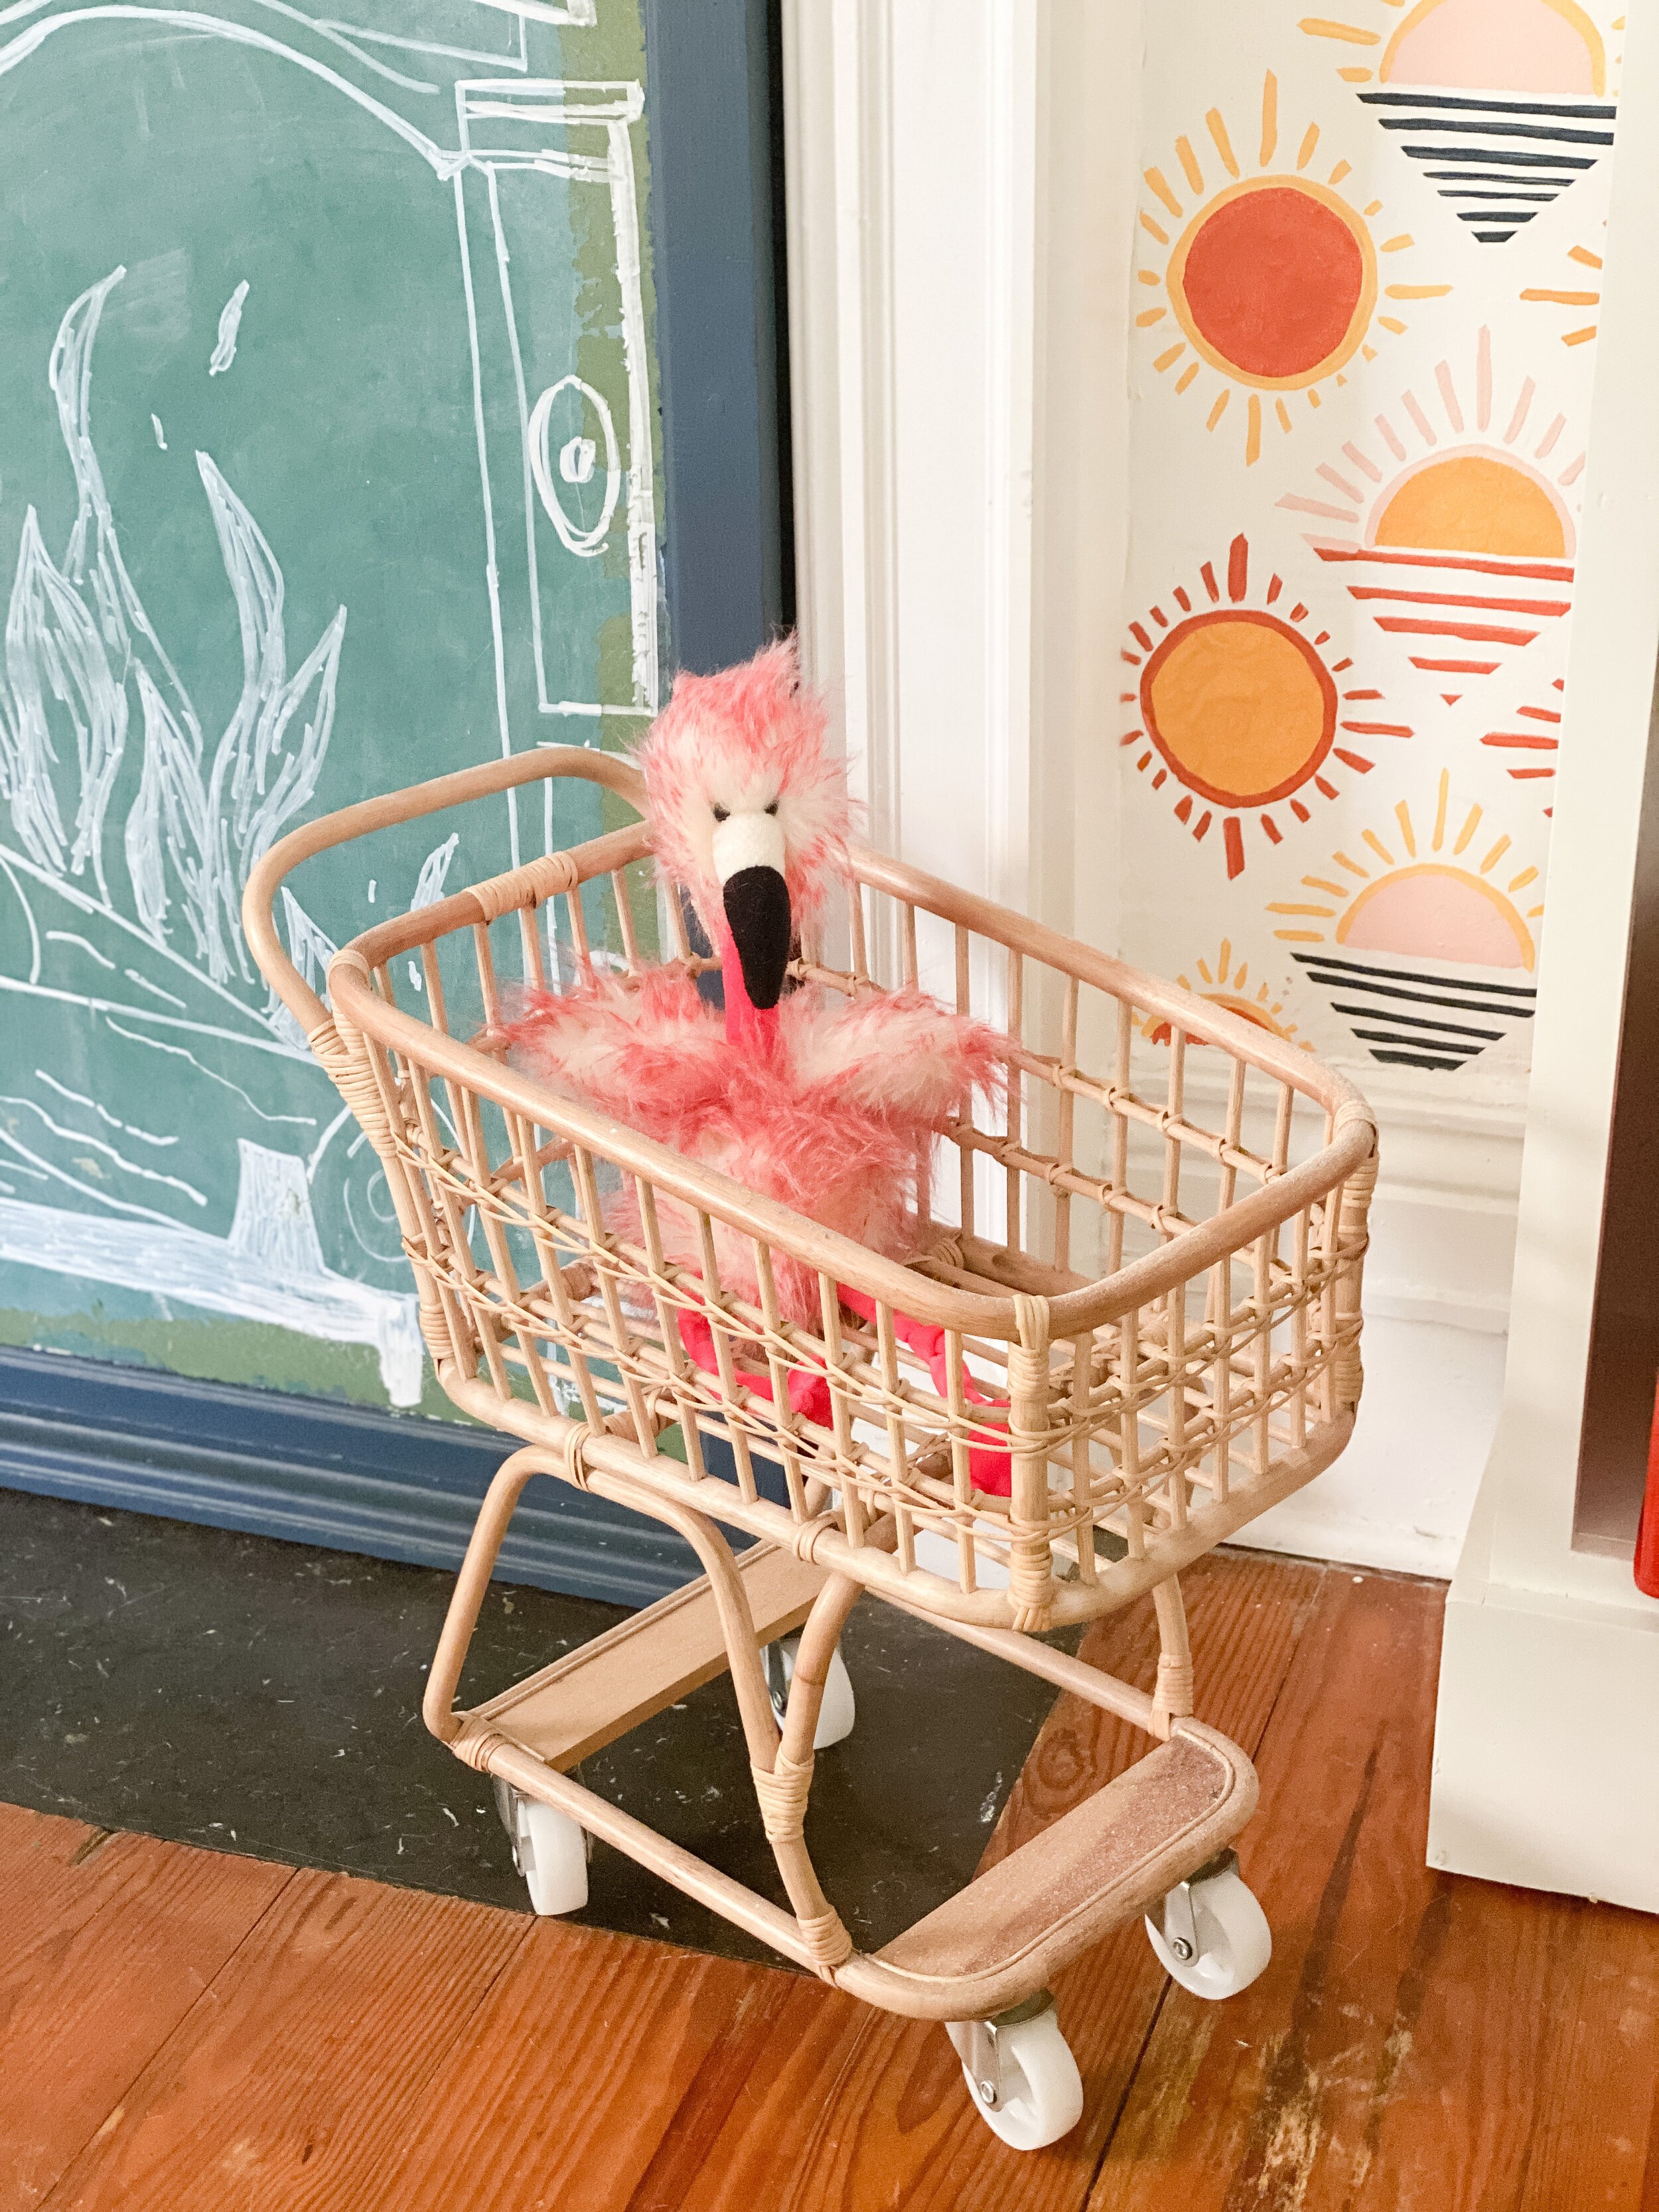
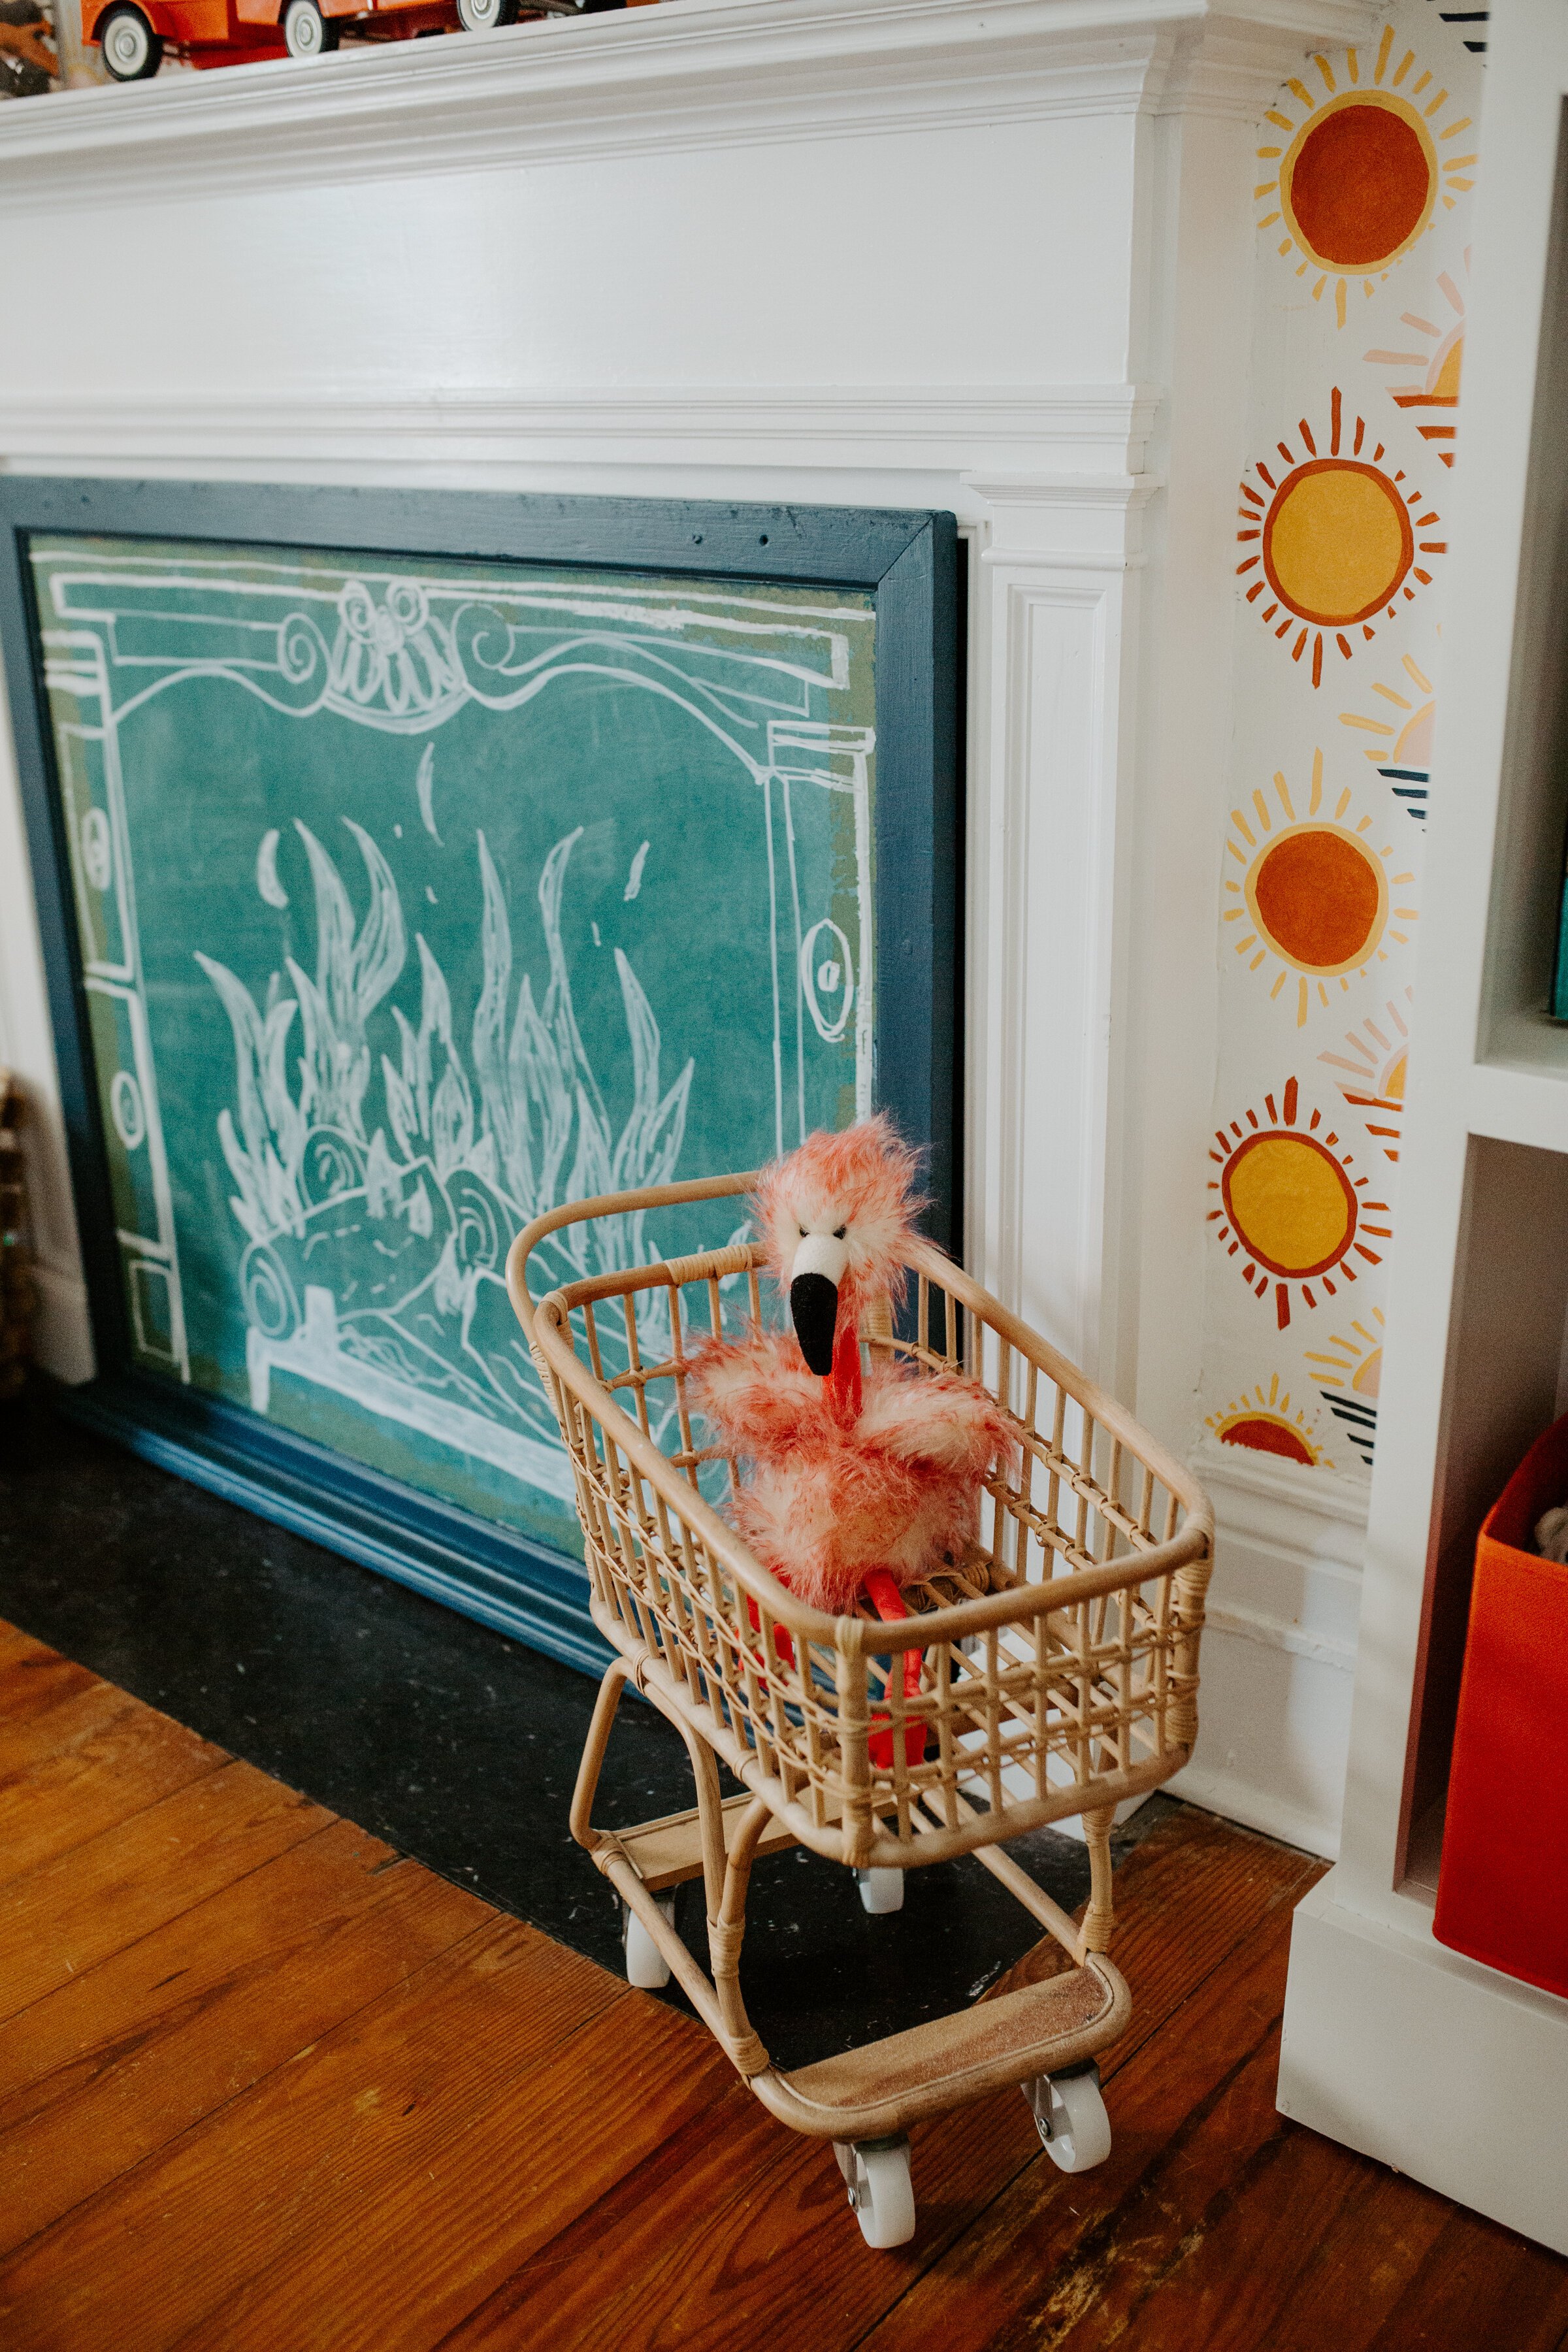
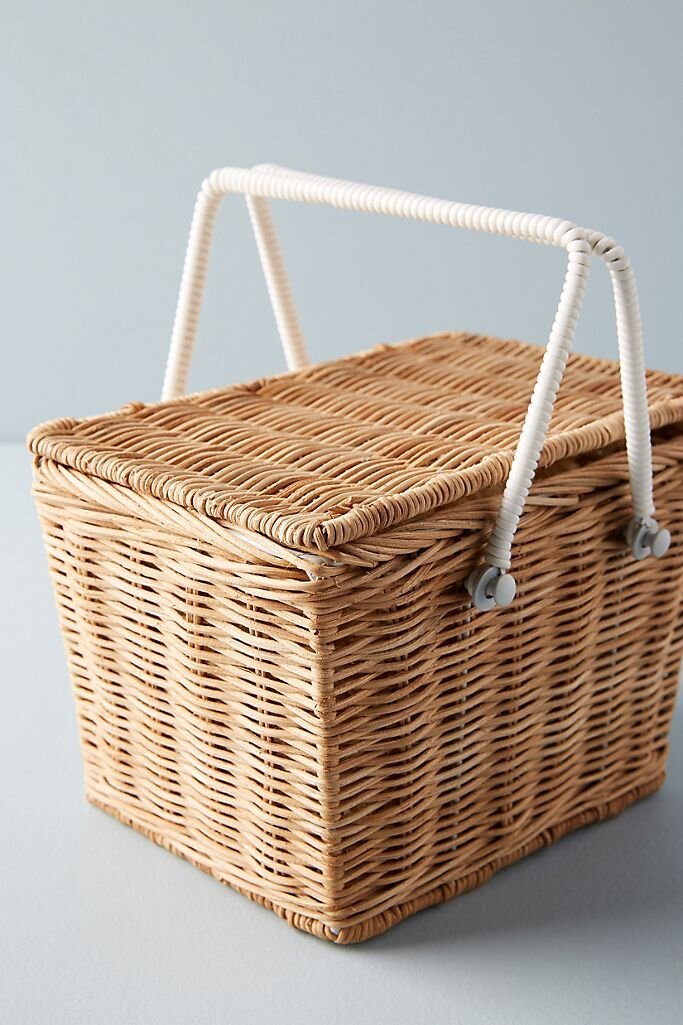
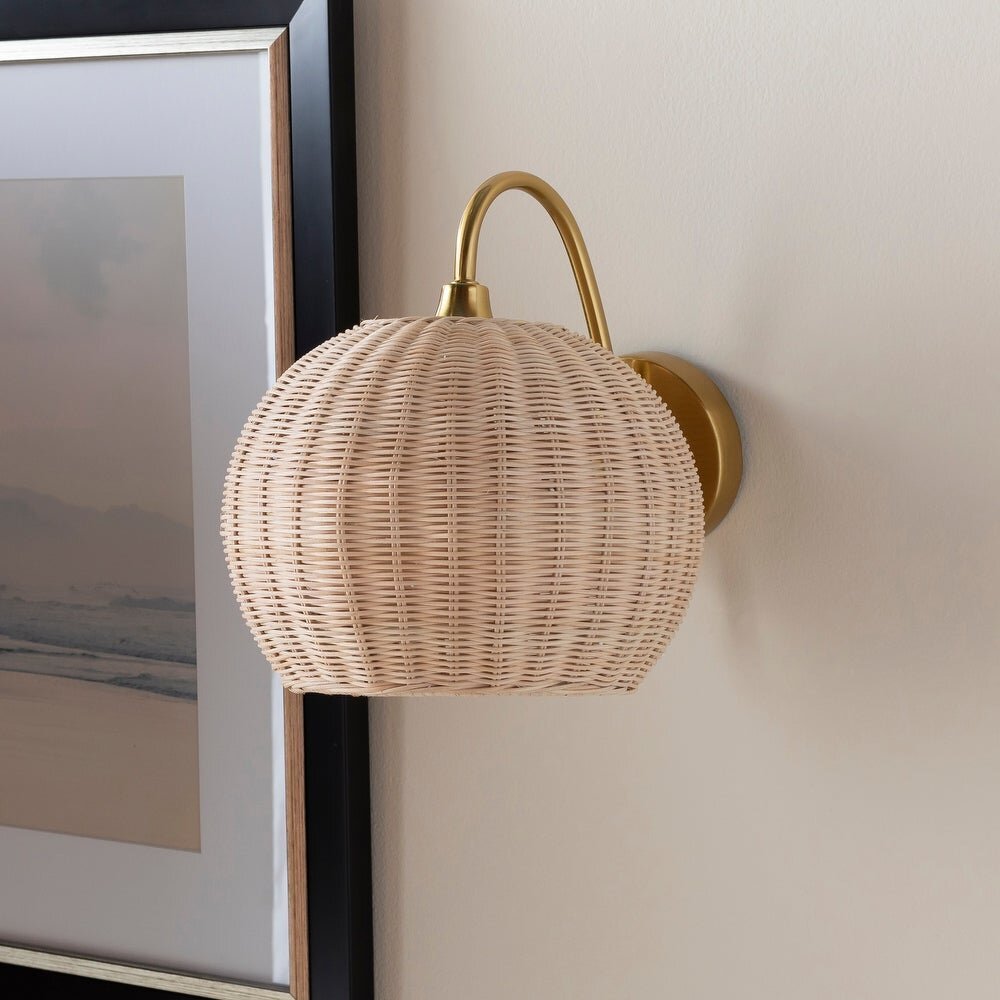
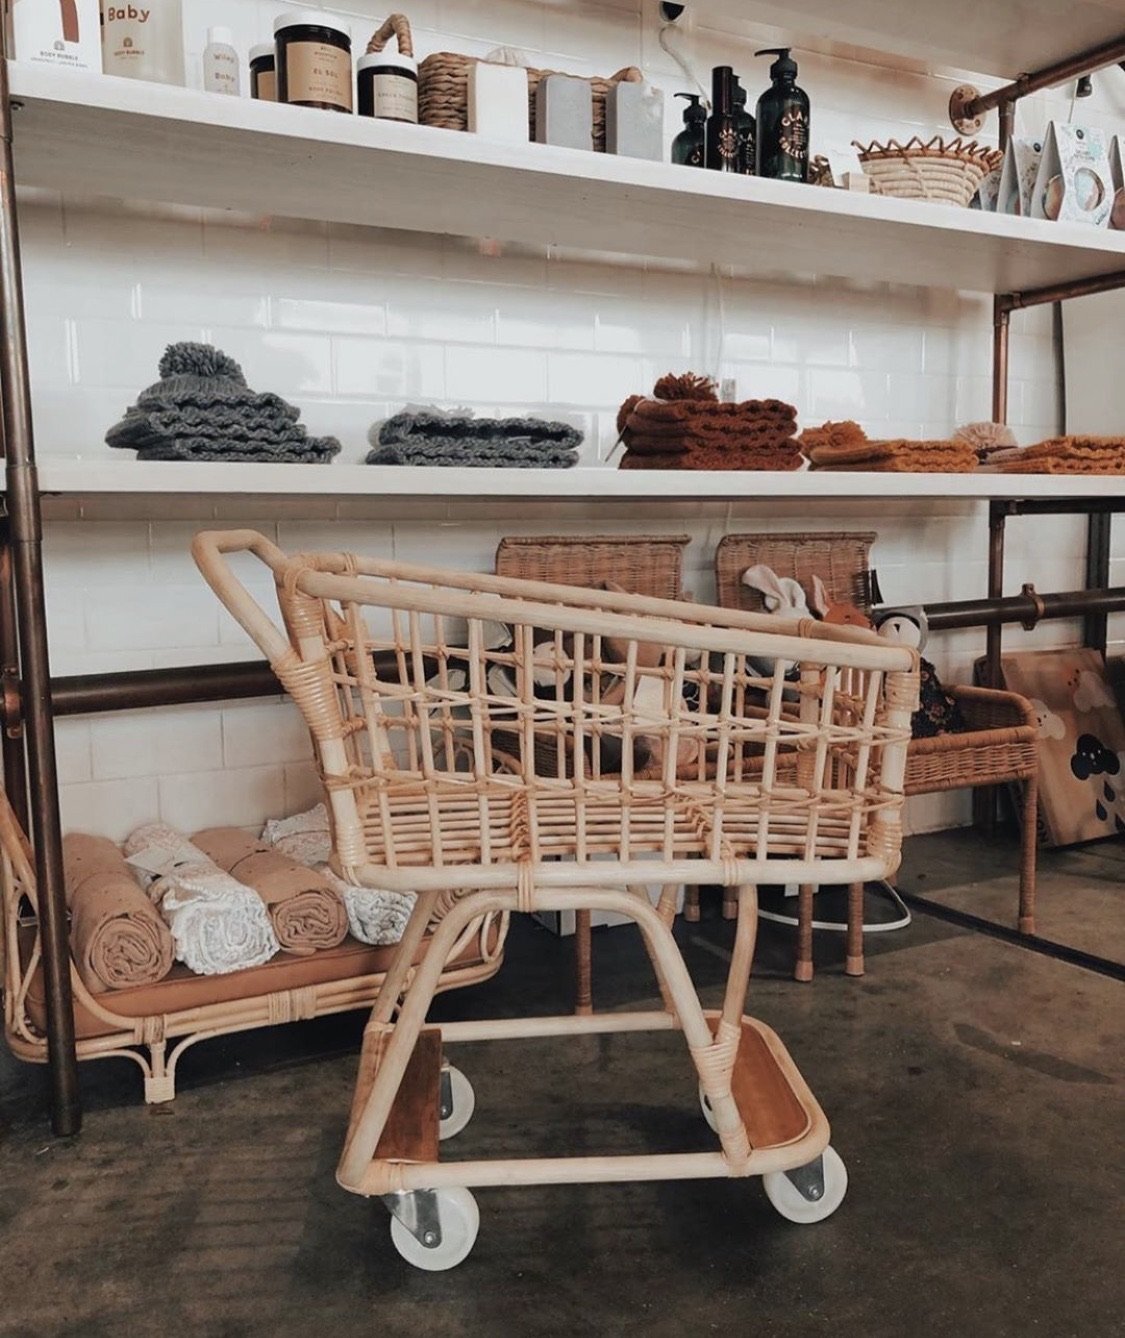
I added the sconces at the top of the wall using the magic light trick and they are the perfect finishing touch to the space! I tried to add some wicker/rattan elements throughout the entire room to tie everything together.
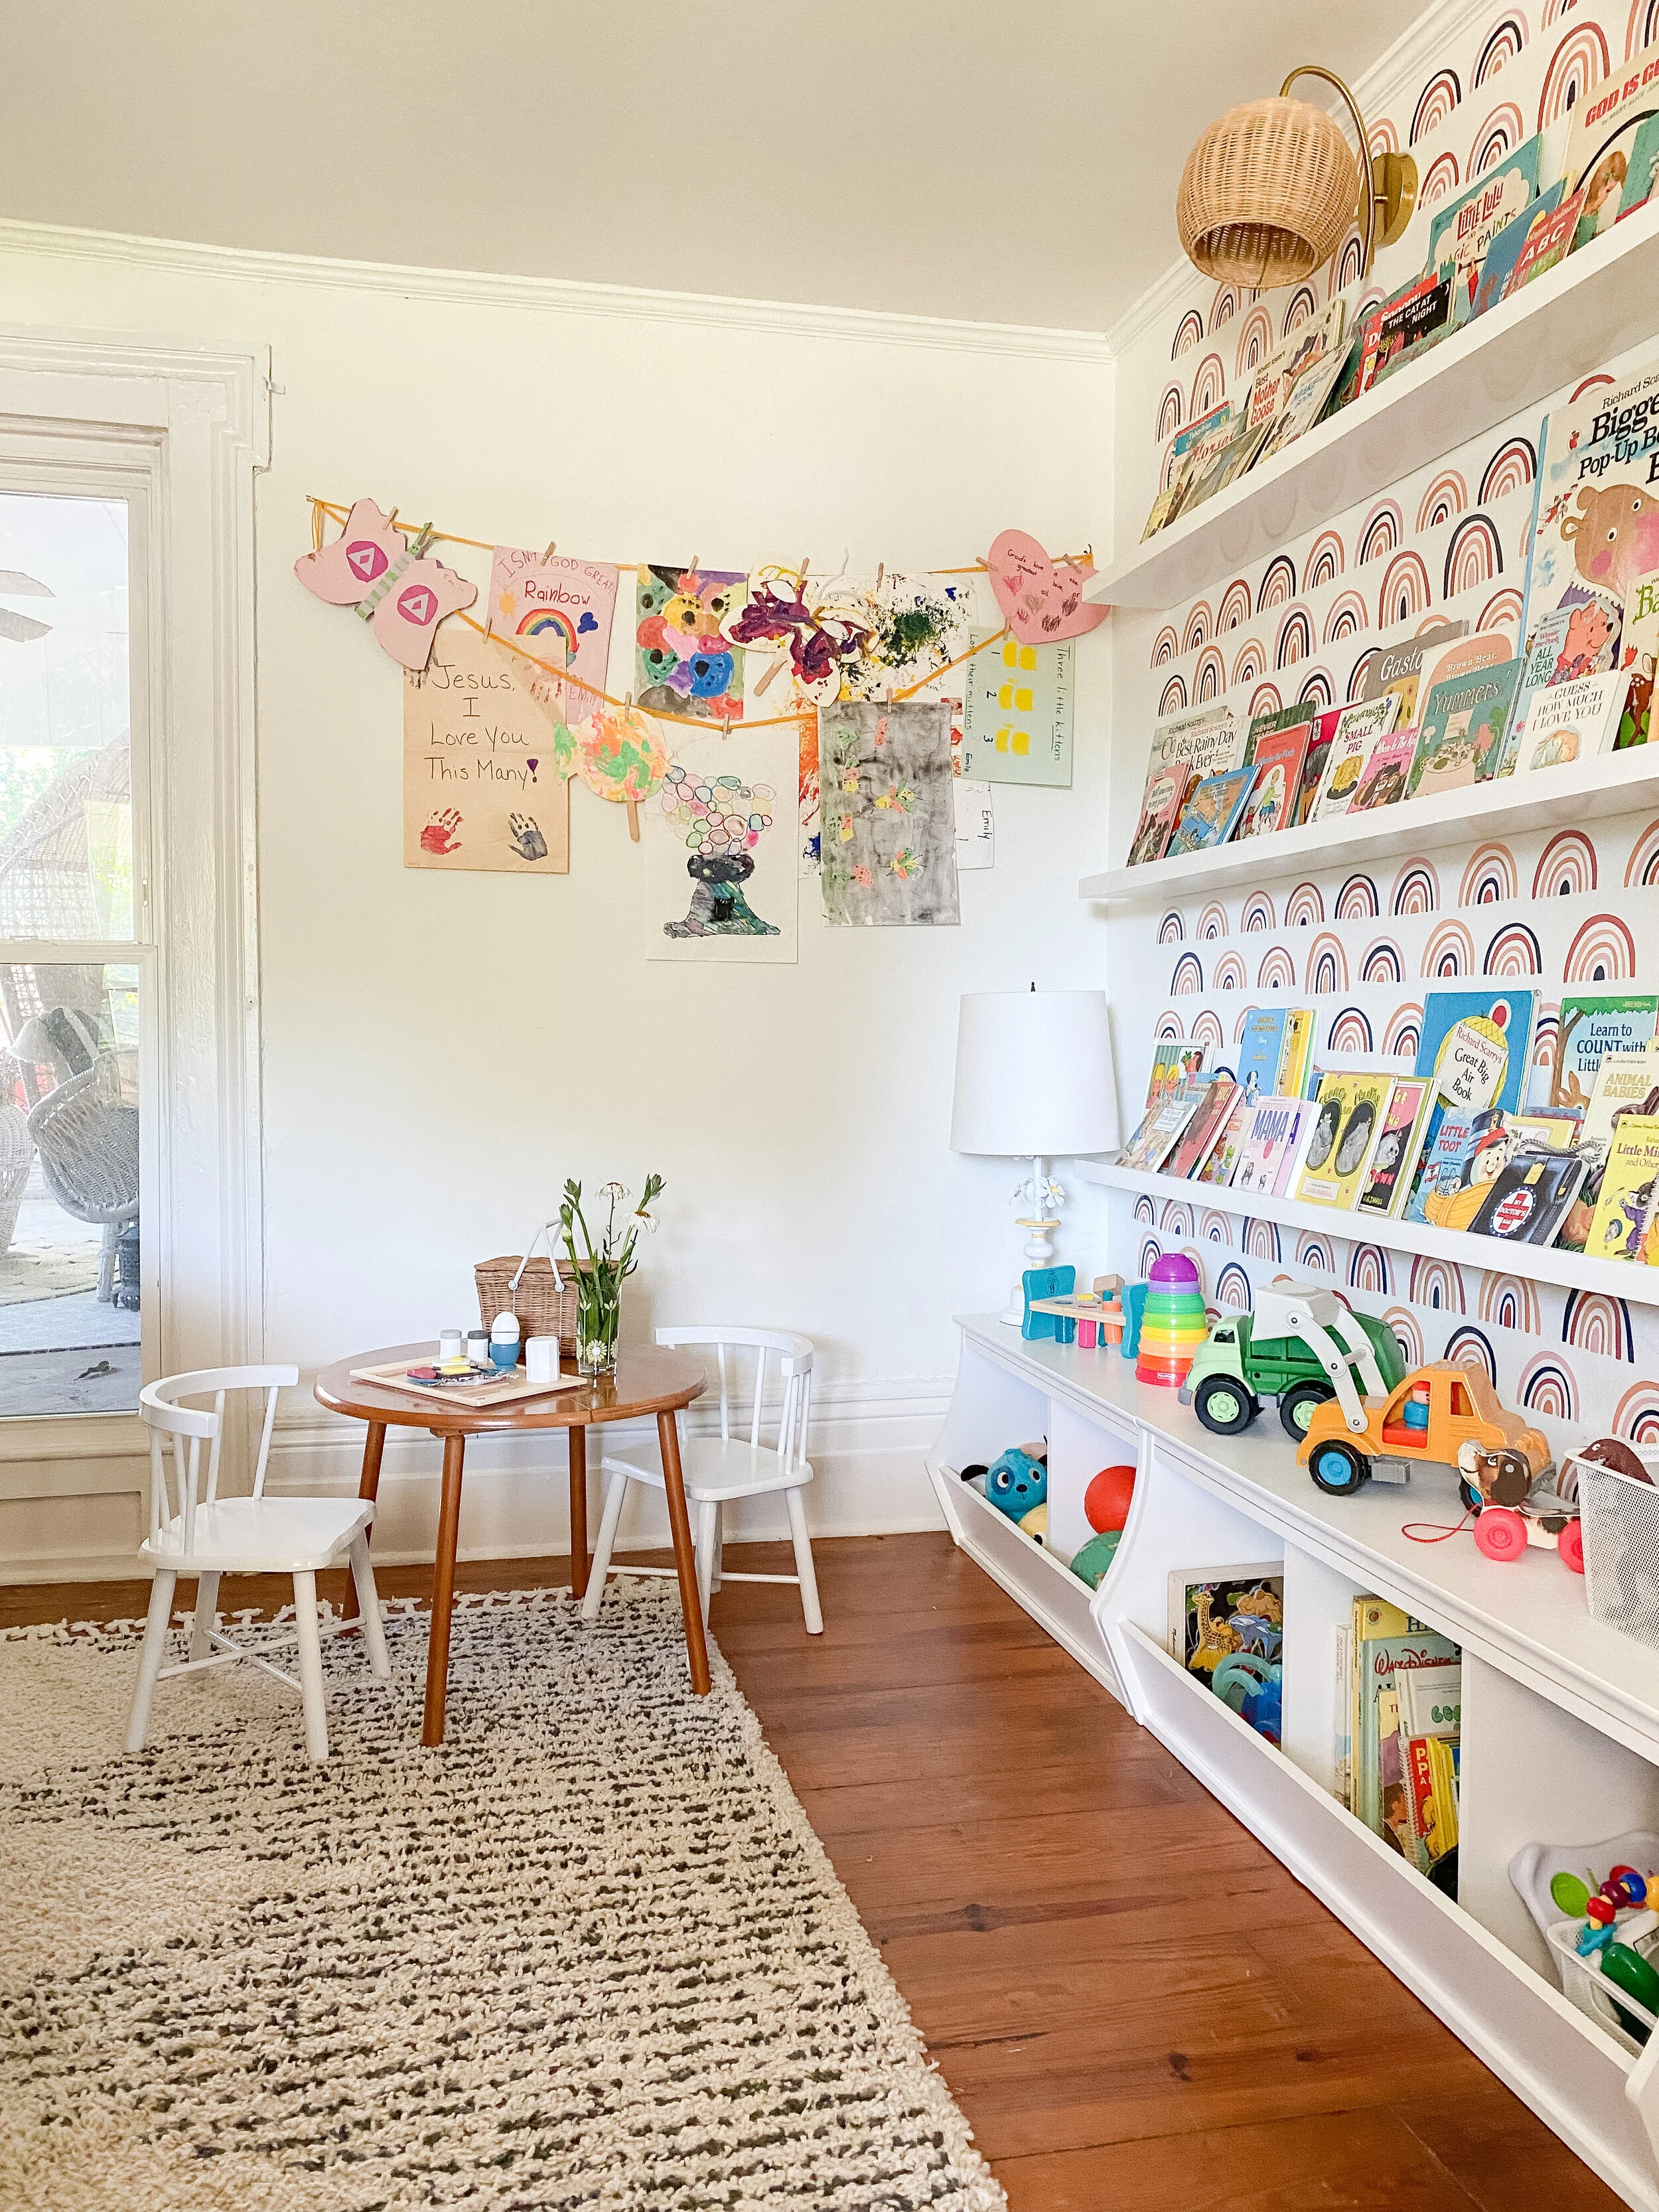
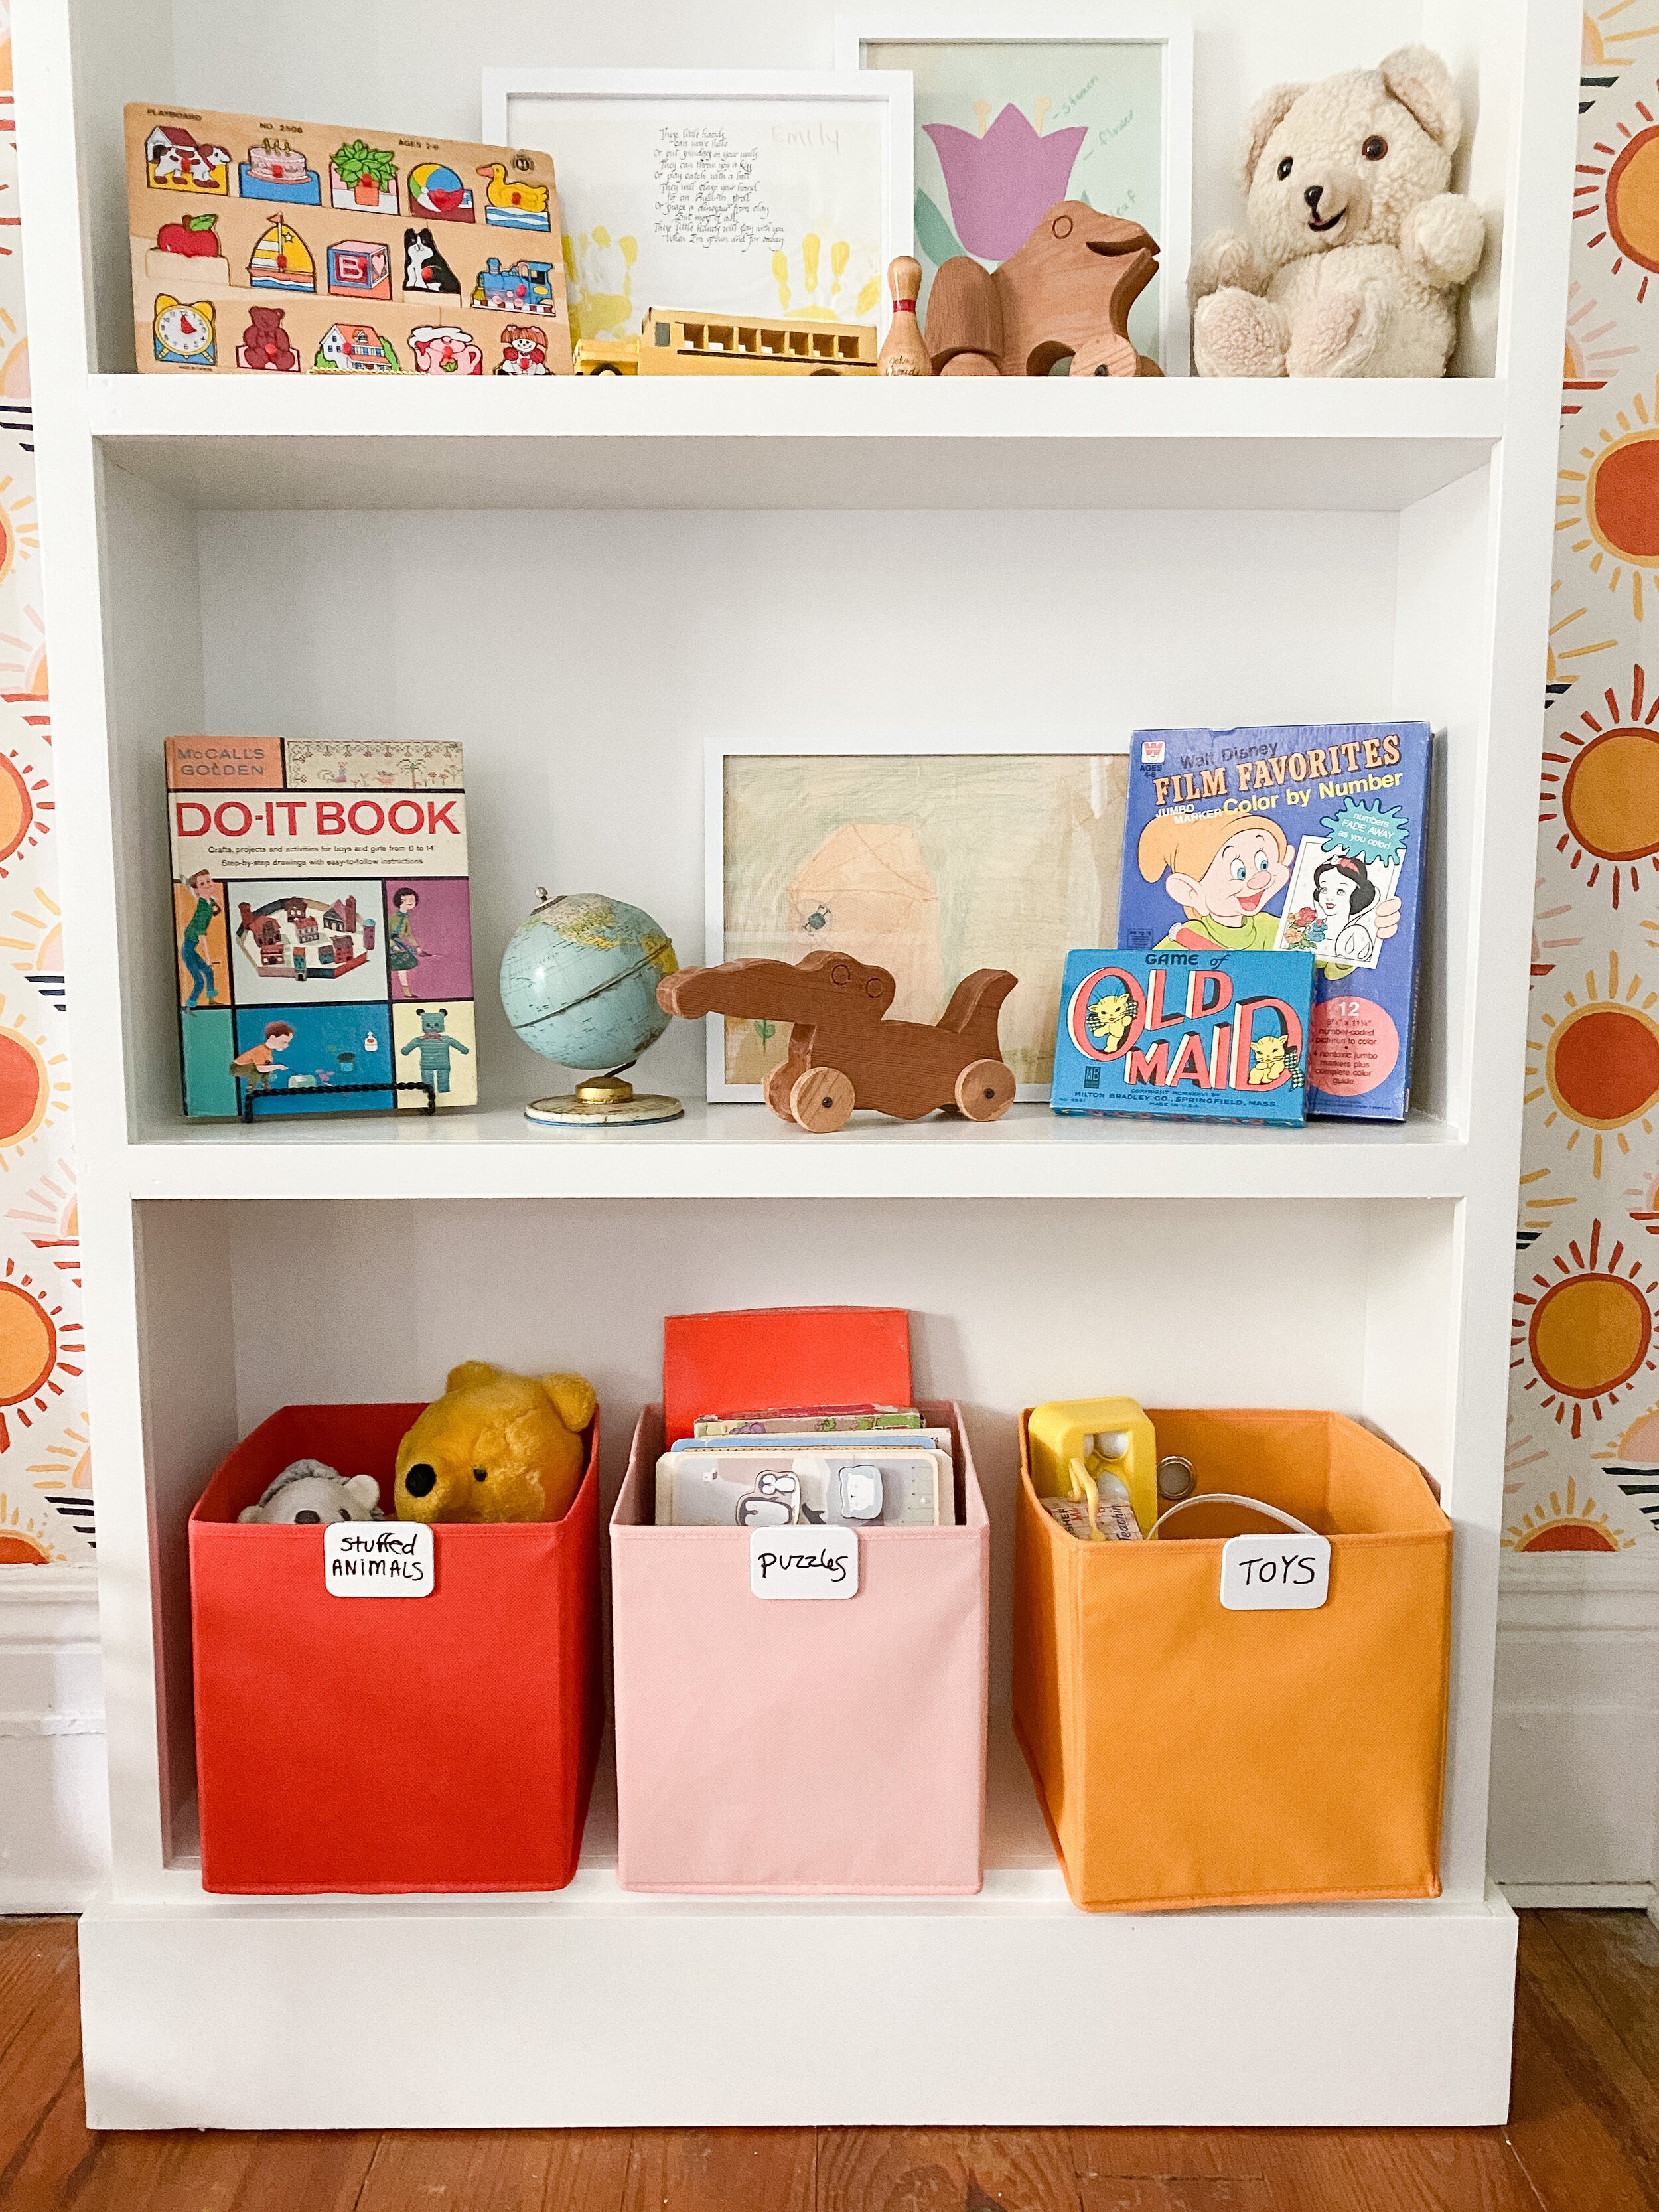
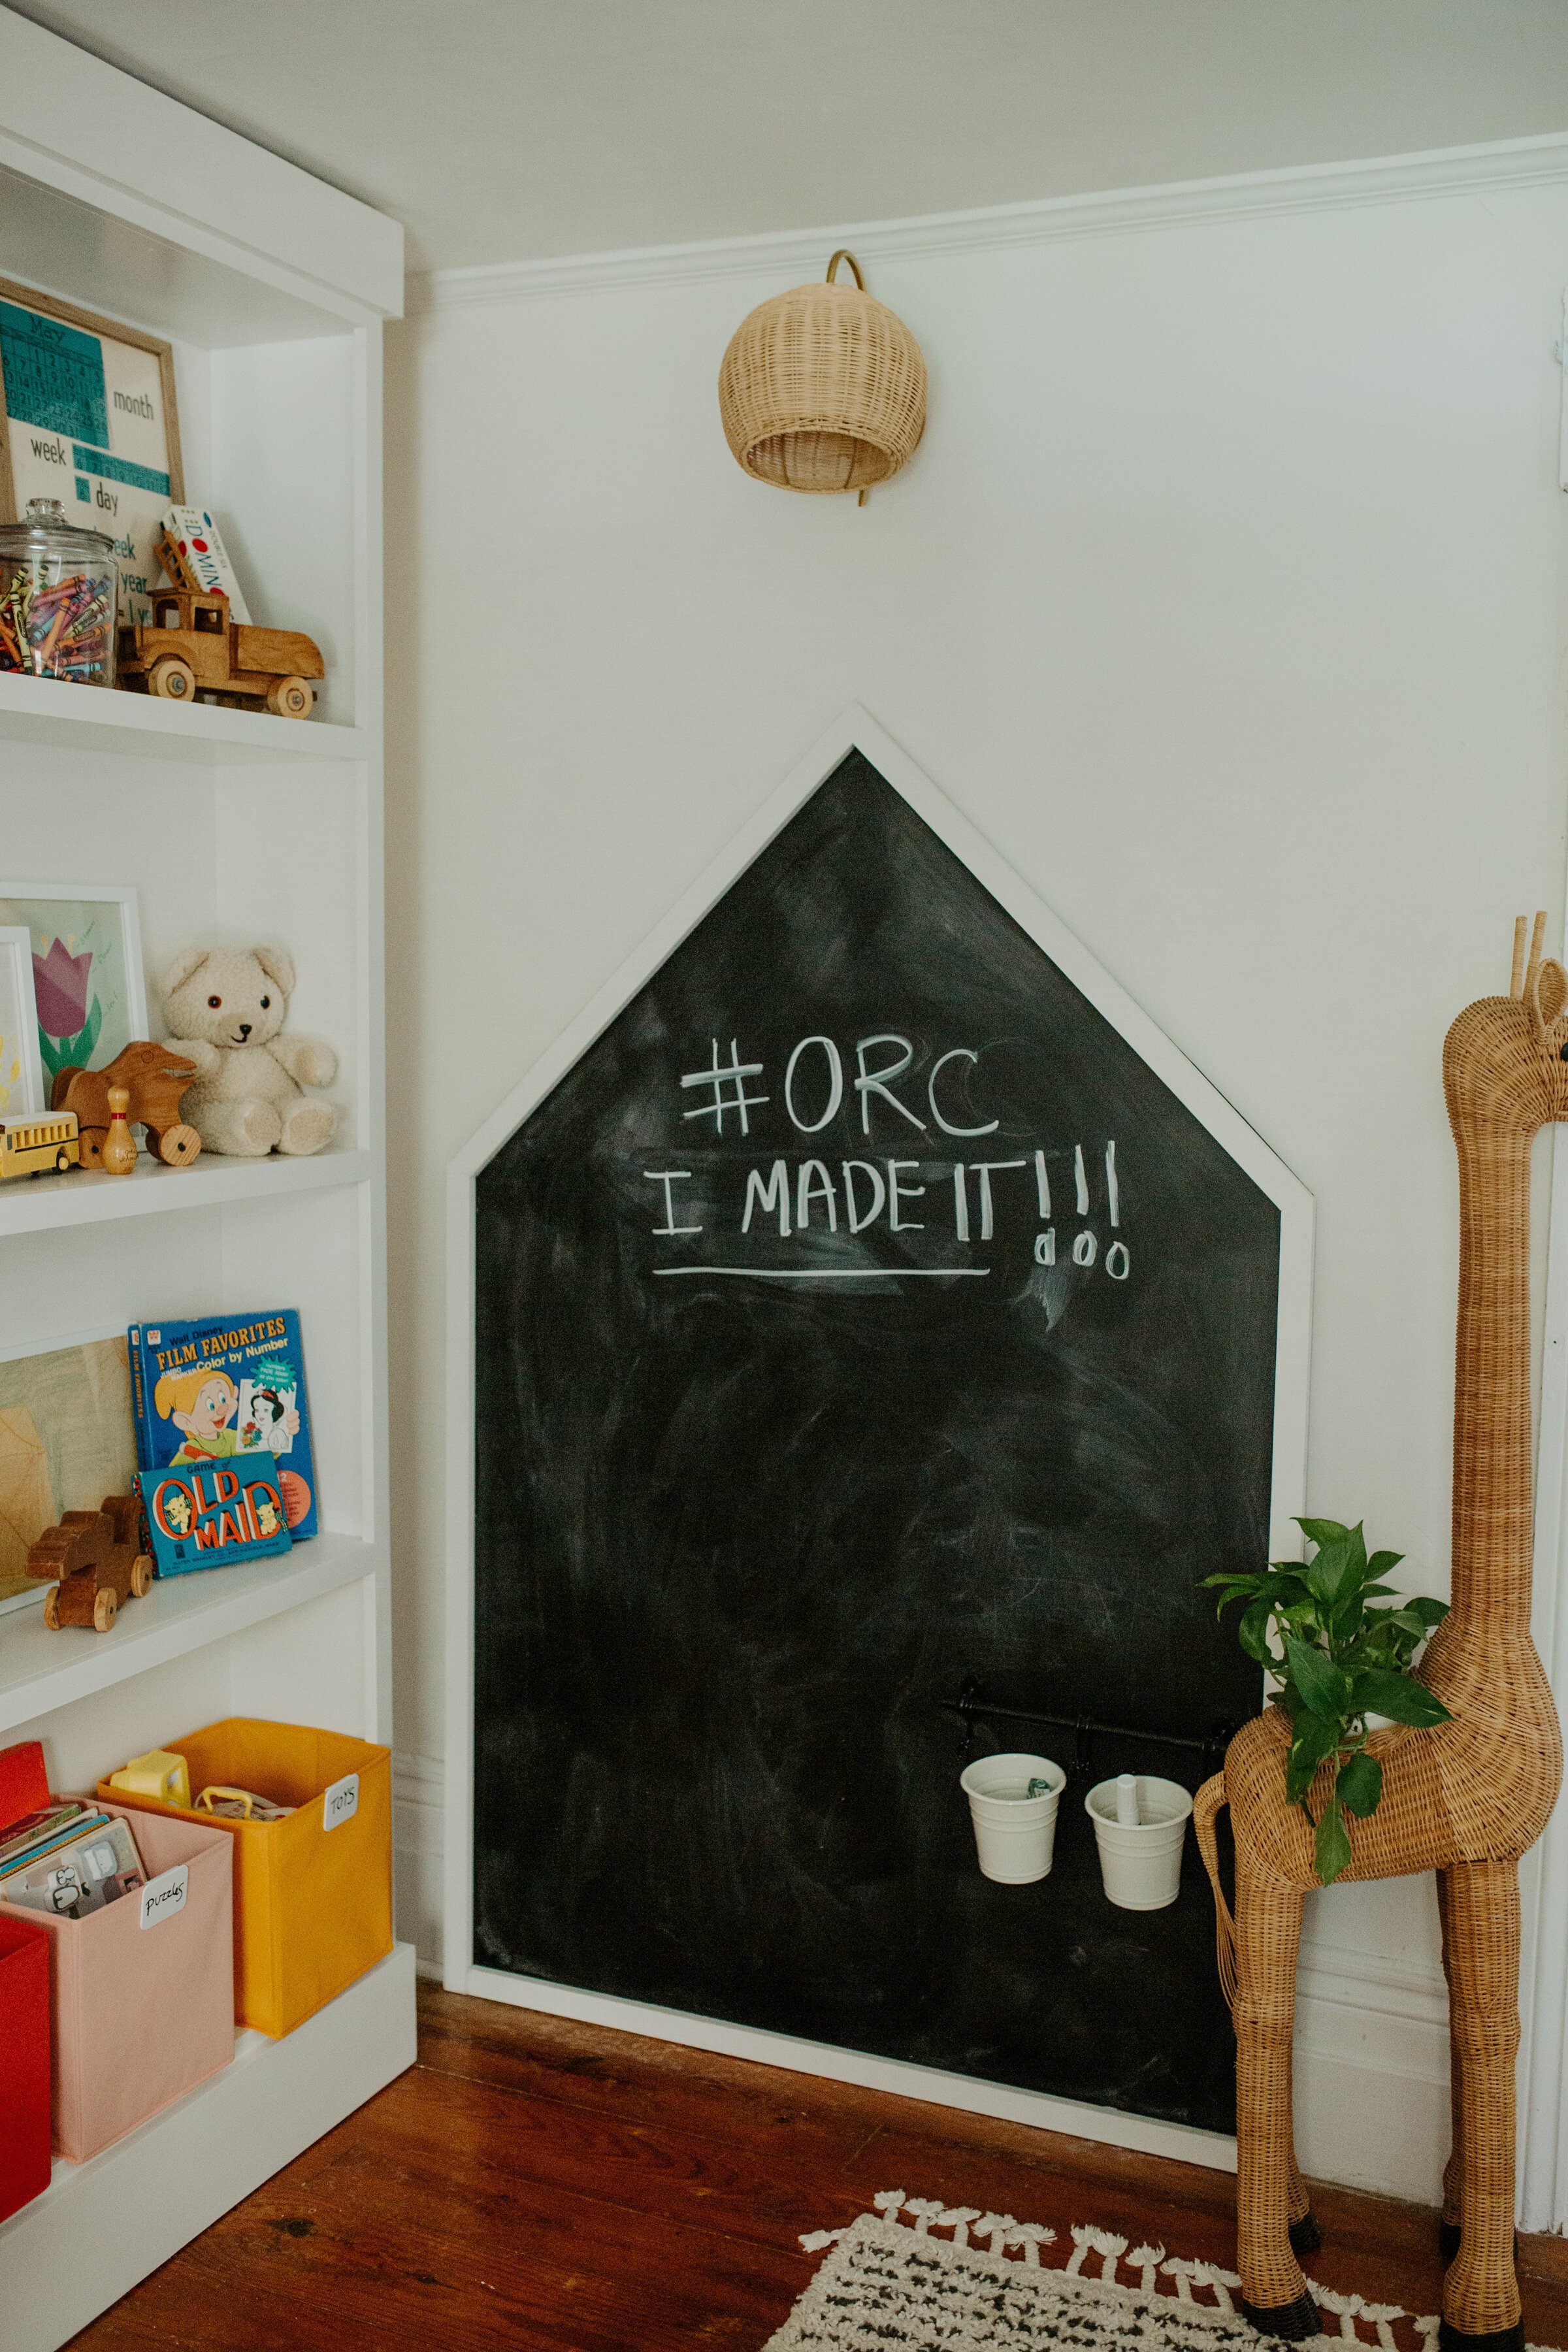
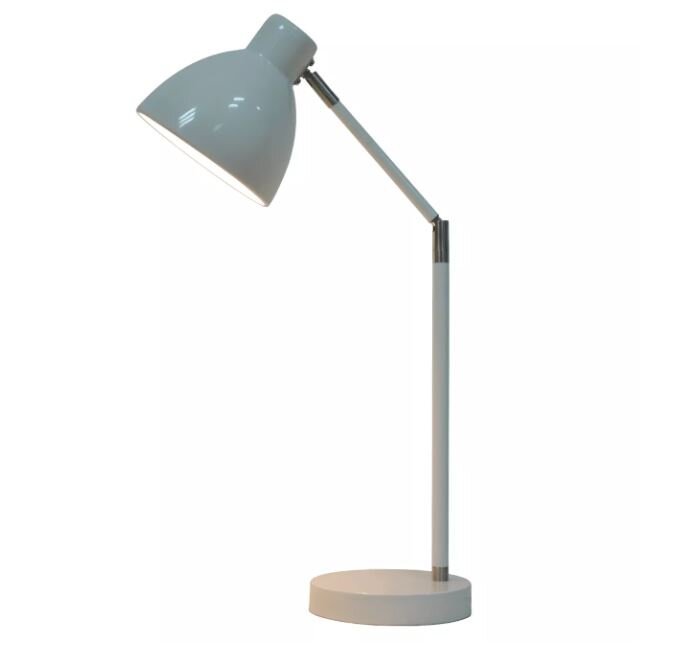
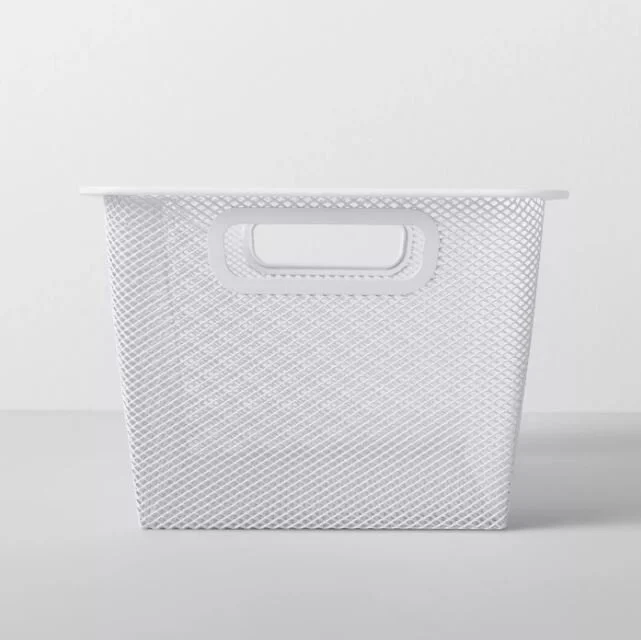
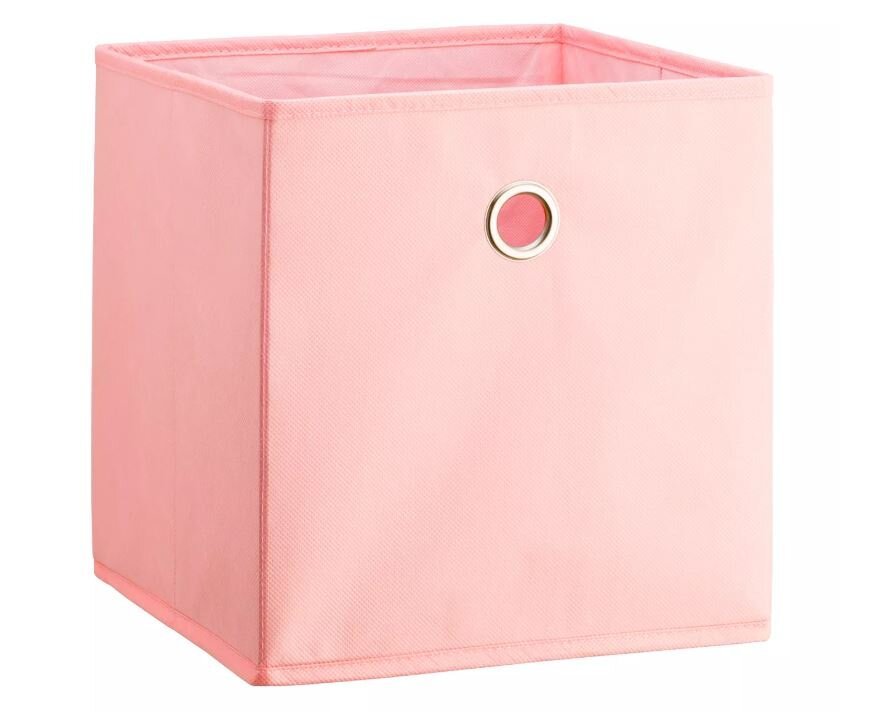
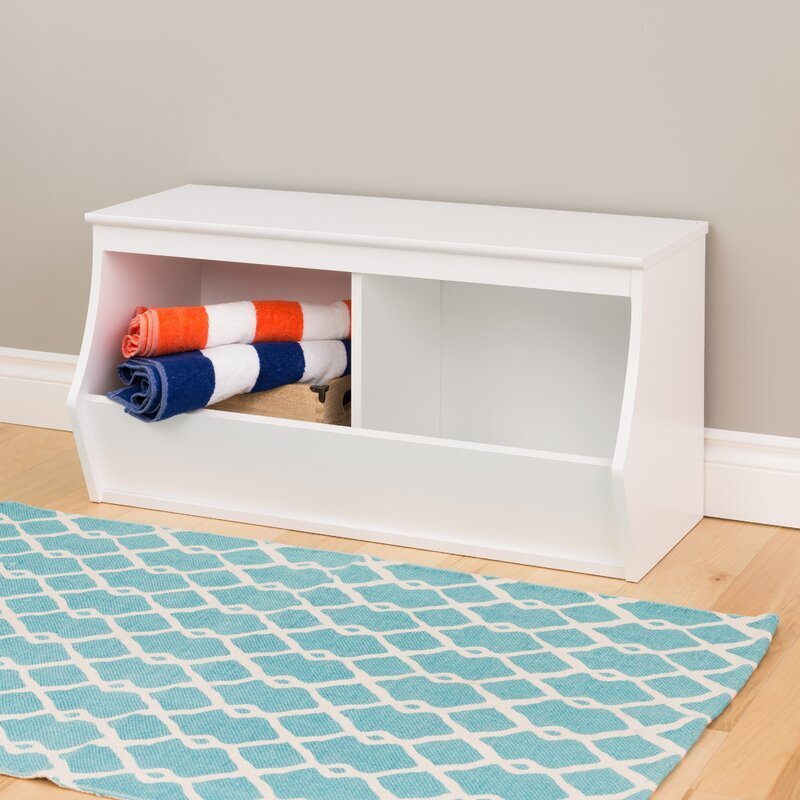
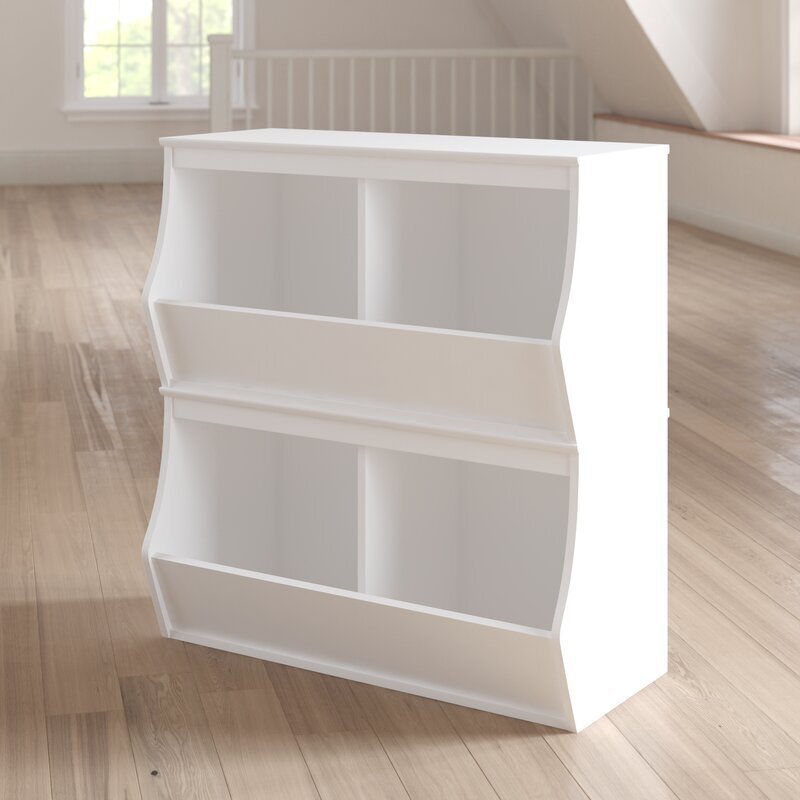
Another feature of this wall that I love is the extra storage we added below the bookshelves. These cubbies are amazing and so versatile for a playroom space- they fit anything from larger toys to books, puzzles, stuffed animals, and more! You can keep them super organized or just throw everything in to easily clean up. They come in a couple different sizes, but I chose one 3-section cubby and two 2-section to perfectly fill the wall. Another added bonus is that I still had plenty of room on top to display additional toys as well. I also added a vintage lamp on the left side that I found in my garage. It had rusted/chipped pretty badly but I was able to spray paint it glossy white then repaint by hand the yellow stripes/details. It matches the other decor of the room perfectly!


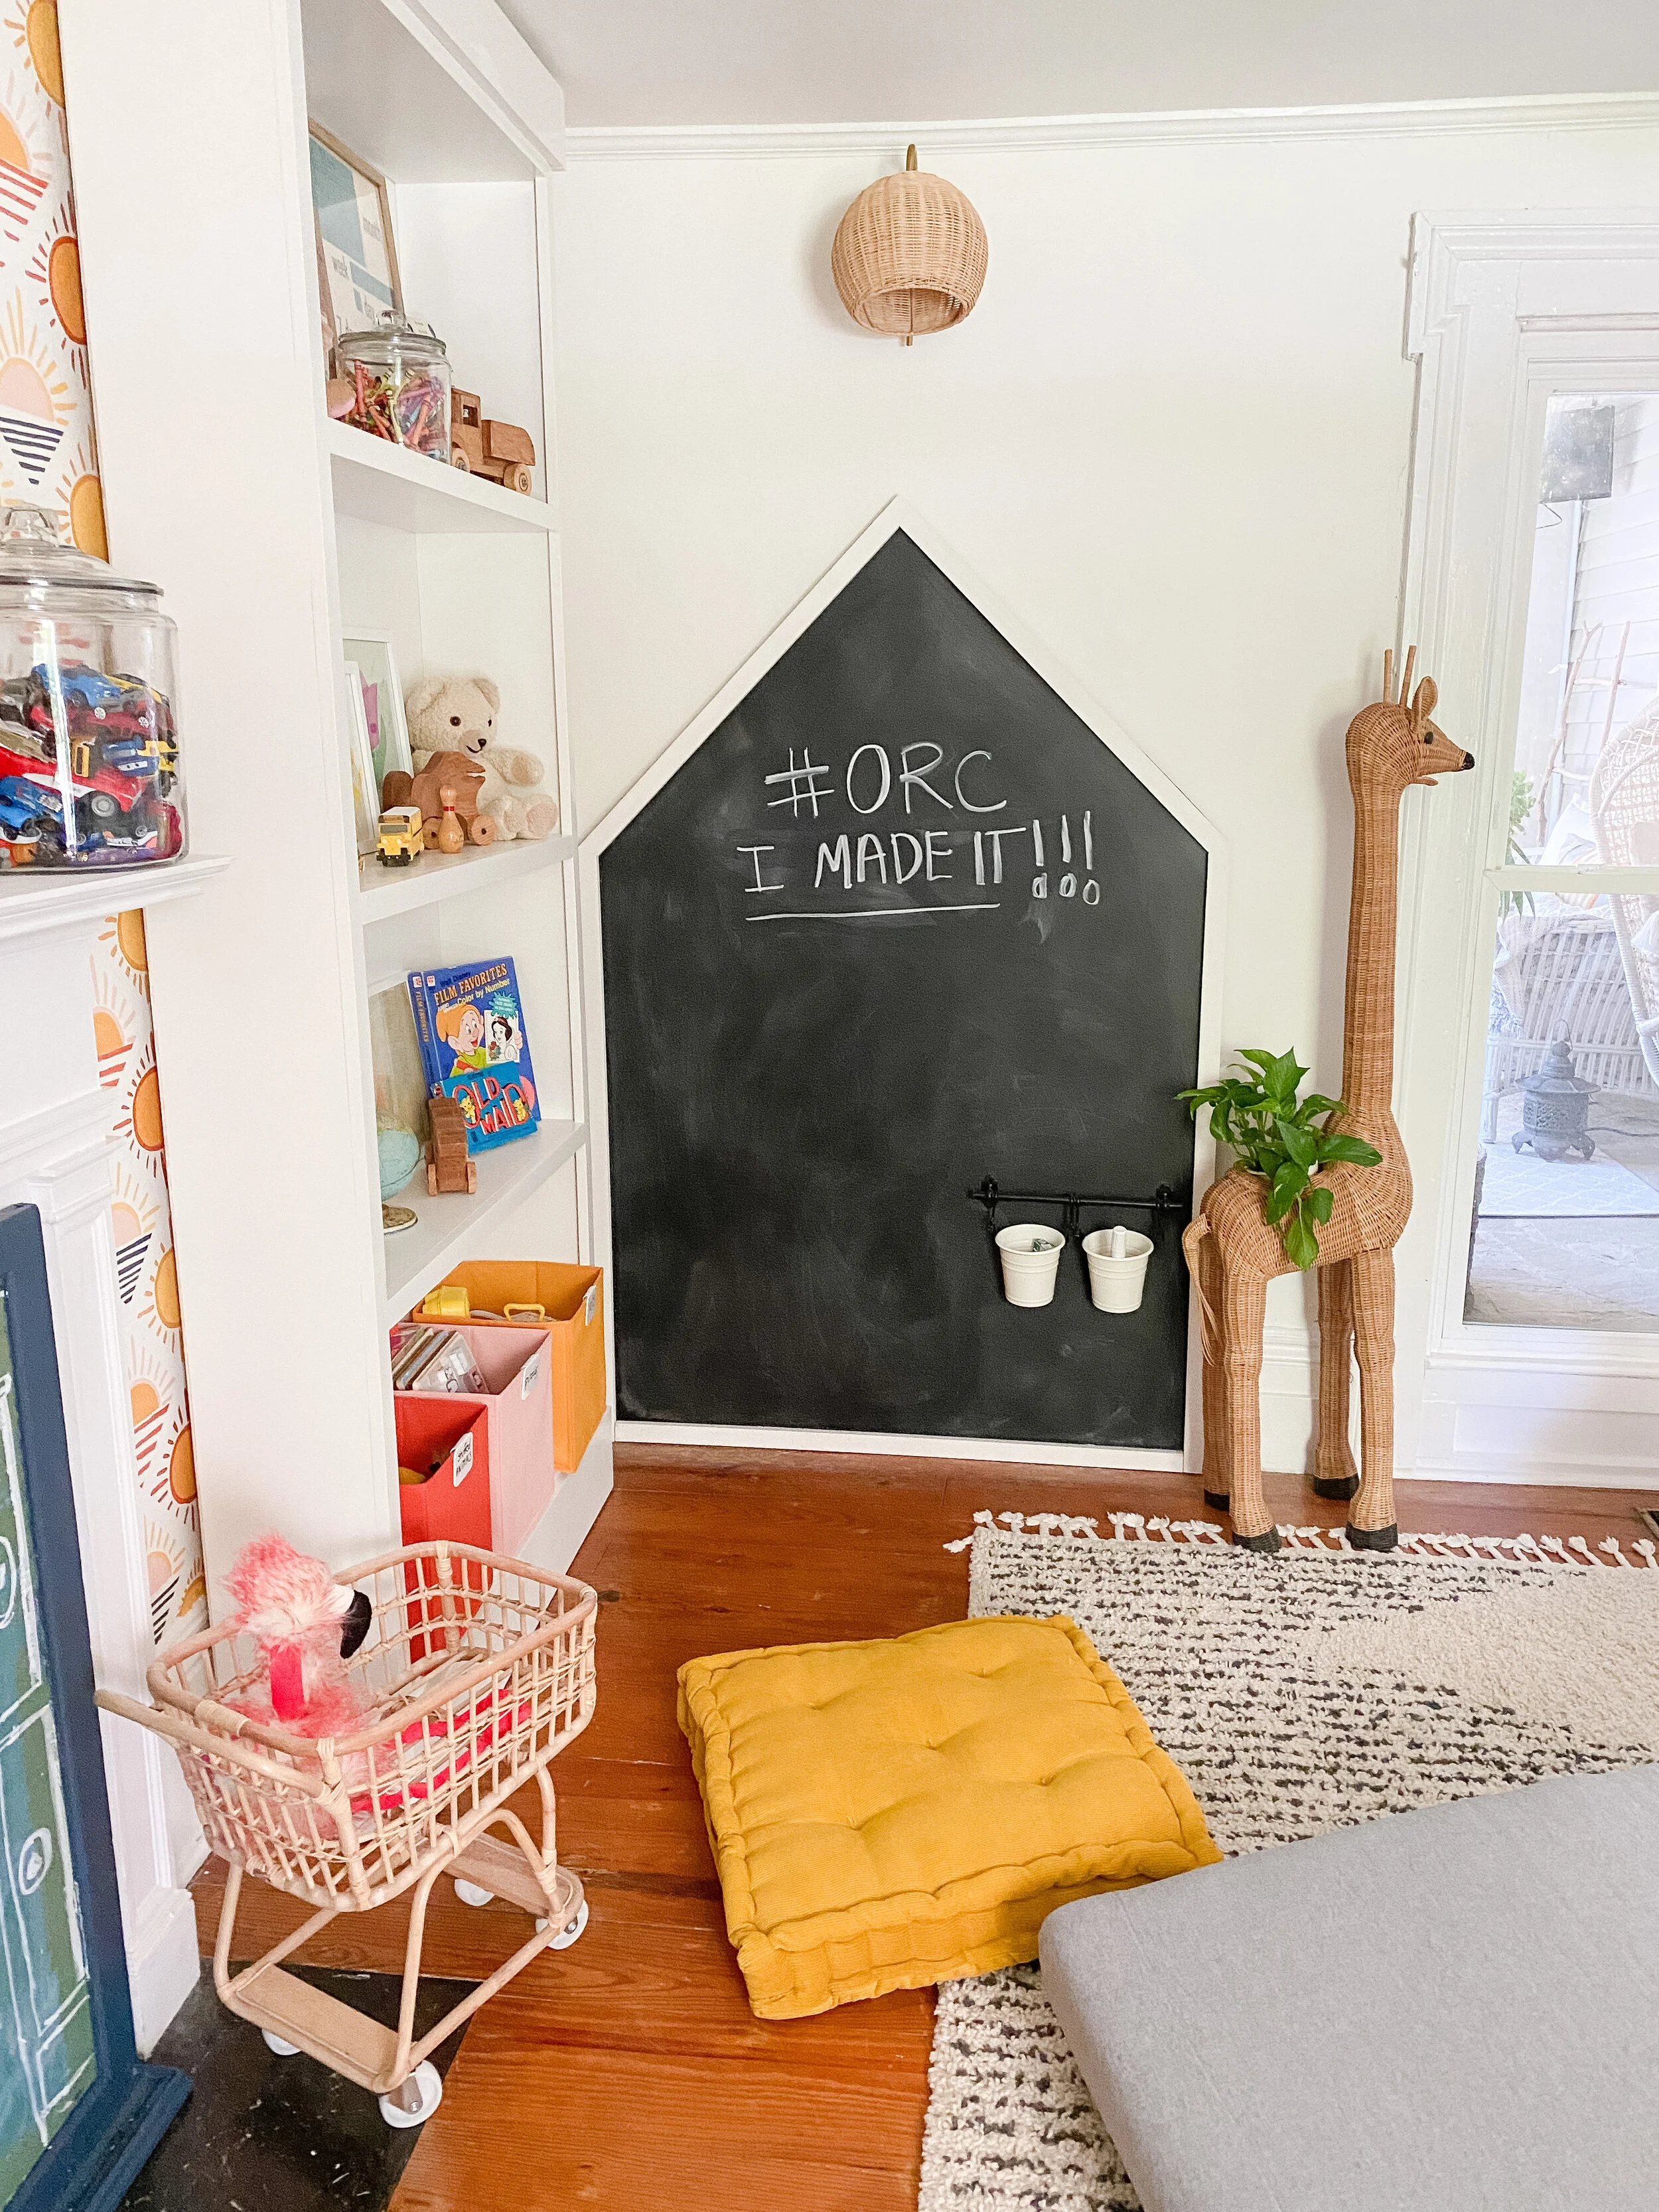
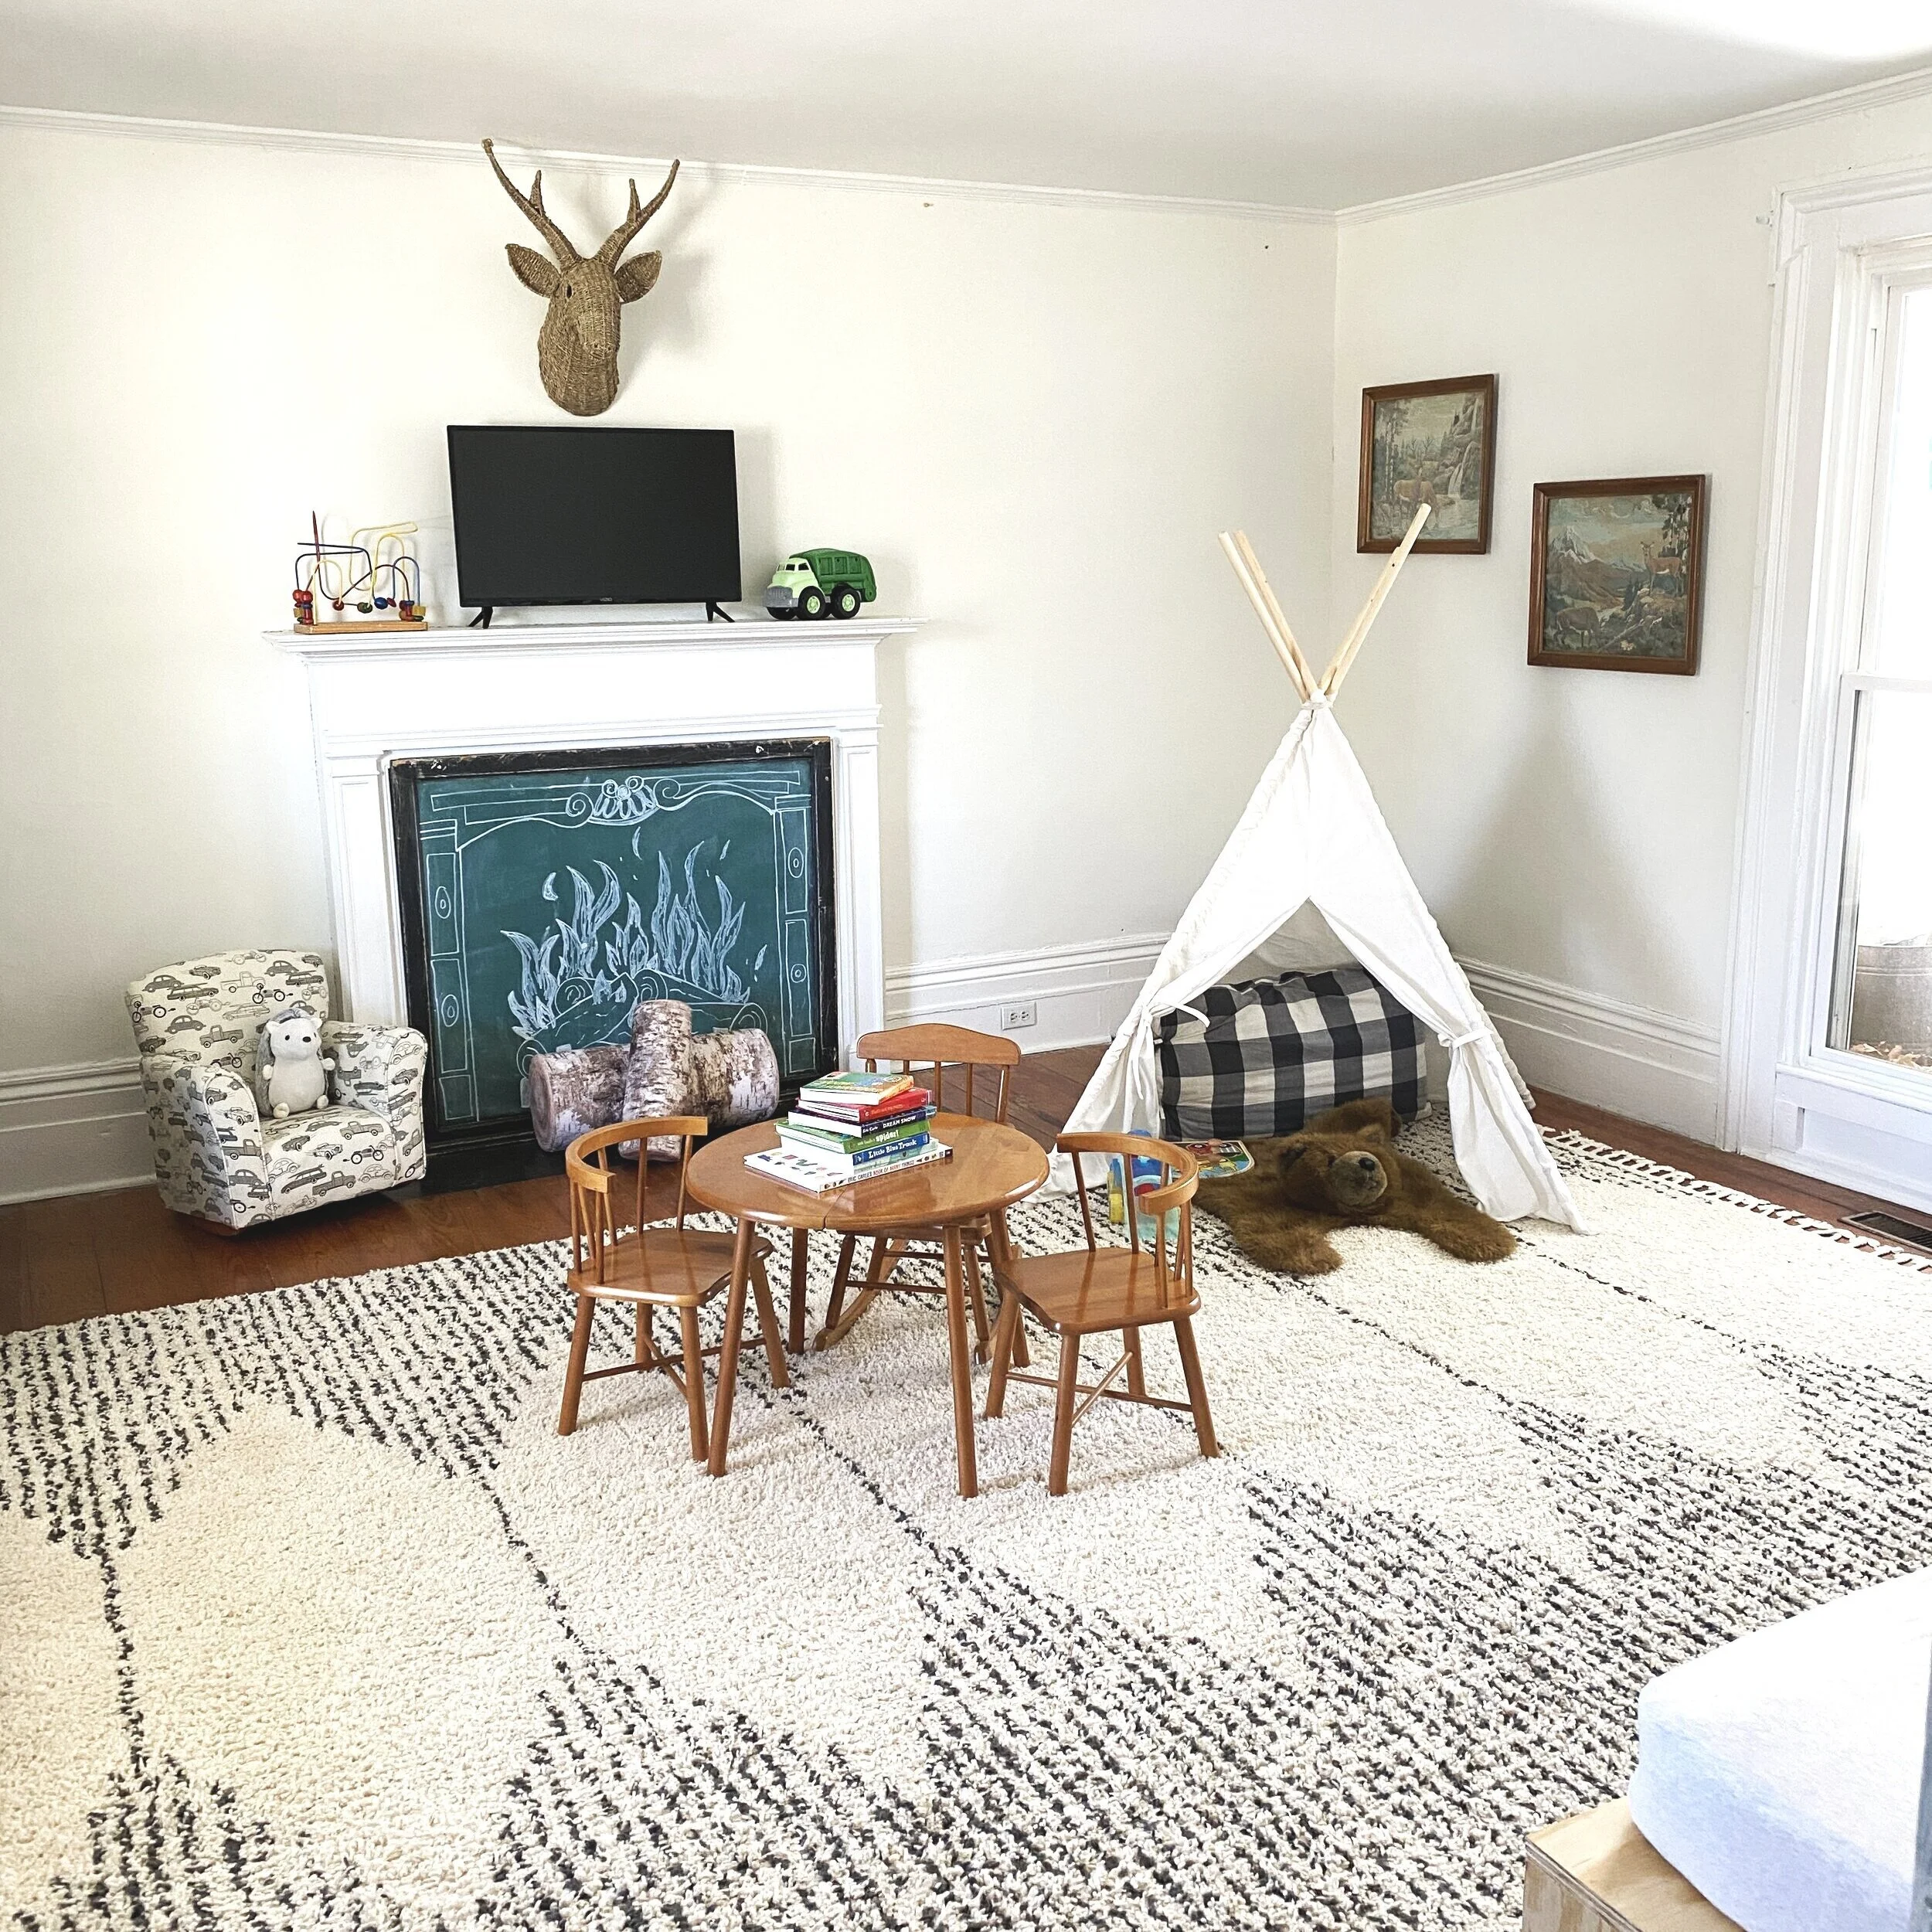
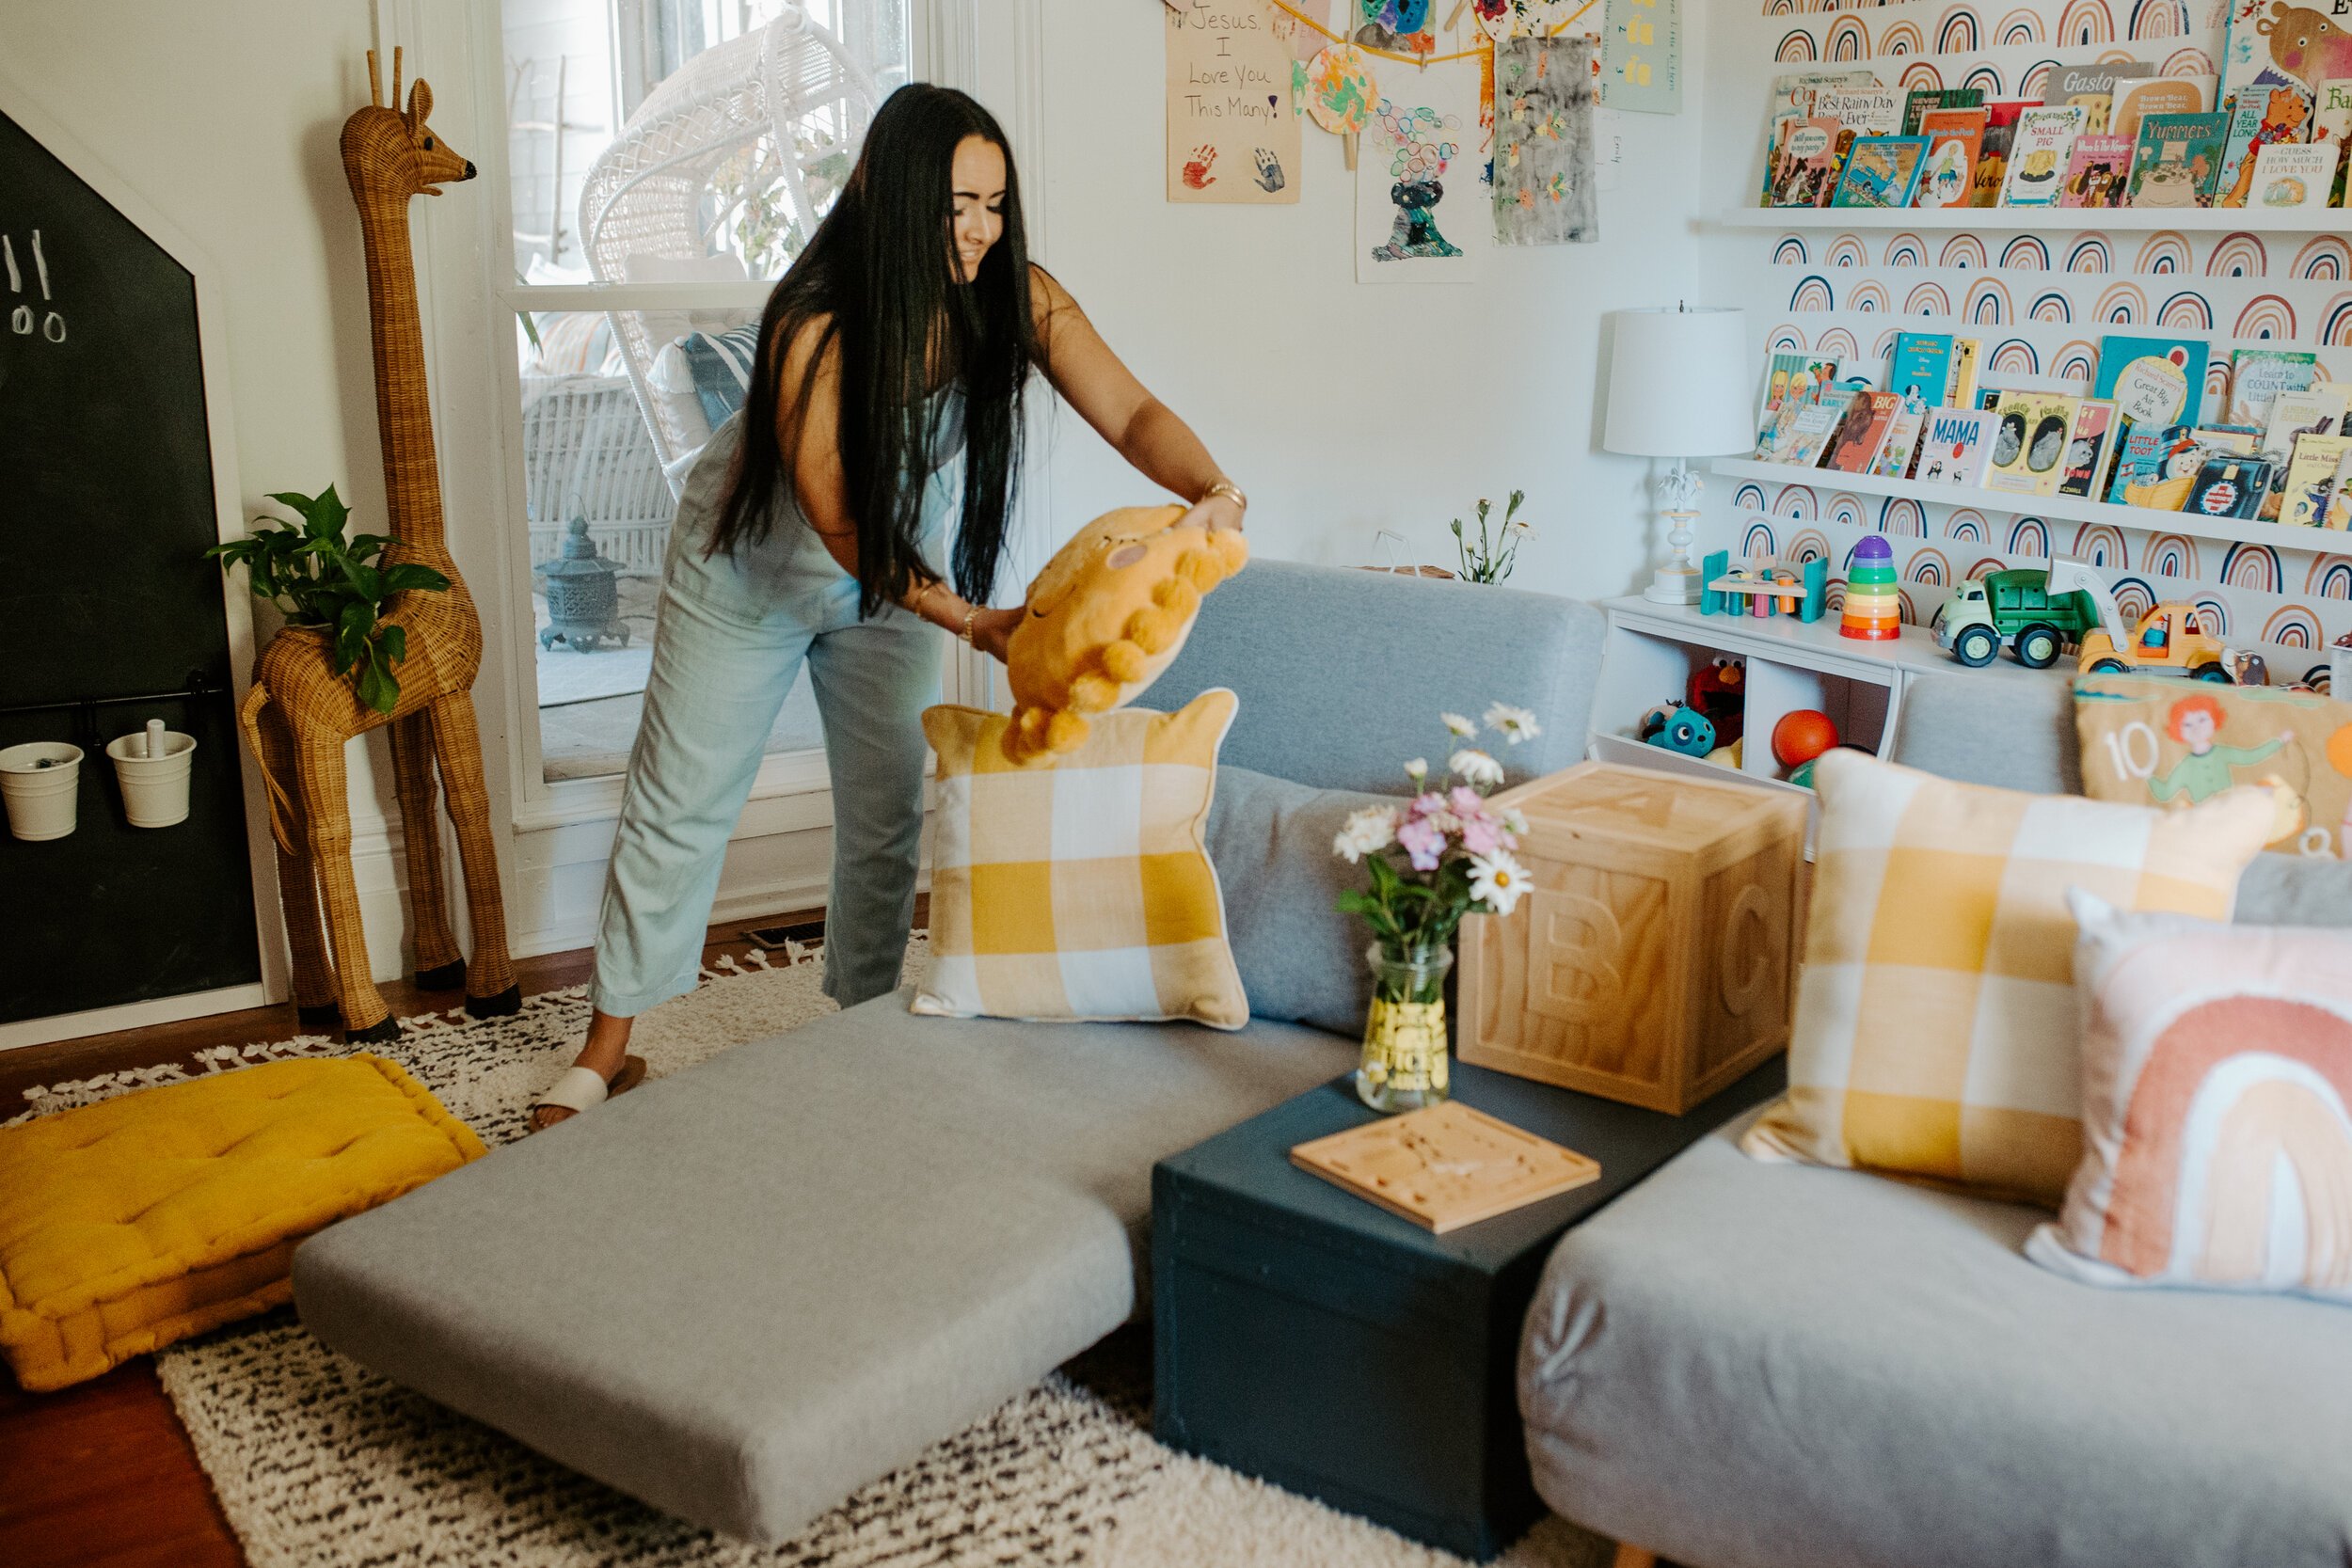
One of the first projects I completed for this room was the DIY giant chalkboard for the right side corner. You can read more about that entire process and how to make your own (super easy and inexpensive) in a week 3 post here. I added another wicker sconce to match those above the bookwall as well here, again using the magic light trick. The bold black and white of this feature wall is perfect to break up all the color and pattern throughout the room too. I couldn’t resist writing a little celebratory message on here once I was done either!


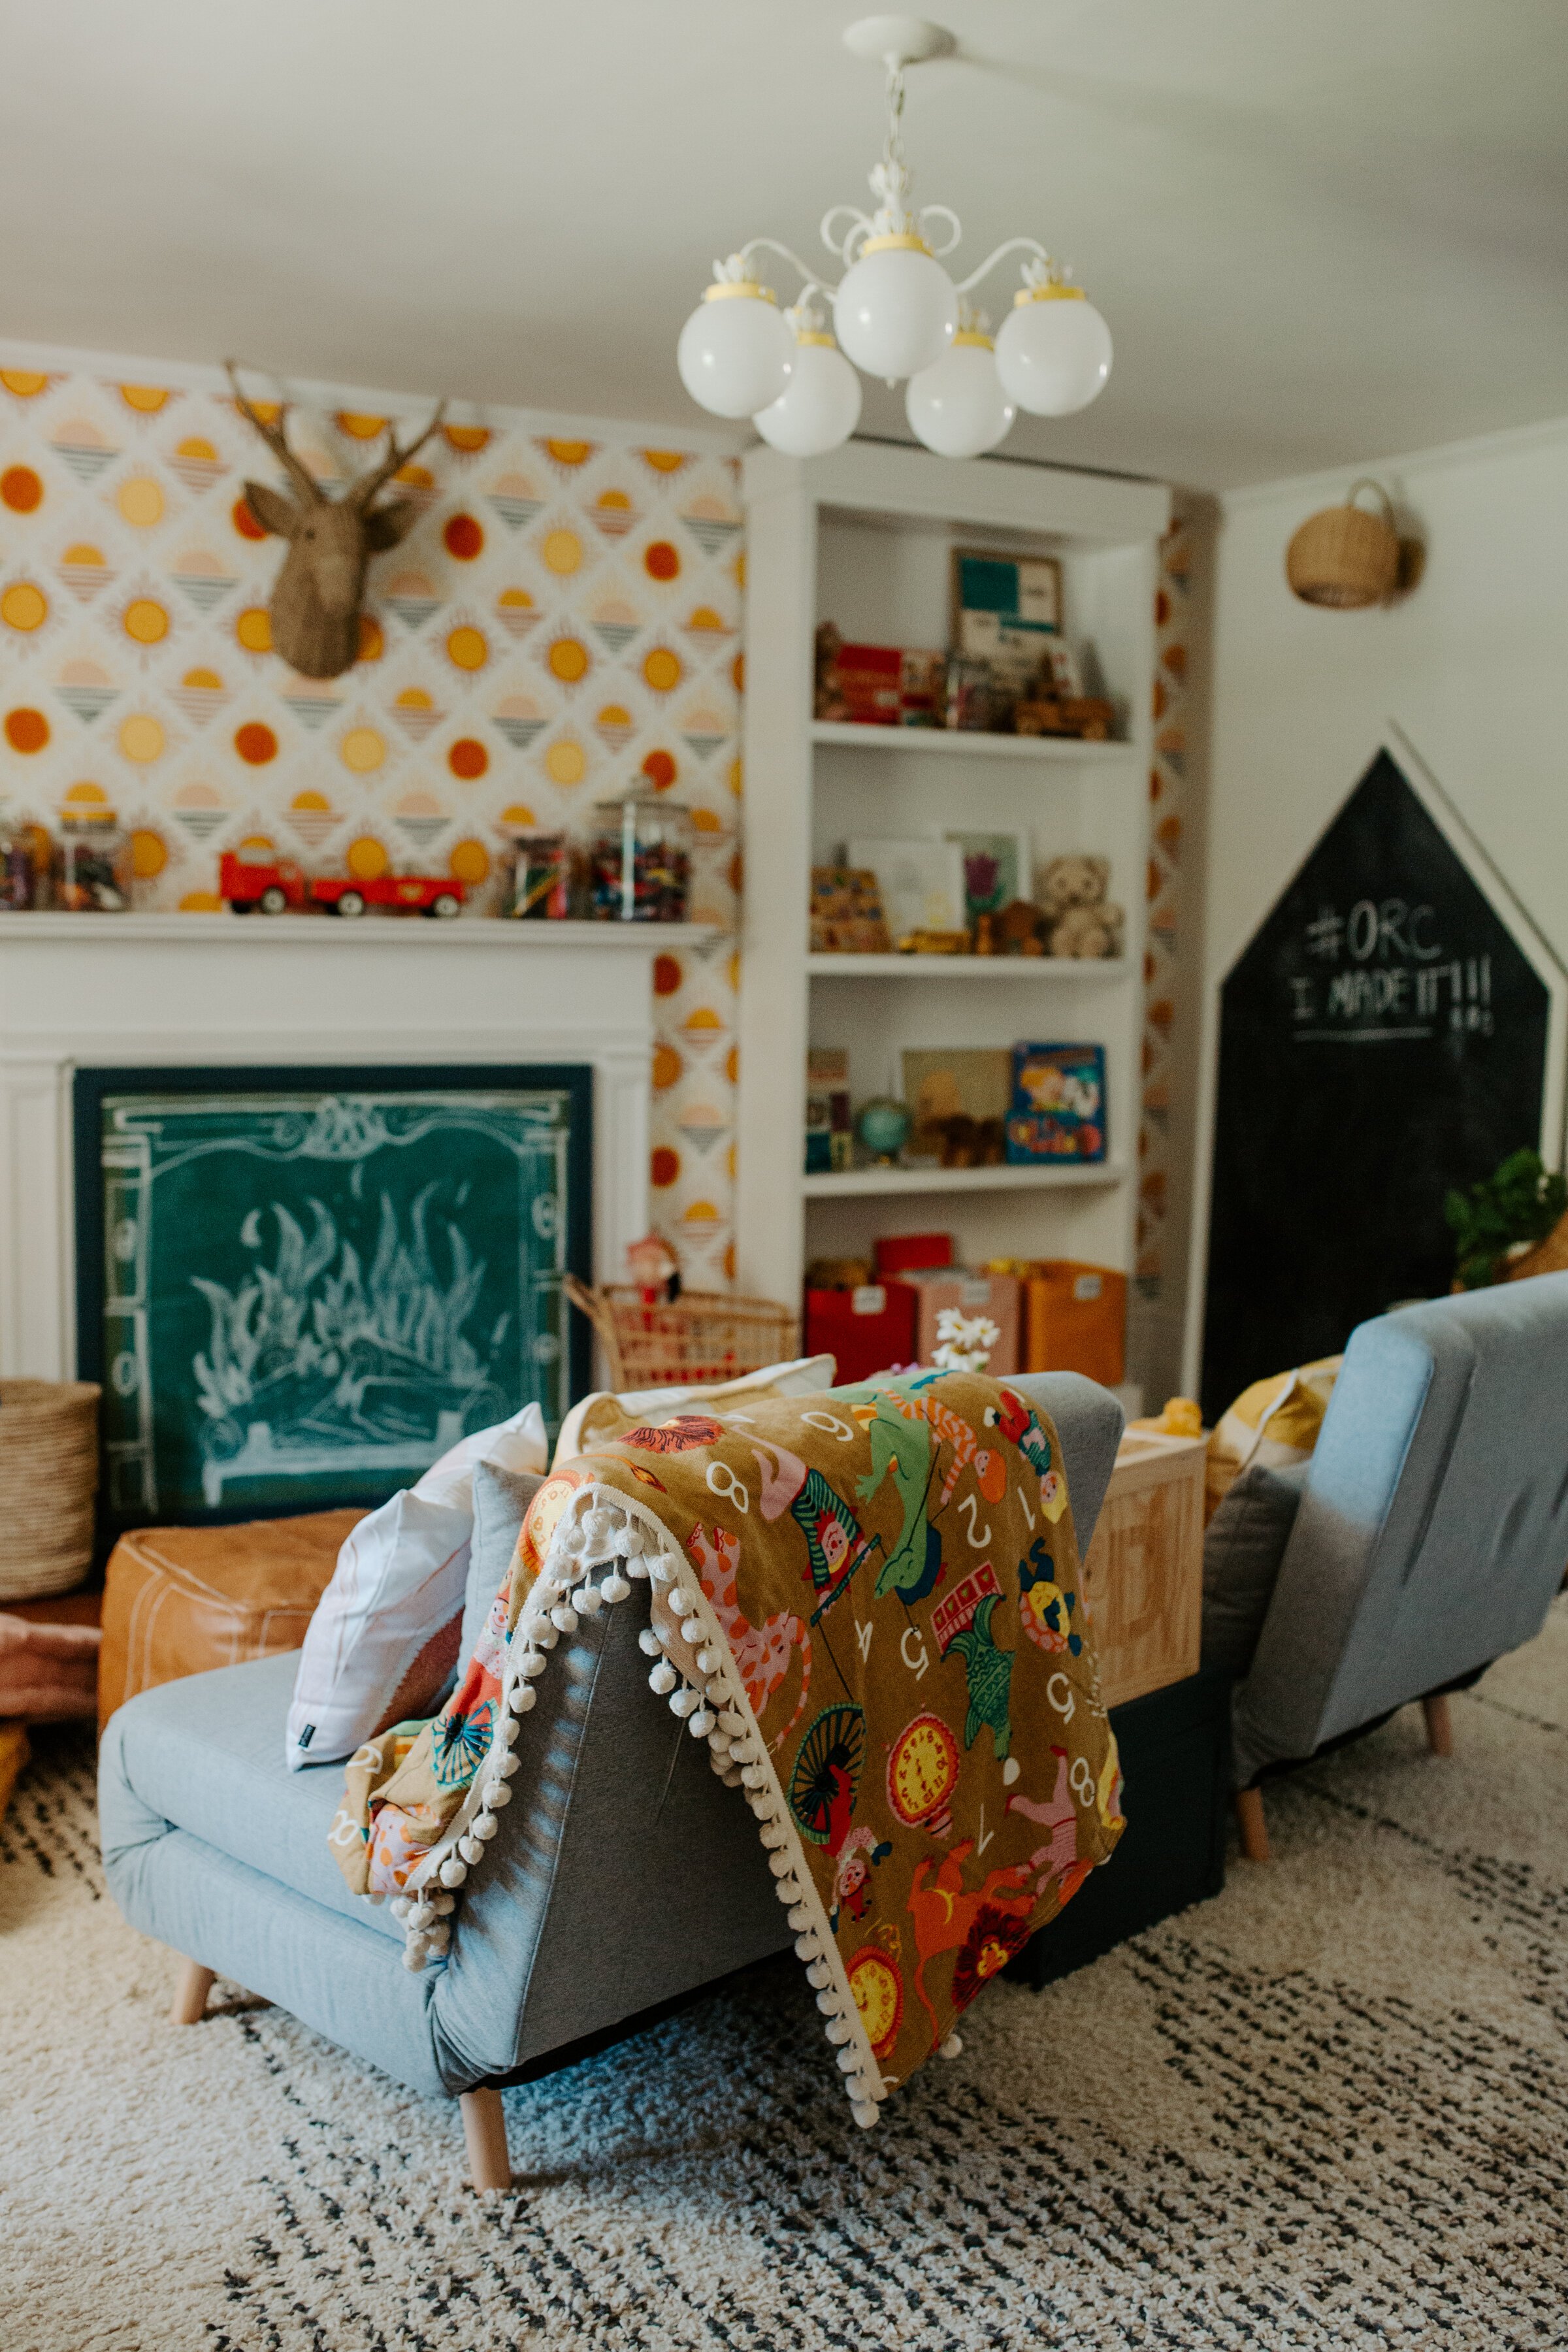
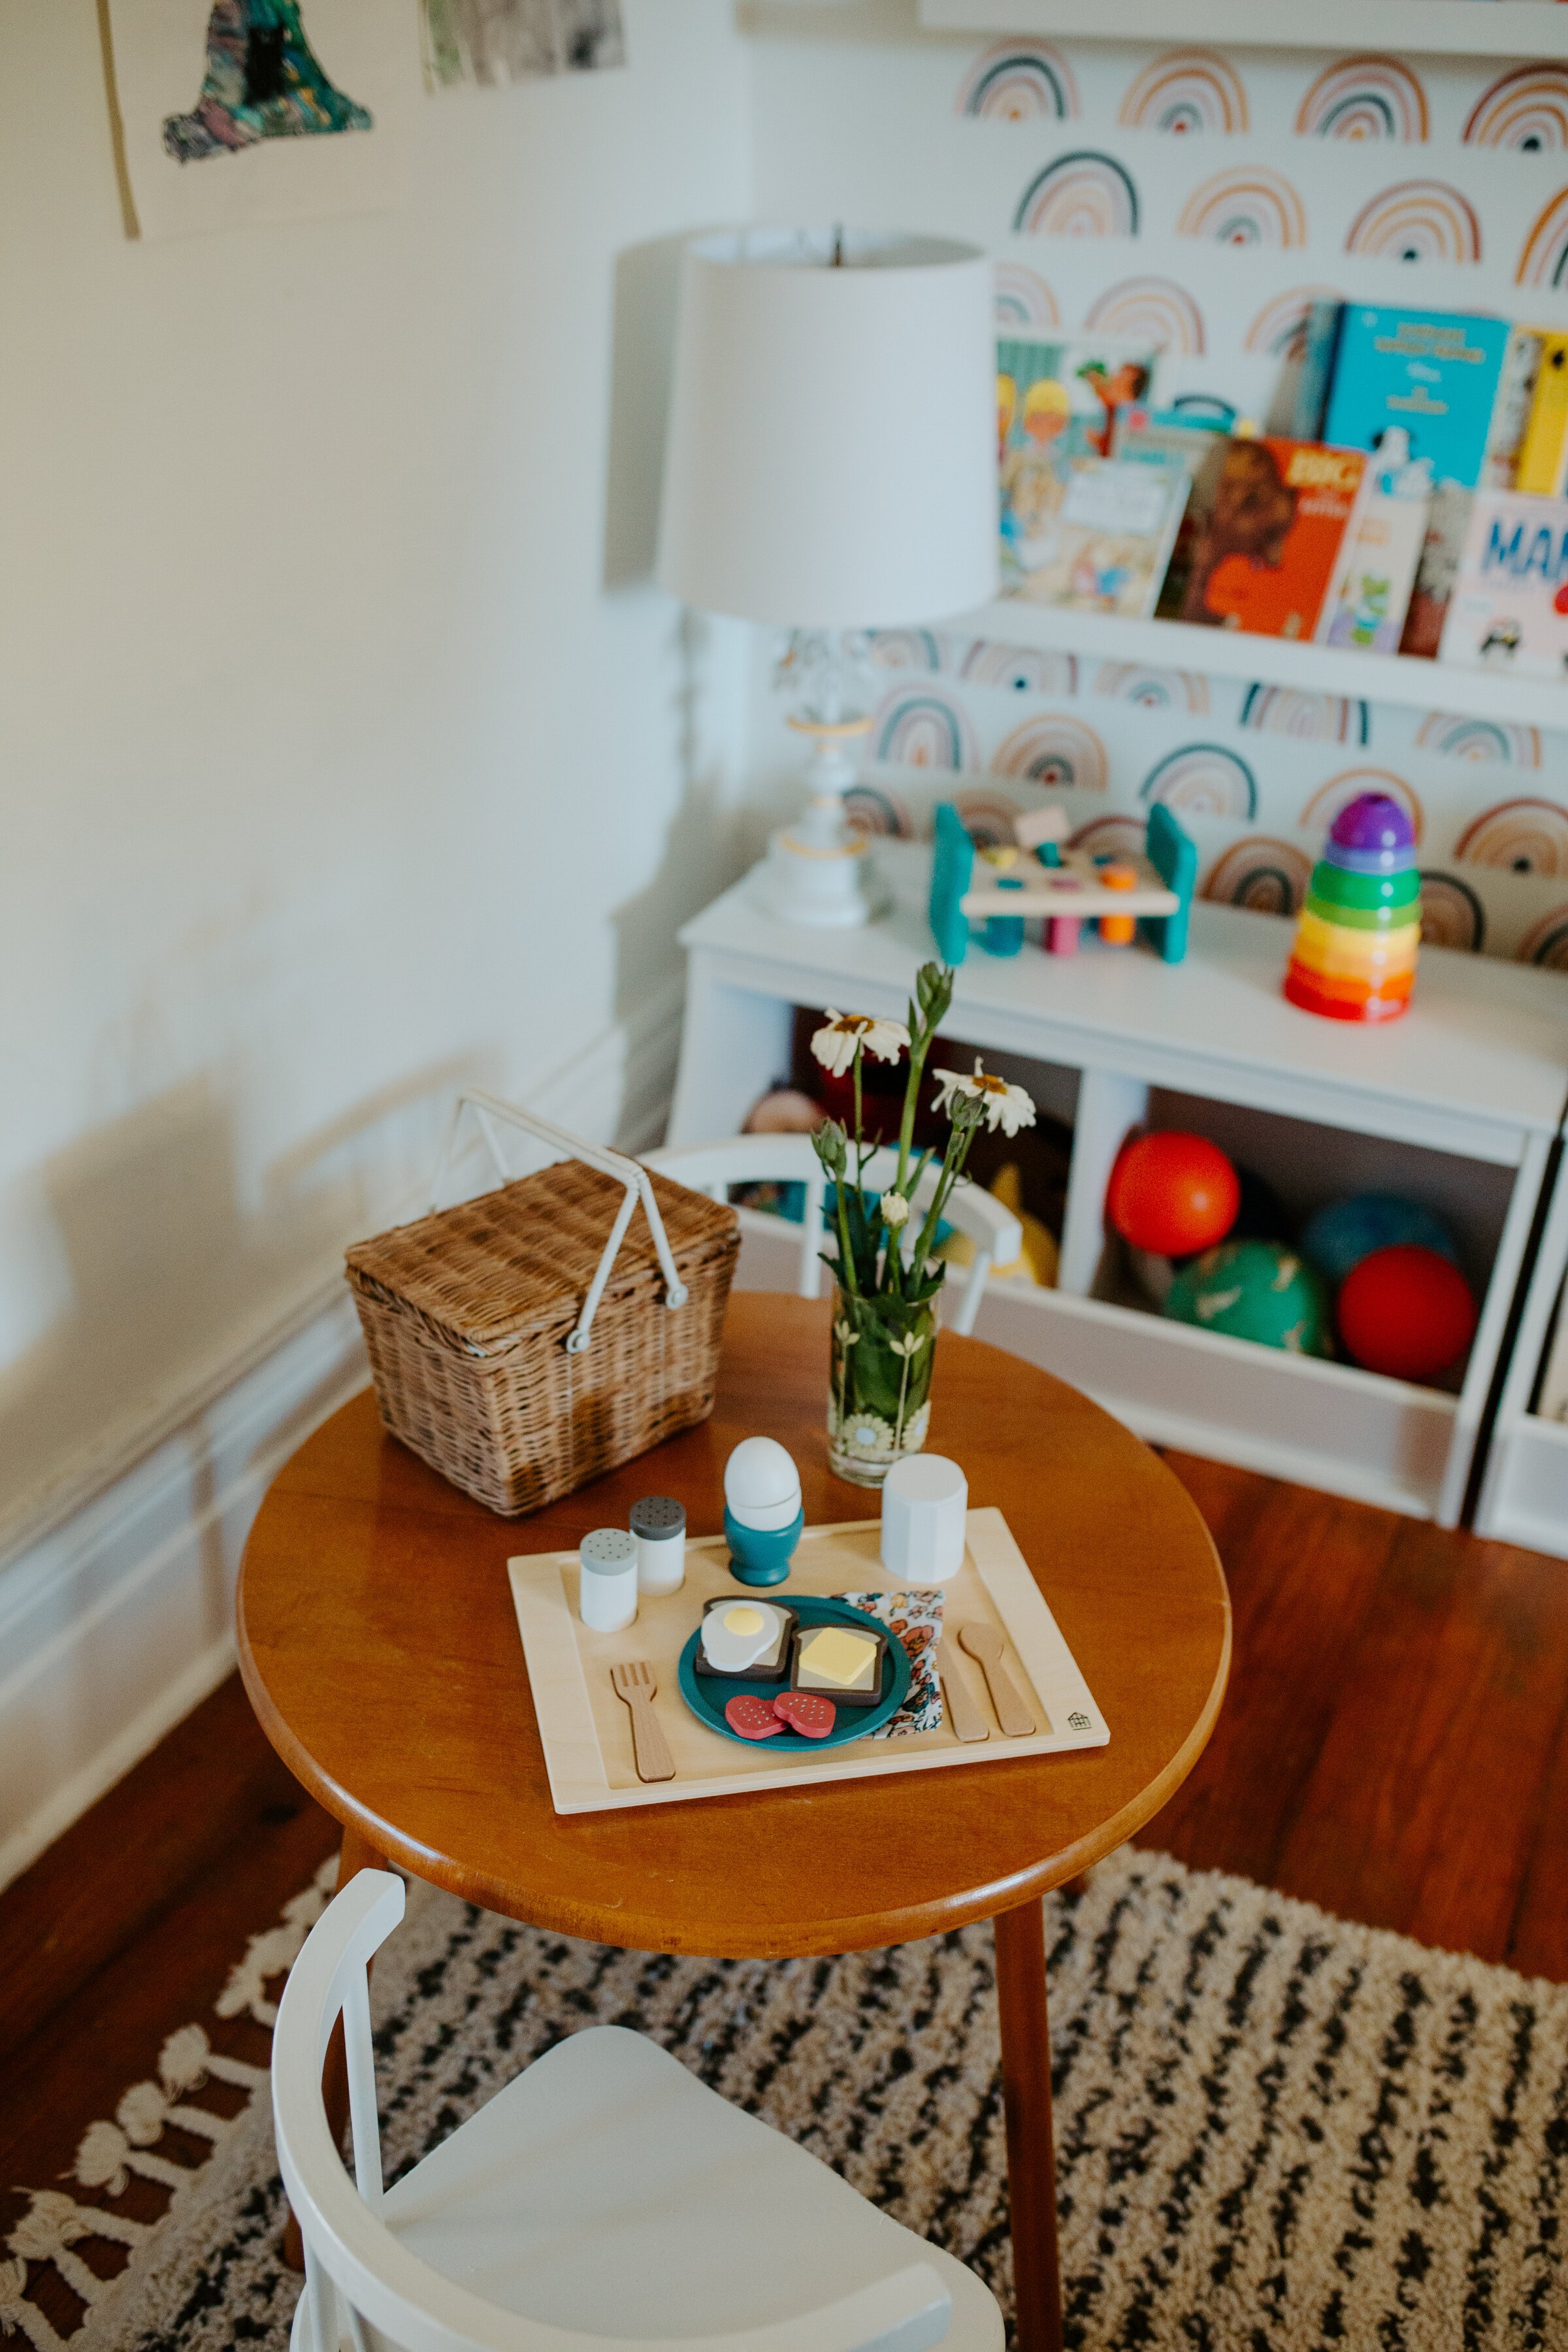
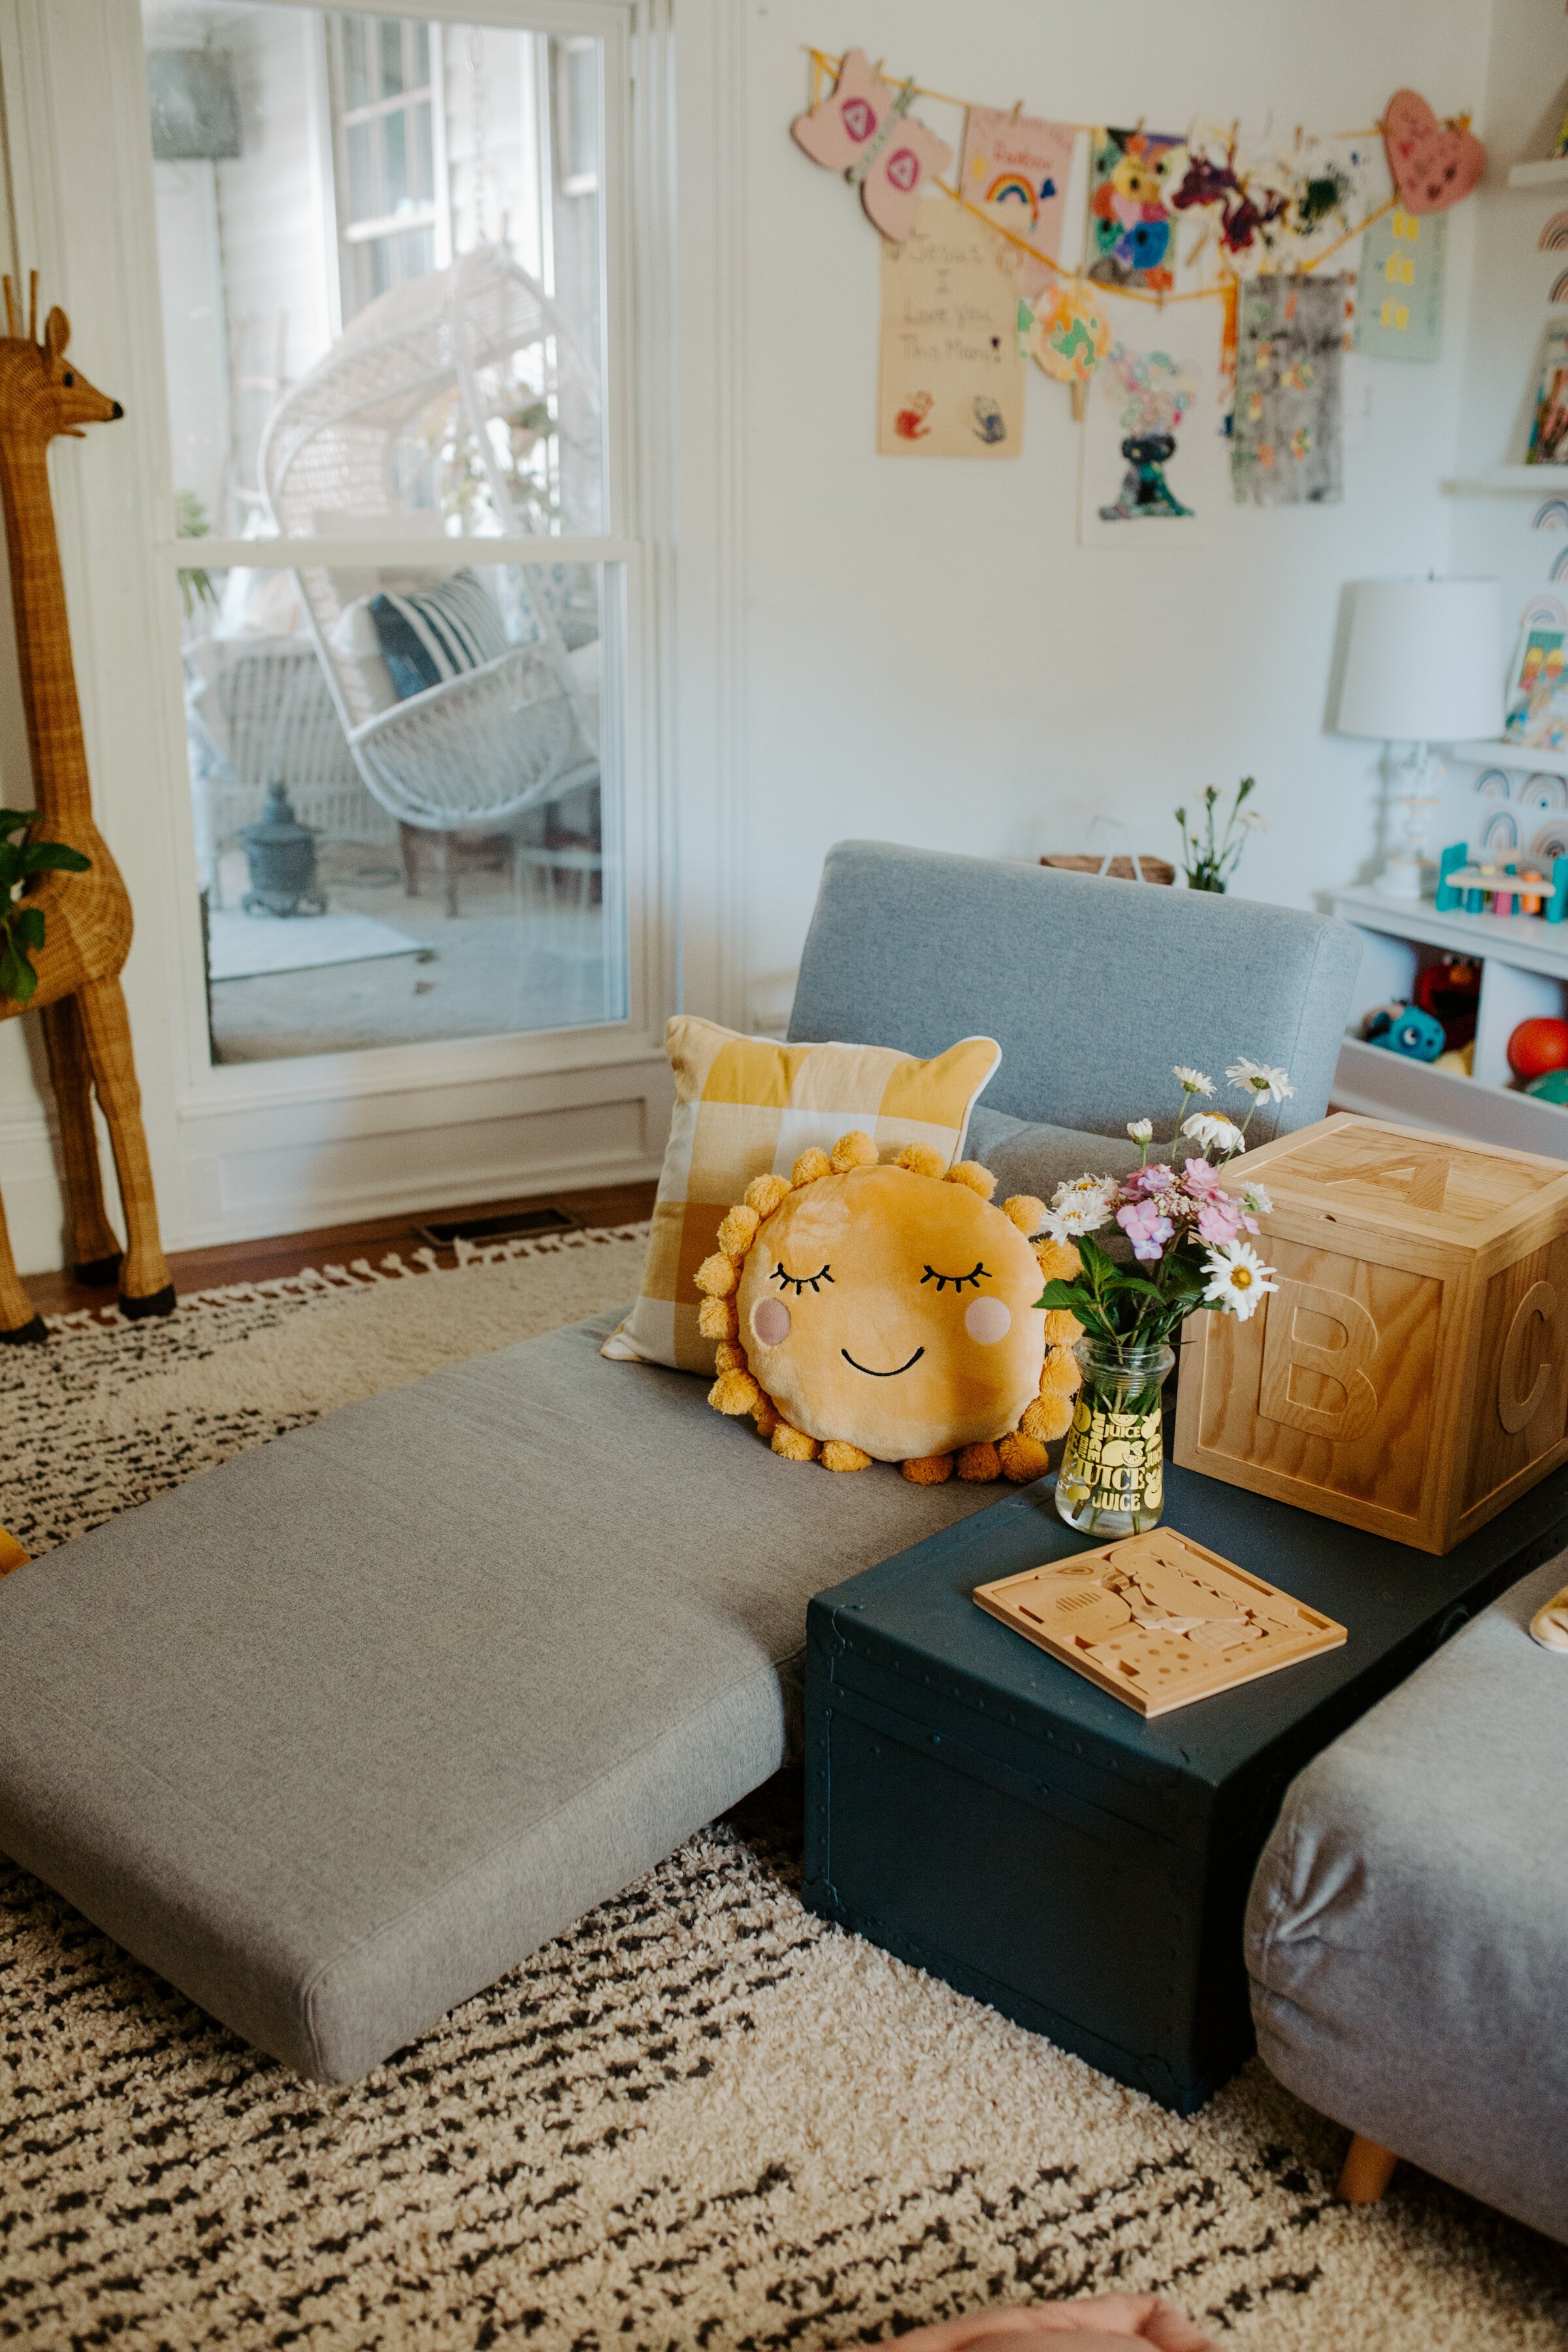
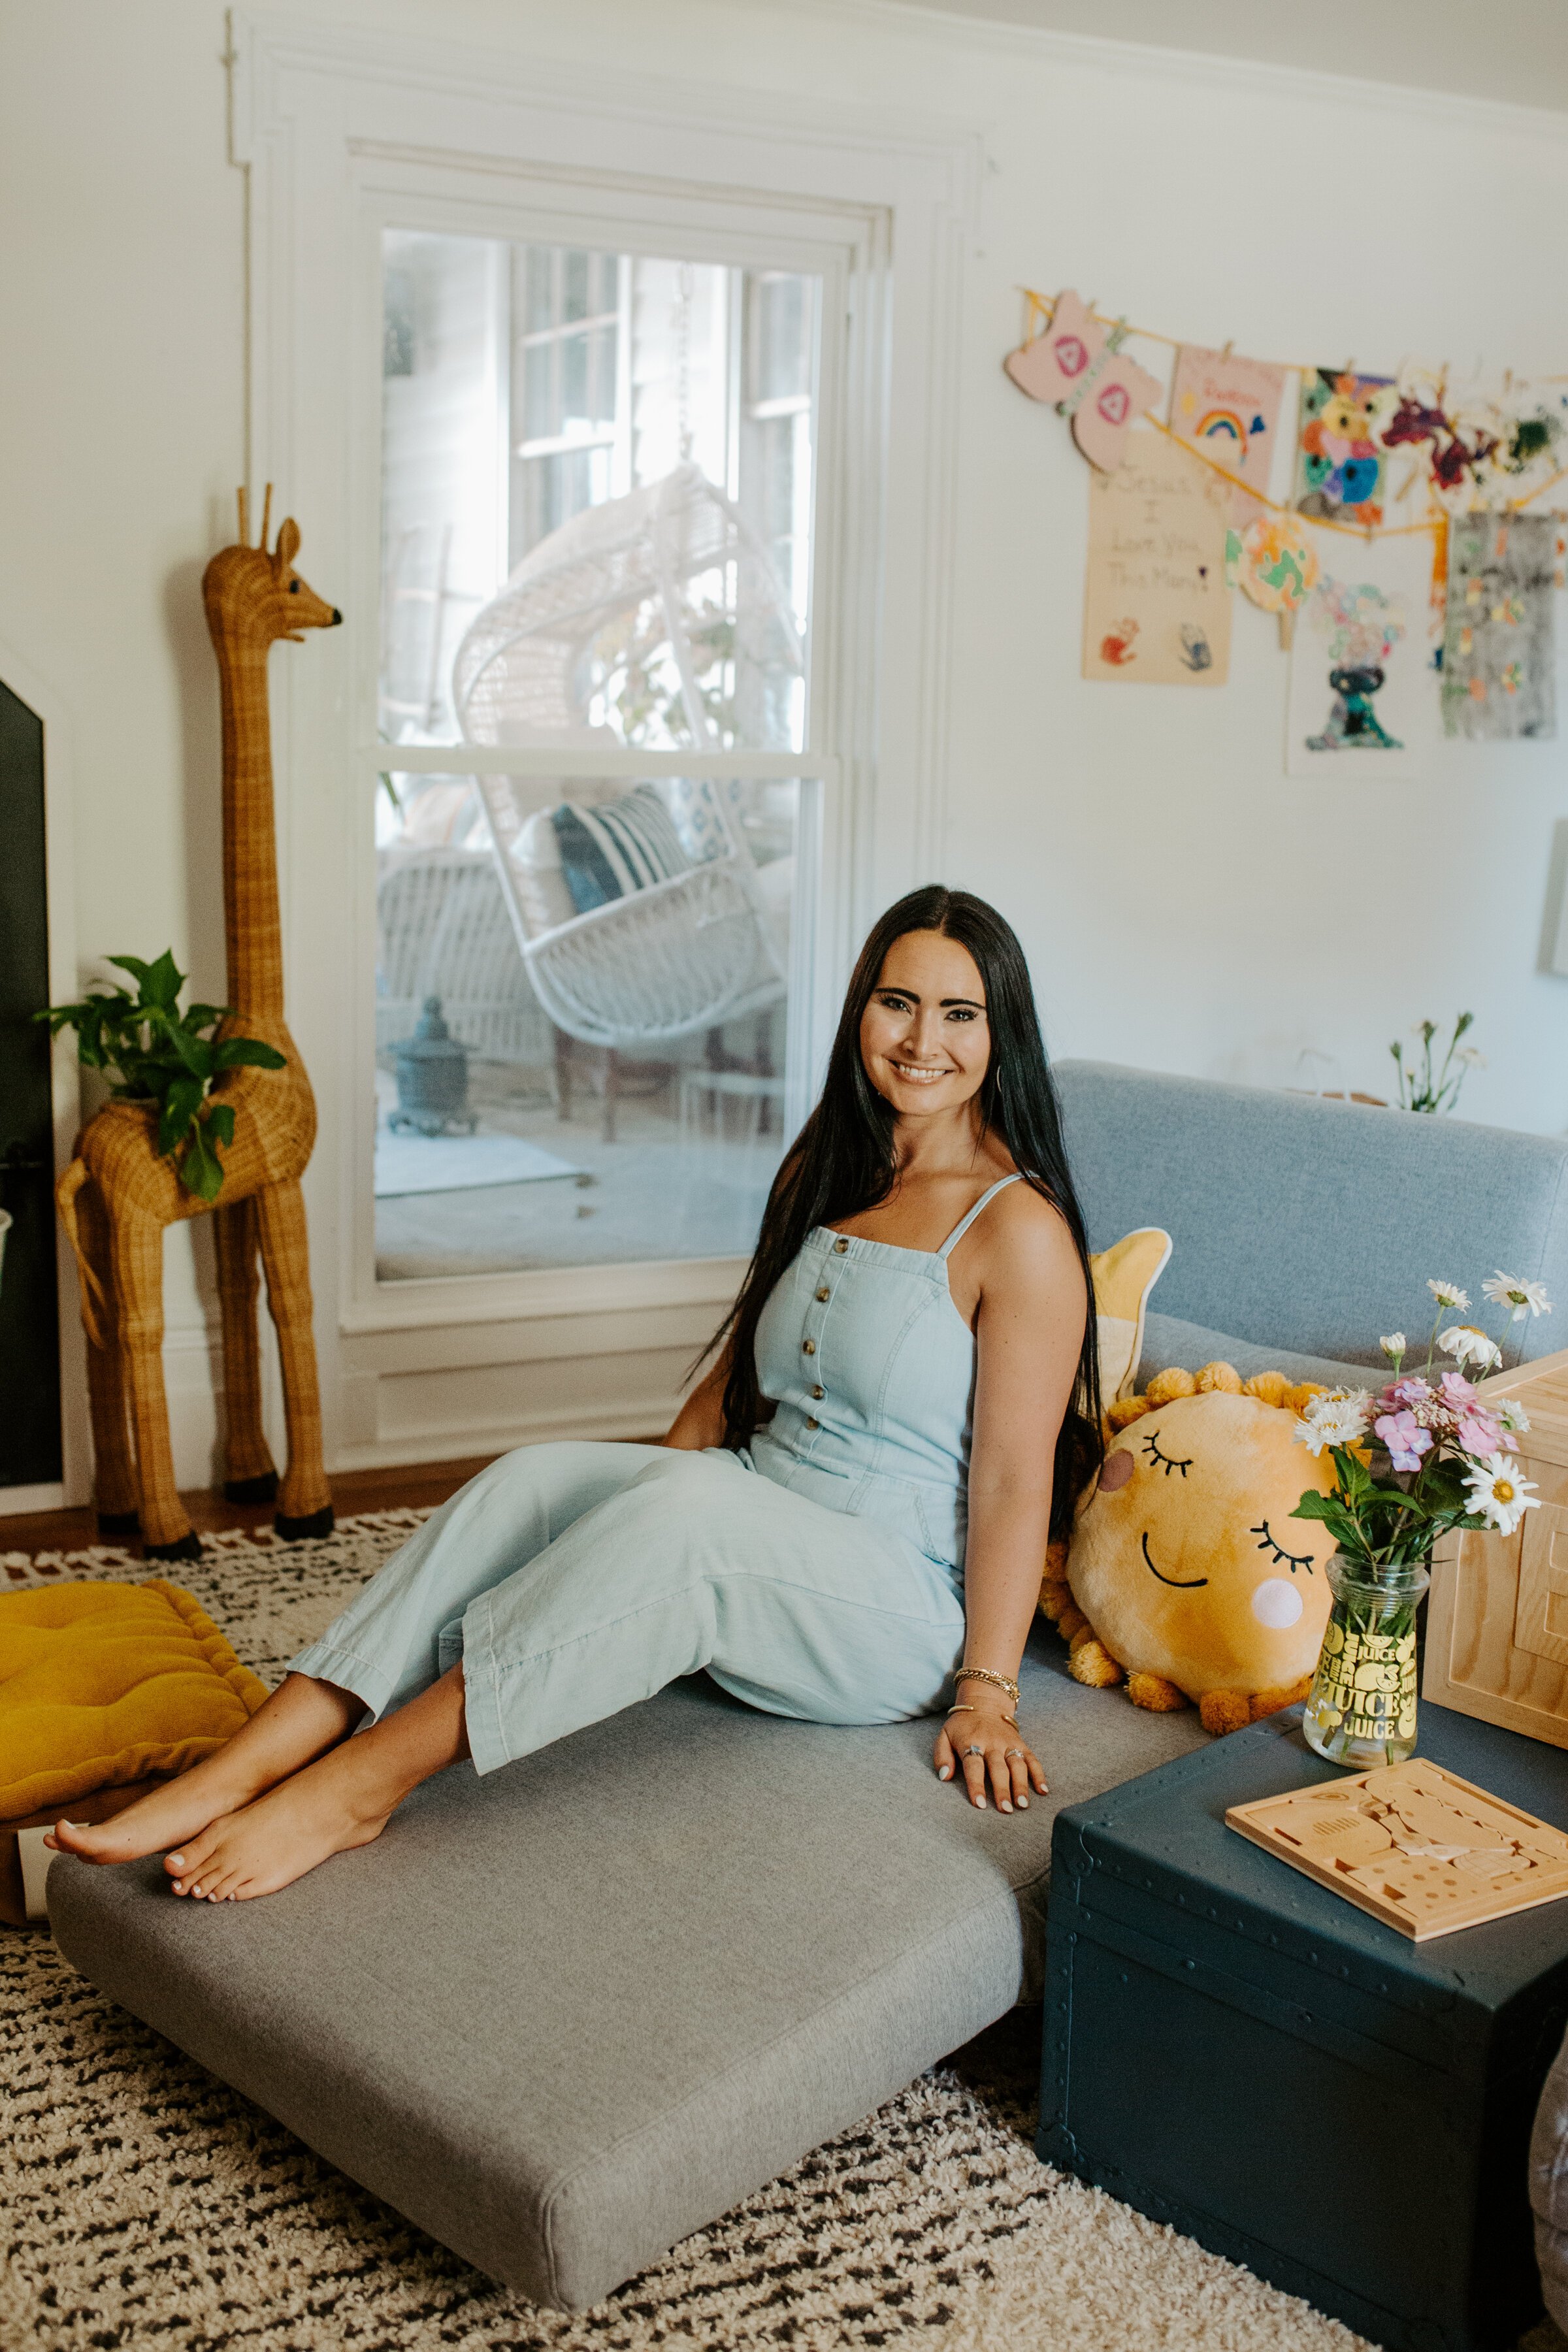
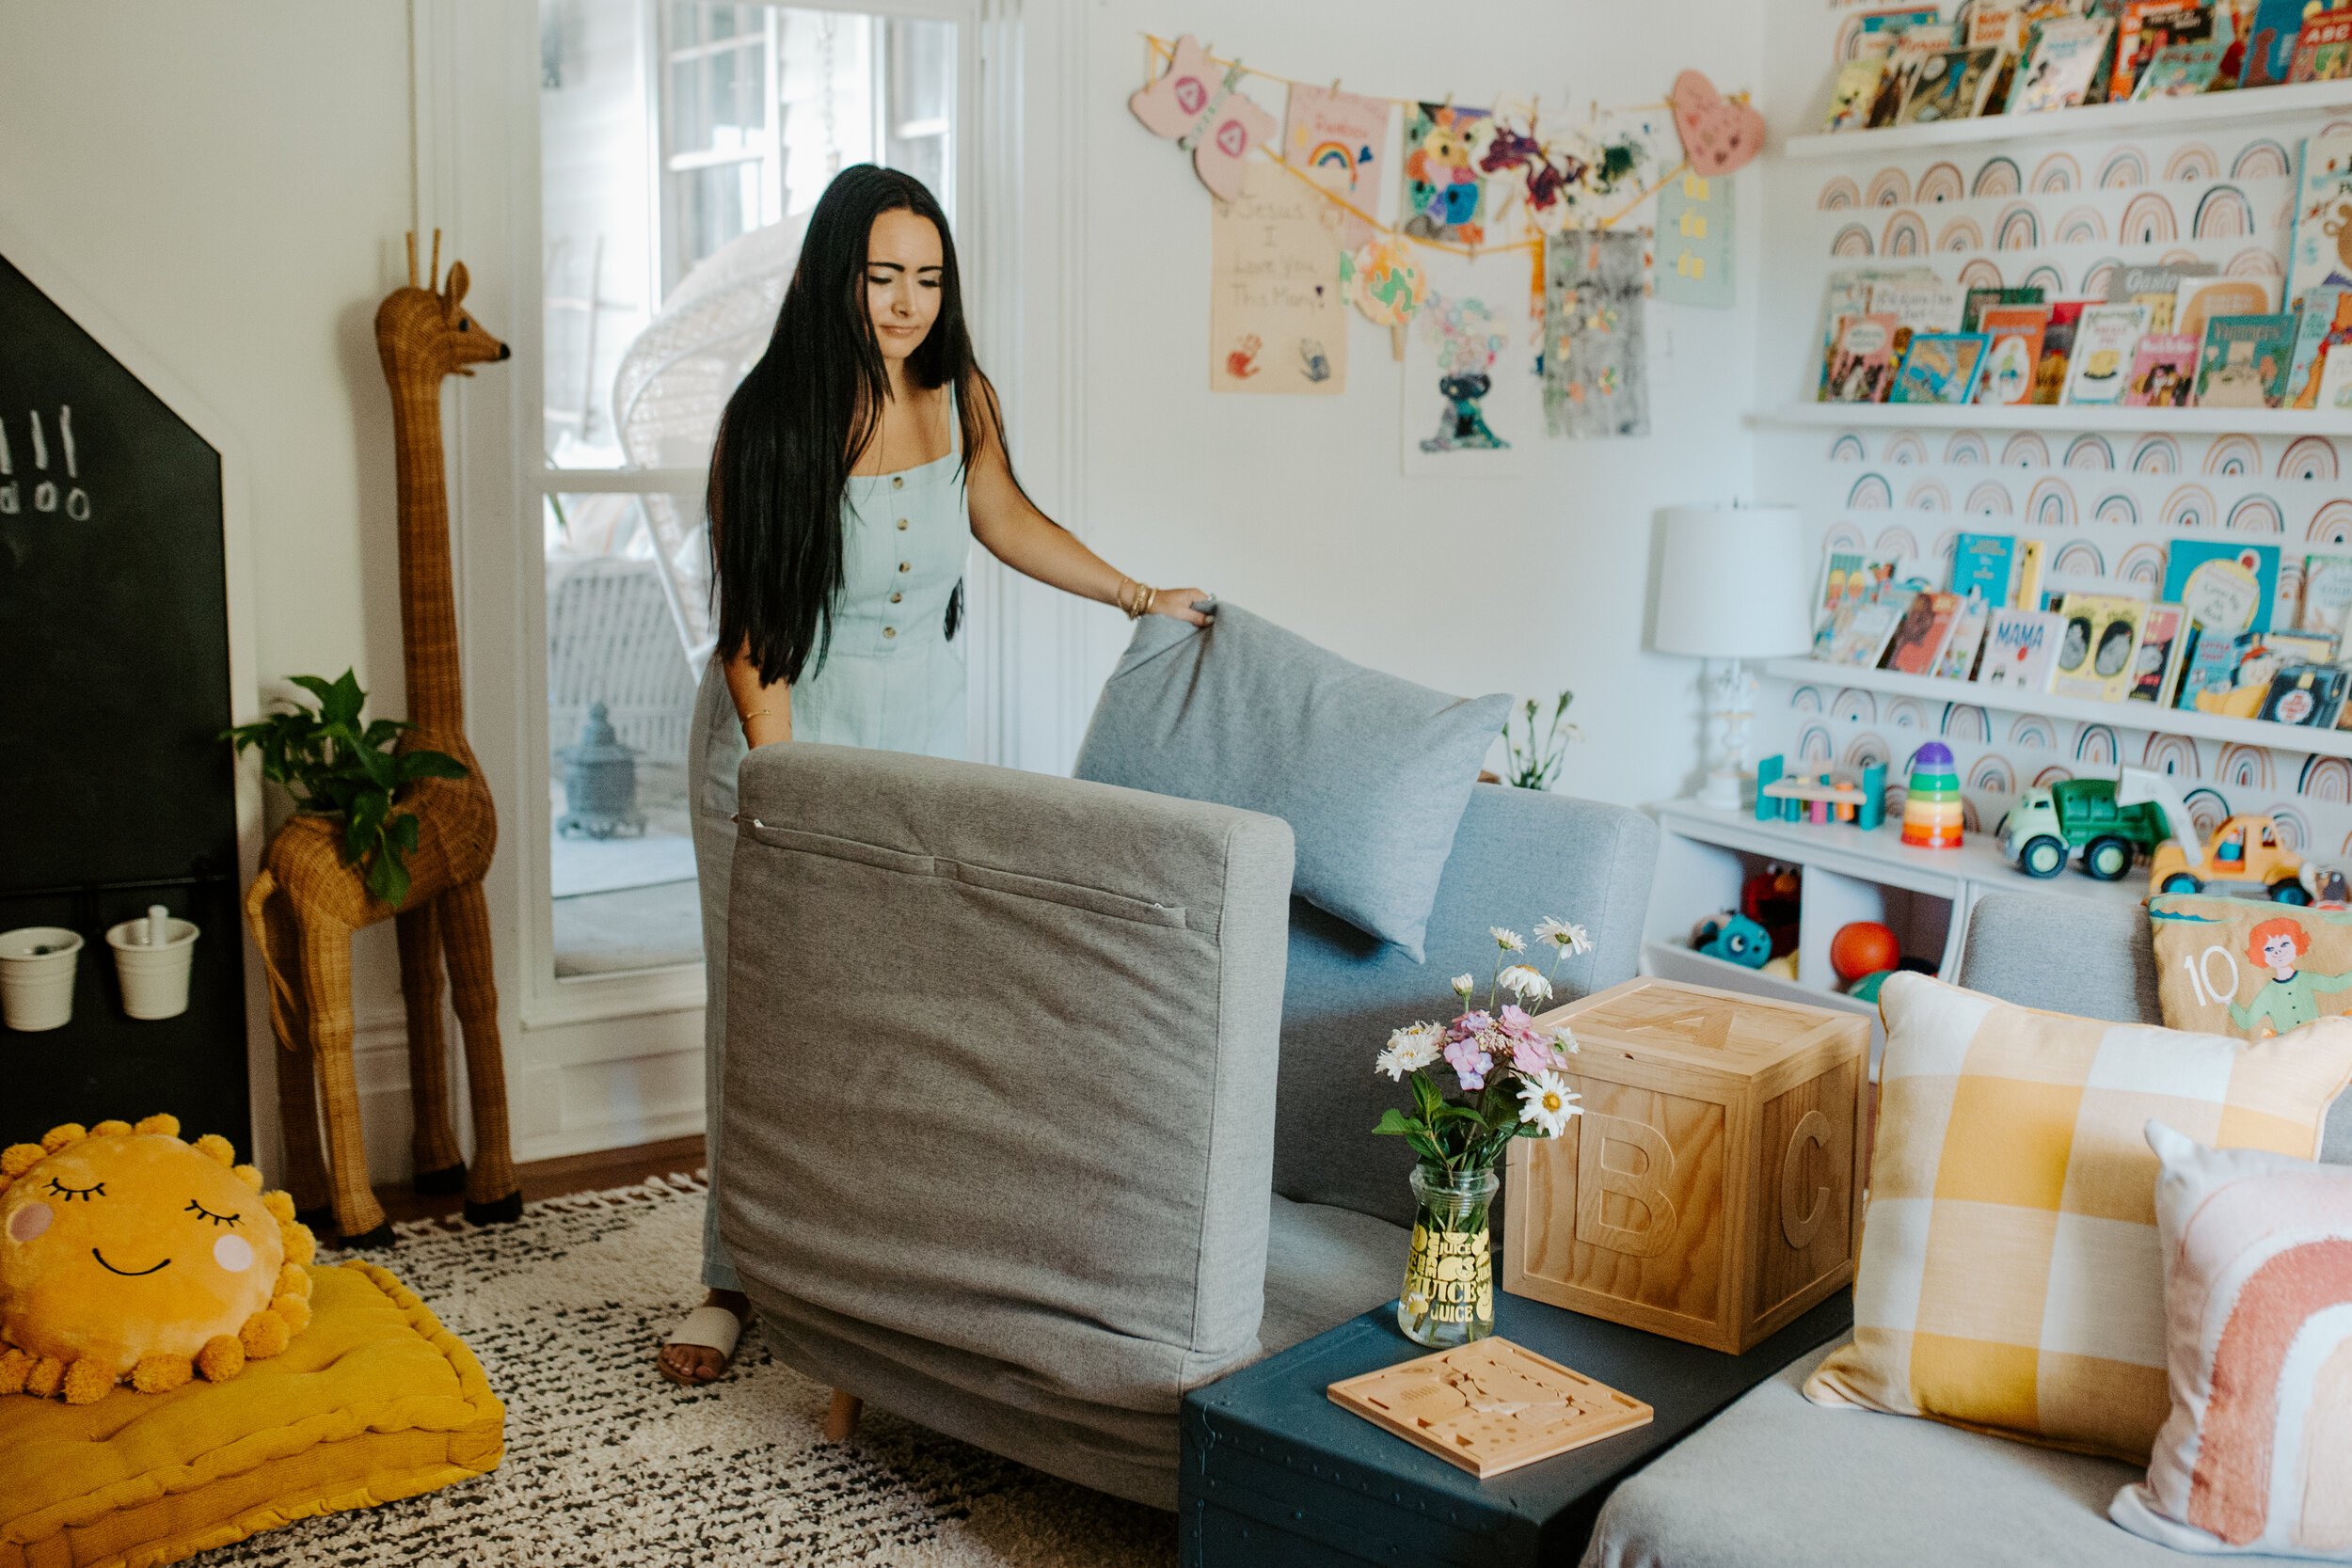
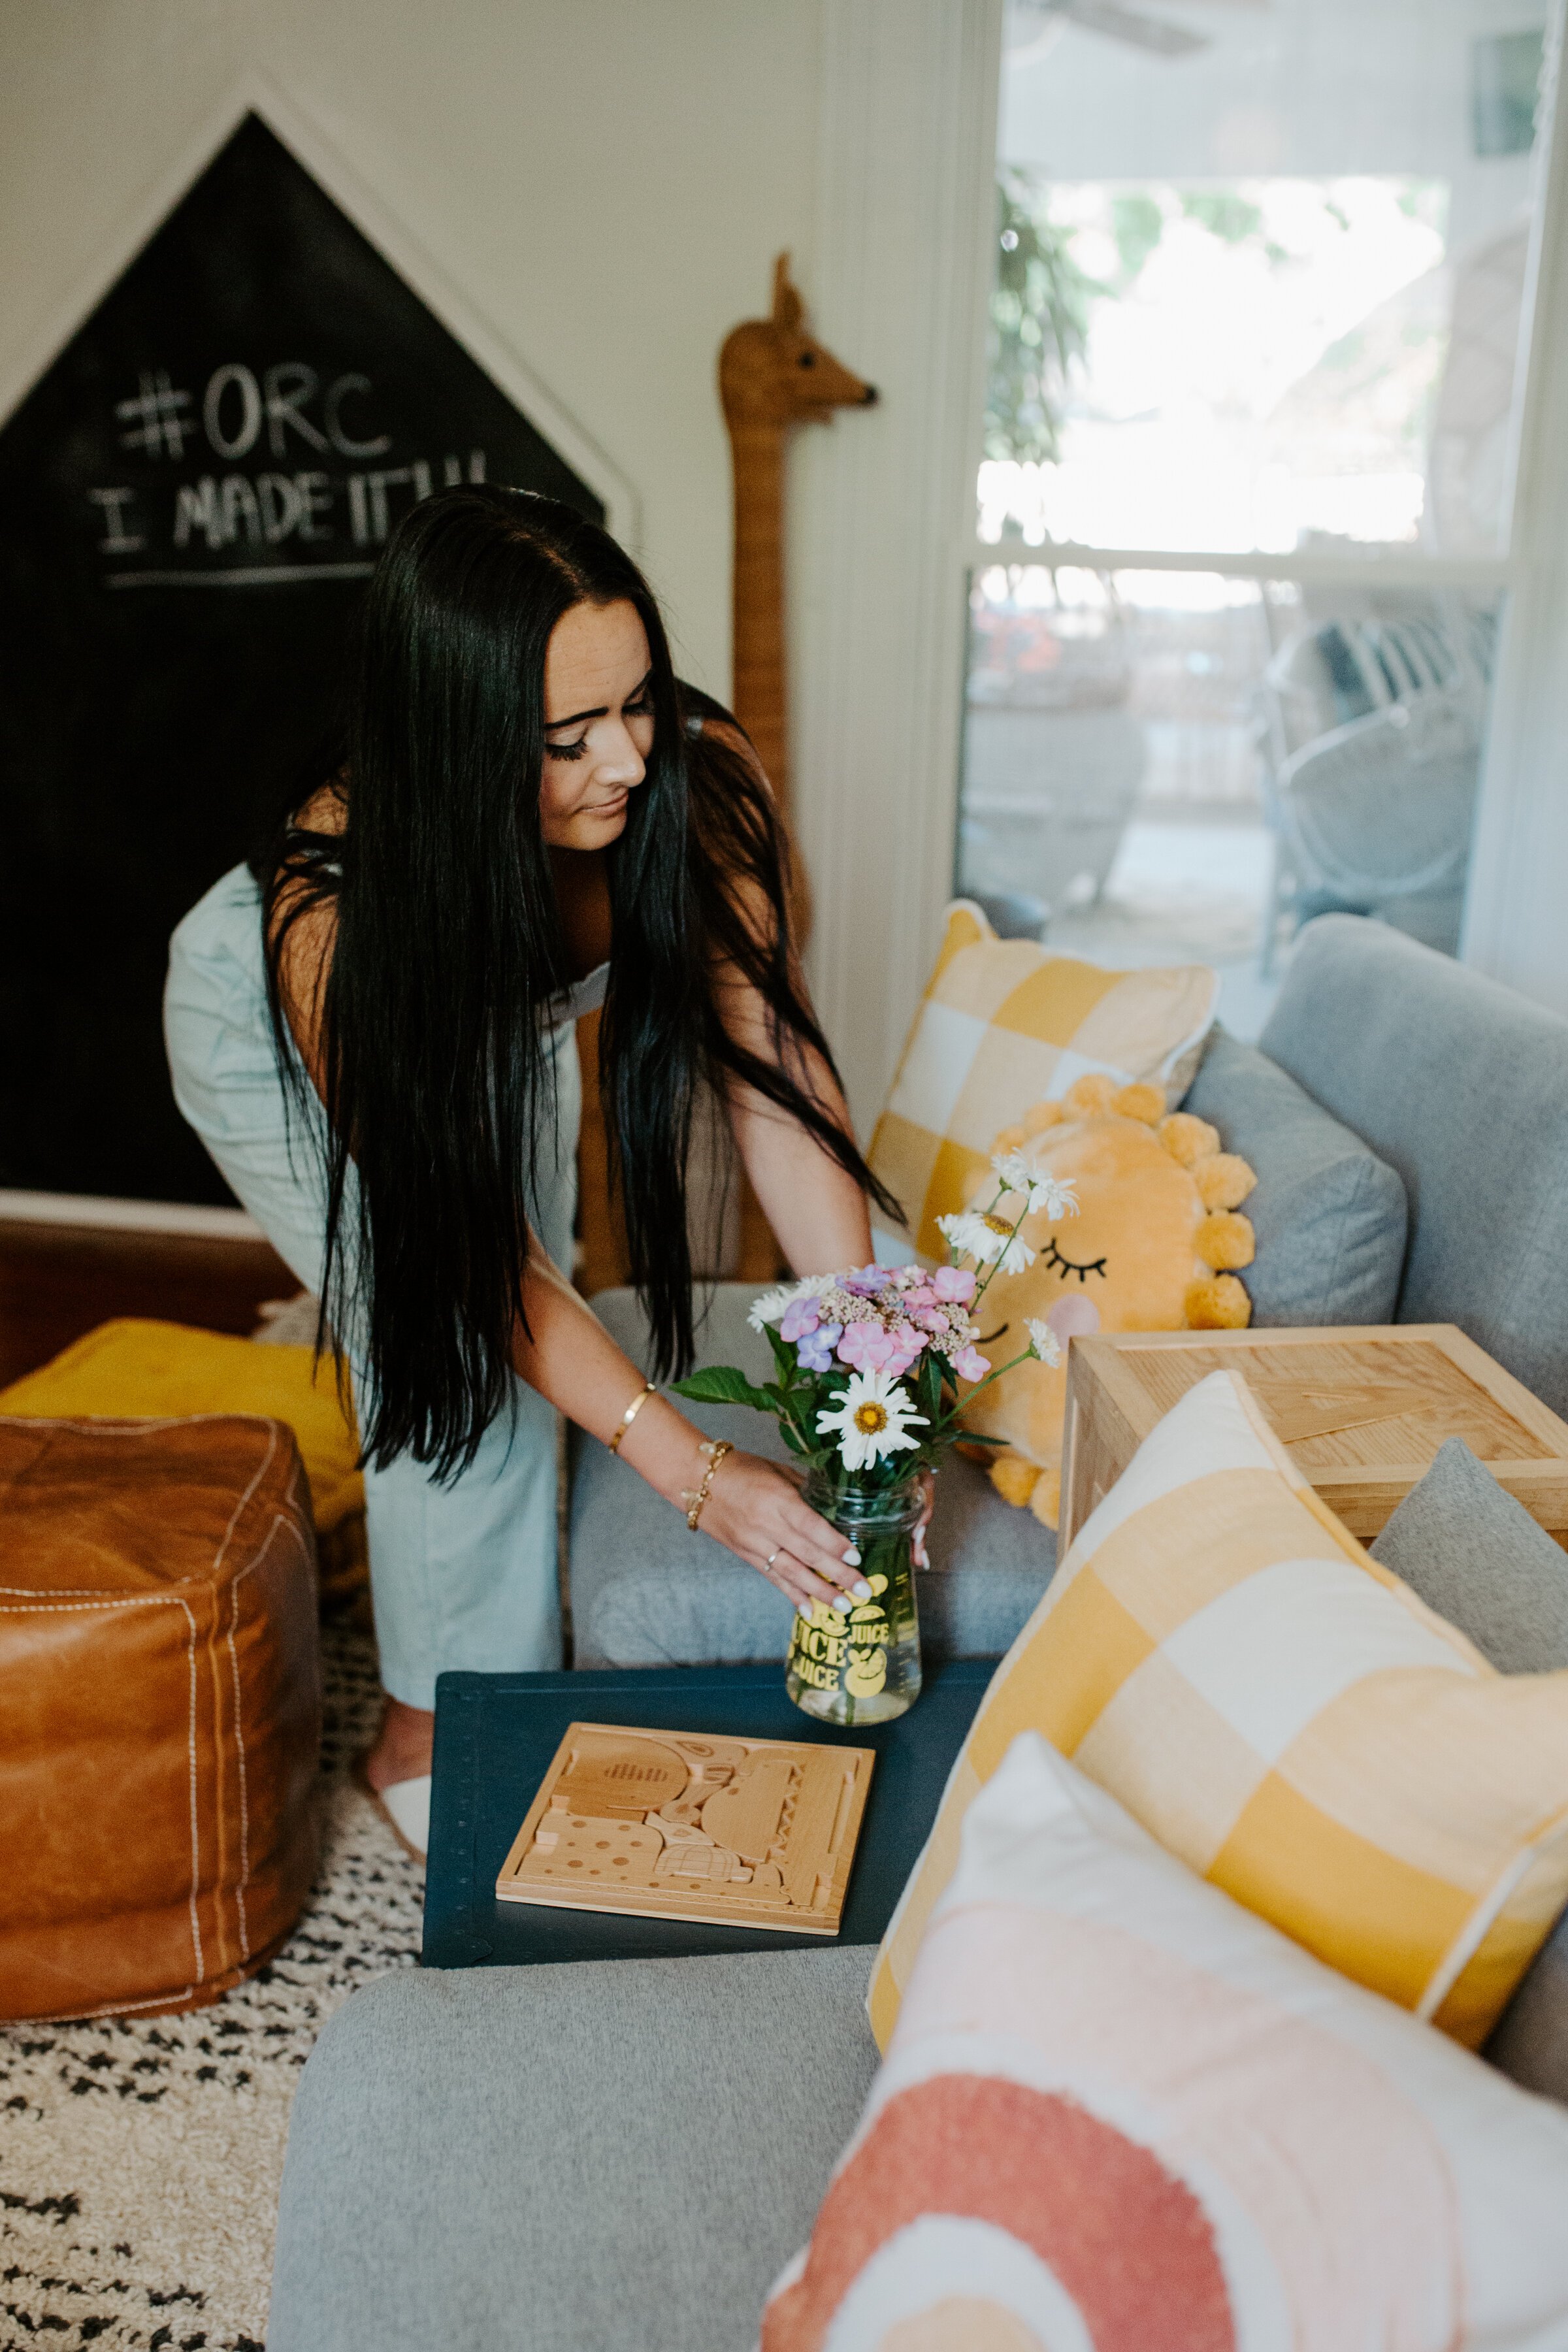
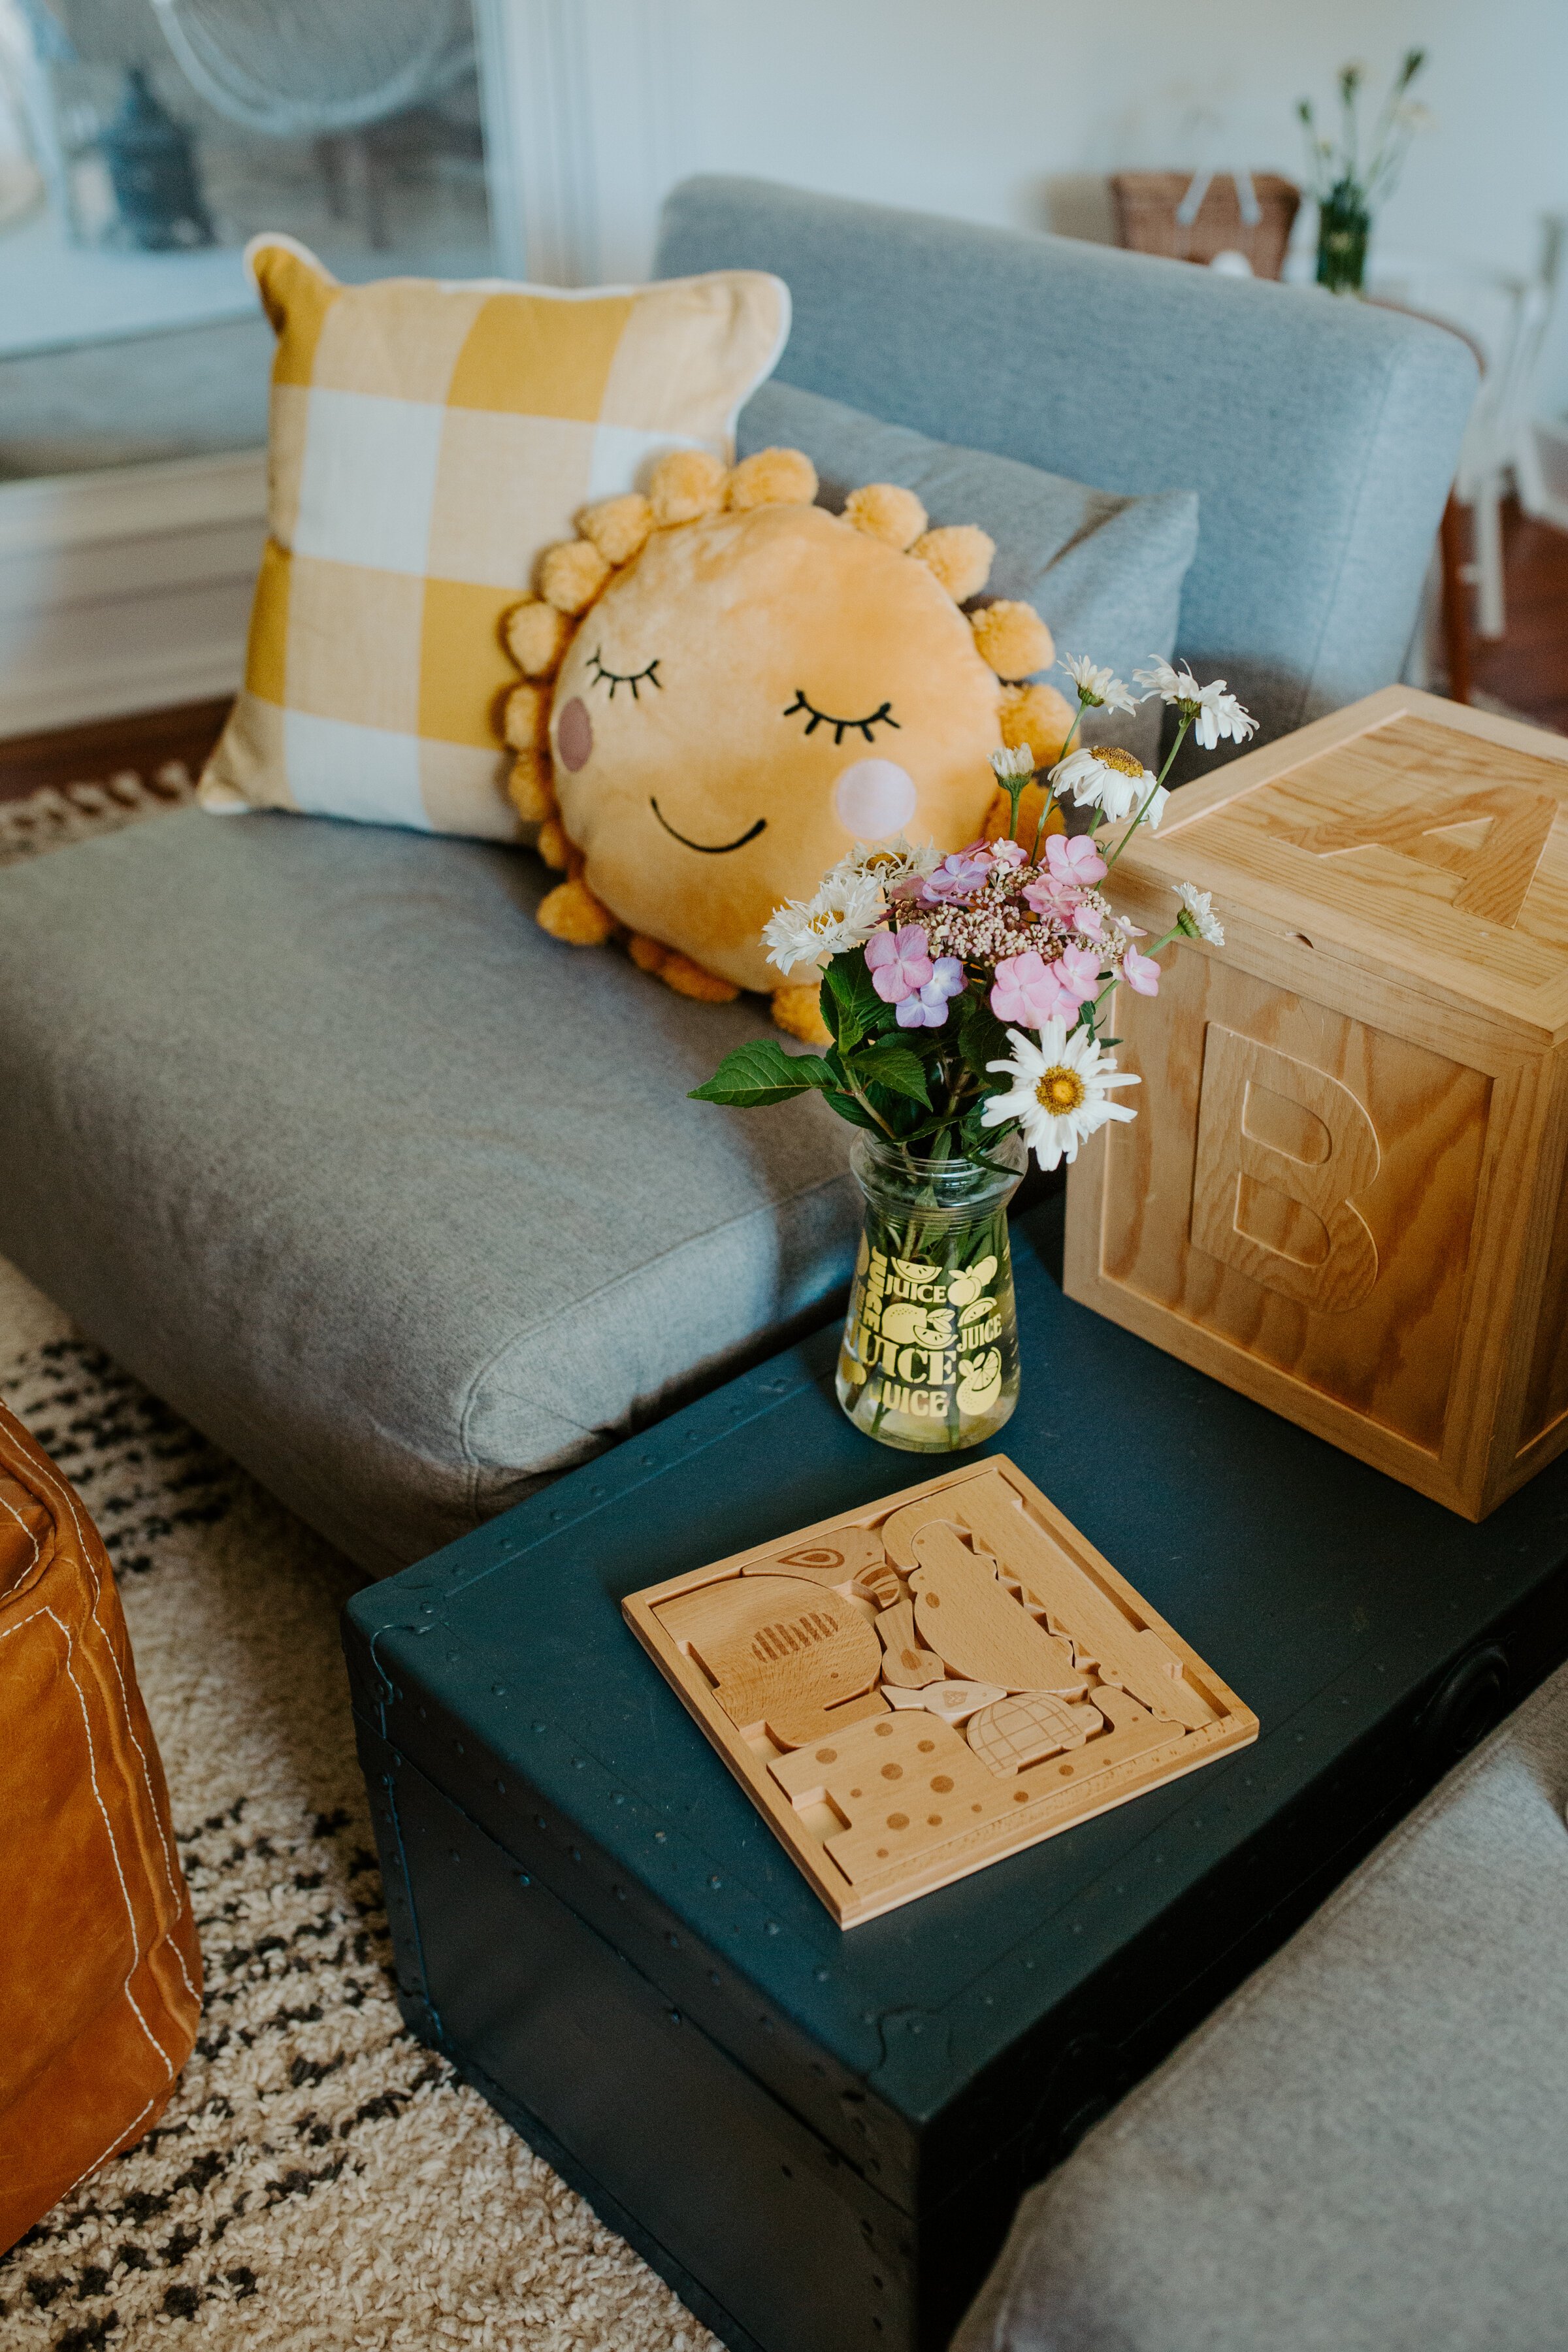
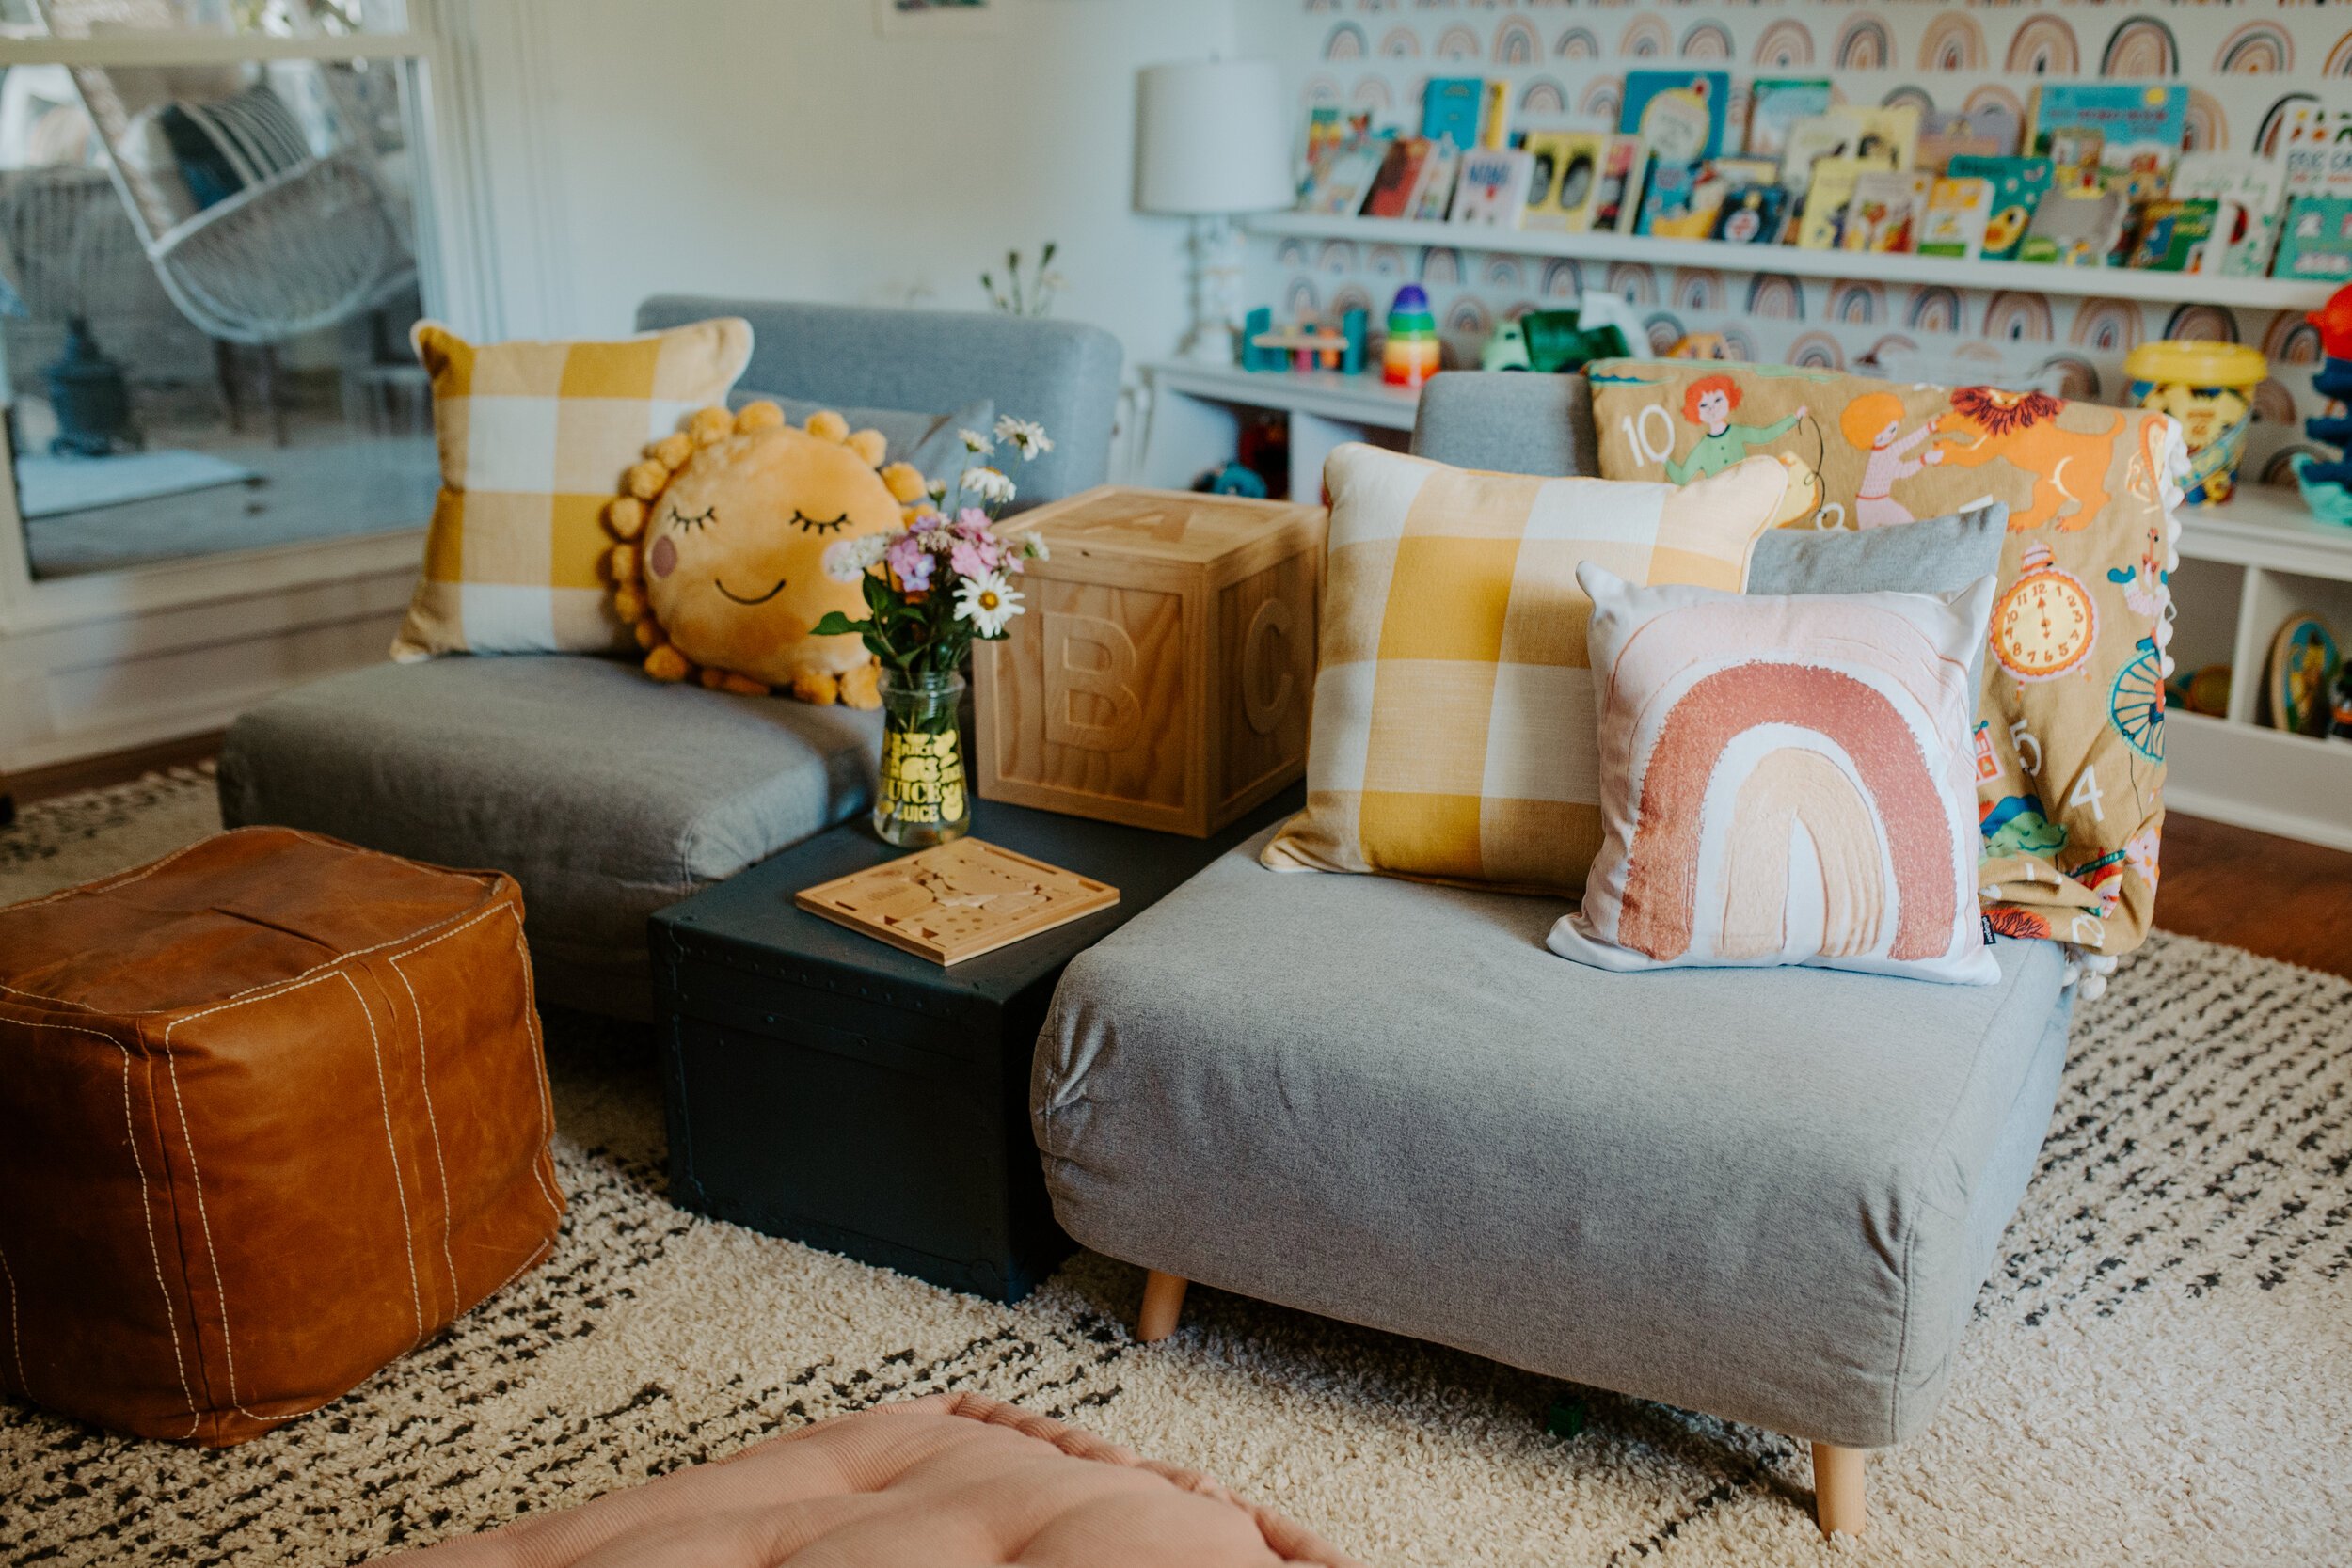
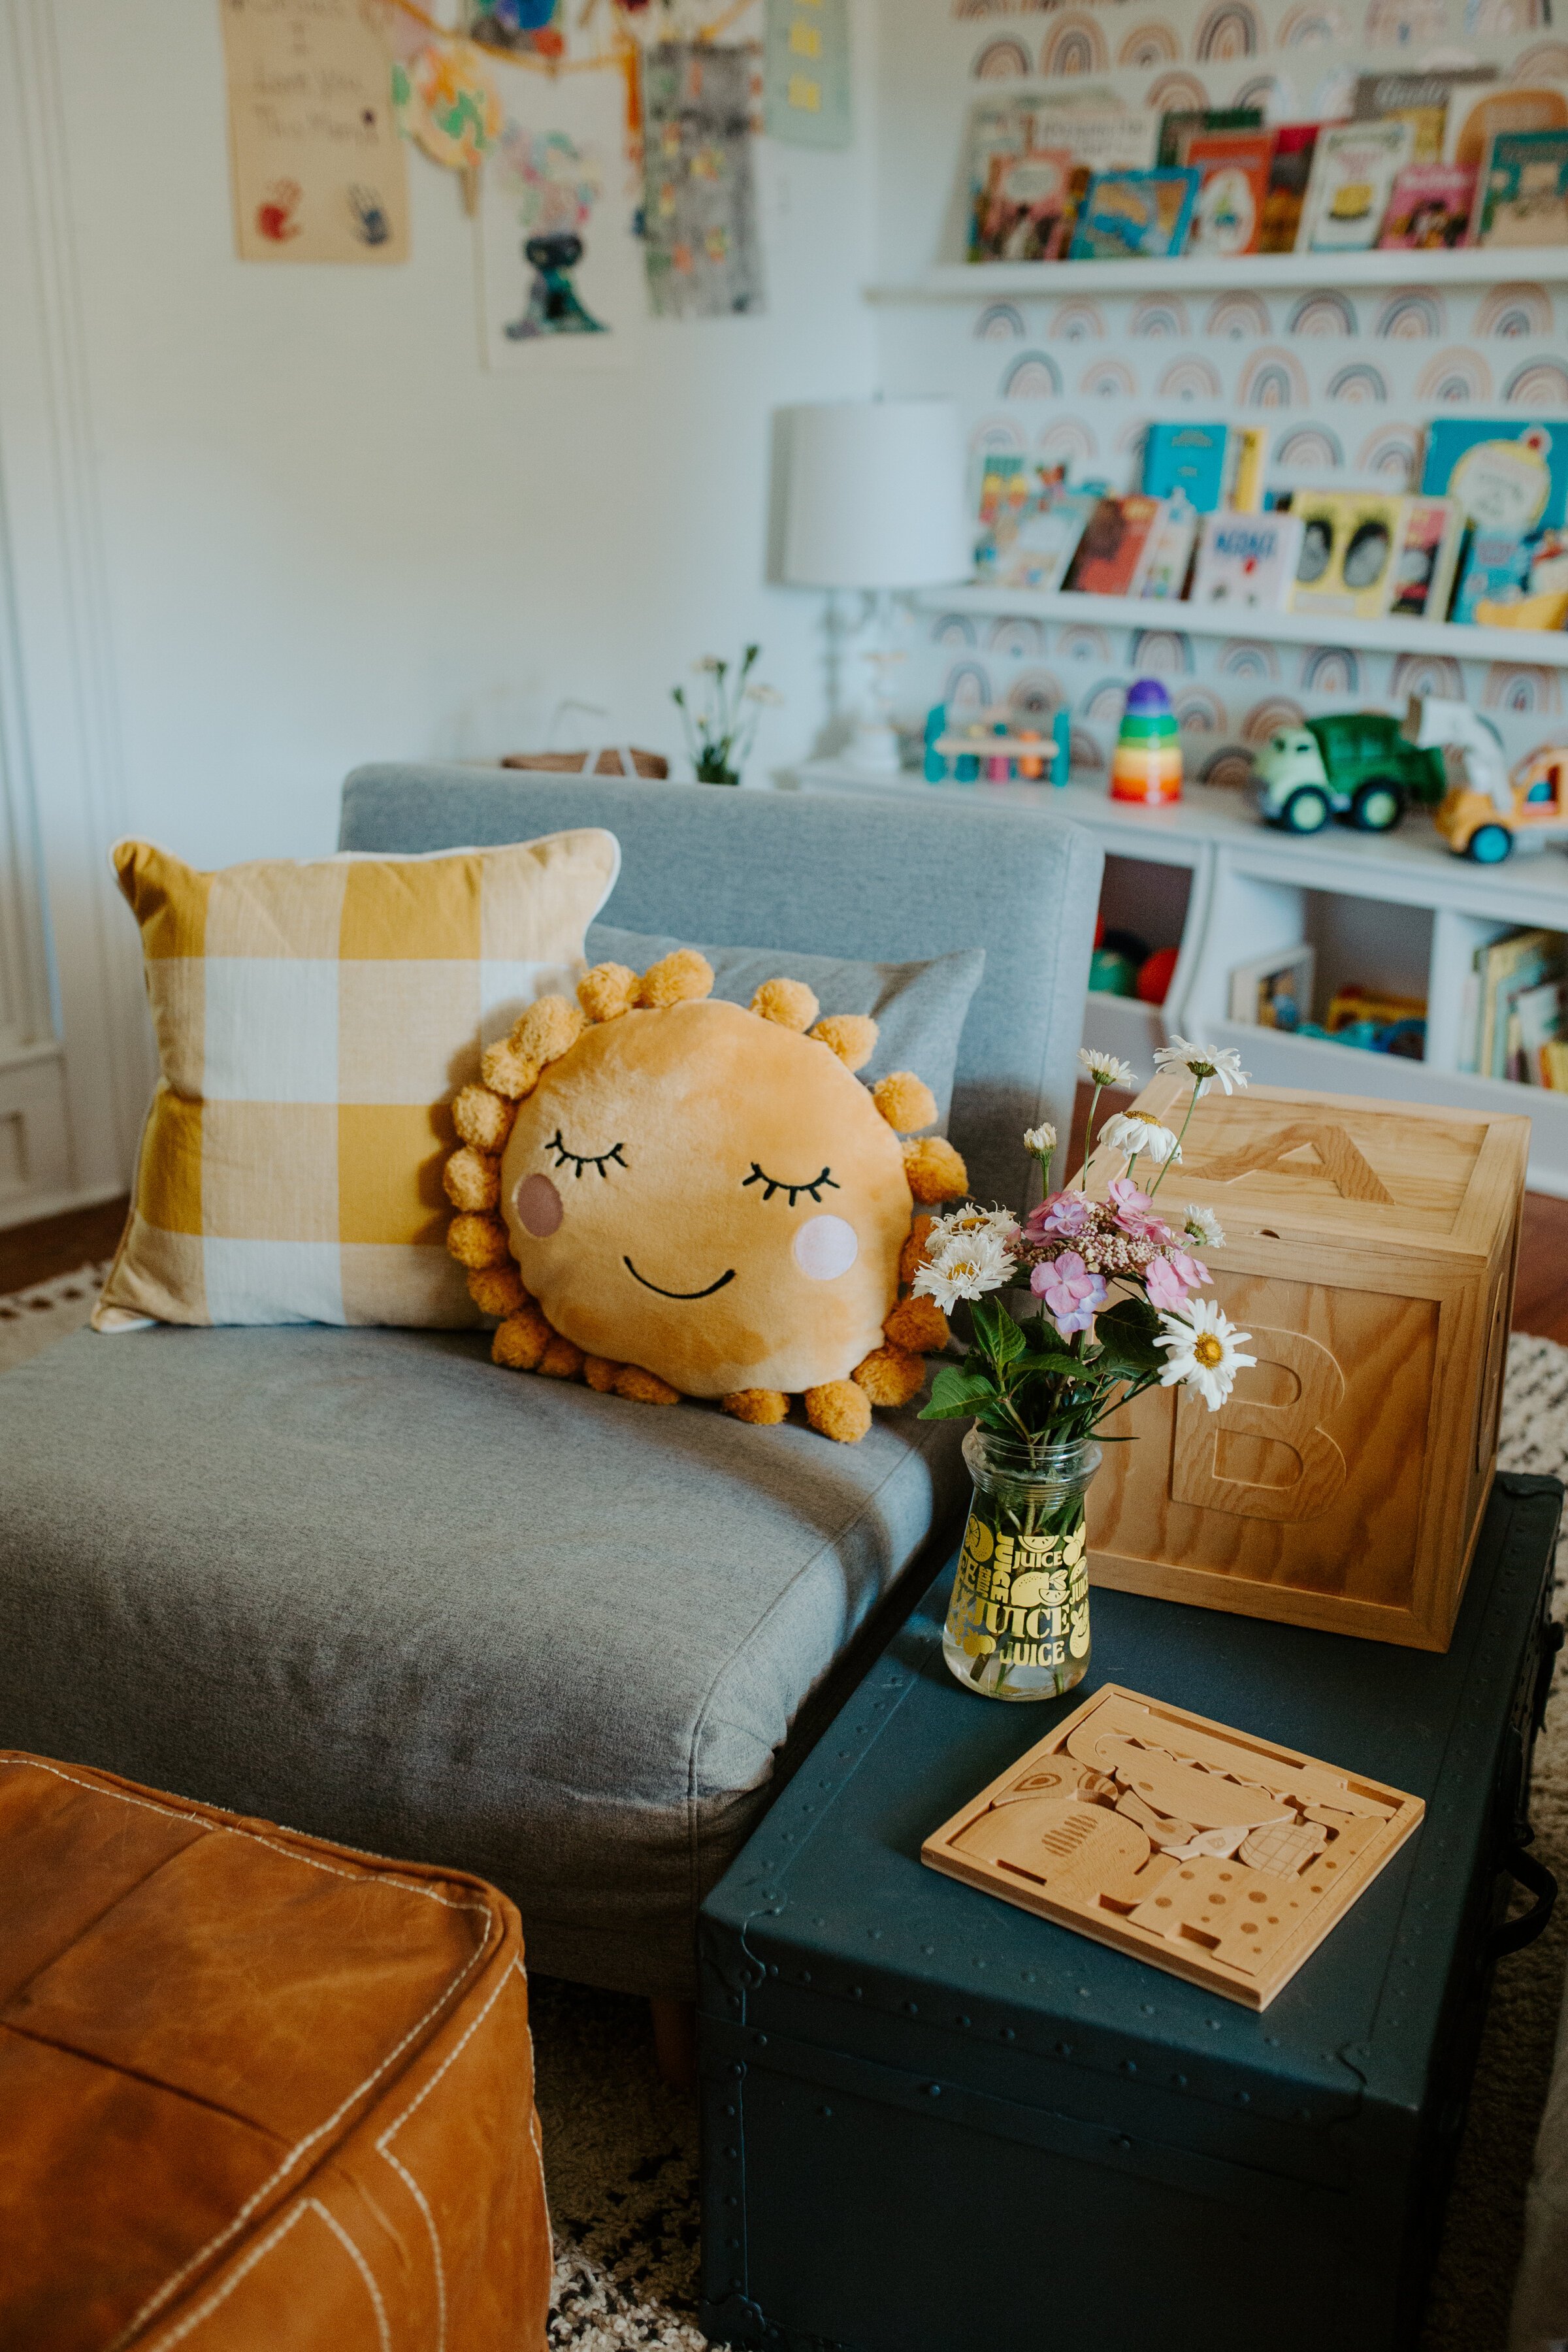
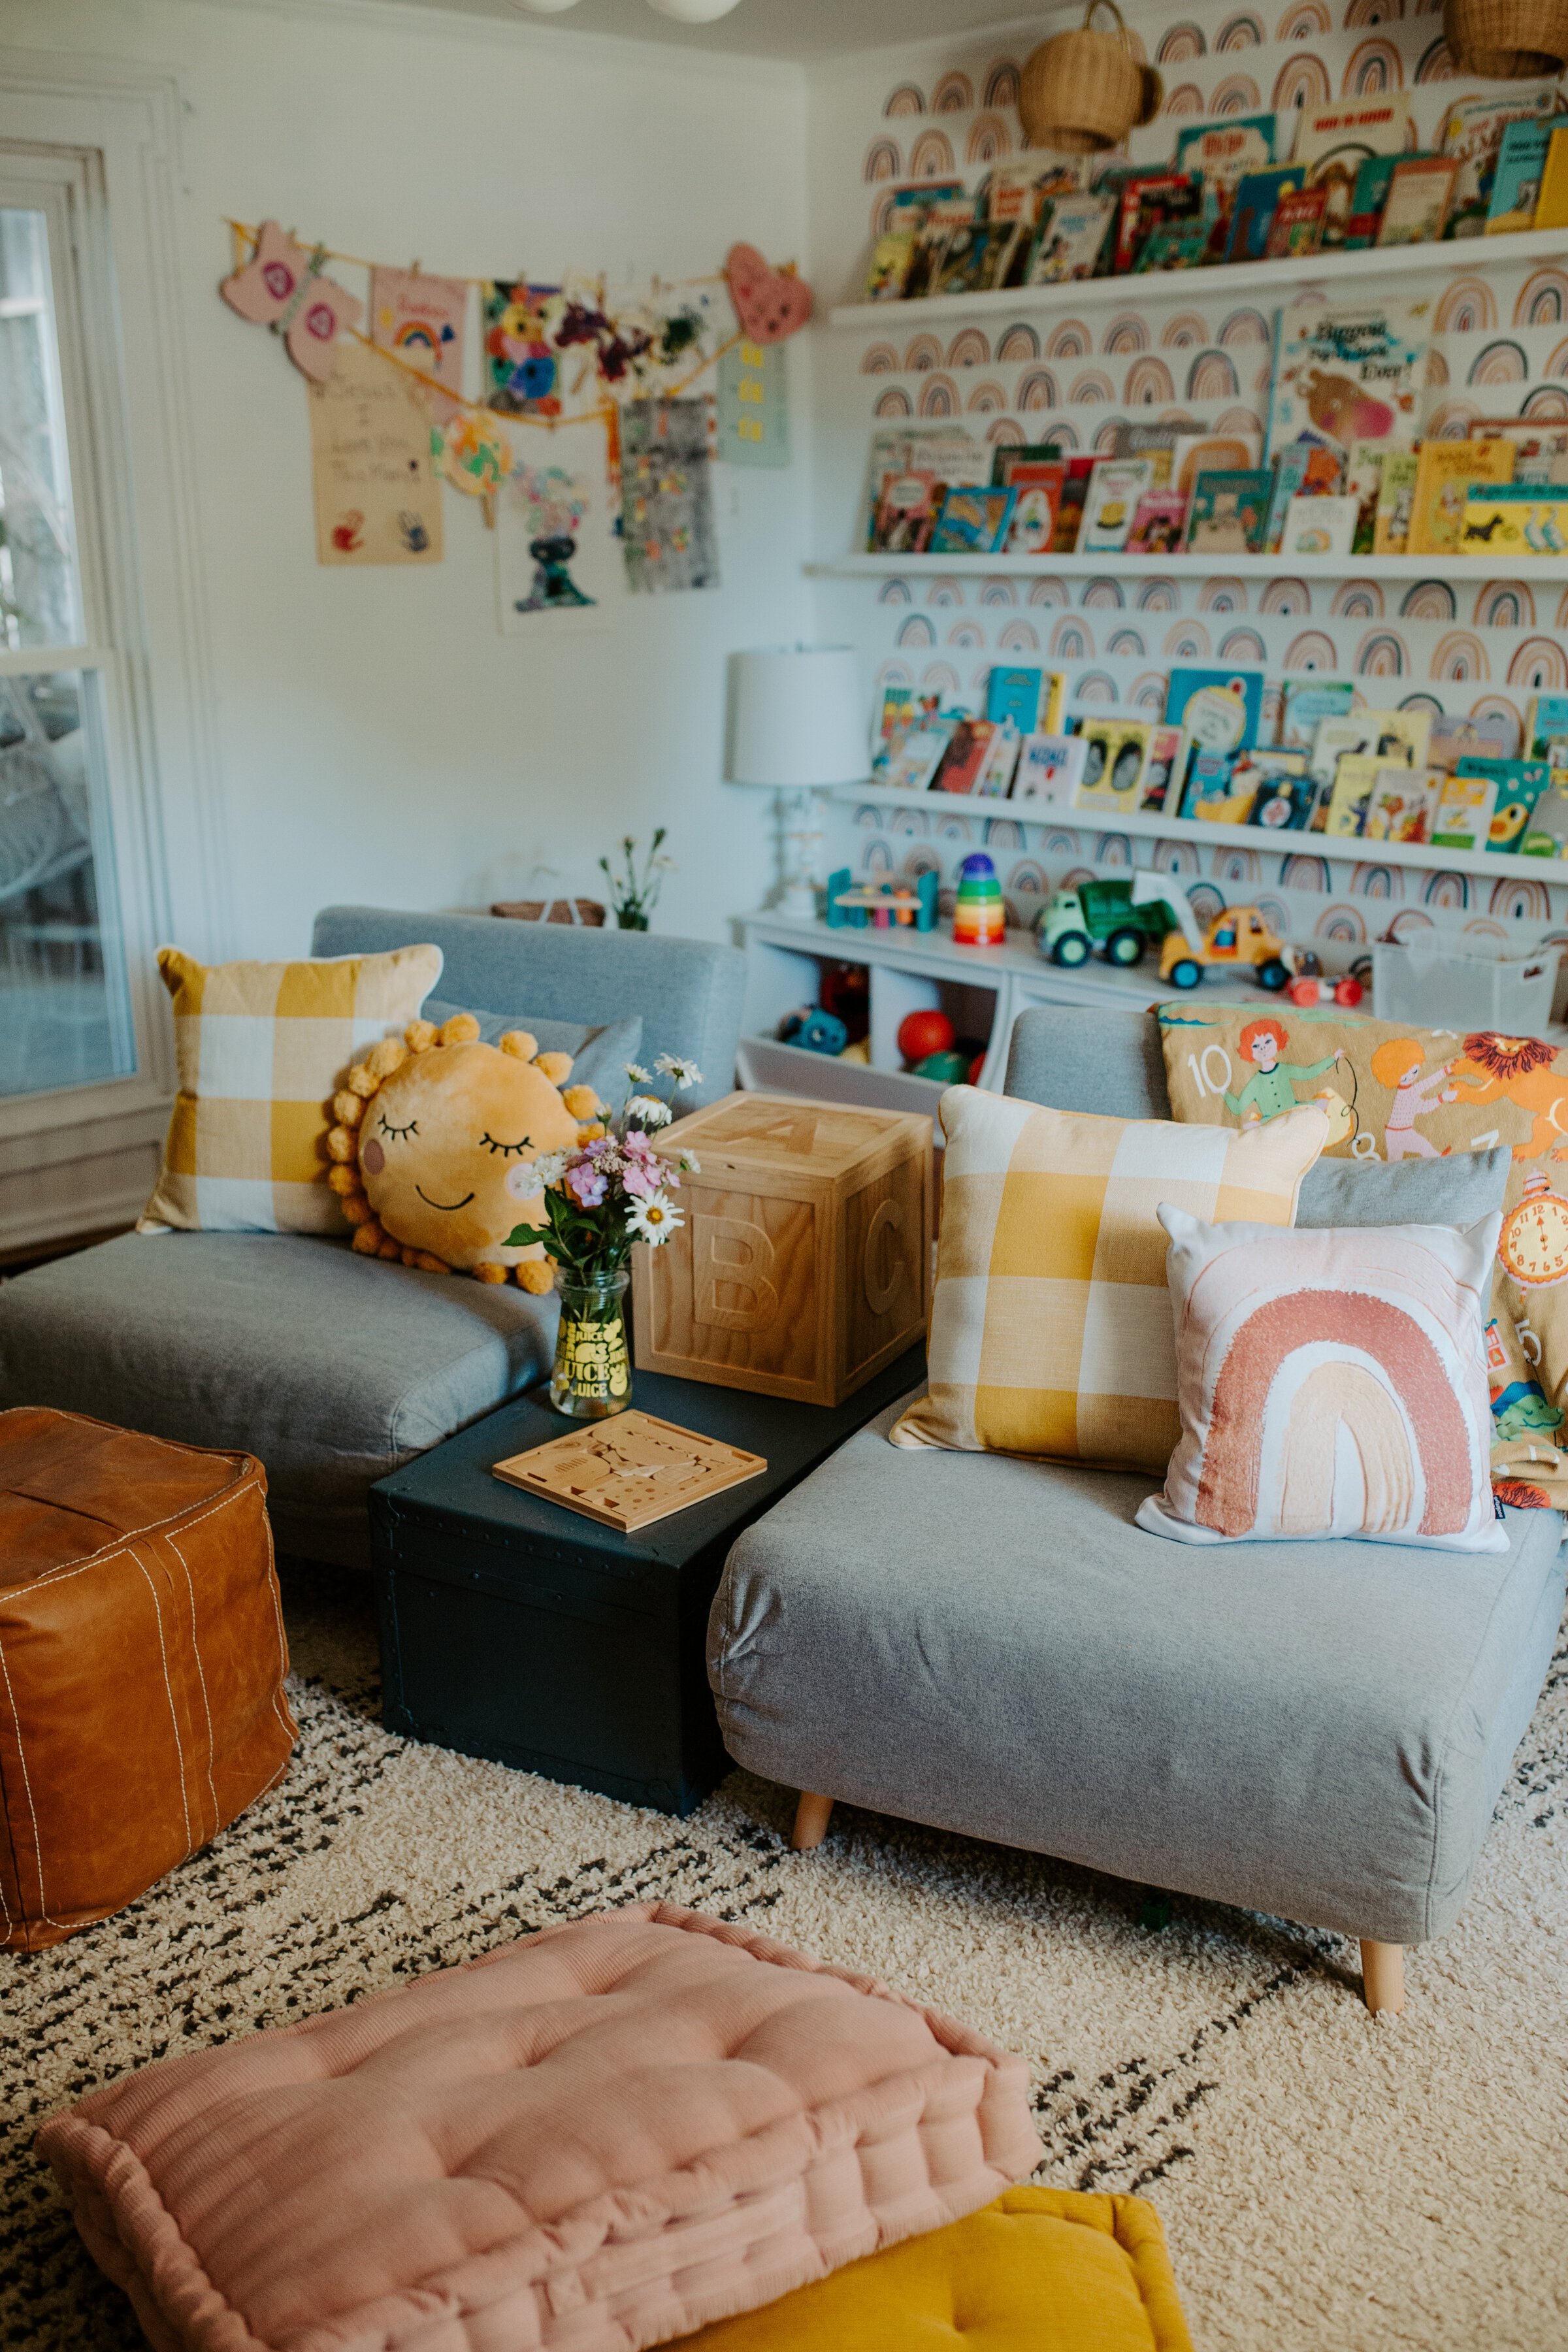
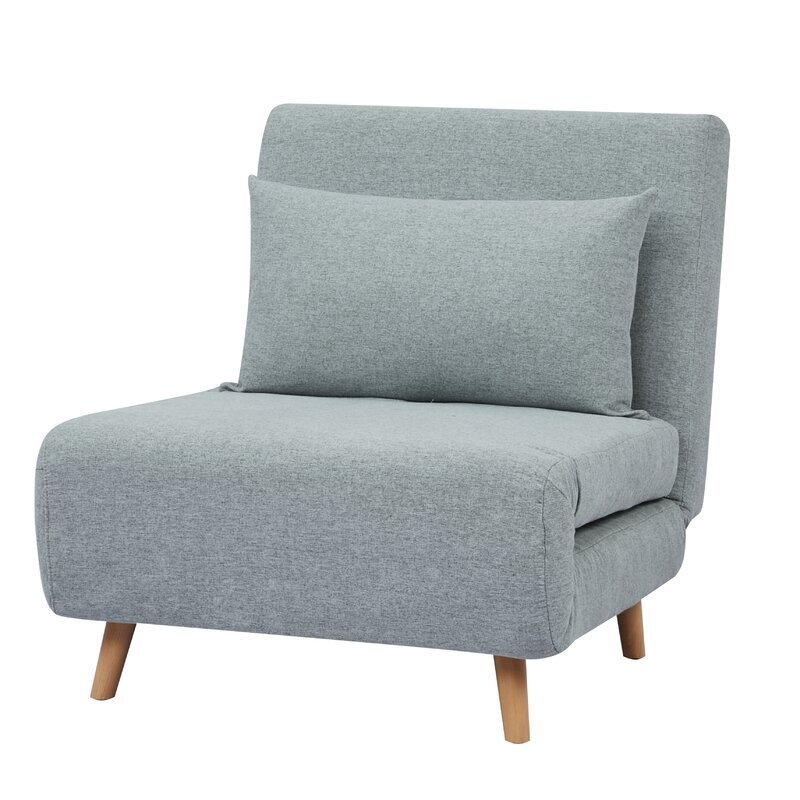
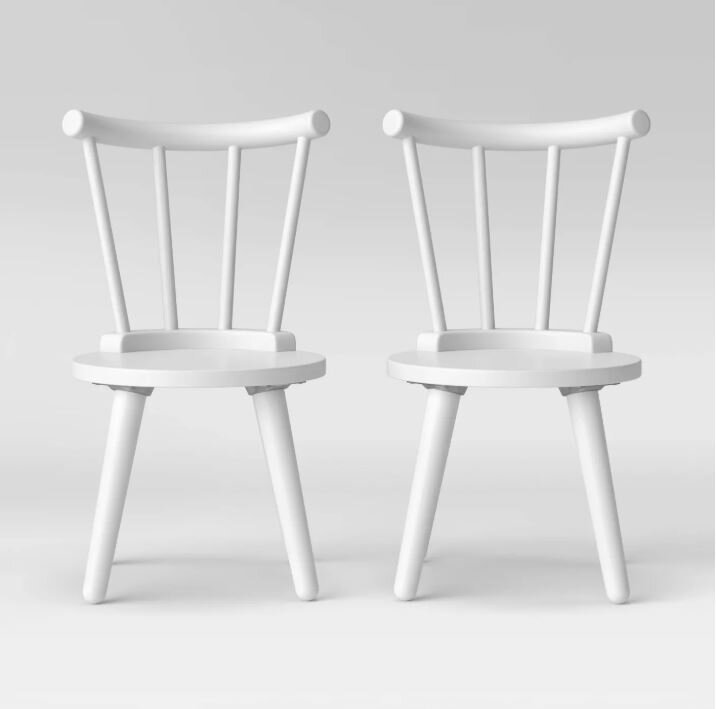
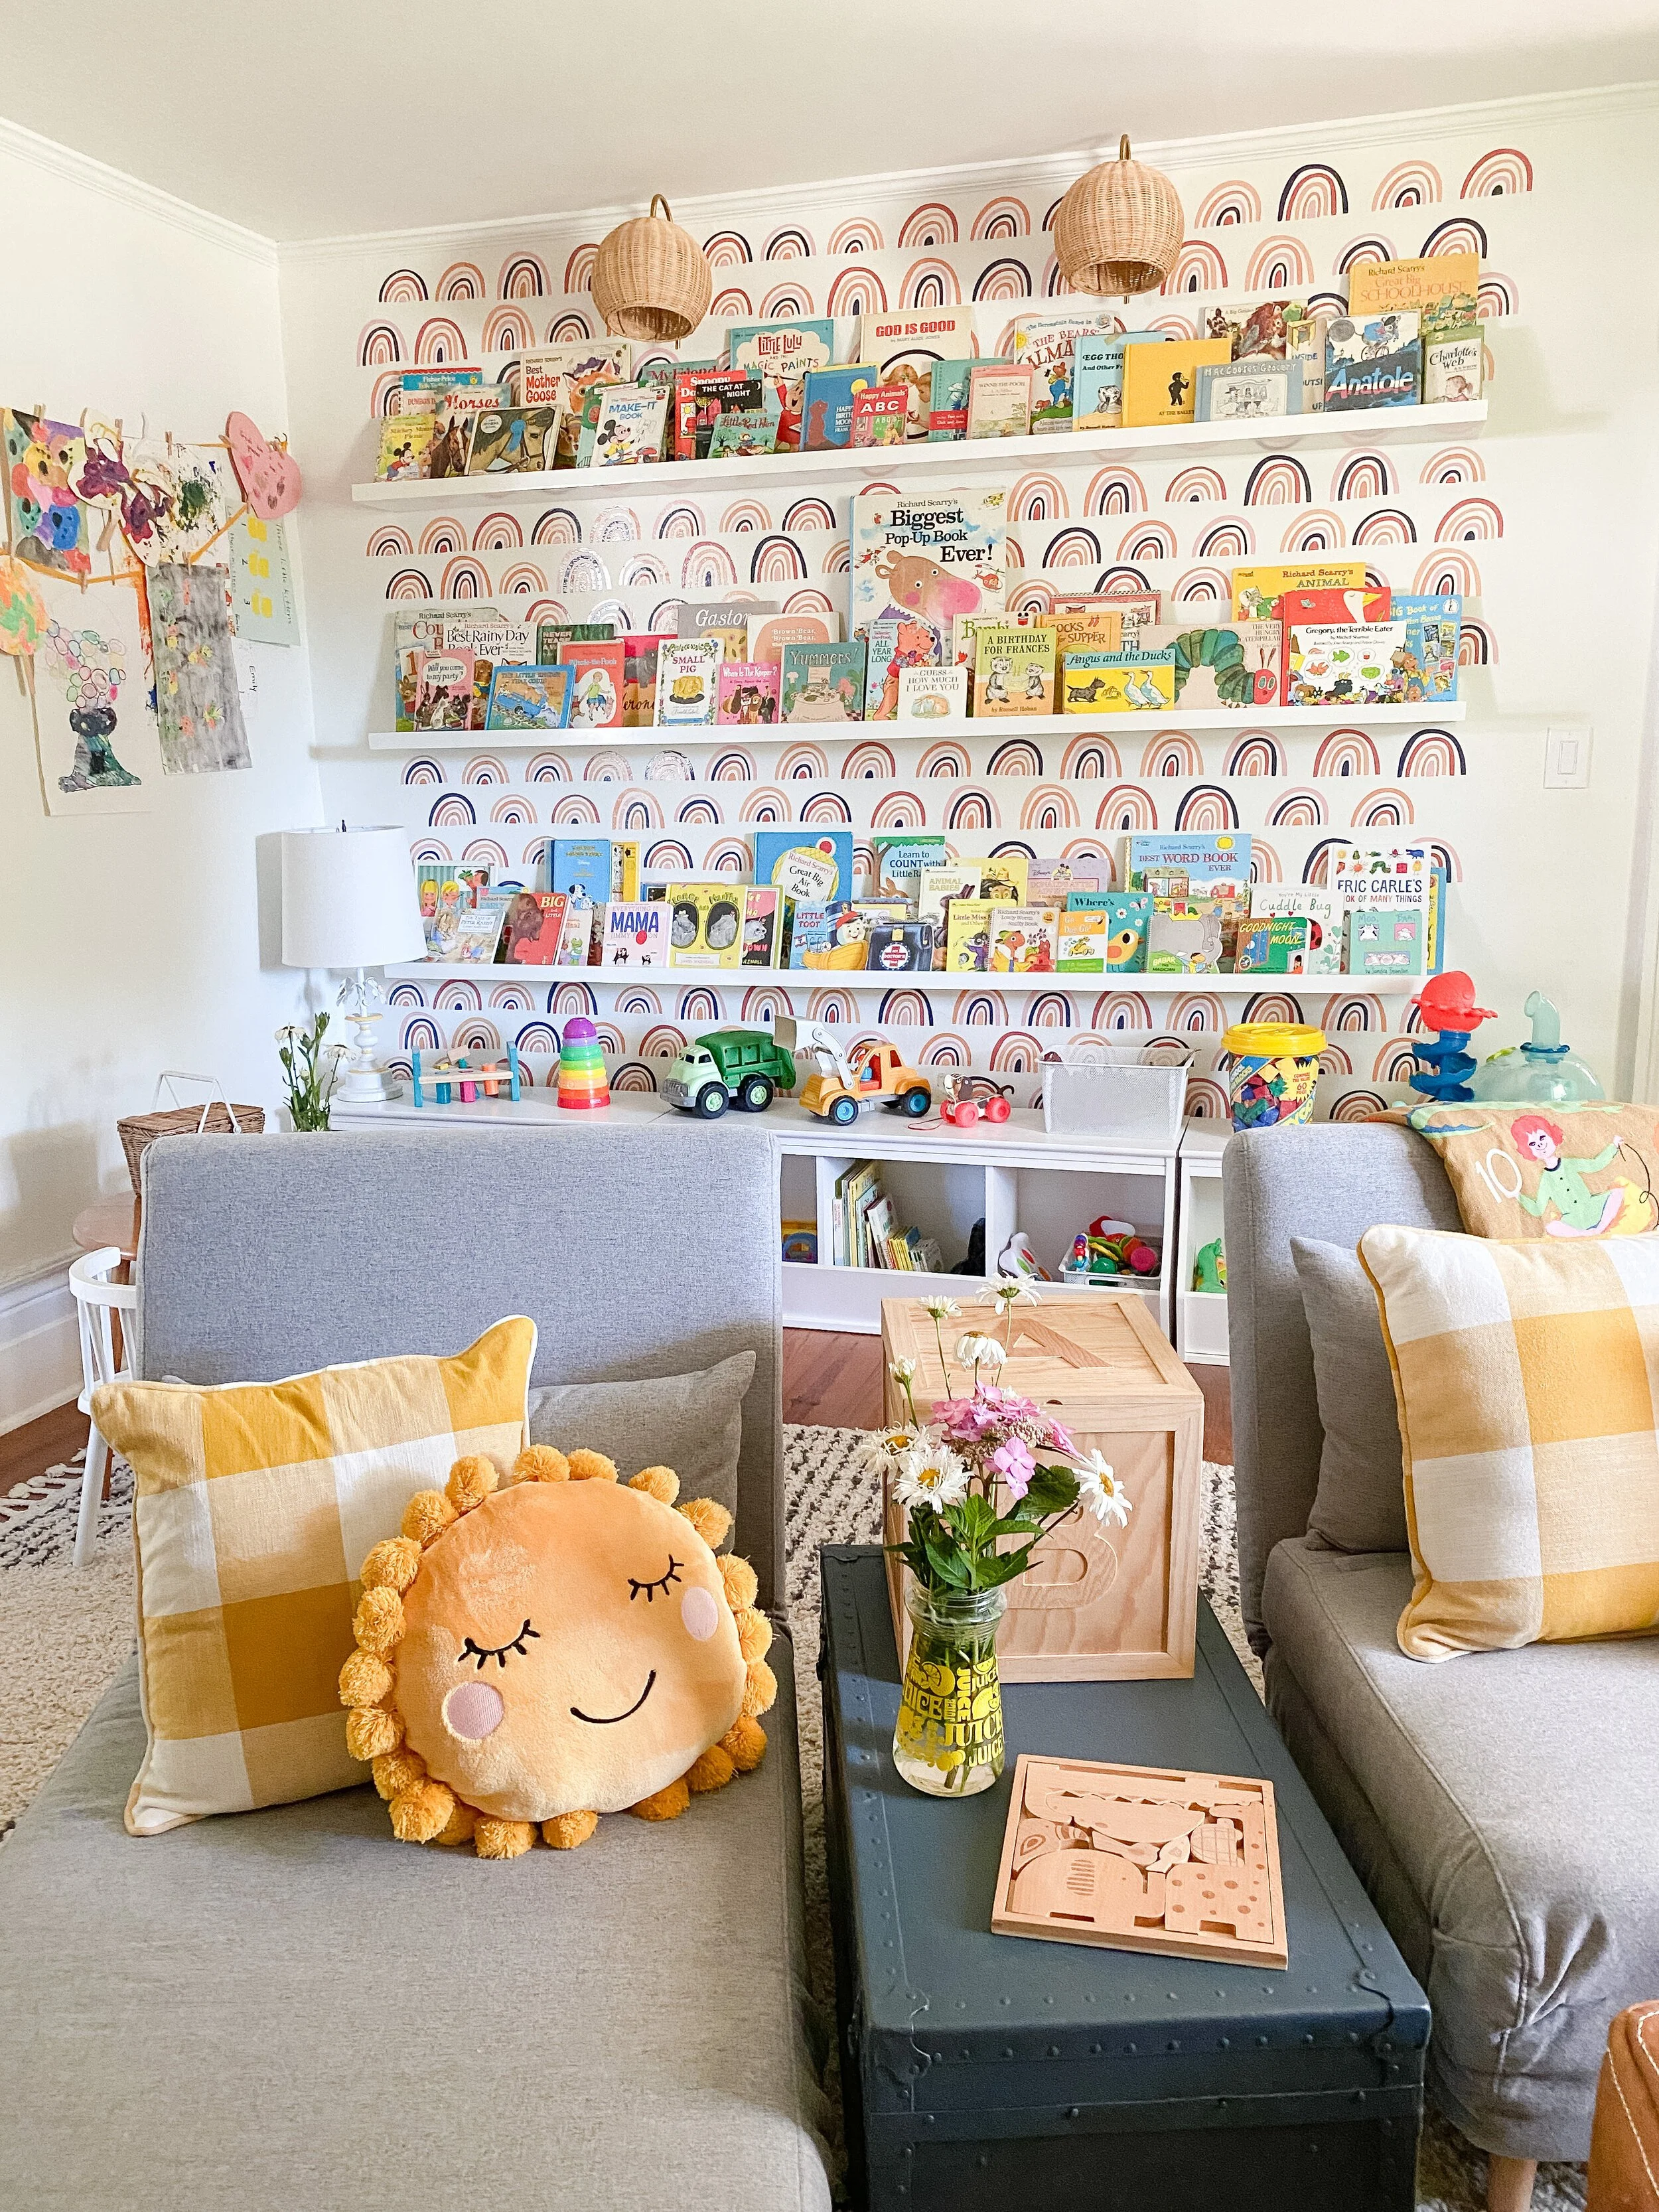
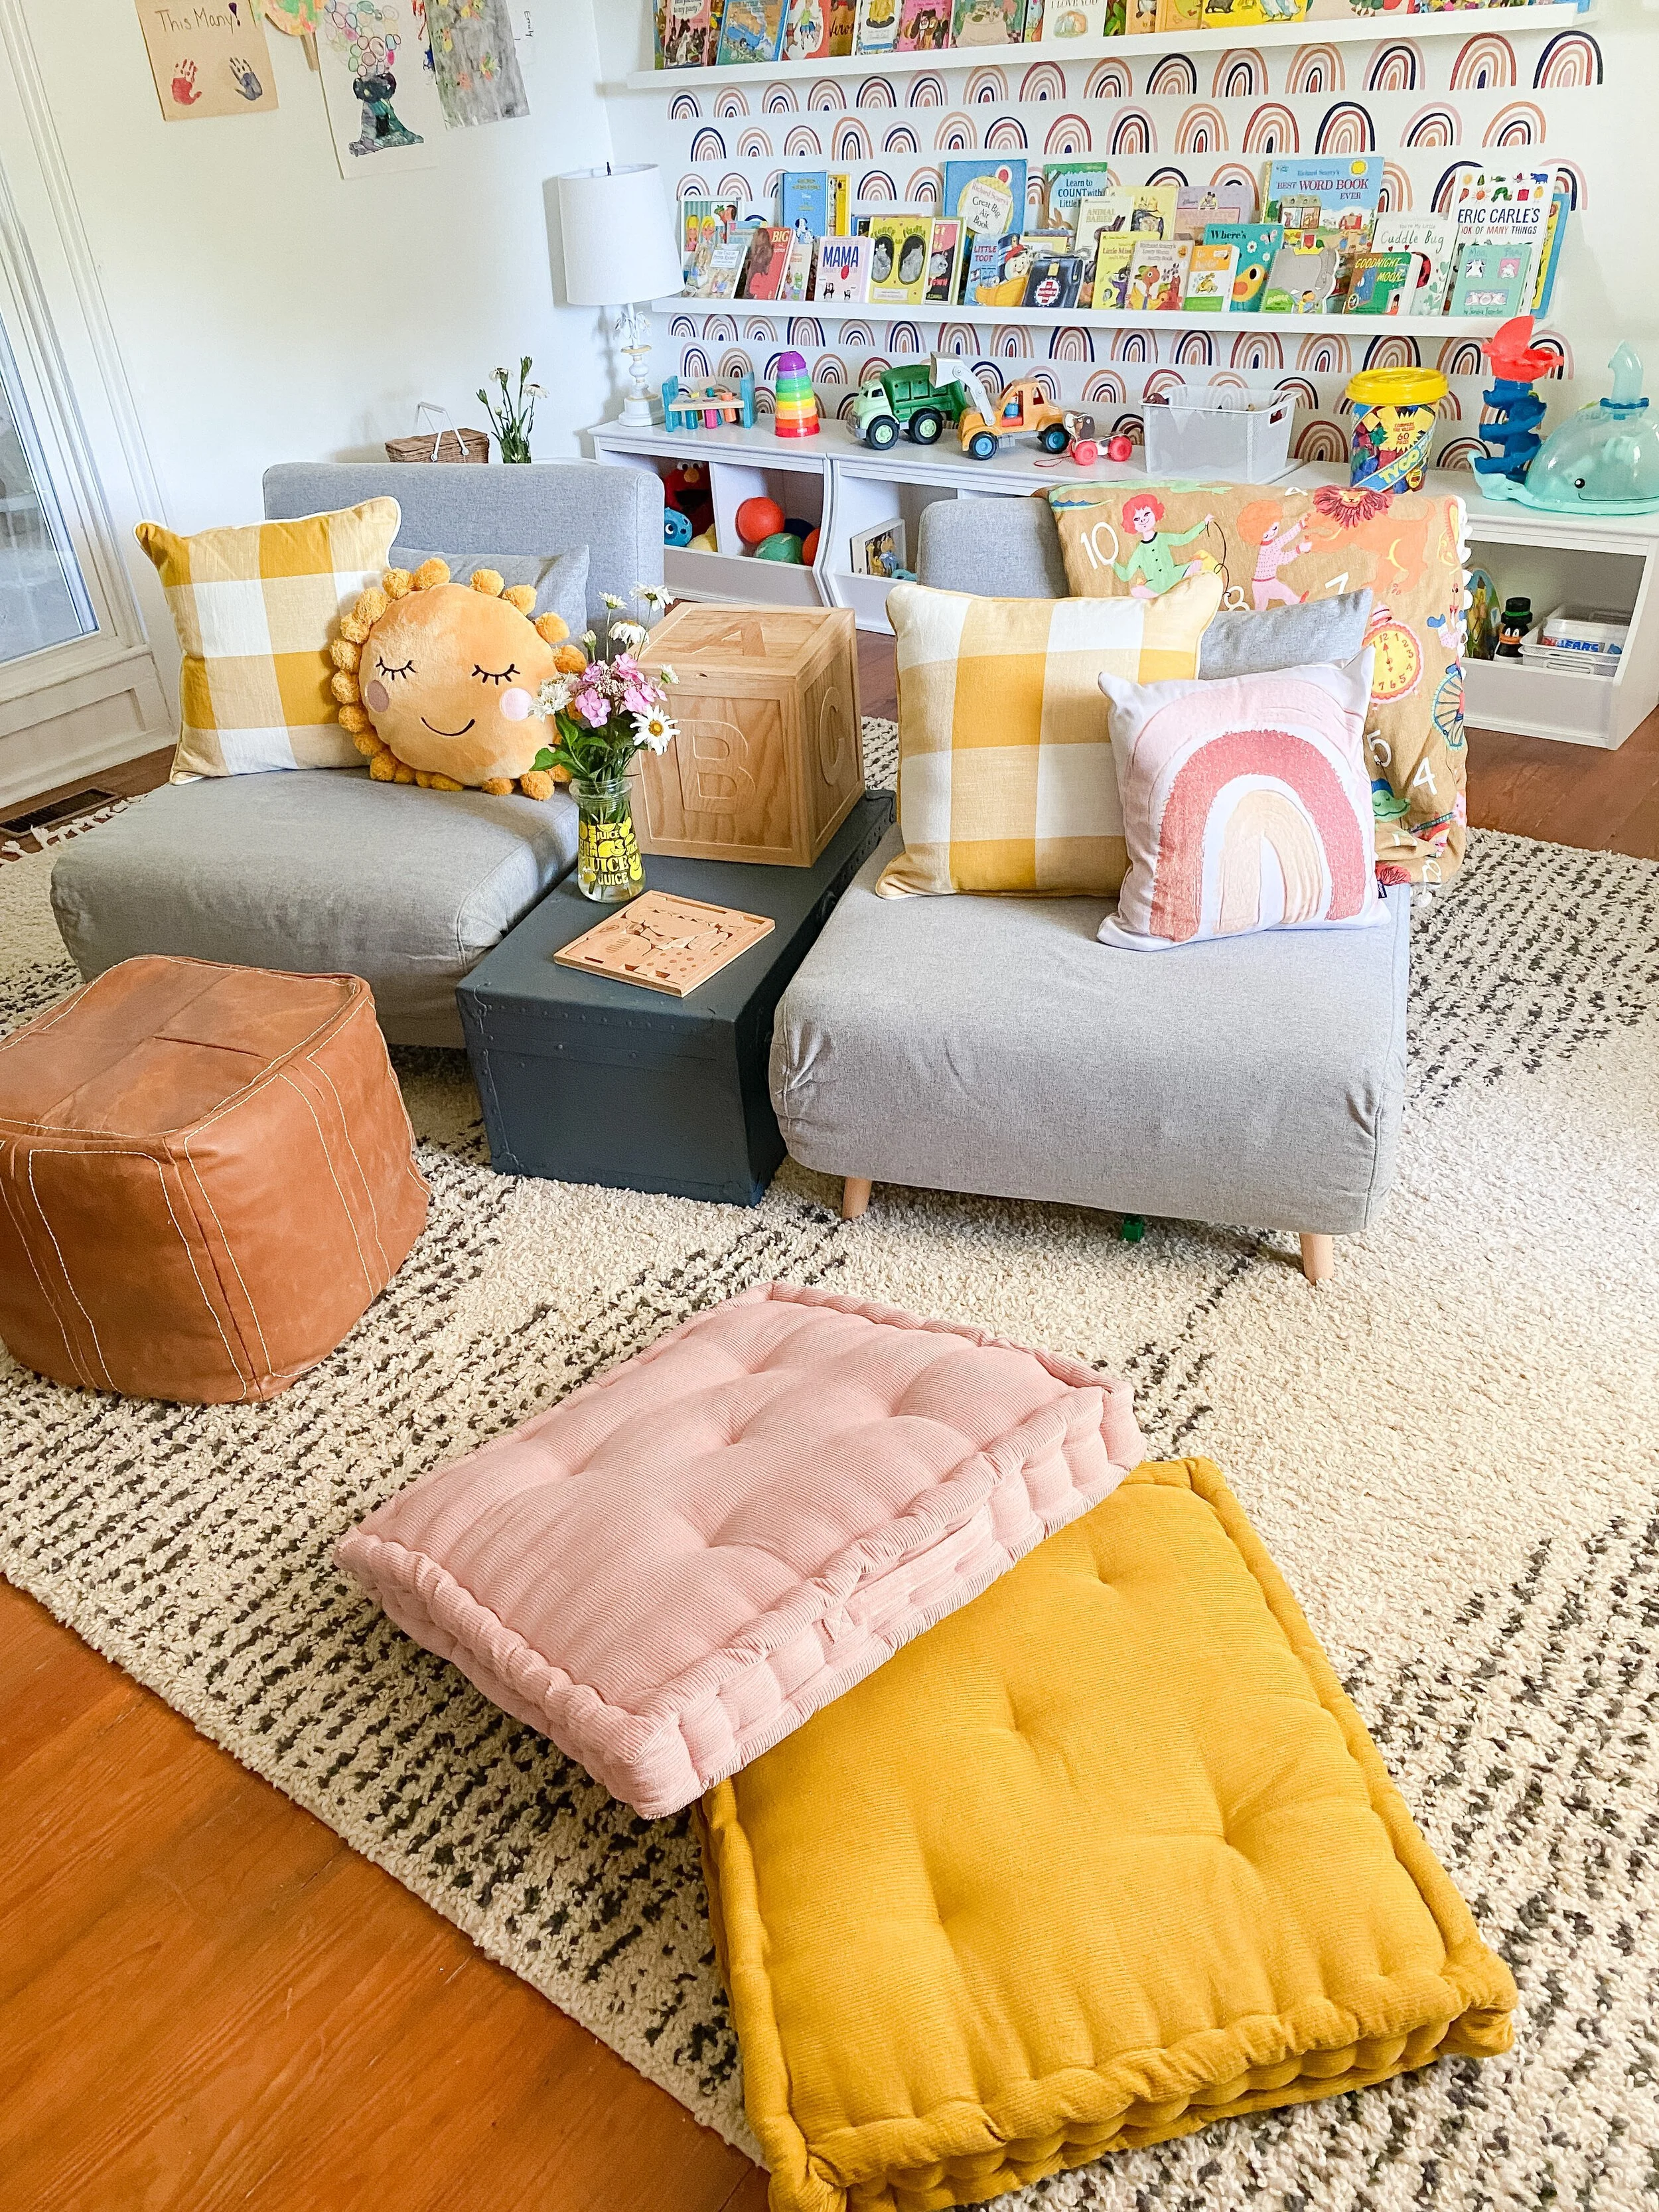
The hardest decision of the entire project to me was narrowing down my seating options. I kept changing my mind on what I wanted and needed for the space. We knew we wanted fairly non-traditional seating, low to the ground and more like lounge seating. I finally settled on two of these chairs that fold out into chaise lounges and also mini beds as well.

I figured these will be awesome for lounging in the space, kid-friendly, and also could double as an extra guest sleeping area if we needed it (they could even be pushed together for a larger bed set up). We have already been sitting in them so much in all the different configurations. Like I mentioned in my stories, the only thing I don’t like about these are the exposed zippers on the back (used to store the extra legs for when you fold out); but I also was able to disguise those with a draped throw over the back. Other than that, I think they’re a great find for the price and perfect for a playroom or bonus room.
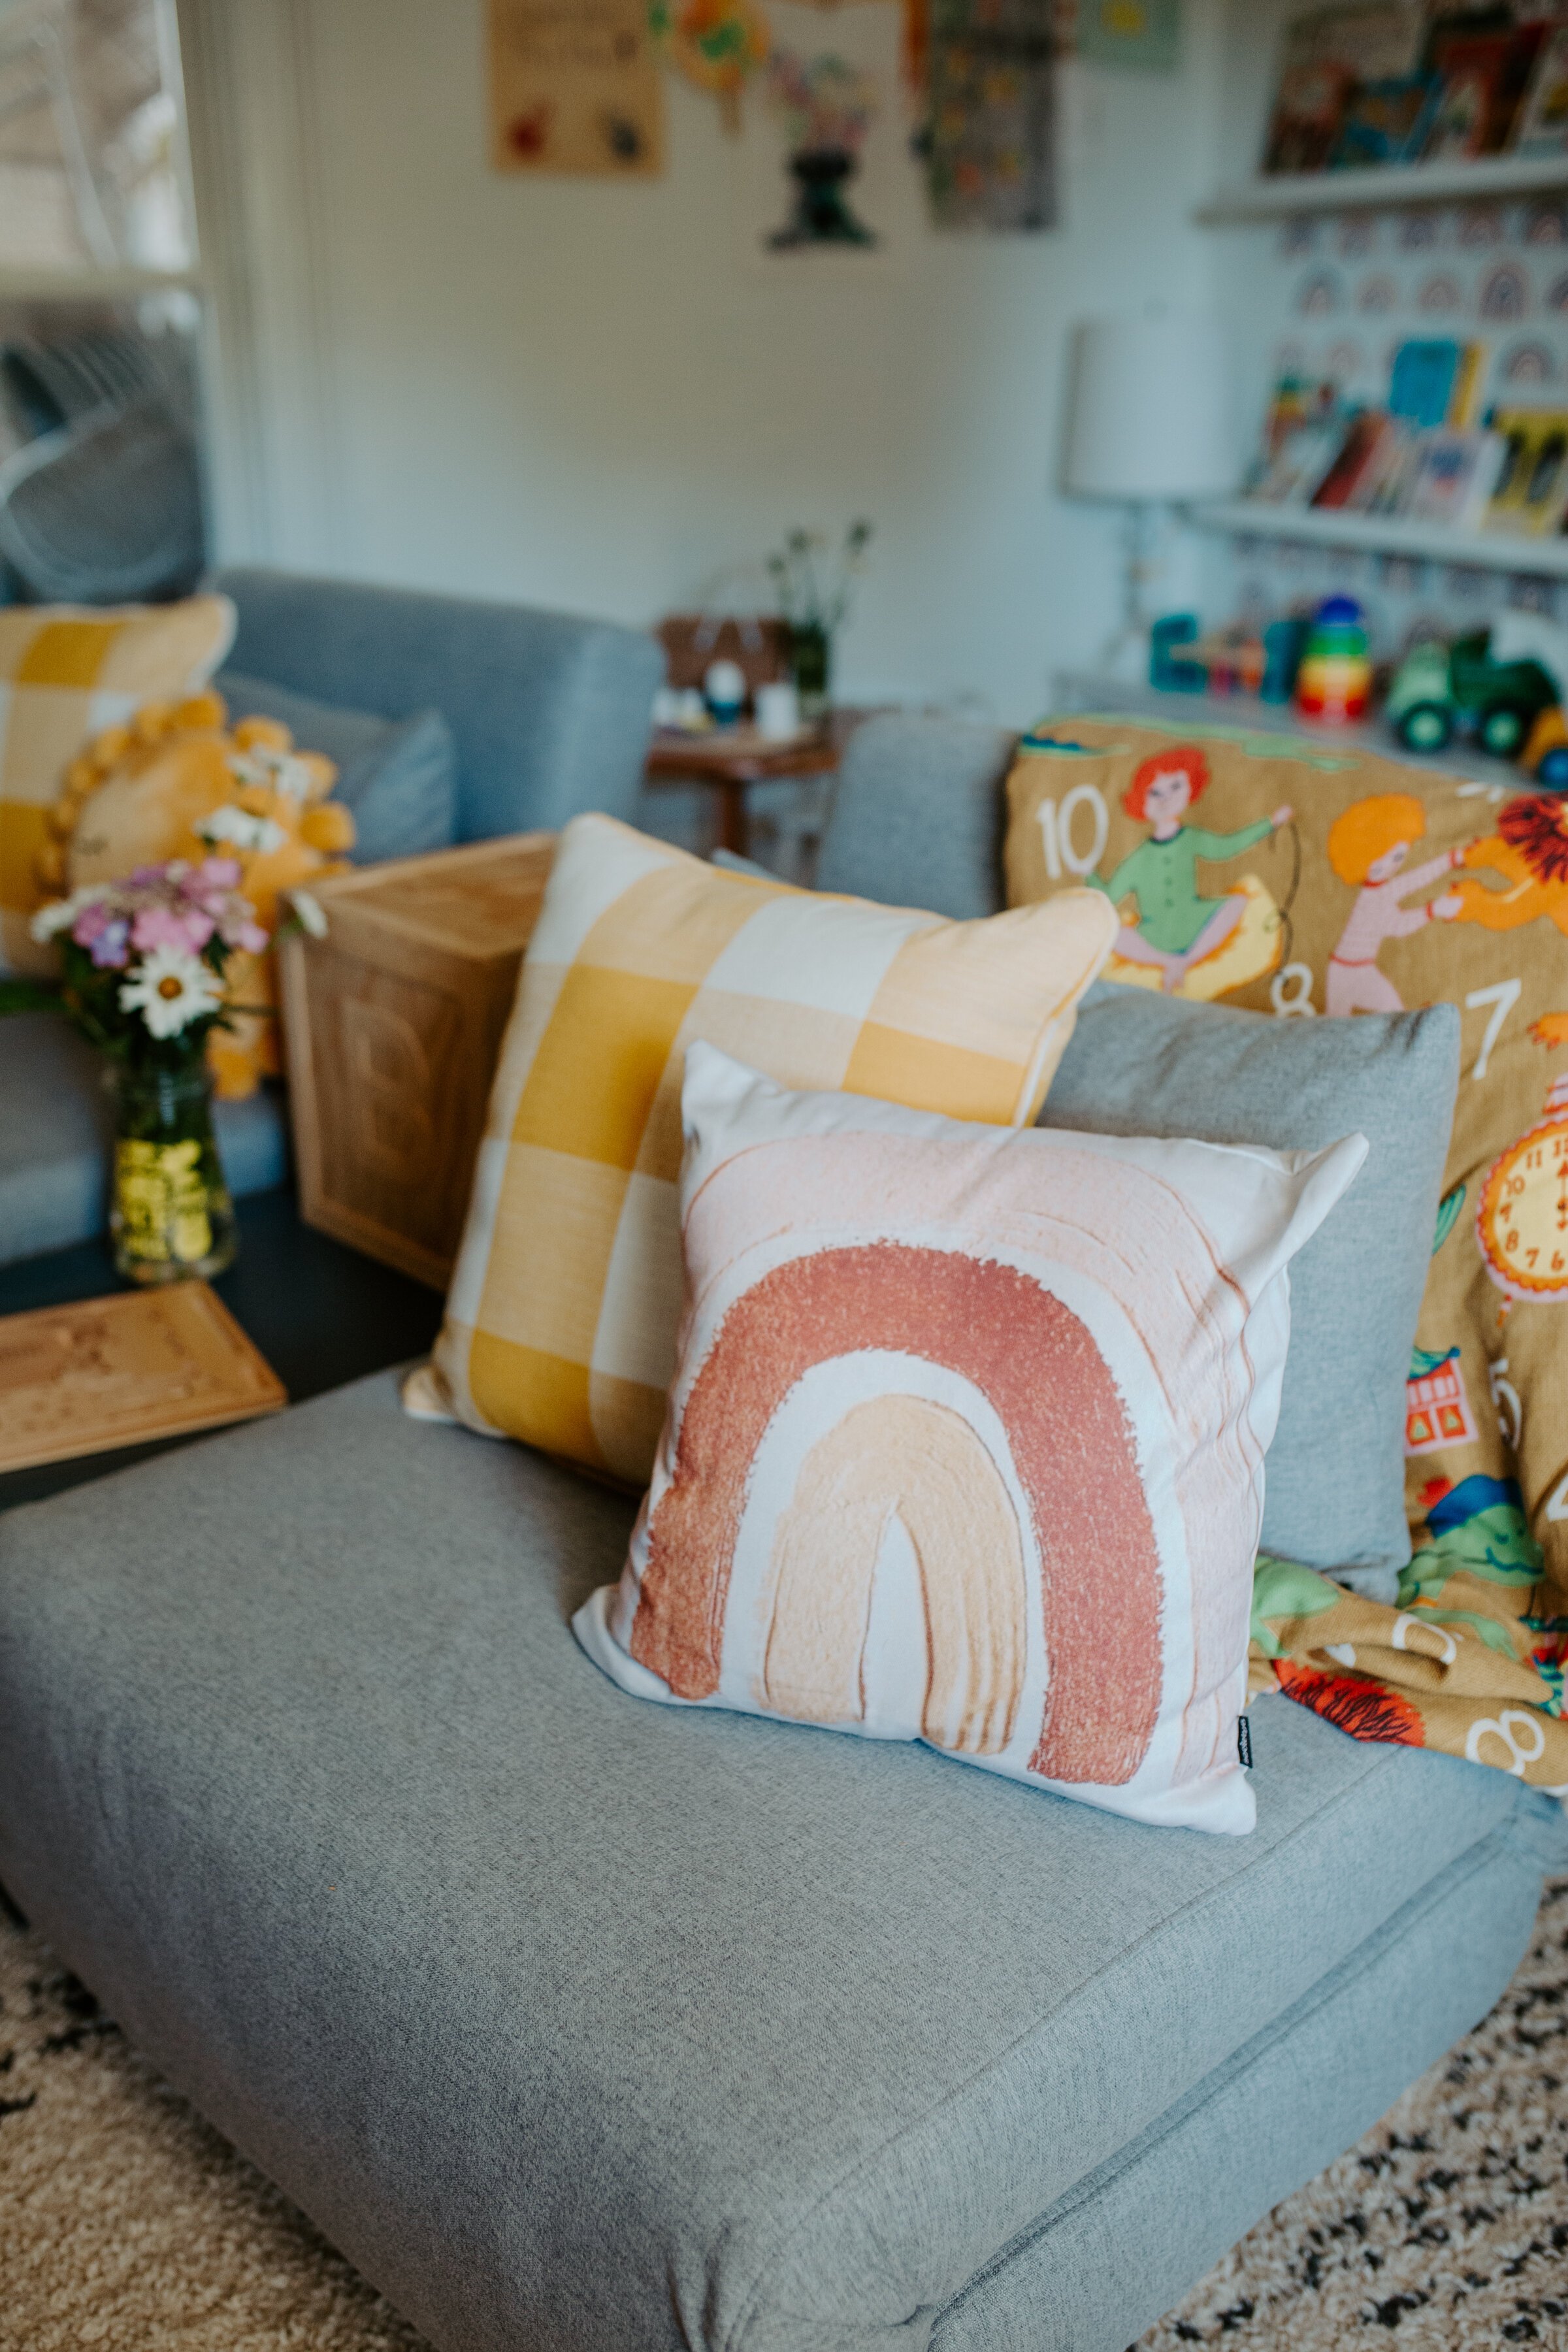
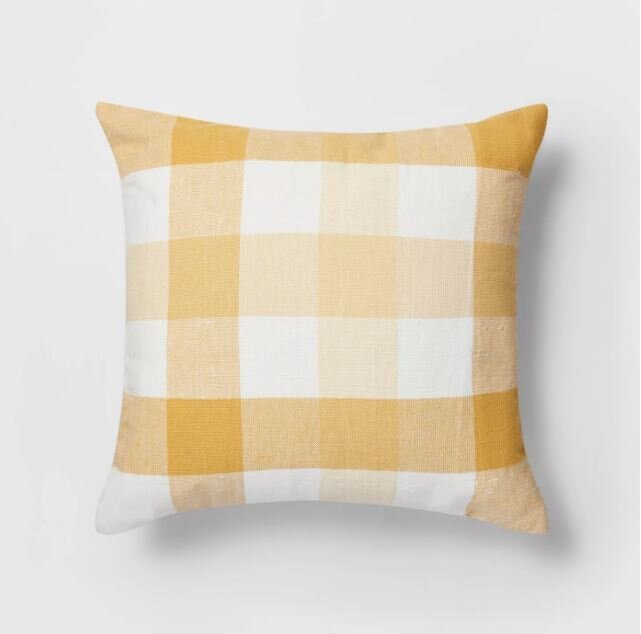
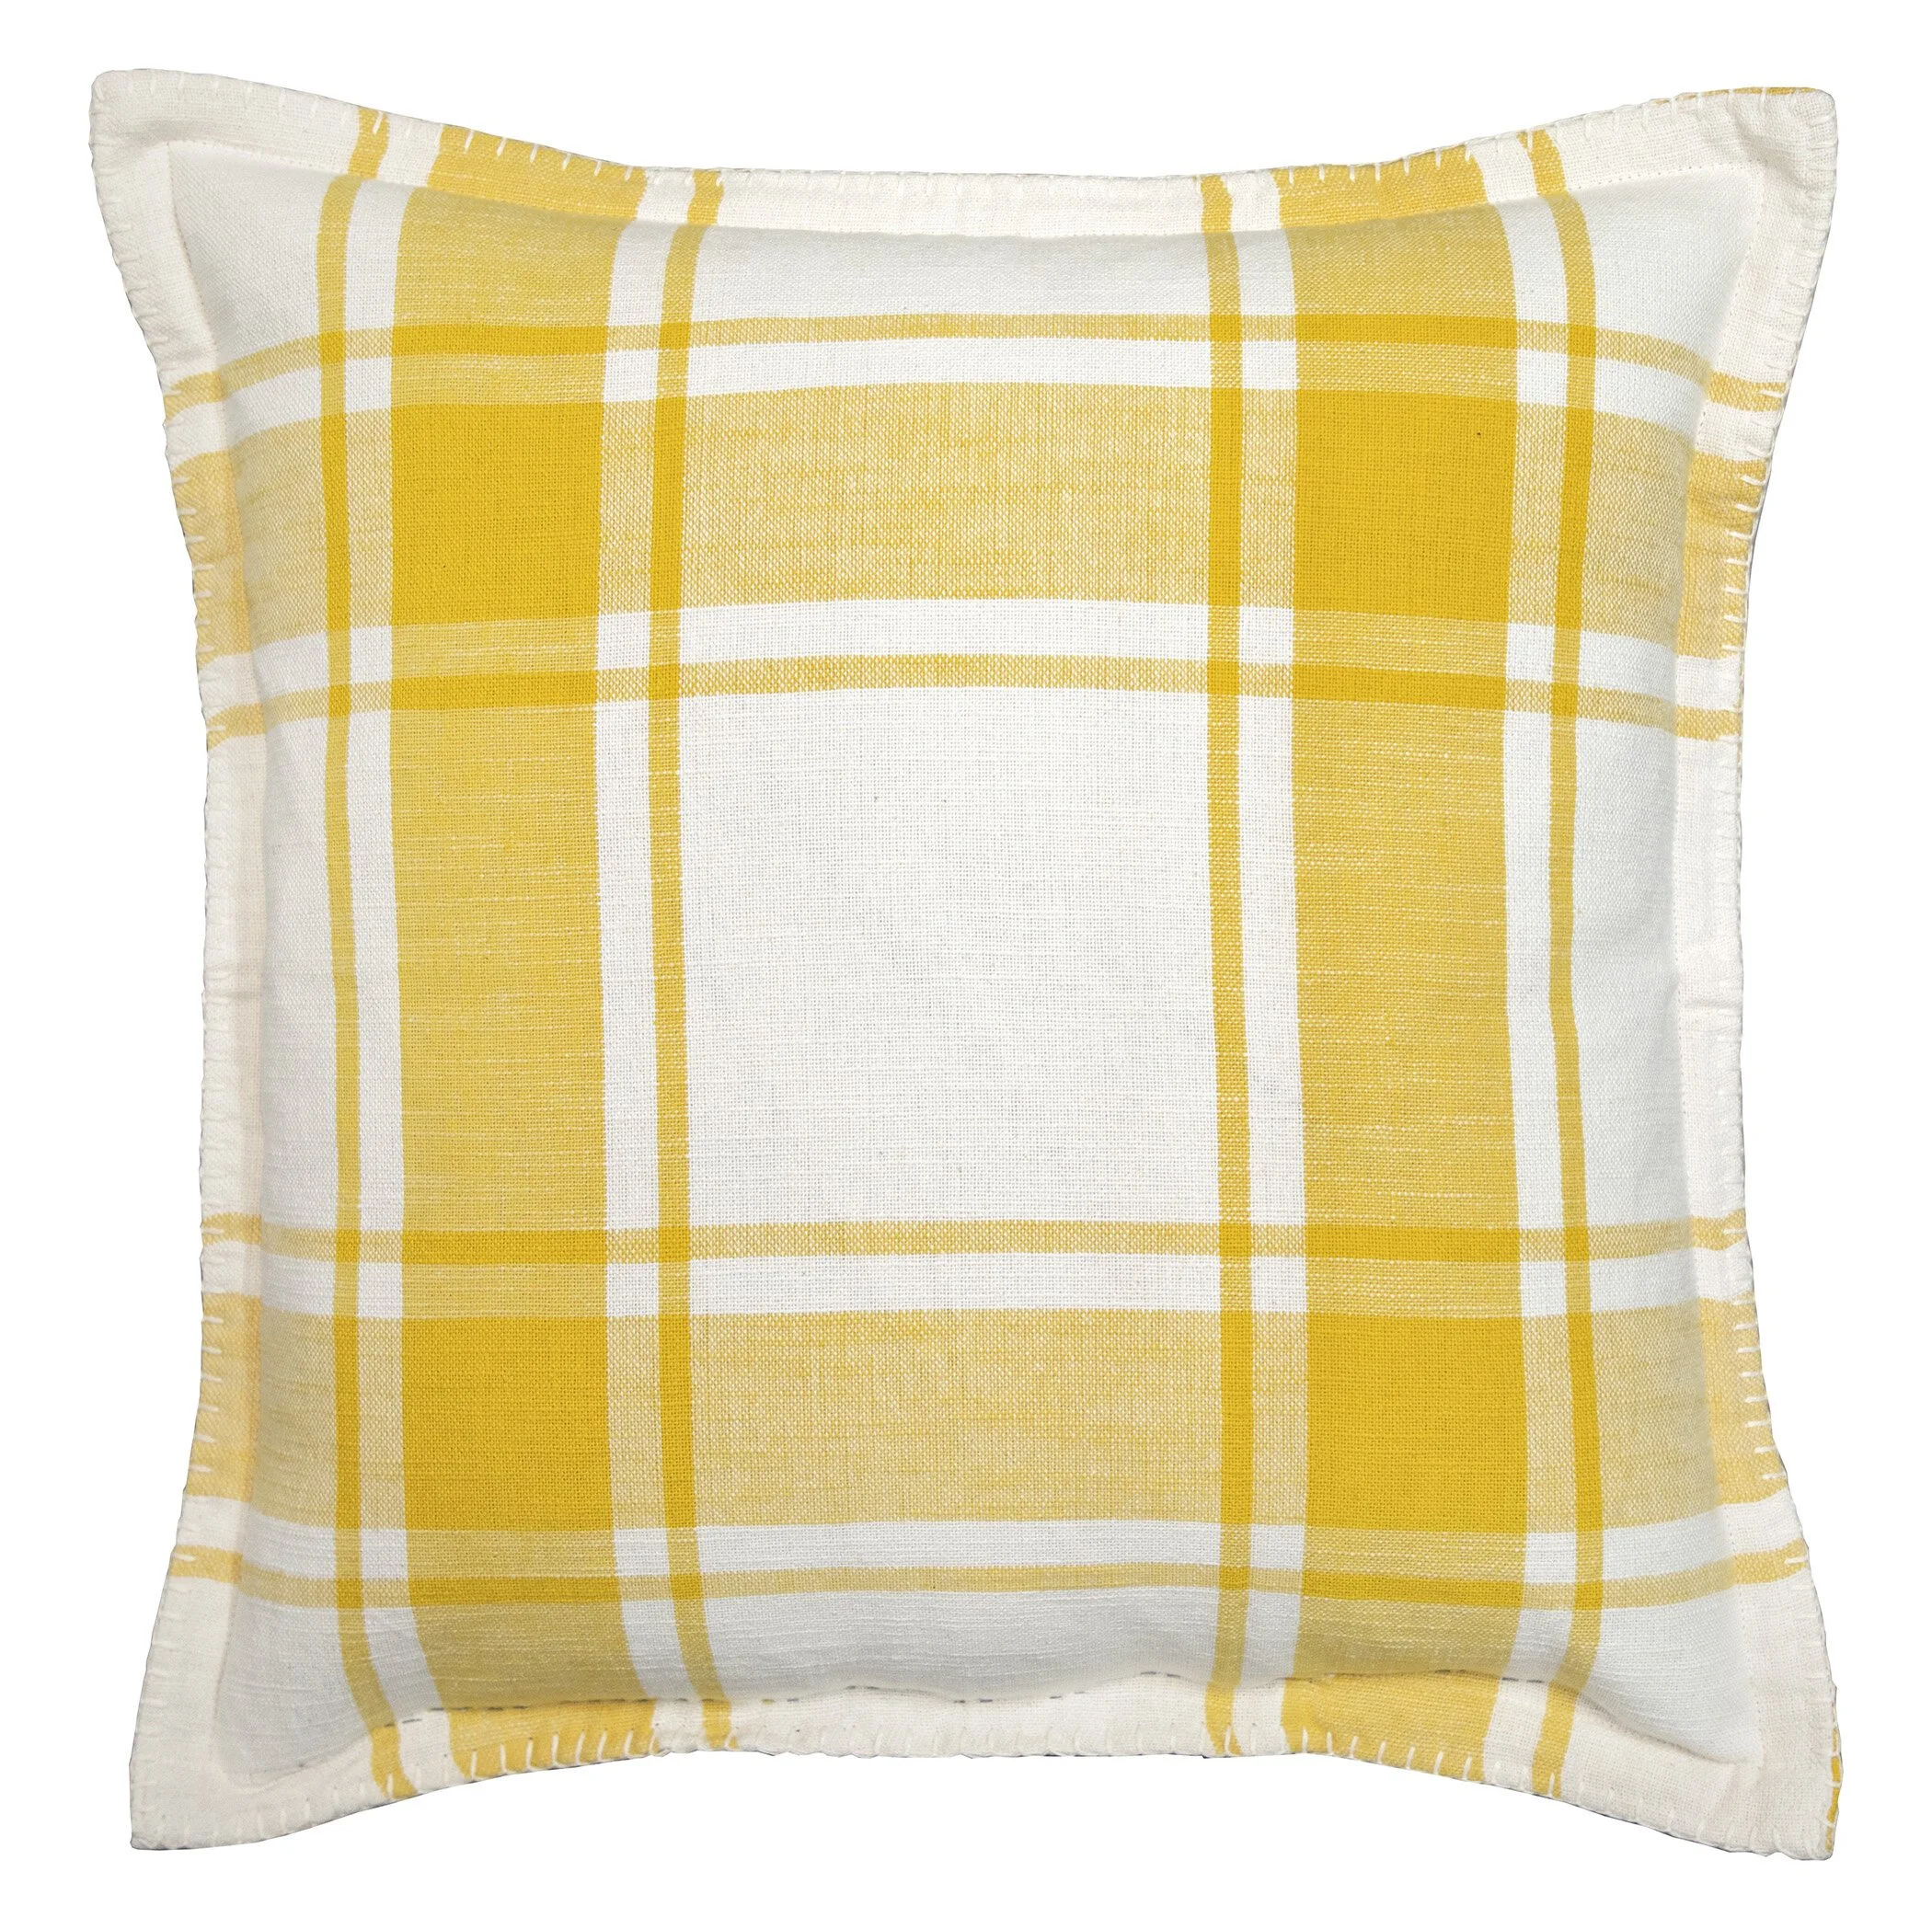
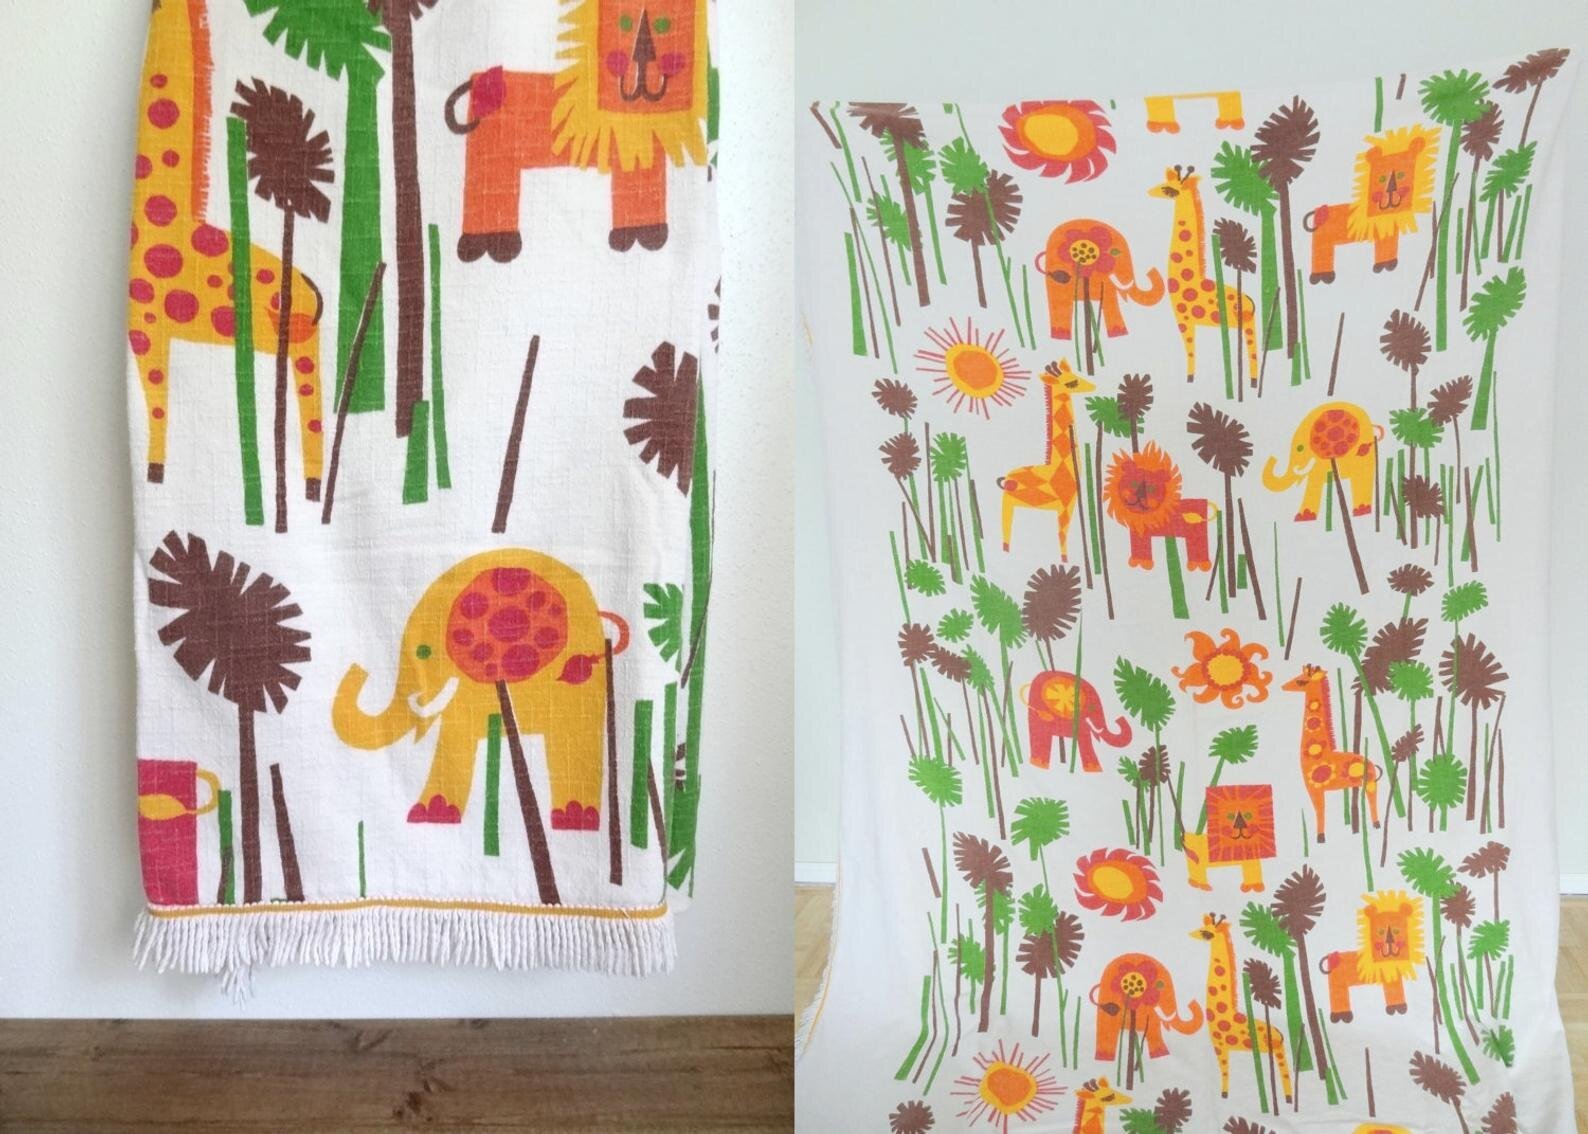
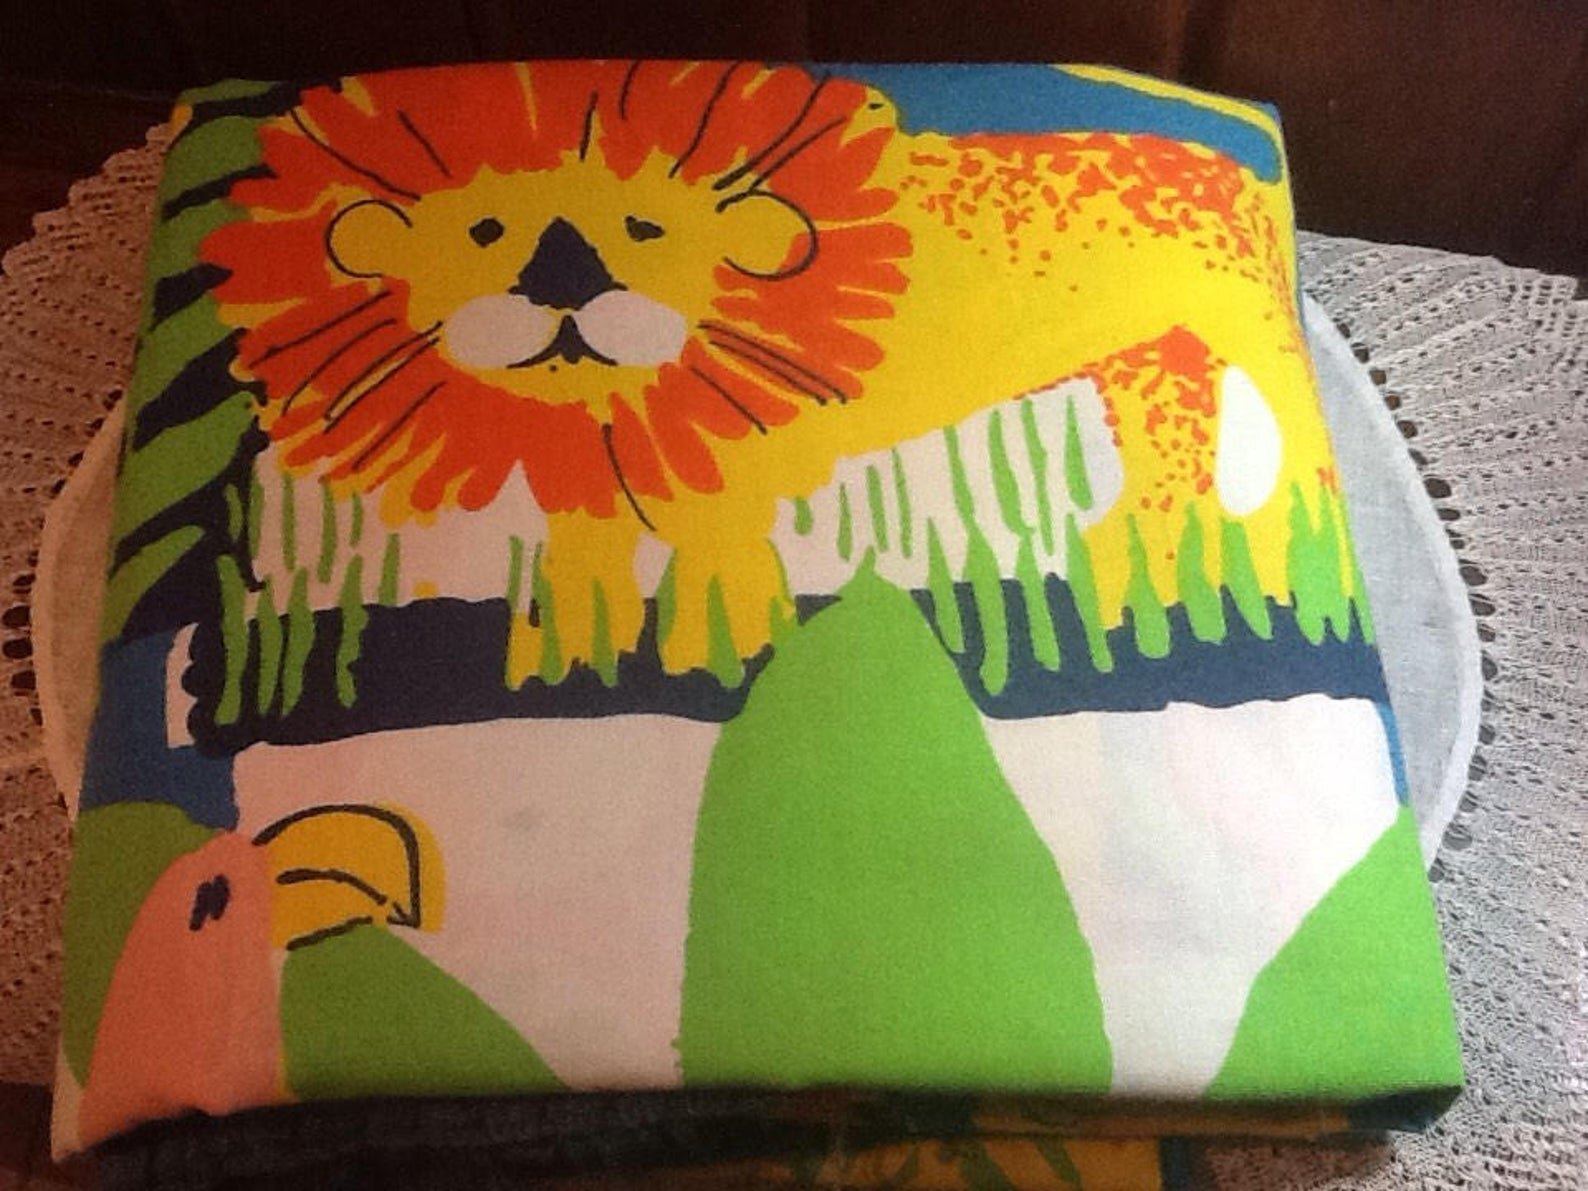
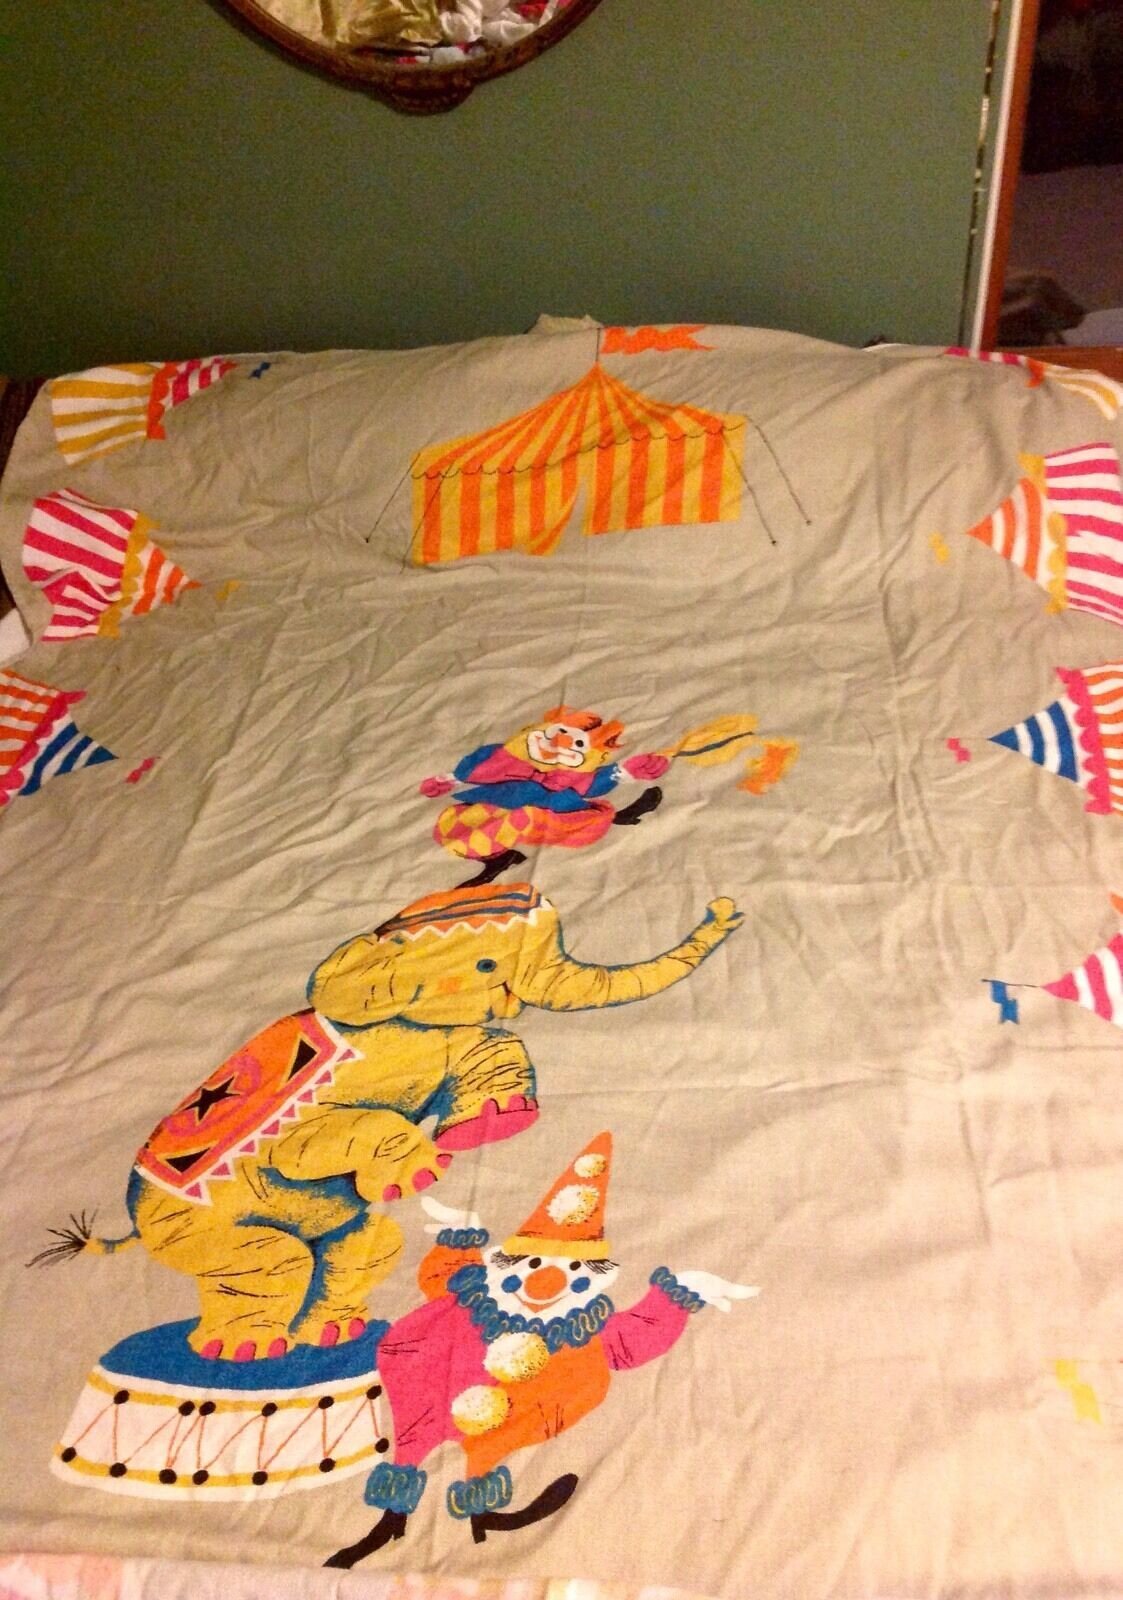
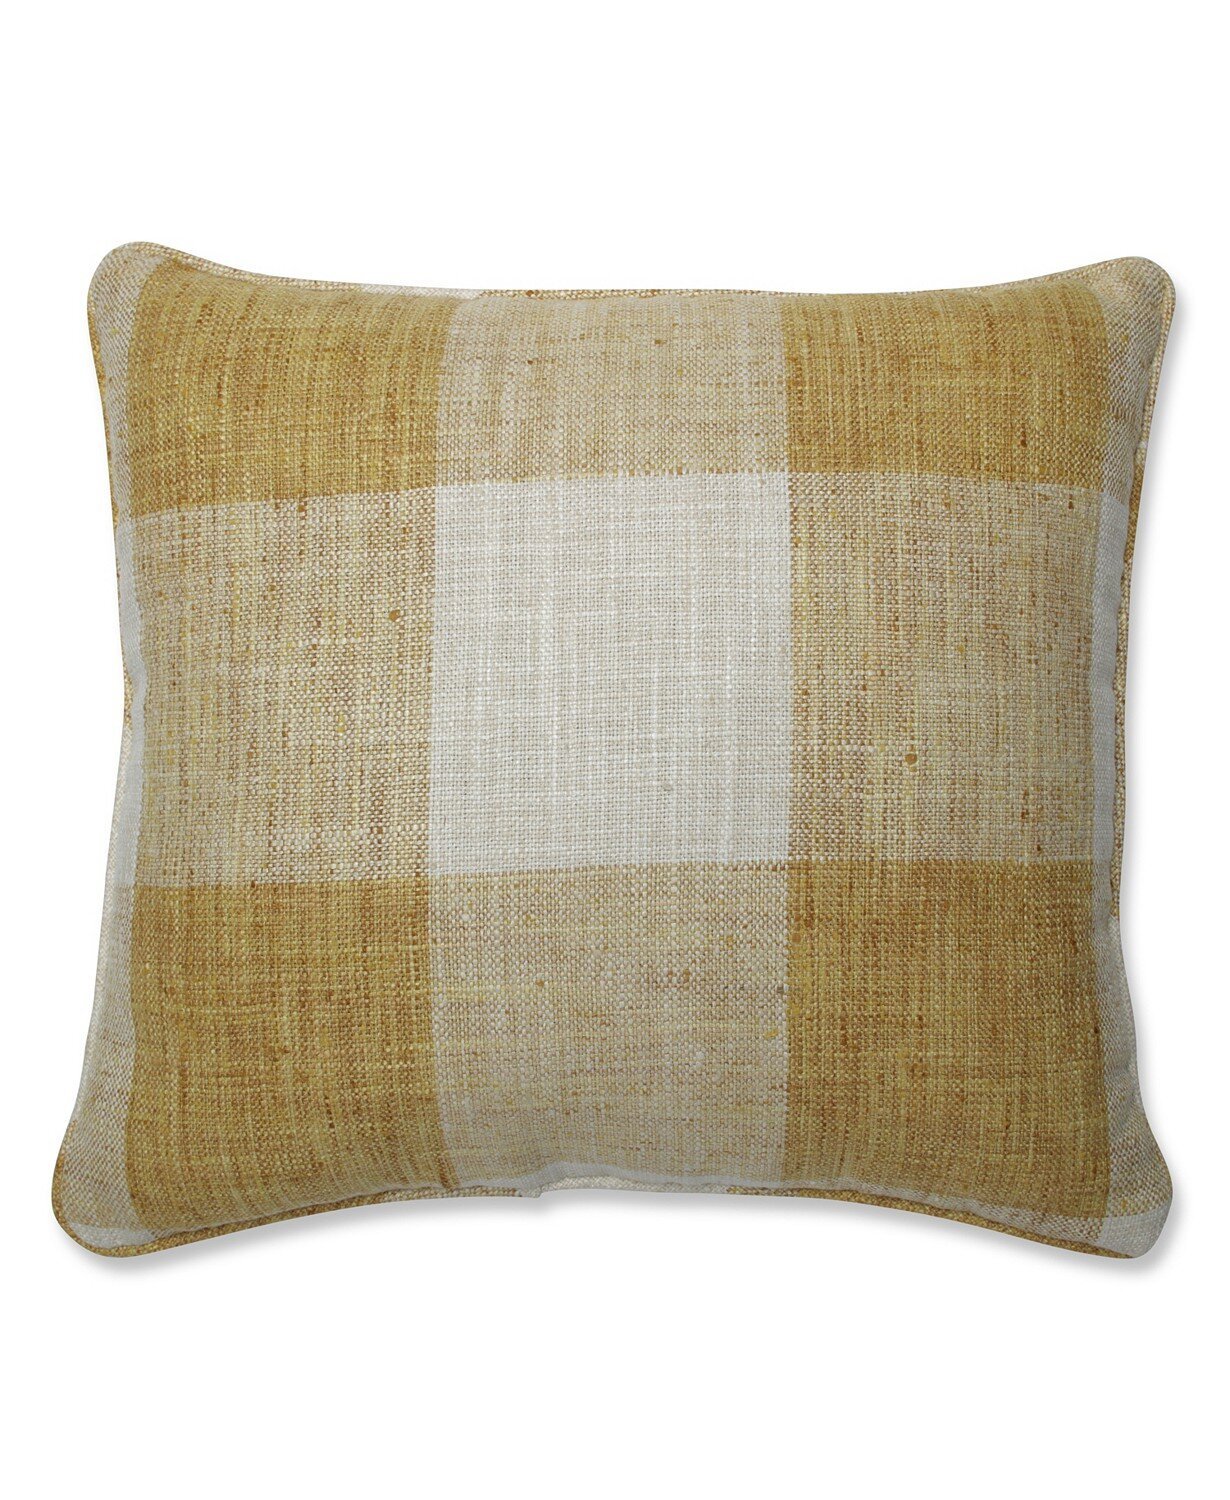
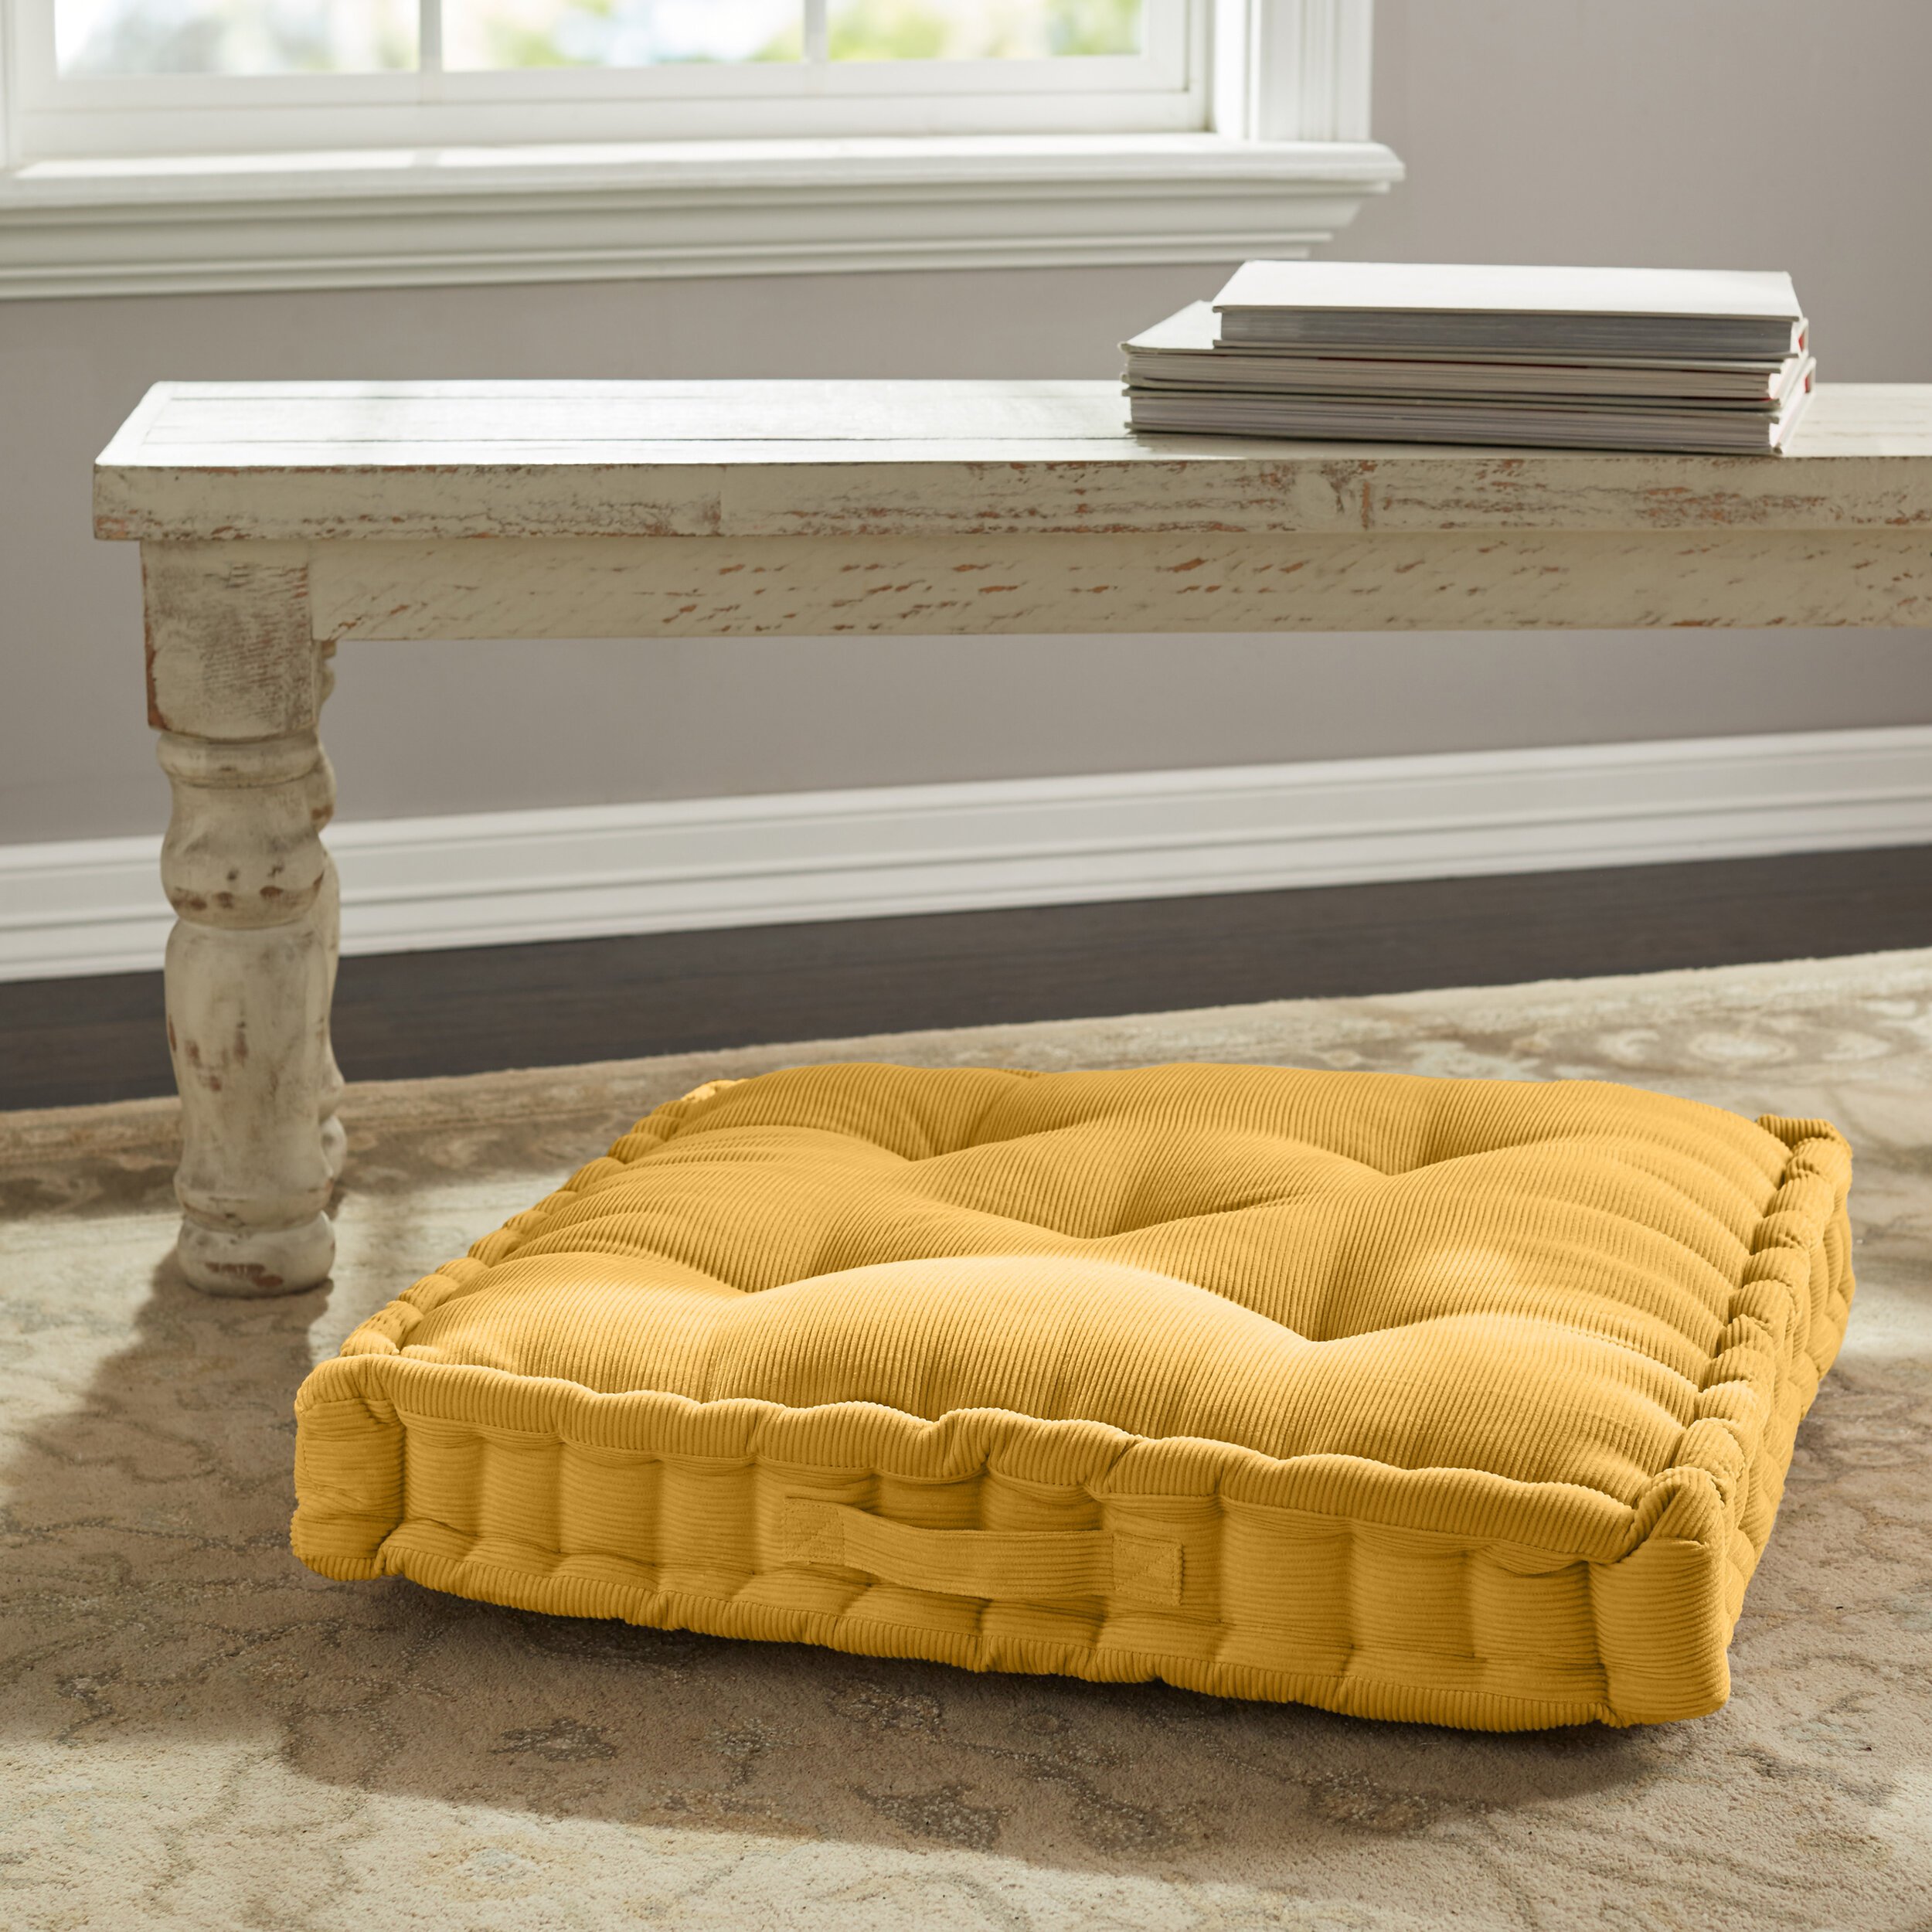
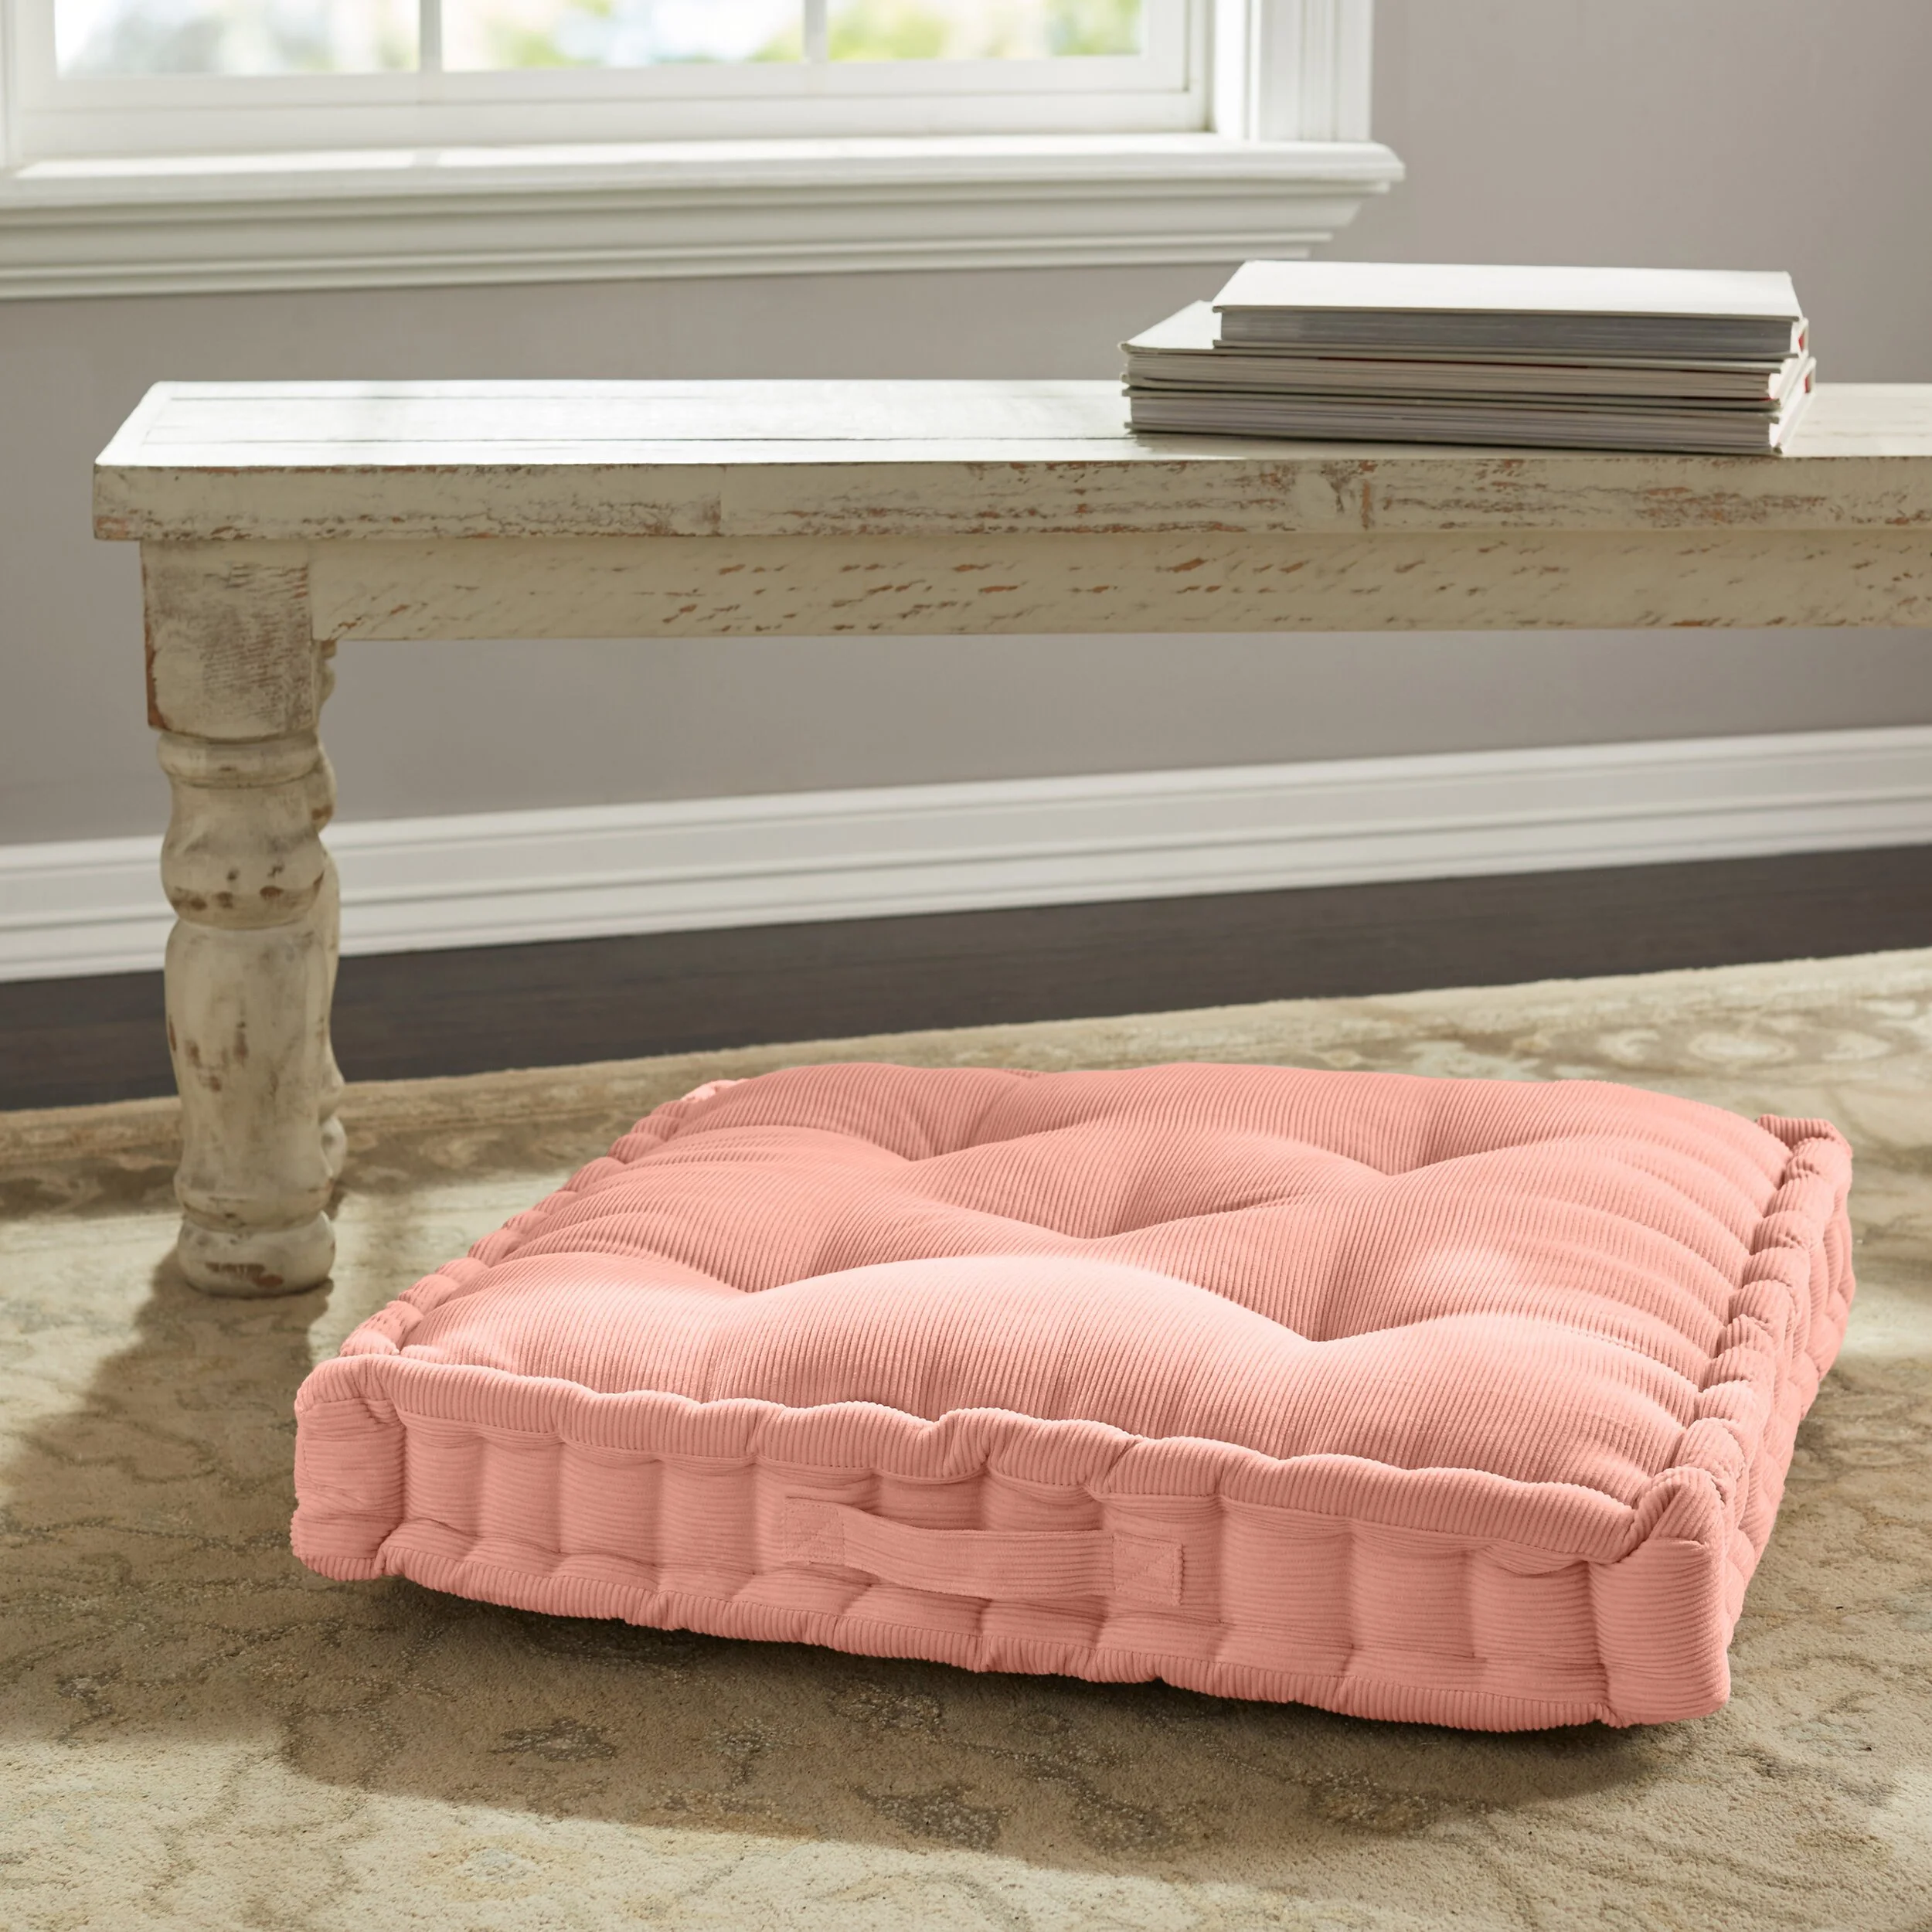
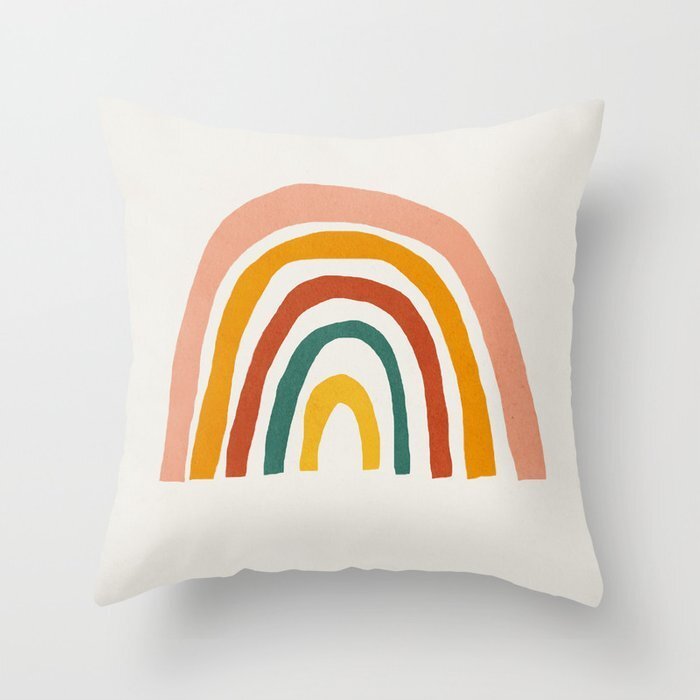
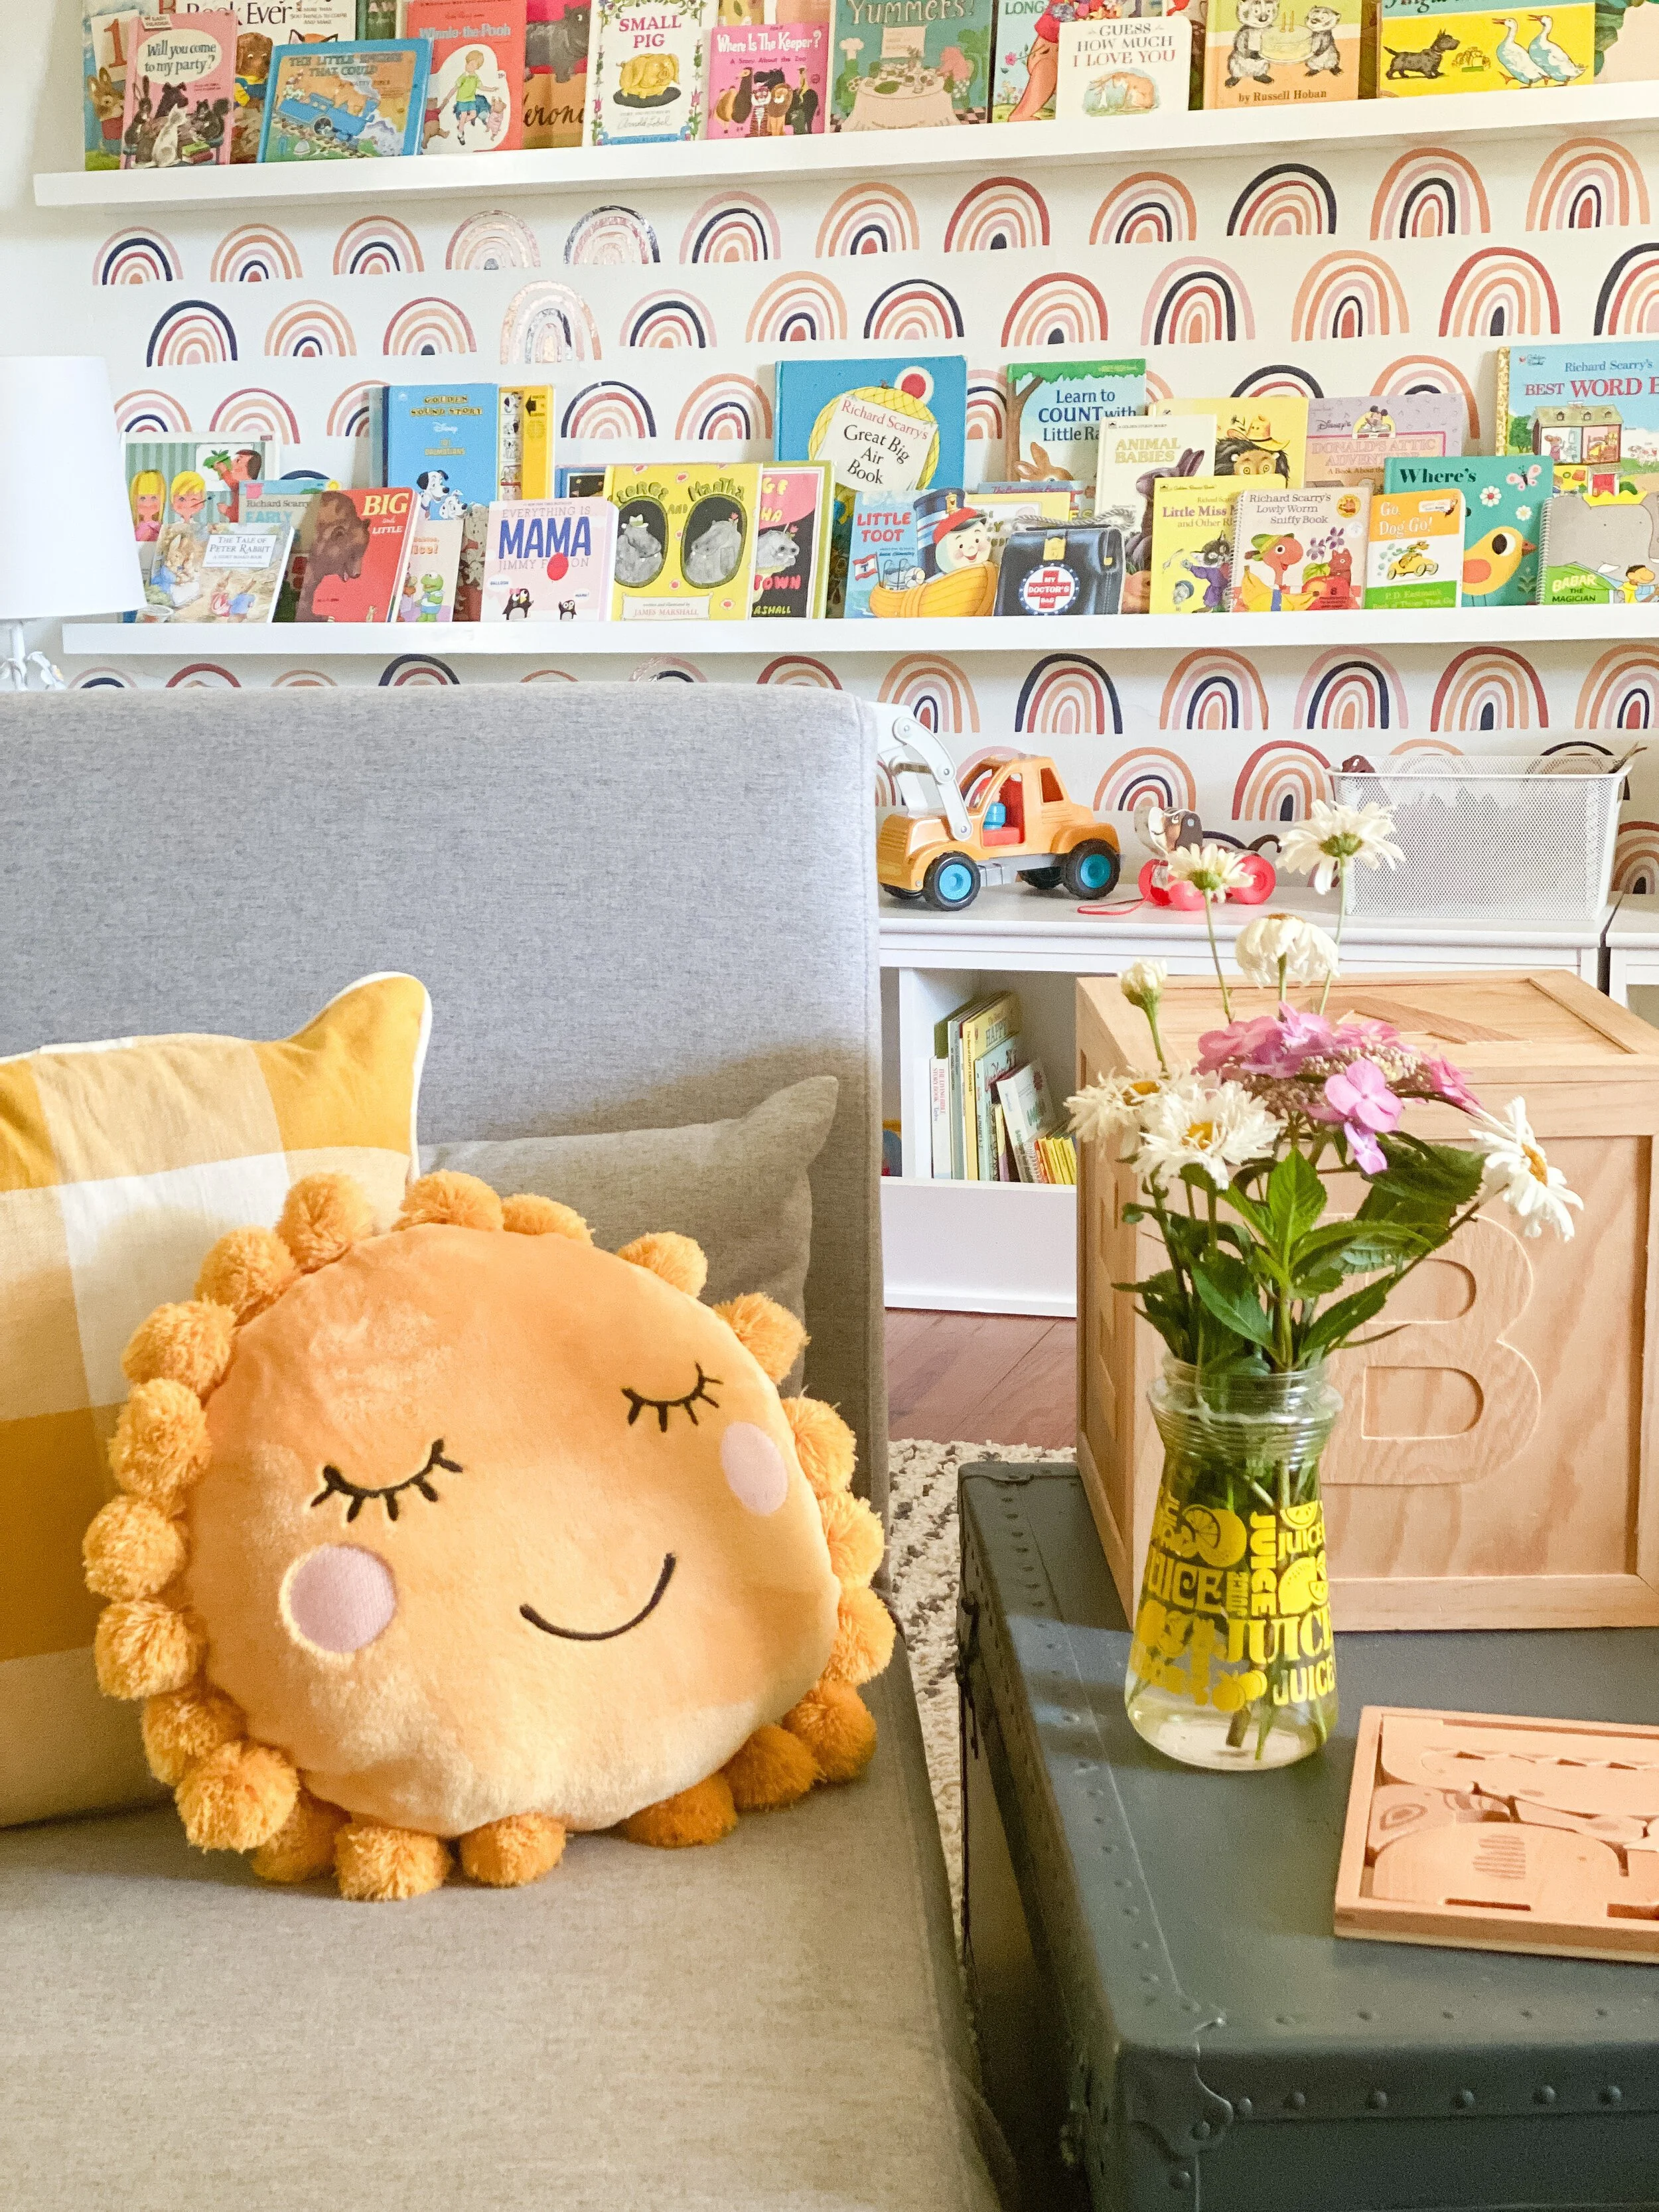
I styled them using an old trunk in the middle like a side table/coffee table (and has more storage inside which is a bonus)! I painted this with leftover blue paint from the DIY wallpaper as well. I had the amazing vintage throw blanket in storage and it’s actually a vintage children’s bedspread. I found the yellow gingham pillows at Walmart (linked similar in the shop section above), the sun pillow at JCPenney, and the rainbow pillow from Soceity 6. The floor pillows are another addition that I love and just adds to the cozy, lounge feel- those are also from Walmart and super affordable.

Well you know I couldn’t finish the room without giving this Little Tykes basketball goal a makeover too! This is such an easy fix for these giant ugly plastic toys that are such eyesores in every room. I have gotten a lot of questions about what paint I used and how to prevent chipping so I wanted to share. I first wiped down the entire piece with some regular spray cleaner and a paper towel, removed the net, then let it dry completely. Next I removed the hoop from the goal because I knew I wanted that a different color (you can take apart as many pieces as you like to separate them and paint them different colors).

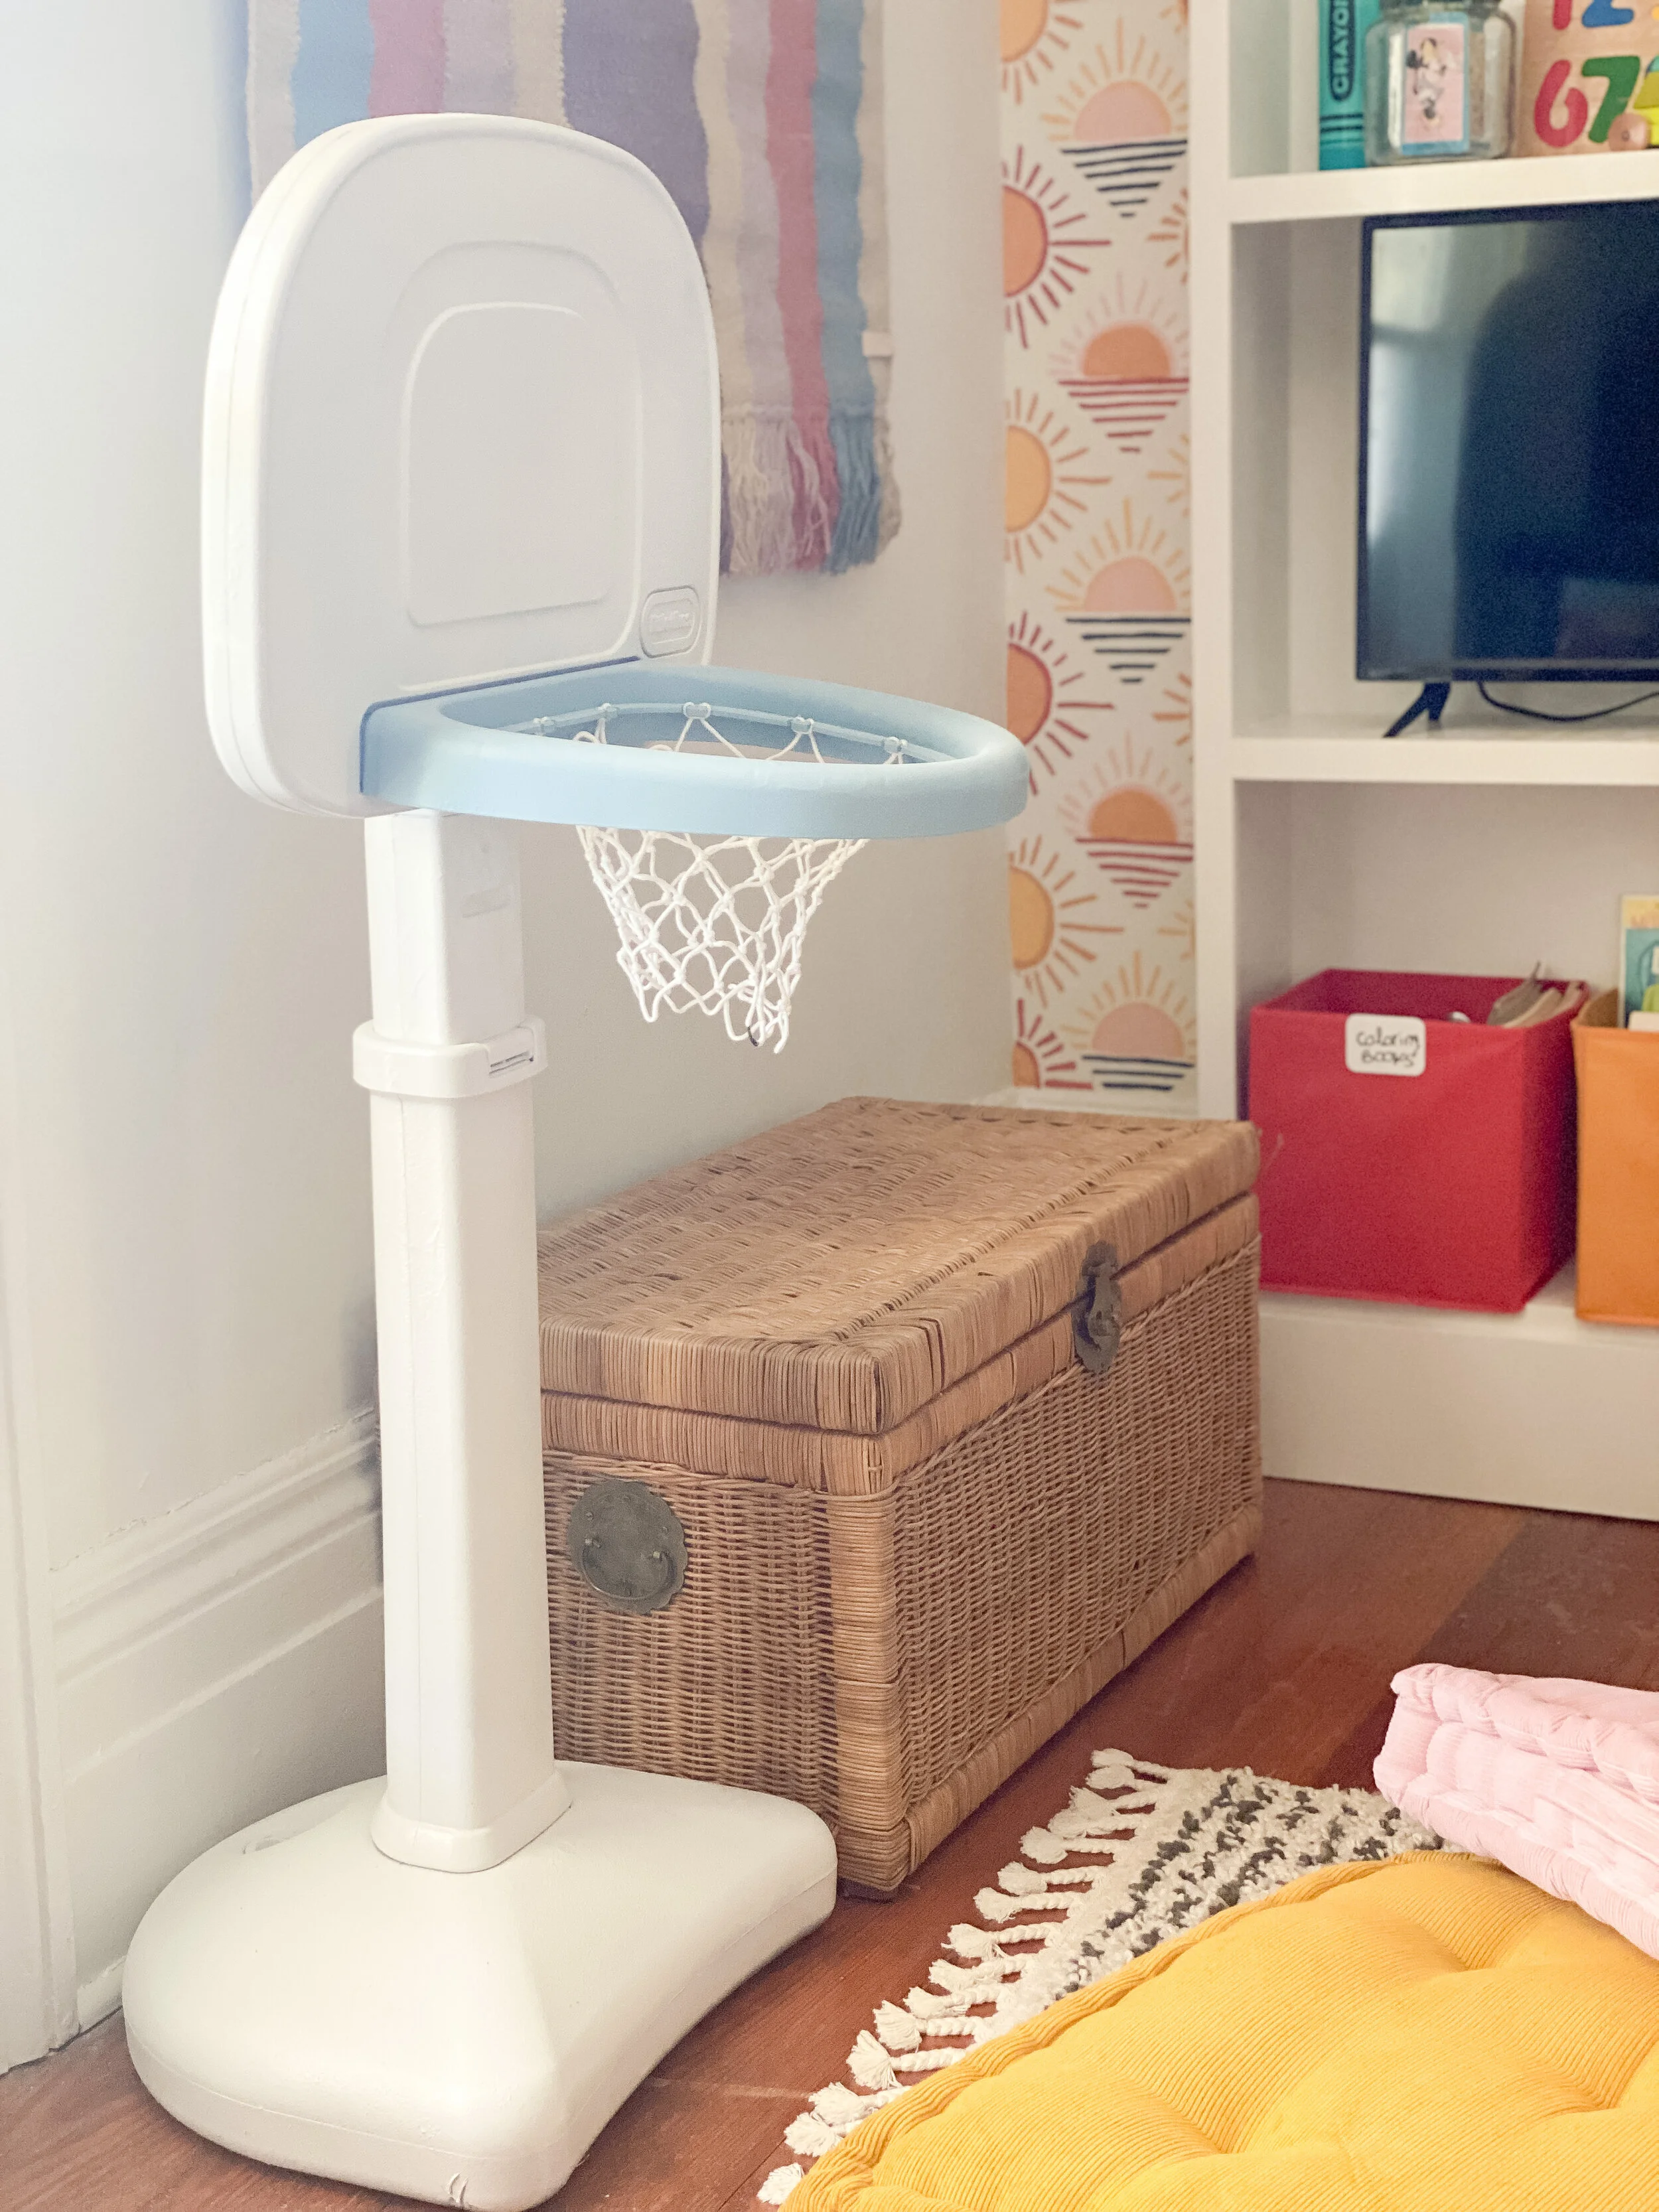
I sprayed the entire piece with white primer spray paint to help the paint stick evenly and smoothly and it should also help prevent chipping. Next I used my color spray paints on each section (Rustoleum brand)- blue on the hoop and white on the remaining hoop. I wanted to keep it fairly simple and neutral. I let it dry completely then carefully put it back together. I love how it turned out and although we haven’t tested it out a ton yet, it seems to be holding up well. Even if it does chip a little over time, I can easily give it another spray or touch up by hand when needed.


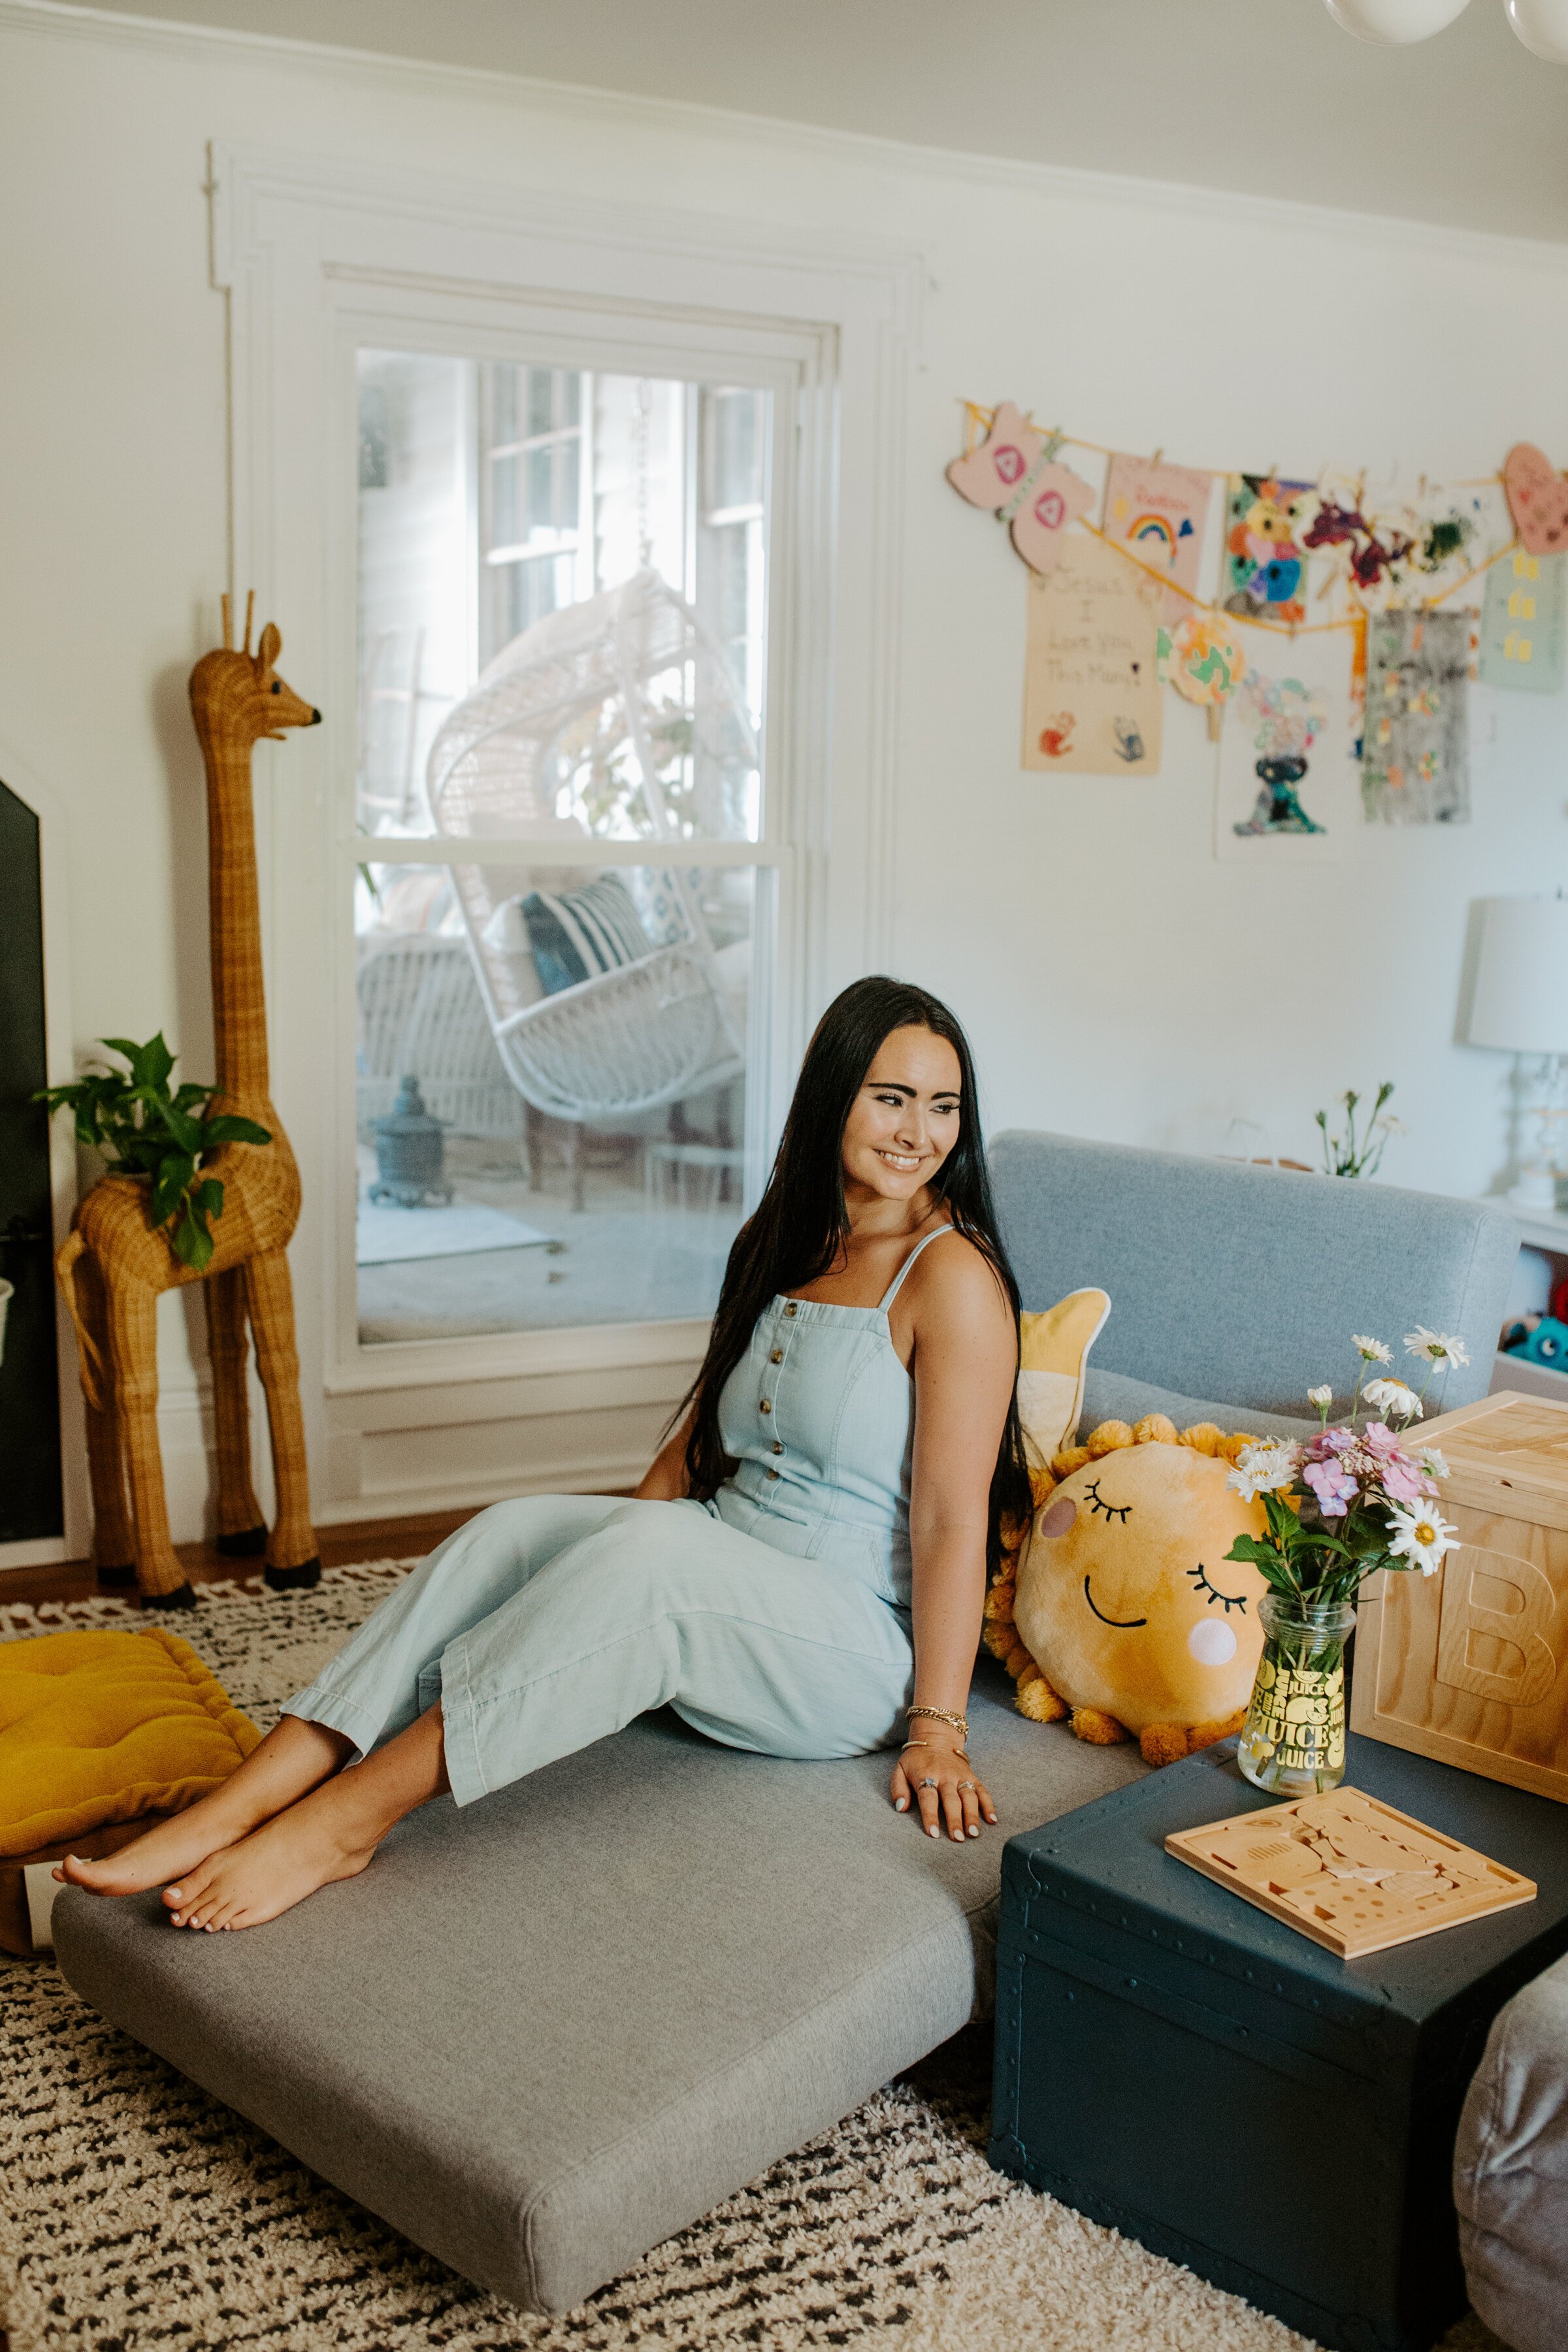
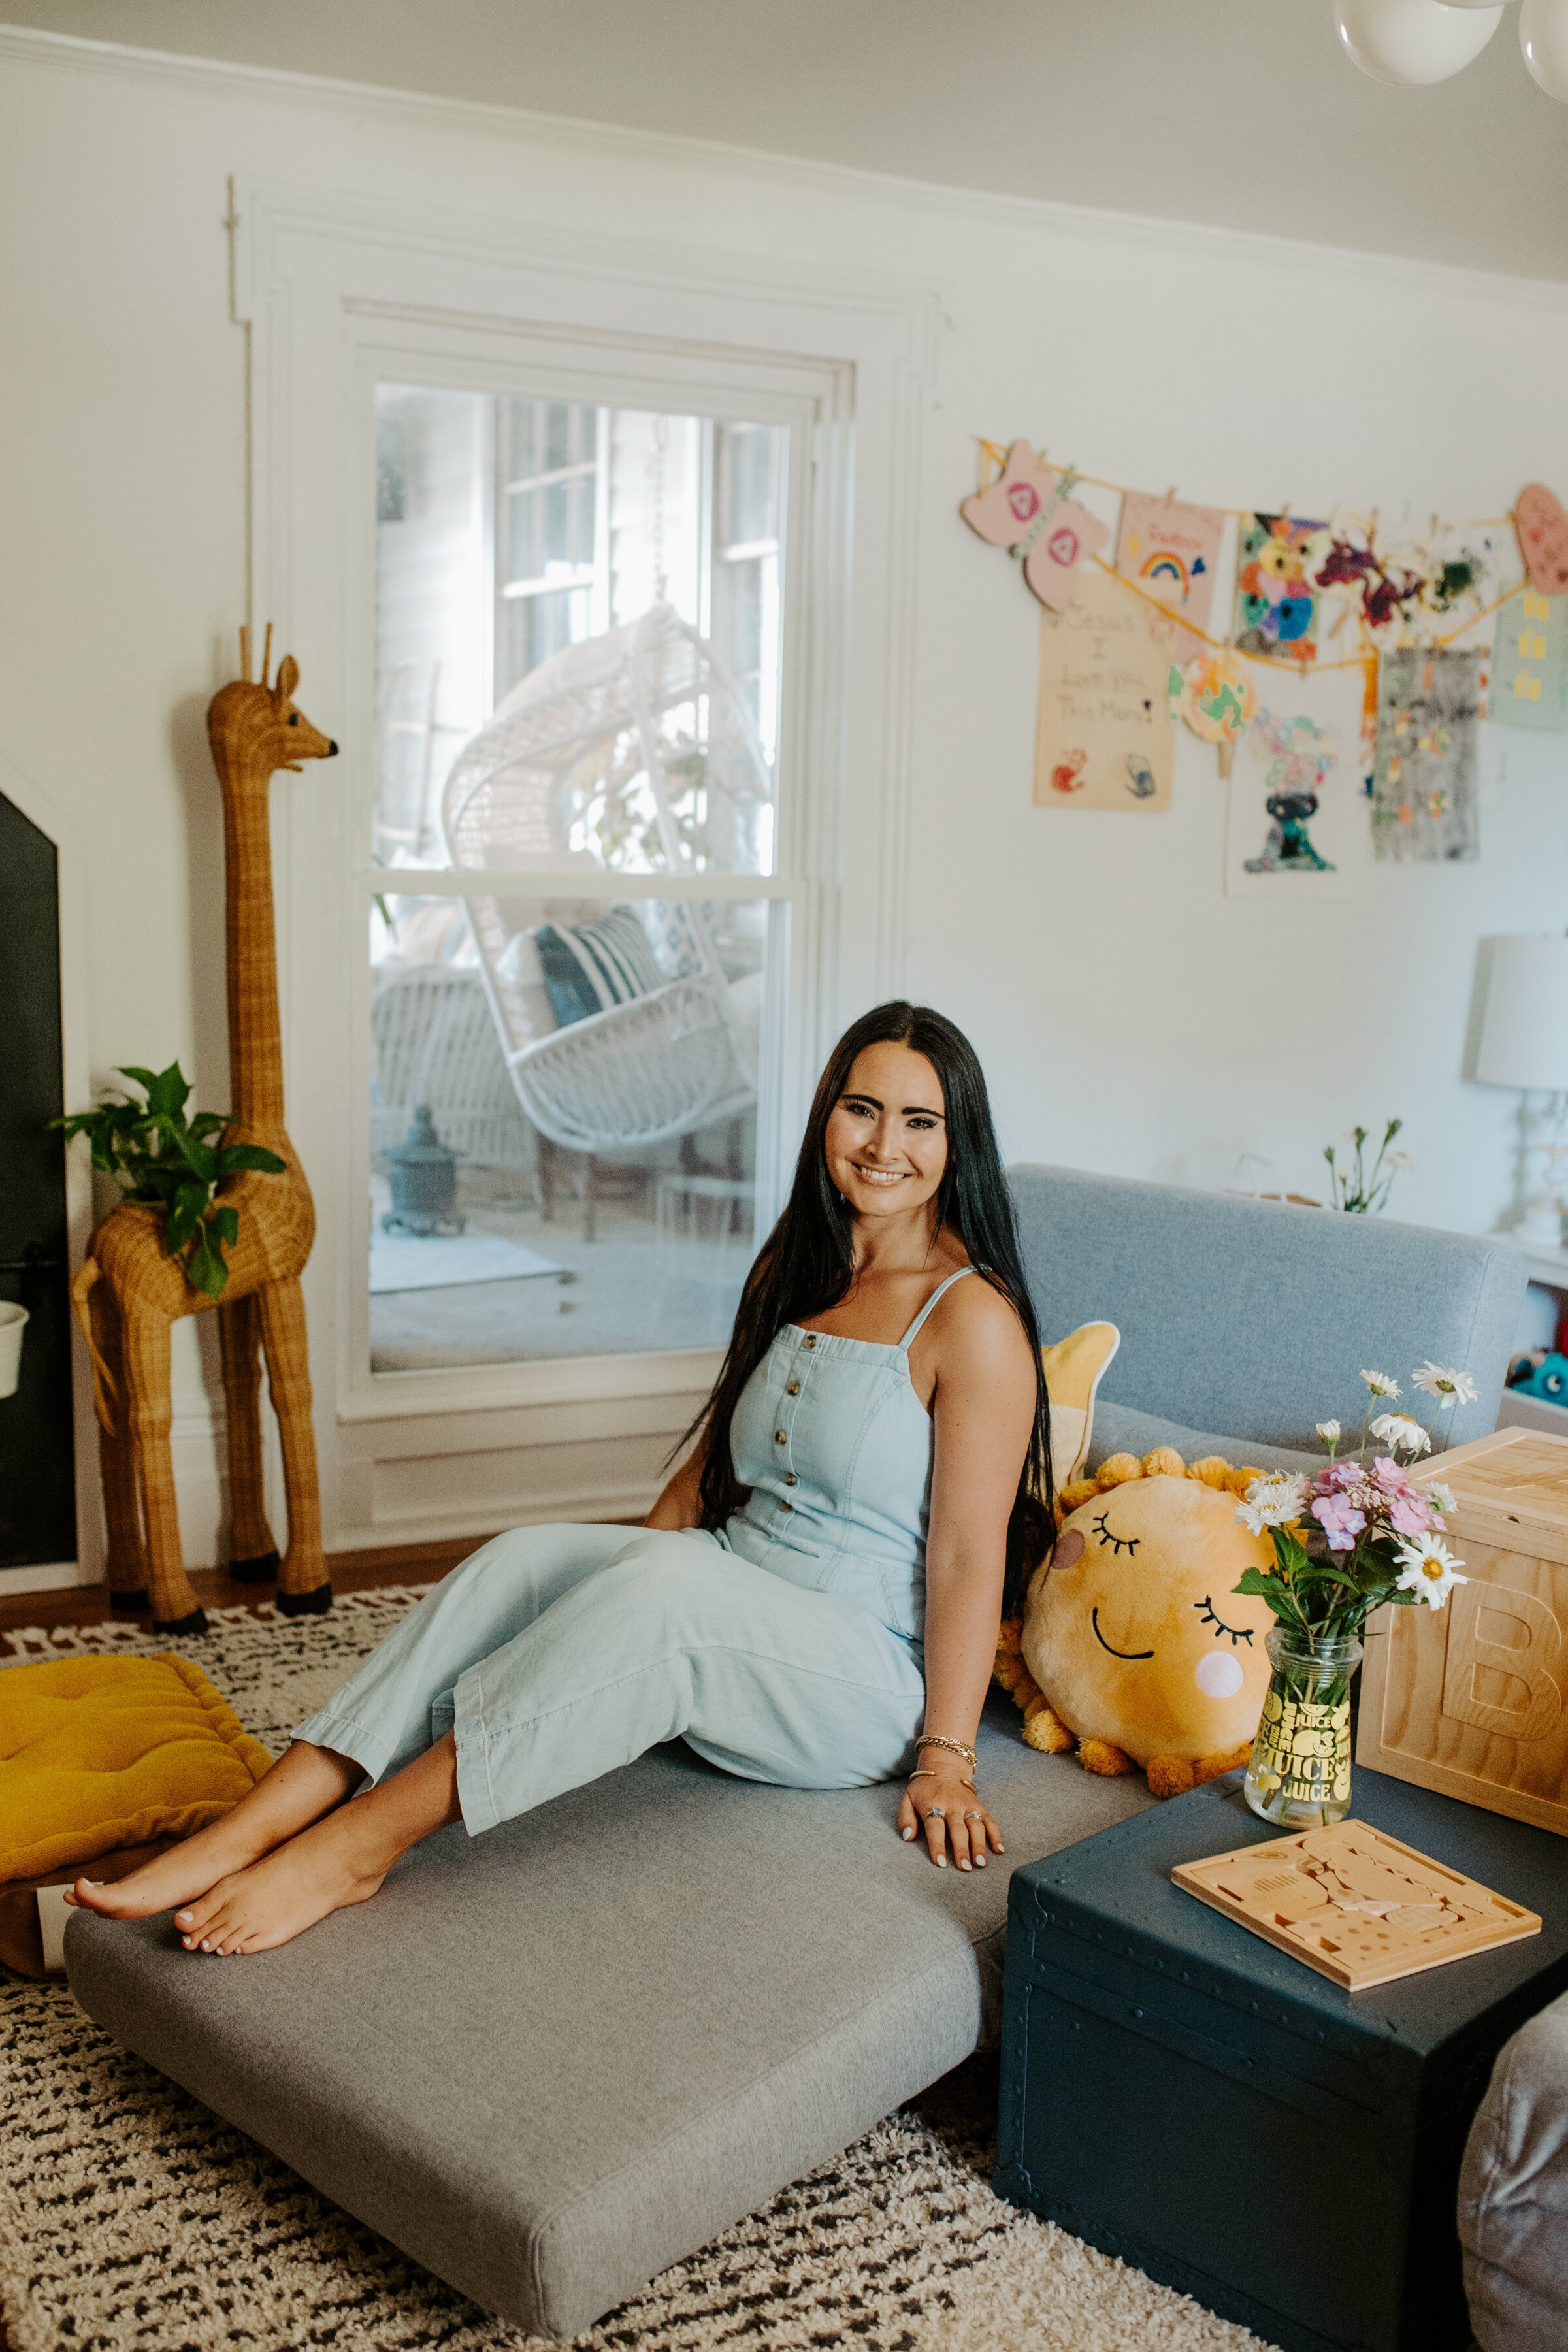
Well if you’ve made it this far you are a total rockstar because this might be my longest post to date! I can’t thank all of you enough for following along with my first One Room Challenge and being so enthusiastic and supportive every step of the way! It truly made the entire process so much more fun knowing you all really cared about this project and were cheering me on! As always if you have any questions about anything I did not mention in the post, just ask in the comments below! Let me know what you favorite part of this playroom makeover is too! Now time for me to go take a little vacation and rest!
xoxo
Emily
Be sure to follow along here to see all the One Room Challenge posts easily in one place! You can also follow the hashtag #oneroomchallenge on Instagram to discover all the projects and progress!
You can follow my playroom makeover project and see all the past posts together by clicking here.