Easy + Beautiful Summer Dessert Board

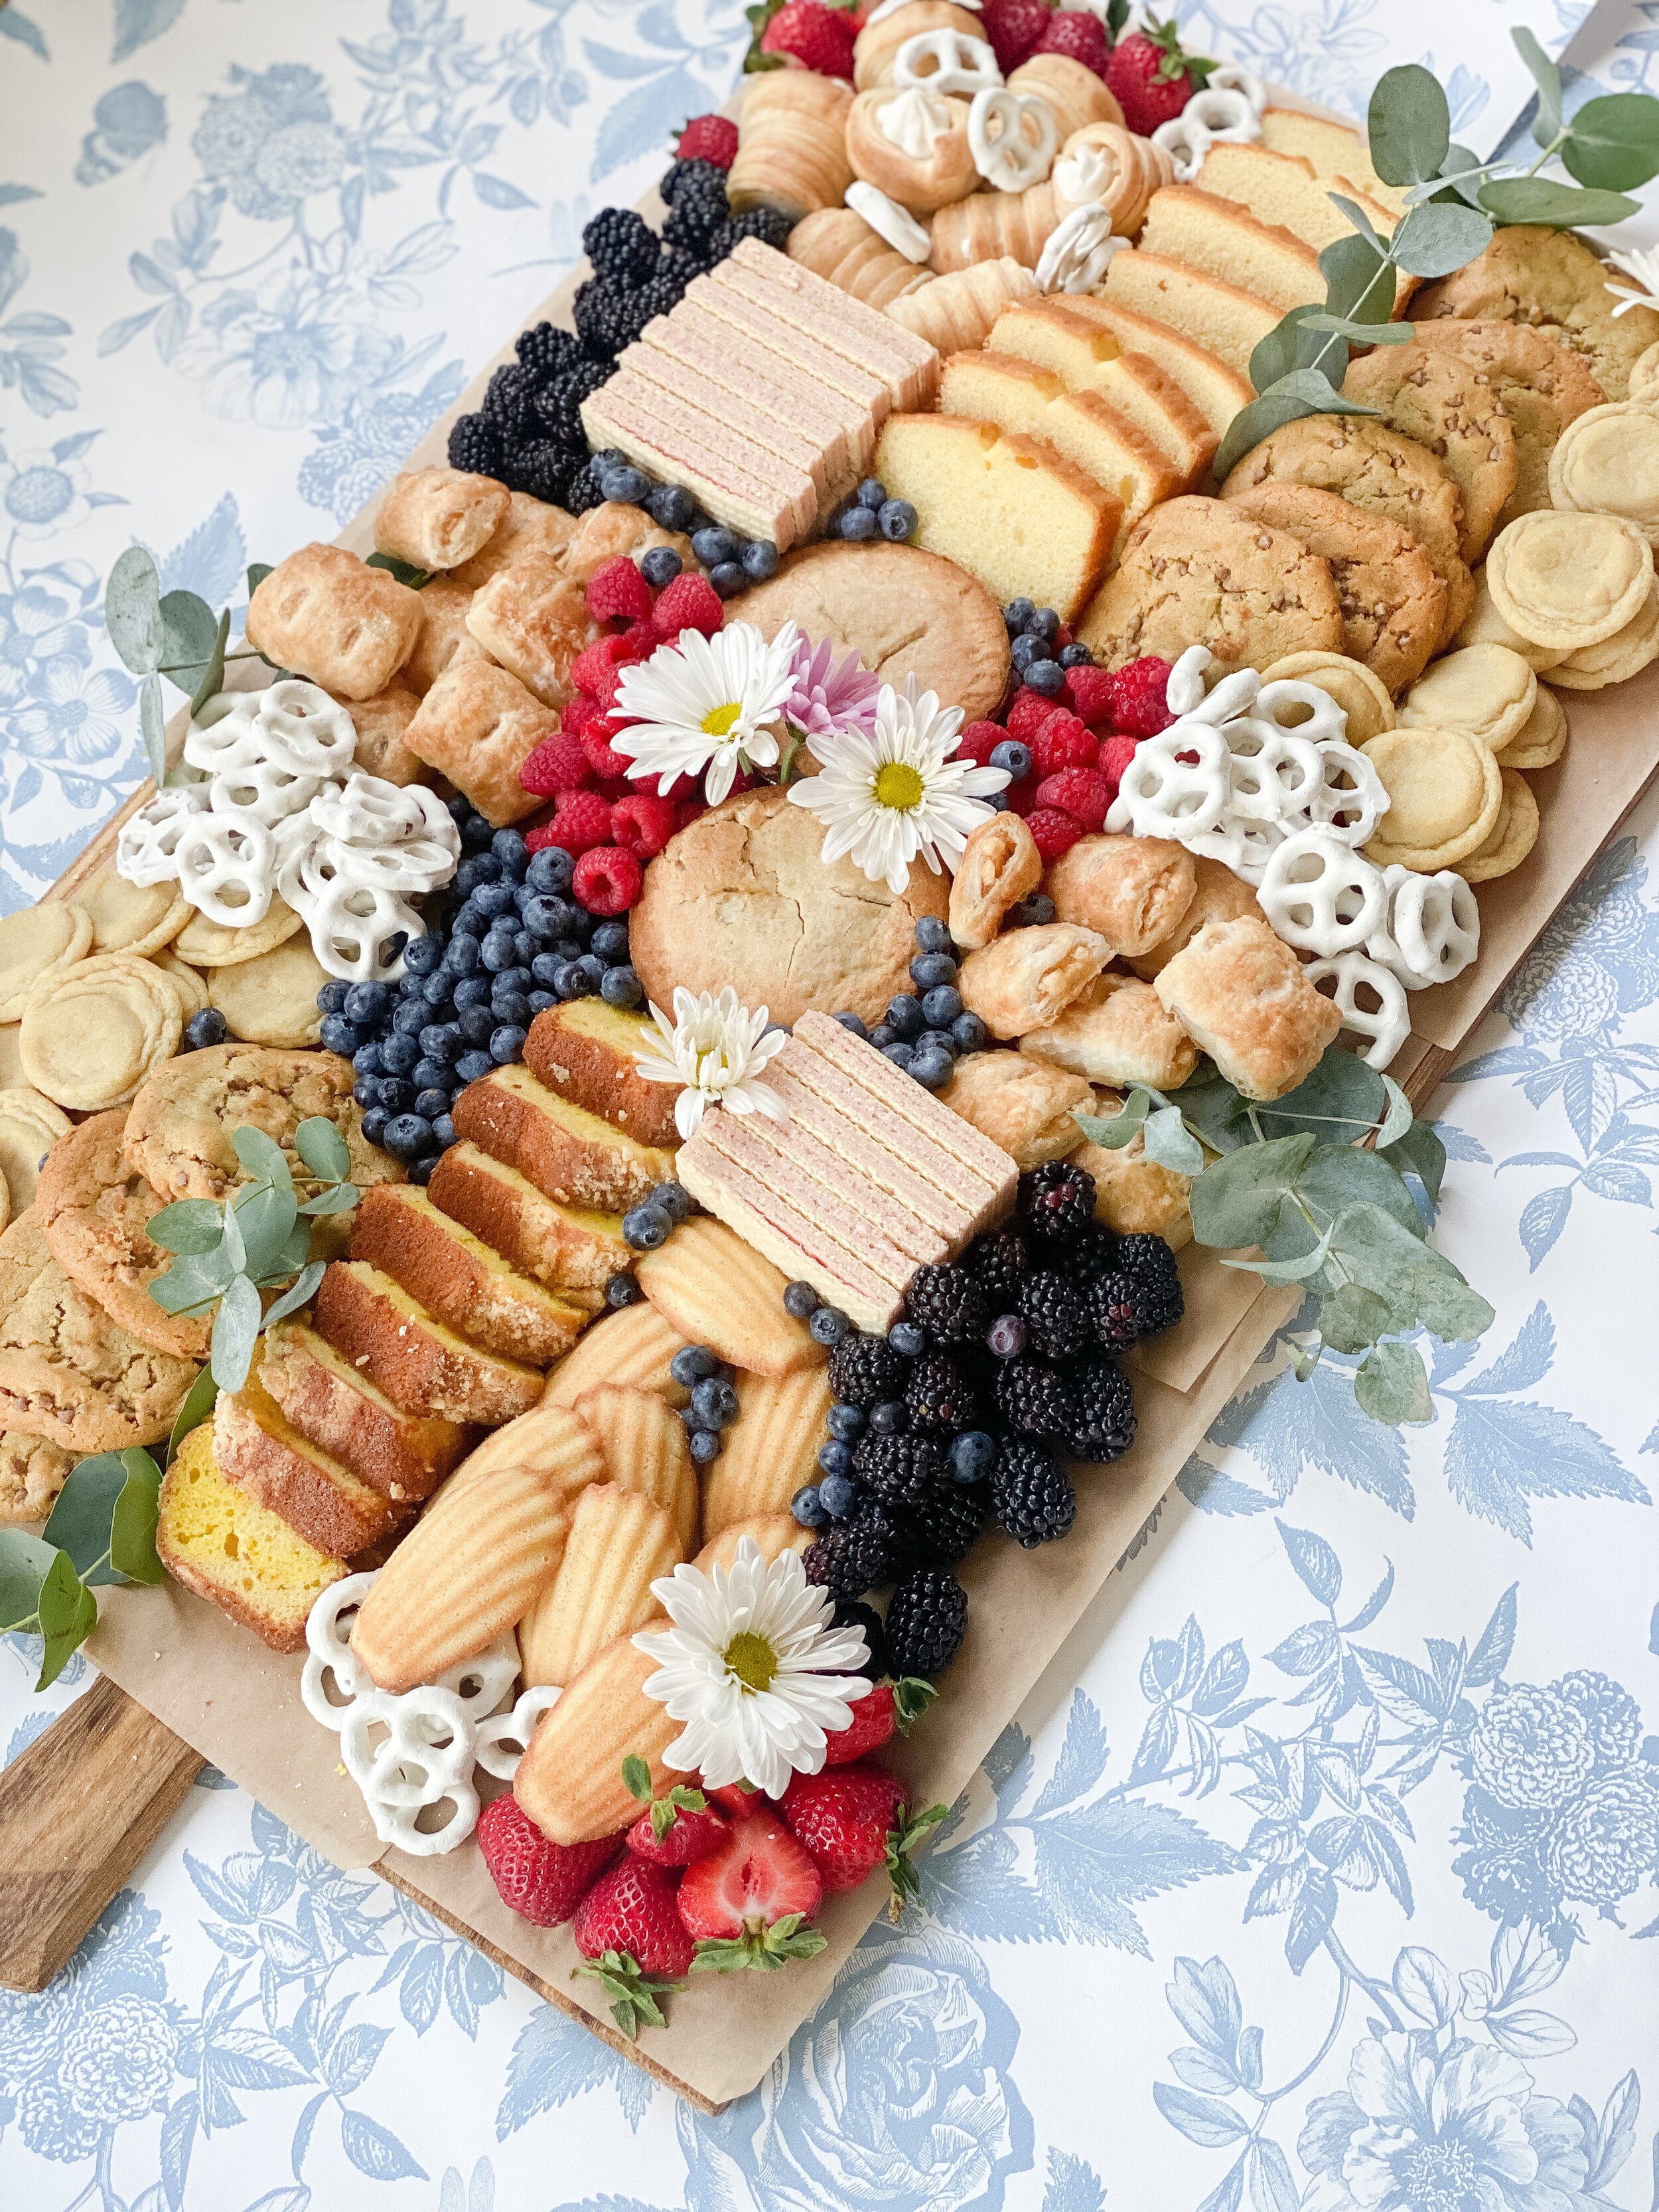
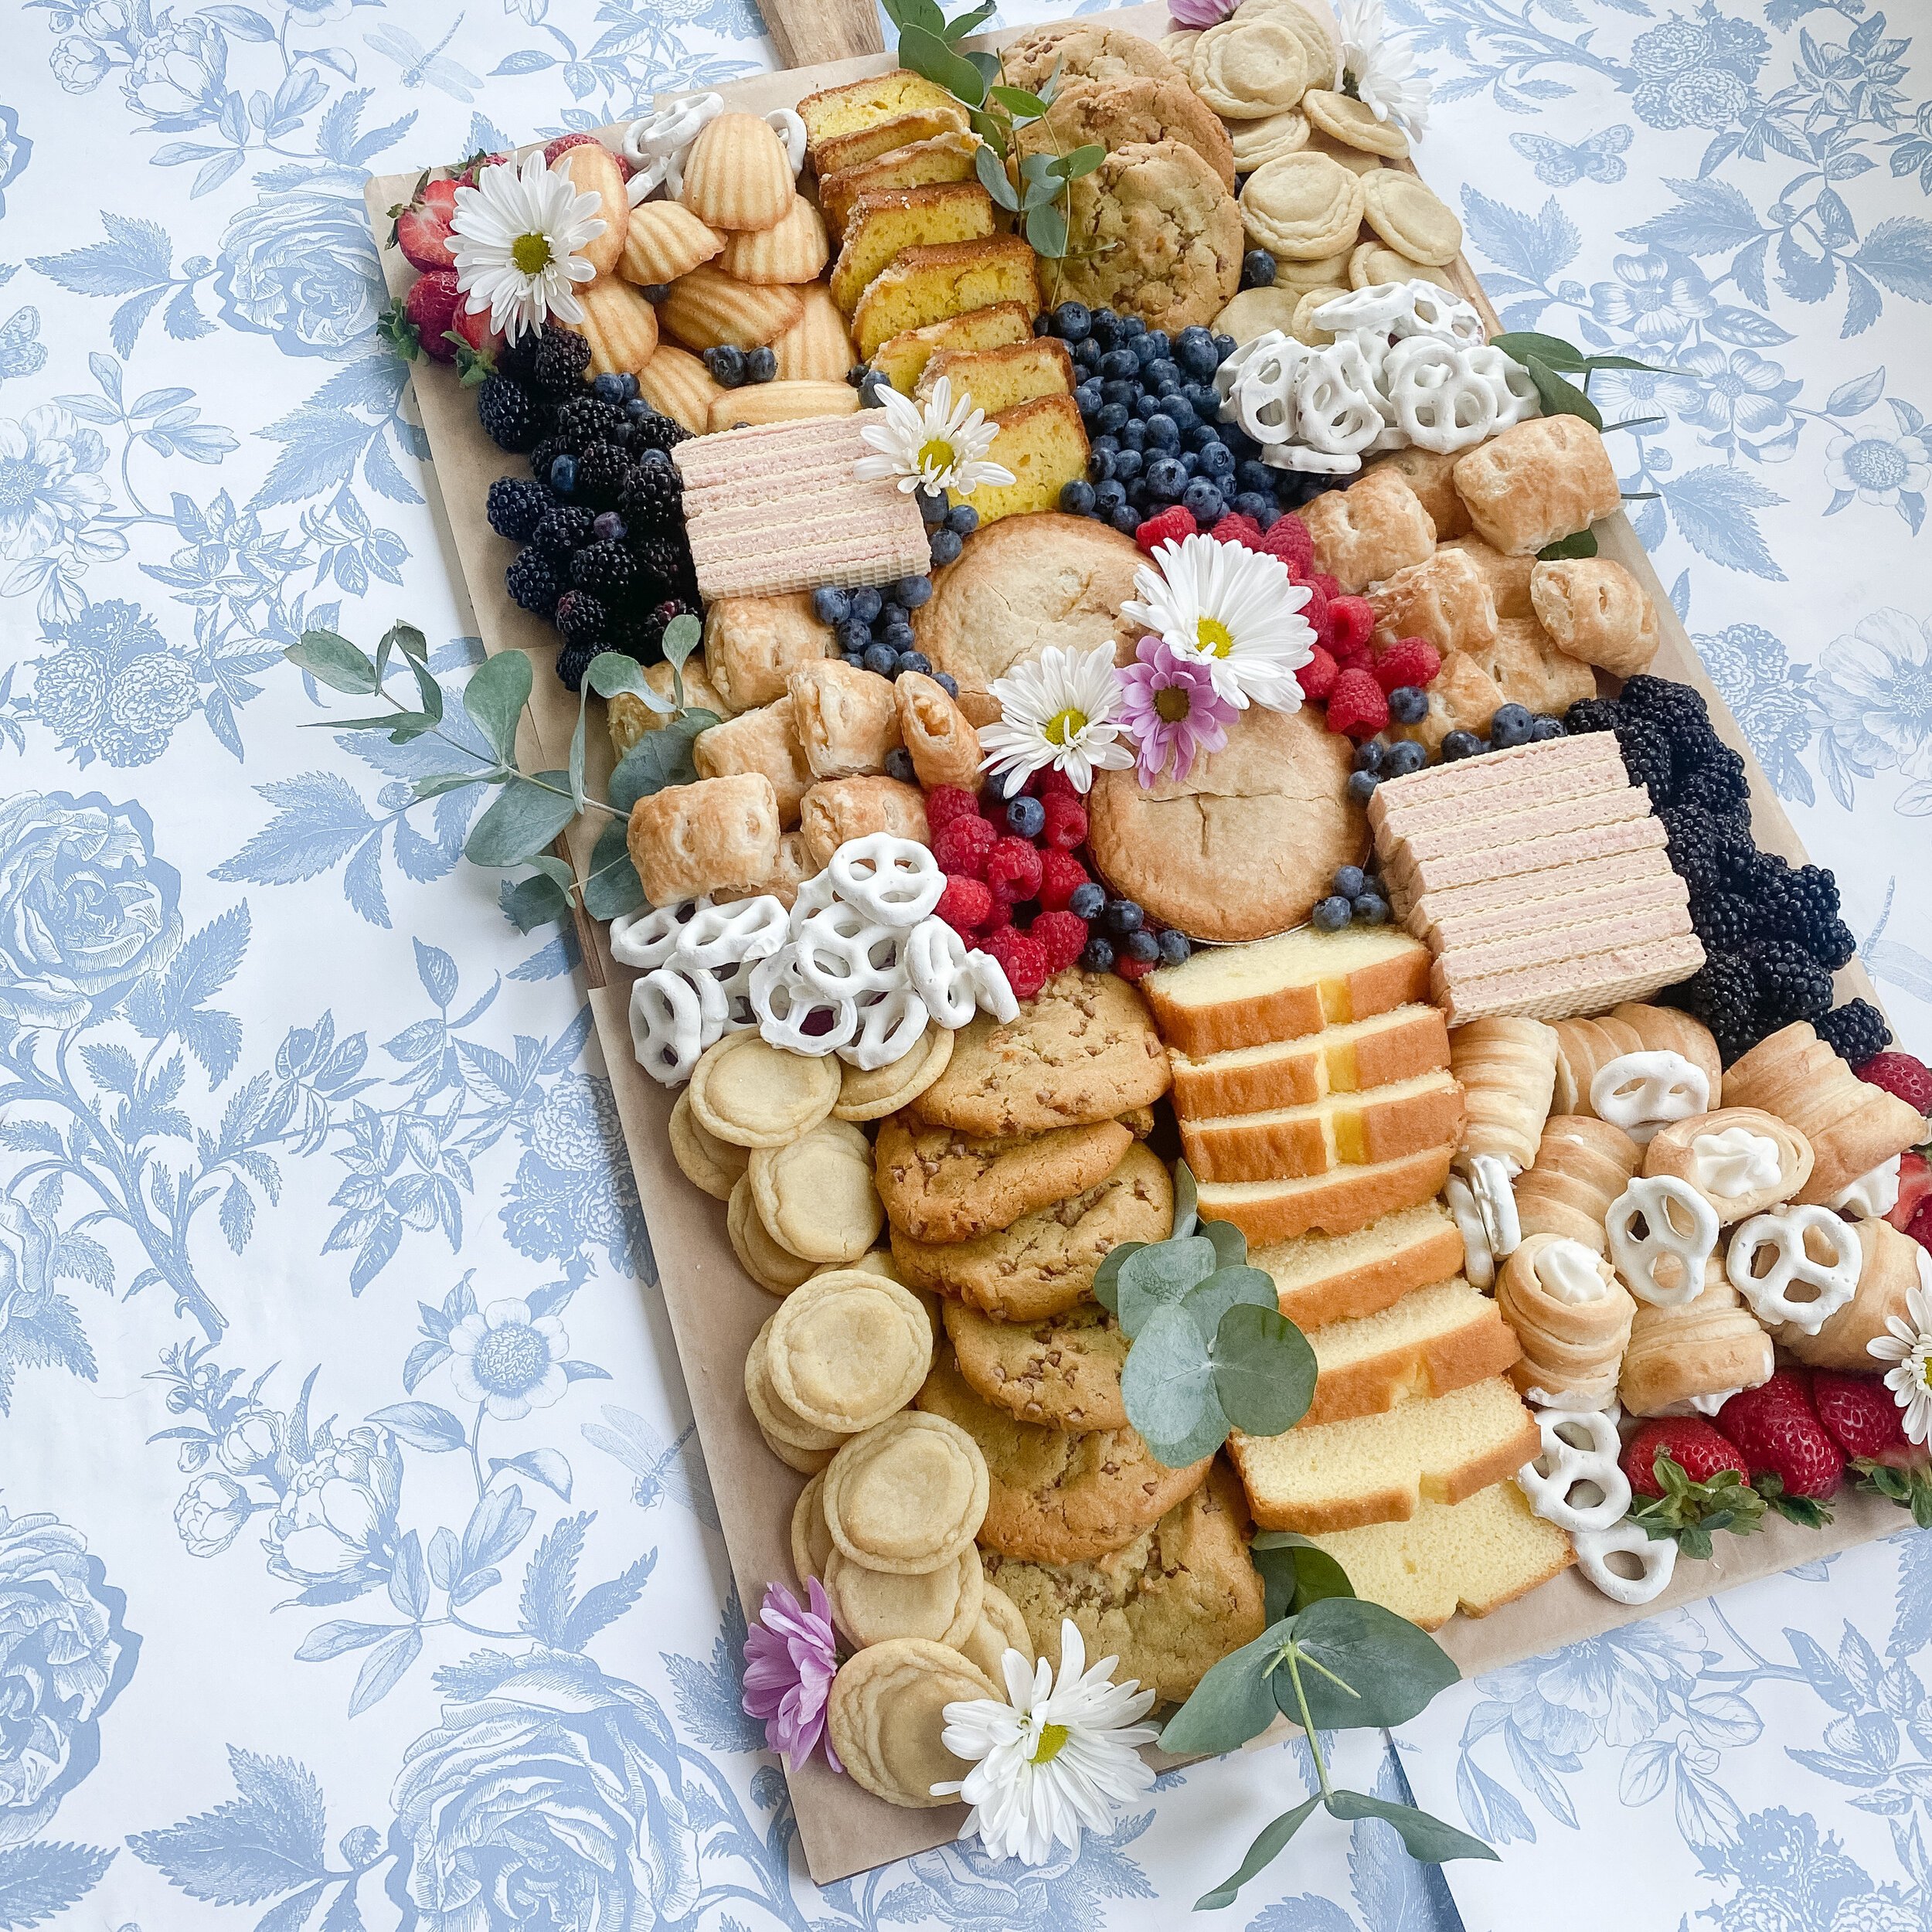
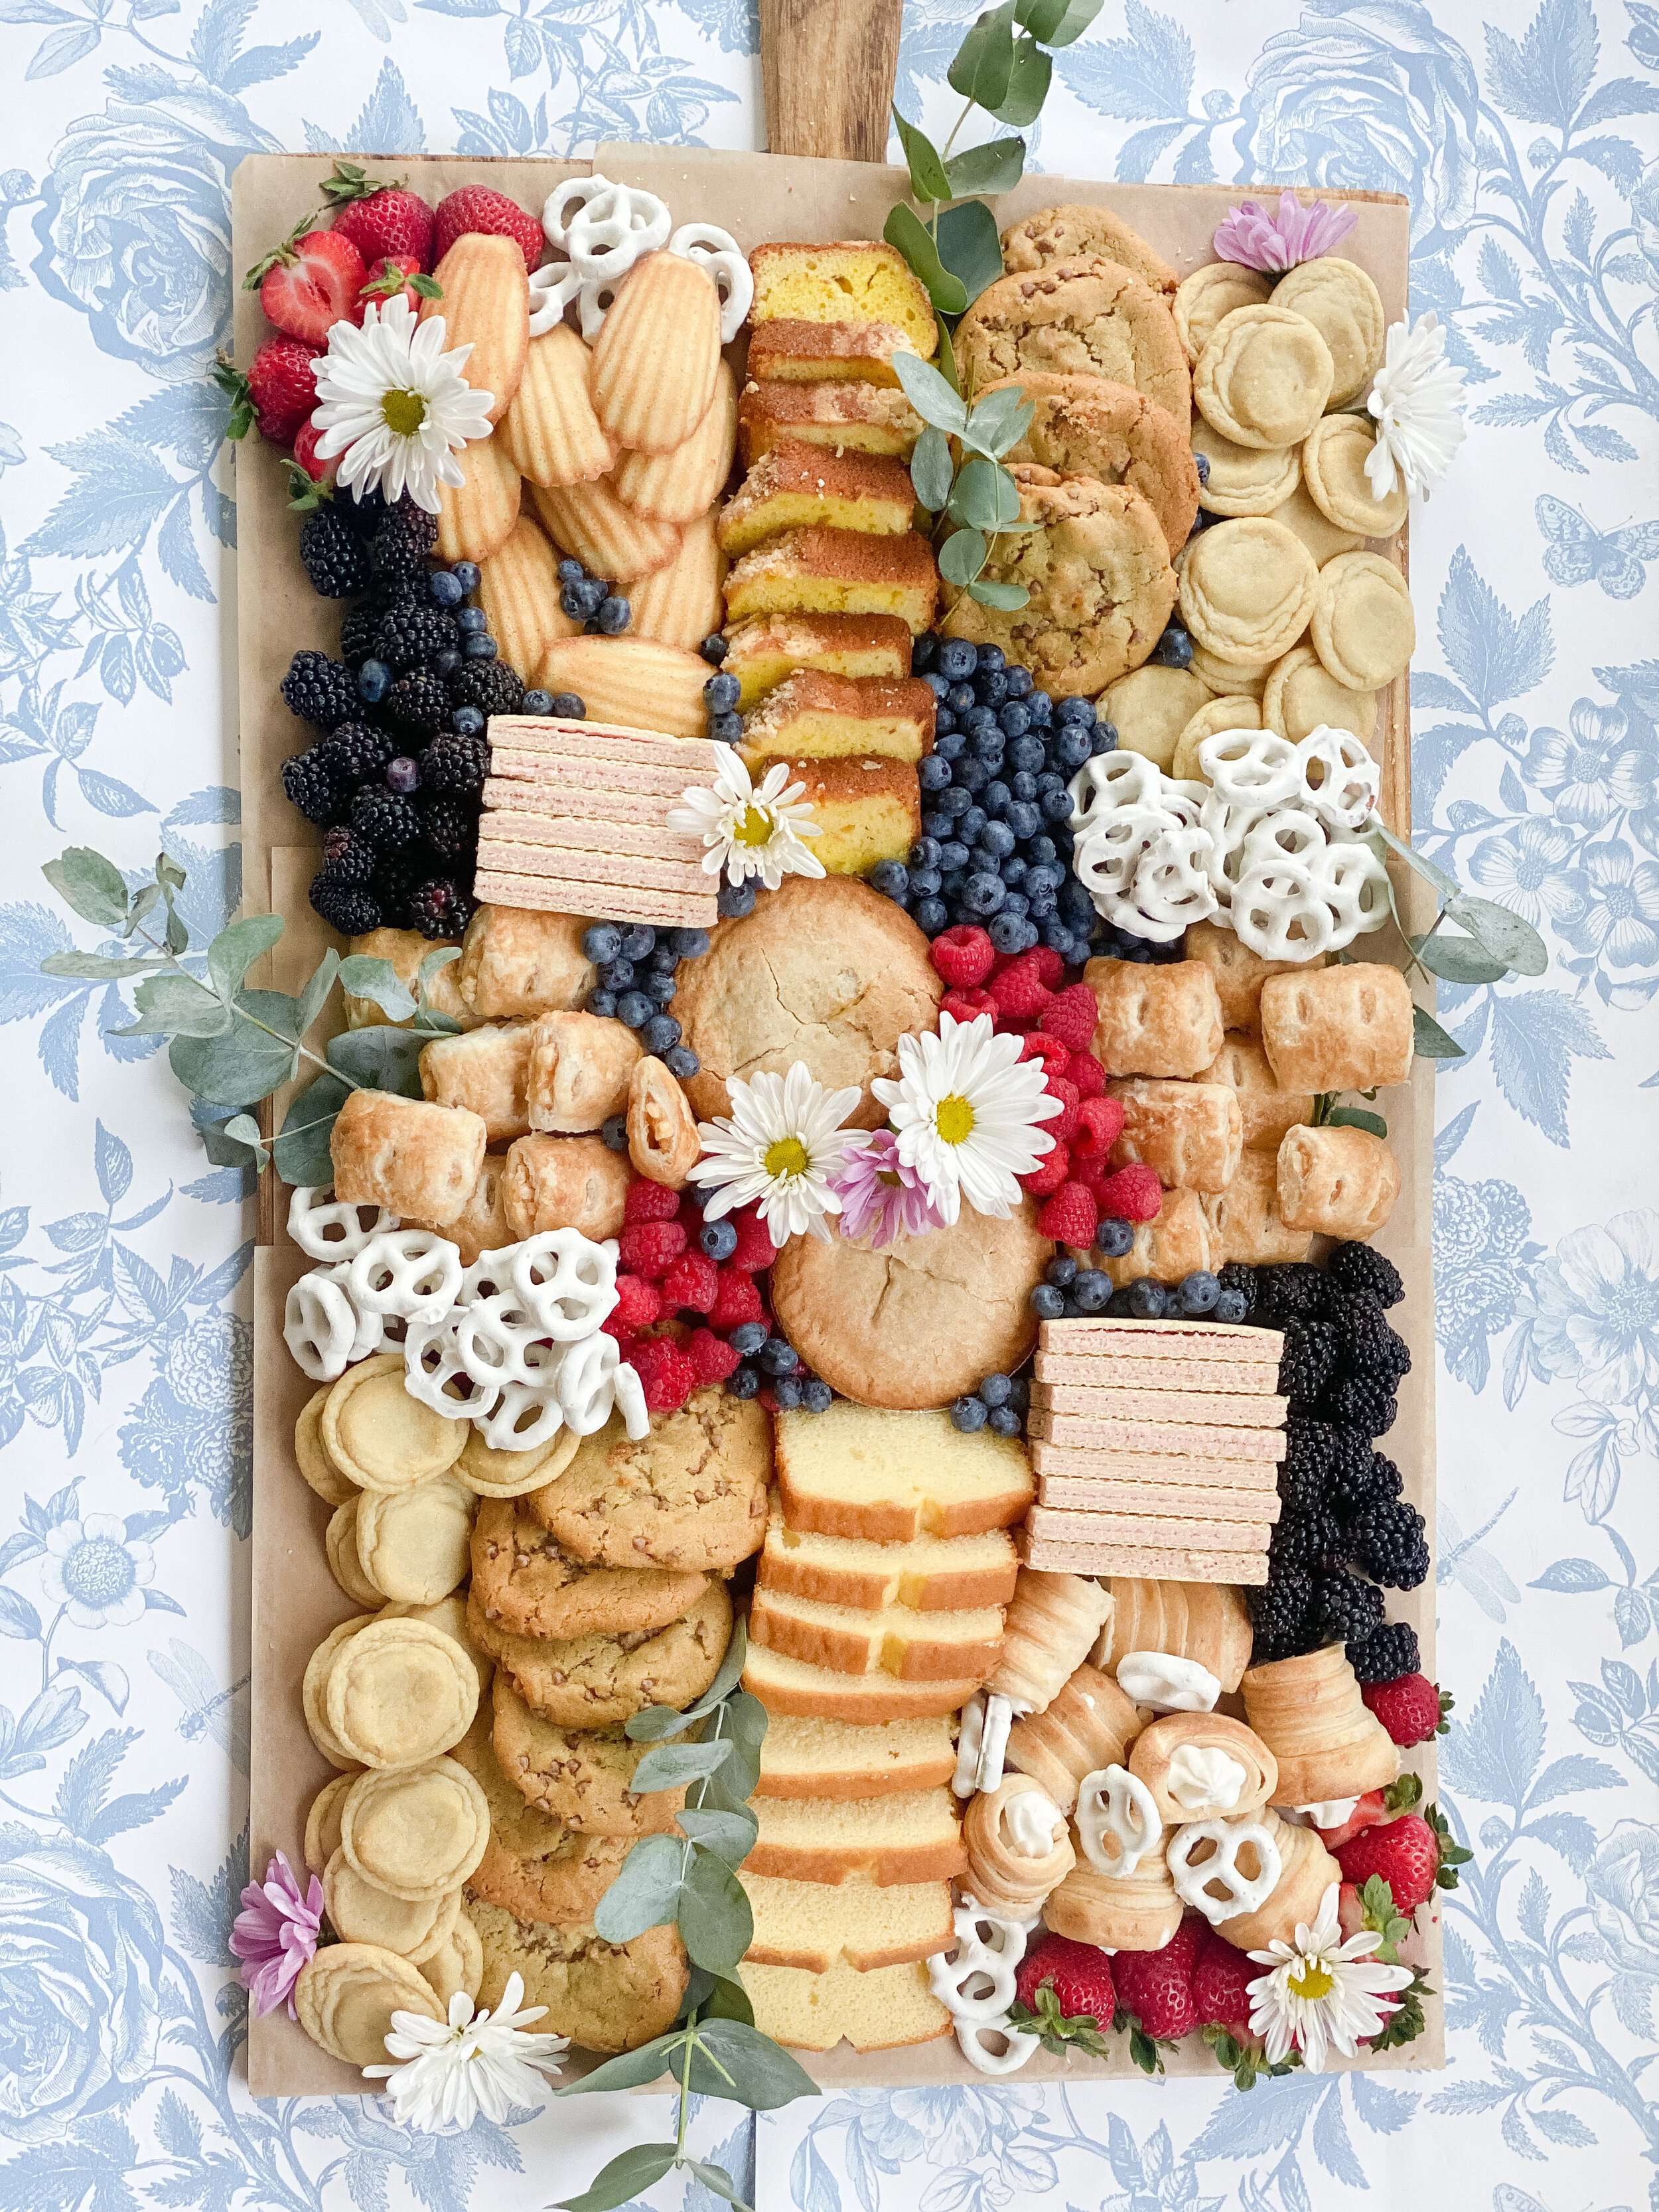
There’s nothing like summertime sweets! This is such a perfect board to make for a baby or wedding shower, picnics, parties, or family gatherings. This board is great for 8-10 people and is customizable to meet your sweet tooth needs! The best part is that there’s NO baking or cooking required! Just buy lots of your favorite baked goods and sweets, cut up, arrange, and you’re ready to go! I’ve listed all the ingredients and instructions to put this delicious board together below!
XOXO
Emily
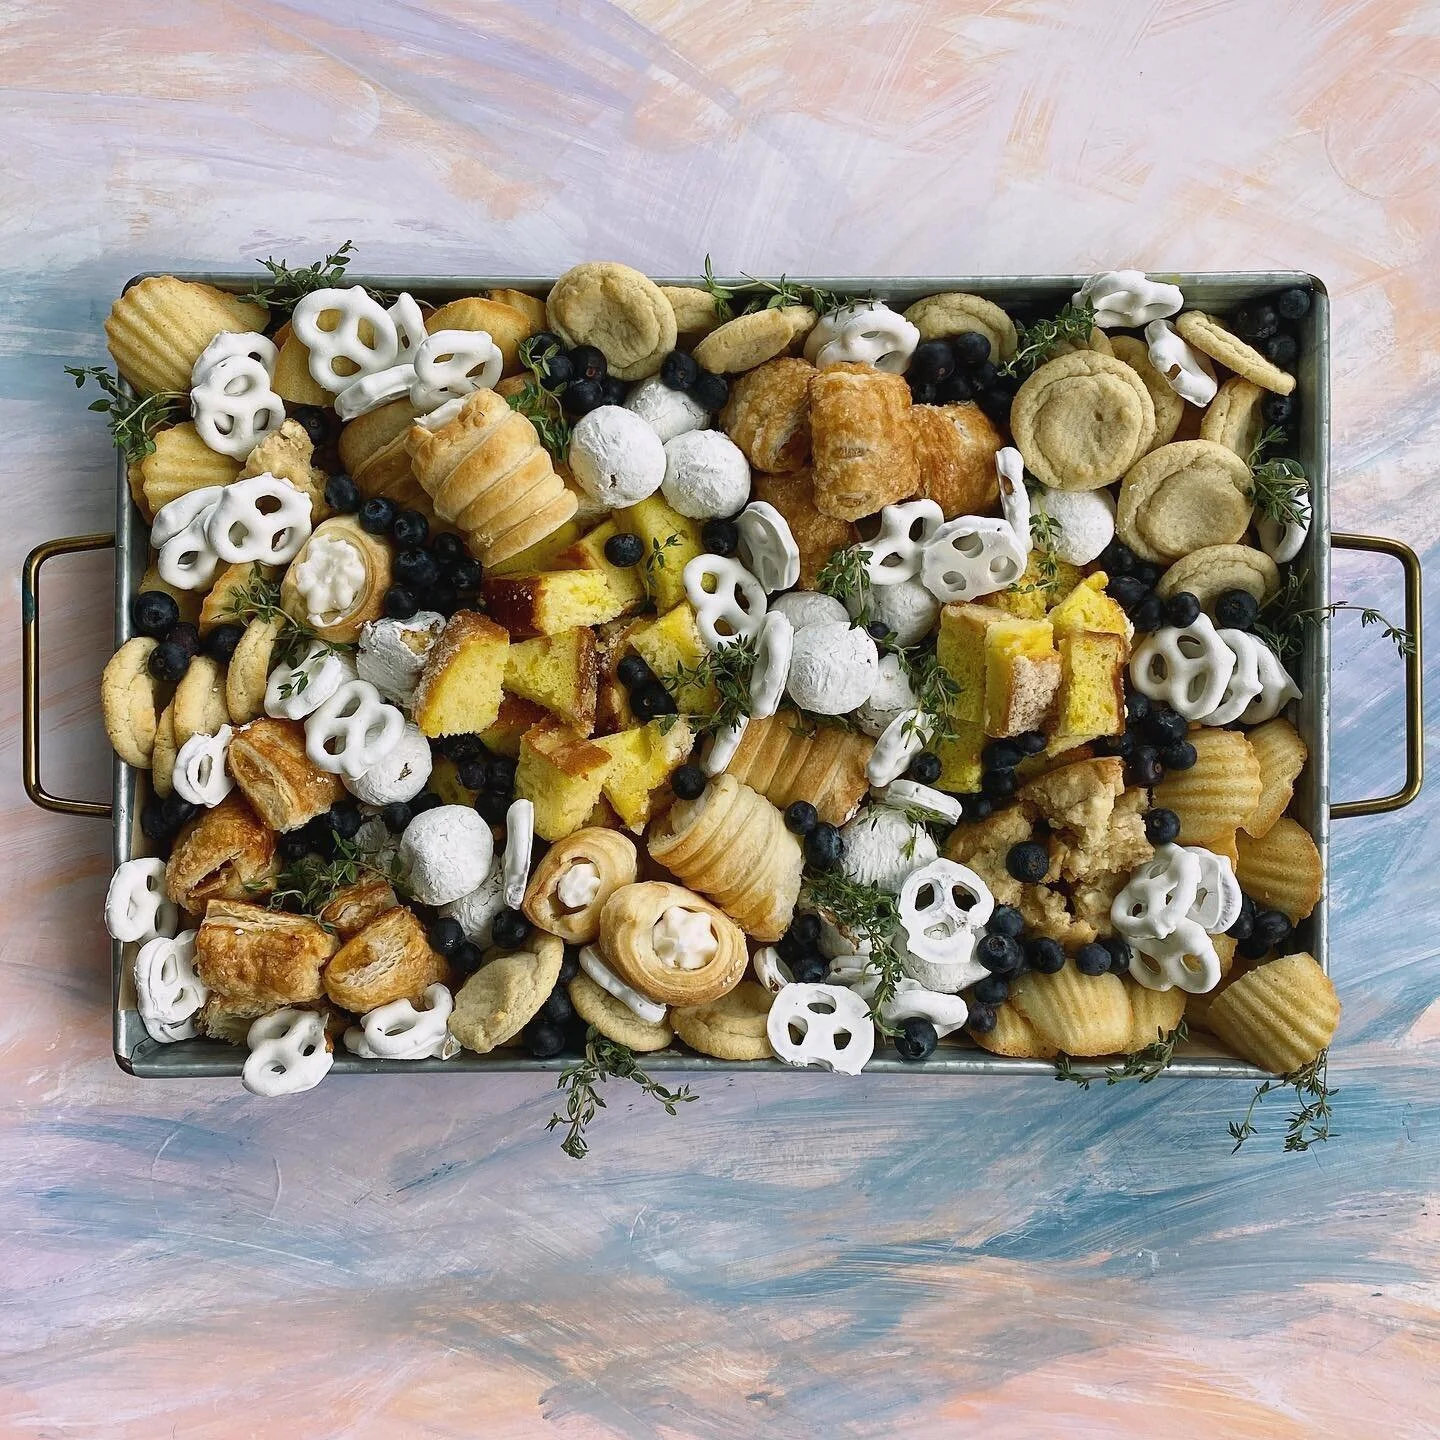
For more dessert boards like this check out the posts below:

below is what I used for this particular board but you can easily customize this to fit your own theme, color scheme, or dietary needs
-package of raspberries
-package of blueberries
-package of blackberries
-package of strawberries
-yogurt covered pretzels: or white chocolate covered pretzels
-lemon cake
-pound cake
-madelines
-mini sugar cookies
-pink sugar wafer cookies
-chocolate chip, or nut cookies (I used apple cinnamon nut cookies)
-fruit filled strudel bites
- mini cream horns
-mini fruit pies (I used peach)
-fresh flowers and greenery for garnish
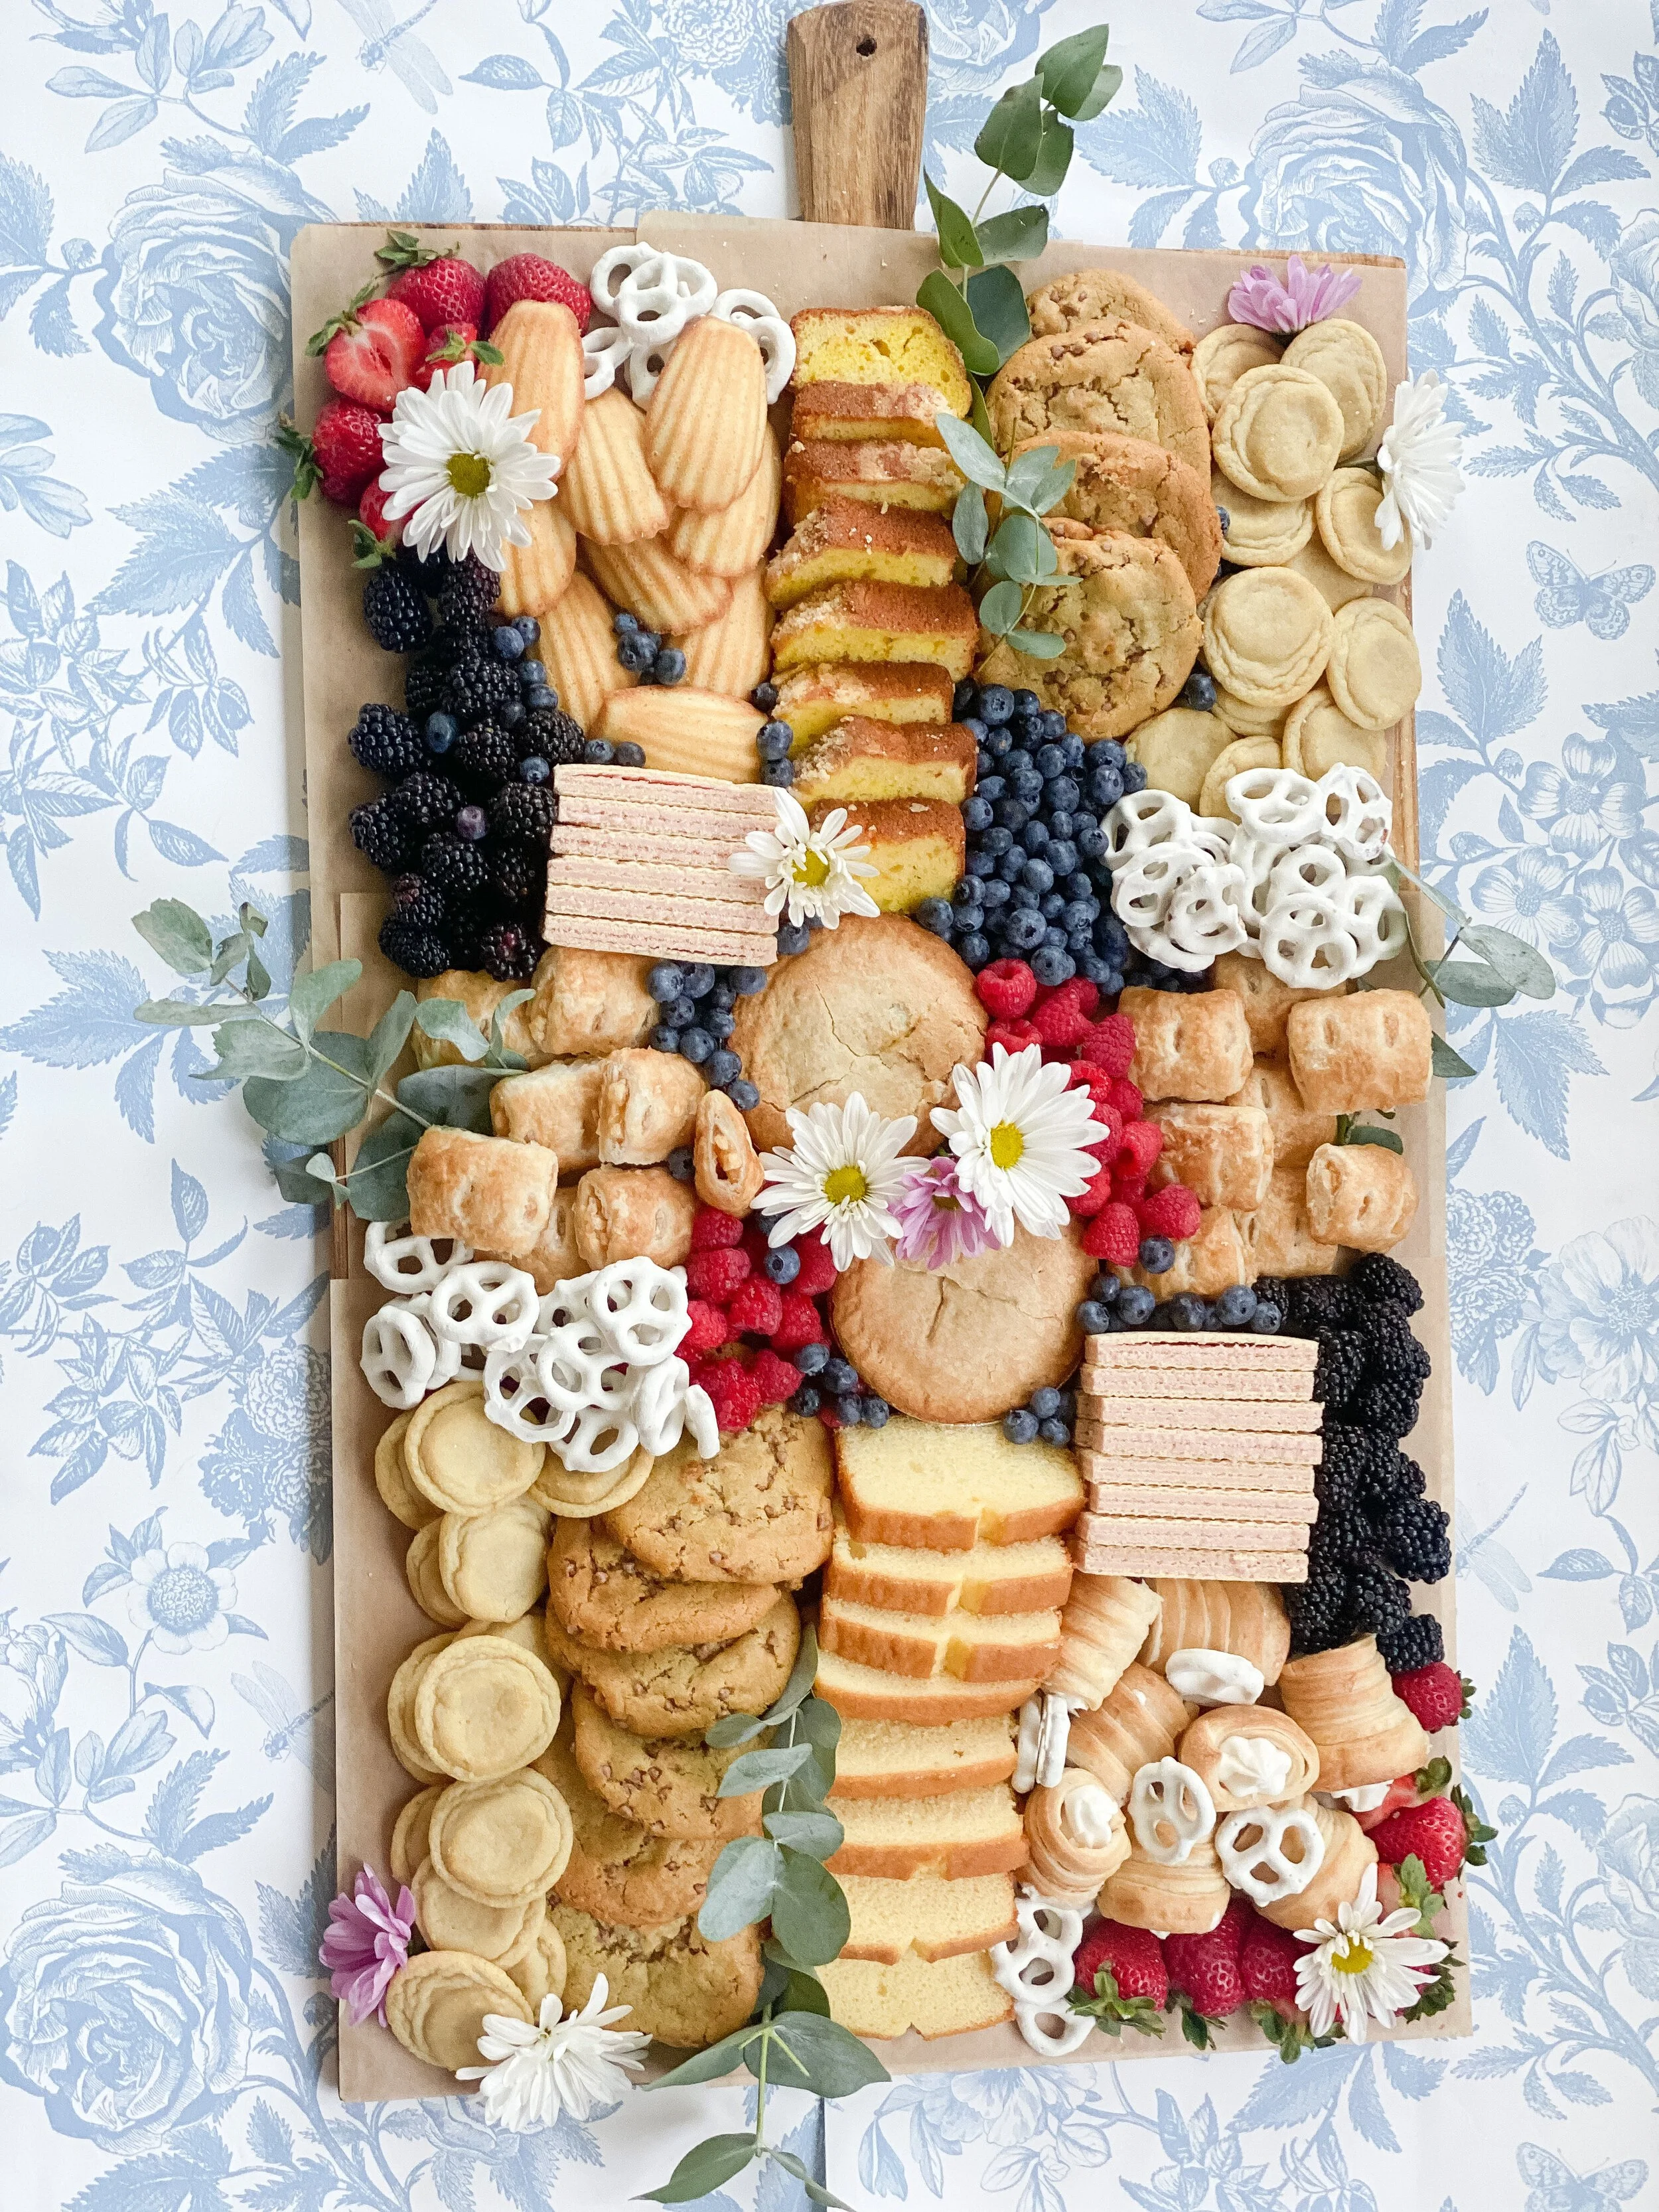
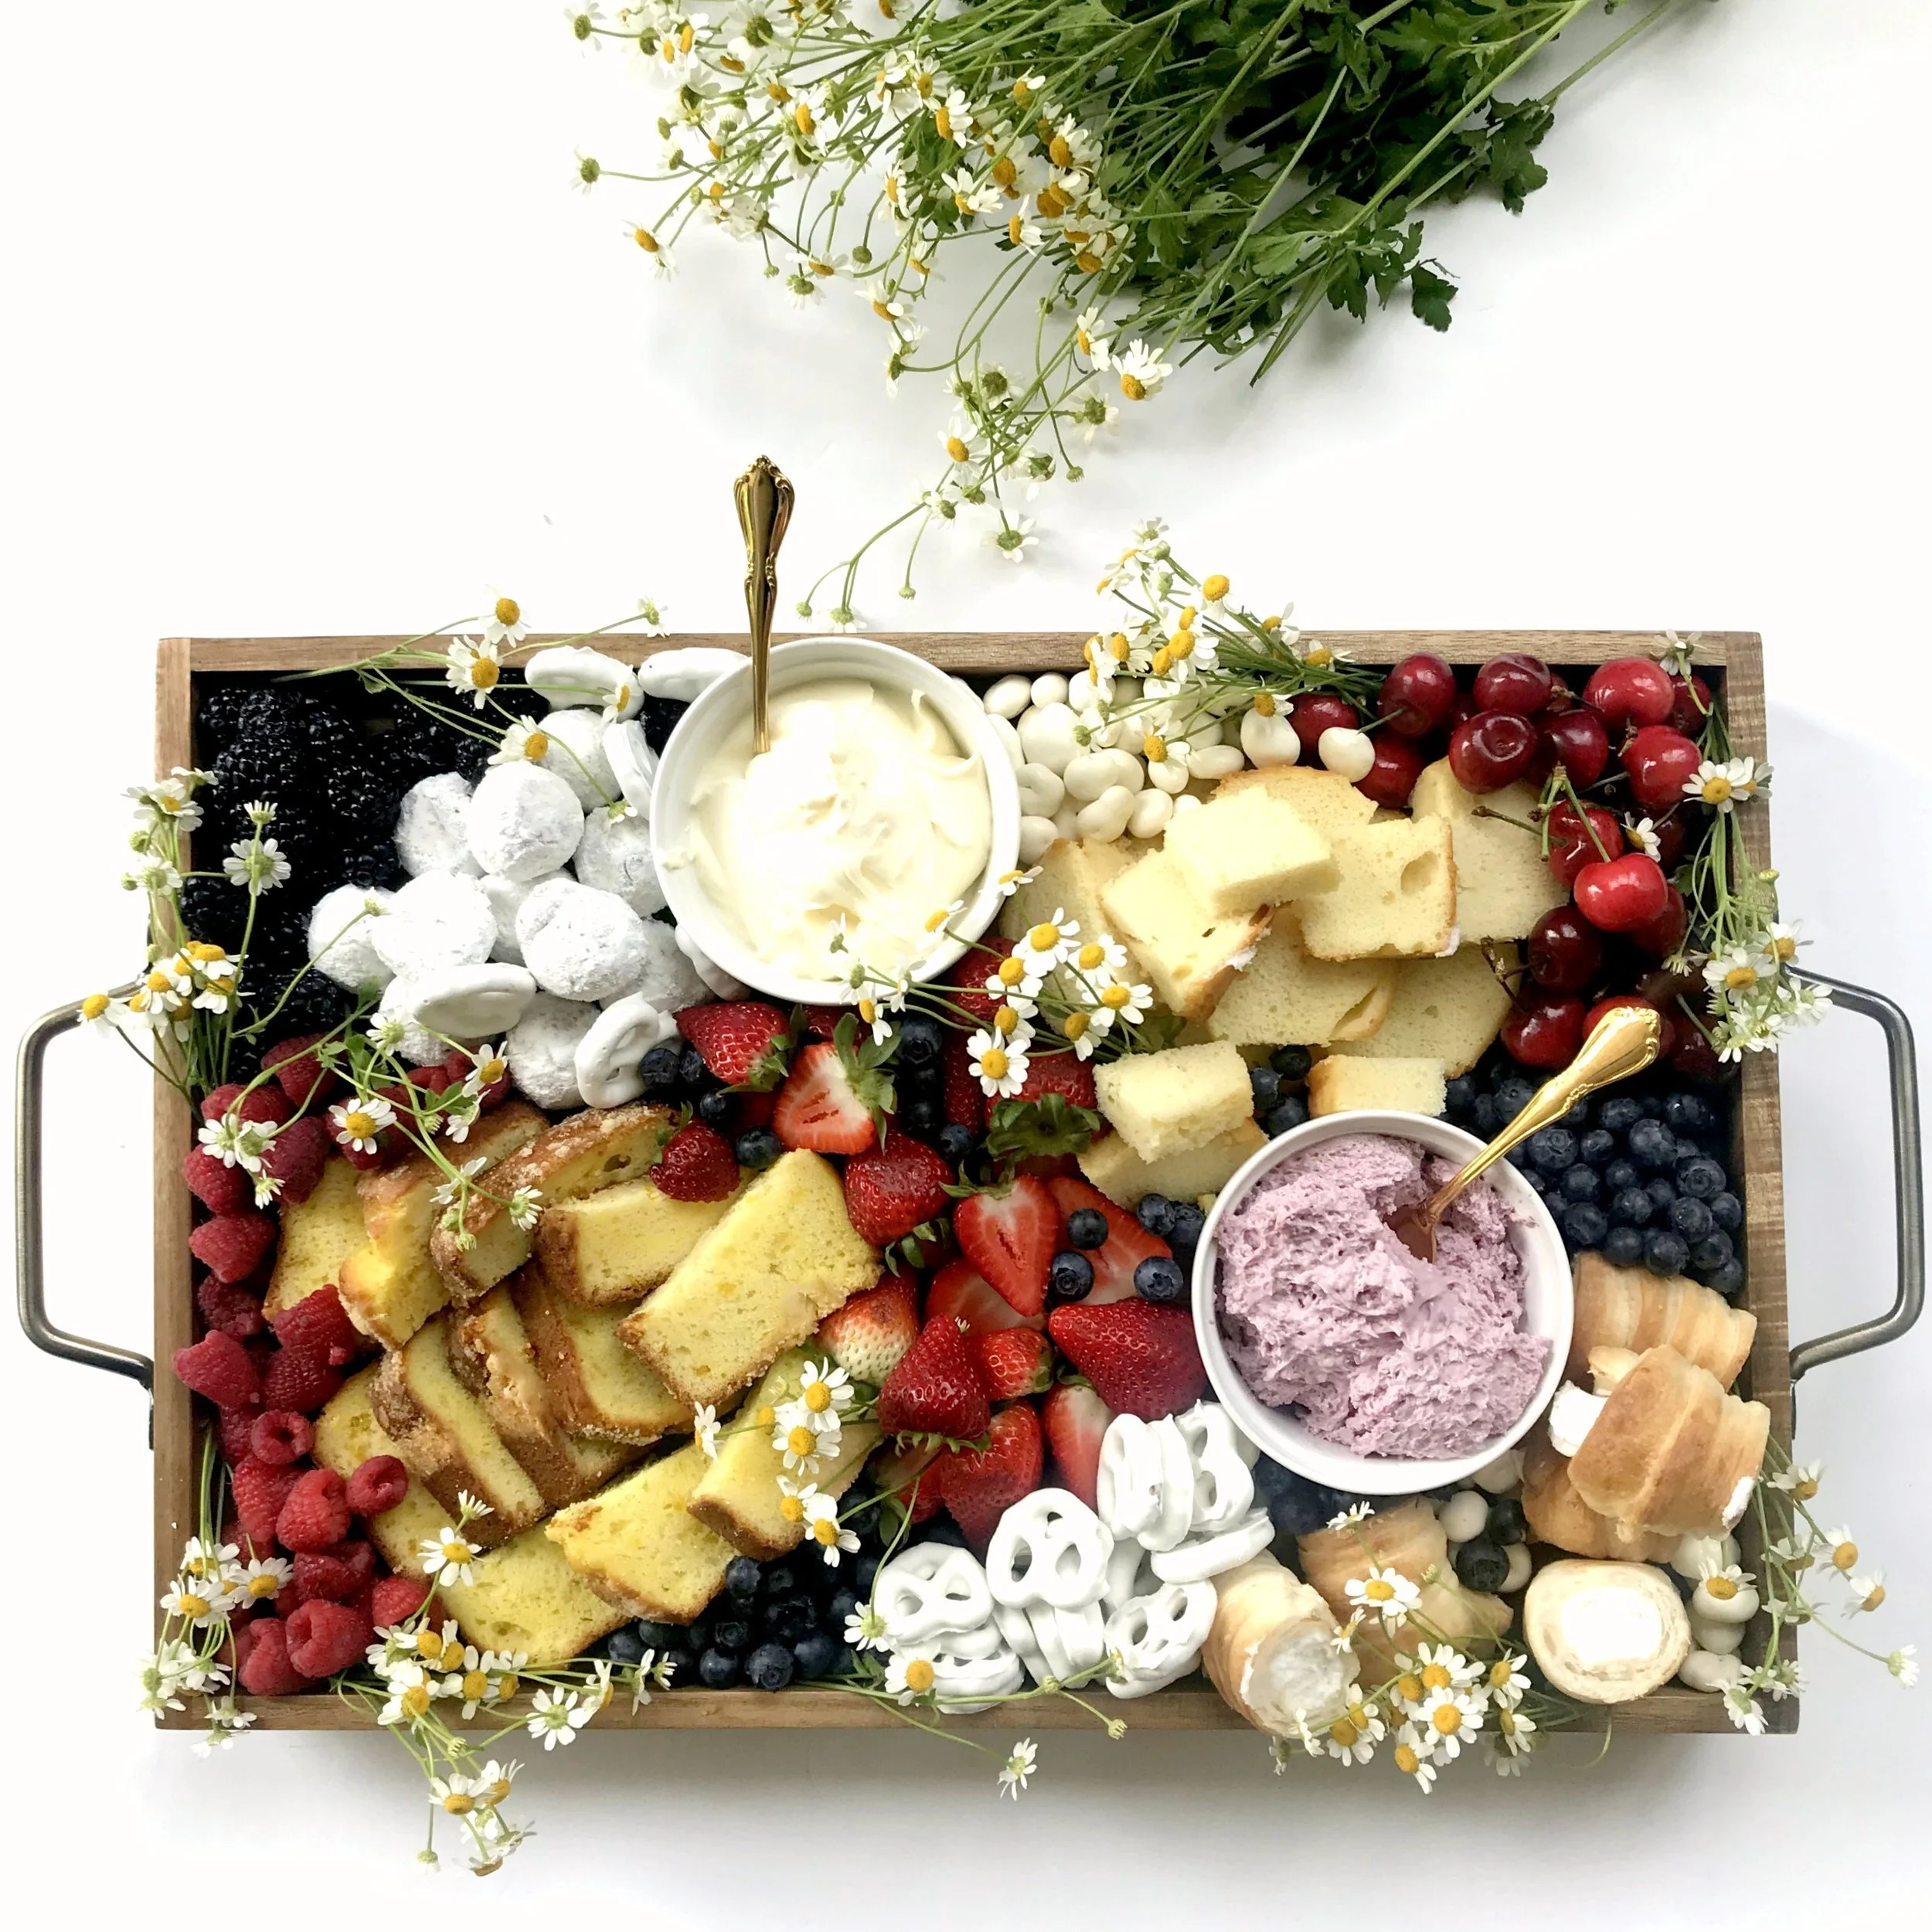
Pick your choice of tray, cutting board, or cheese board. If it is not food safe or needs a barrier between the food and surface, I like to use brown parchment paper.
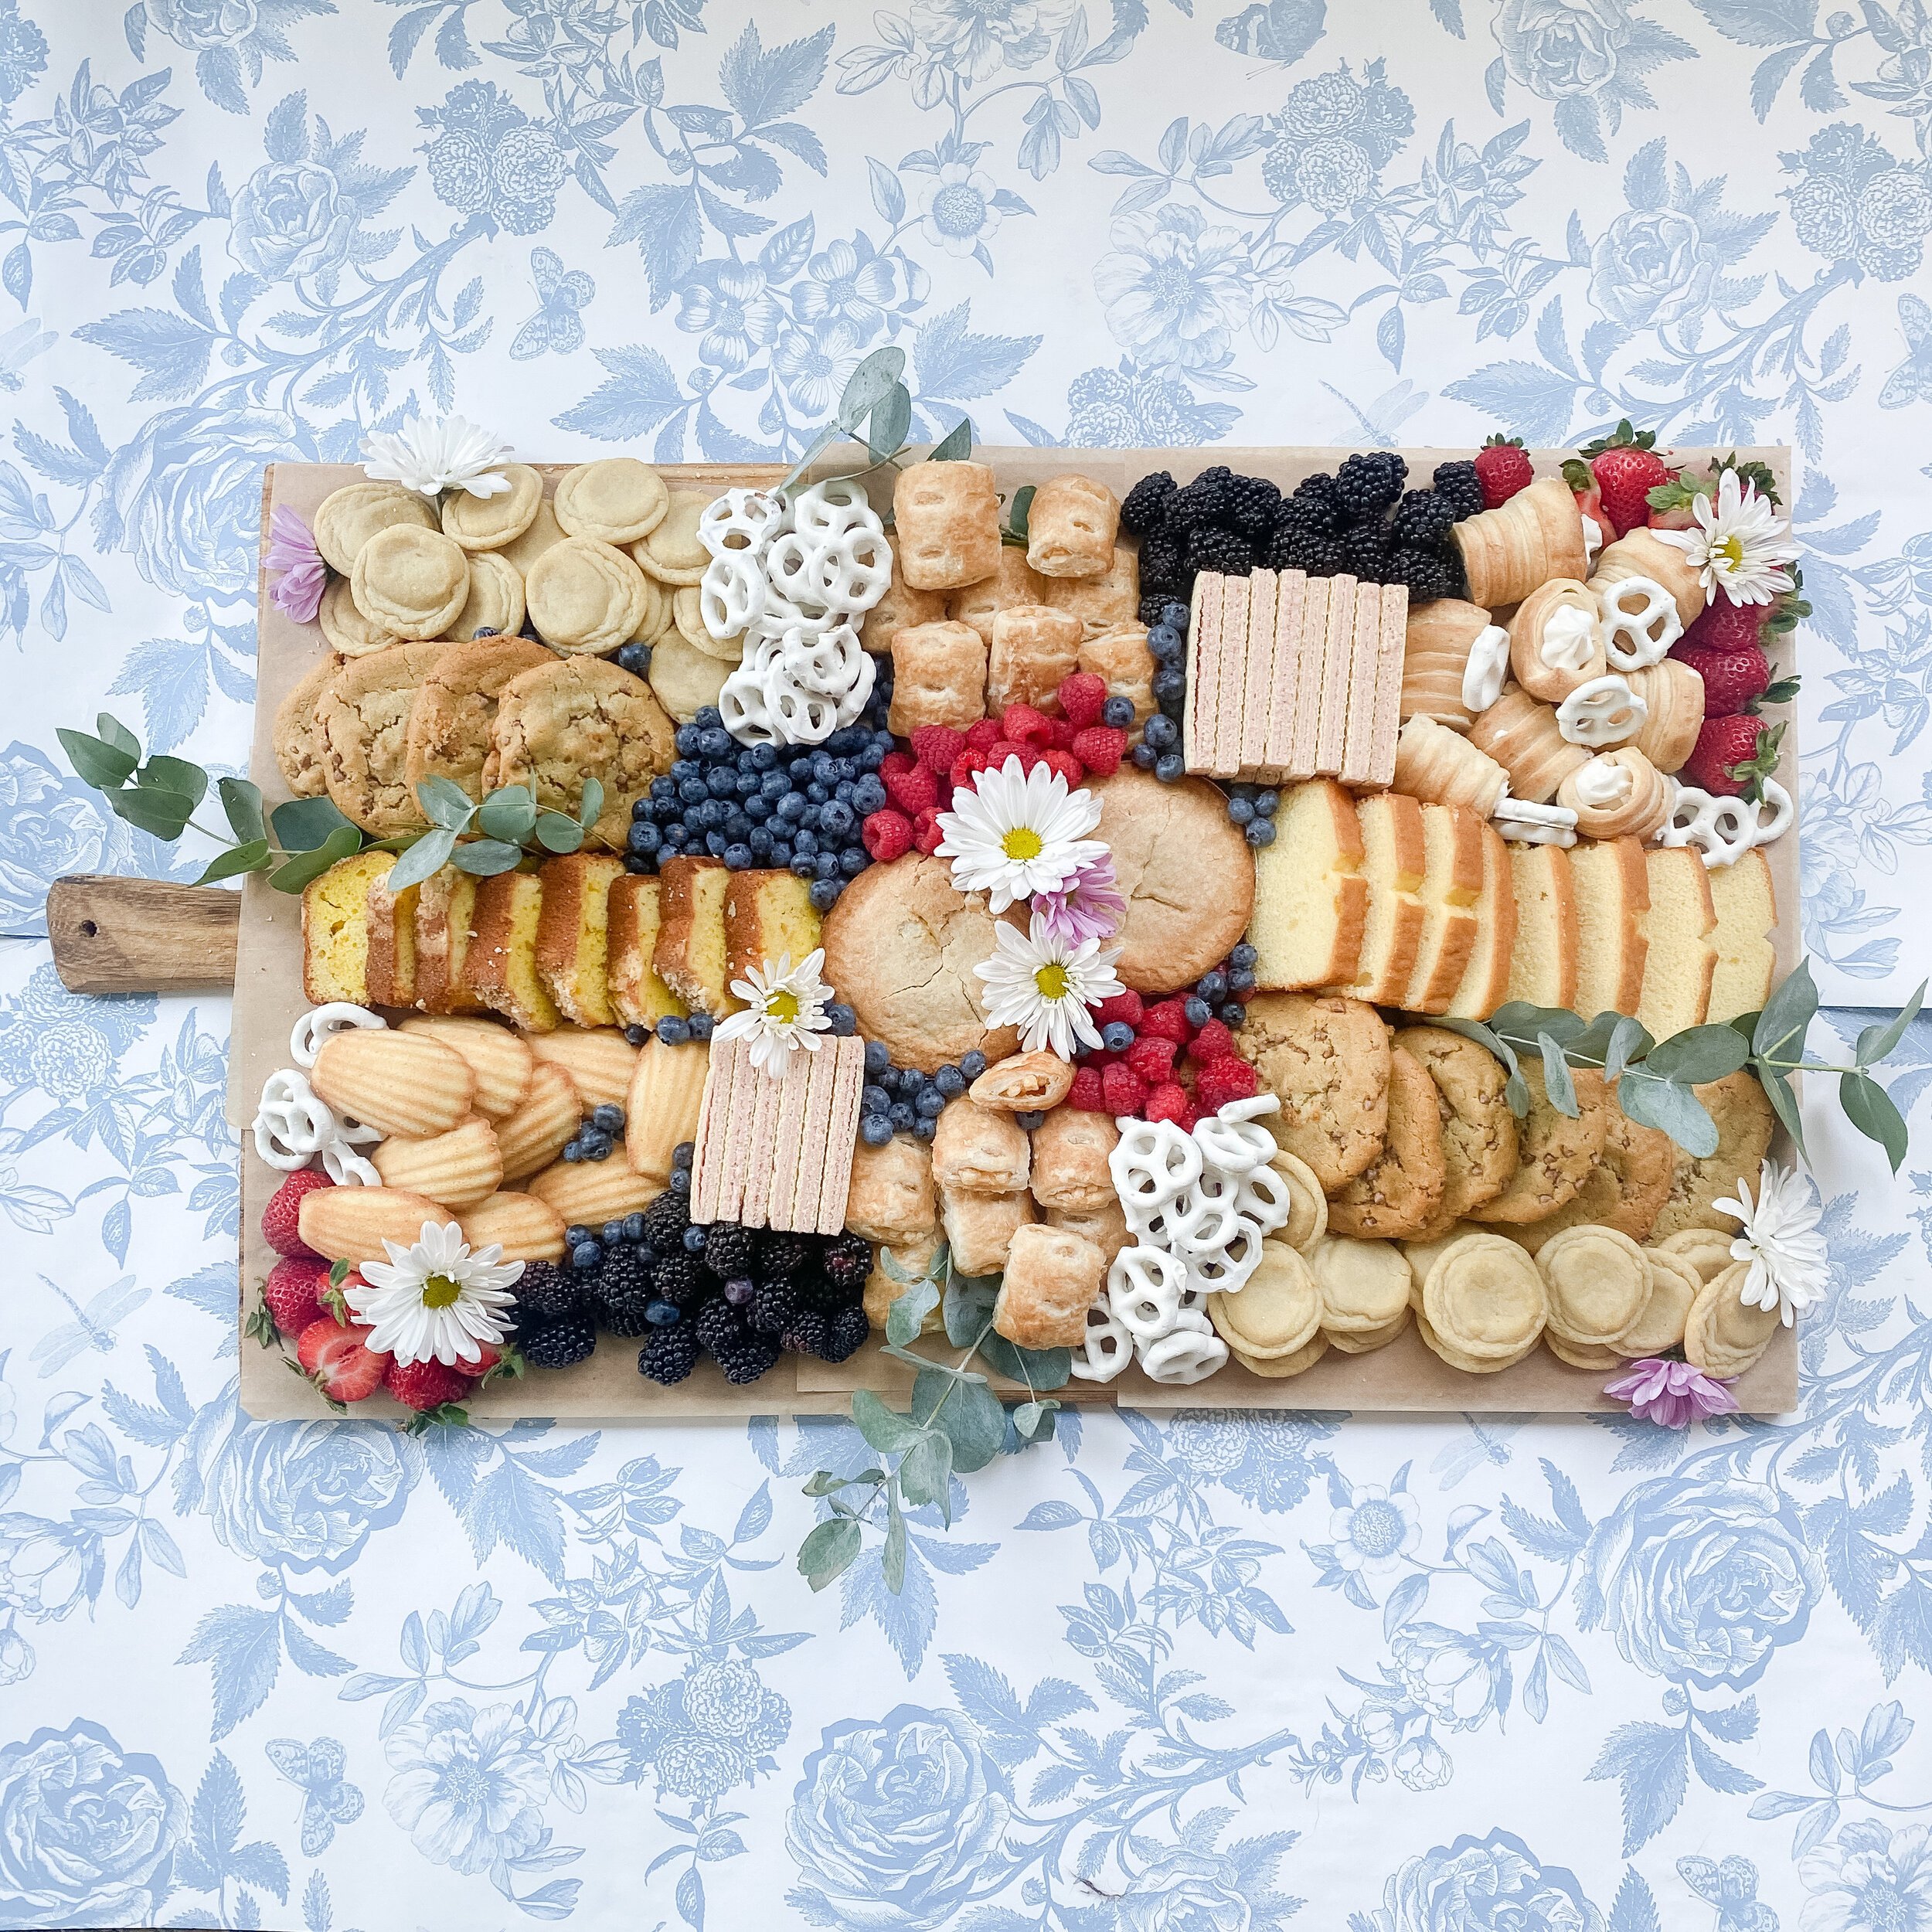
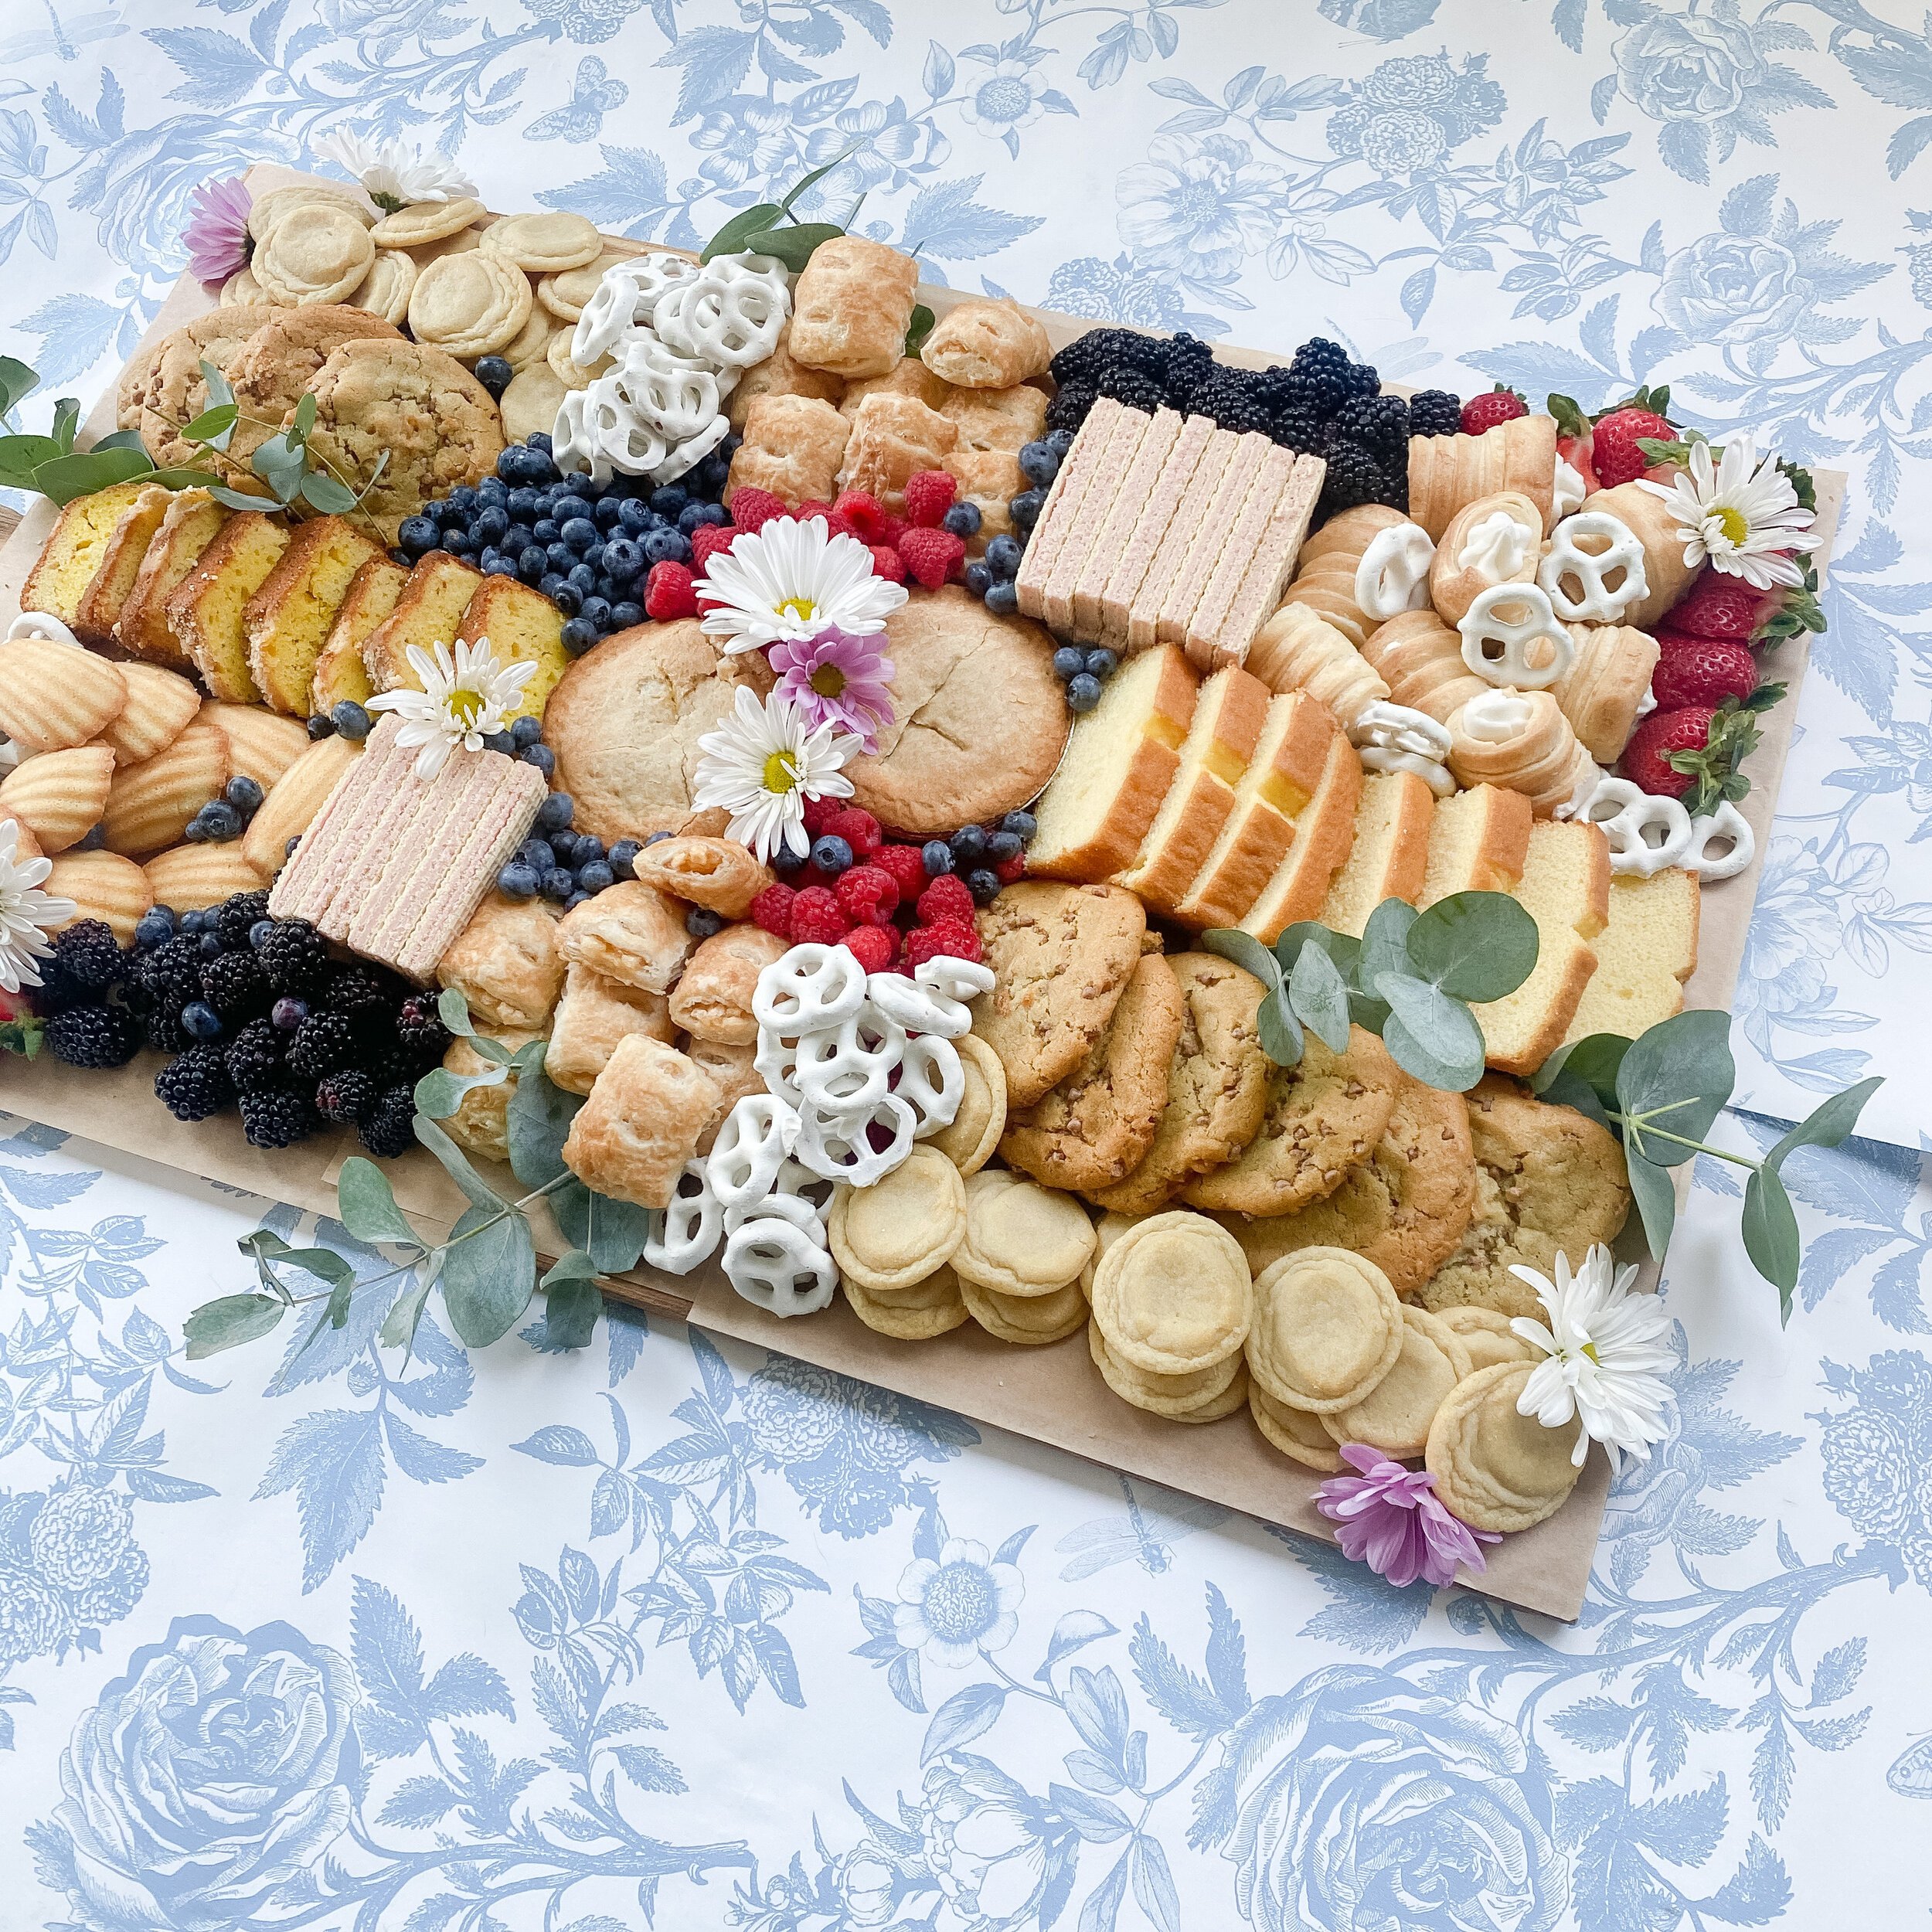
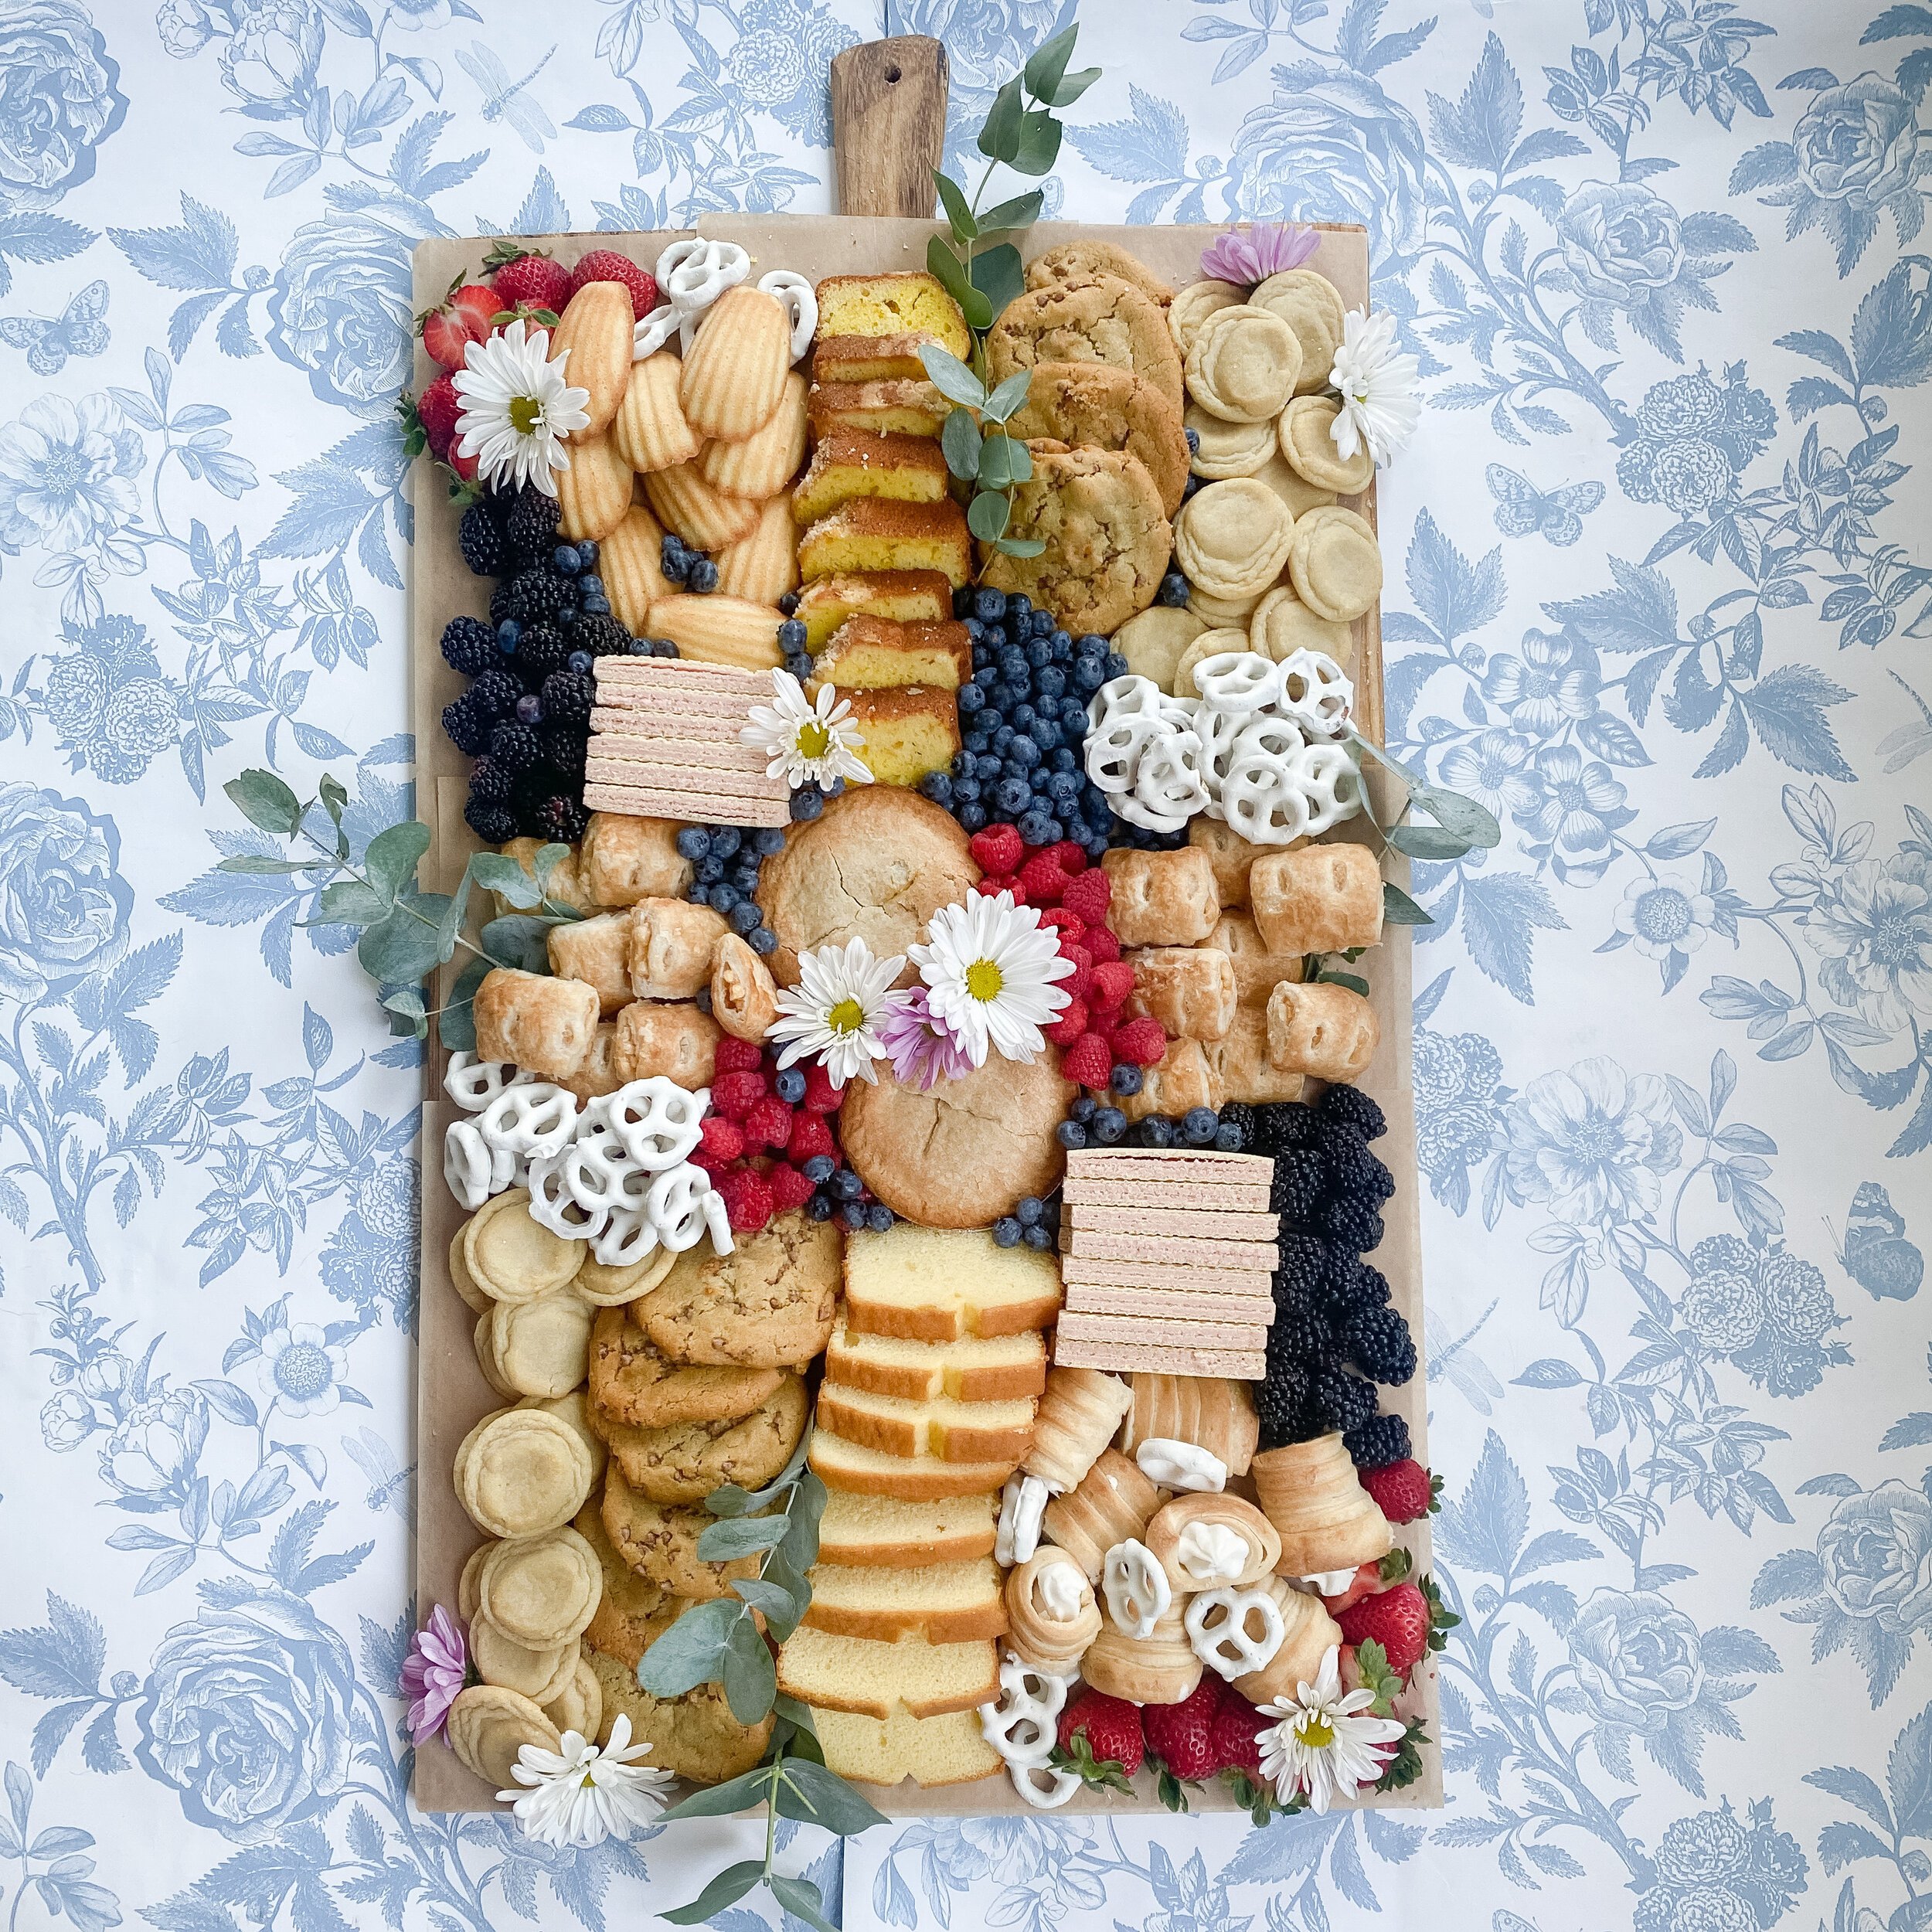
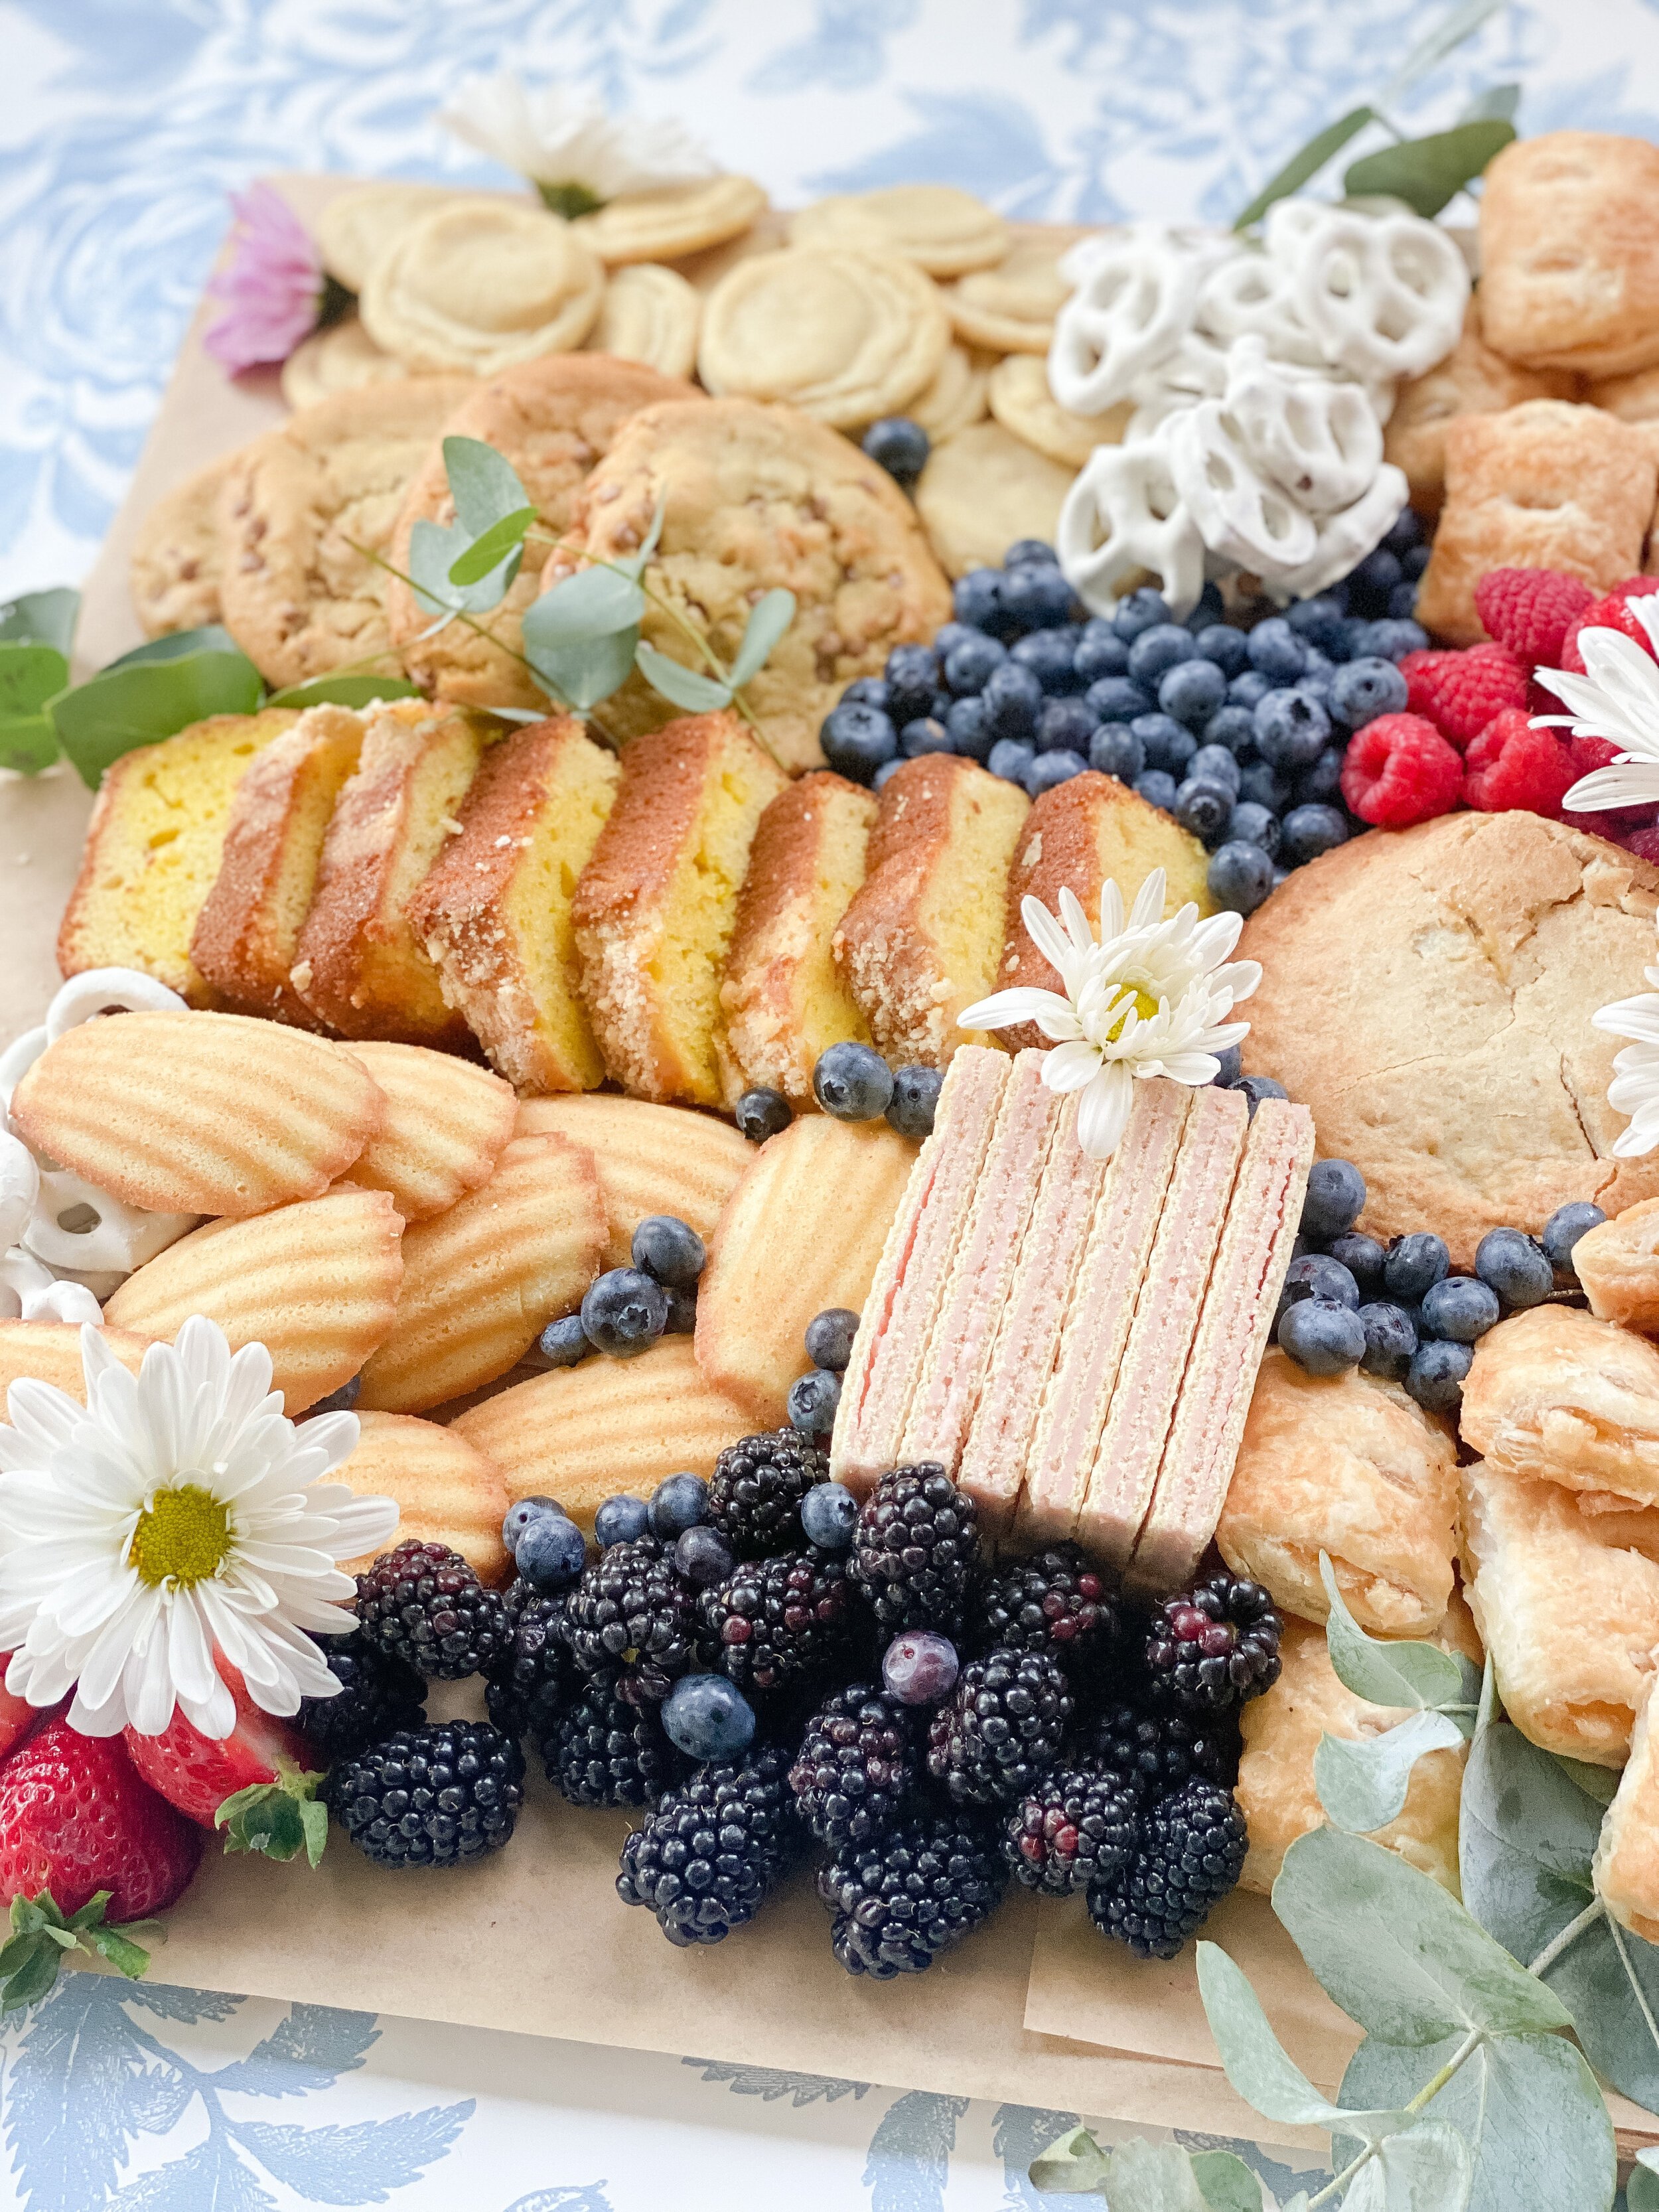
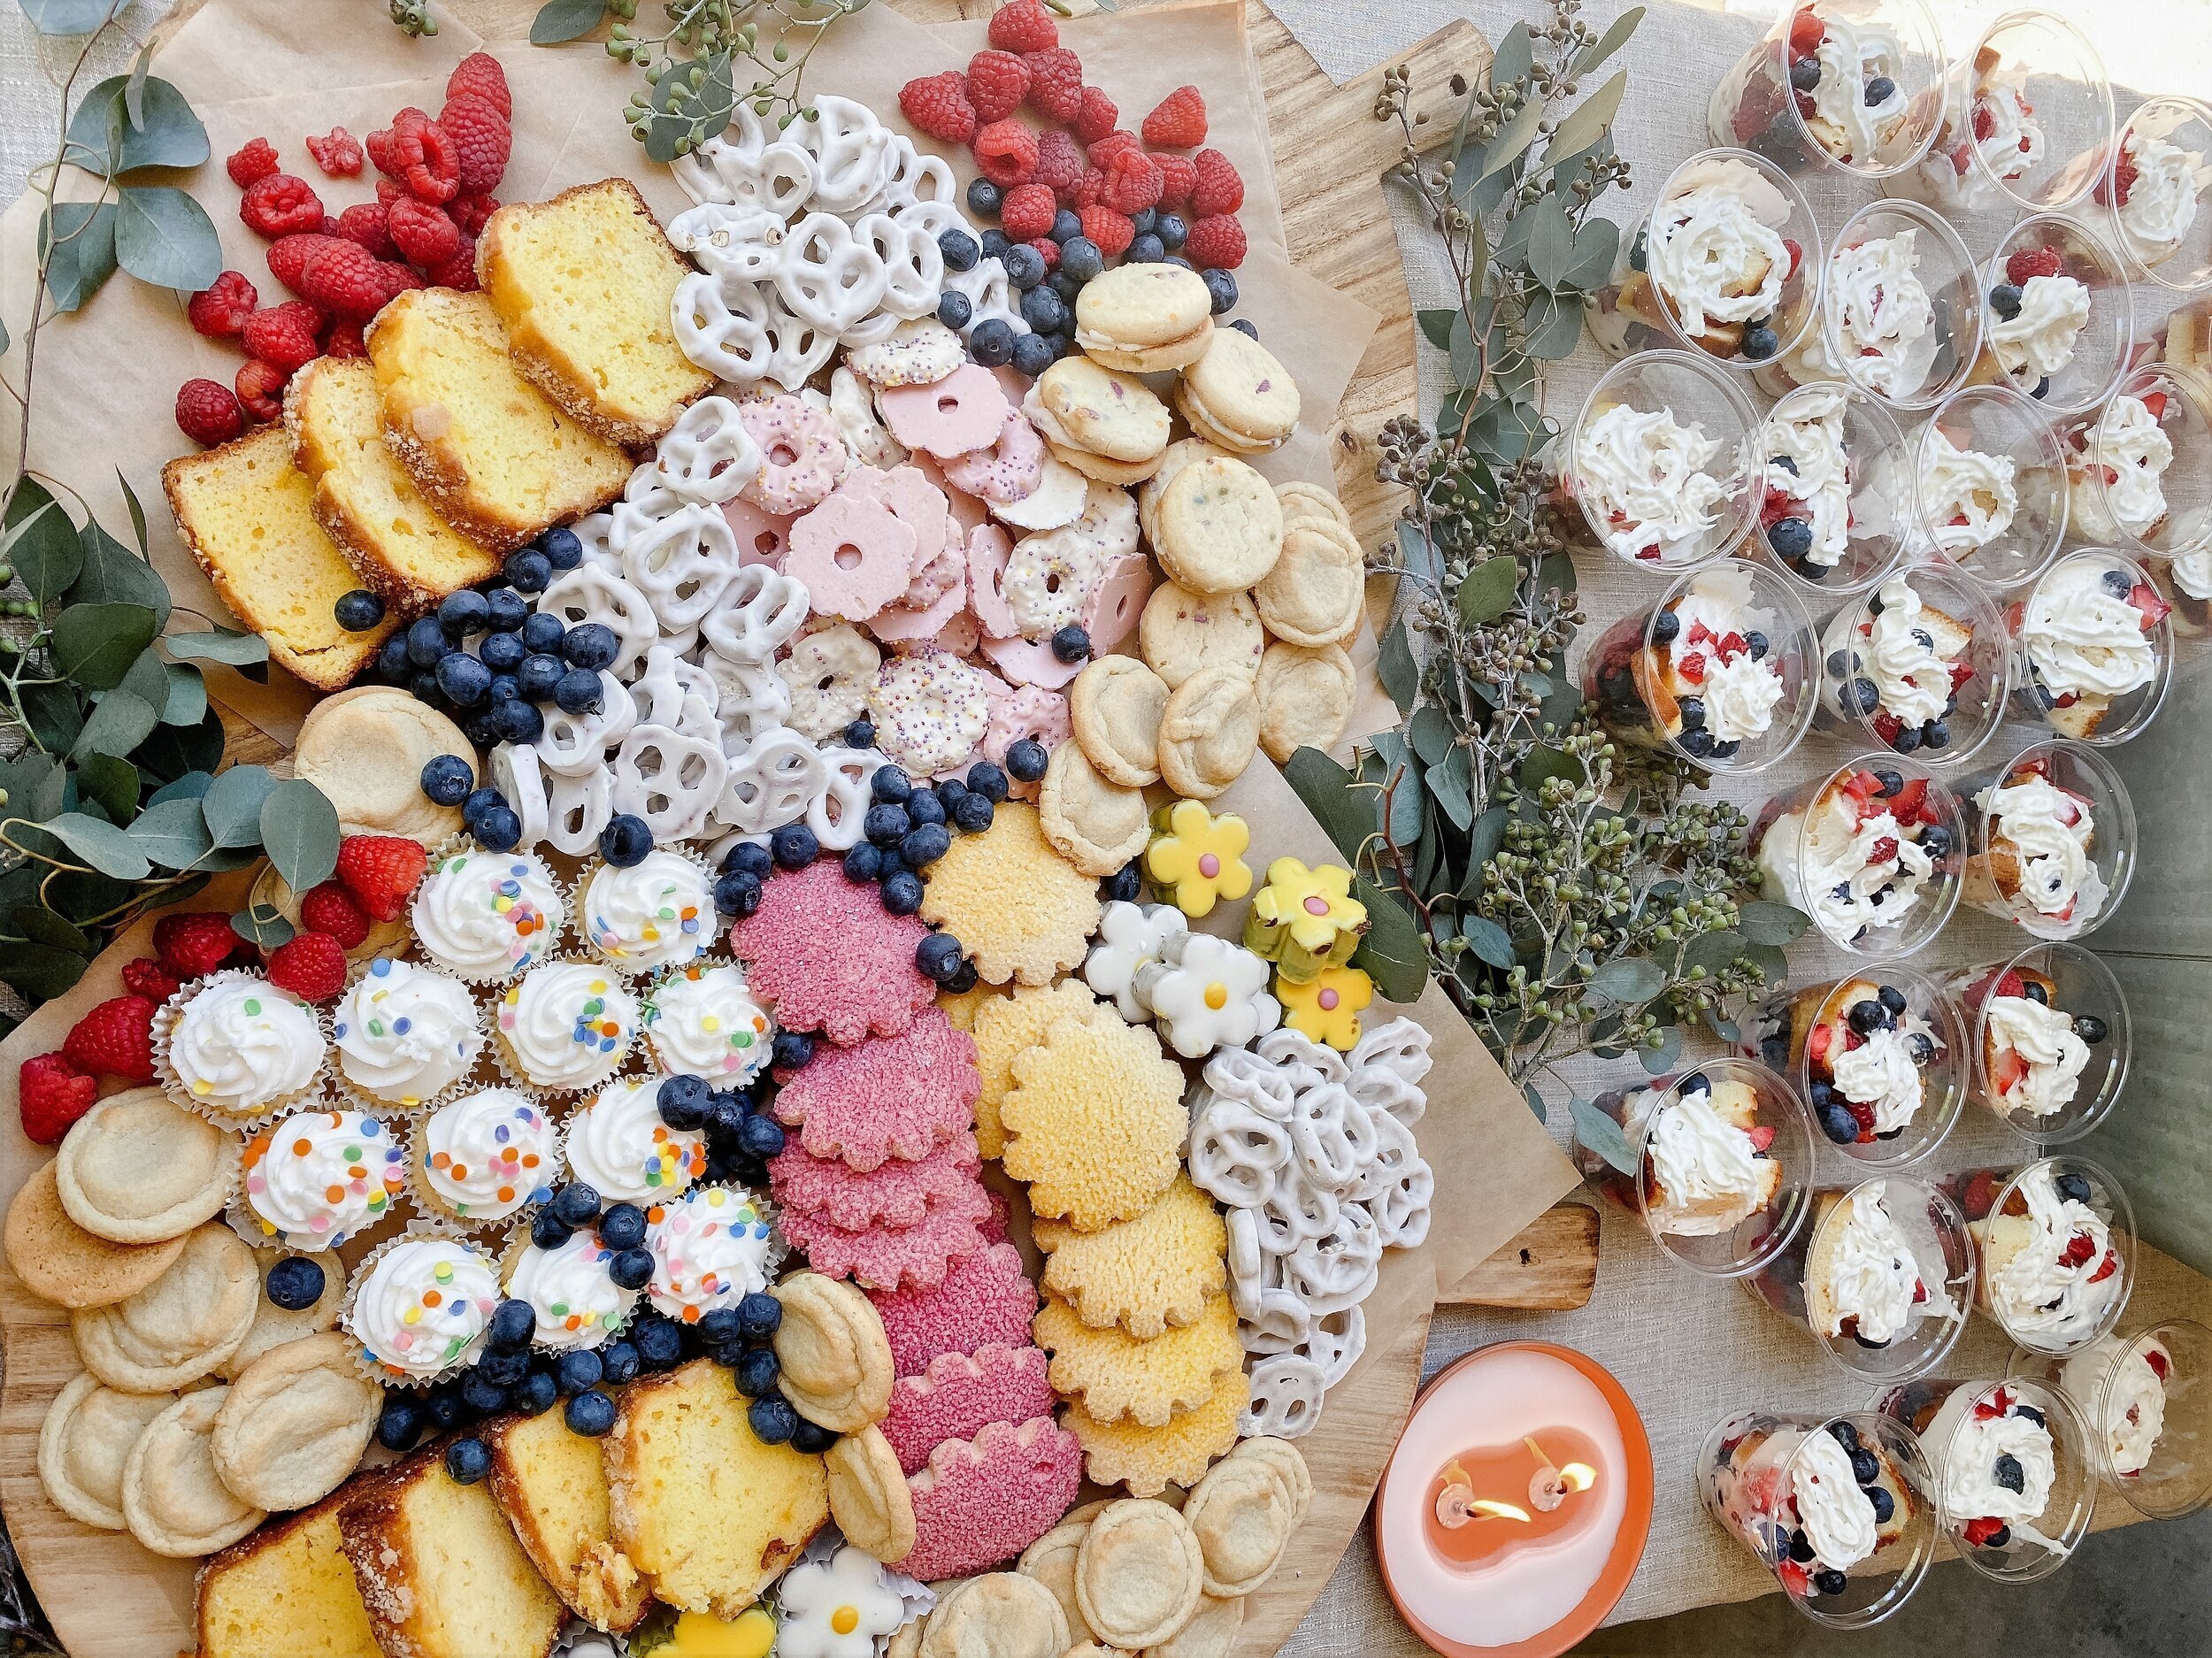
Start with your large items! I placed two mini fruit pies in the middle and worked out from there.
Next I placed two rows of pound cake to create a barrier between the different cookies! Since I didn’t use any additional bowls on my board this was a great way to create visual divide as well as adding some structure to the board.
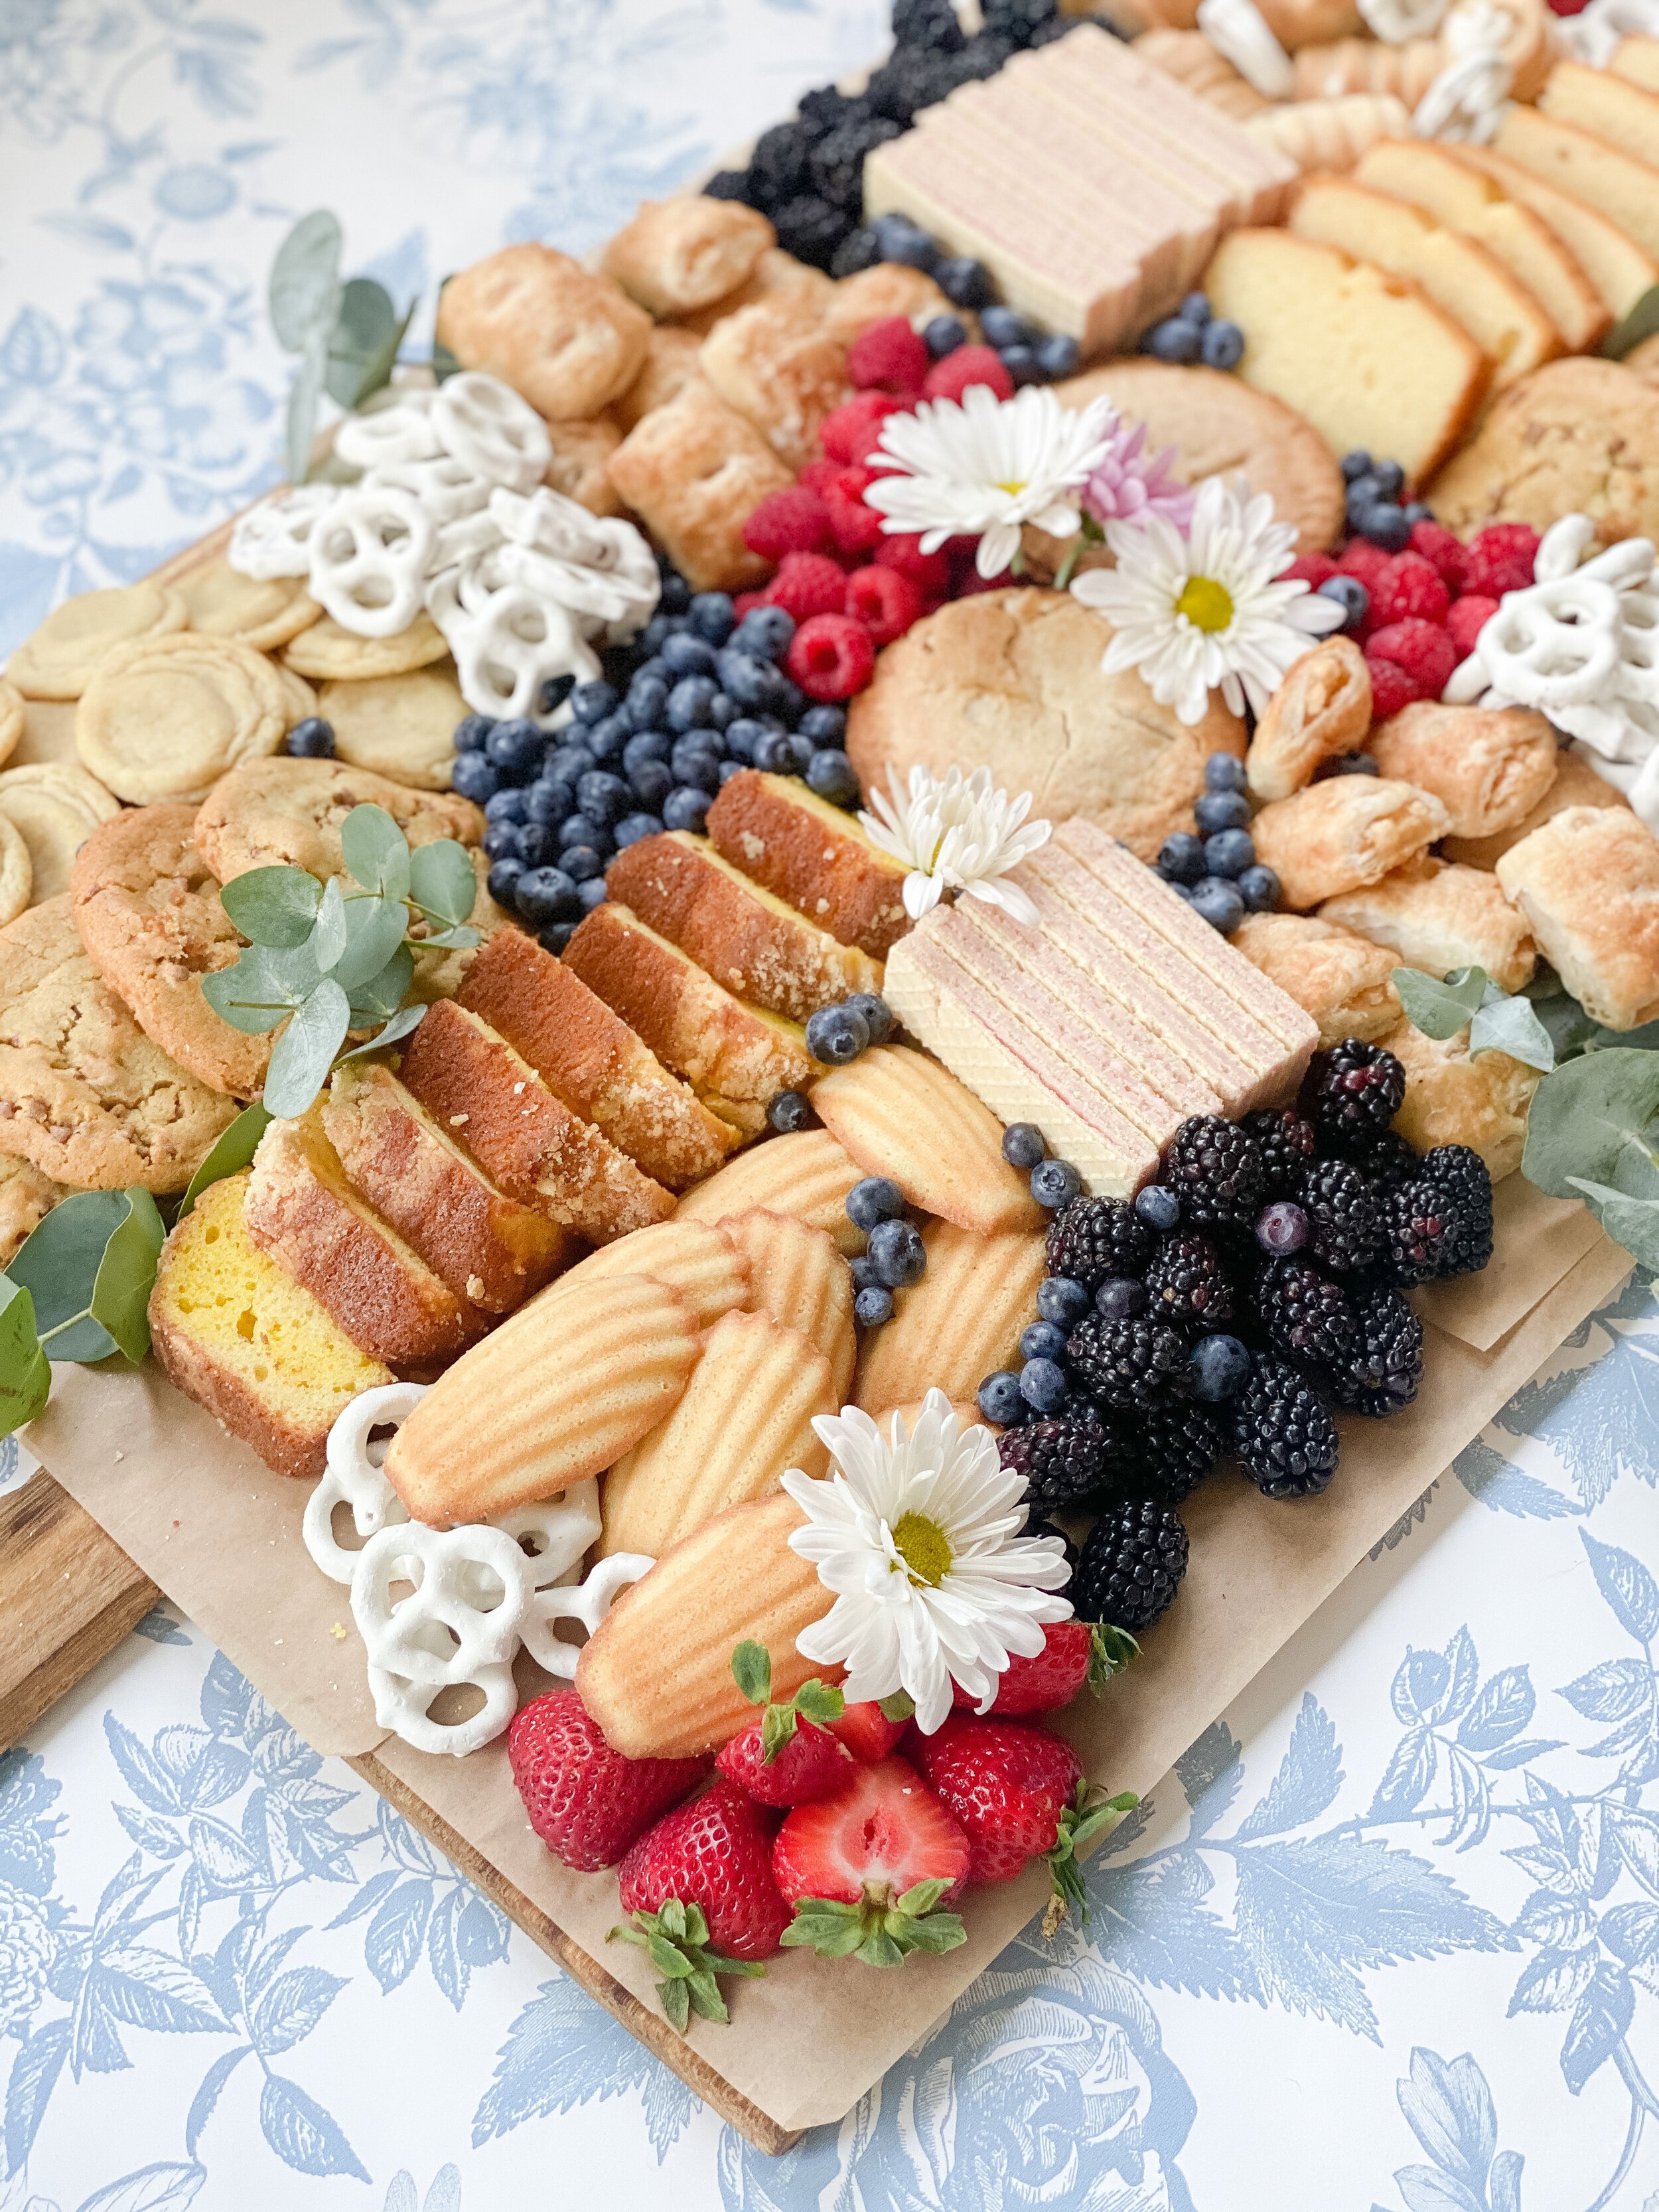
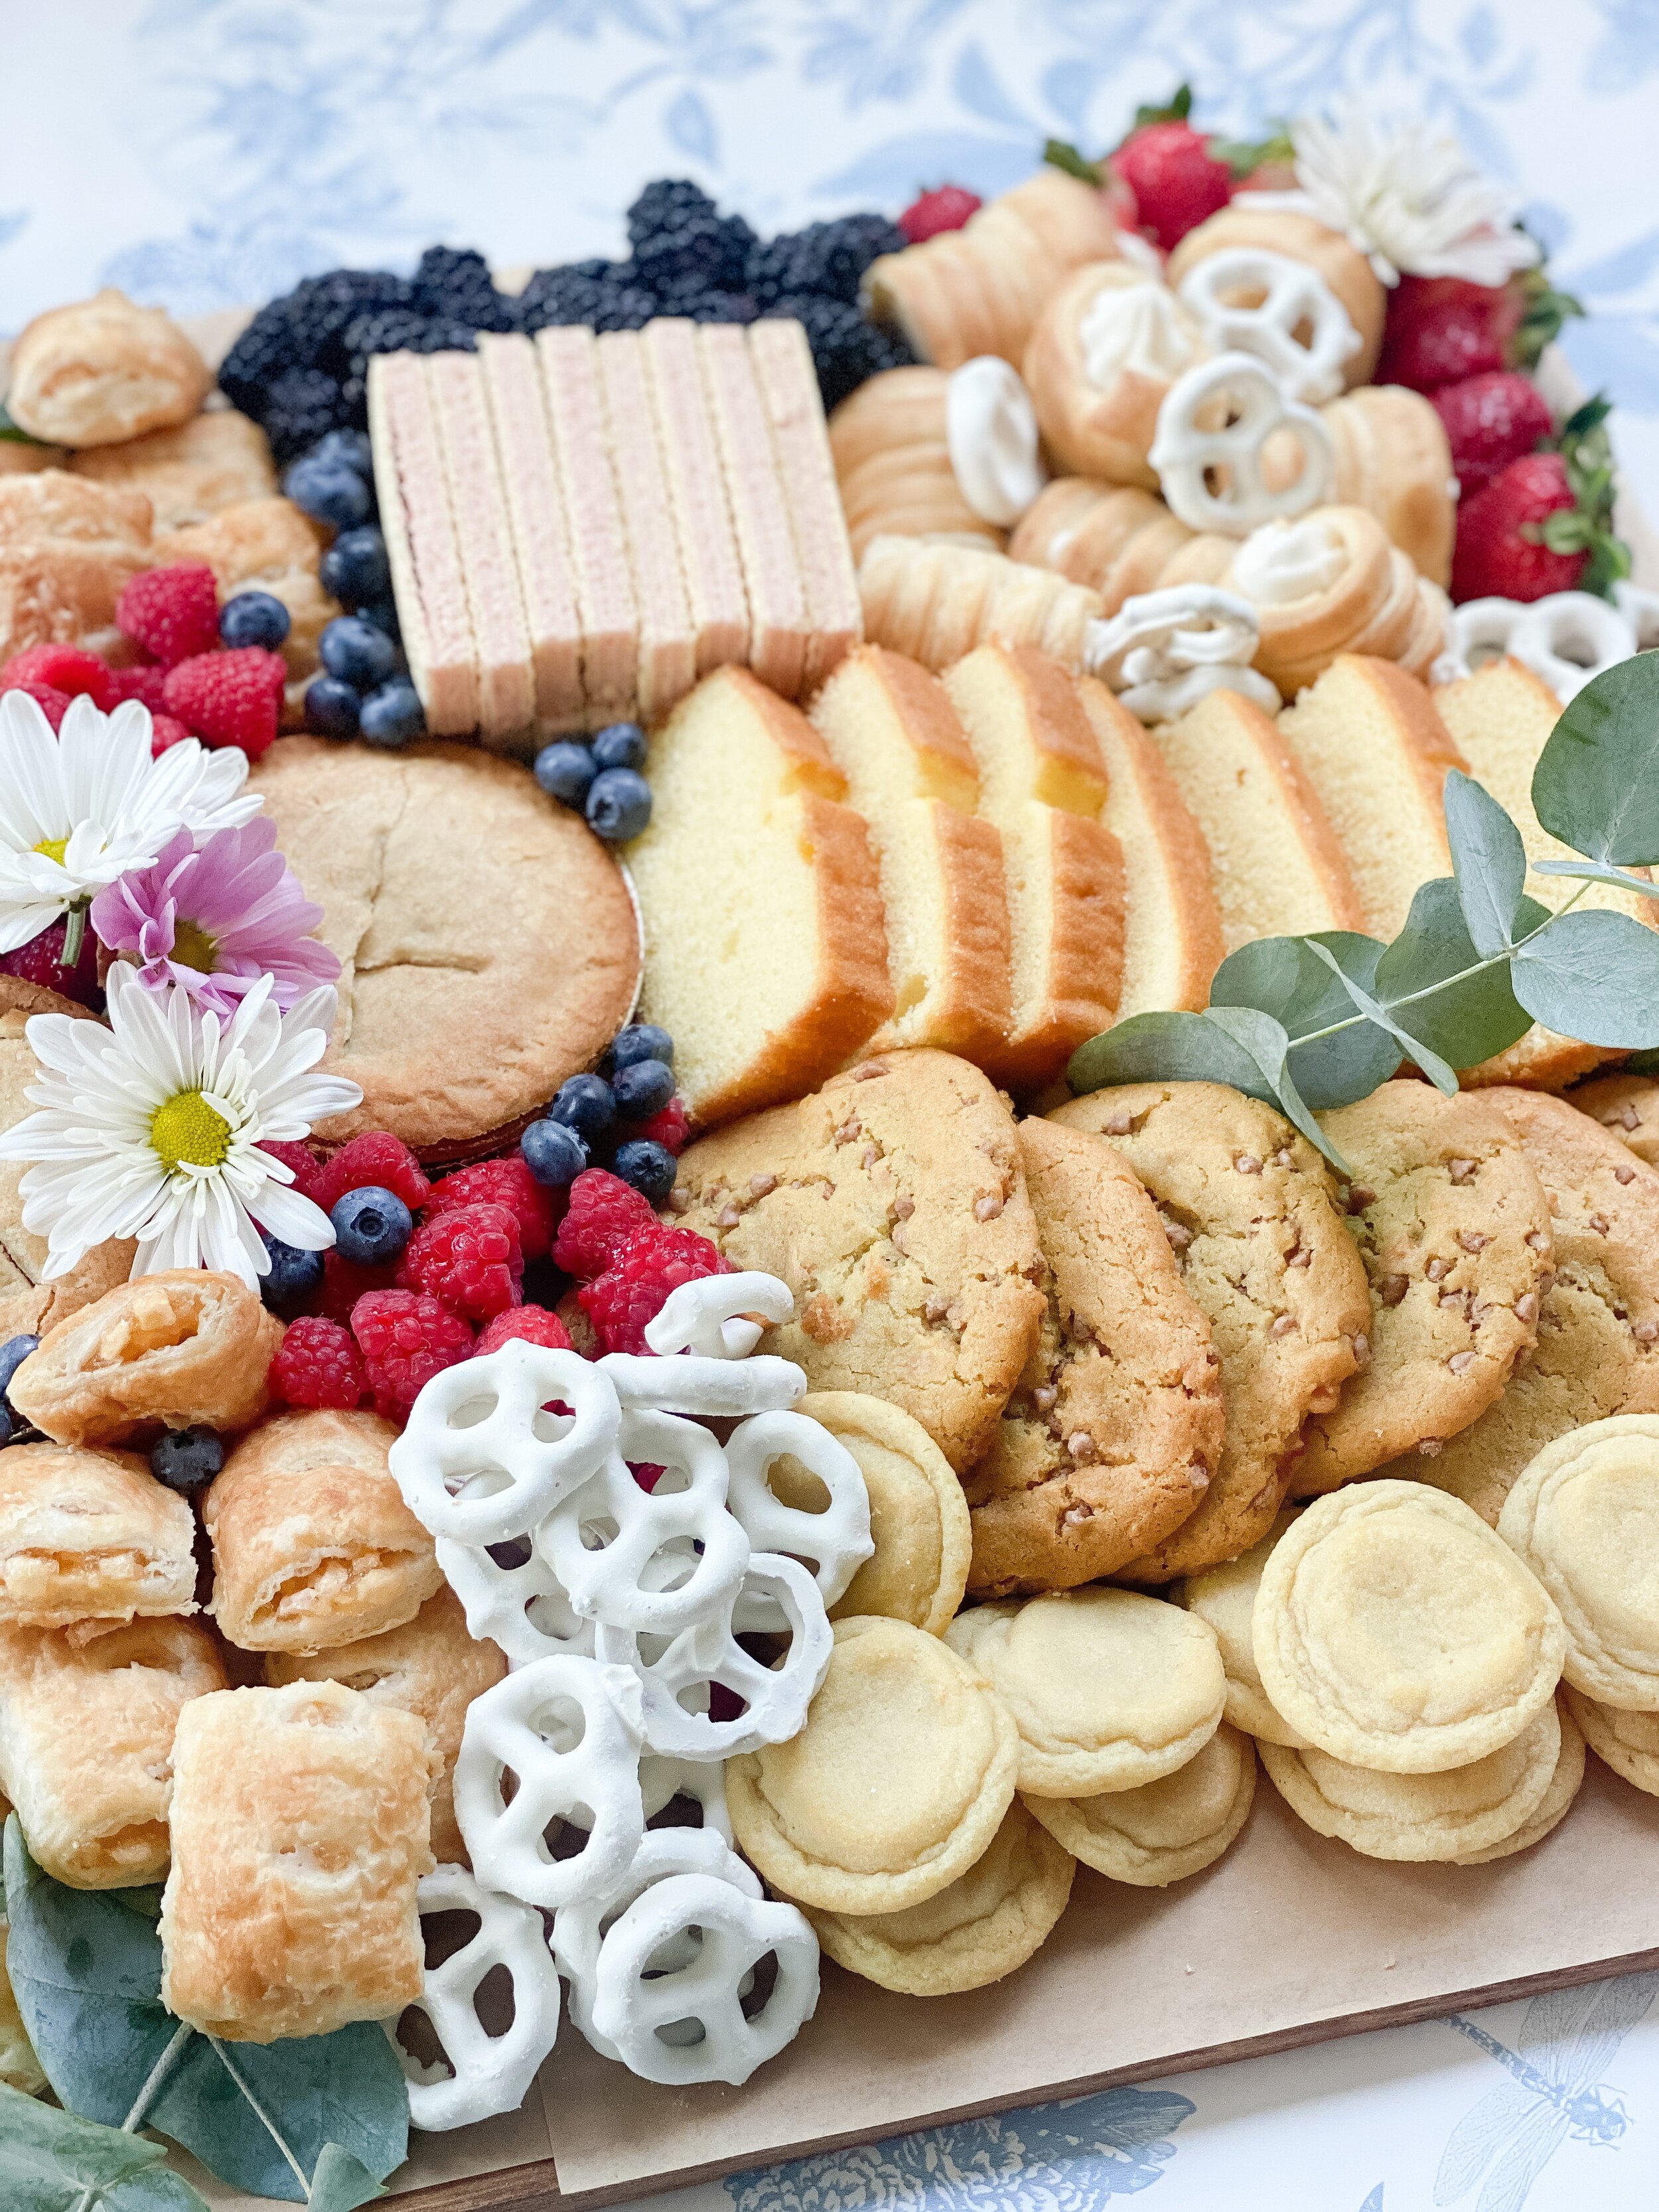
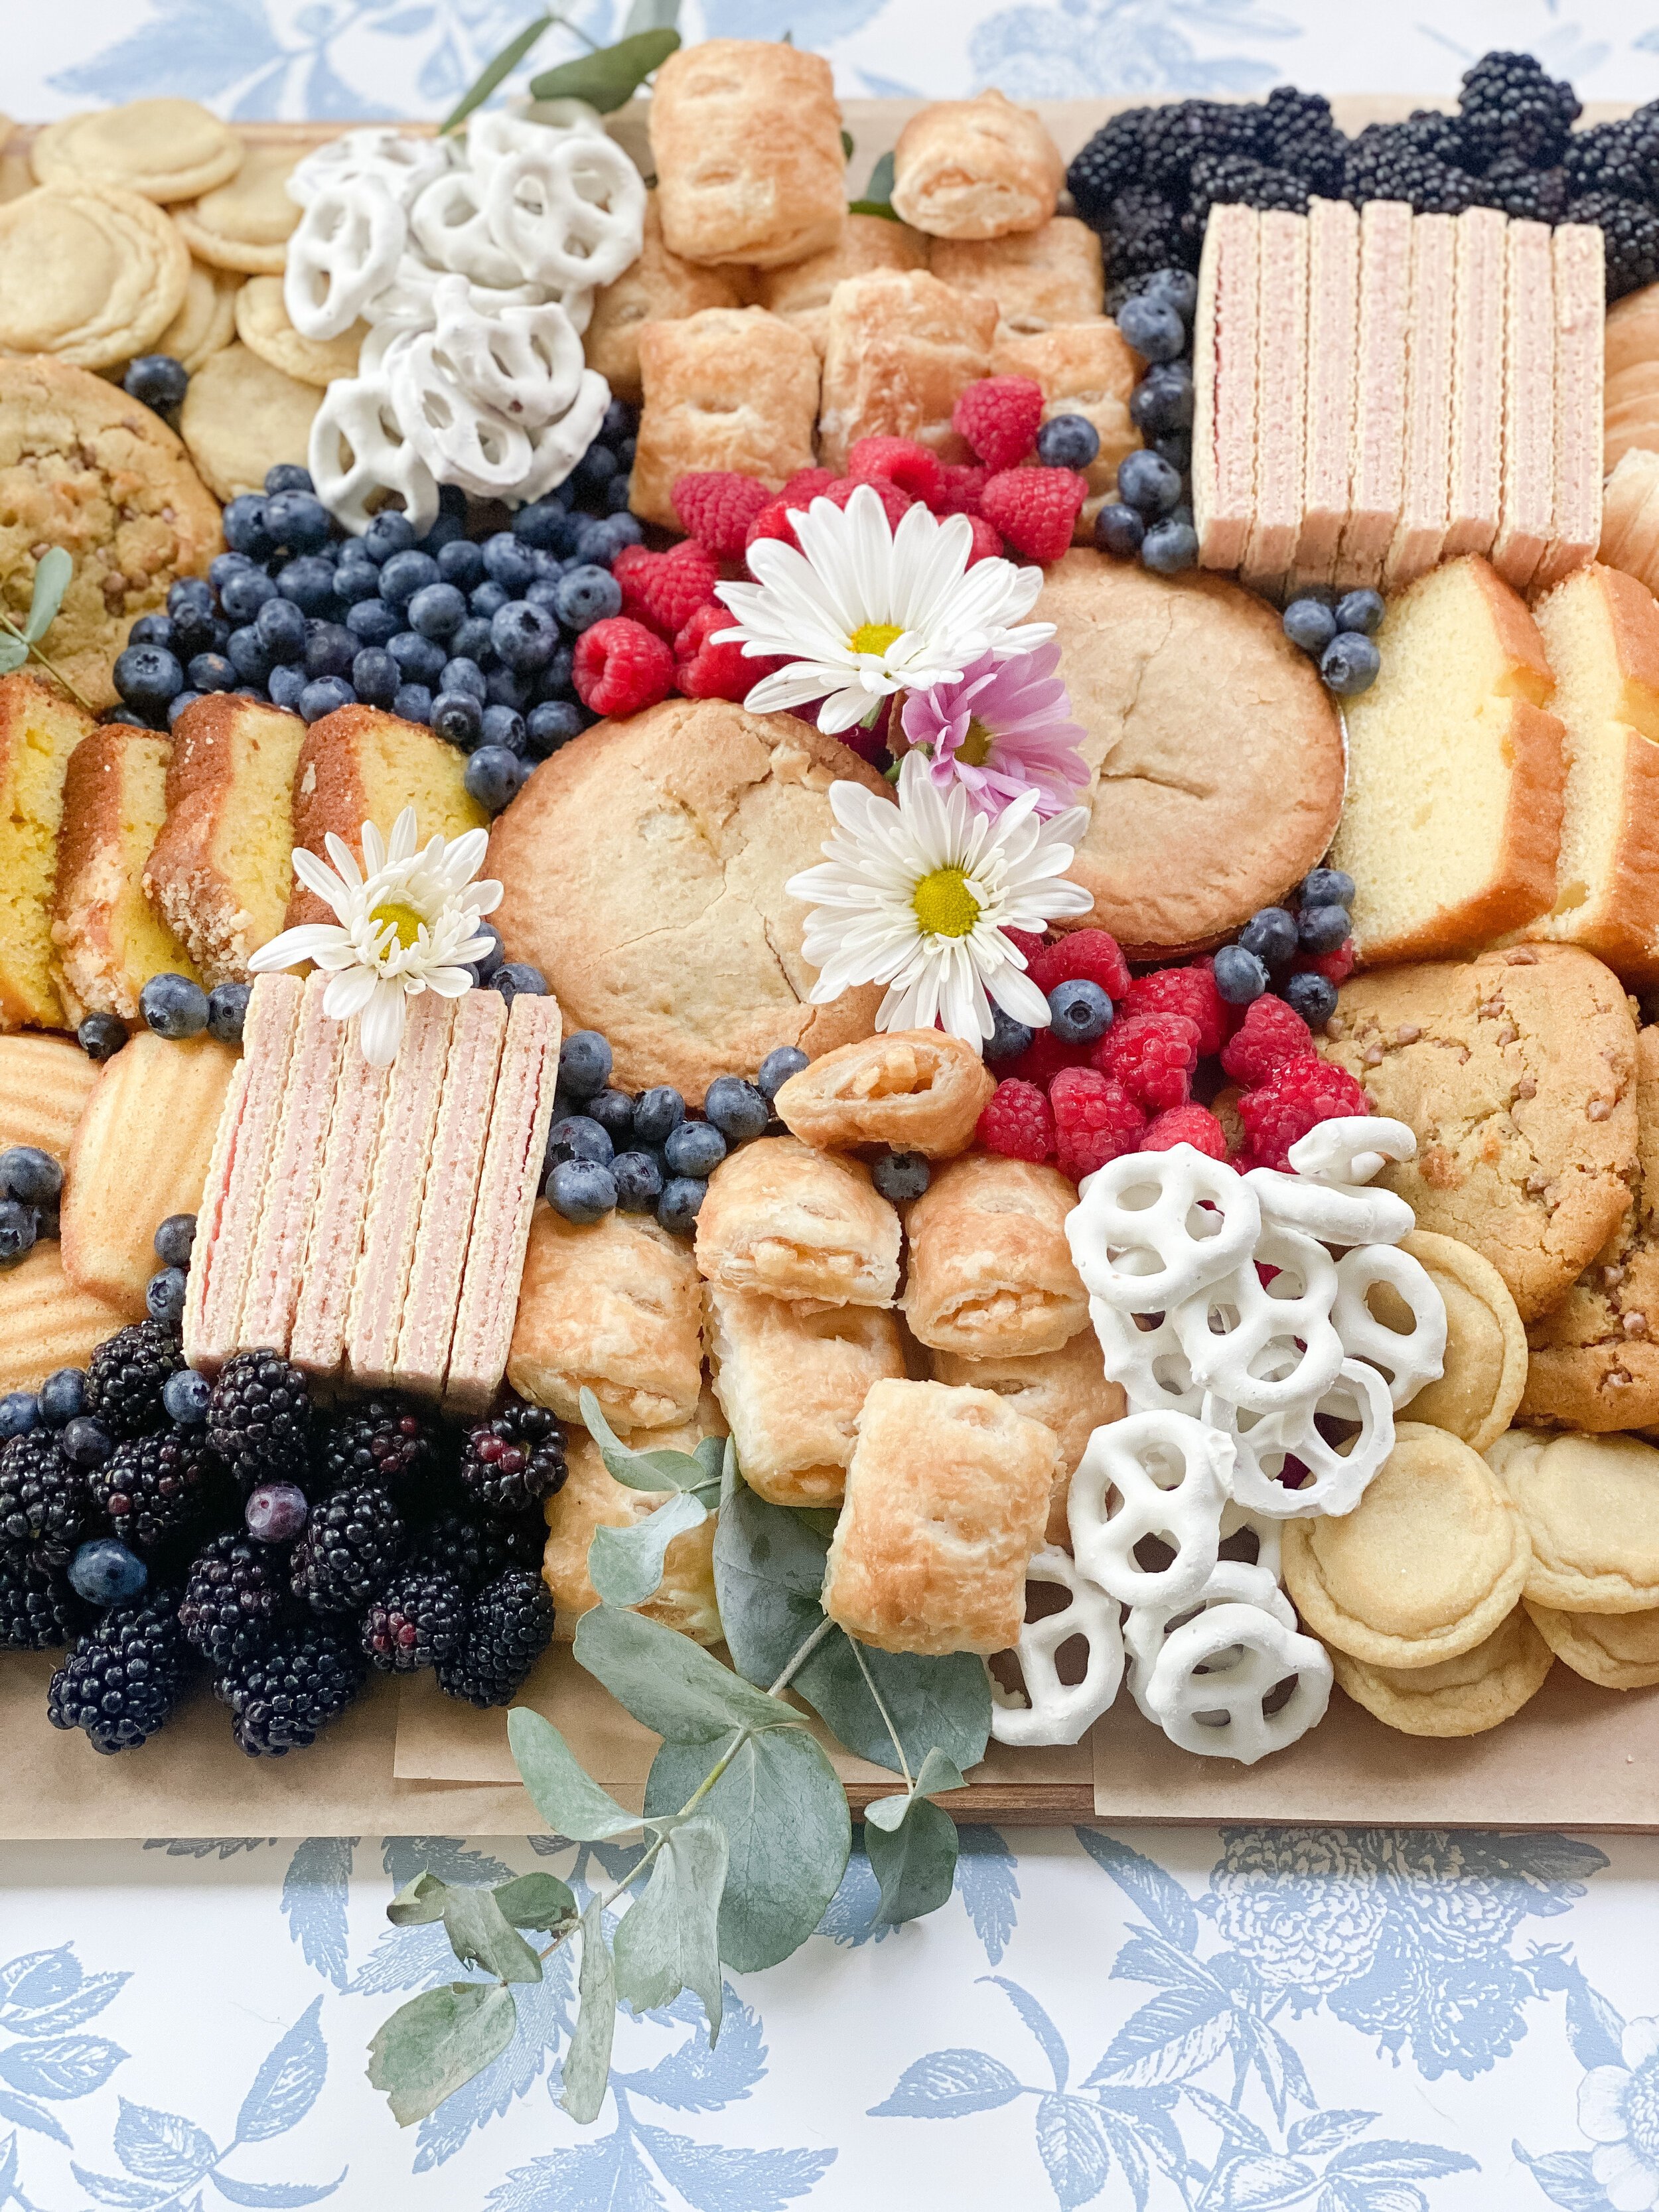
Now it’s cookie time! Use your larger cookies first, then add in your smaller cookies and covered pretzels while keeping in mind colors, textures and size. I like to have a little bit of each cookie on opposite sides of the board for easy grazing.
Then add in the berries! Berries are such an easy way to add in fun colors while sticking to the sweet design of your board. I like to use them as “fillers” for the board so there are no gaps!
Last but not least the garnish. Fresh flowers and greenery add so much beauty to your board and again help fill in those awkward holes throughout. I use them on each edge and then a sprinkle in the middle to tie it all together.
ENJOY!