How to Create and Install a DIY Vintage Rug Stair Runner
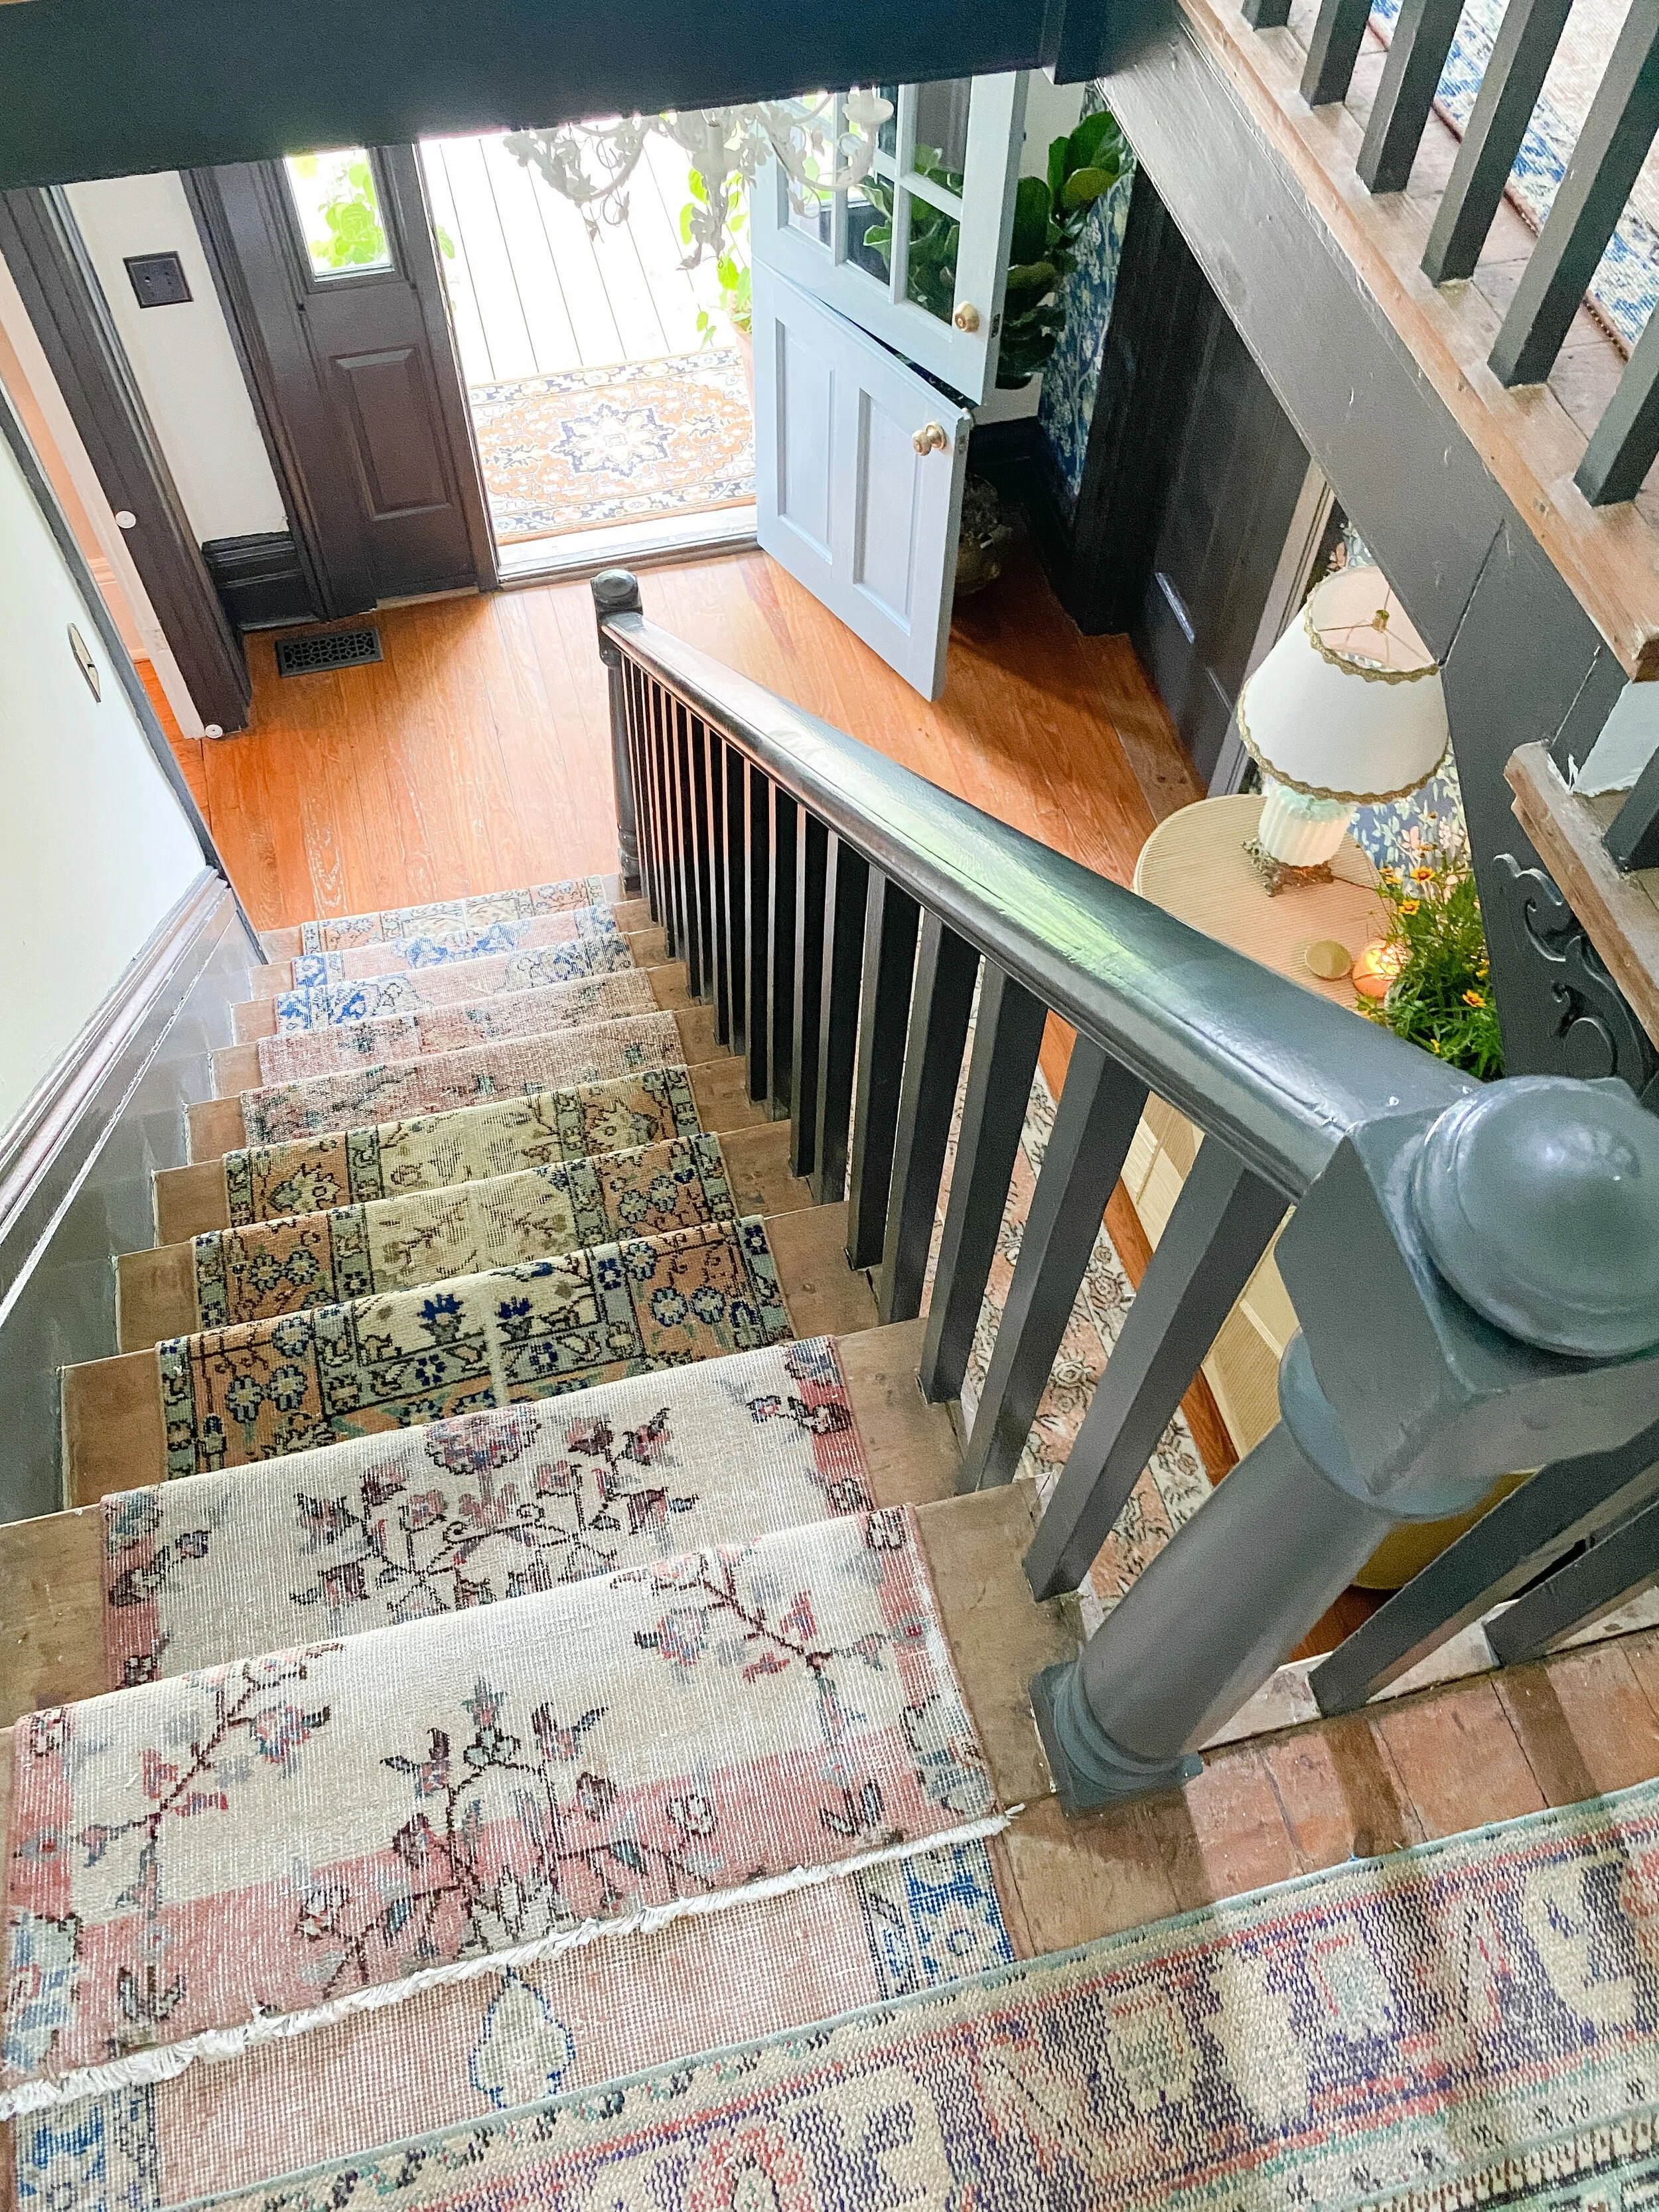
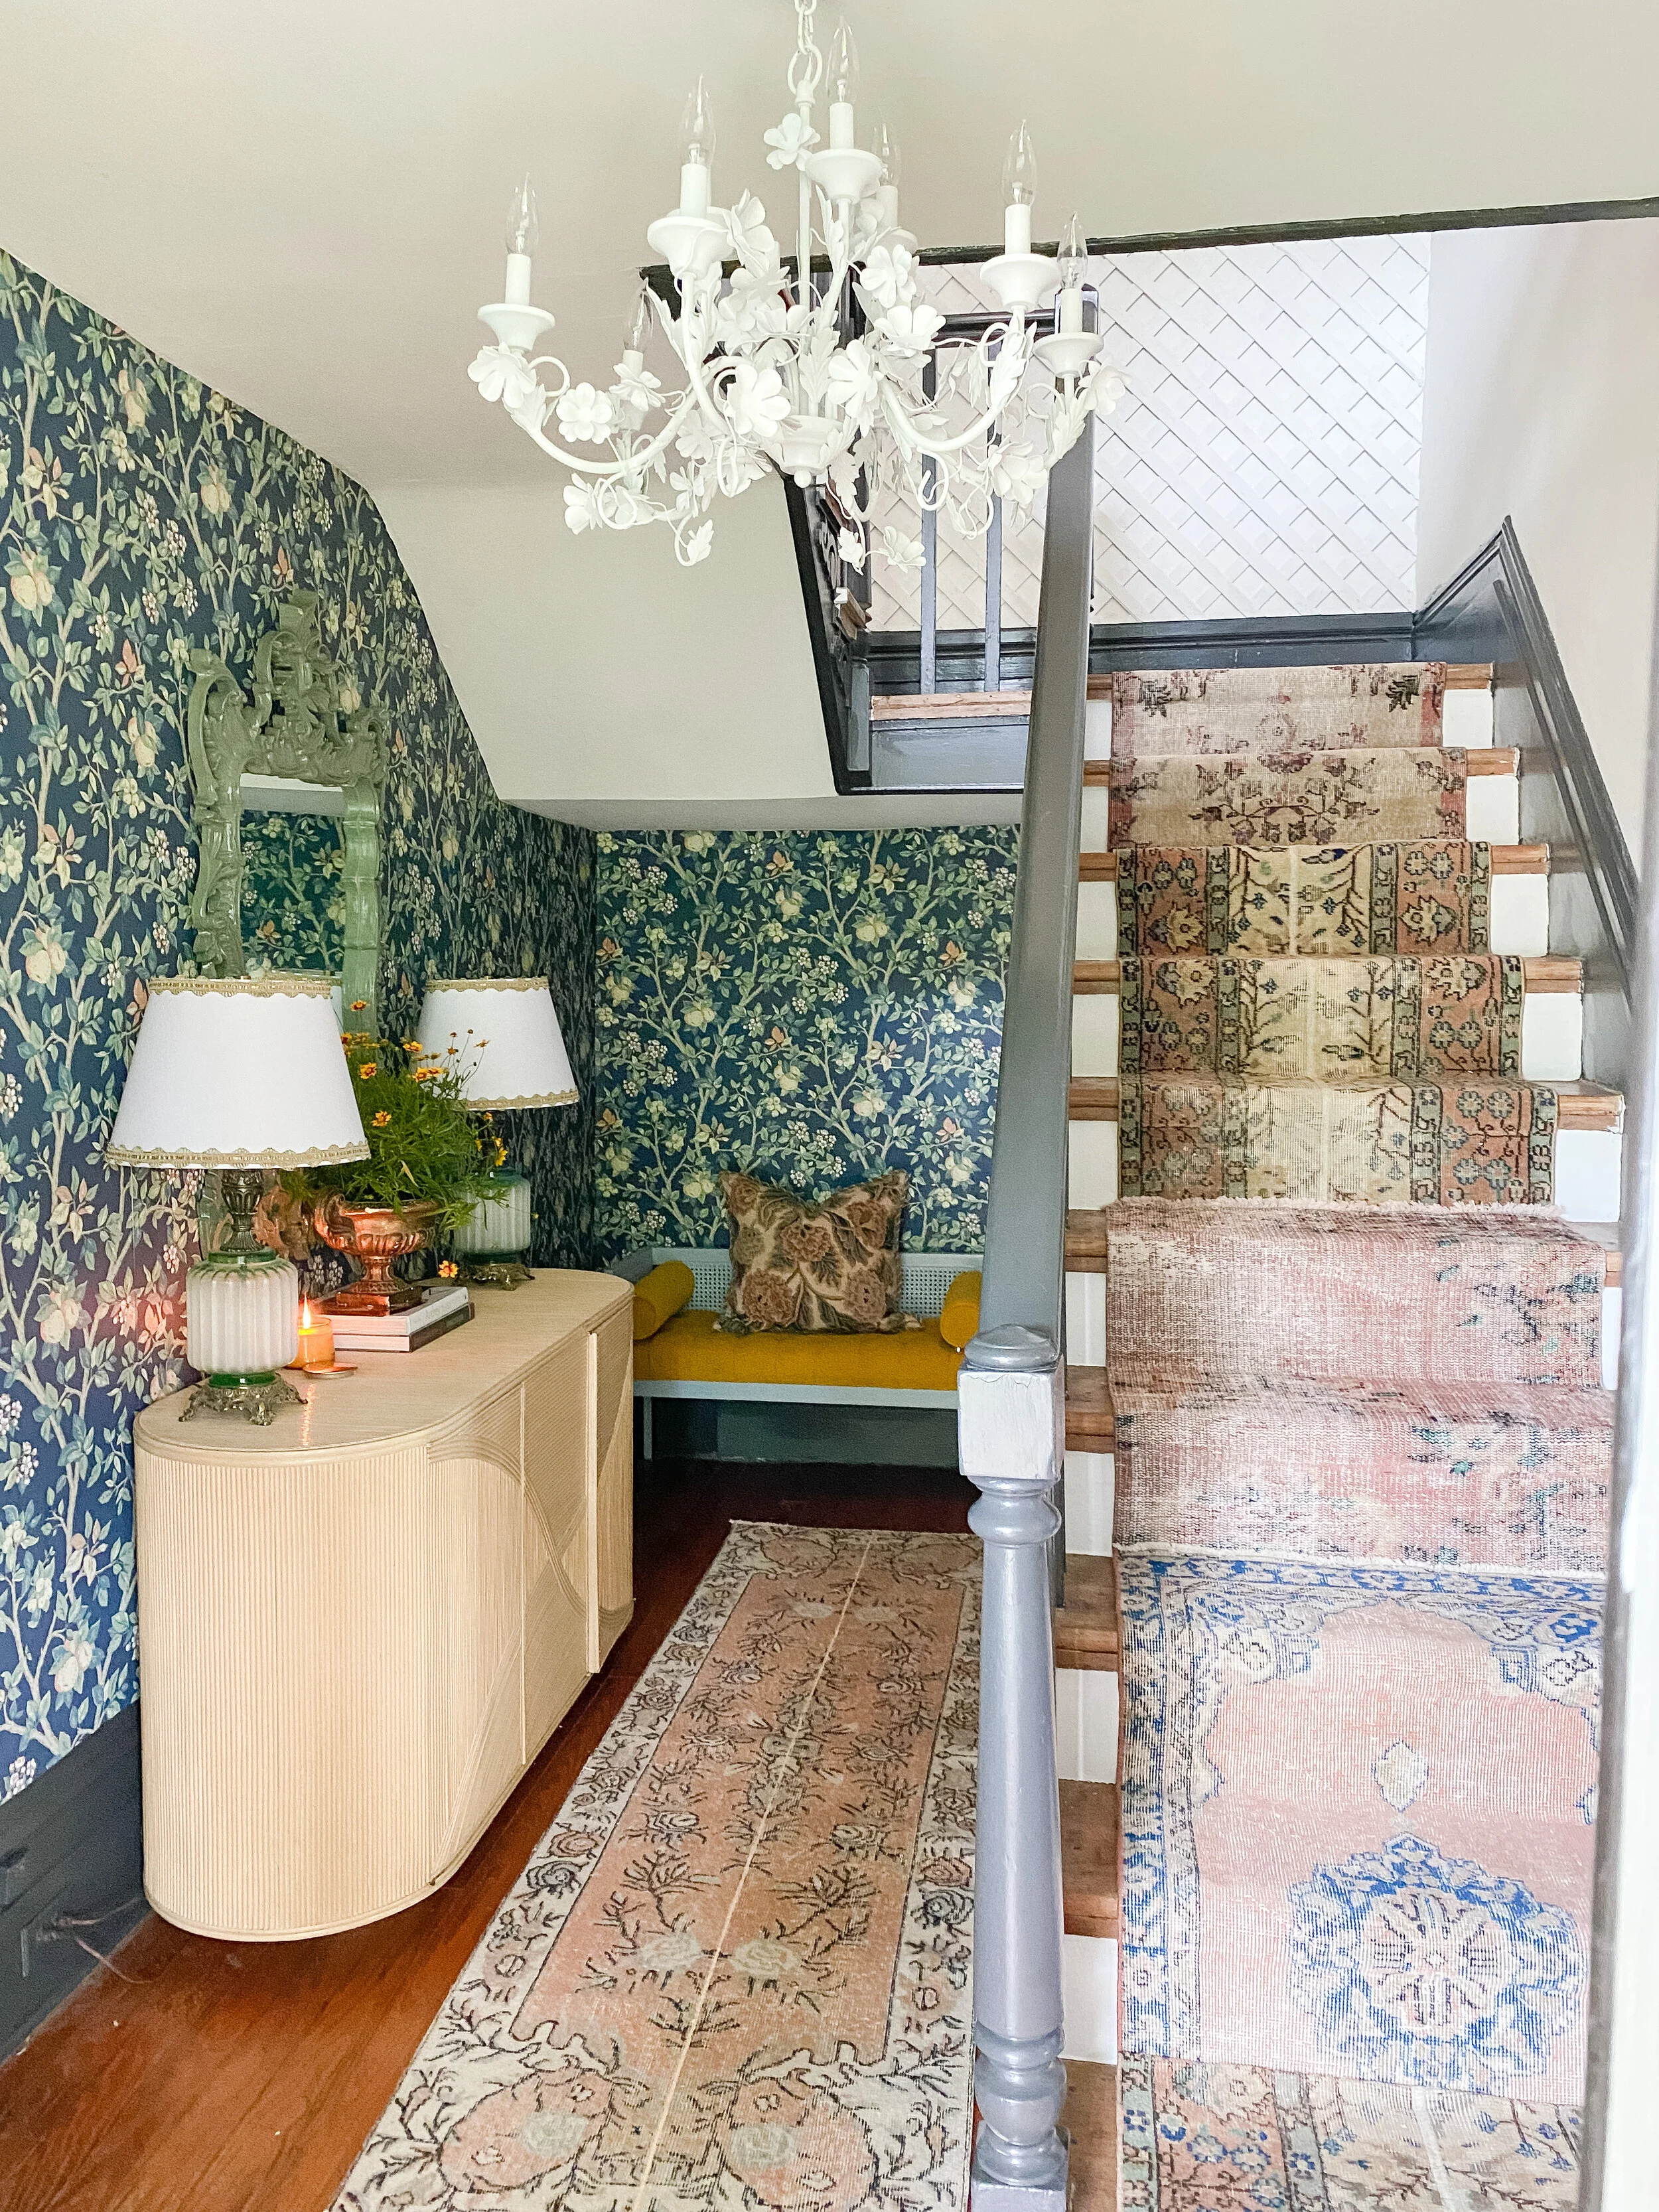
Probably the most fun project of my entire one room challenge entryway makeover was the vintage rug stair runner. I have been dying to do this for years and had multiple inspiration photos saved. I knew it would fit so perfectly in this space and add such character as well. I was also pleasantly surprised with how easy installing a stair runner was and how smoothly the process went! I have gotten so many questions about how I completed it, so I wanted to share a full post with allll the details, and what I learned.
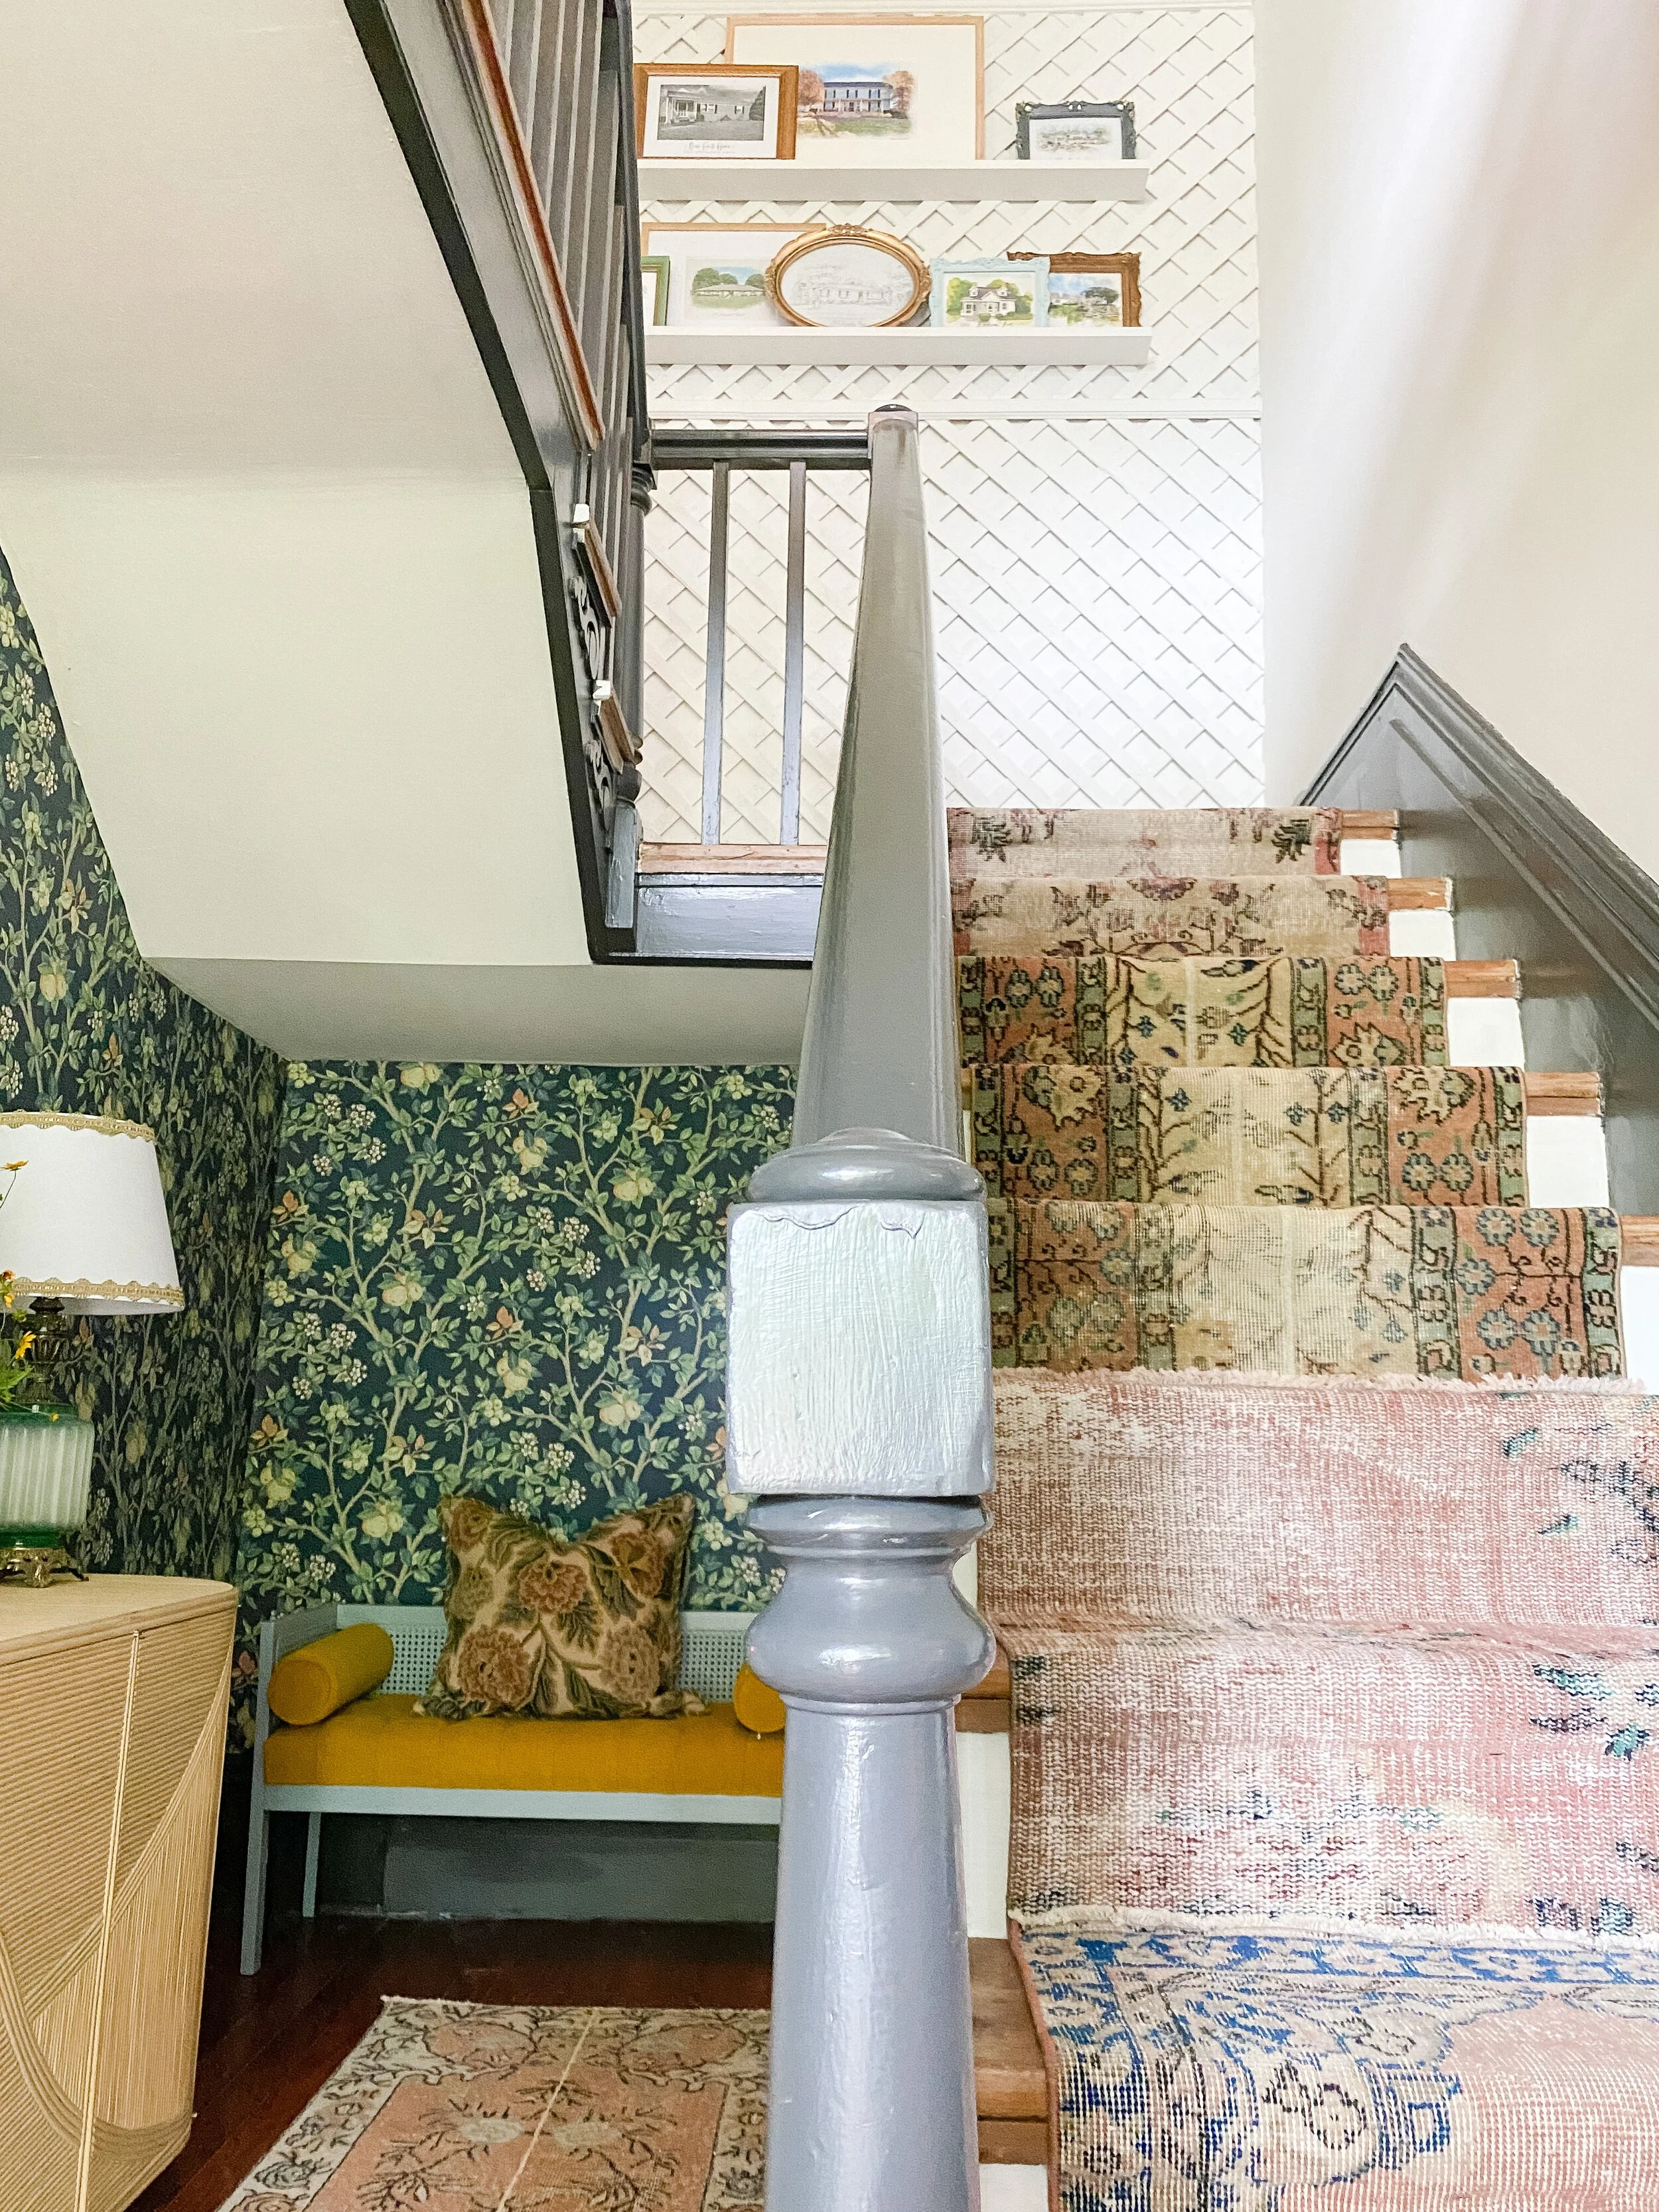
I did a ton of research before starting and read every tutorial I could find online about DIY stair runners. I compiled a list of all the supplies they used in each and ordered it ALL to try and see what worked best (more on that and everything I used is linked below). I love vintage rugs and wanted more of a mix and matched look as opposed to just 1 or 2 longer rugs. The hardest part of the project was trying to order just the right colors/styles to mix and match with each other online and trusting that the colors were true to real life. I ended up ordering some extras for that reason, knowing I could resell if needed, so that allowed me a lot of extra square footage that I was able to use elsewhere! I used one on the landing to connect the two sets of stairs, and then another on the main floor alongside the console table.
Below you’ll find tips for shopping and sourcing your vintage rugs for this project, materials I used, and step by step instructions for installing all on your own! I promise this project is so worth it and makes such a cool statement in any space! Let me know if you have any questions in the comments below!
xoxo
Emily
You can read more about my One Room Challenge Entryway Makeover and see more photos here!
The first step of this project is to measure the length of your staircase (measure the length AND tread of each stair, then multiply by the amount of stairs) to figure out how much square footage of rugs you need. I needed about 19 feet for the main staircase and an additional 7ish feet for the top few stairs.
I ended up finding all the rugs that I used on Etsy, all from different vintage rug shops. There are TONS on there and all have different sizes/offerings, so I really don’t have one in particular I prefer. I really just hunted for the best colors, sizes, and decent prices for what I needed. The best part is that most of these ship FREE and FAST even thought they have to ship internationally, which is so nice. All my rugs arrived within a couple of days and I was so impressed by that!
Before I started shopping, I also measured the width of my stairs so I had a good idea of what size range I needed there too. I knew I wanted a around 4-7 inches of the original stairs showing on each side, so that gave me a good size range to search for. I honestly started by just searching for styles and colors that fit the color scheme of my space and especially that coordinated with my wallpaper. I searched for things like “vintage rug runner blue” and “vintage rug runner floral.” If you have an idea of an exact size you need, you can also add that number into the search to narrow it down even more! I wanted to find the right styles/colors first though and then narrow down by size after.
Anytime I found one I liked, that was a good price, and within the size range I was looking for, I added it to my cart. After I got a good amount added to my cart, I went there and narrowed down further. To help me narrow down I picked out a couple of absolute favorites and checked the sizing on those, then tried to see if I had any other rugs in my cart that were that exact same size. I ended up having plenty and even had to narrow down further, so I just chose the ones I felt complimented each other the best. I saved a lot of the photos of them and made collages so I could look at them side by side and compare and narrow down. I ended up ordering a few extra rugs just to be safe, since this was my first time doing this project. I probably had at least 12 extra feet, which was a lot, but I also knew I might use them in other areas too.
Here are the rug shops I ordered from for this project but like I said, there are a TON of other great shops on Etsy too, these just happened to have the ones that best fit my project this time around.
Turkish Rug Rose | Turkish Rug Selections | Turkish Rug Woven | Vintage Rugs Love | MB Kilim Rug | Turkish Rug Loom |

rug pad (I happened to have a large 9x12 rug pad and cut it as I went and had plenty leftover)
painter’s tape
measuring tape or ruler
staples for staple gun (I used 1/2 inch)
sharpie
carpet scissors or utility knife (I personally liked using the carpet scissors as I felt it helped them fray less)
Start by choosing and ordering your vintage rugs per the instructions above. It is helpful if you can allow for 3-5 extra feet to work with, especially if you’re wanting to cut and combine multiple rugs like I did.
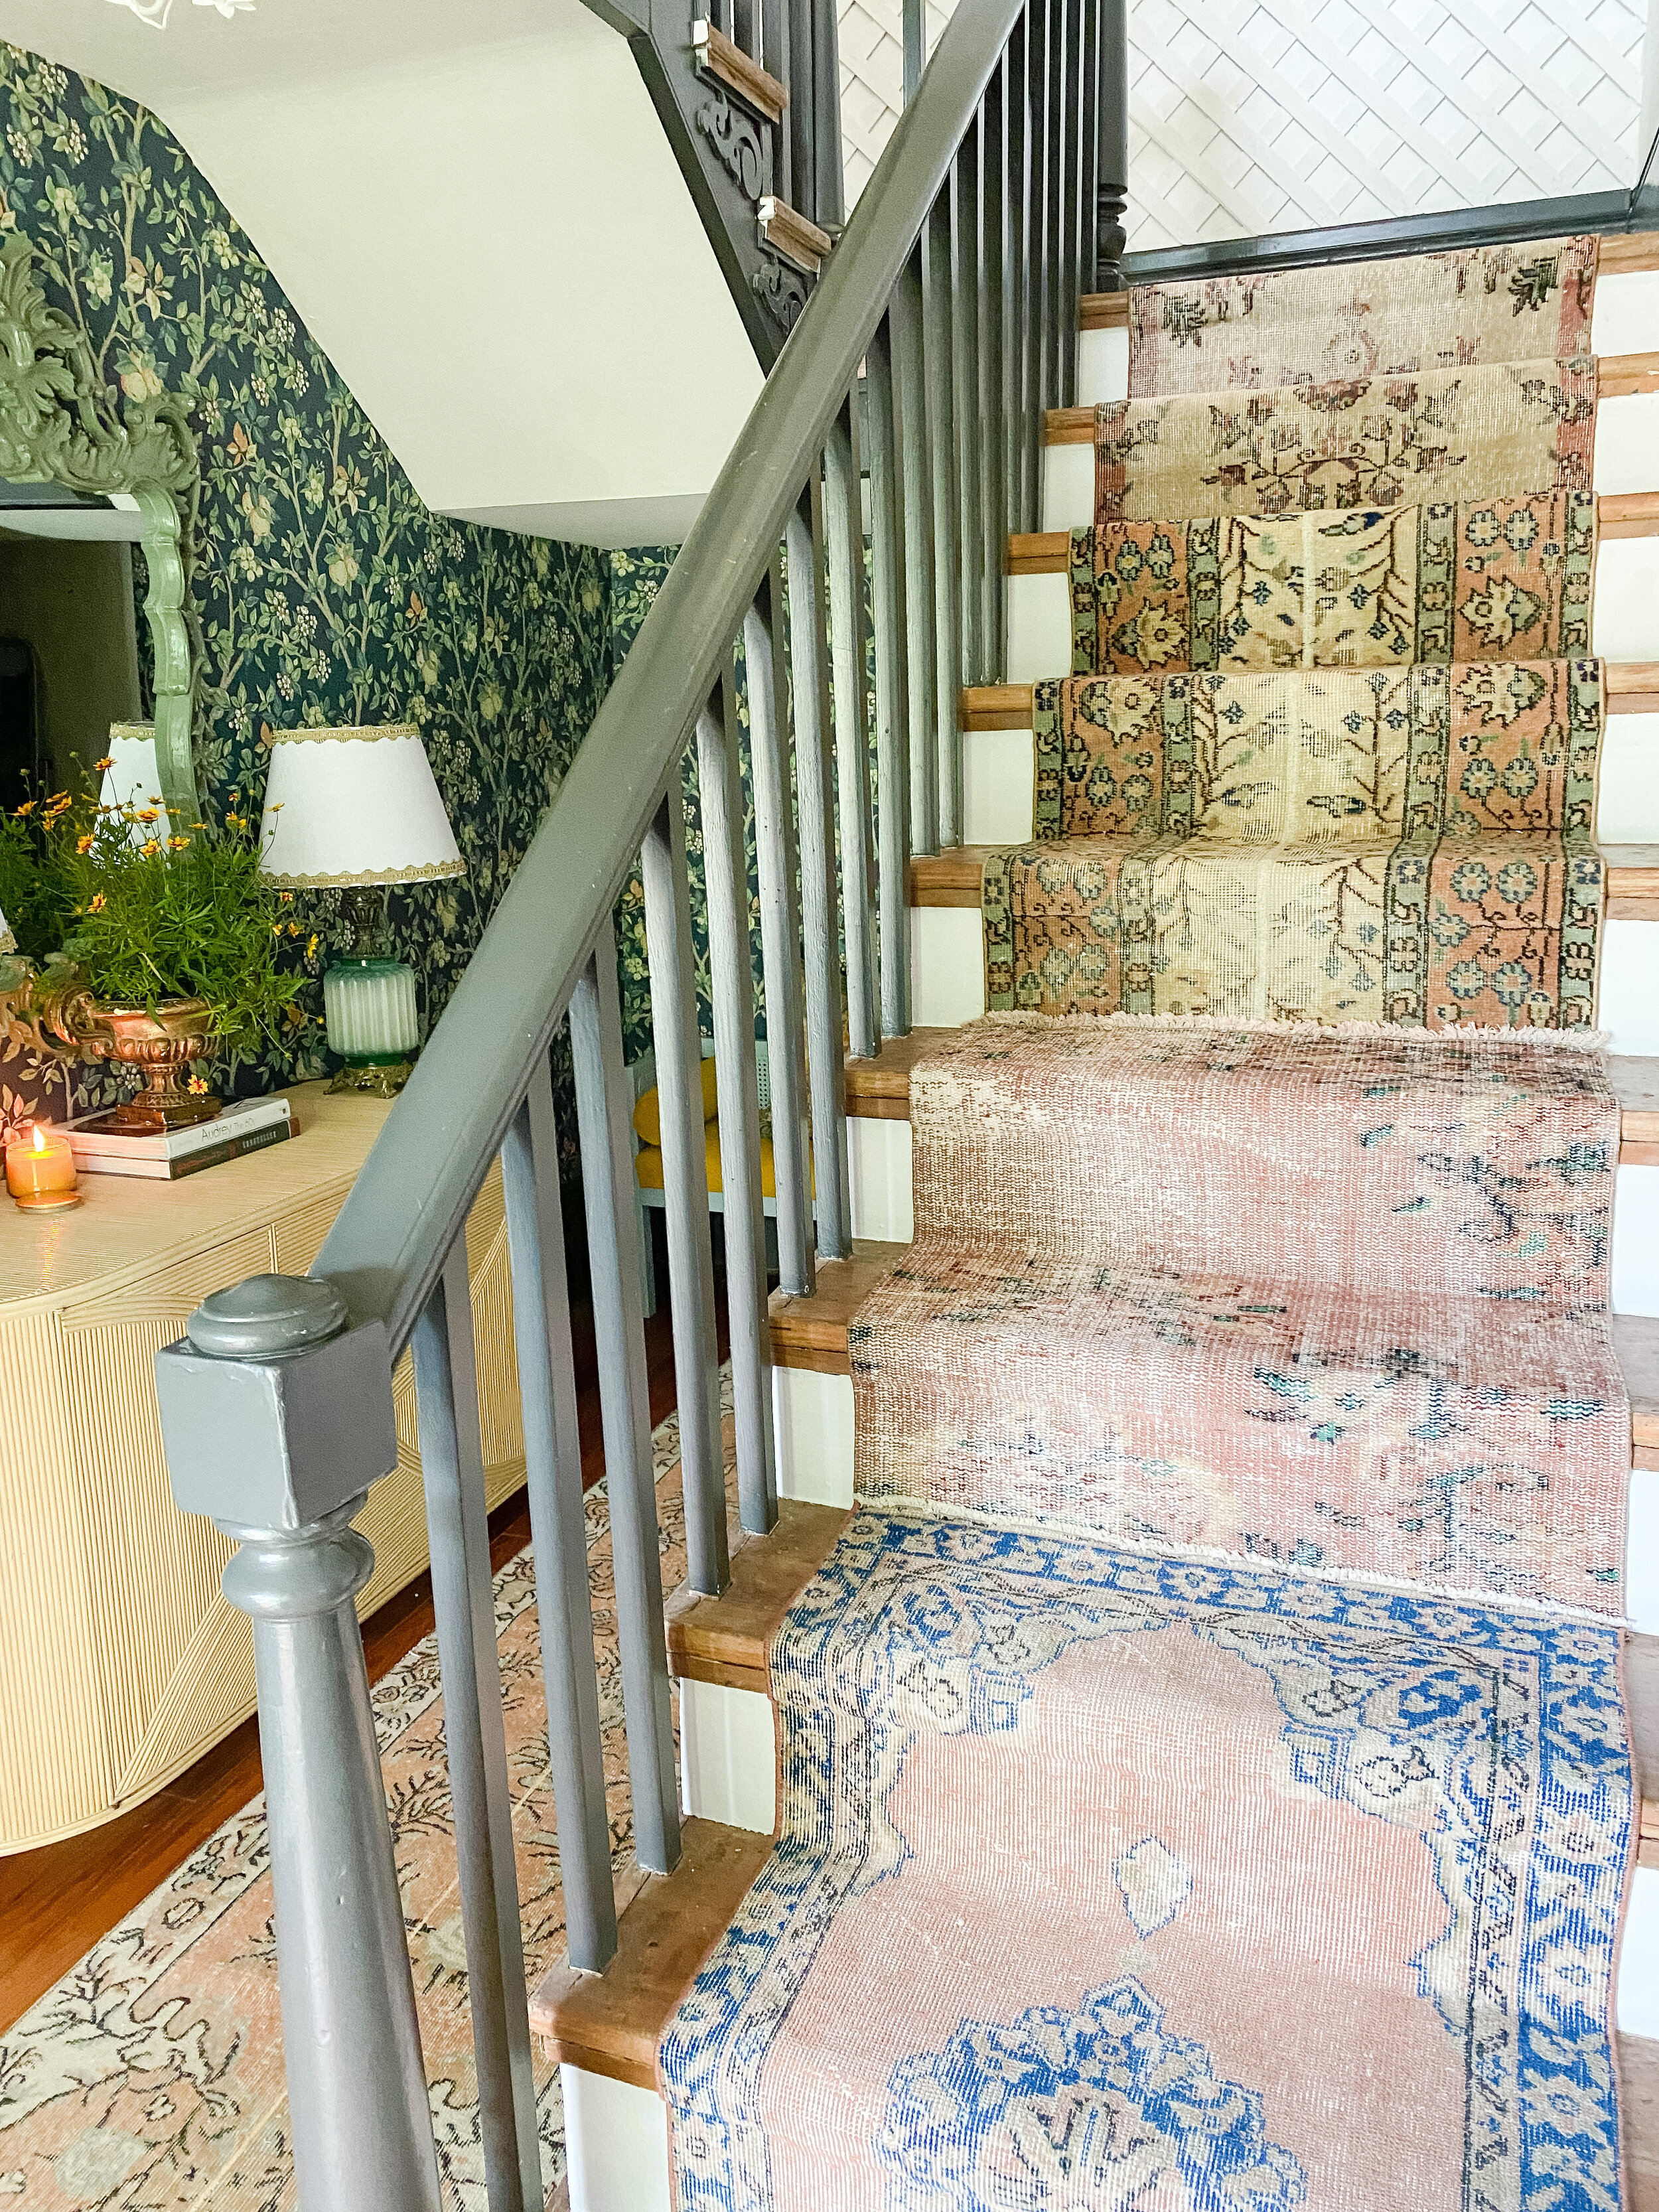
You’ll want to lay out your rugs once they arrive and decide what order and arrangement you will choose for the stairs. I found it looked best if each rug ran at least 2 stairs or more, I ended up having 4 different rugs total alternating on my stairs (one rug I repeated twice!), but you could certainly do less or more or even just one! You can even lay your rugs on the actual stairs and fold them under at the transitions to get an idea of what it will look like and play around with it. I ended up laying mine out in a flat open area and figuring out which order I thought looked best.
Begin by prepping the stairs- they need to be clean and clear to work with. You’ll also want to make sure the stair treads are painted the color you want as it will be difficult to paint them once these are down.
Start by marking out your rug spacing. Lay down your widest rug and decide how you want it centered on the stairs. Mine actually wasn’t perfectly centered, as that didn’t look centered visually with the banister taking up visual space on the left side. I played around with it a little bit and found what I felt looked the most centered in my particular stair case. From there, measure how much space you have on each side and mark what will be the outer edge of the rug with a piece of painter’s tape (I think I had about 5 inches on one side and 4 on the other). Continue this on every stair going all the way up. This will act as your guide as you work so your stair runner doesn’t get crooked!
Next you can begin laying down your rug pad. I used the carpet tape for this and it worked great. It’s super sticky though so just be careful when working with it! I placed a couple strips 2-3 inches inside the painter’s tape line on each side of the stair. Next I cut a piece of carpet pad to fit there (it doesn’t have to cover the entire space inside the painter’s tape, just most of it) and stuck it down firmly on top, pressing it into the carpet tape. This adds some extra padding and helps your rugs stay in place with wear and use over time.
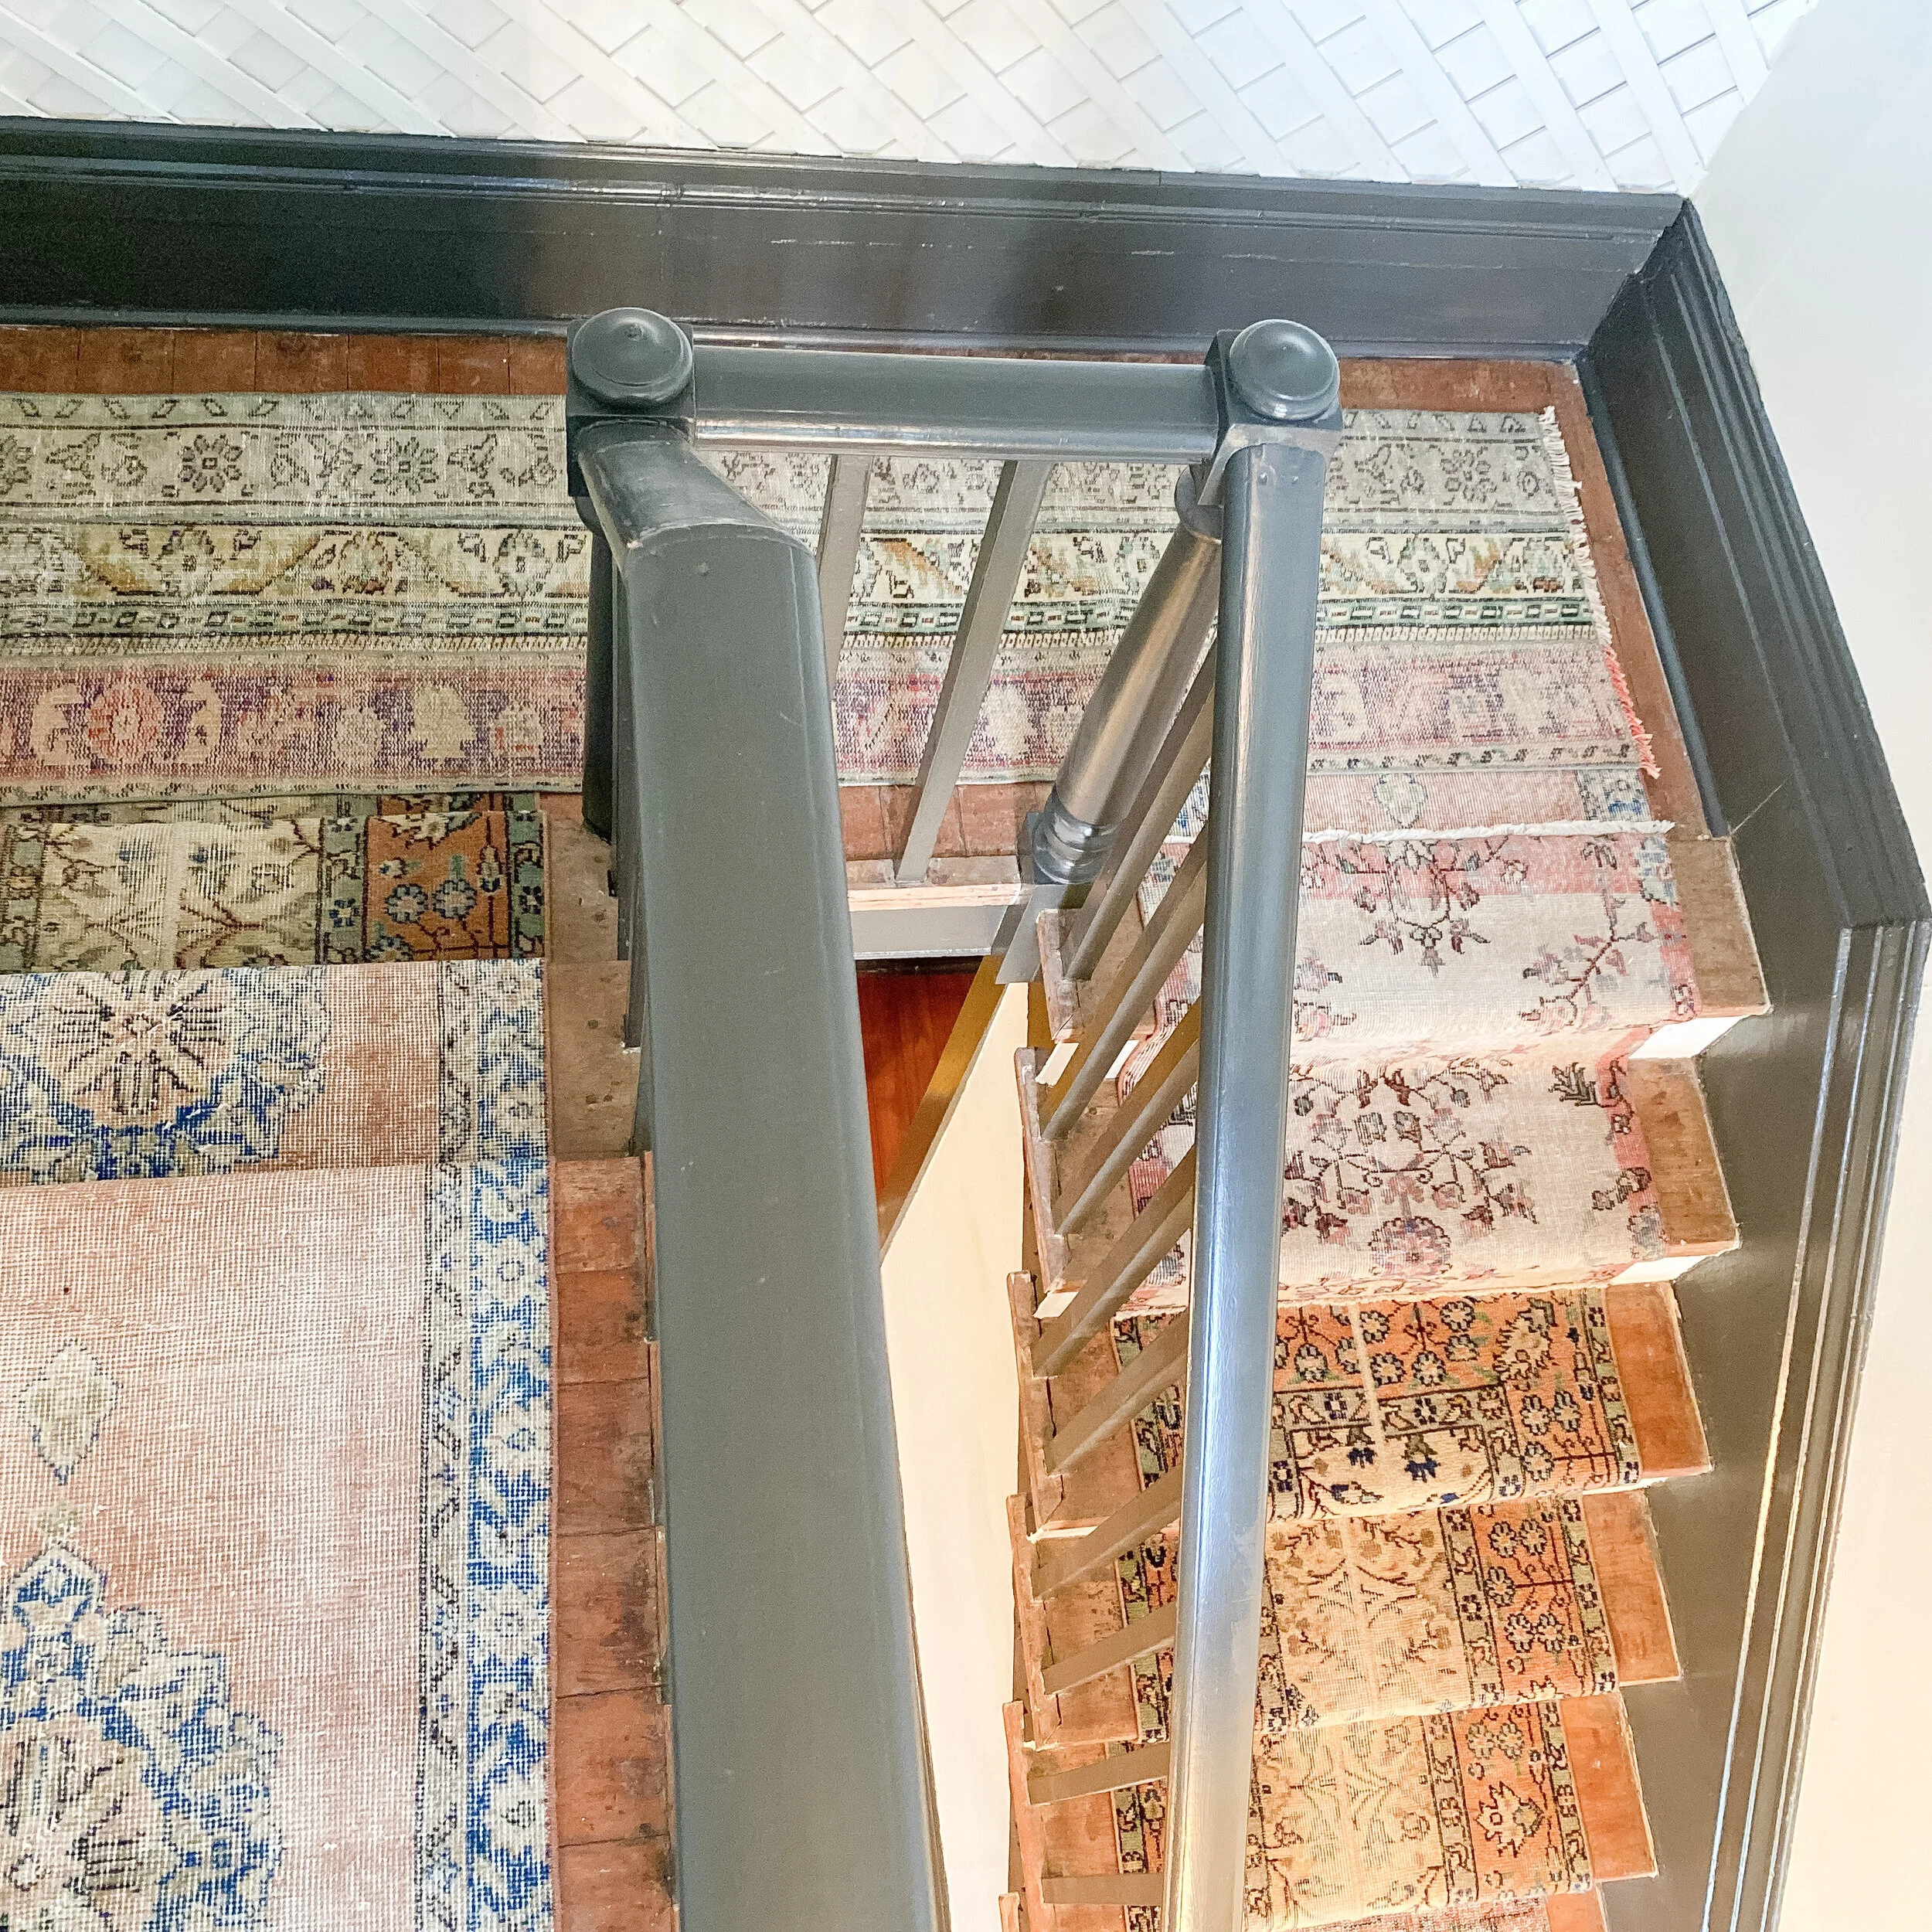
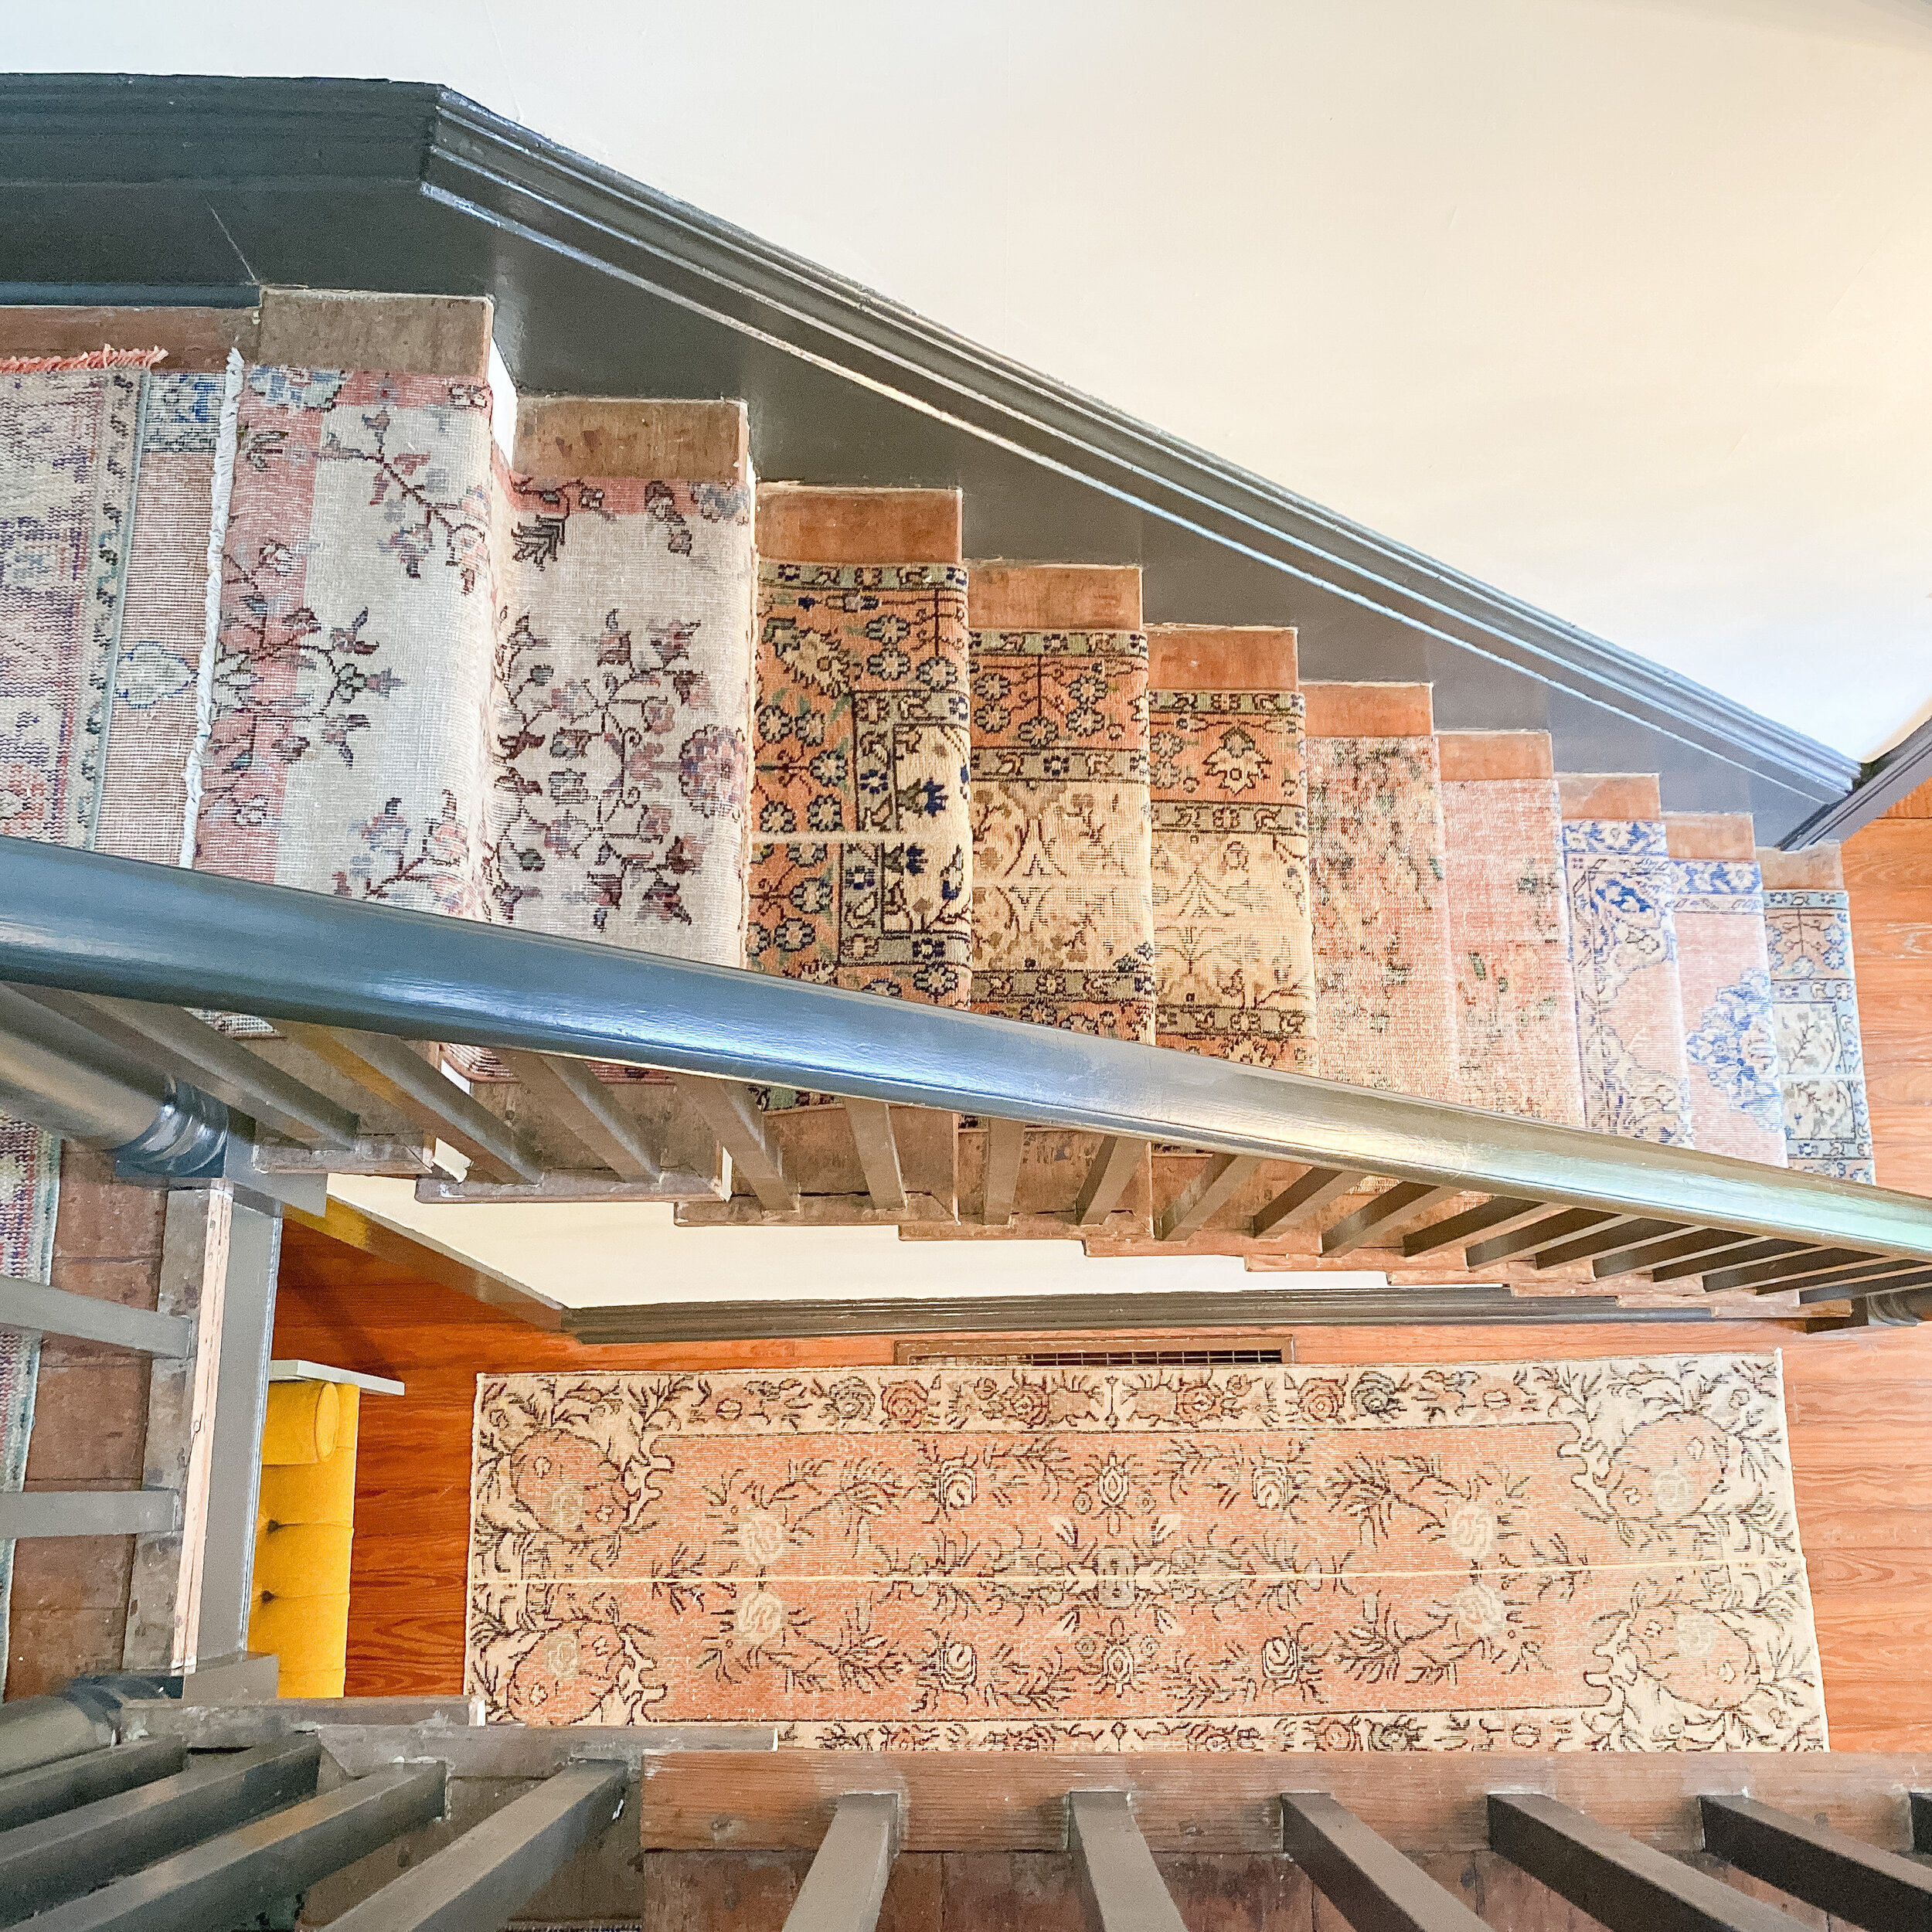
Now that your stairs are prepped you are ready for the fun part- stapling! I started at the top because I figured if I messed up, I wanted it to be in the least noticeable space. I did in fact mess up and had to pull the first rug up and start over. It was reassuring though, because I realized that the staples were easy to remove if needed and I could pull these up myself without a problem. The mistake that I made was using the metal silver-colored staples as-is. None of the tutorials I read mentioned this, but the silver staples reflected all the light and were super noticeable when looking up the staircase. I got creative and decided to color in all my staples with a black Sharpie and it worked perfectly! You could also just order black matte staples too if you can find them or spray paint them a color that will coordinate with most of your rugs if you have time to prep ahead of time.
When stapling, you want to focus in two areas, right under the lip of the stair tread and at the bottom of the stair riser only (at first I was just stapling everywhere, and that was another mistake I made that made them super noticeable). Pull the rug down and around the stair as tight as you can the whole time you are stapling. I also tried to strategically place my staples in dark areas of my rug so the black staples wouldn’t be noticeable. You really don’t need as many staples as you think to keep it down, just 5-6 in each area will usually do. If you have any odd corners or edges that are being stubborn and sticking up you can add a staple there, just make sure it’s in an area that won’t be super noticeable. Another tip I picked up is to press down as hard as you can when using the staples gun to really get the staples as far in as possible. Occasionally I would have some not go all the way through, so I used some small pliers to pull them out and try again.
Continue down the stairs until you’re ready to transition to the next rug. This is the trickiest part of the project and it may be a little different for everyone depending on what rugs you’re using and how many. I always created my transitions at the base of the stair riser. I would cut the first rug right at the base of the stair riser I wanted to transition at and leave just about an inch extra. Using the carpet scissors to cut worked great as I felt like it gave me more accuracy and made the rug fray less too. Then I would staple down the first rug at the bottom of the stair riser all the way across to secure it. Next take the next rug up and use the finished edge at the top to start your next run, stapling it down right where the stair tread and riser meets, leaving no space in between your first rug and this rug. If you don’t have a finished edge to use, you can also fold the edge under just barely and staple it down that way. Using the finished edges at the transitions made this so much easier and look so much more professional. Since I had several rugs to work with, with a finished edge on each side, I had plenty to work with too.
Continue this process all the way down until you get to the bottom of the stairs. Most rugs I did on 2-3 stairs each. I tried to place my most favorite rugs in the center and at the bottom where they would be the most visible. Make sure you are staying within your painter’s tape lines the whole time so that you are straight. I also recommend checking from the bottom of the stairs often to make sure nothing looks off from there before you get to far along.
At the bottom of the stairs, I ended my runner at the base of the last stair riser. I again used a finish edge here but you could also just fold it under and staple down. I ended up using the finished edge at the bottom, stapling that down first, then folded it under on the other side and stapled down at the last transition.