DIY Vintage Christmas Village Makeover
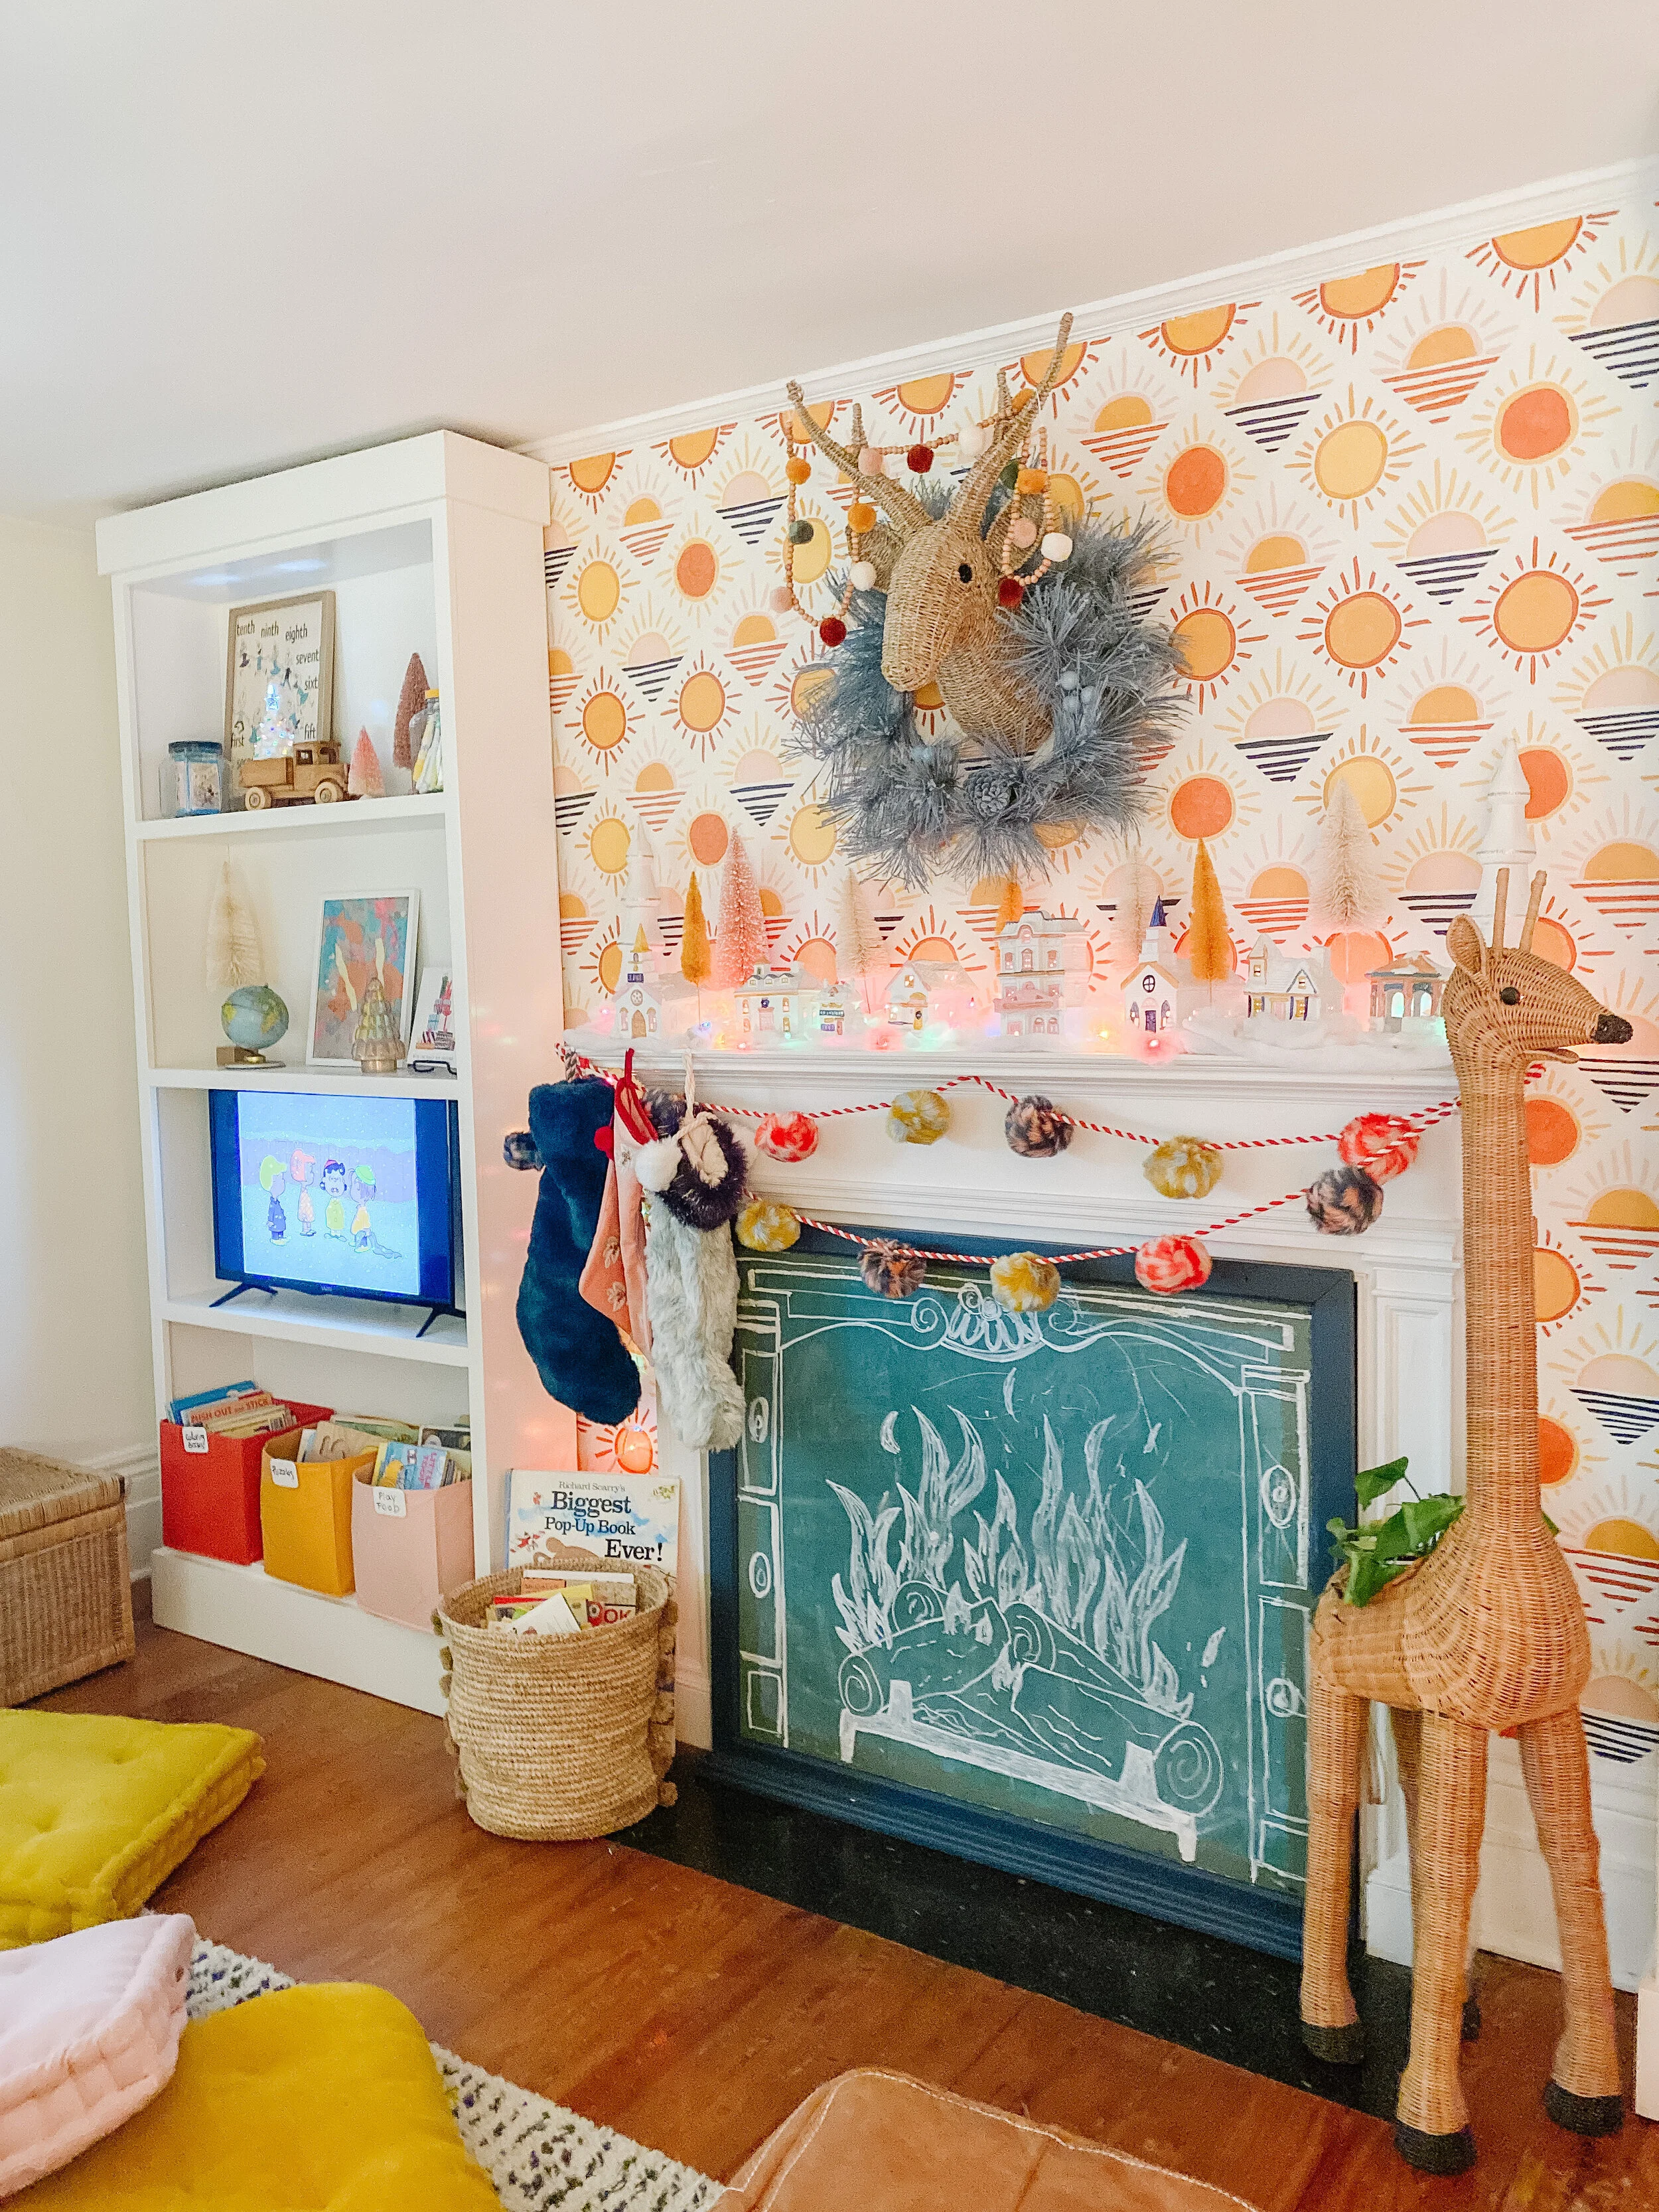
My favorite DIYs are those that give new life to outdated decorations and vintage pieces. I have had this outdated Christmas village sitting in my garage for years and always have wanted to figure out a way to include it in my Christmas decor as I love the tradition and idea of village sets. This year, while searching for some Christmas decor ideas for the playroom, I had the idea to paint the set in bright colors to match the room. This was so easy and fun and such a great way to update and reuse these old sets. Whether you go with bright and bold colors or just paint it solid white, there’s so many fun ways to update the classic pieces. Check out the before photos and instructions below!
xoxo
Emily
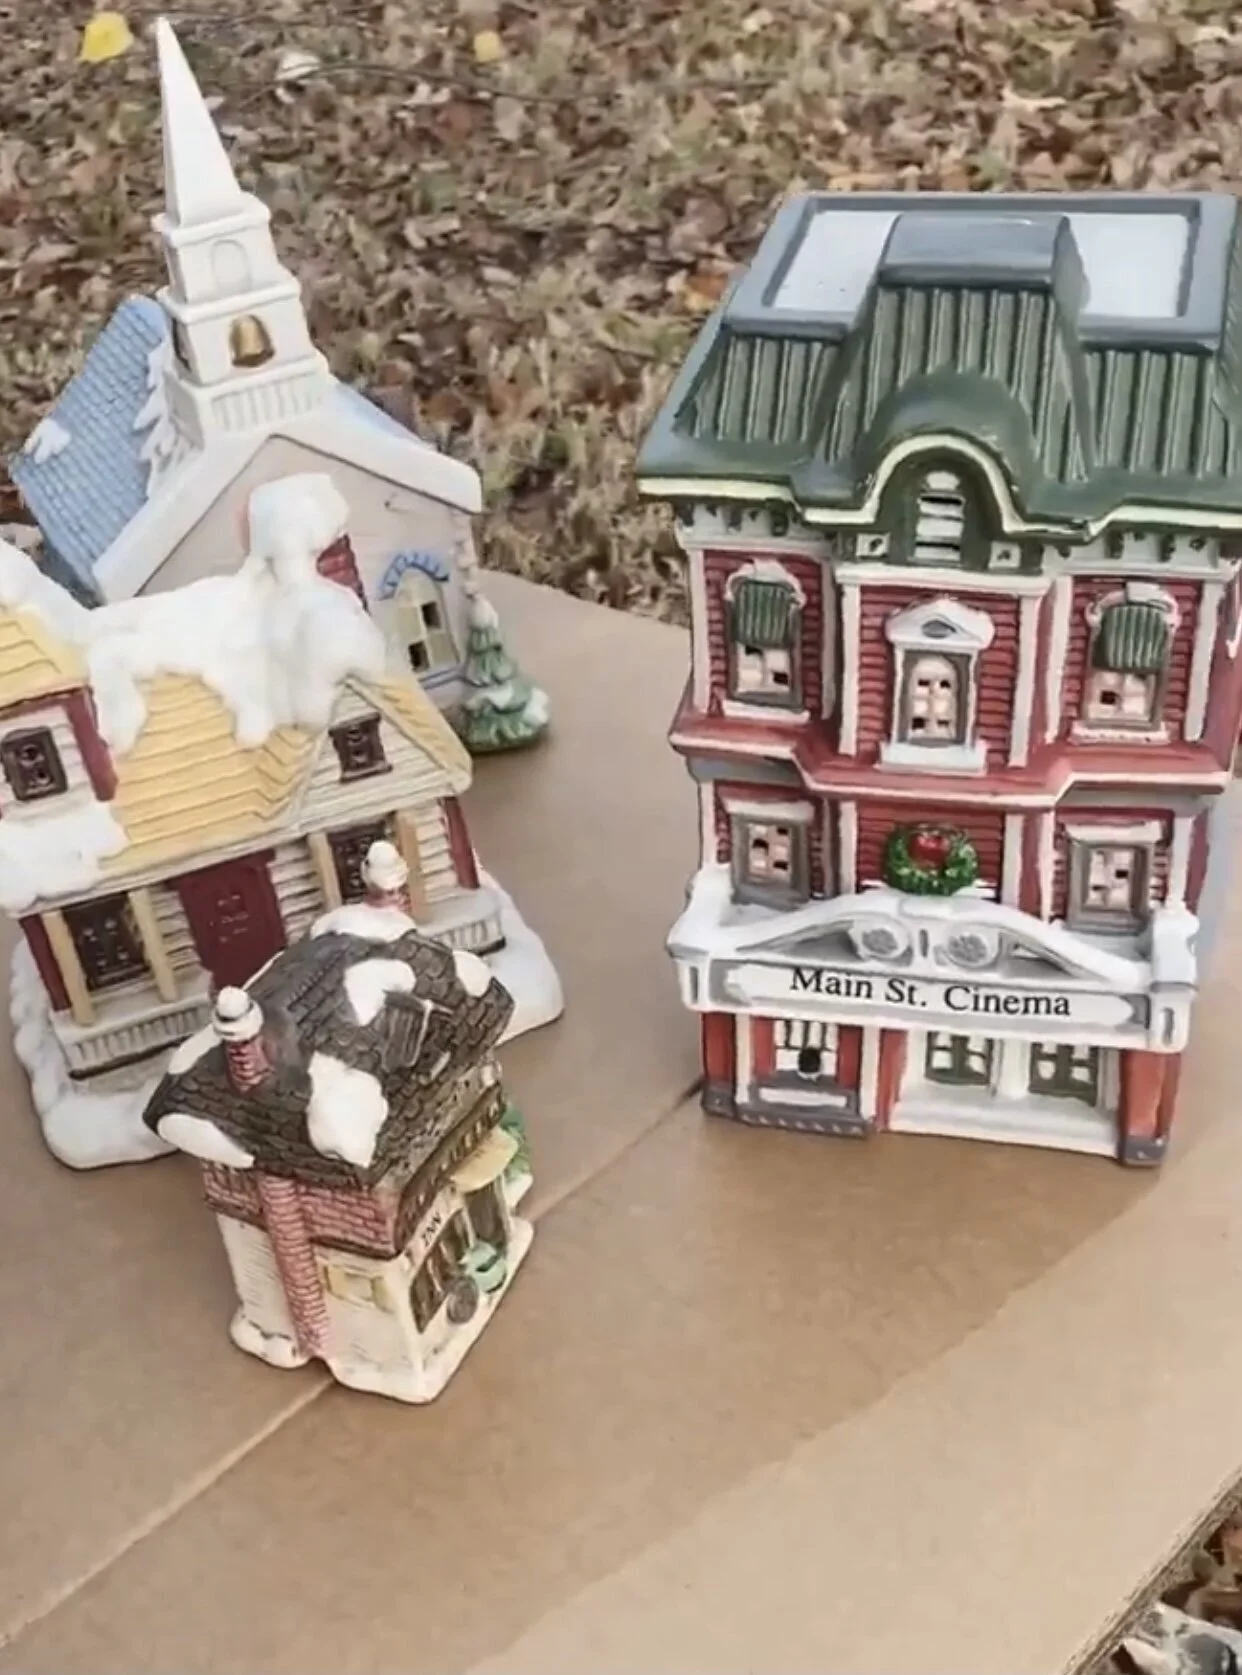

Step 1: spray paint white or any color you prefer for your base. You can use any matte or glossy white spray paint depending on the look you want (I used matte).
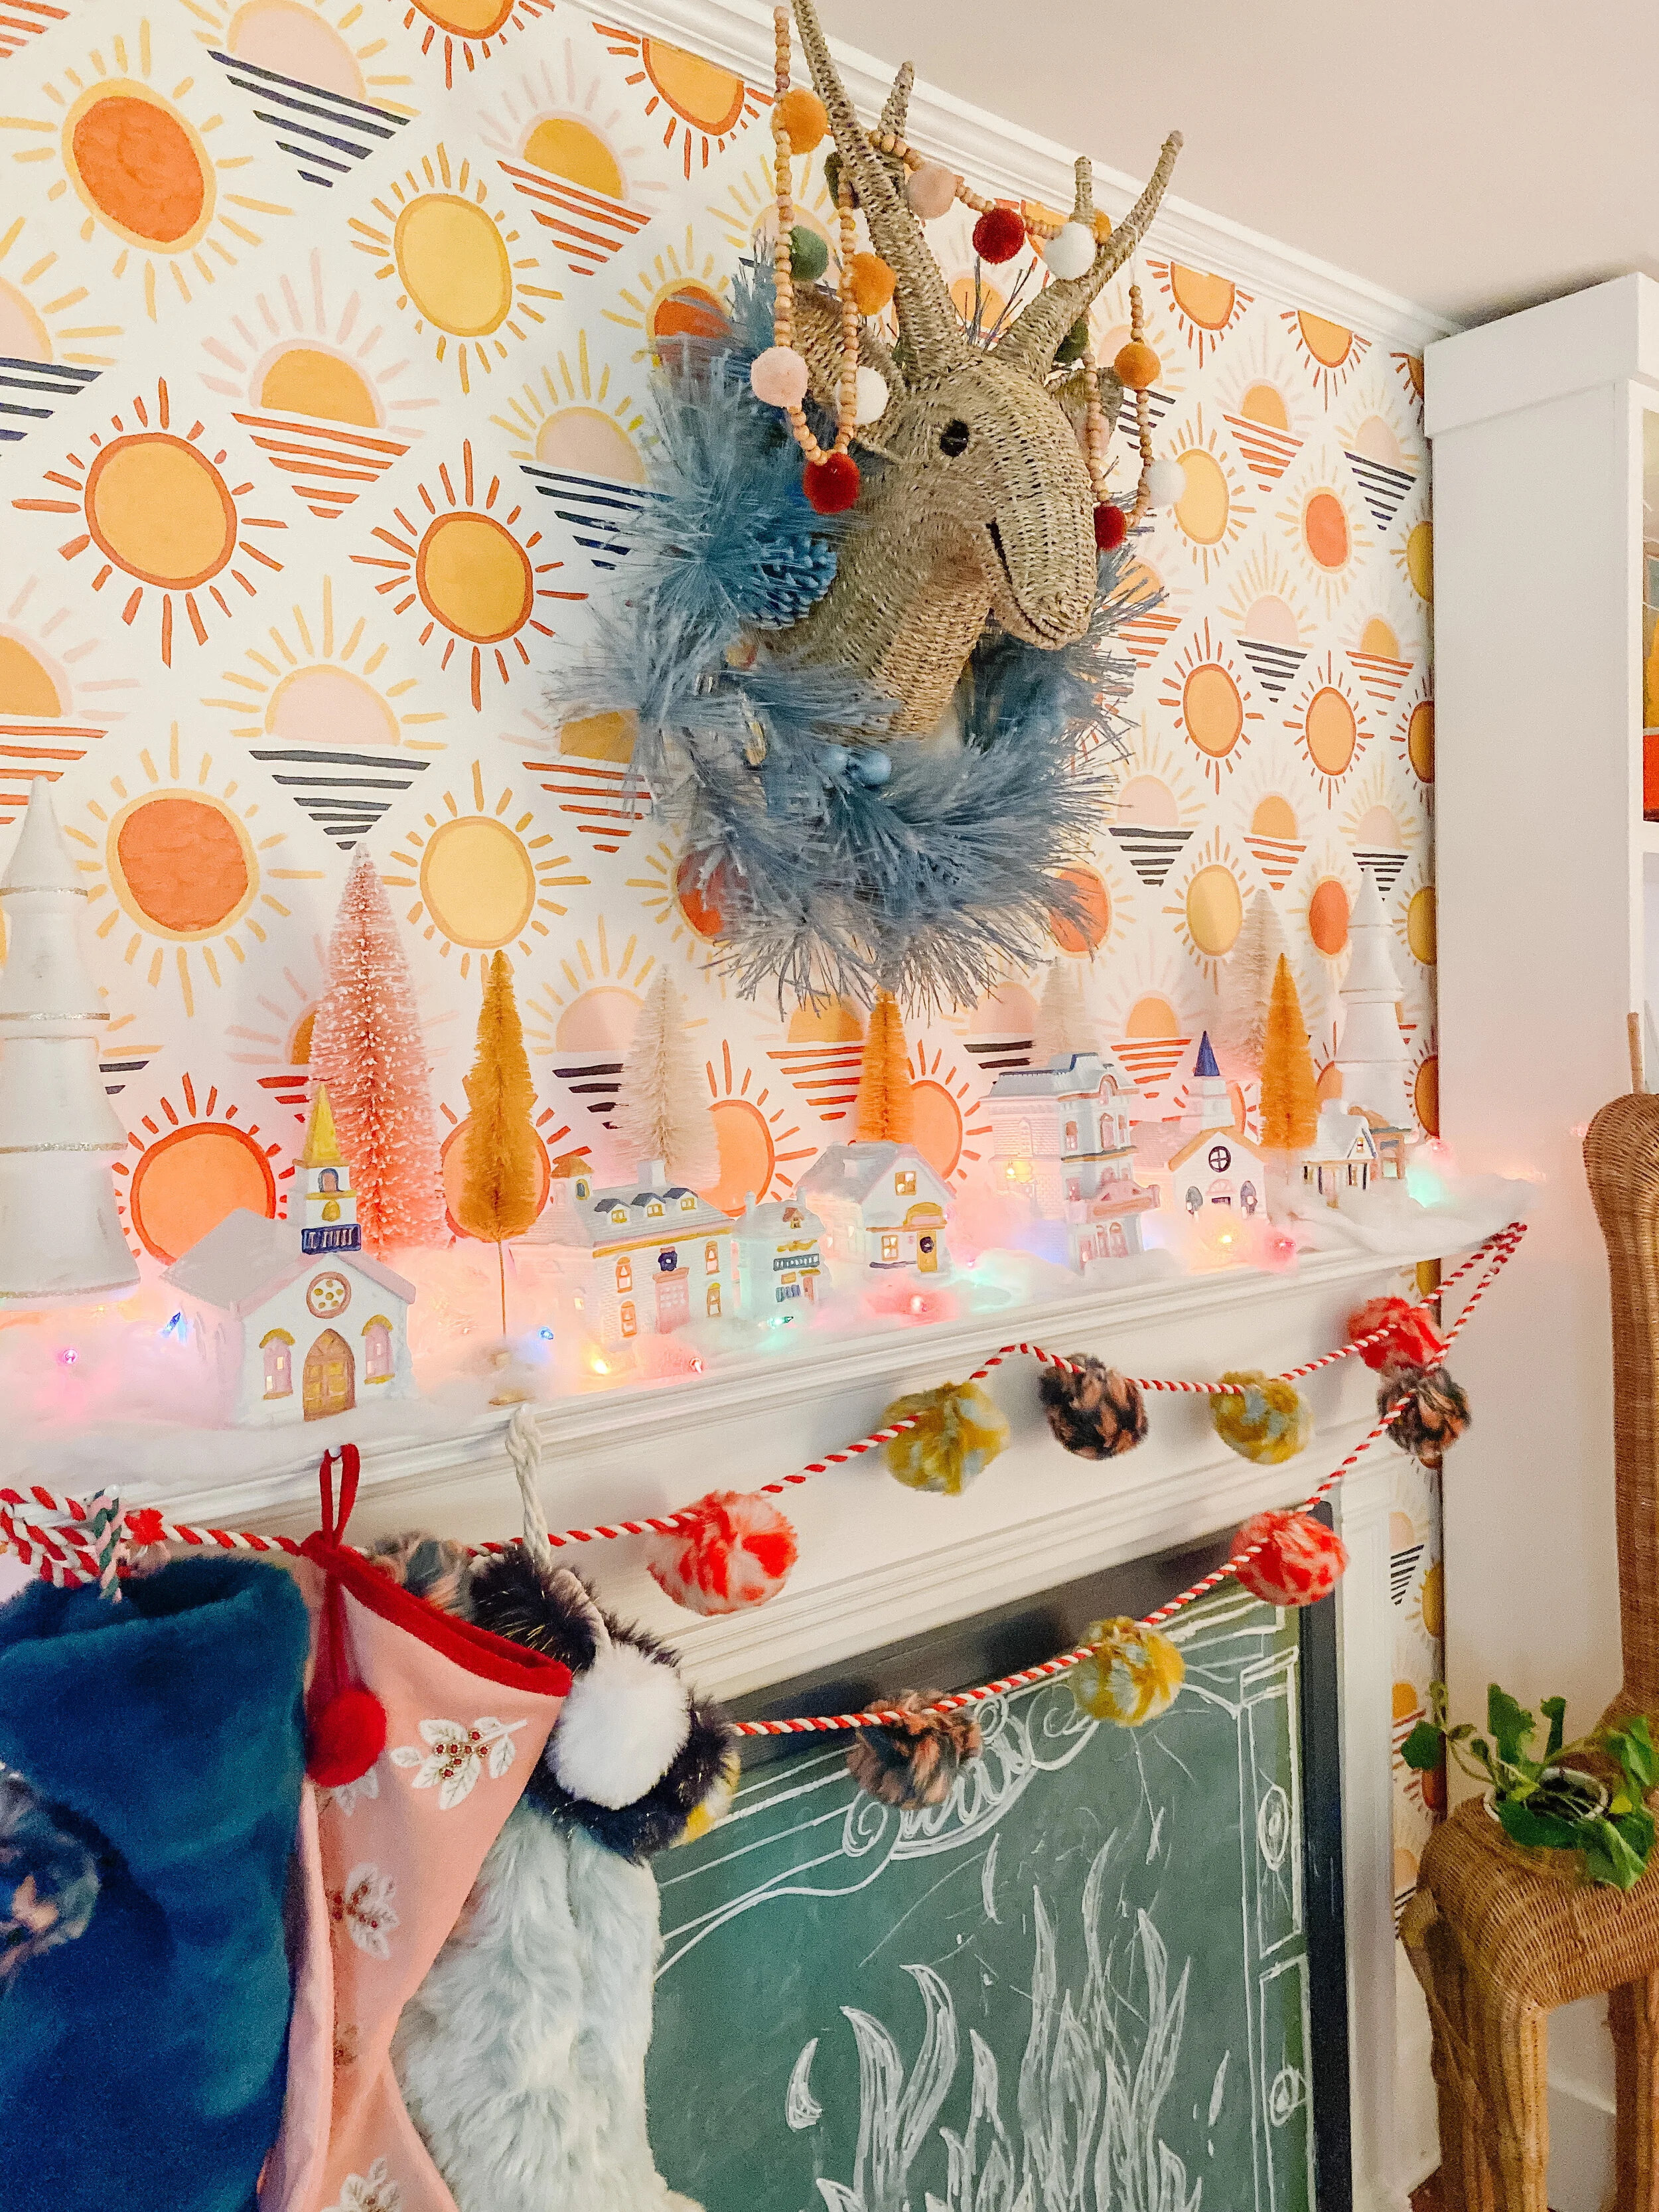
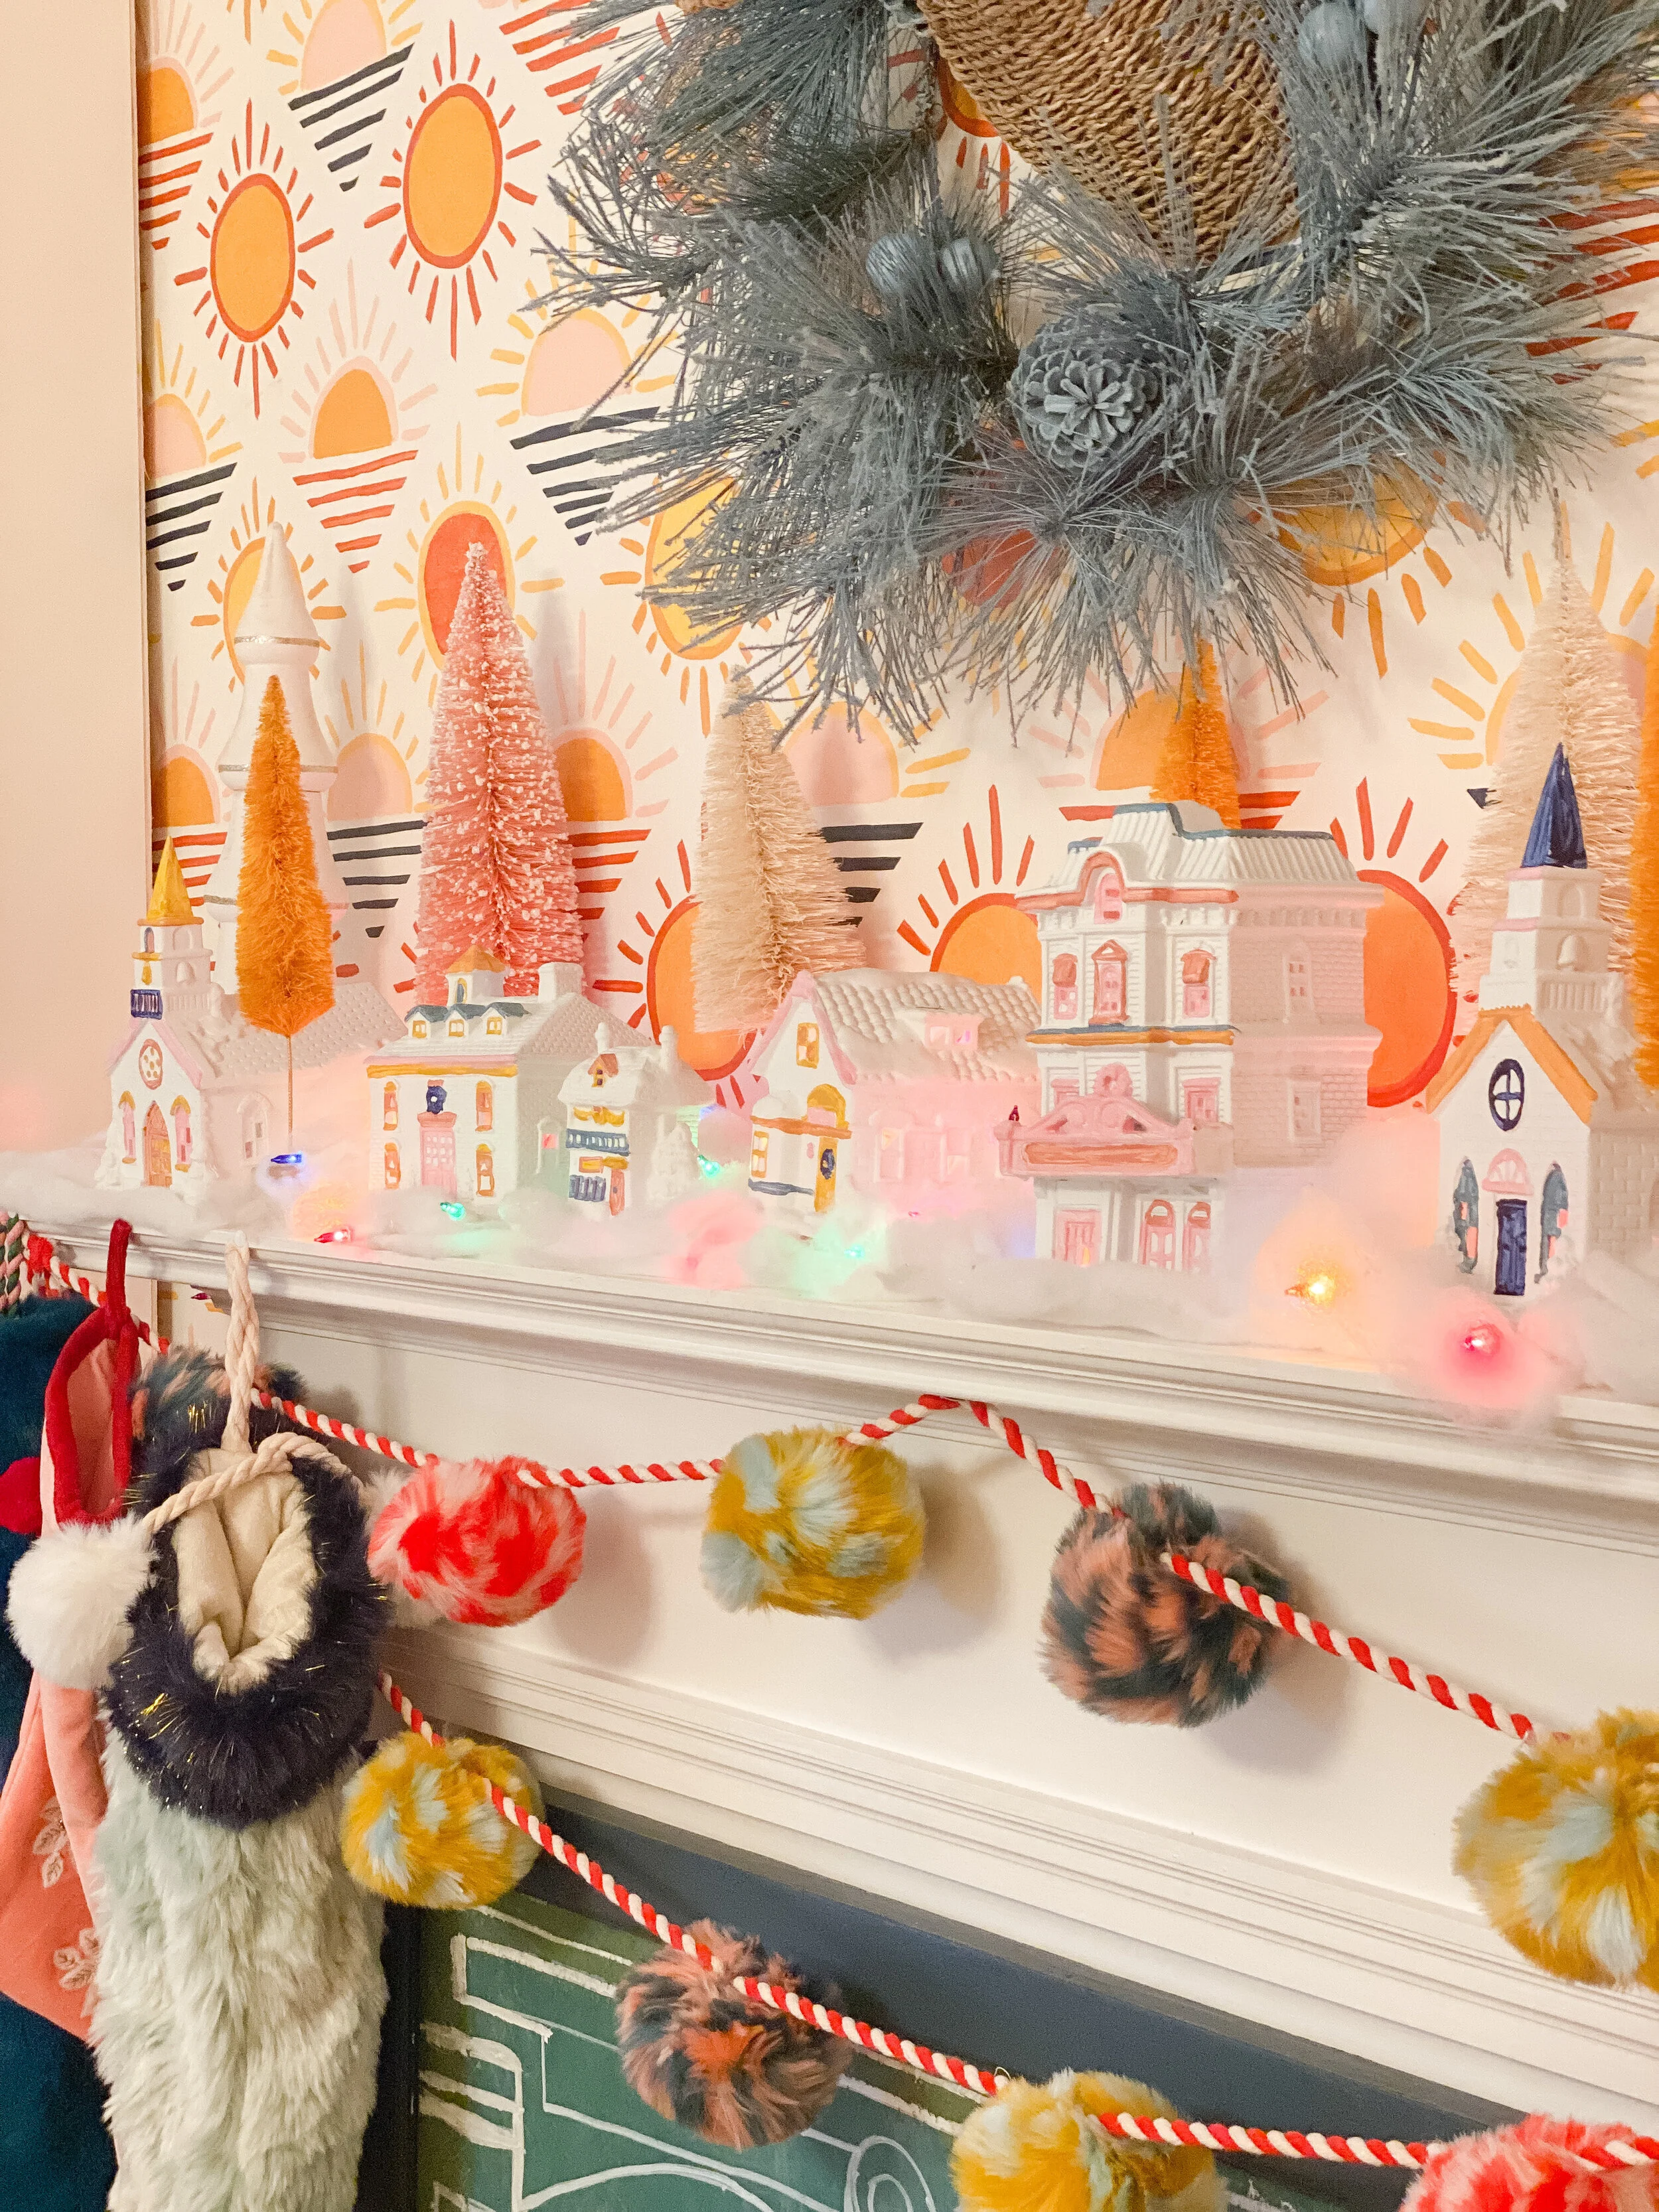
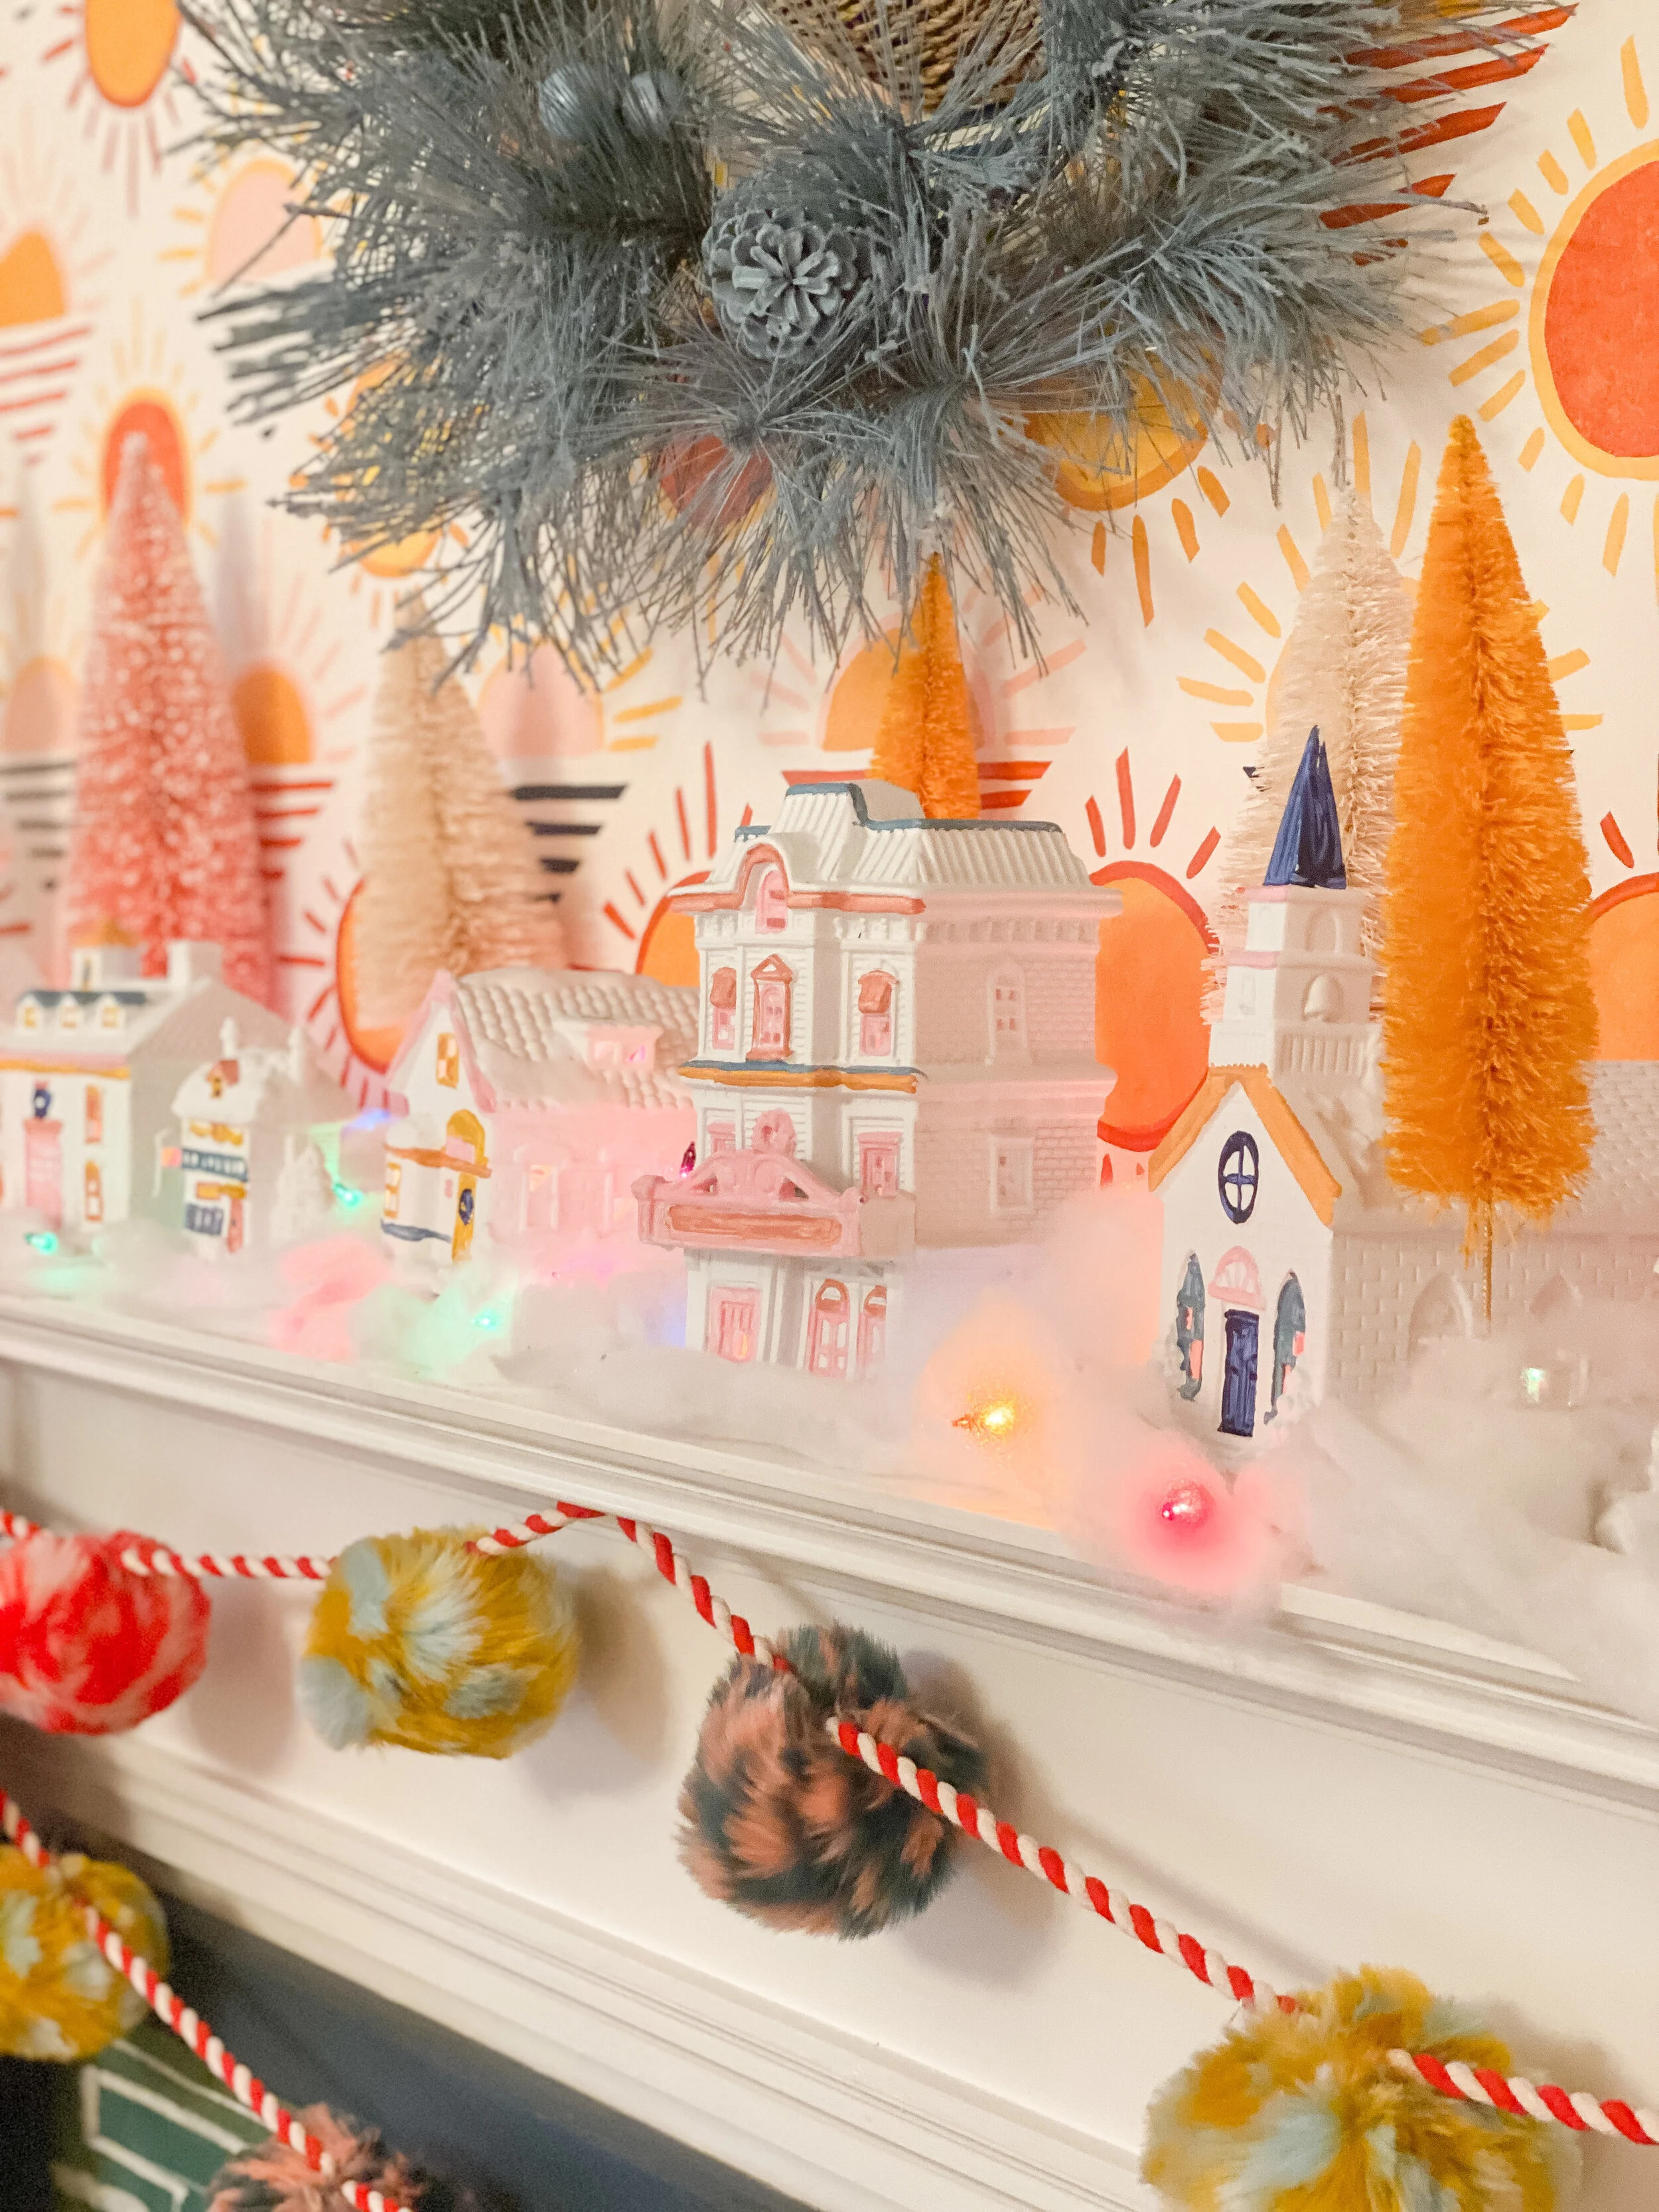
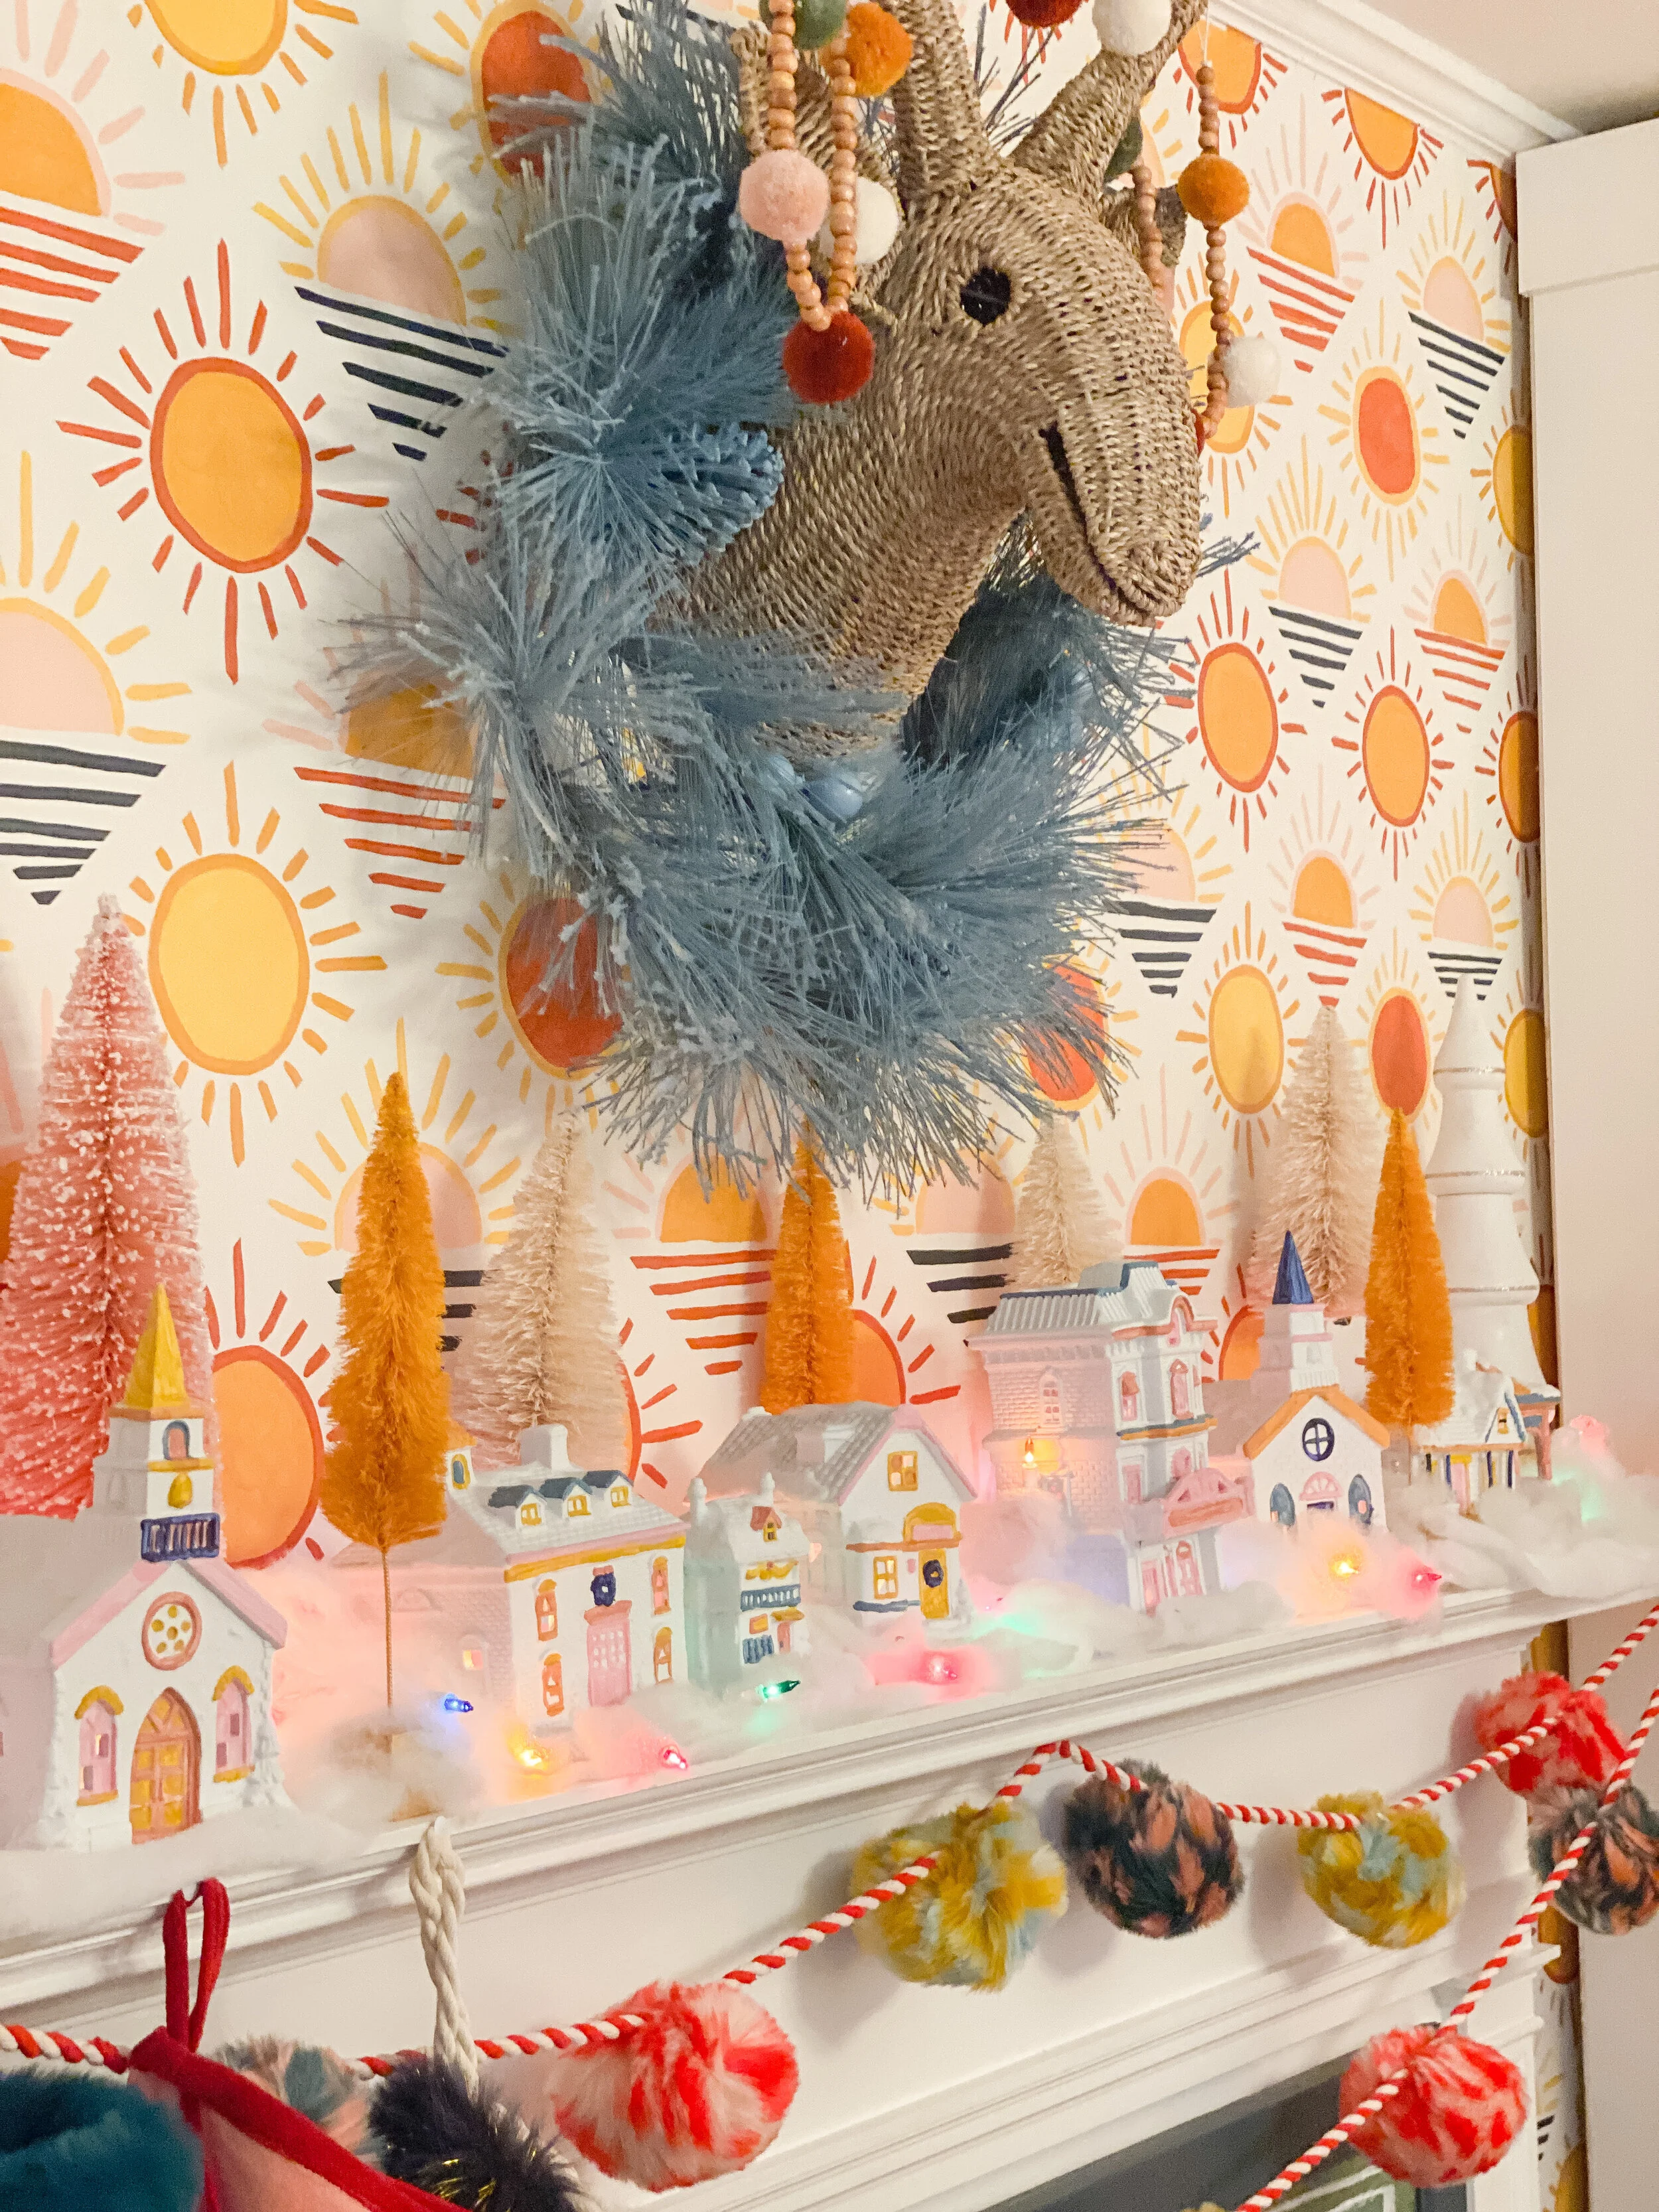
Step 2: Hand-paint bright accents to match your decor. I used regular craft paint for this. You may prefer the more minimal look and in that case you can just leave them white! I tried to highlight the roof lines, windows, doors, and any other little architectural details.
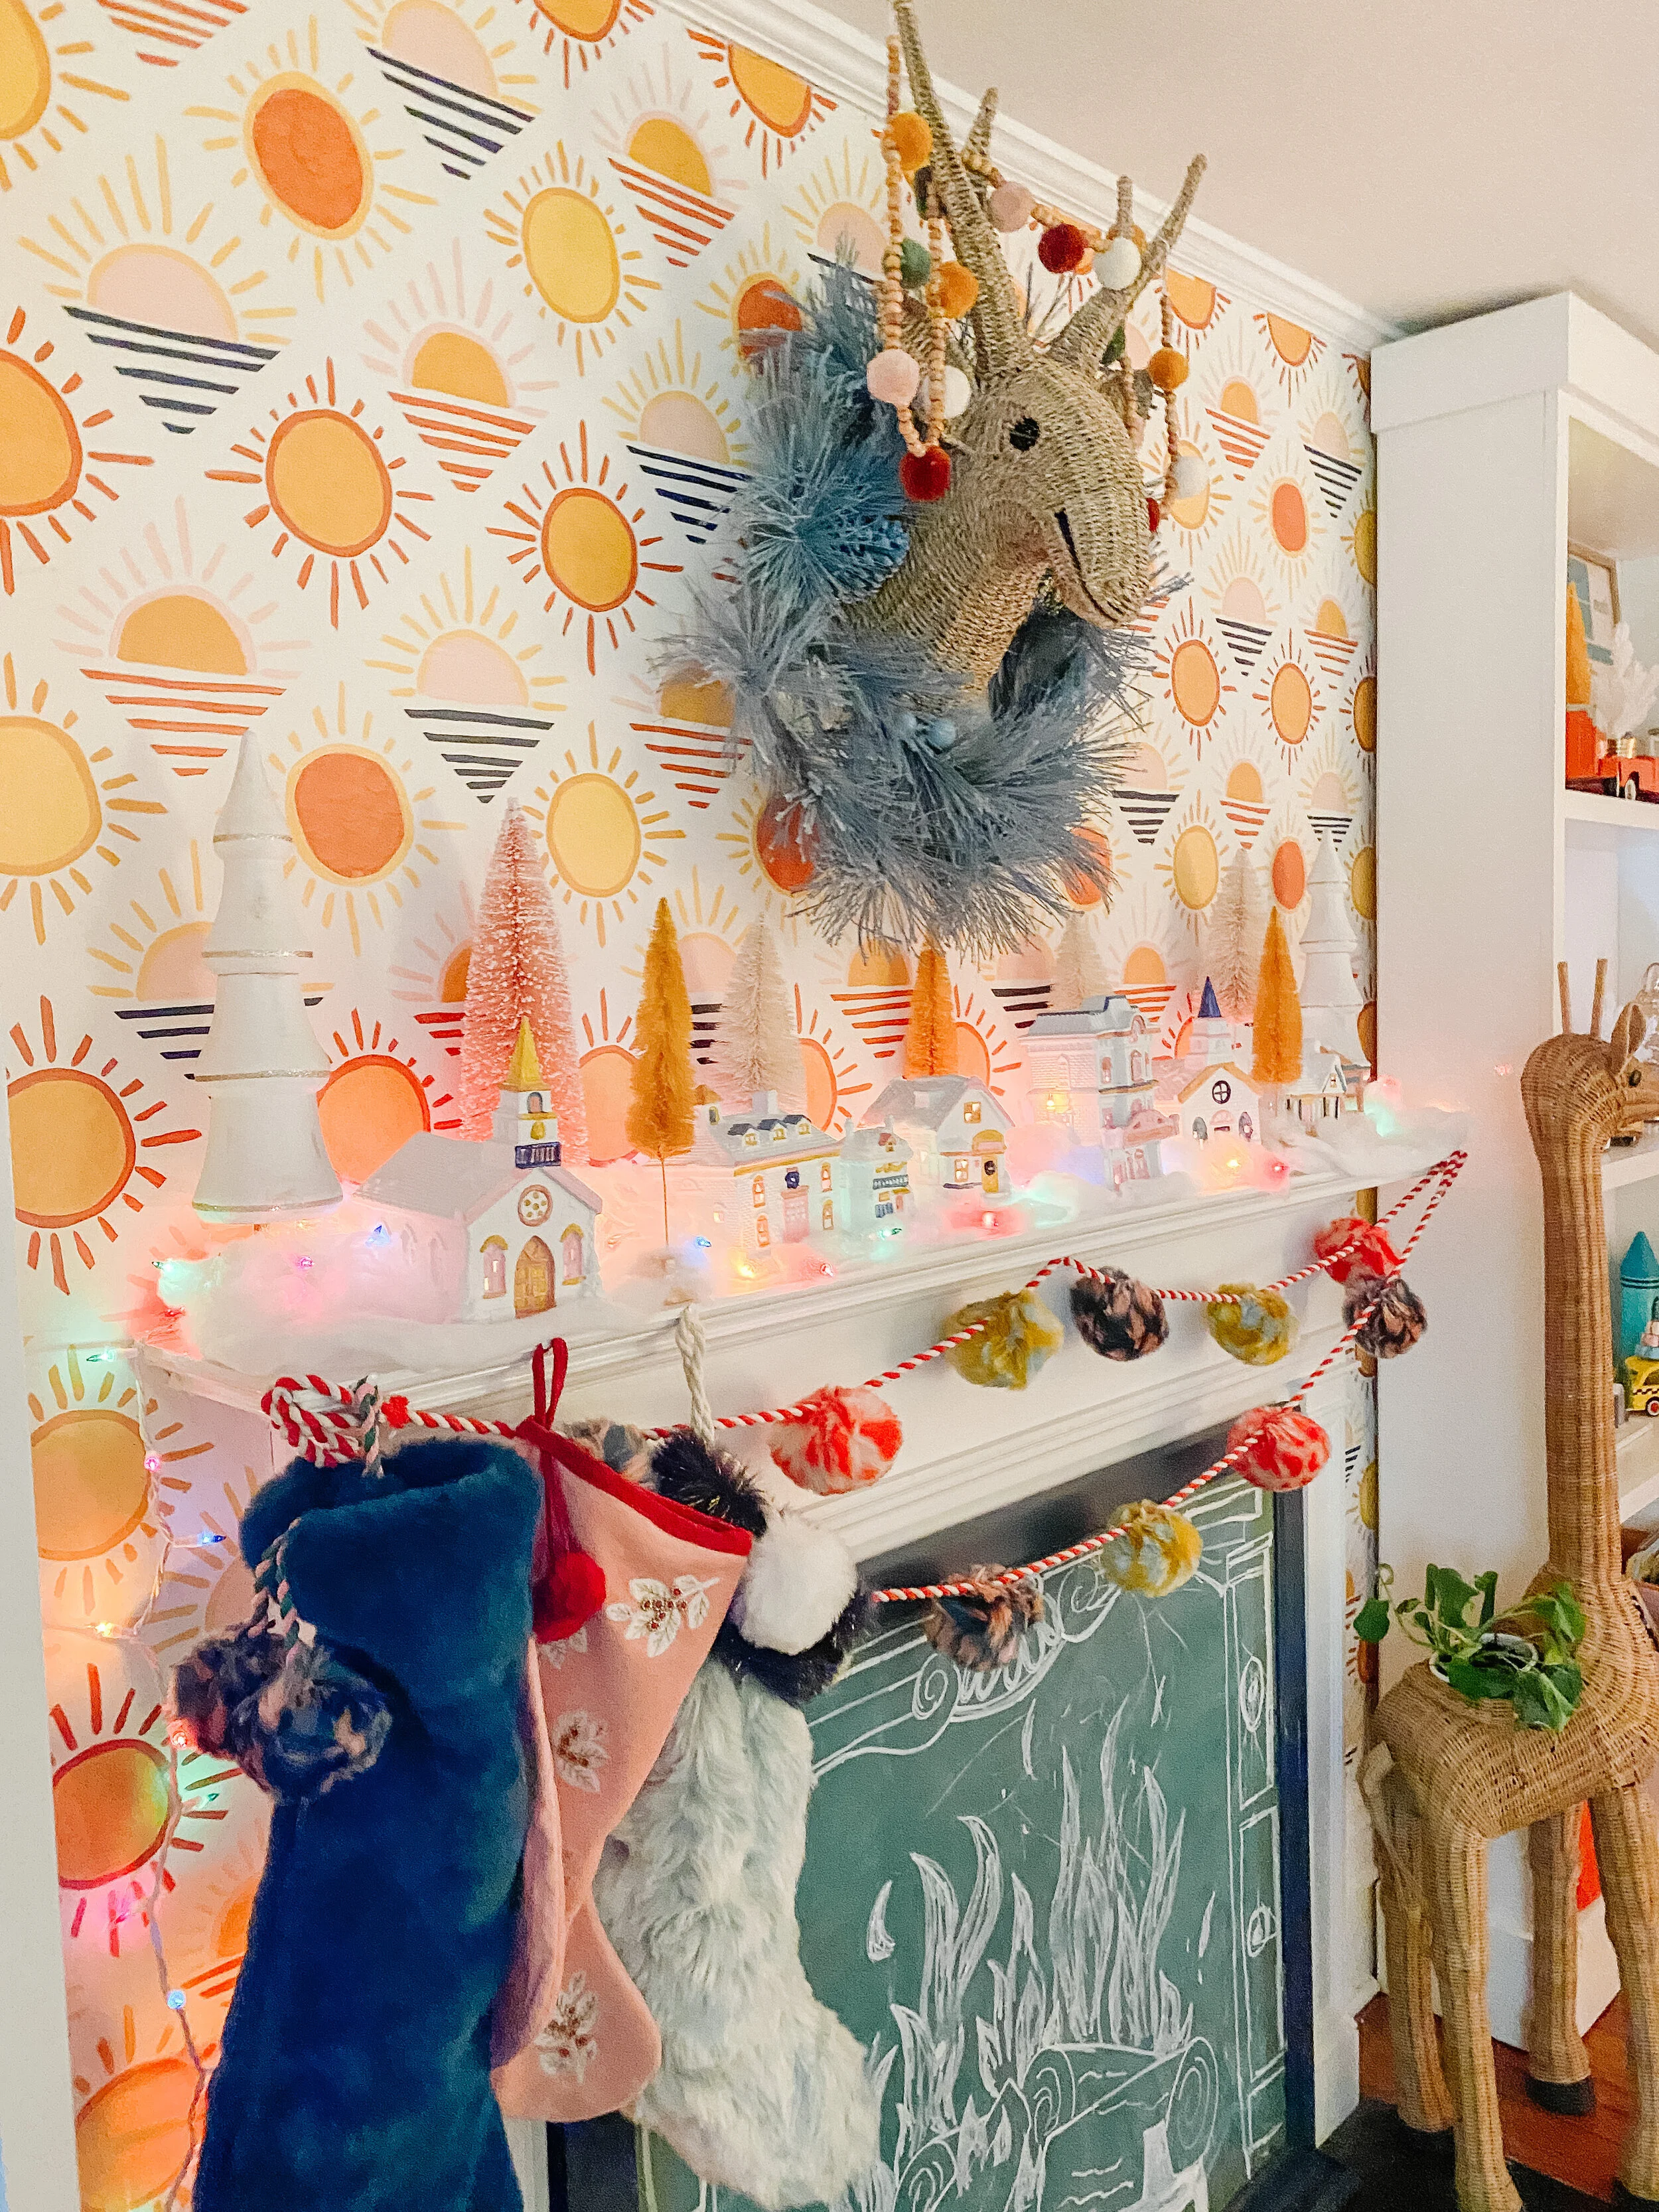
Step 3: light up, arrange, and enjoy! You can use the light kits that come with your village or add some strings of Christmas lights through them like I did.
optional extra step: you can spray with a clear gloss enamel spray paint if you wish to seal and protect your work and give it more of a glazed finished look! This is the clear spray I usually use for projects like this.
This can work for any kind of old Christmas ceramics, houses, or villages and you can customize so many different ways to fit your decor whether you just spray paint, just hand paint, or use a combination of both!