DIY Mini Summer Cheeseboards
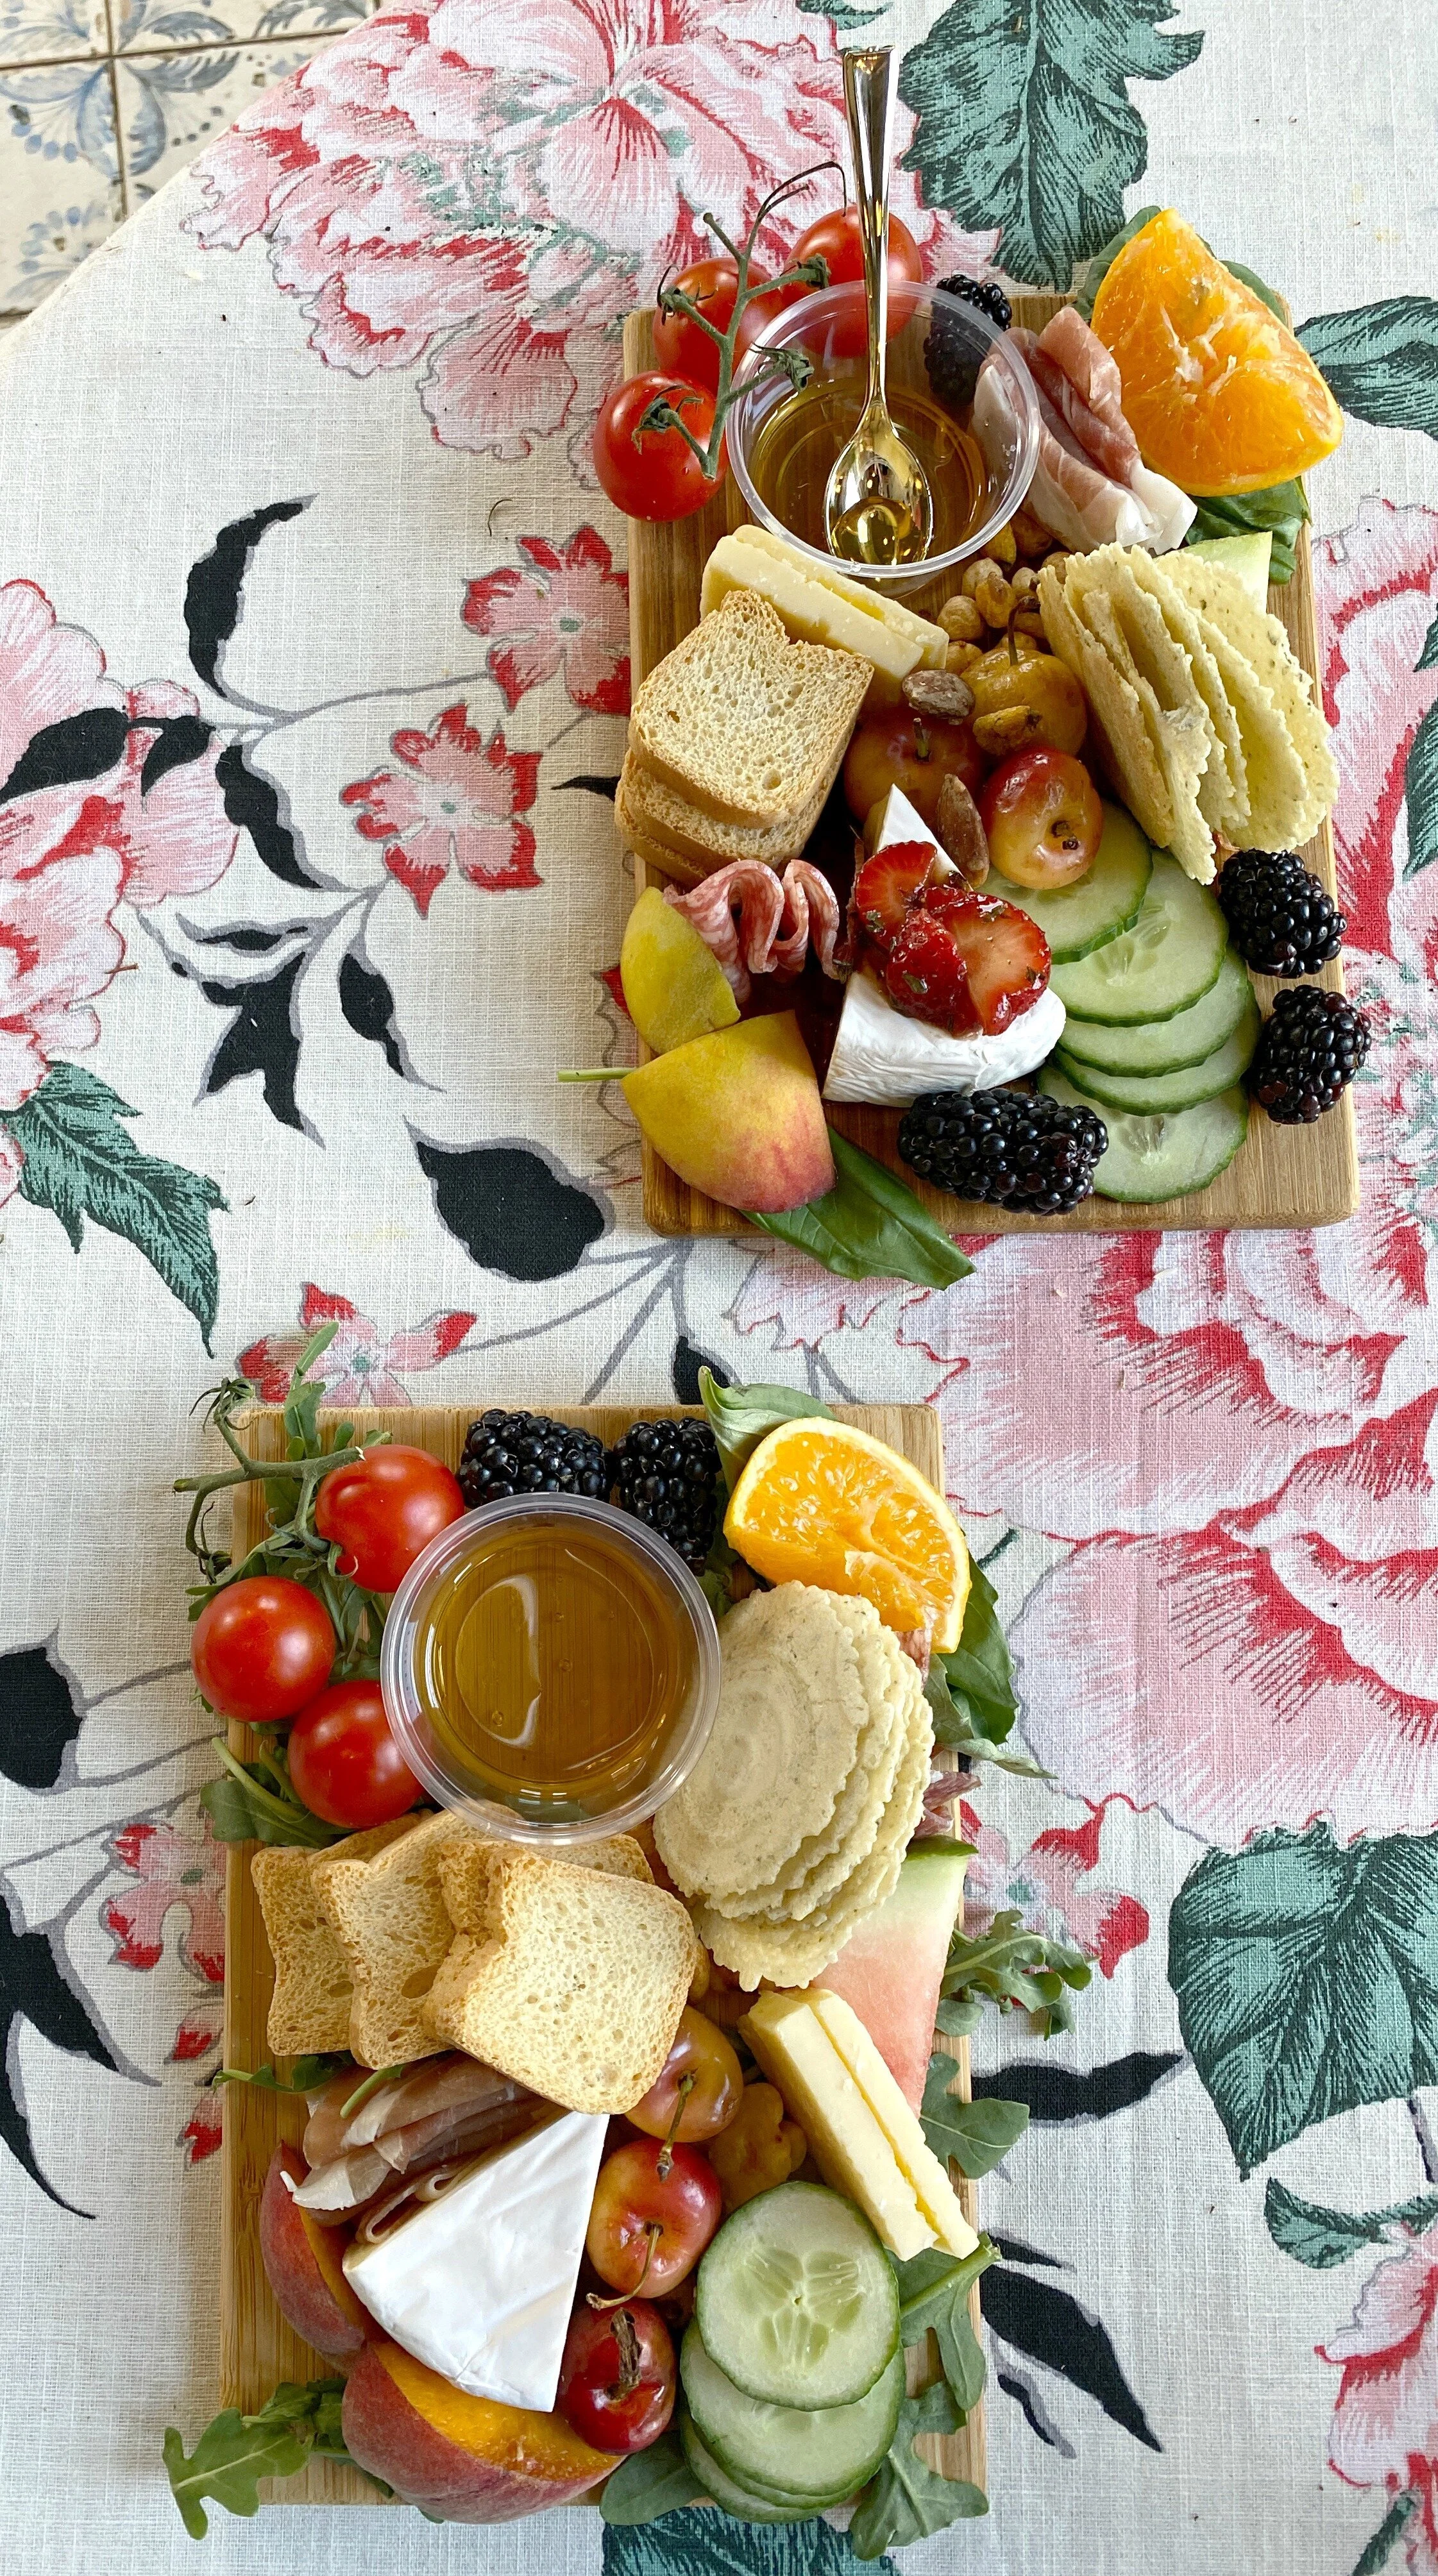
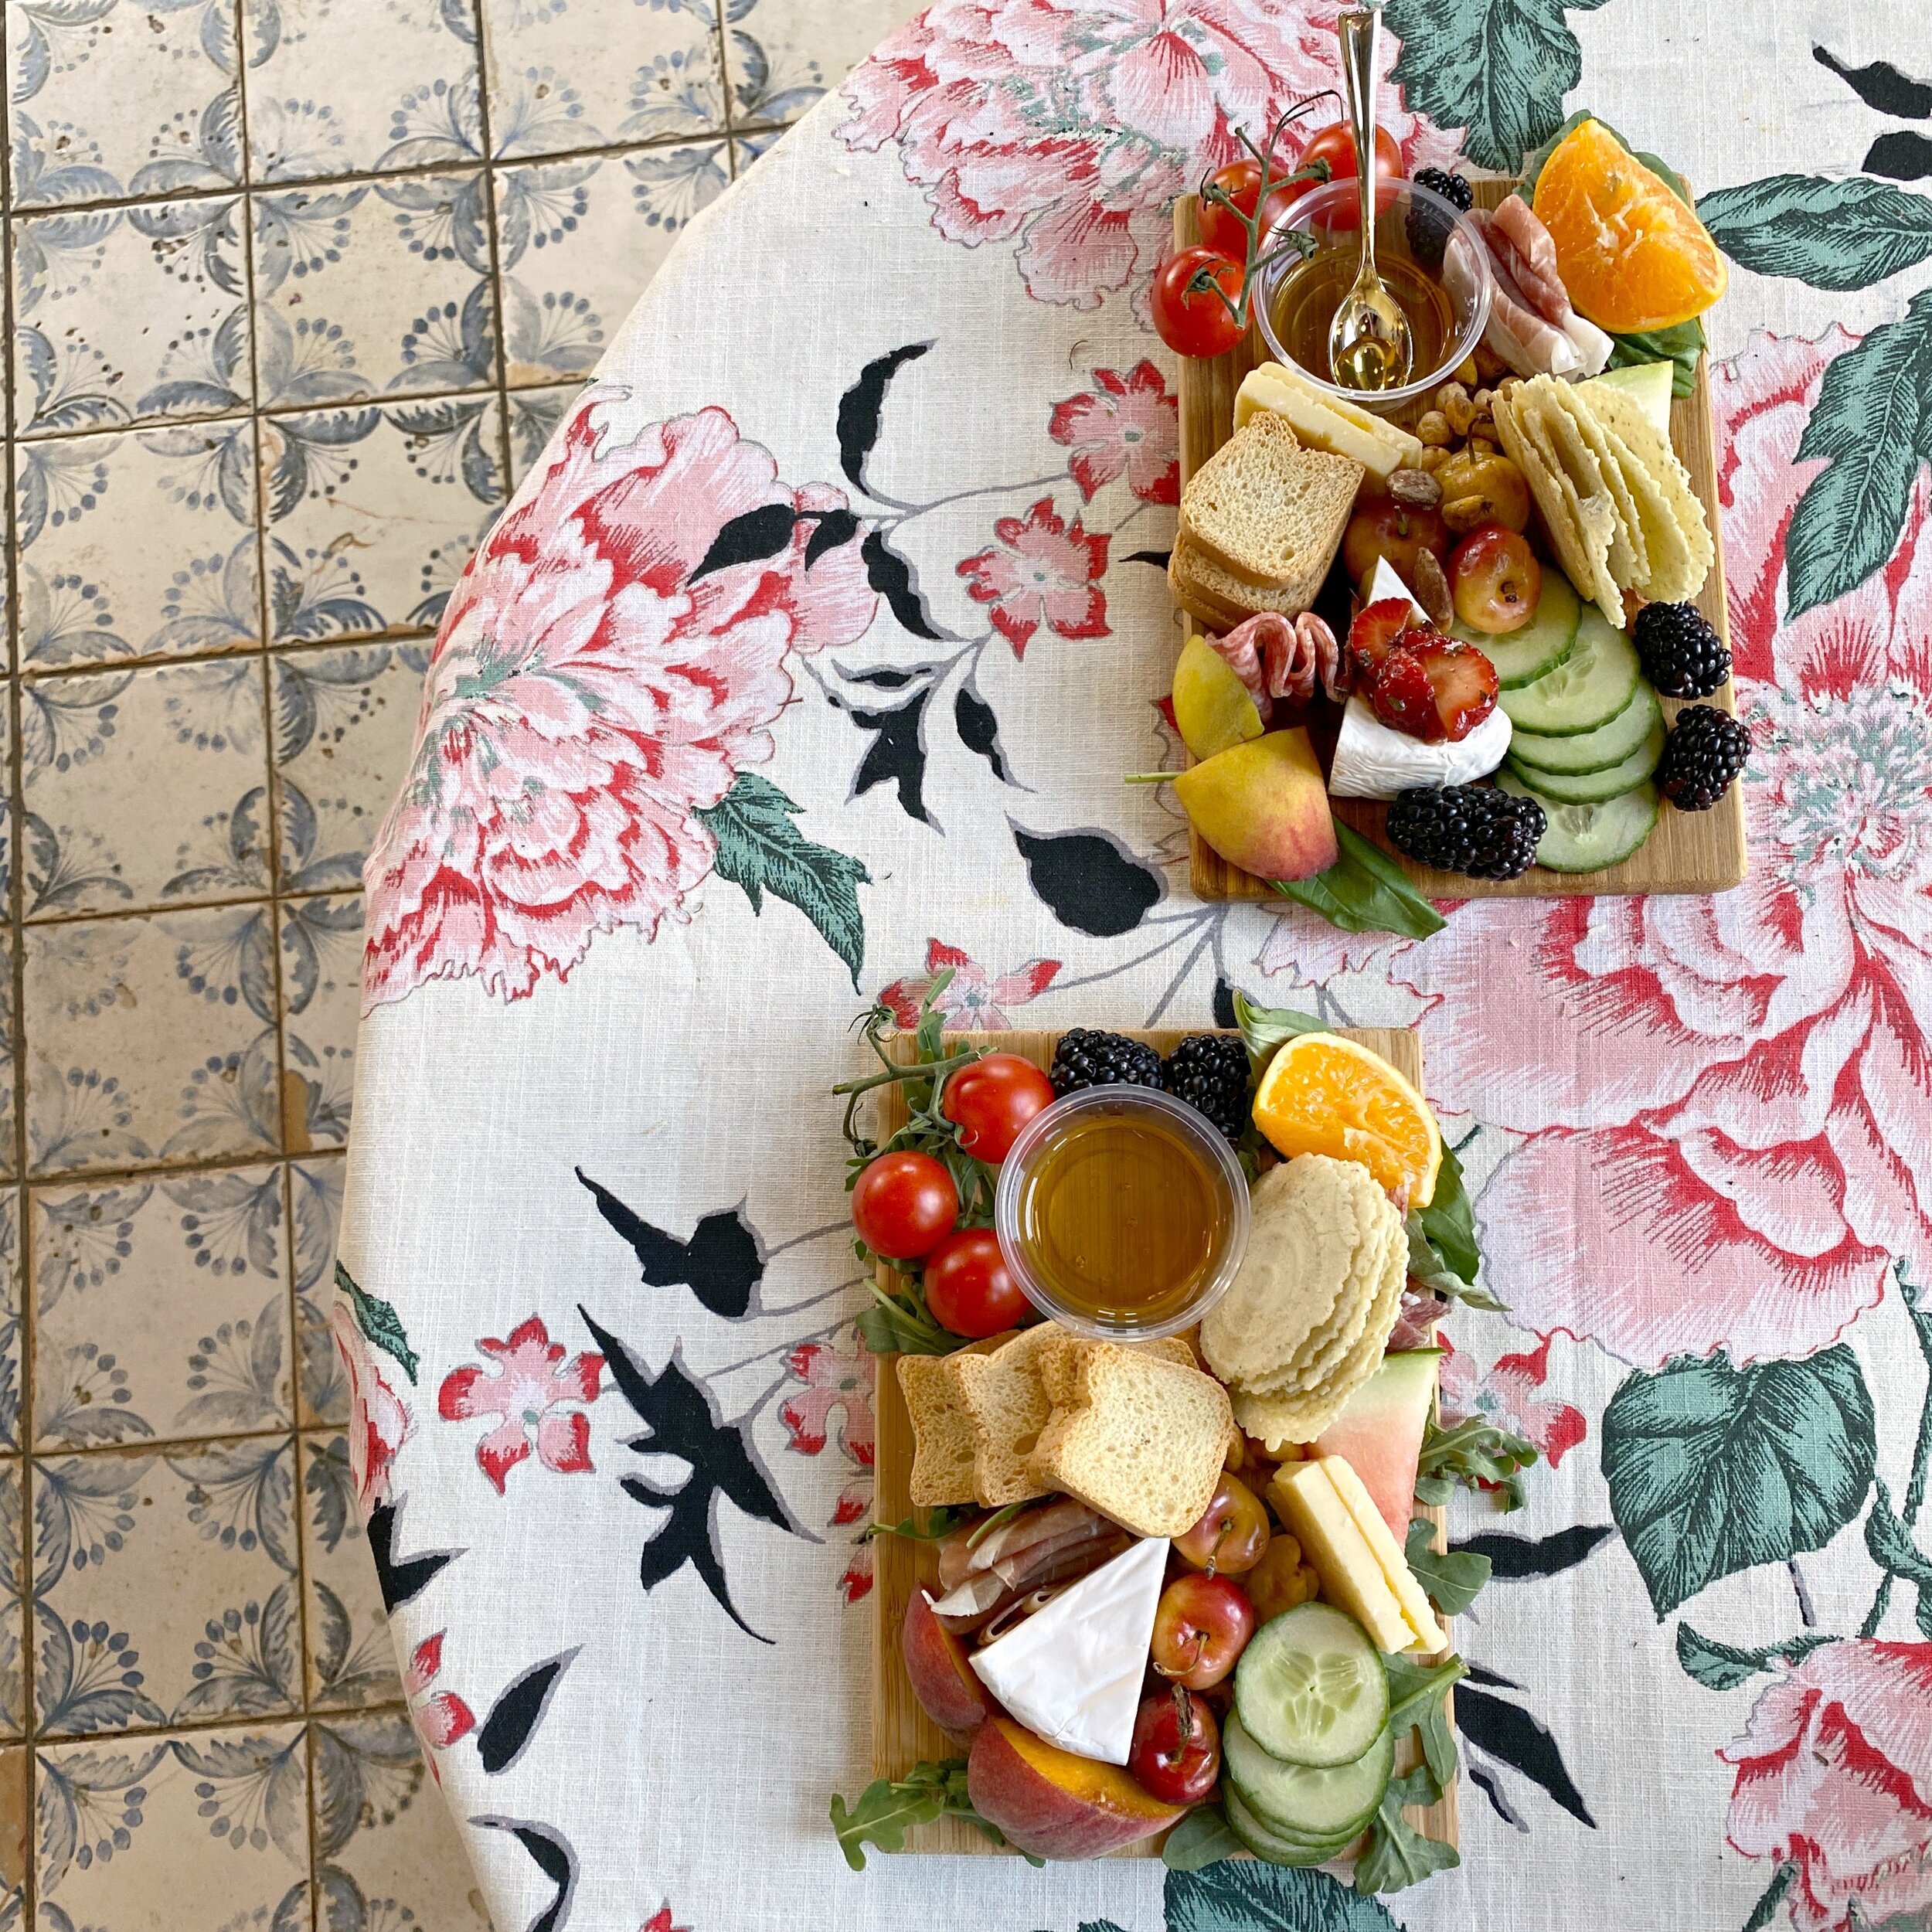
How fun are these single serving summer charcuterie boards?! This past weekend I hosted a cheeseboard workshop where each attendee got to follow along and make their own board. I typically make giant boards and demonstrate in front of everyone, but this is another fun format for my cheeseboard workshops where everyone actually gets to participate throughout. These are so easy and fun to put together and make the perfect snack or little meal! Find all the ingredients and assembly intstructions below including a link to buy these mini boards!
xoxo
Emily
find my mini boards here!
cherry tomatoes
mini clementine oranges
watermelon slices
cucumber
2 kinds of crackers/bread (I used these + these)
sharp cheddar cheese
brie
balsamic strawberries (recipe here)
prosciutto
salami
honey
cherries
blackberries
nuts of your choice ( I used these)
fresh baby arugula
fresh basil
peaches
each board- 1-2 servings
Cut up your watermelon, oranges, and peaches into small bite sized wedges. I left the skin on one side of my orange and watermleon just for extra pops of color.
Cut your brie into small triangle wedges as well. Also cut your cheese into small bite size pieces.
Slice your cucumber in thin rounds.
Cut each piece of your salami/prosciutto in half.
Pour a bit of honey into a small cup or dish.
Start arranging by adding the largest items to the board first- I started with the cheeses and honey cup, evenly spacing them.
Next add the larger fruits: watermelon, peaches, orange, and cherries- again evenly spacing them throughout the board to balance color.
Now place the cucumber and tomatoes, each on opposite corners of the board (round items may roll off the board a bit so use other items to strategically wedge them in and feel free to adjust the placement as you need to!)
Next squeeze your salami and prosciutto in between the brie and fruit, and then in between the honey cup and fruit on the other side.
Now add your crackers wherever there is a hole that they can squeeze into. I like to place round crackers up on their side but you can also lay them flat and stack too.
Finish by filing in any tiny holes/gaps left with blackberries (feel free to sprinkle thoroughout or put these multiple places) and your nuts.
Add some fresh arugula or herbs on the edges of the board or throughout to garnish! You can lift up items and place underneath if needed.
Finally add a scoop of your balsamic strawberry mixture to the top of your brie!
Enjoy!