DIY Aged Pots + Vases | Pottery Barn Look for Less Using Thrift Store Finds
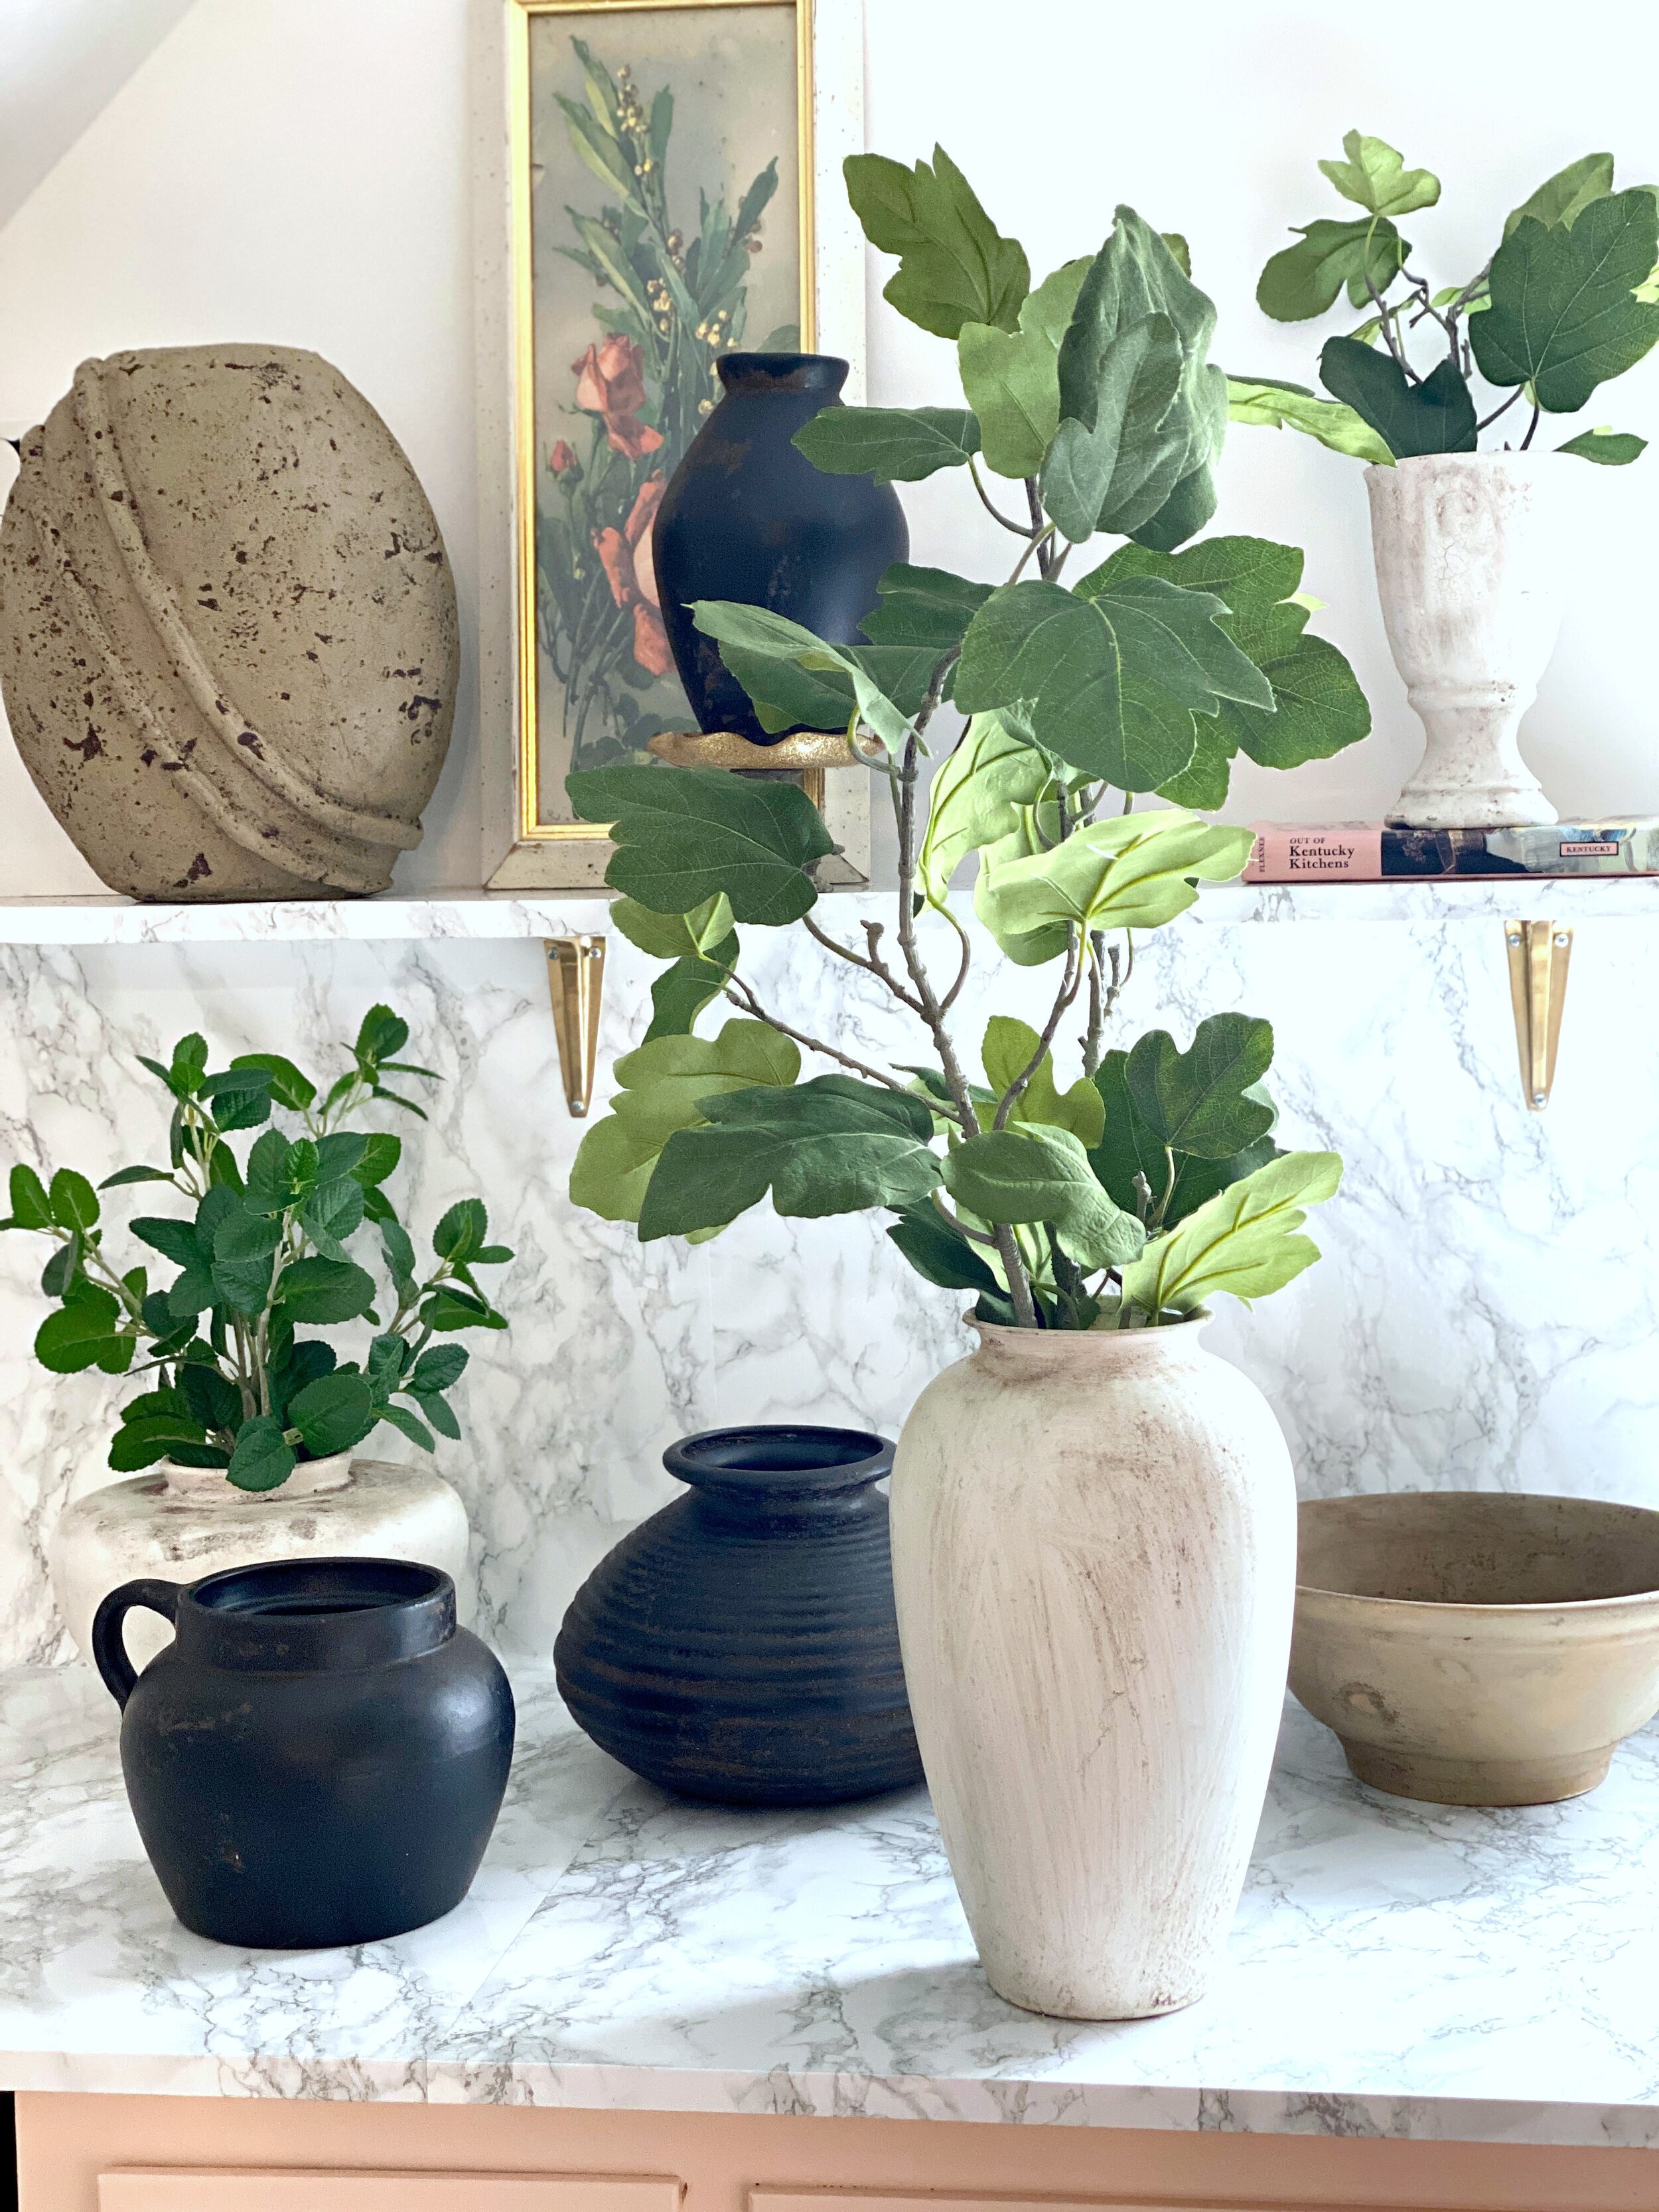
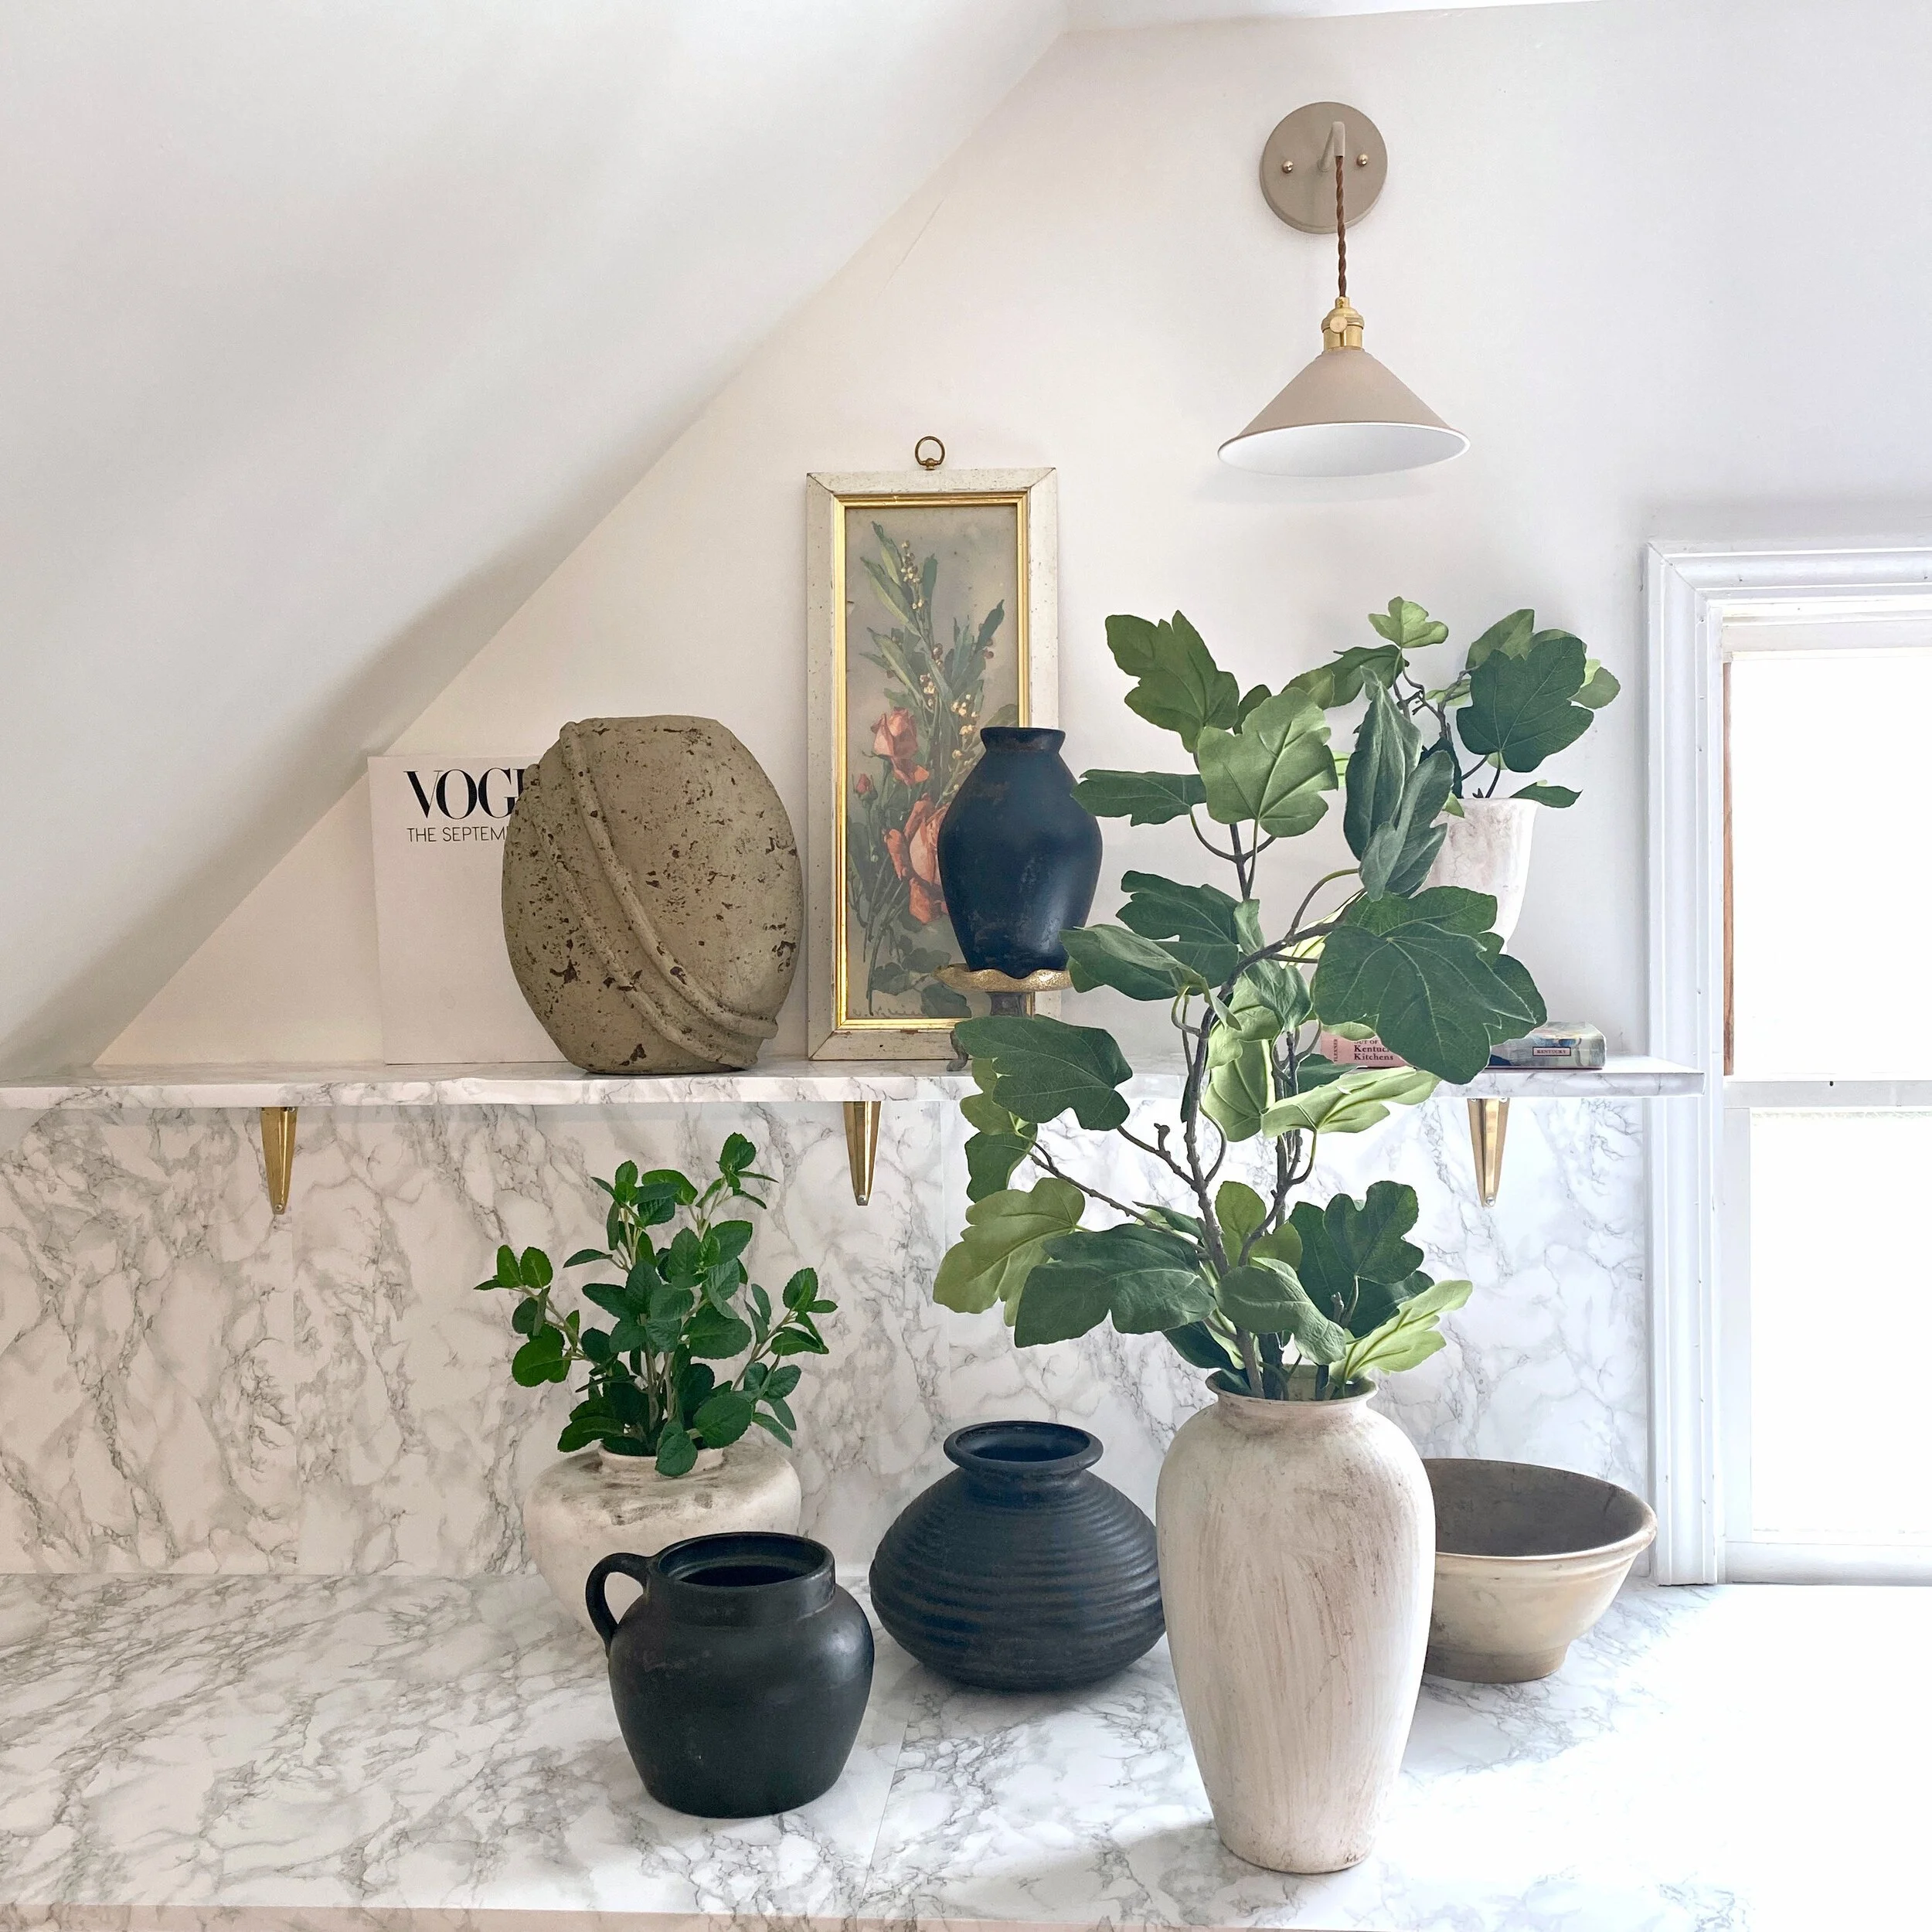
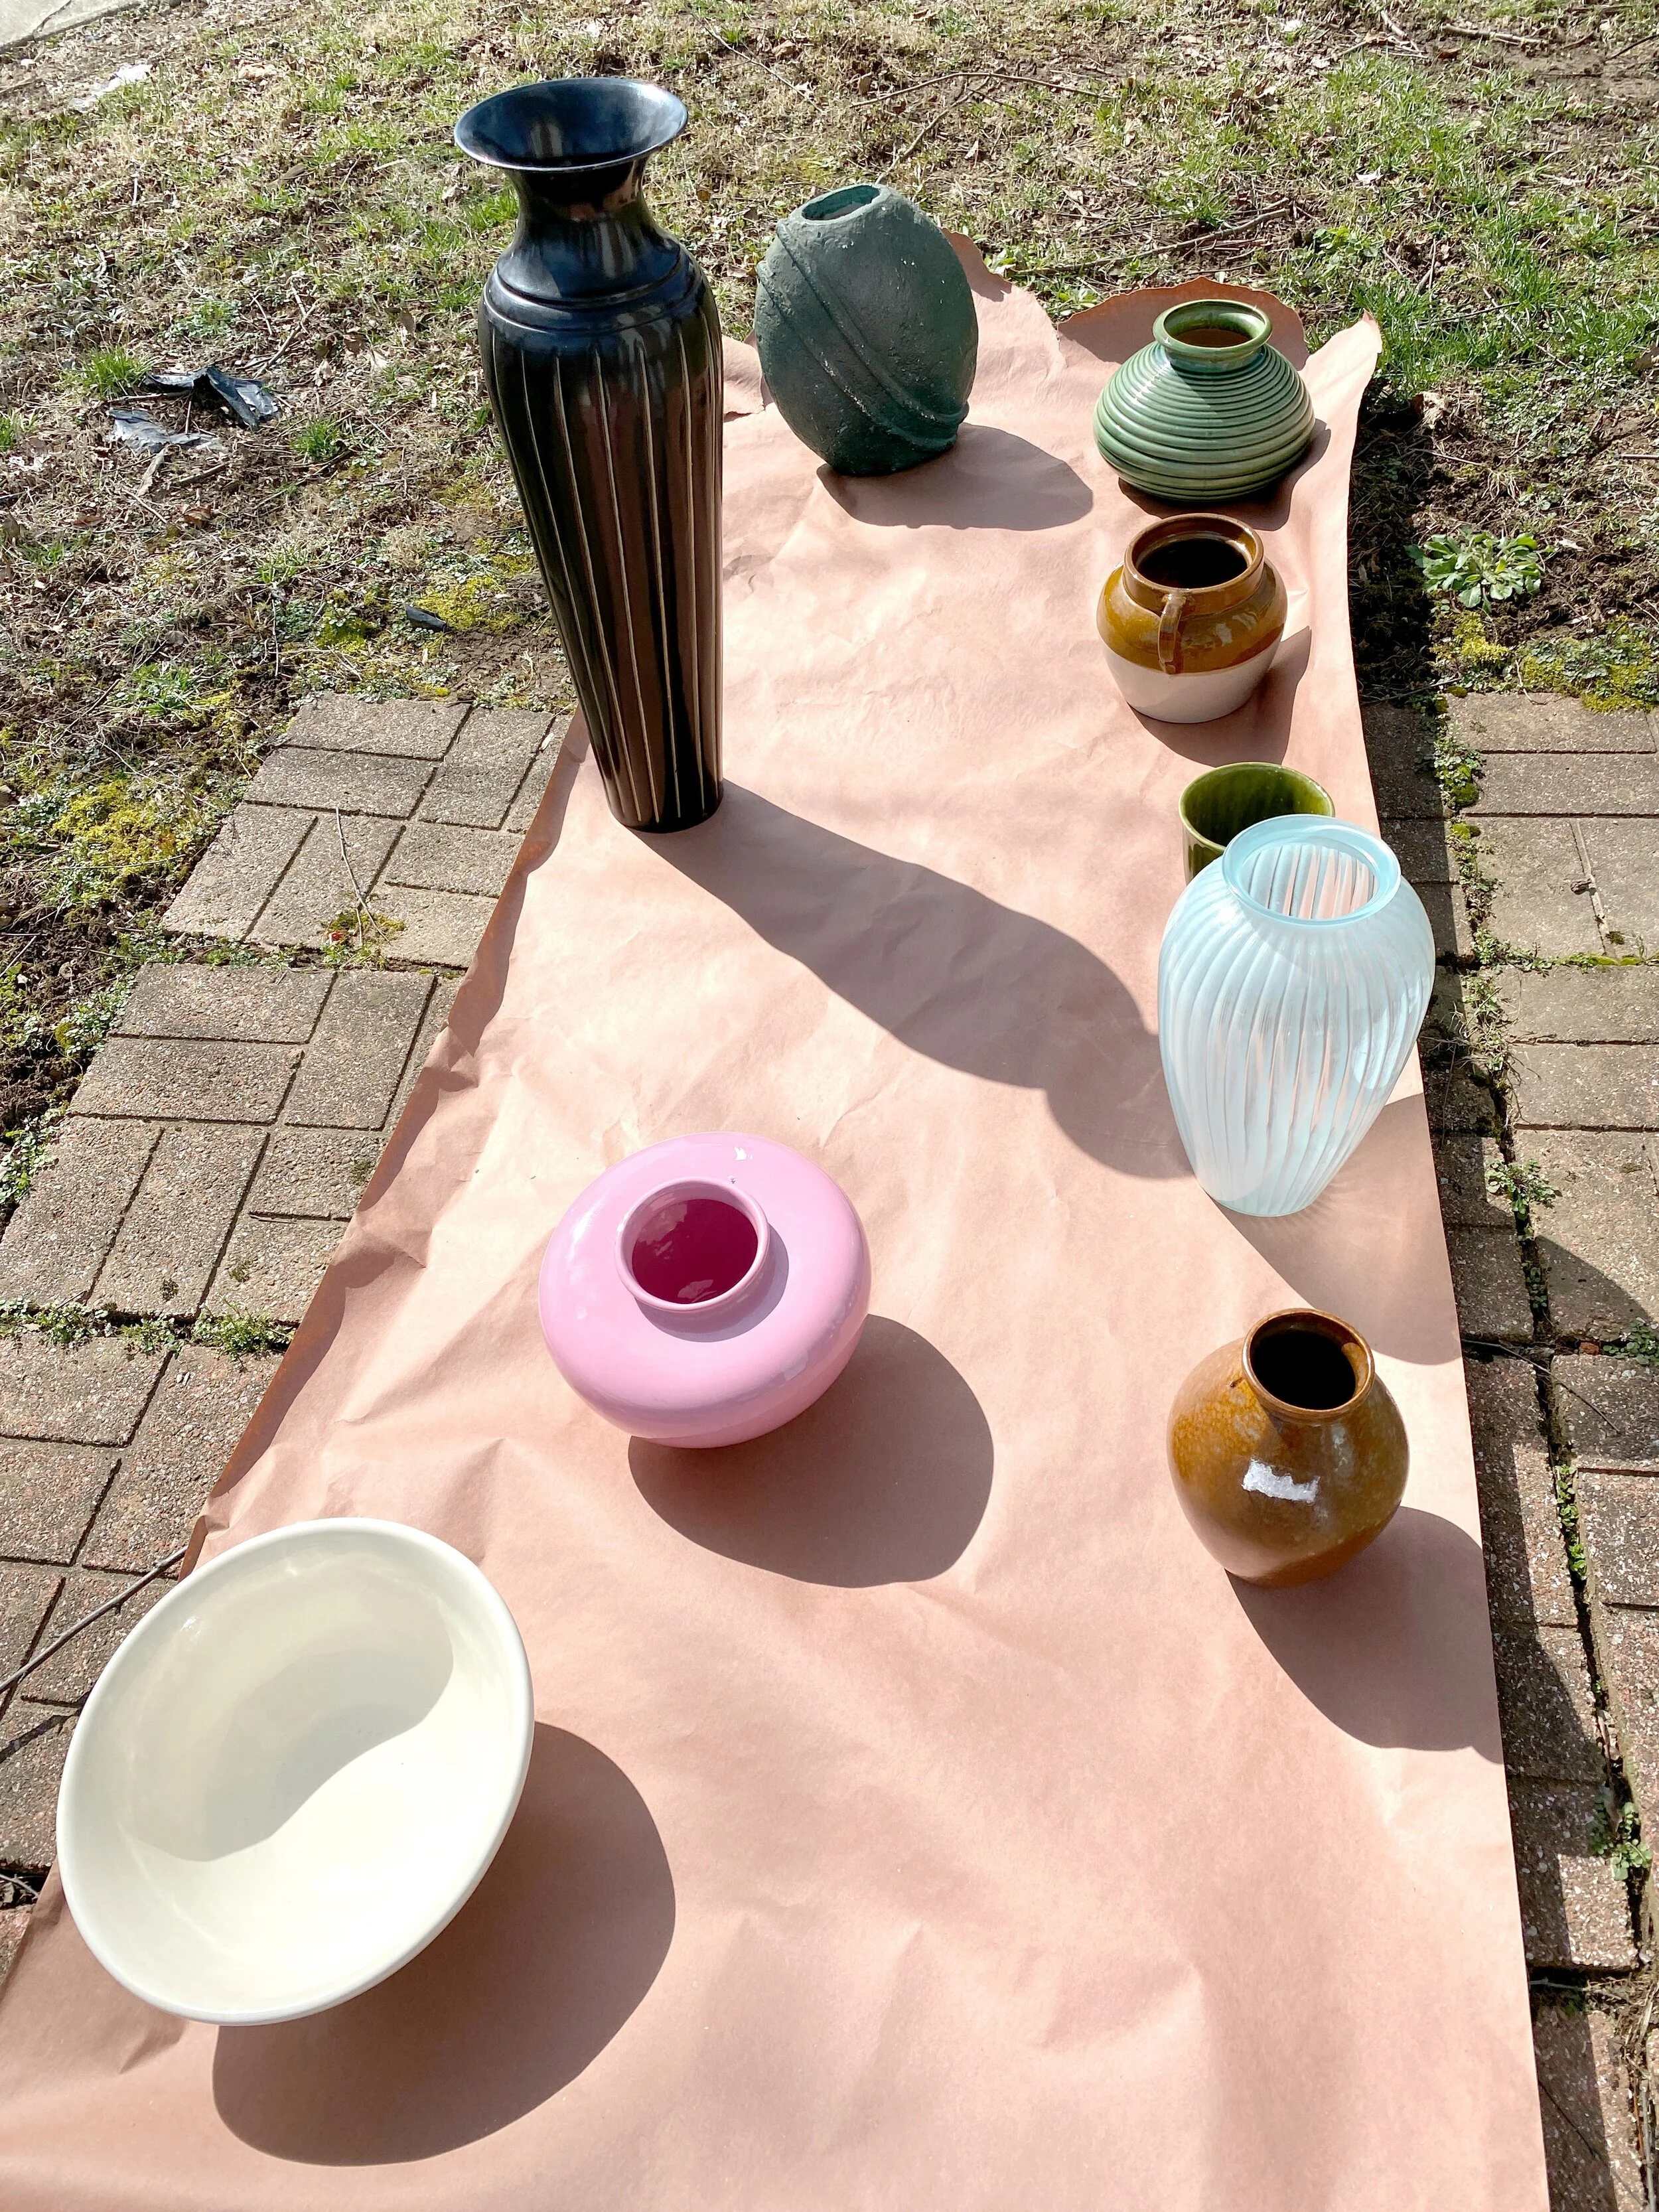
I’m always on the lookout for great home decor DIY’s especially when it involves up-cycling thrifted finds! I recently came across this “found pot” DIY on Jaci Daily’s Instagram and knew I had to try it ASAP! I, like Jaci, am obsessed with these “found” pots, planters, and vases seen below- they have the perfect amount of wear, age, and texture that give them an antique, “found” look. I definitely am not ever paying that much for a vase or planter though, BUT thanks to the quick DIY I am sharing today- you can get the look for much, much less! Even when you find these vintage or at antique stores now they are usually super expensive since they’re becoming so popular (olive pots is what many are referred to as).
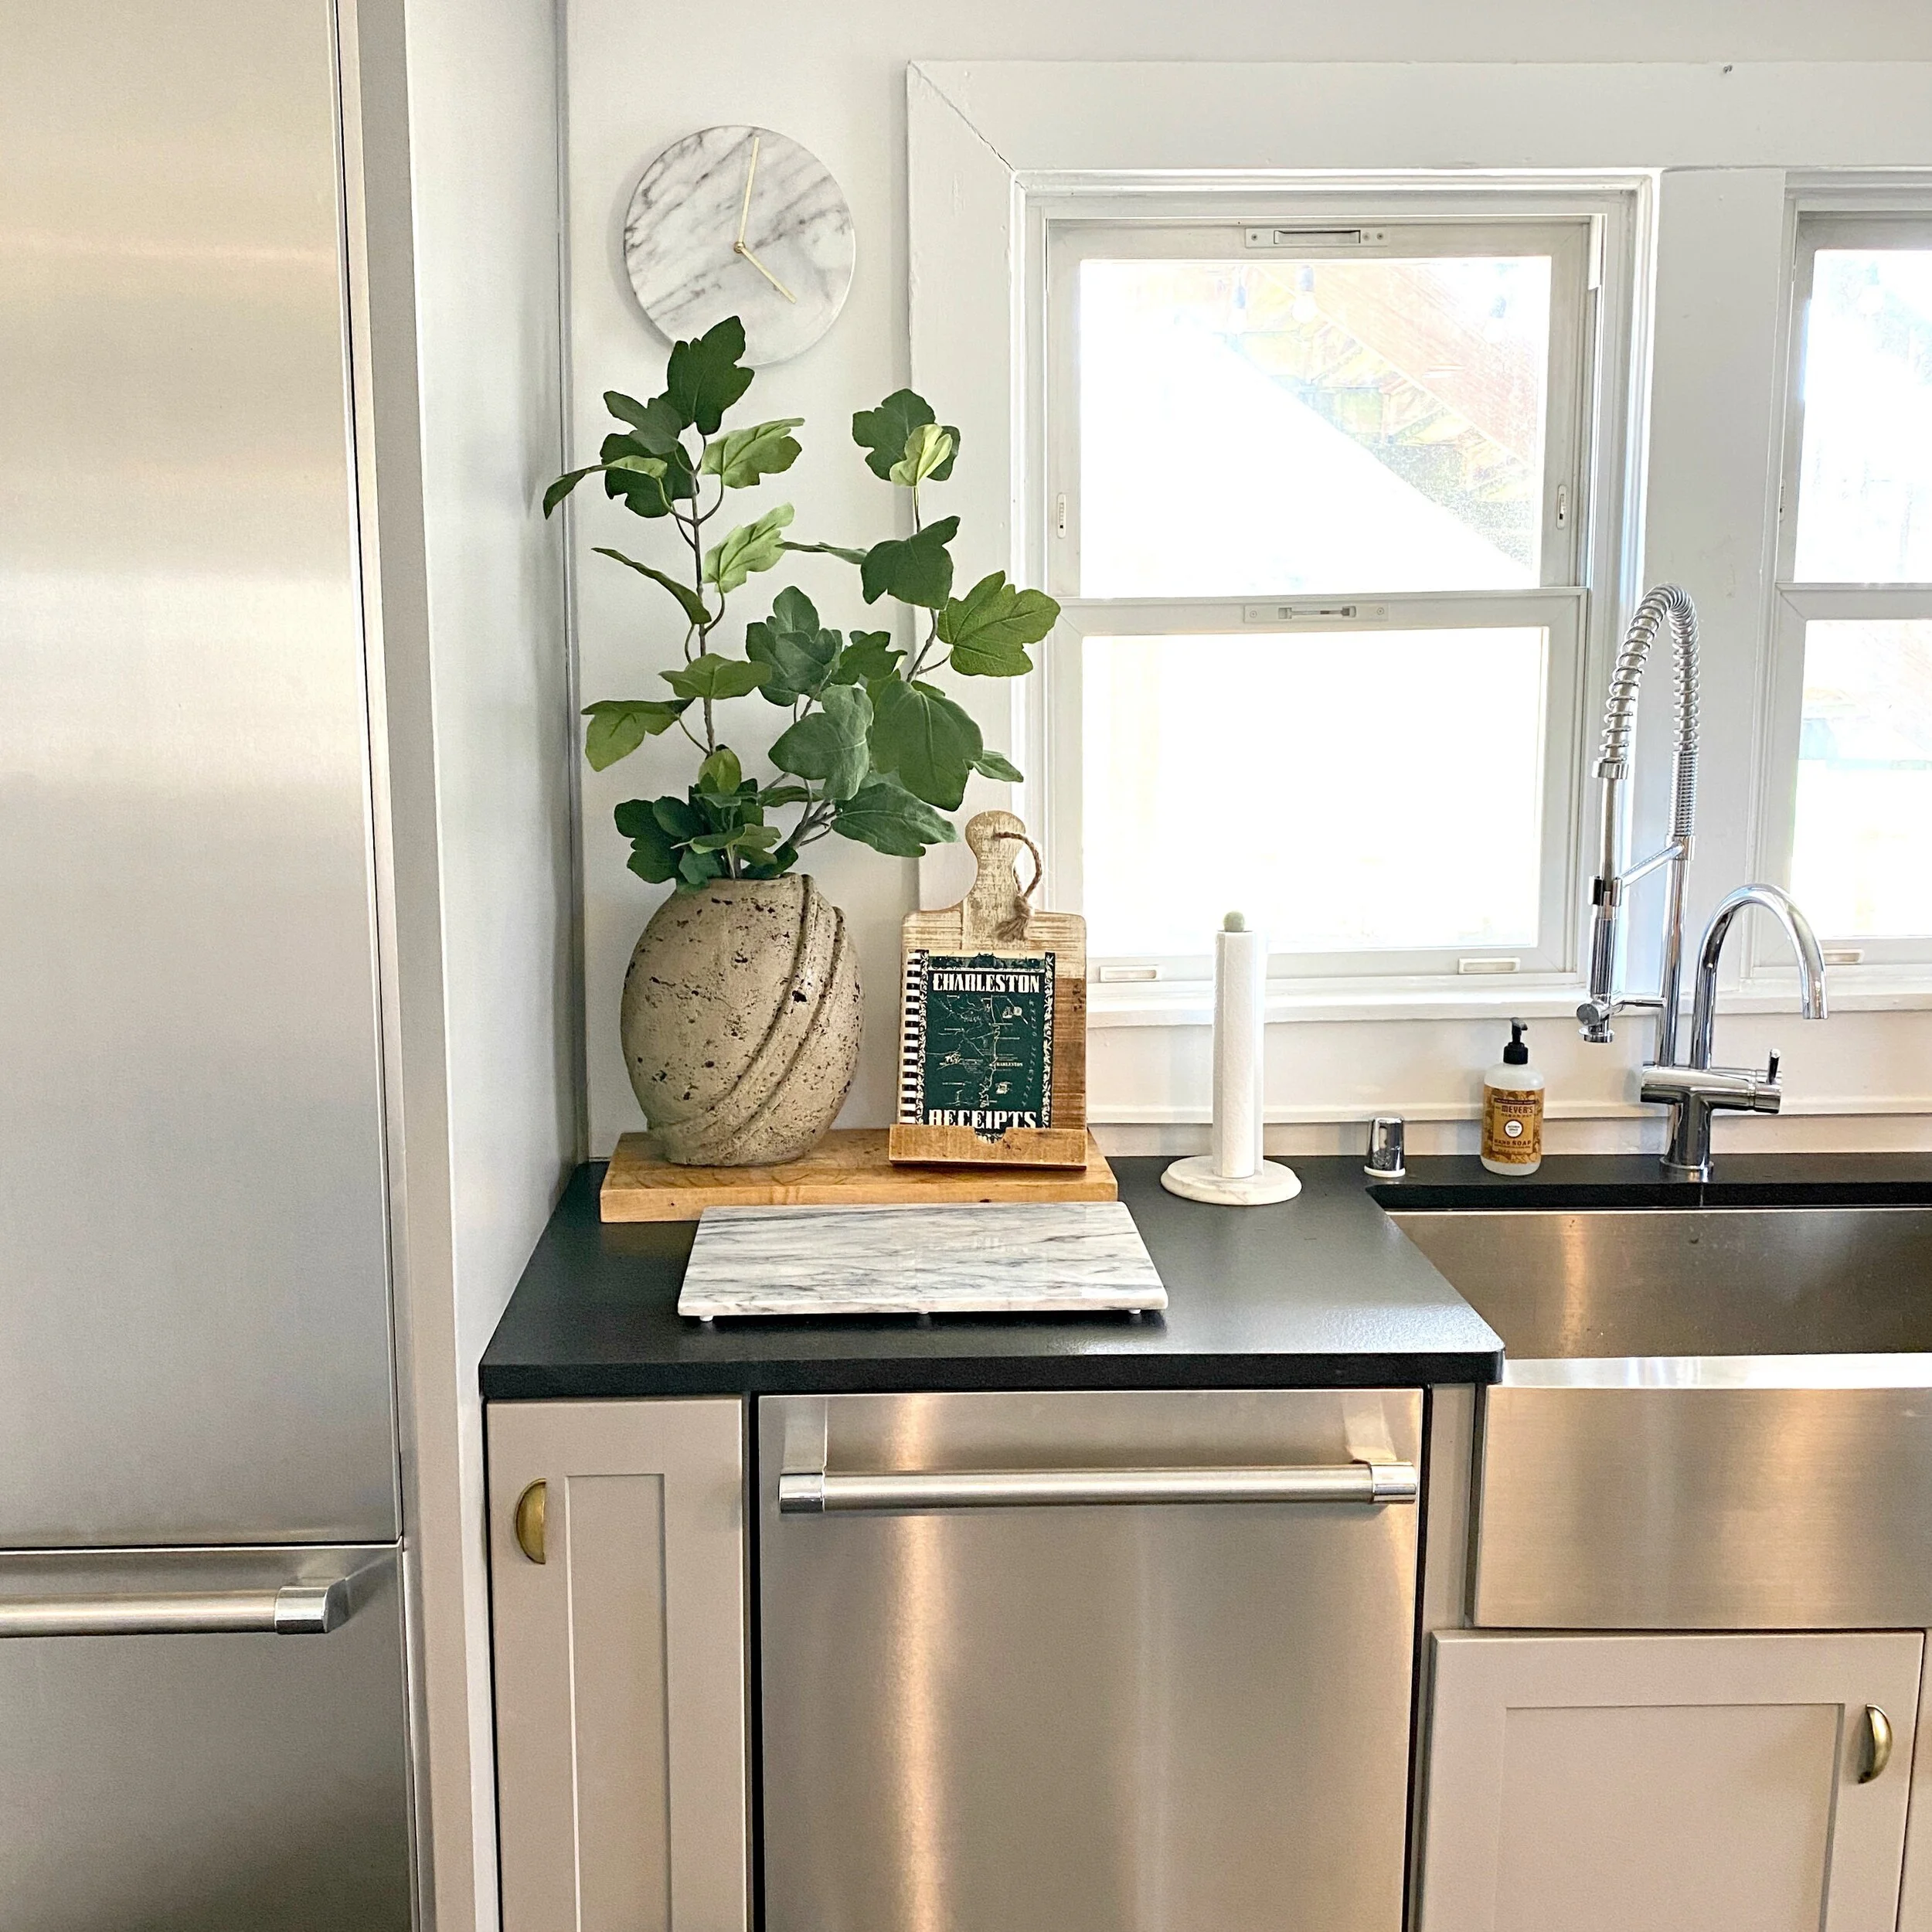
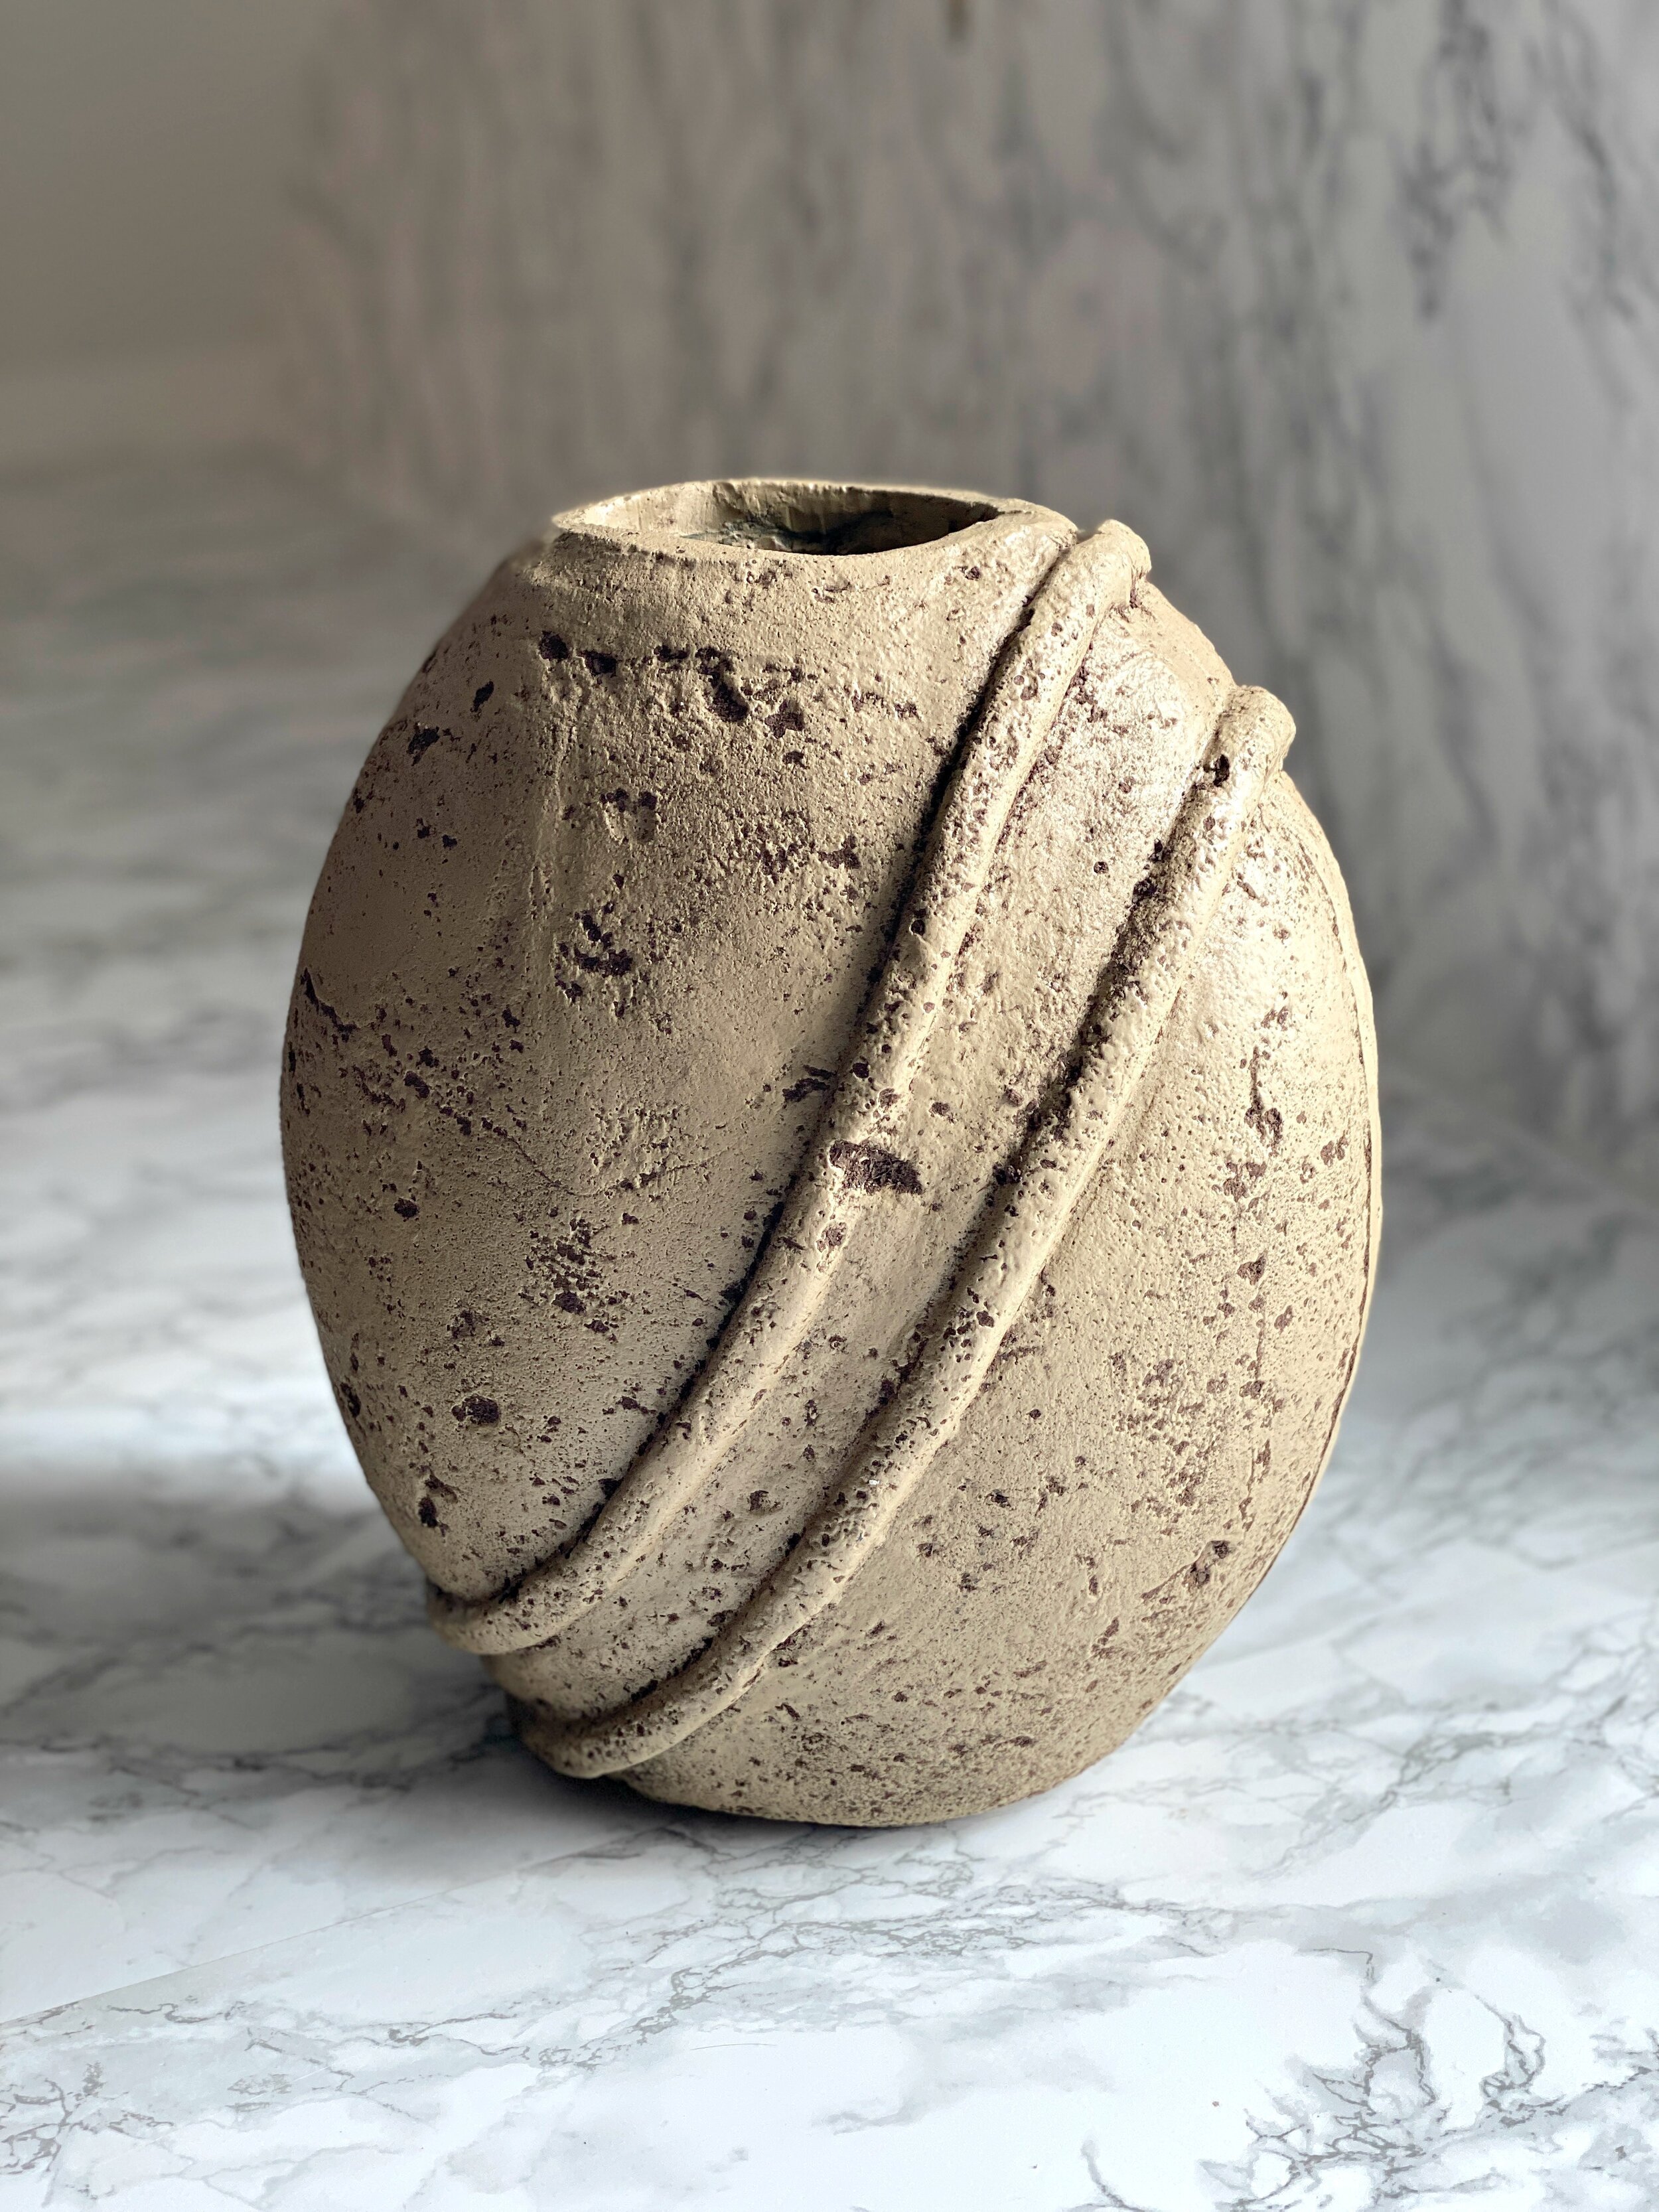
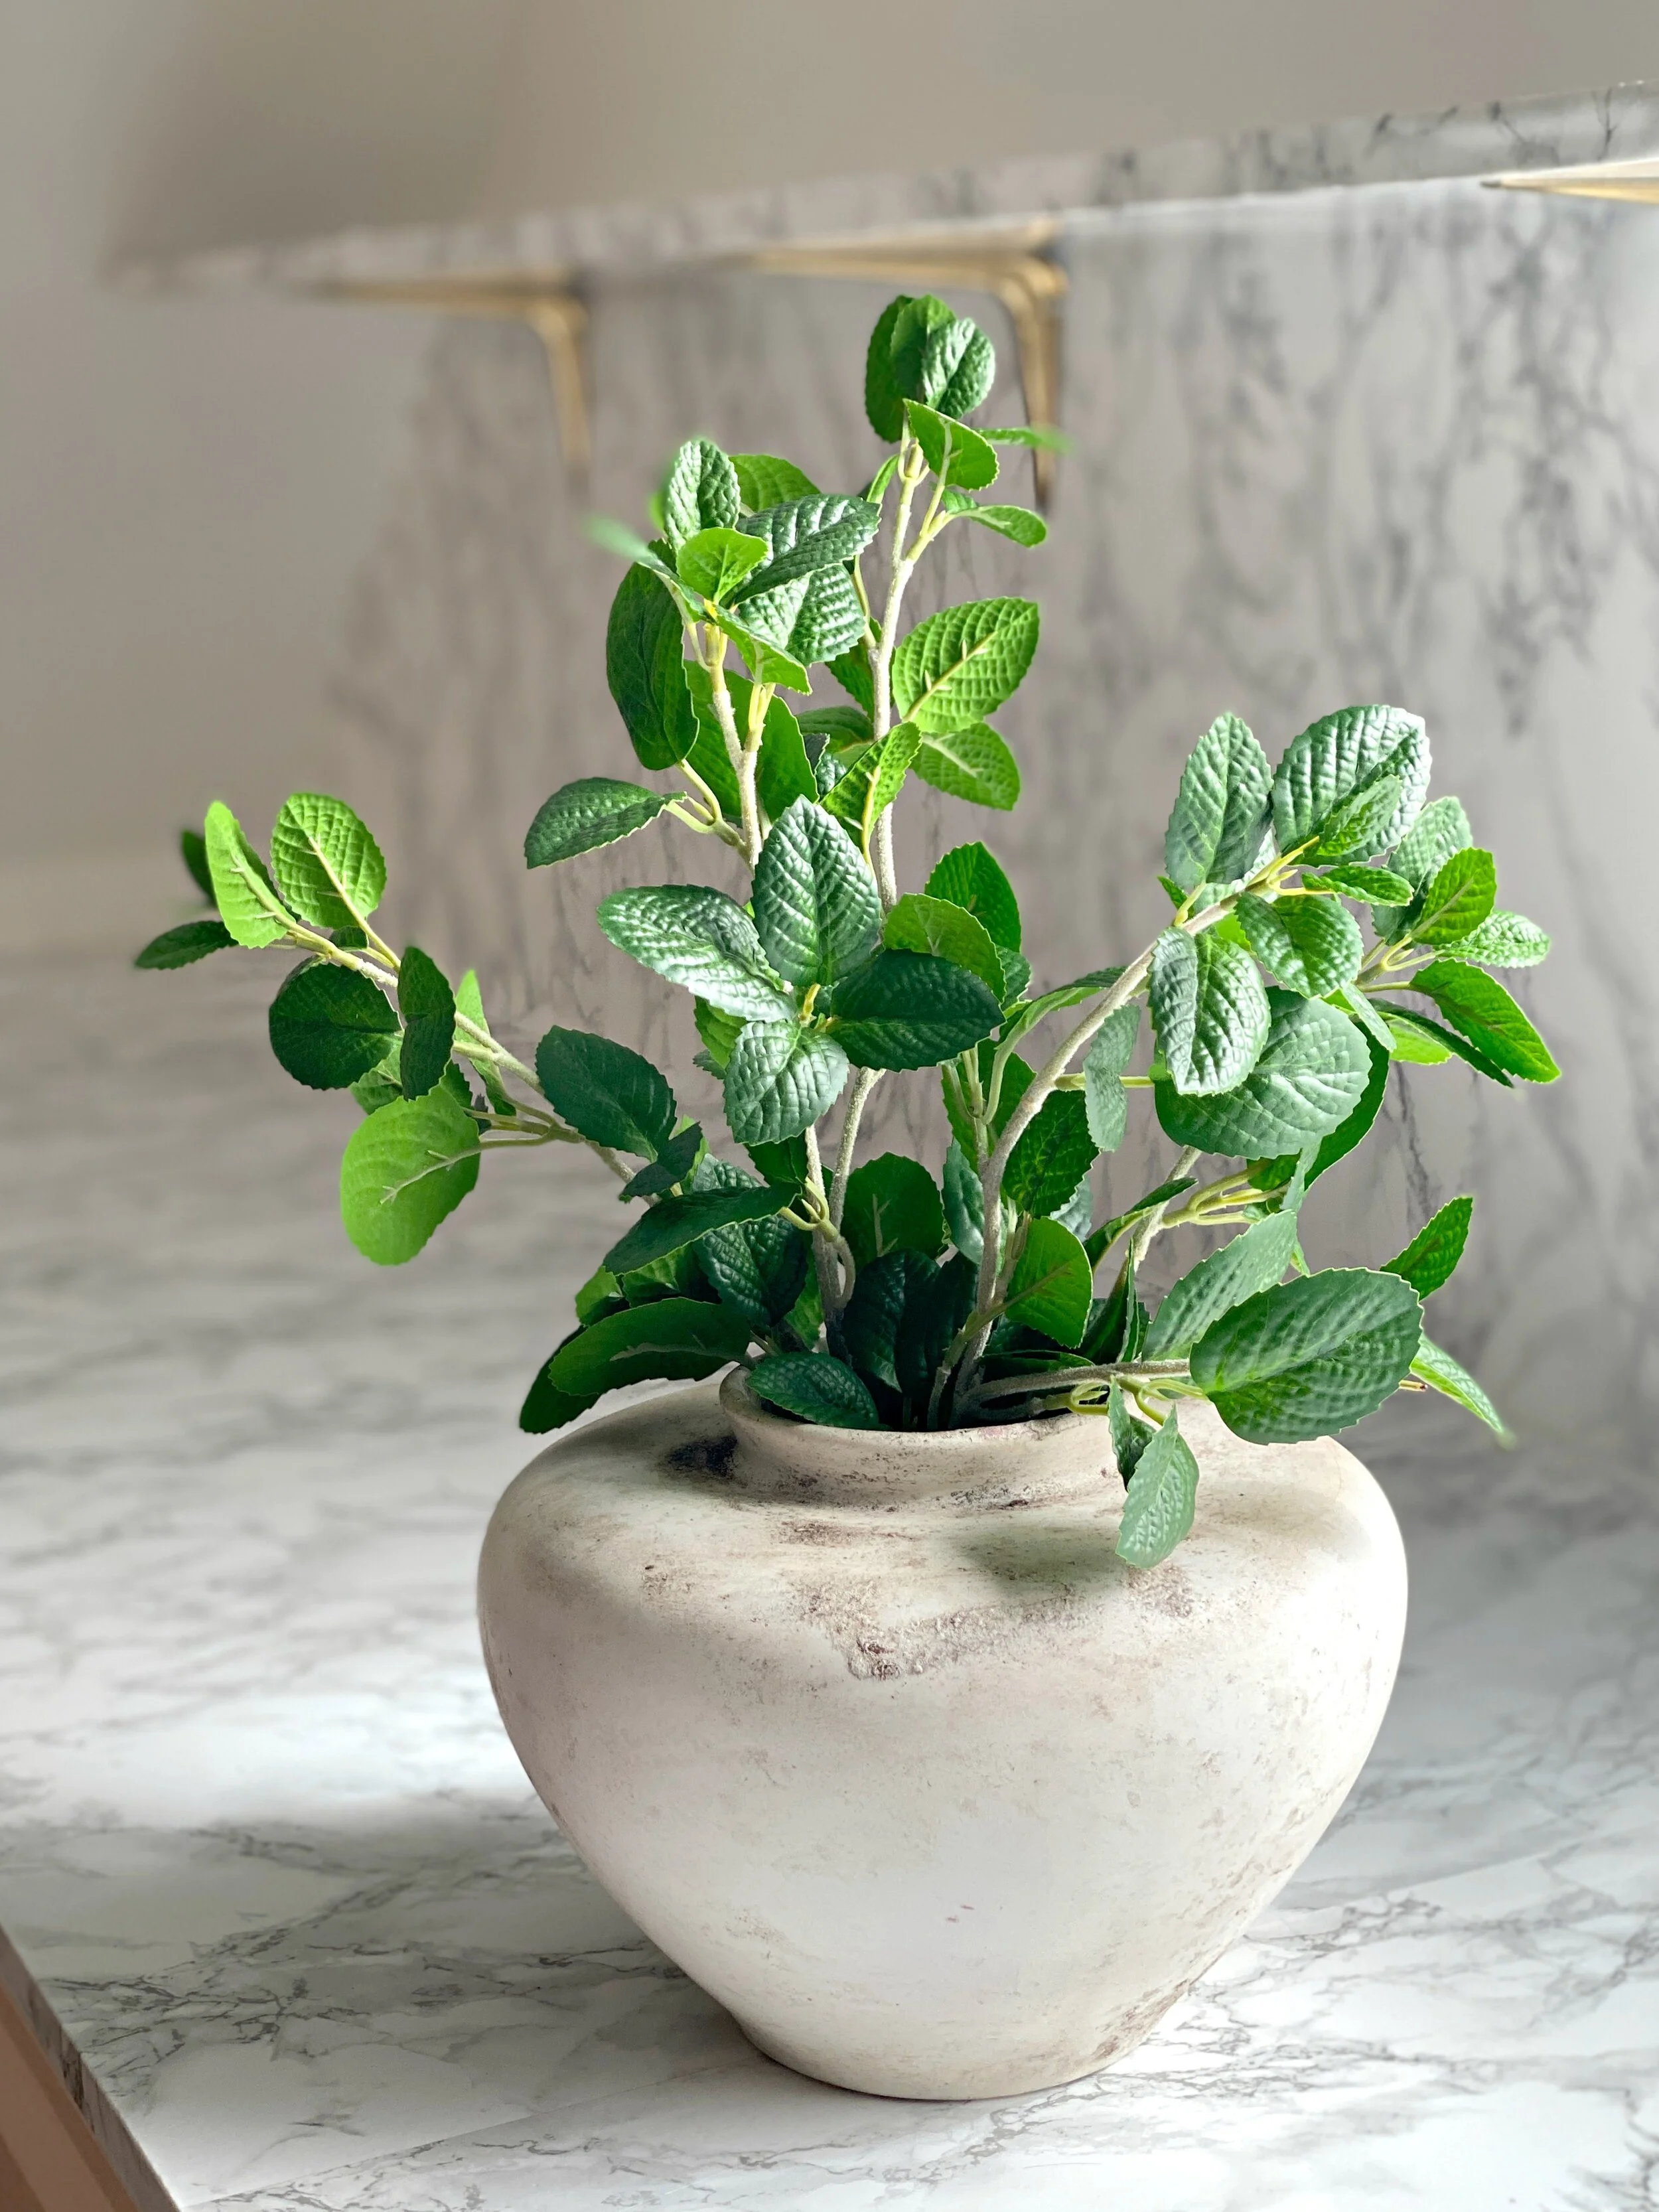
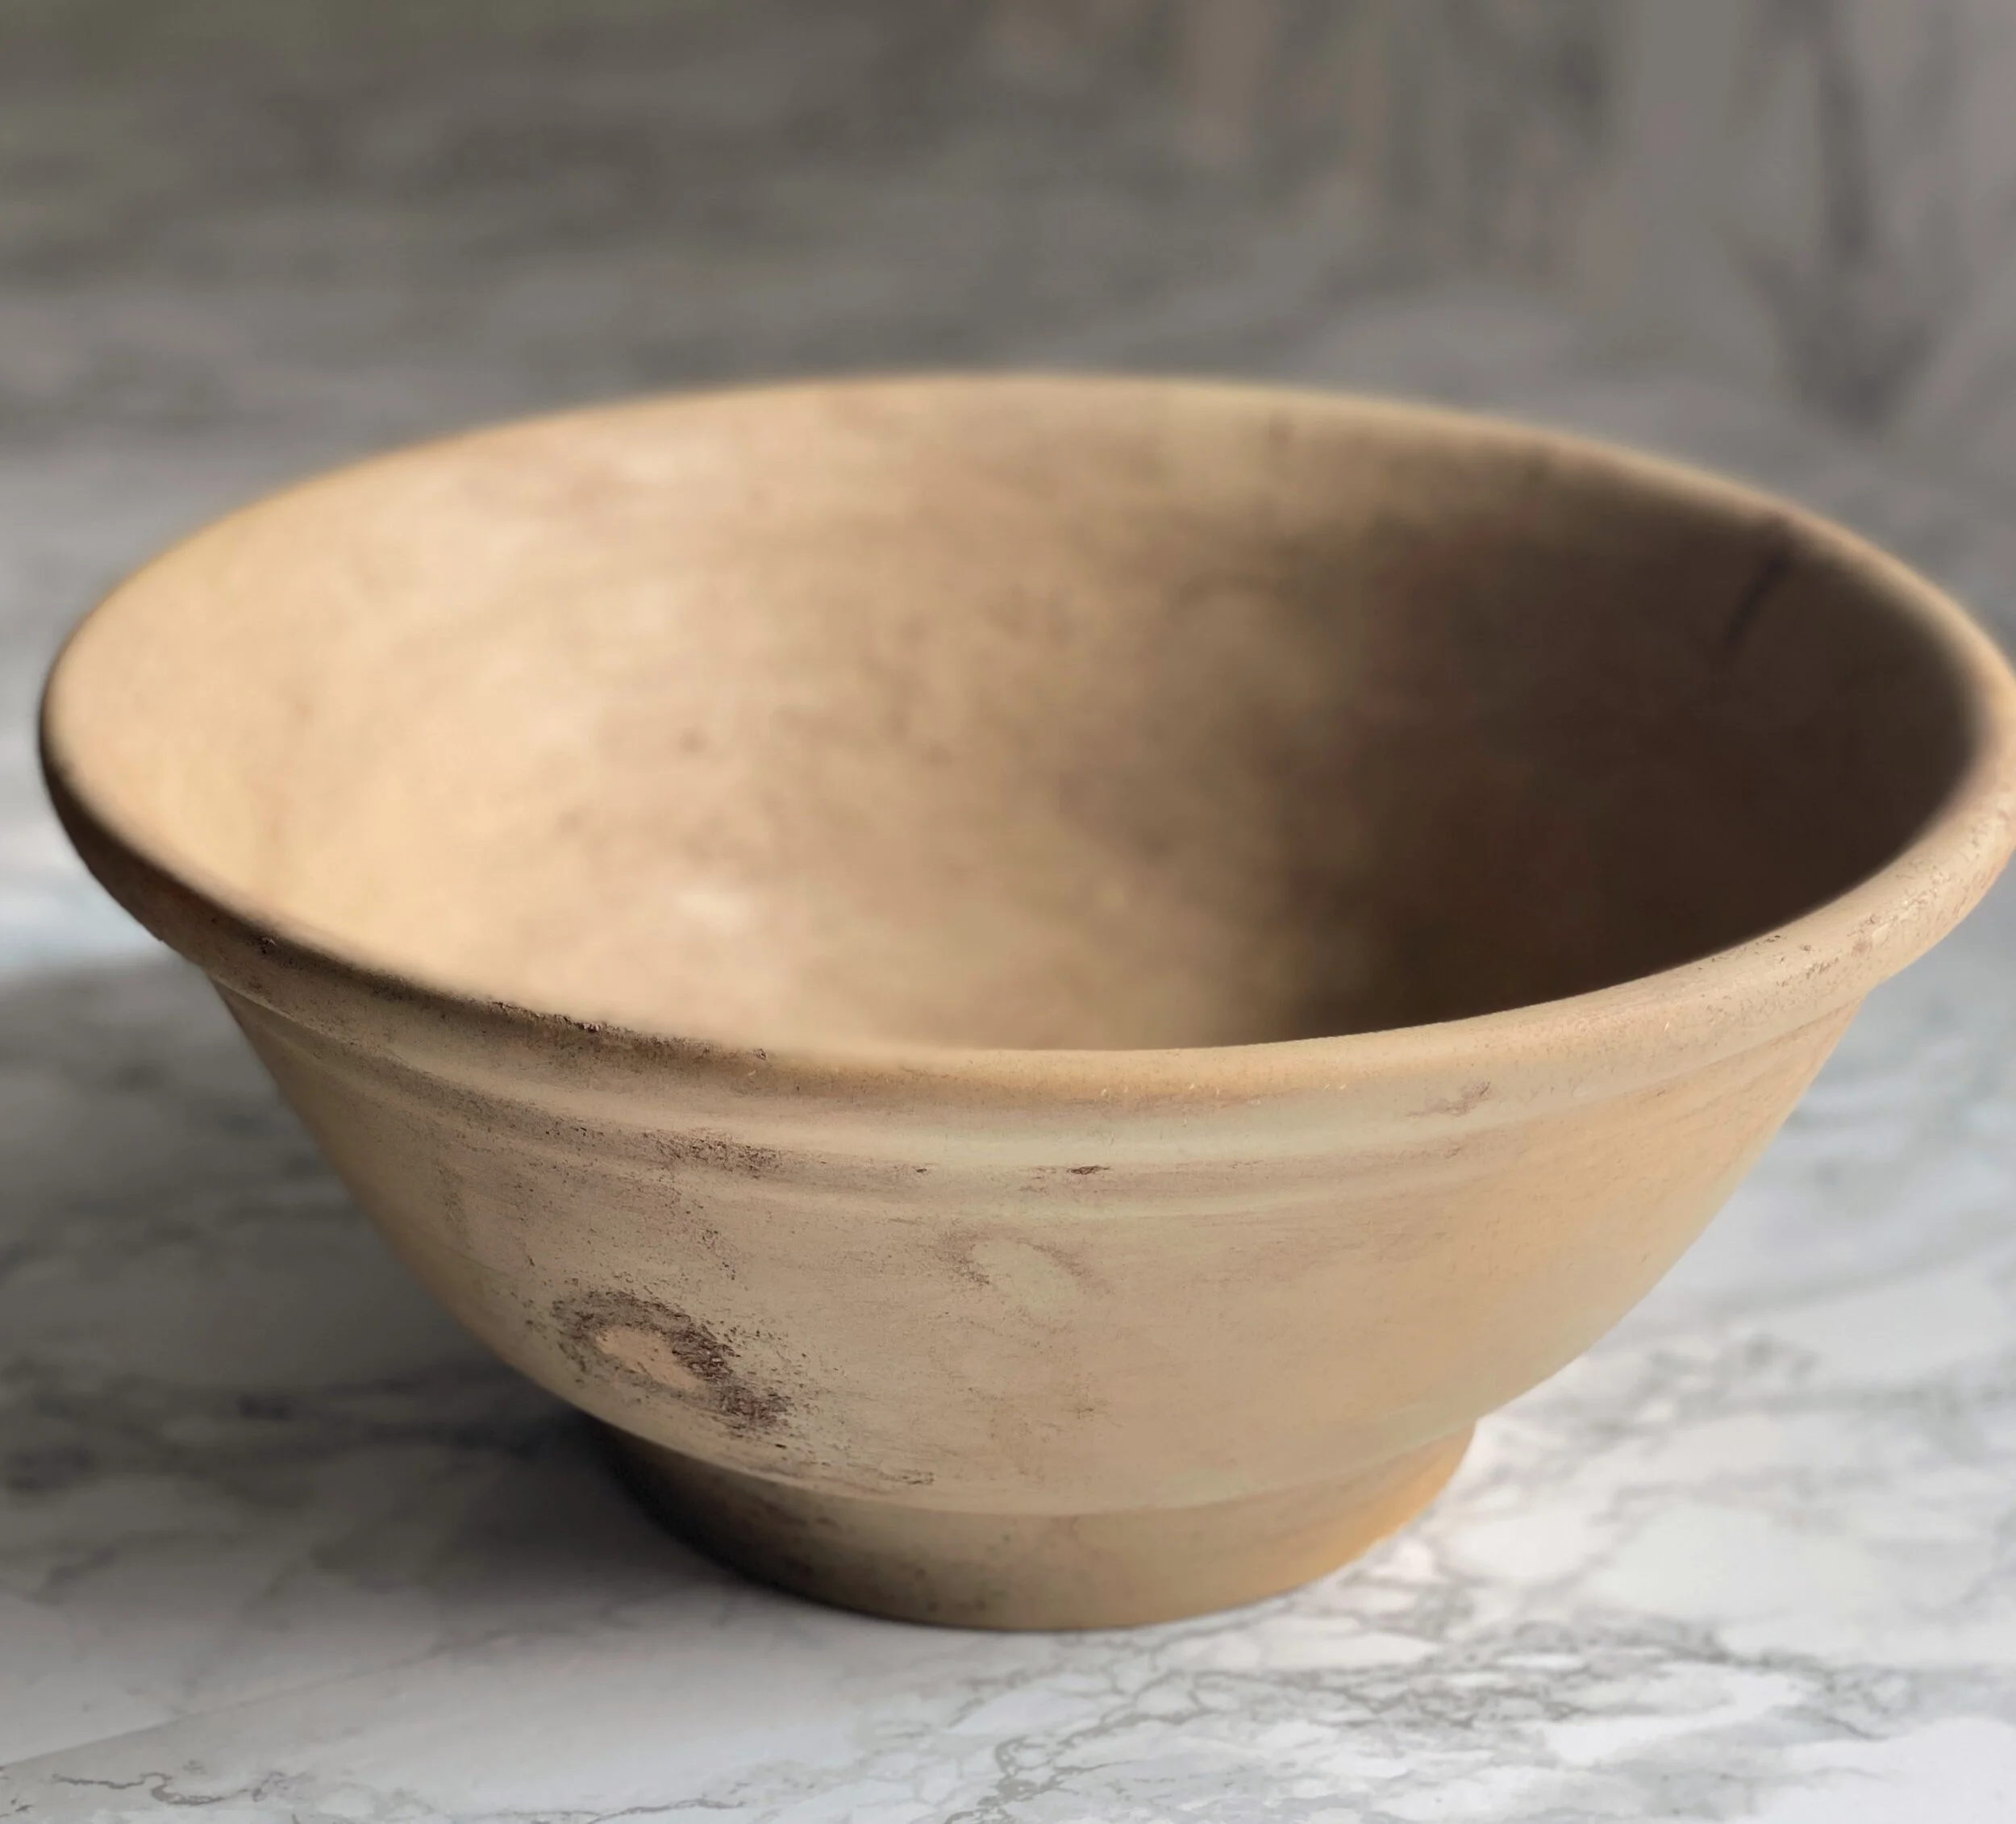
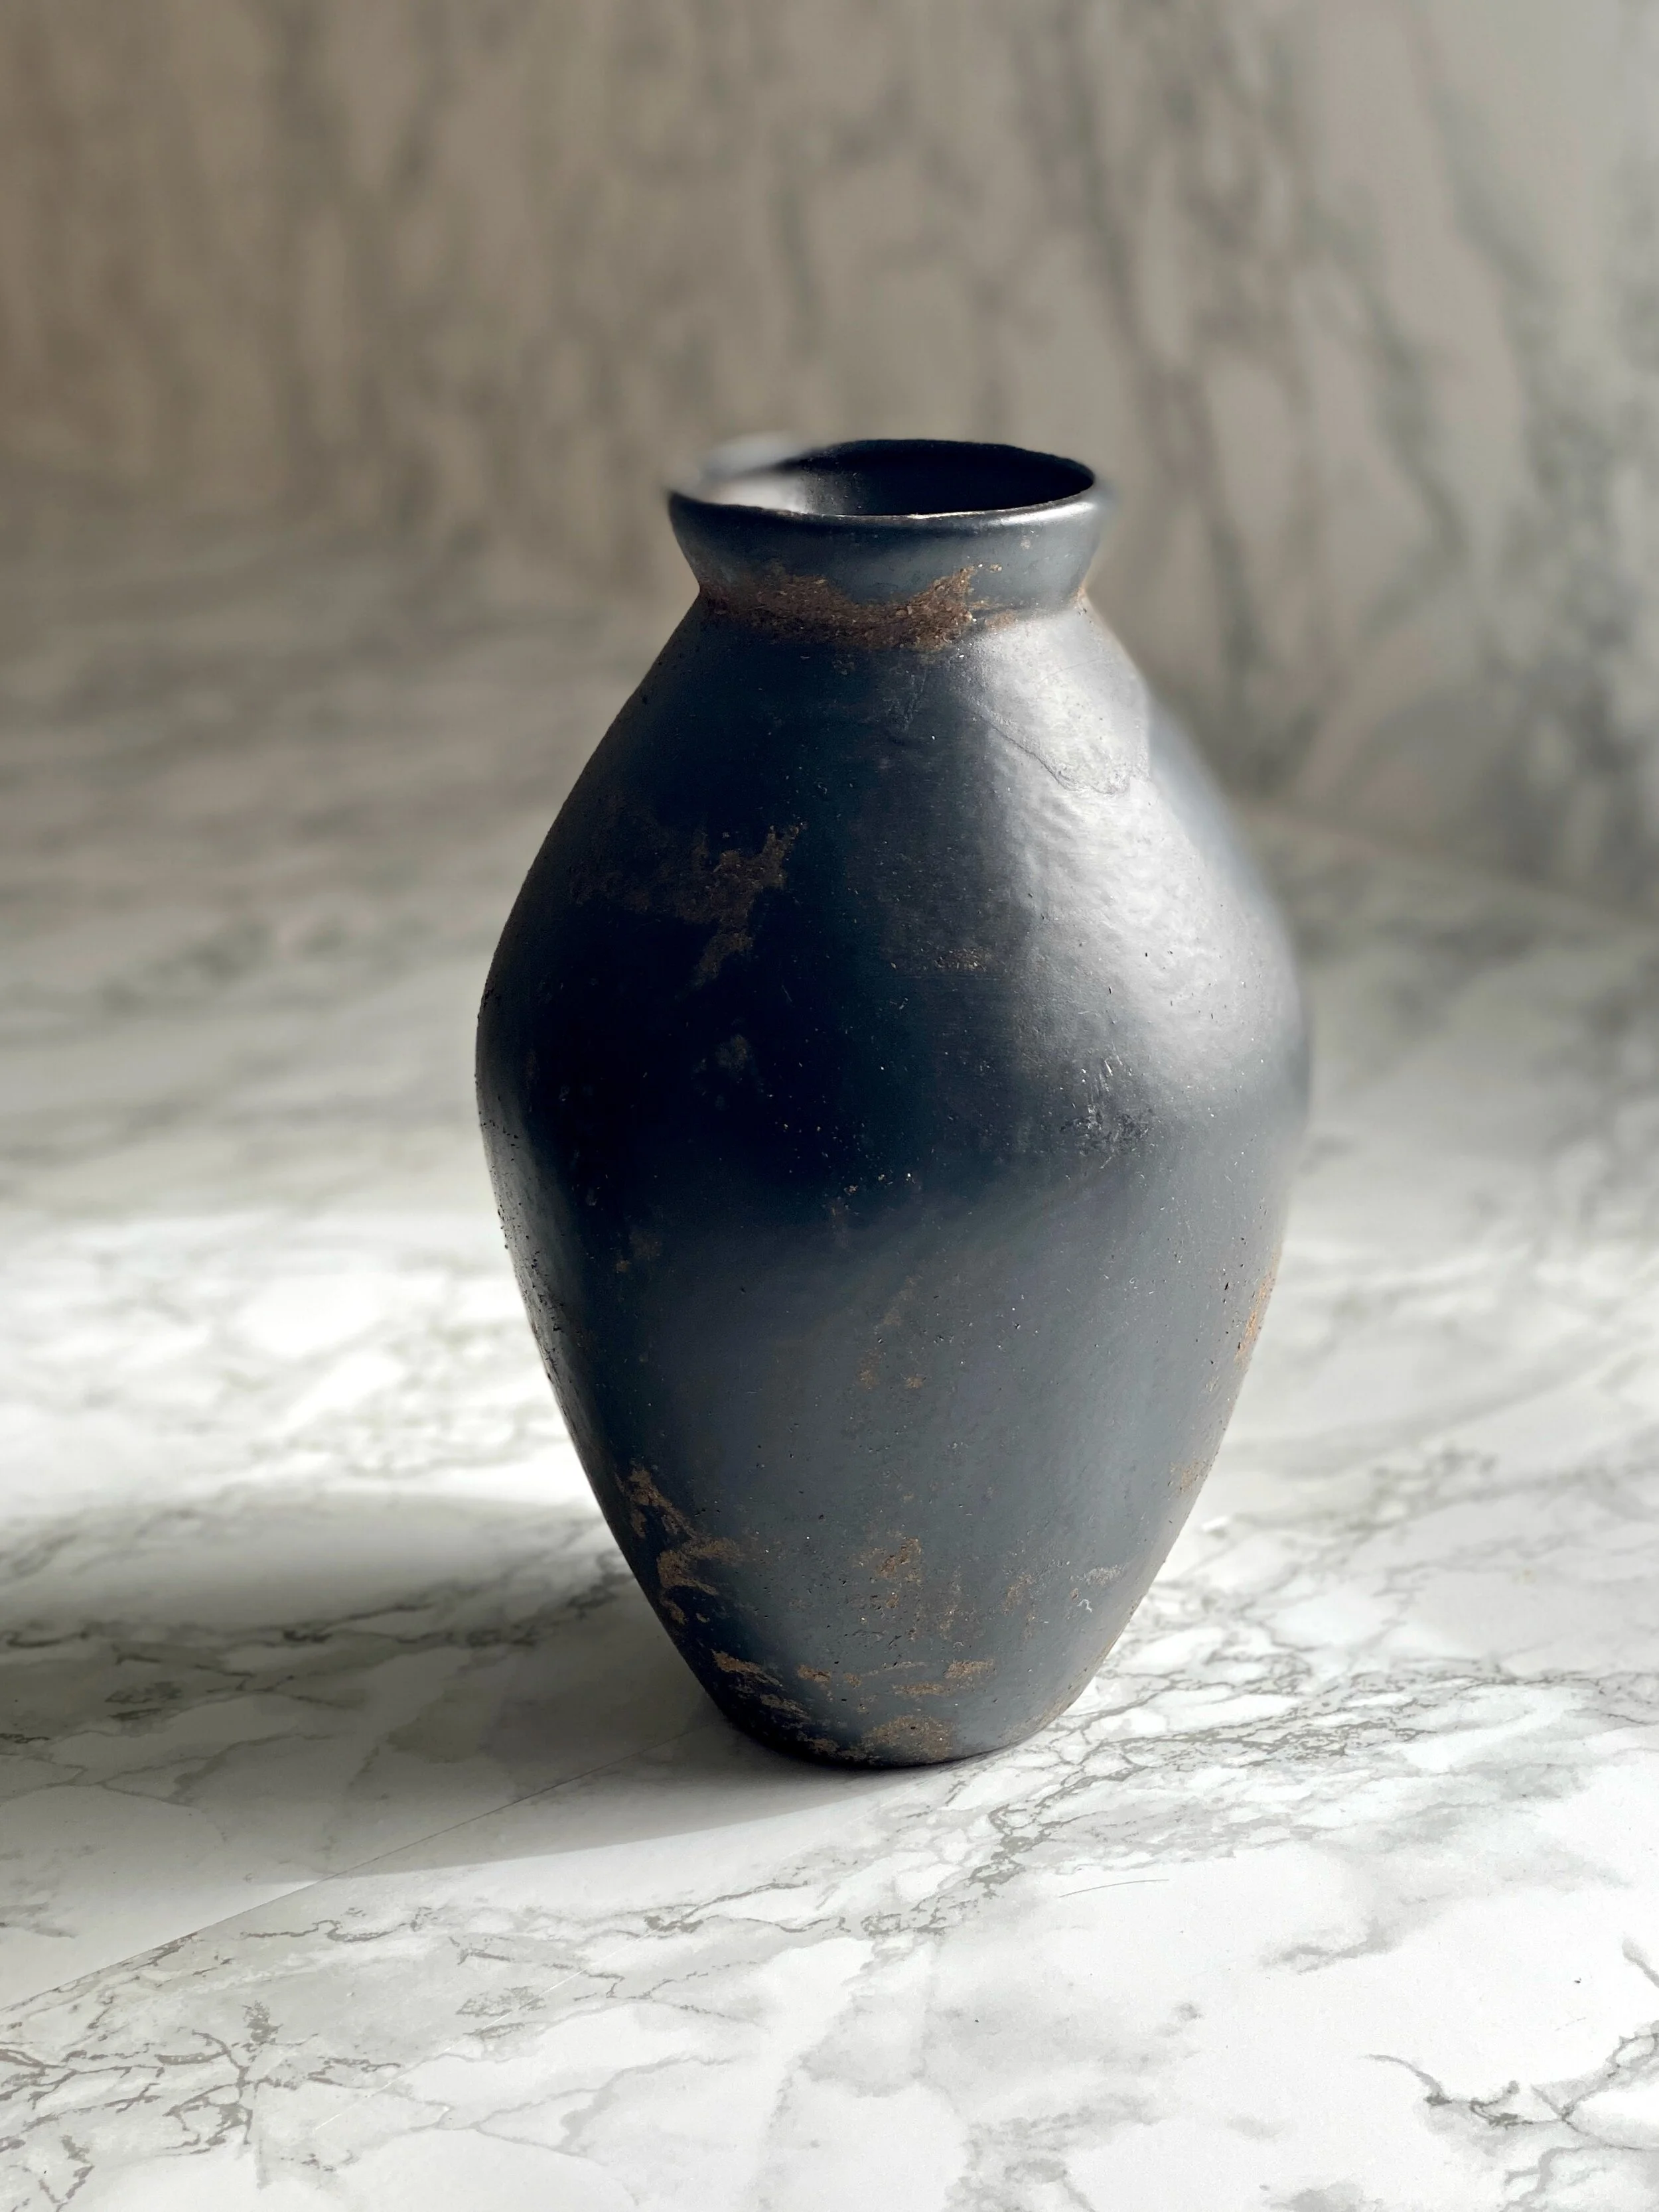
All you need to complete this DIY is some flat spray paint and dirt. Yes, dirt (it can even be from the ground in your yard!). I’m listing full step by step instructions and more materials details for you below! Check out how my before and after thrifted pots turned out as well!
xoxo
Emily


-thrifted or recycled vases, bowls, jars, or pots of any size/color
-flat or matte spray paint in color of your choice (neutrals looks most natural)
-dirt
-water
-paper towels or dish rag
-gloves (optional)
check out my stories highlight here for a video of how I completed this DIY
Start by spray painting the vase/pot/jar you are wanting to use. If using gloves, go ahead and put those on your hands before starting. Depending on the condition of the item, you may need to clean it off first to ensure the spray paint will stick properly. Follow directions listed on your spray paint can and give the item a good two coats. Don’t forget, you might need to let it dry, flip it over, and paint the underside as well to cover the entire item.
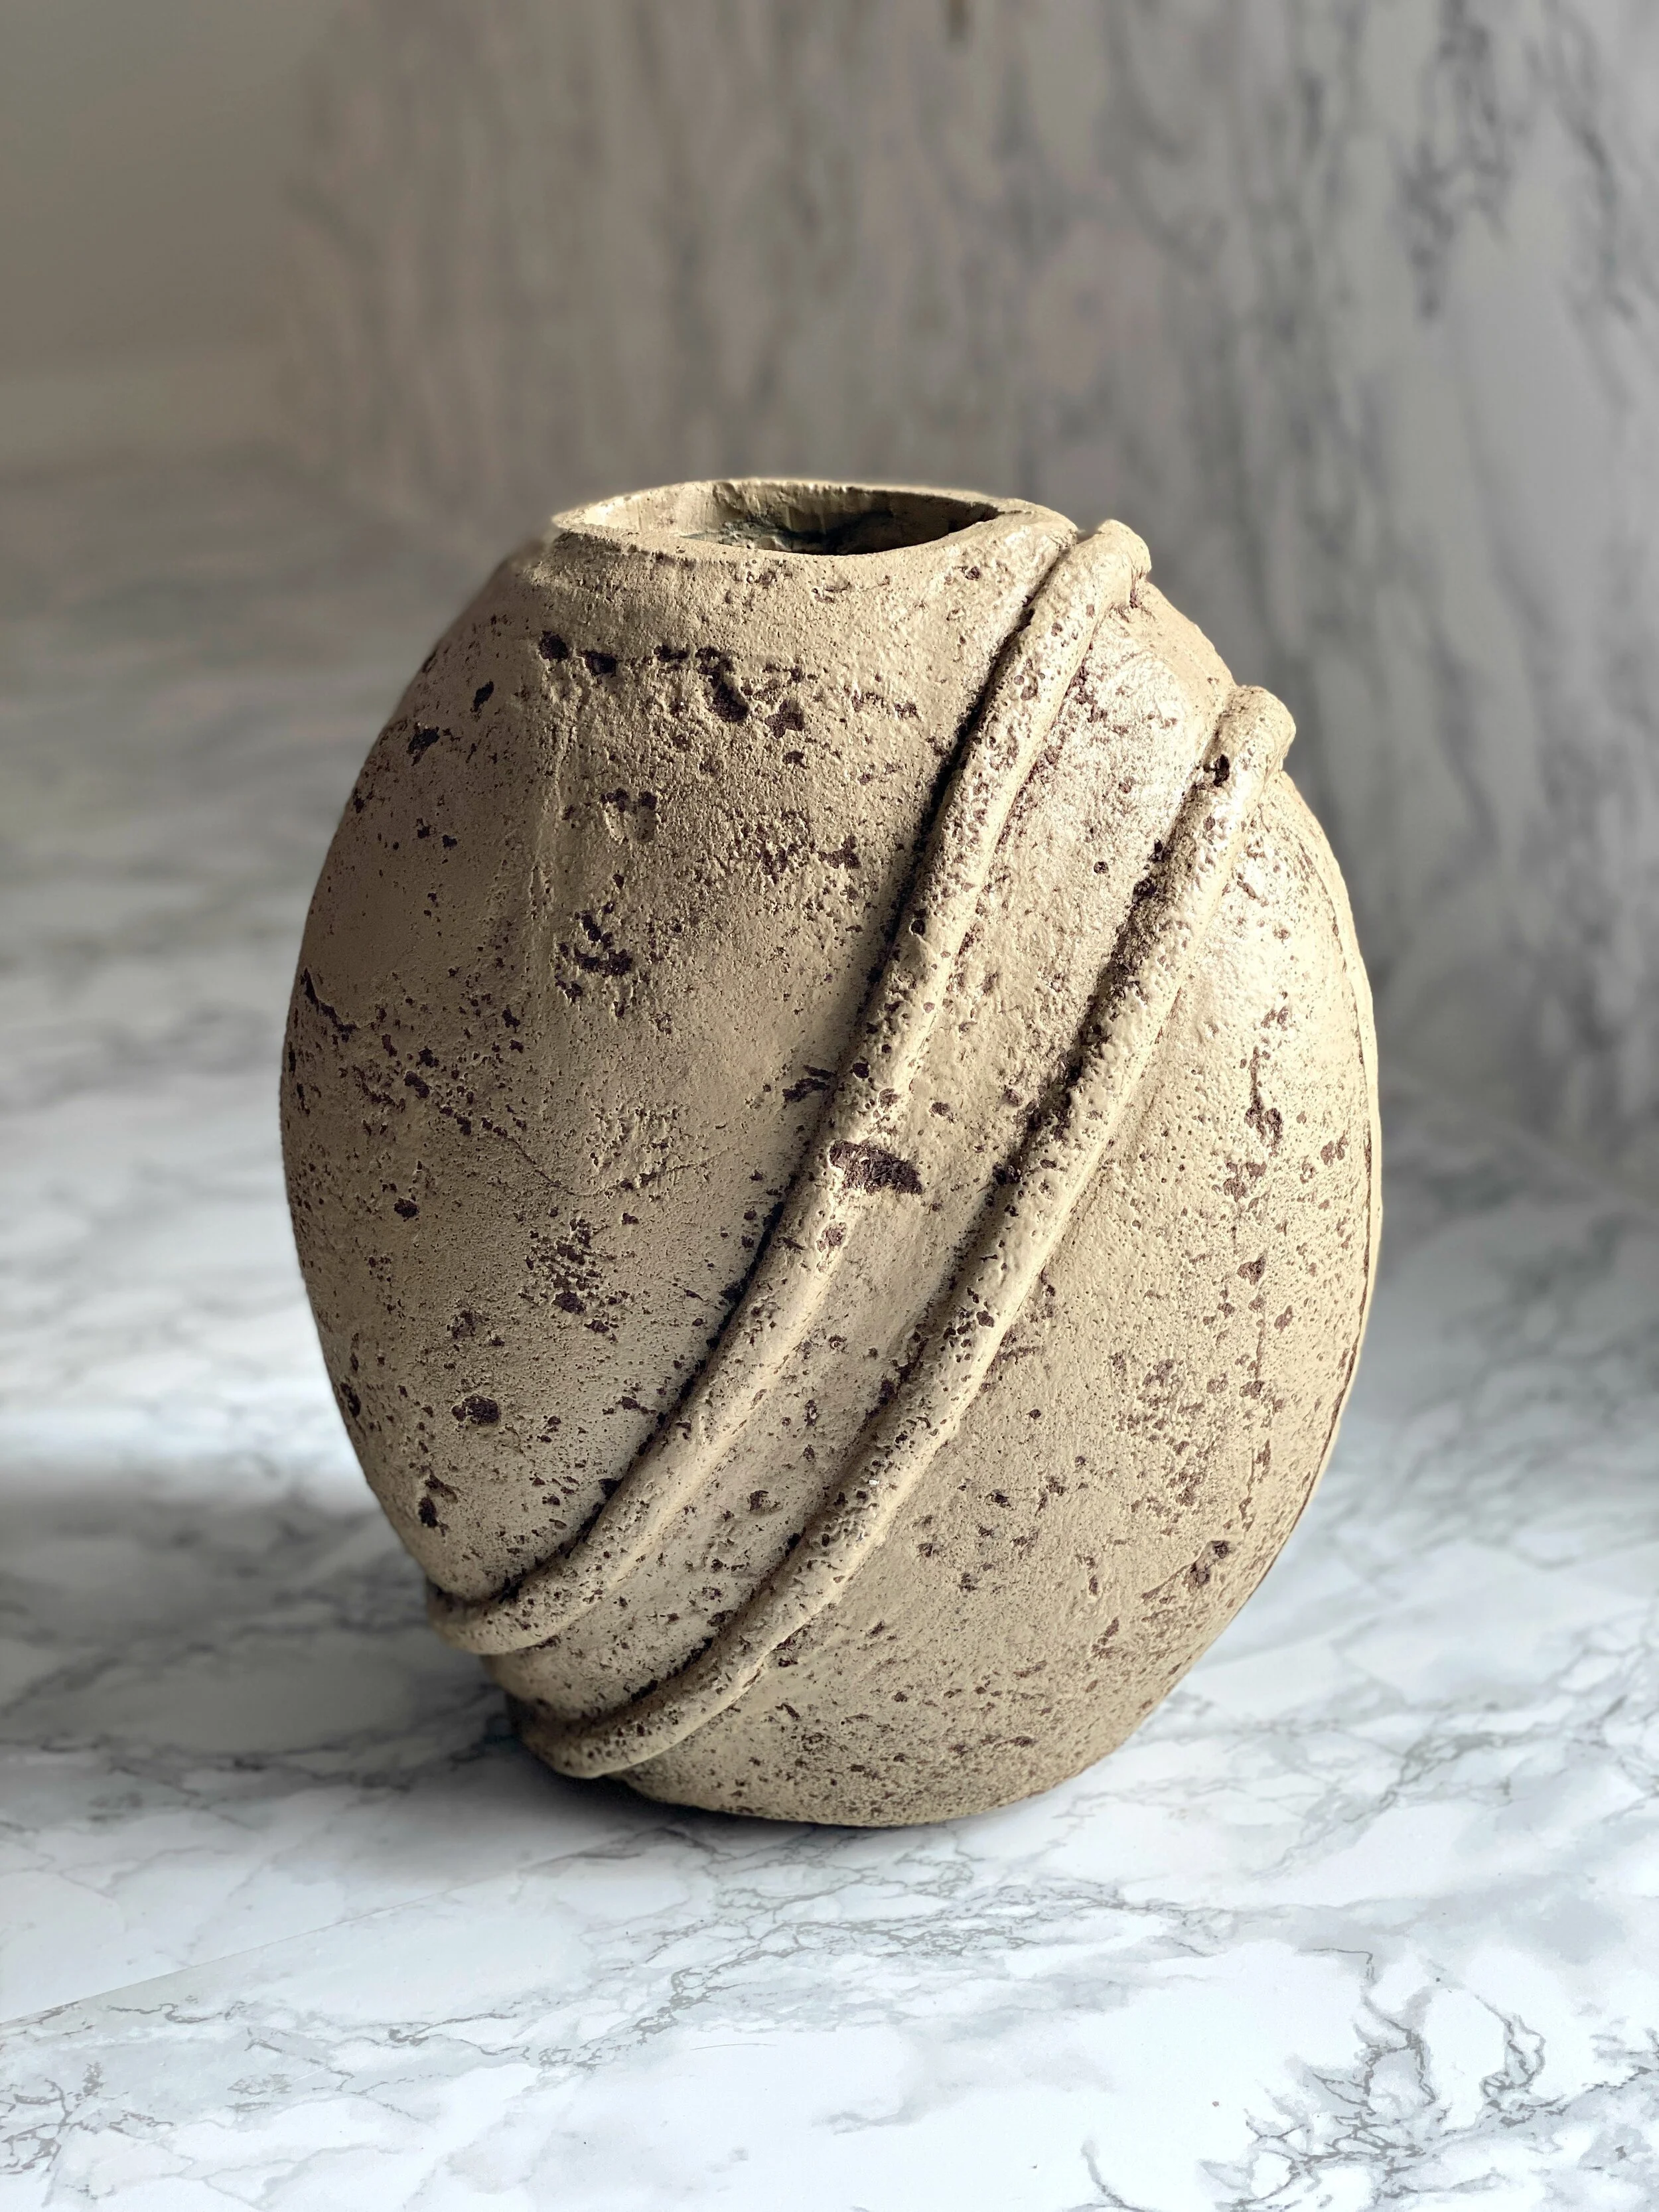
Let your paint dry completely before moving on to the next step. Grab your dirt and combine with a little water until it’s just barely moist. You may have to work with the amount of water to get the exact right consistency. Grab a handful of dirt and start rubbing it all over your pot. You will want the dirt just barely wet enough to streak your pot when it’s rubbed on. You want to cover the entire pot with dirt and you really want to rub it in well as you are going to create texture and streaks on the pot.
Let the dirt sit on the pot and dry overnight.
The next day, grab a dry paper towel and start wiping the dirt off of the pot. Some of the dried dirt will stay creating the age and texture you want, while some will just streak the pot and provide an aged color. Wipe down the entire pot to make sure you get all the loose dirt off.
If you would like a little more textured and aging- just repeat the process by adding the dirt again, letting it dry (you don’t have to wait overnight the second time), then wiping off with a dry paper towel.
If any of the paint chips off while you are wiping the dirt on or off just touch up at the end with a paint brush.