DIY Marble-Look Countertops For Under $200

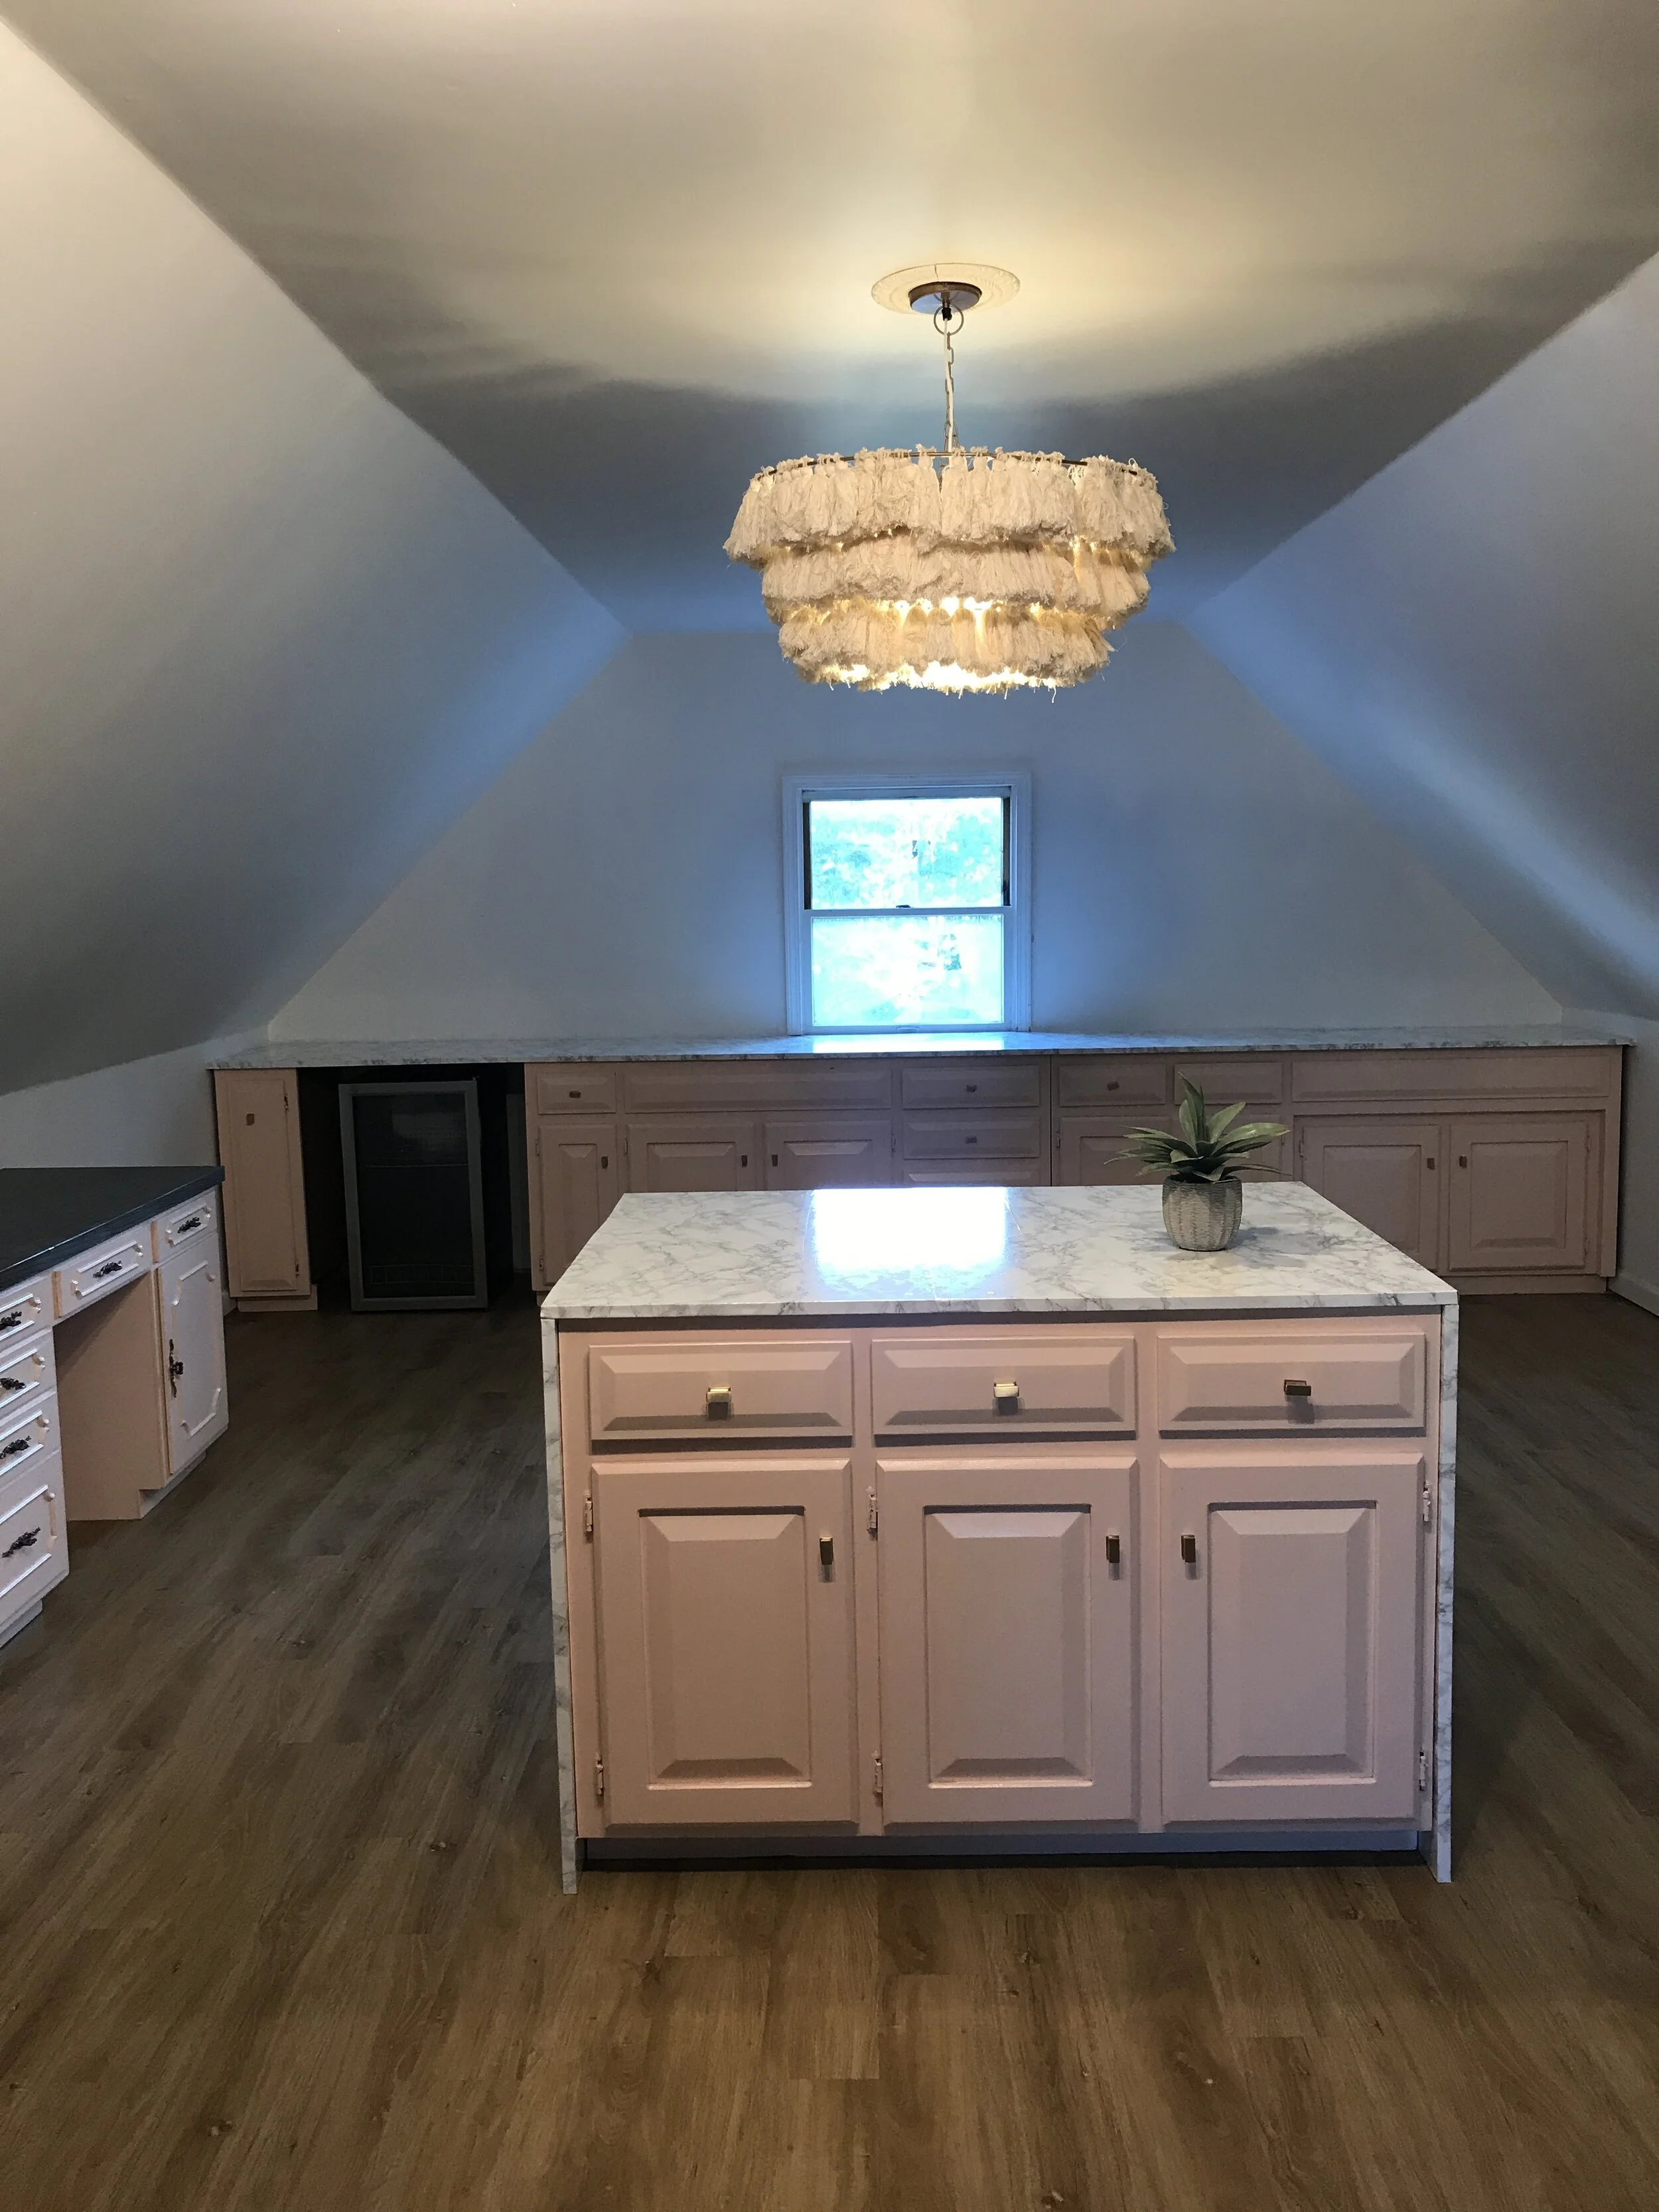
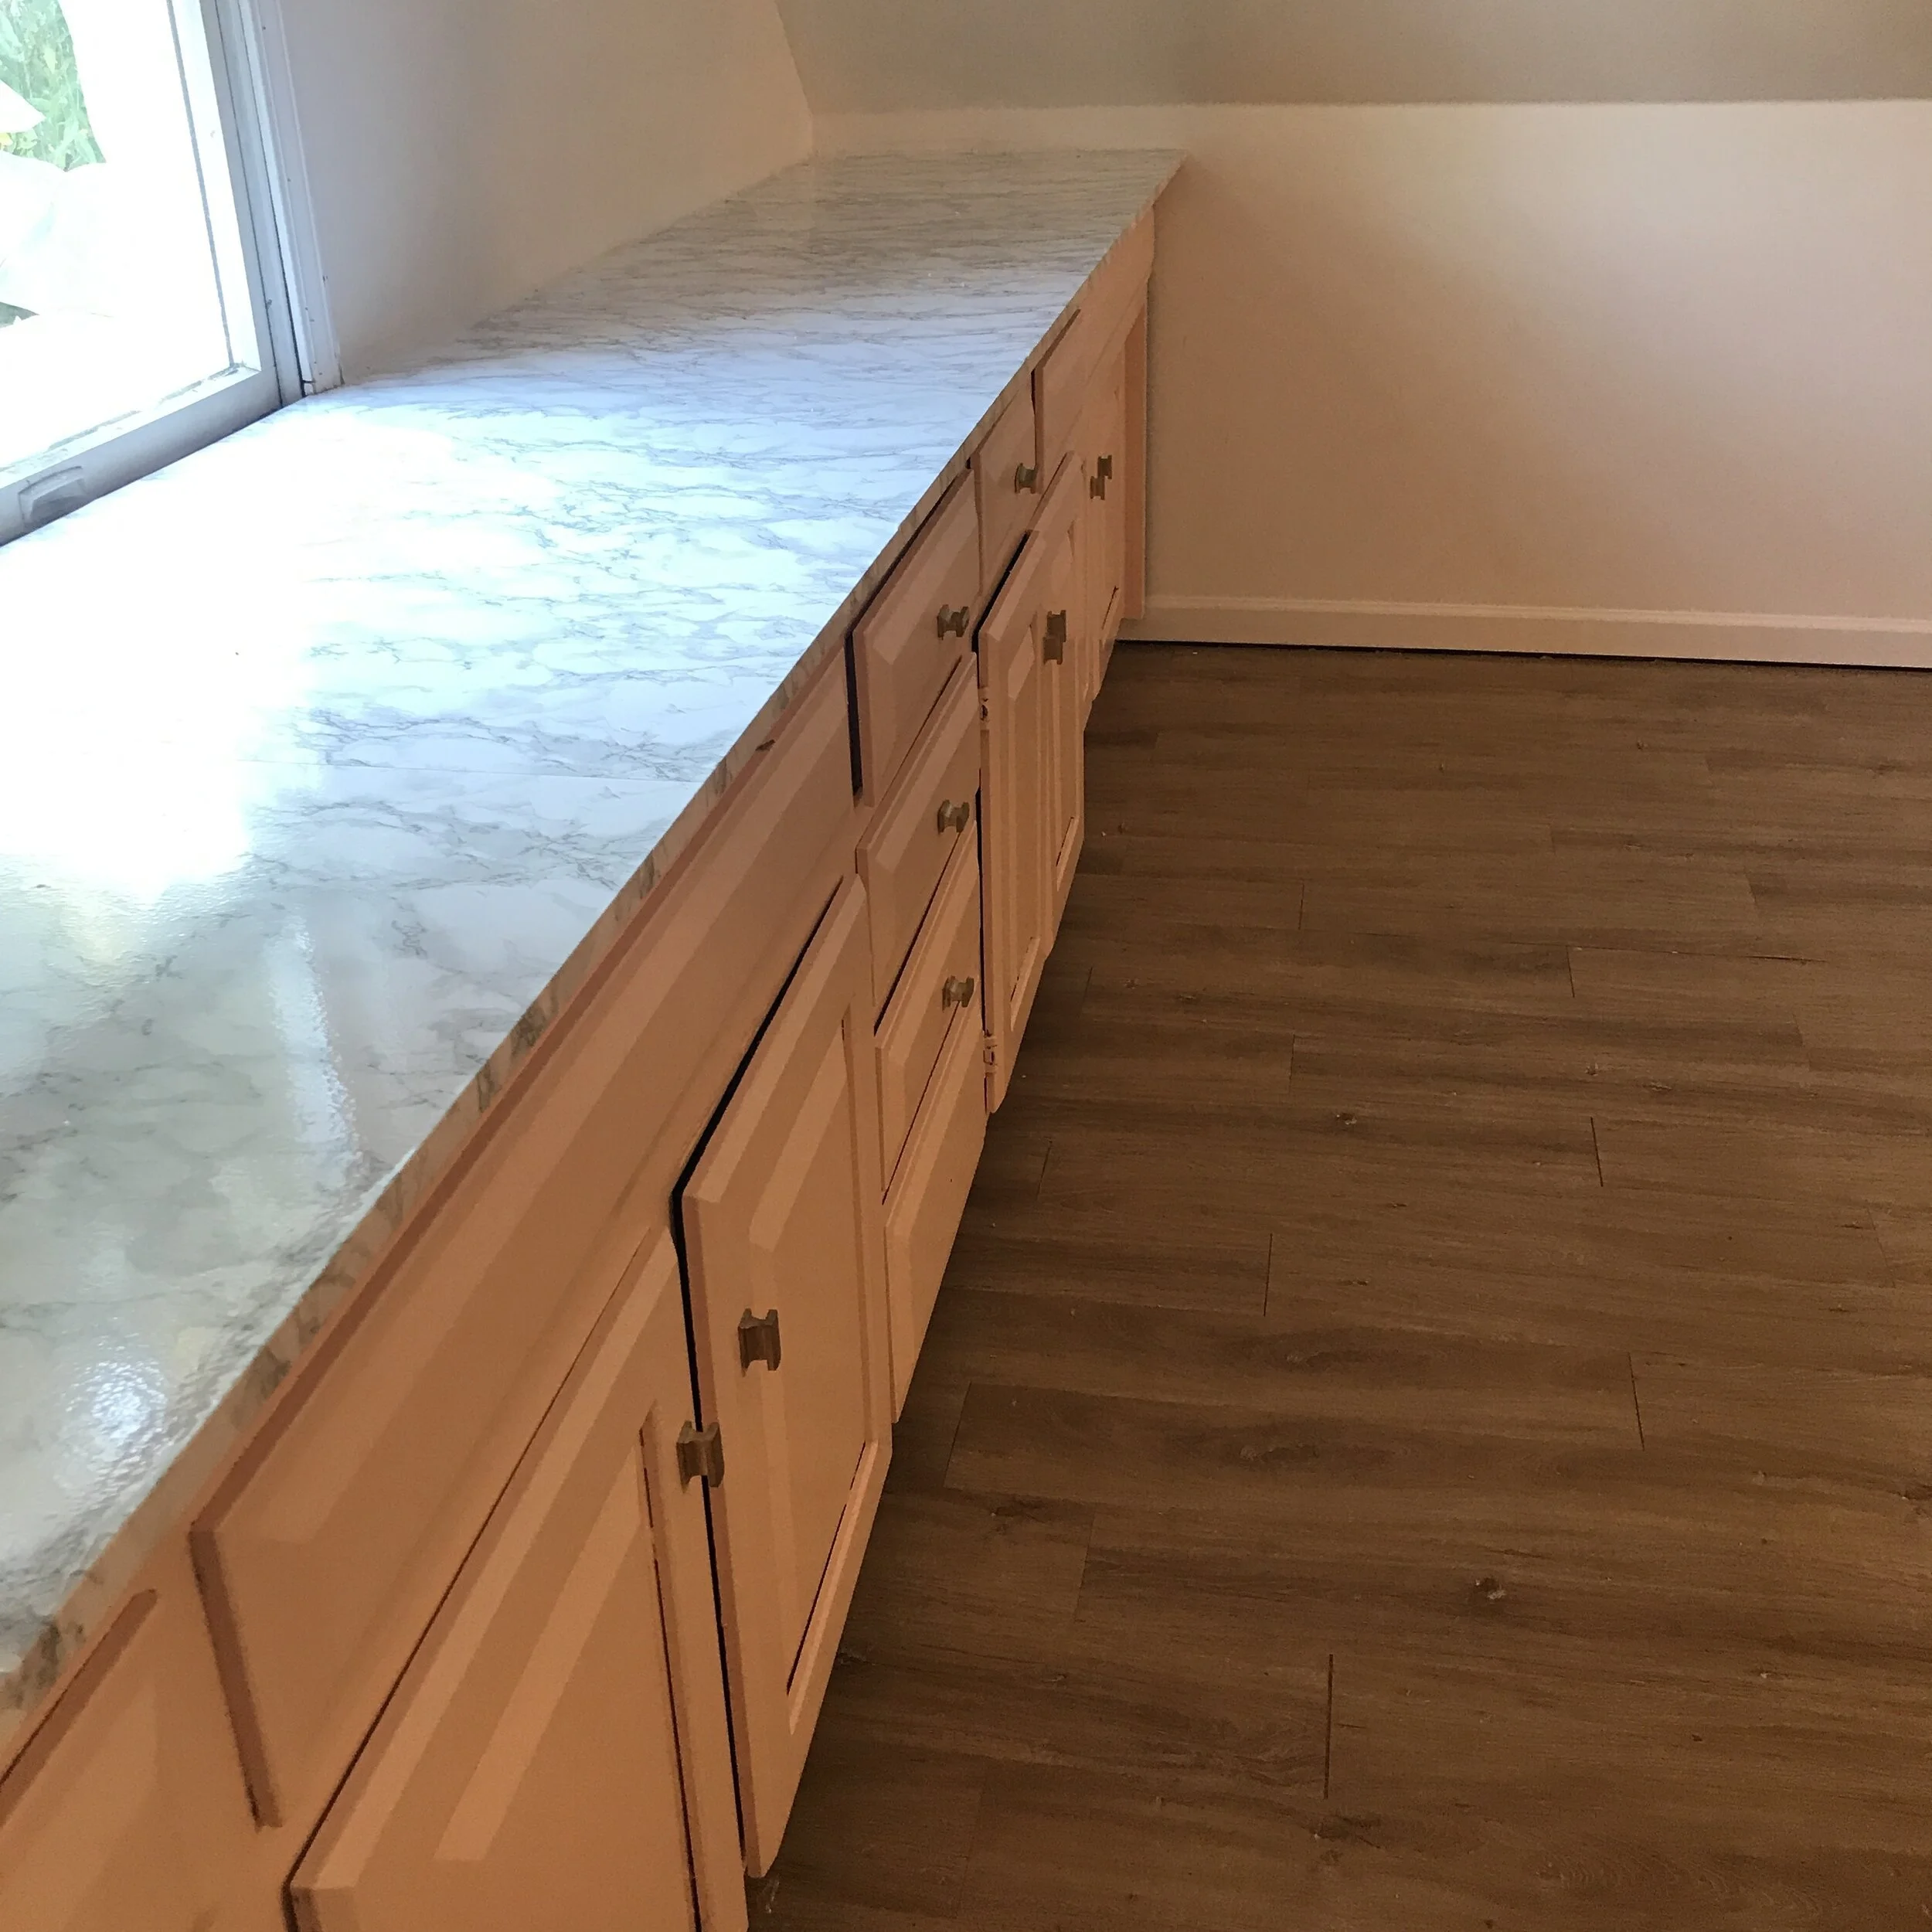
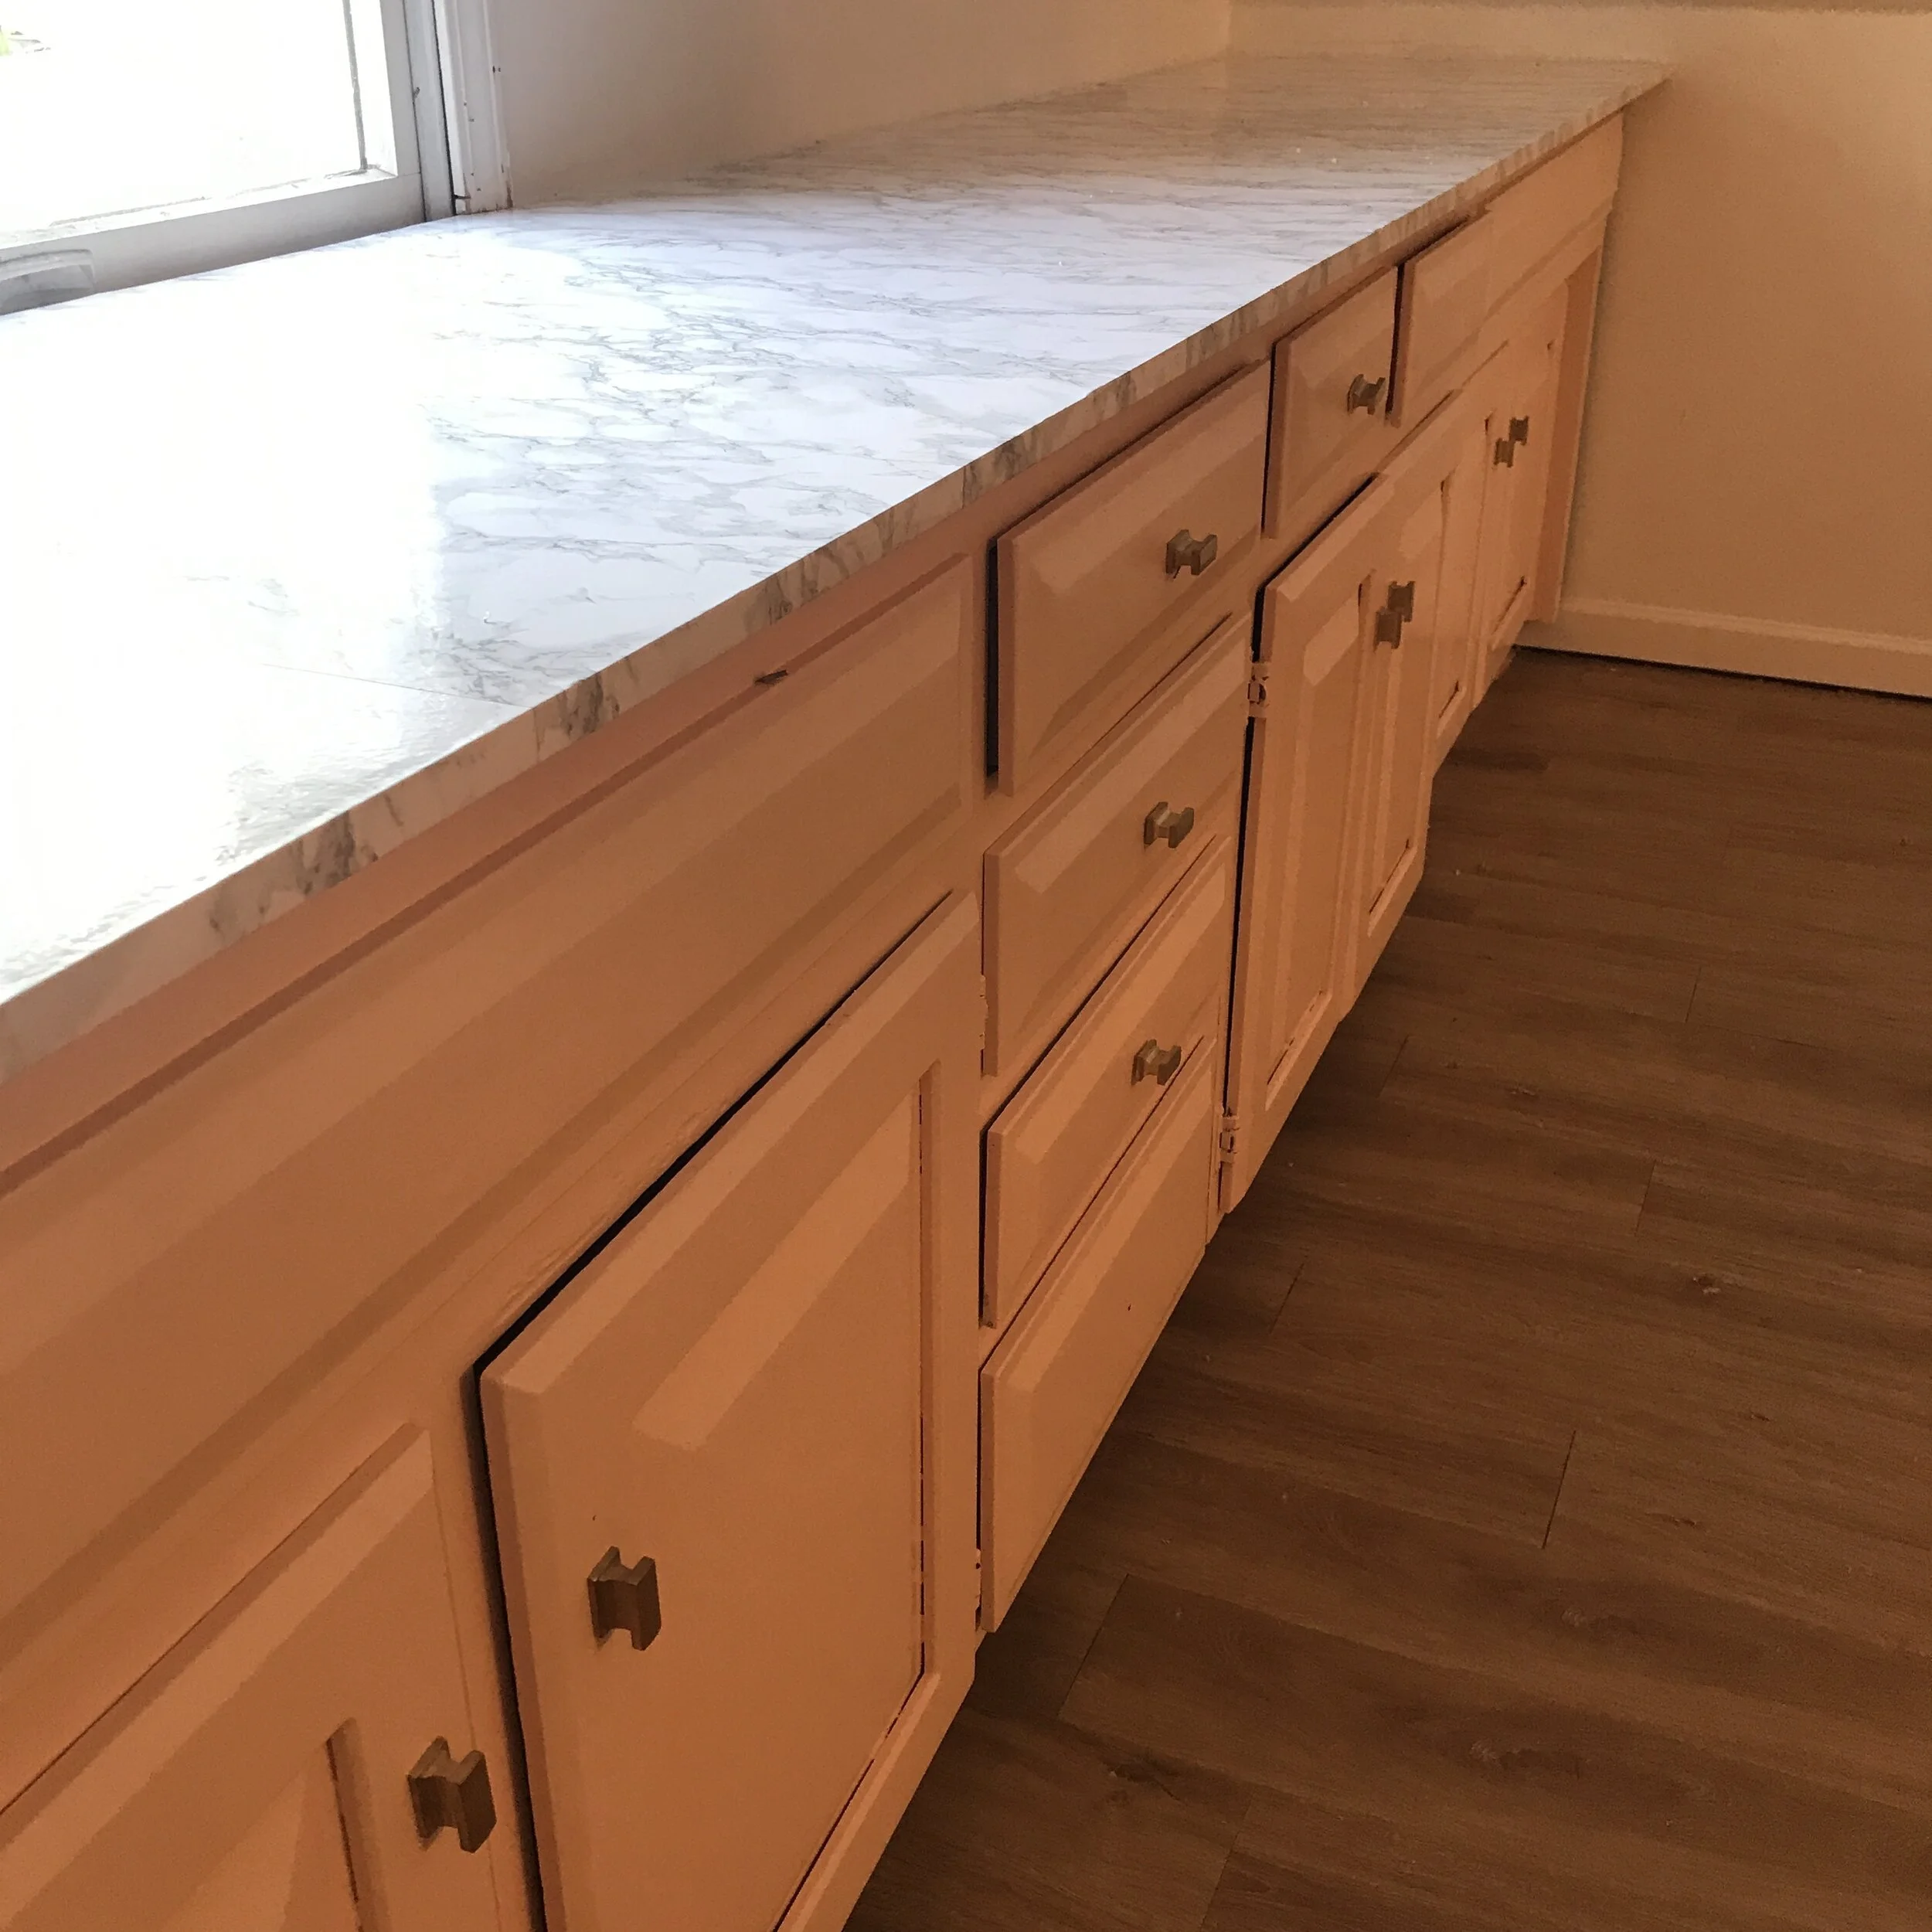
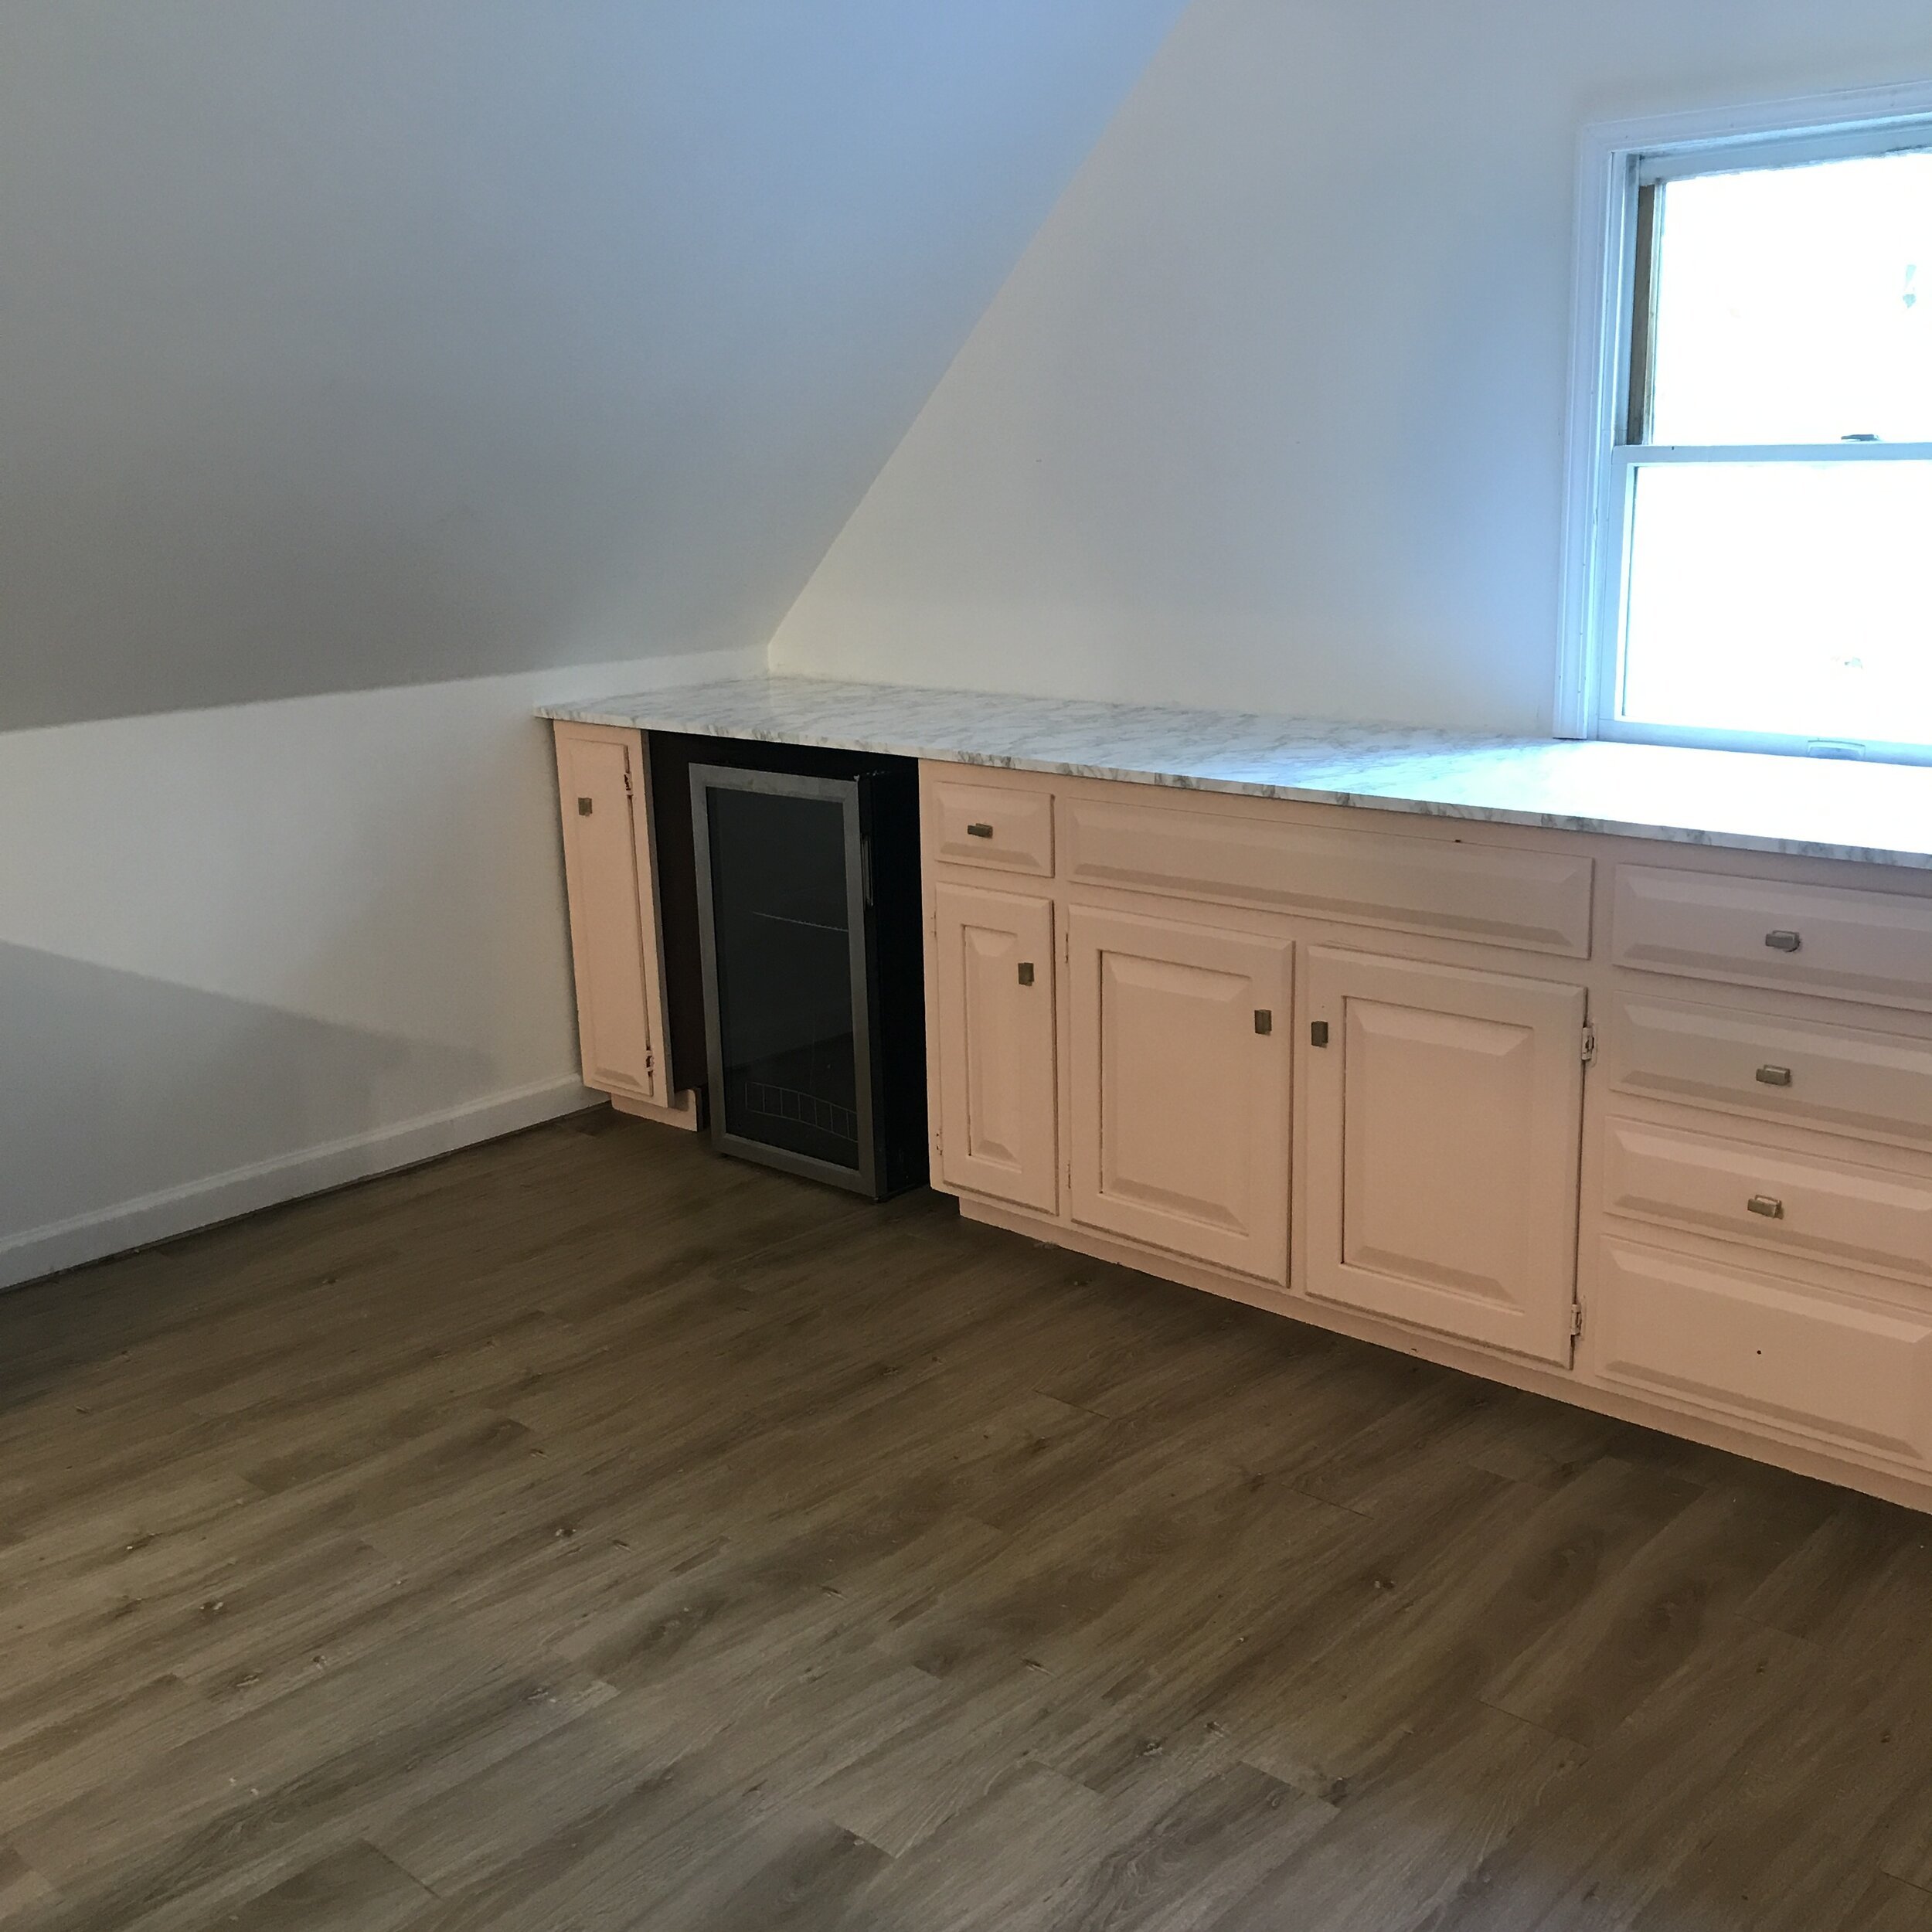
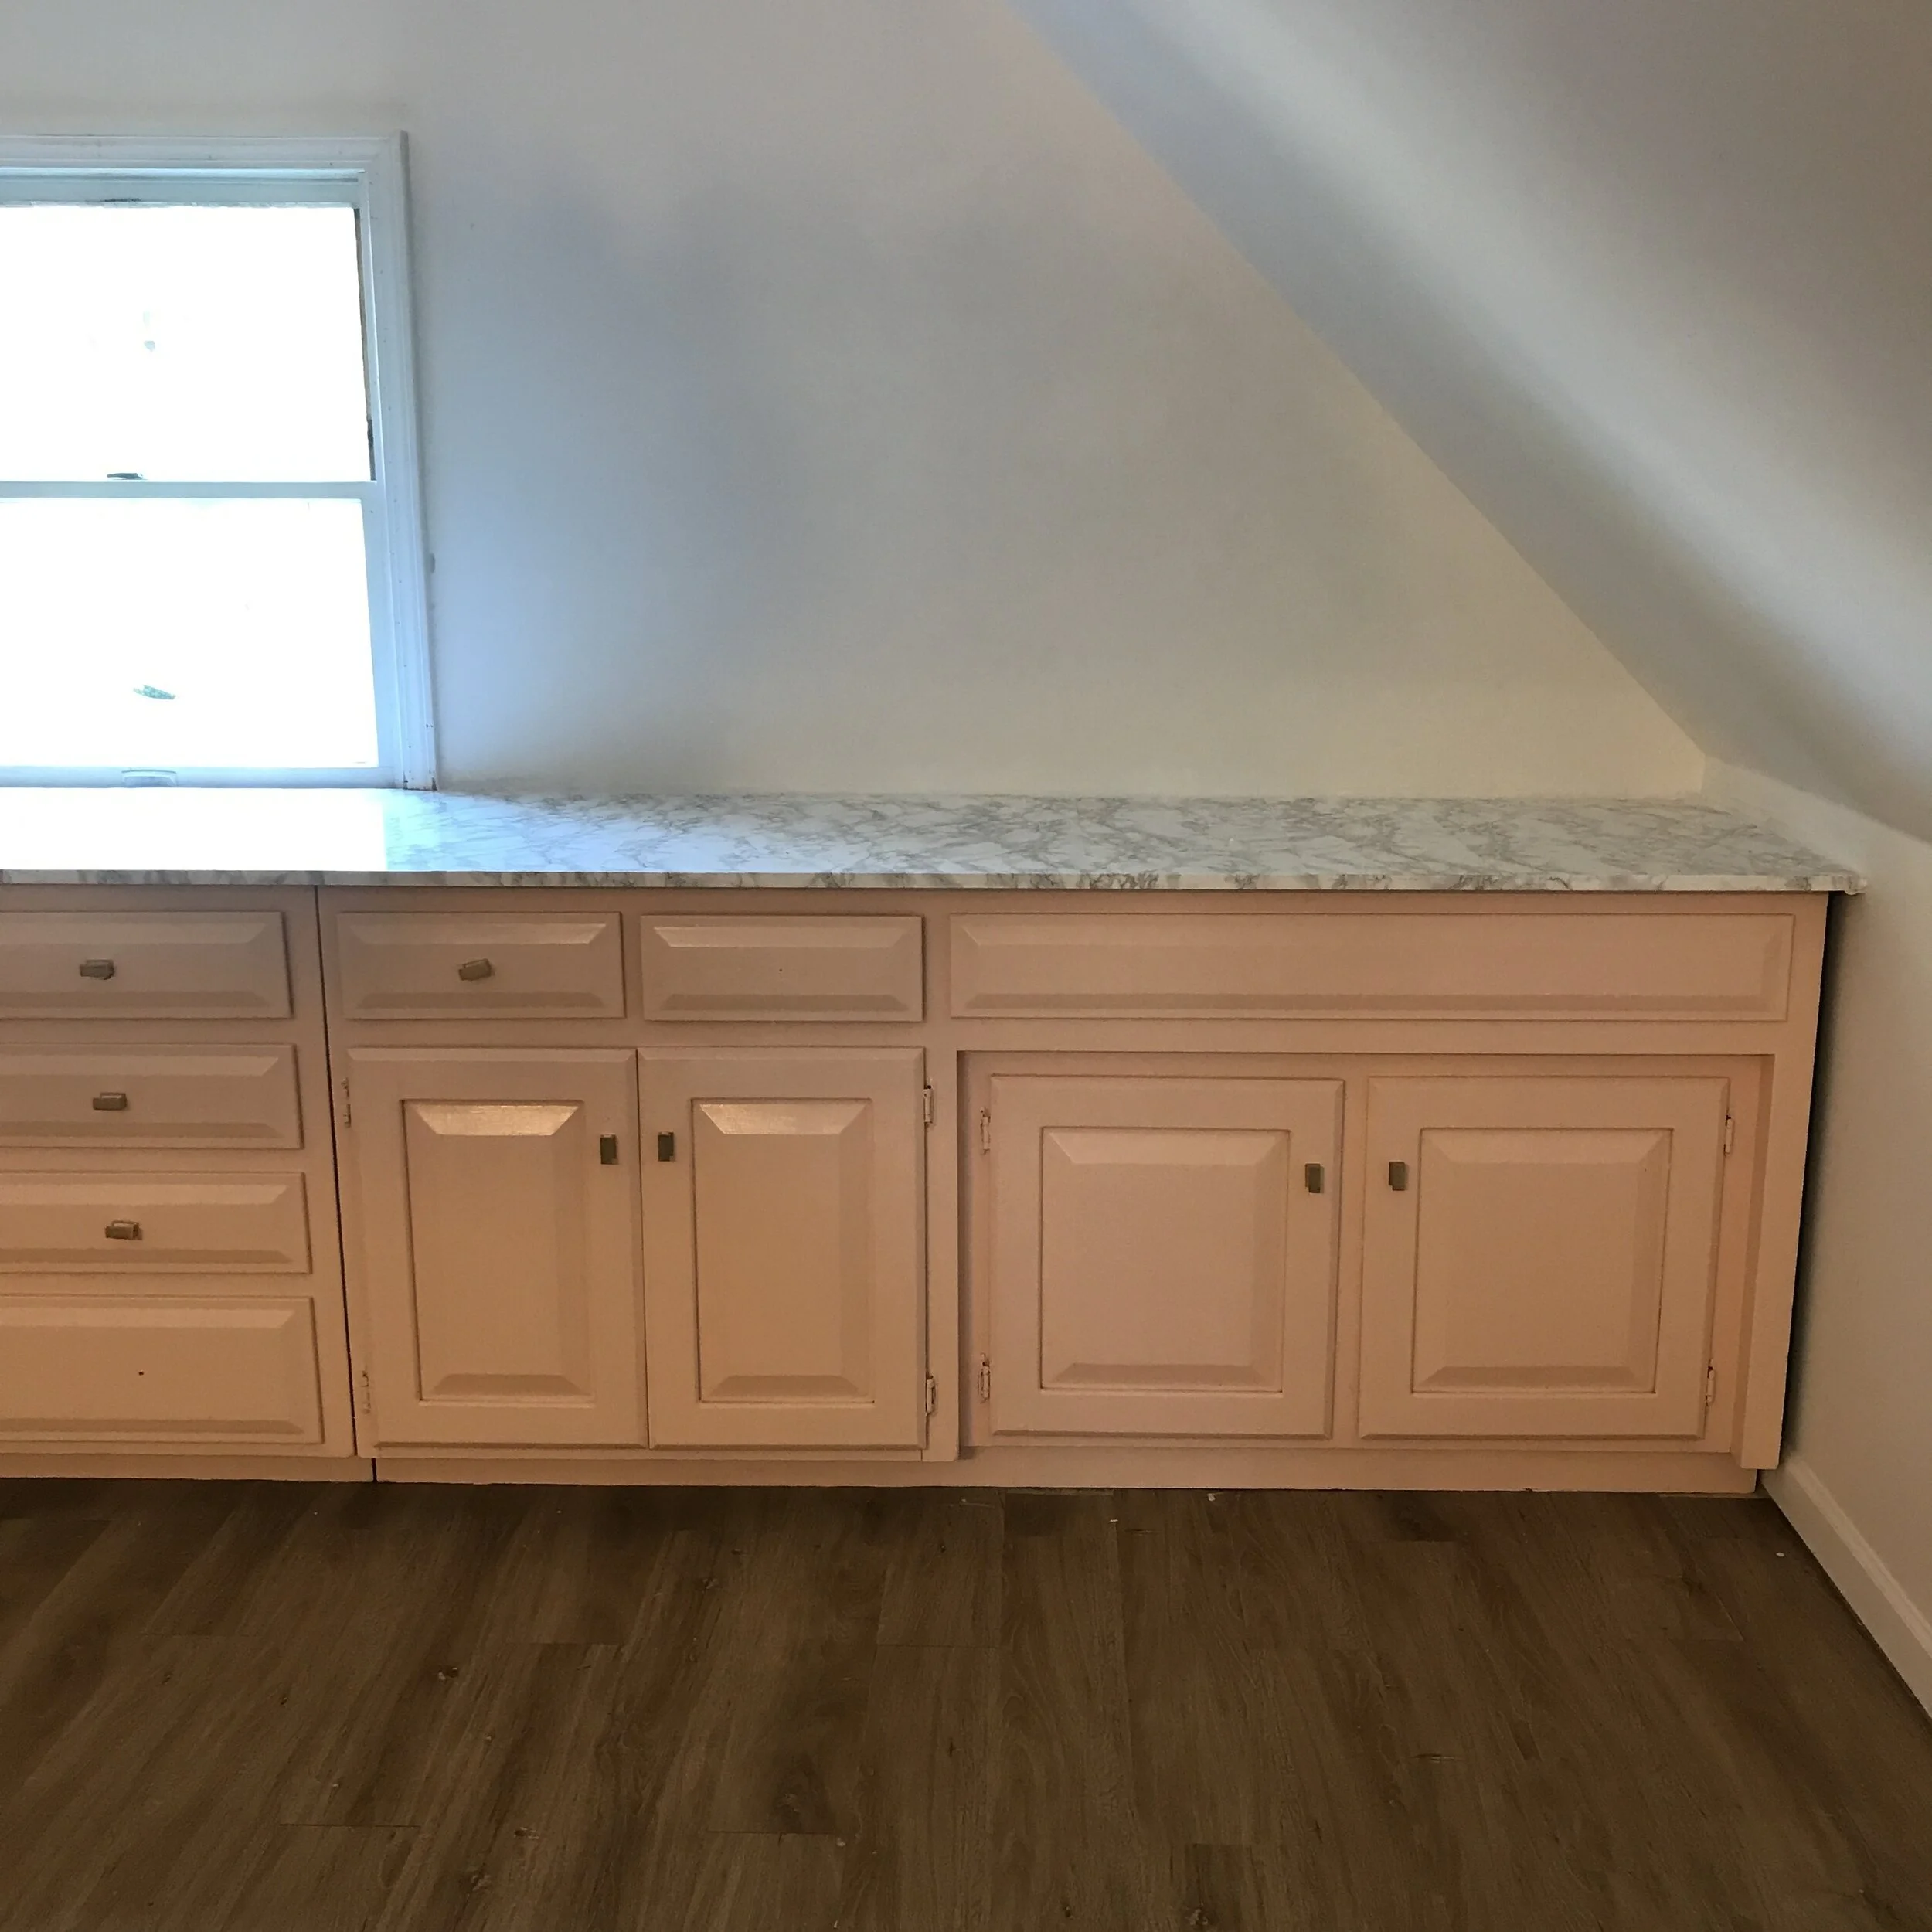
I am so excited to share with you all this super simple and inexpensive DIY for marble-look countertops on a budget! While we were planning and working on my office studio renovation, I knew I wanted lots of storage for the back wall. I ended up finding a full set of cabinets that were just the sizes I needed at the local Habitat Restore, painted them, and added new knobs. They actually came with countertops but they were pretty gross and had lots of weird cut-outs where various appliances/the sink were, so I couldn’t really reuse them. I love the look of white marble and knew I wanted to have something similar, especially so I could use these countertops for staging photos and as a mini backdrop. BUT as I am trying to complete this renovation on a MAJOR budget (spending as little as possible), real marble definitely wasn’t a possibility, especially since the back cabinets span 16 feet!
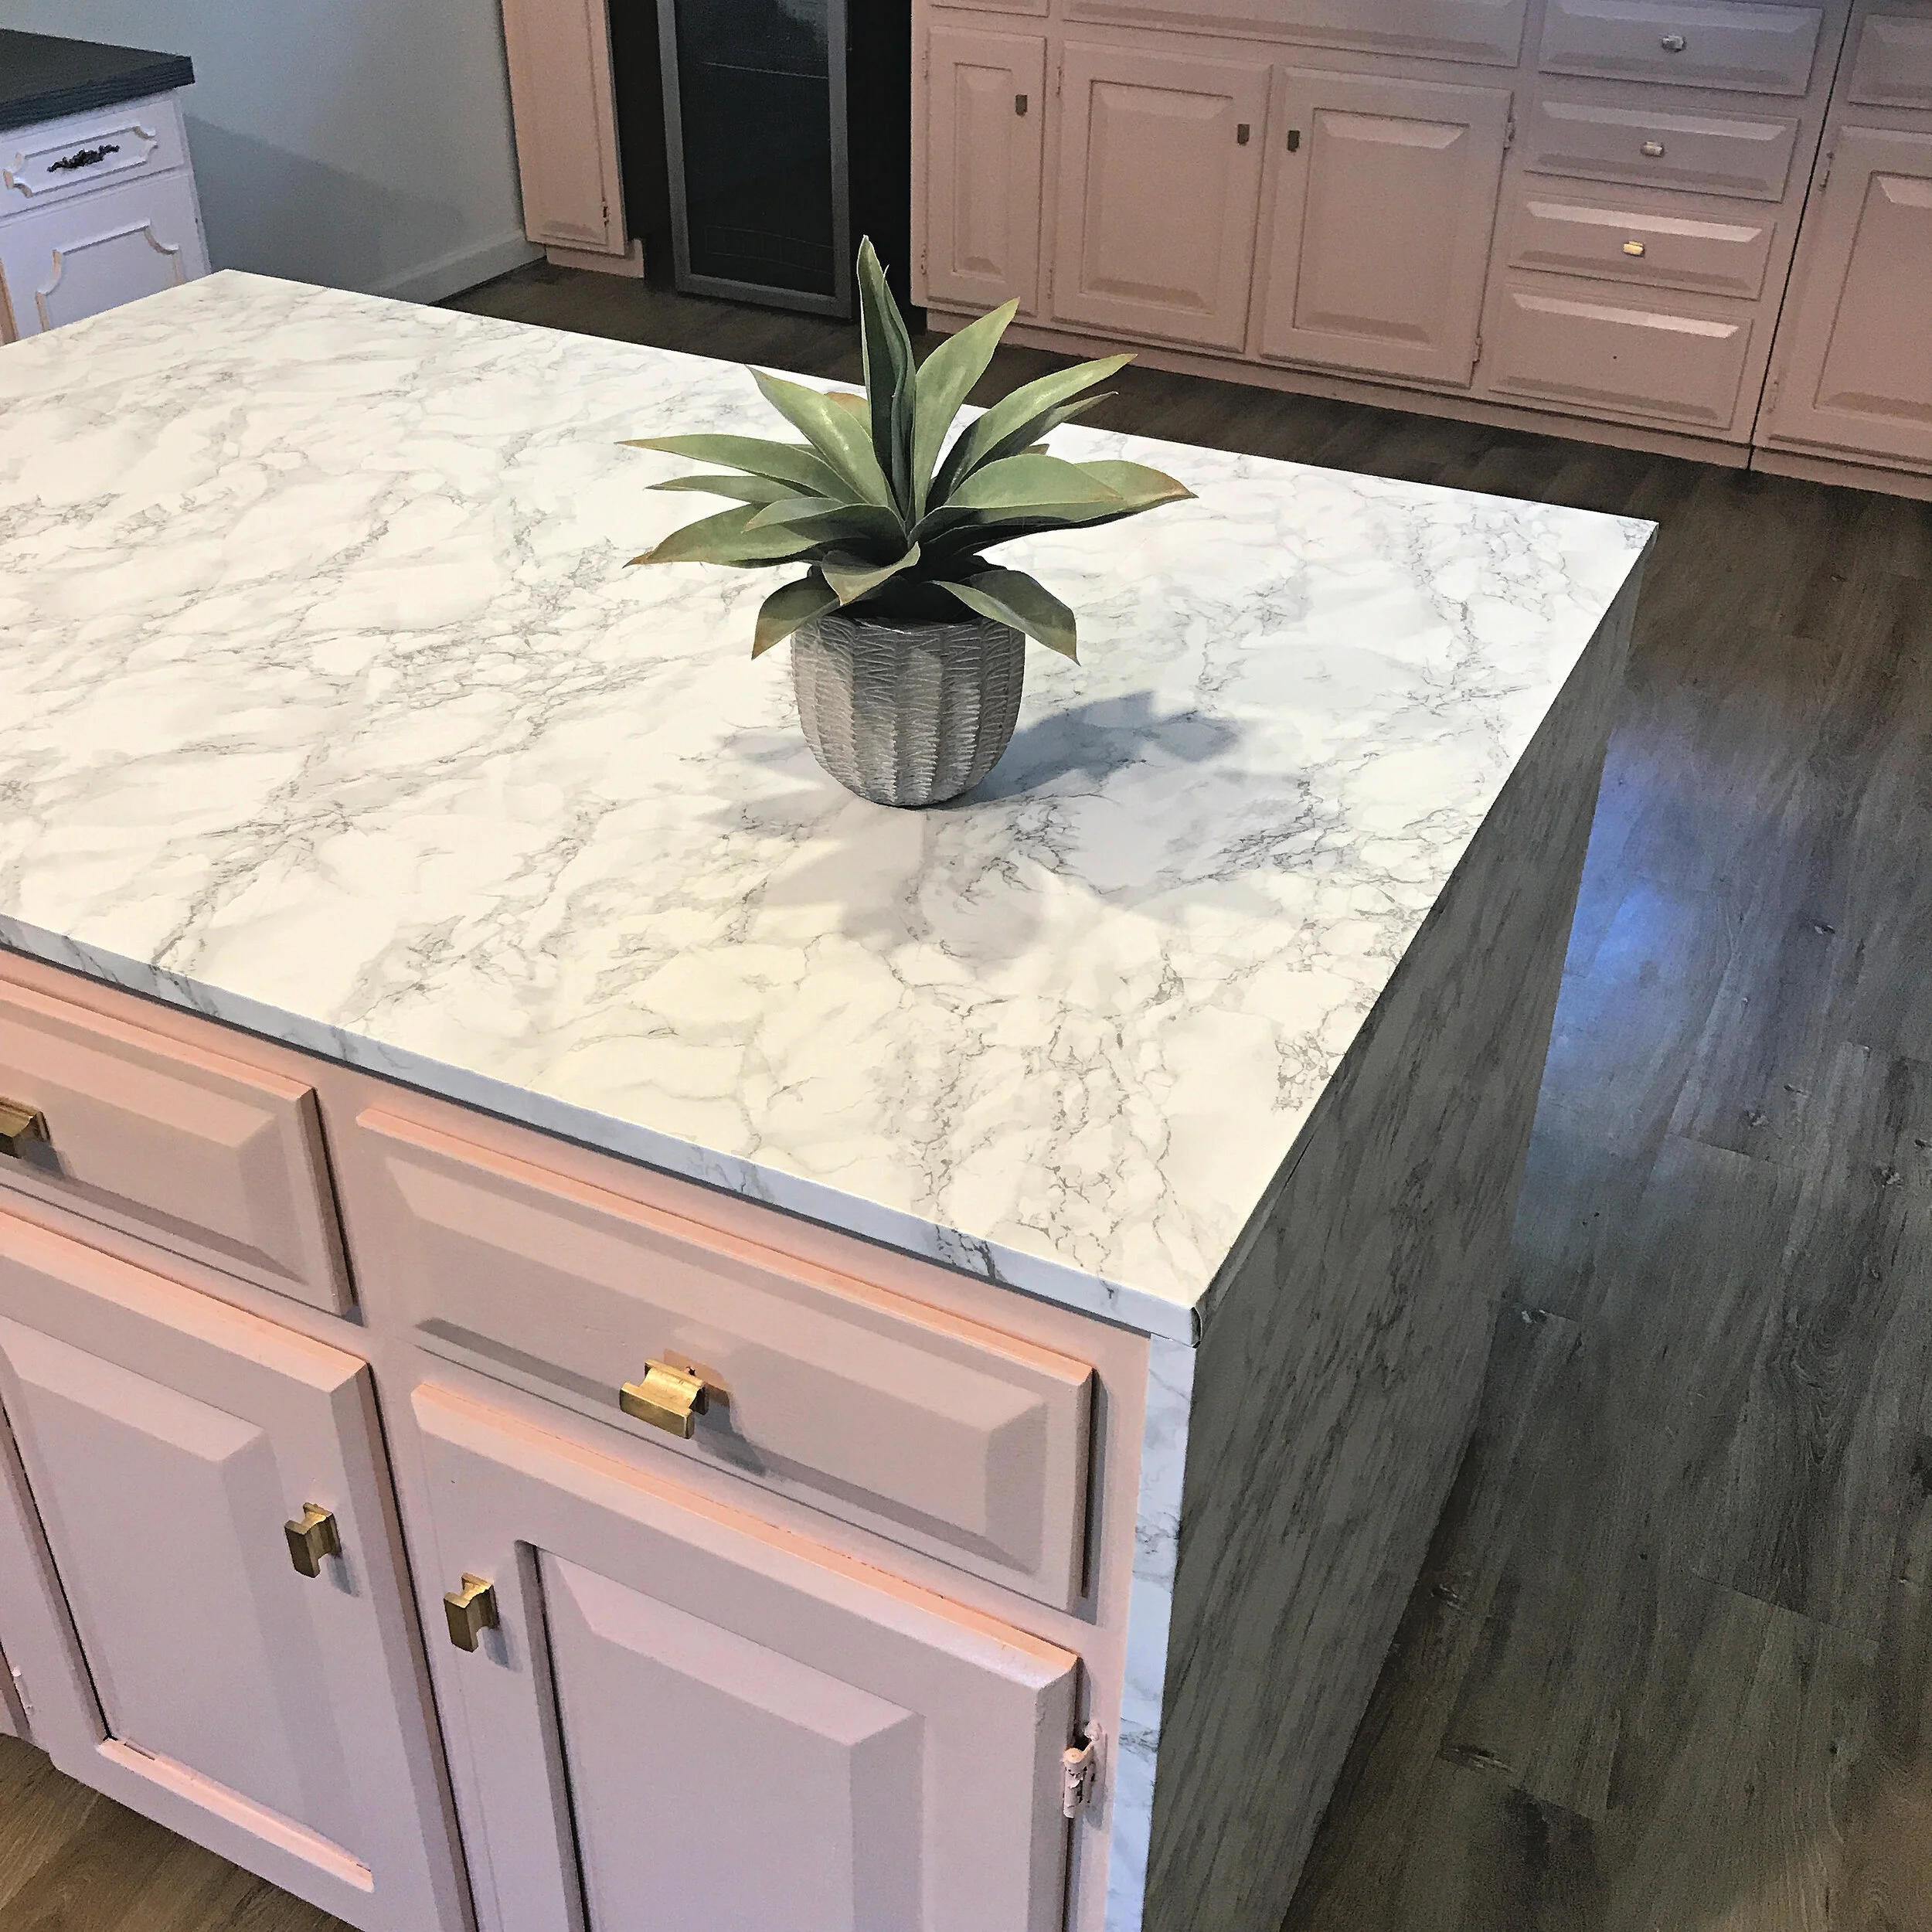
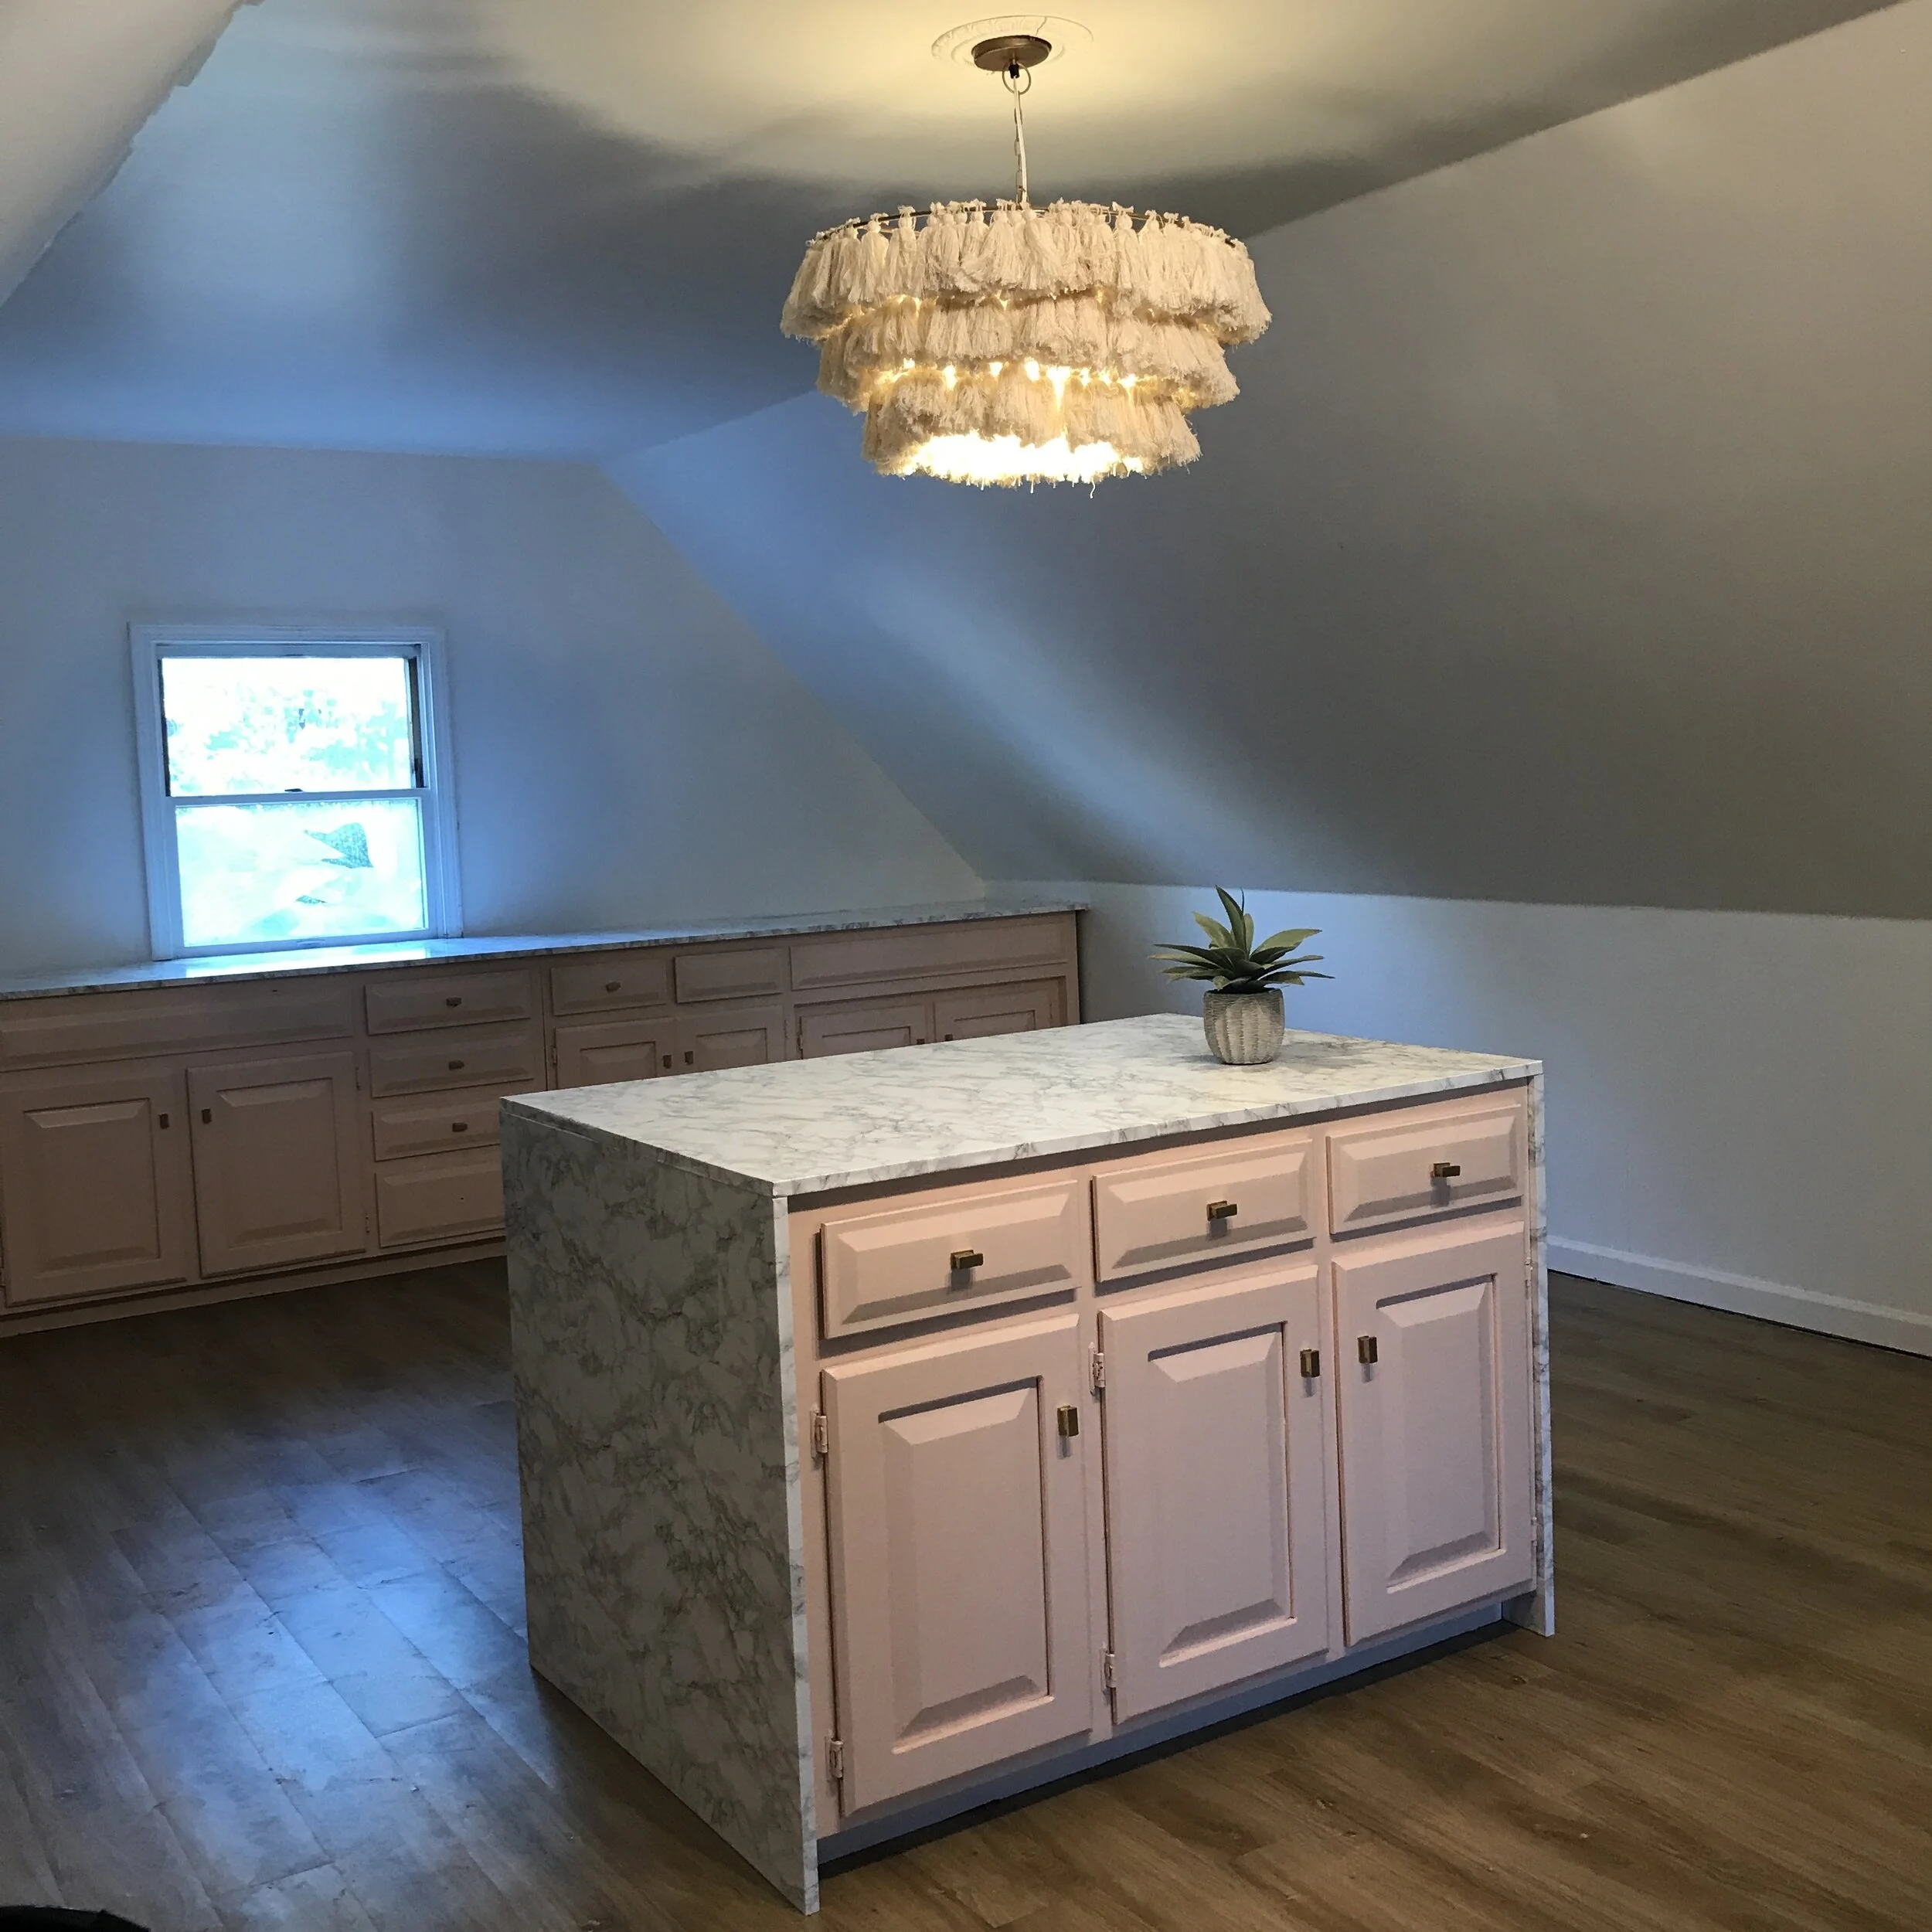
I started researching DIY marble options and saw several different tutorials, some where the marble was faux painted on, and others where they used marble contact paper to cover an existing countertop. The second option sounded much simpler to me and less time consuming, so I decided to order some marble contact paper and just try it! I was shocked at how easy and smooth the contact paper went down and how REAL it actually looked! I completed the back wall countertops first, just in case it was super difficult and I wanted to change the plan for the island countertop. It ended up being so easy, that I decided to take it up a notch on the island counter and create the marble waterfall countertop of my dreams! We even made it extra wide so that there is an overhang on the back for stools too!
In total, building the countertops from scratch and covering them cost me under $200 total! We did have all our tools and small items like screws already so the bulk of the expense was for the board to make the countertop base and the contact paper (which I needed a lot for since I did a waterfall countertop AND 16 feet of countertop in the back!). If you already have existing countertops in your space that you are just recovering, it would definitely cut down on cost significantly and you could likely do this for under $100! So far these are holding up great and the contact paper is waterproof so you can even wipe them down and clean them like regular countertops! I was shocked at how high quality and thick the contact paper actually is. I’ve listed all the materials and budget for this project as well as step by step instructions and a video below! If you’re looking for beautiful marble countertops without the major expense, this is for you! Let me know if you give it a try or if you have any questions!
xoxo
Emily
3 sheets MDF board (2 ft x 8 ft; .75 inches thick)- $30 ea= $90 total
wood screws
drill
marble contact paper from Amazon- $49.90 per 4-pack; $99.80 total
scissors
wallpaper smoother (optional)
white caulk (optional)
TOTAL= $189.80
Watch the videos below for a step by step look at the process!
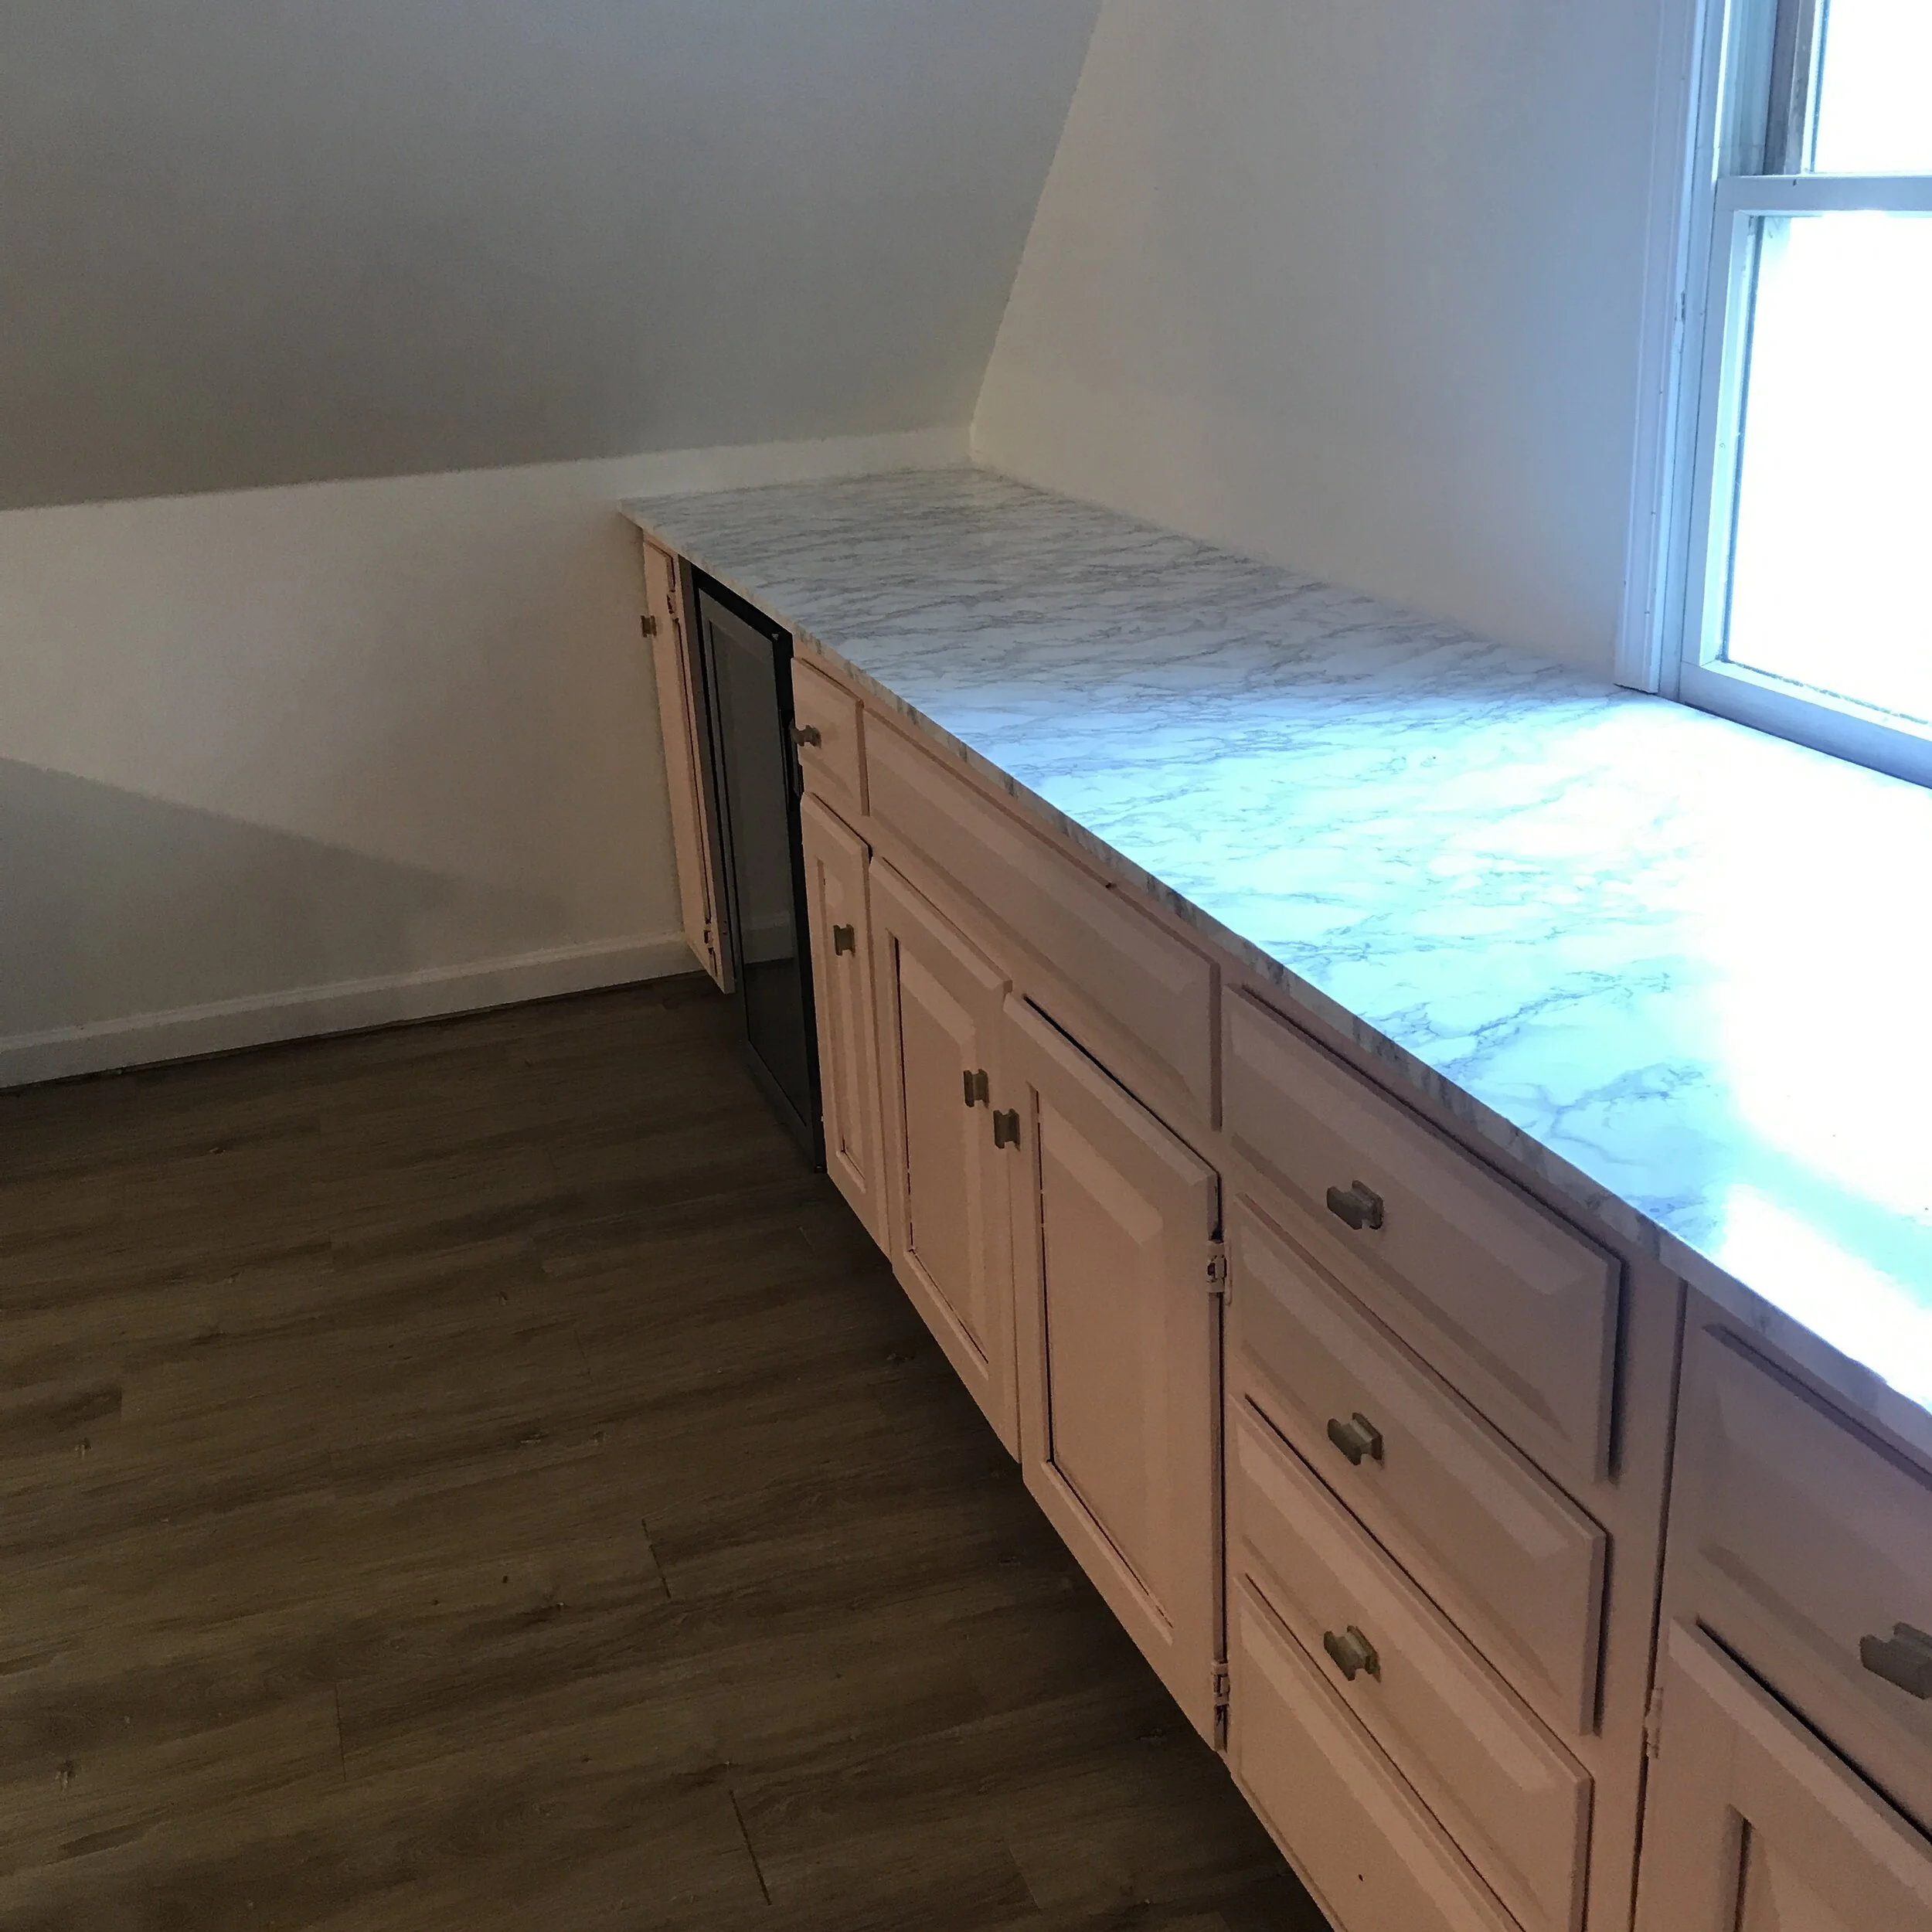
First we created a countertop out of MDF boards from Lowe’s so that I had something to stick the contact paper to! I linked the exact material we used above. We definitely could have done something slightly thicker (just for looks) but the price jumps significantly as thickness increases. This ended up being the best fit for our budget and strength-wise it is super sturdy and totally works for countertop material. I also wanted to choose an MDF board that was on the smoother side so that the contact paper would stick easily and smoothly (some are more rough and sandy!).
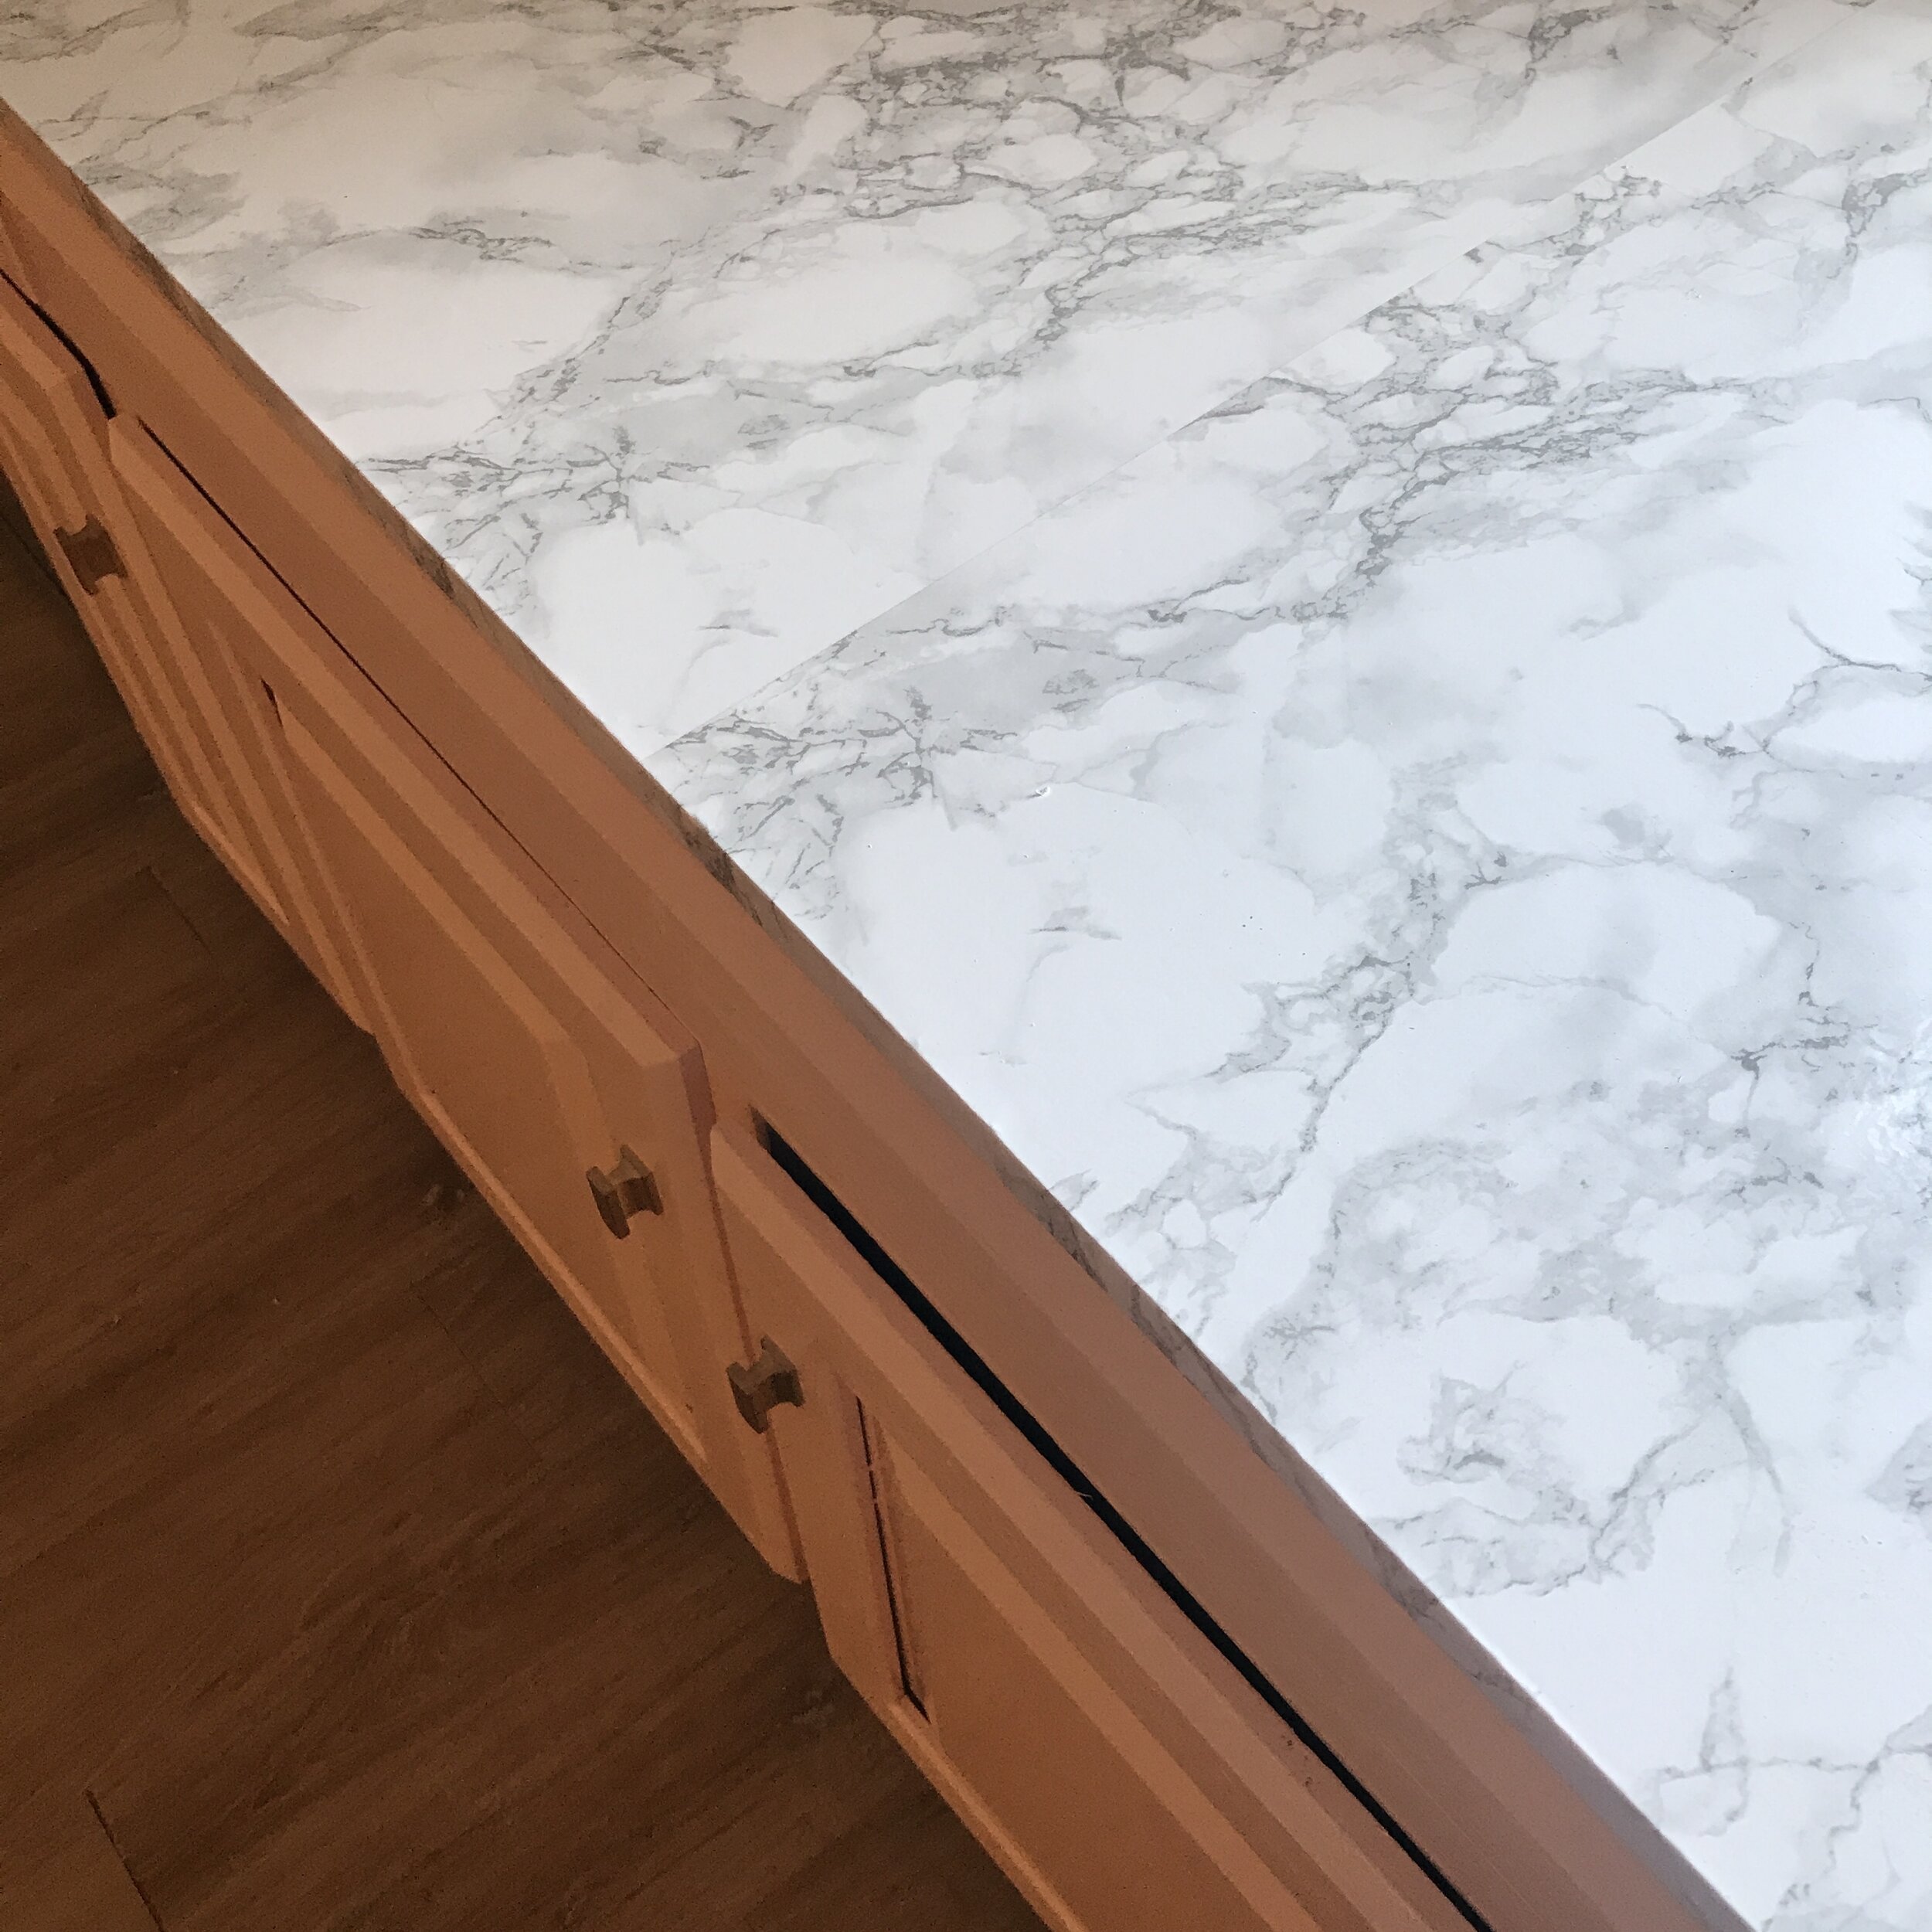
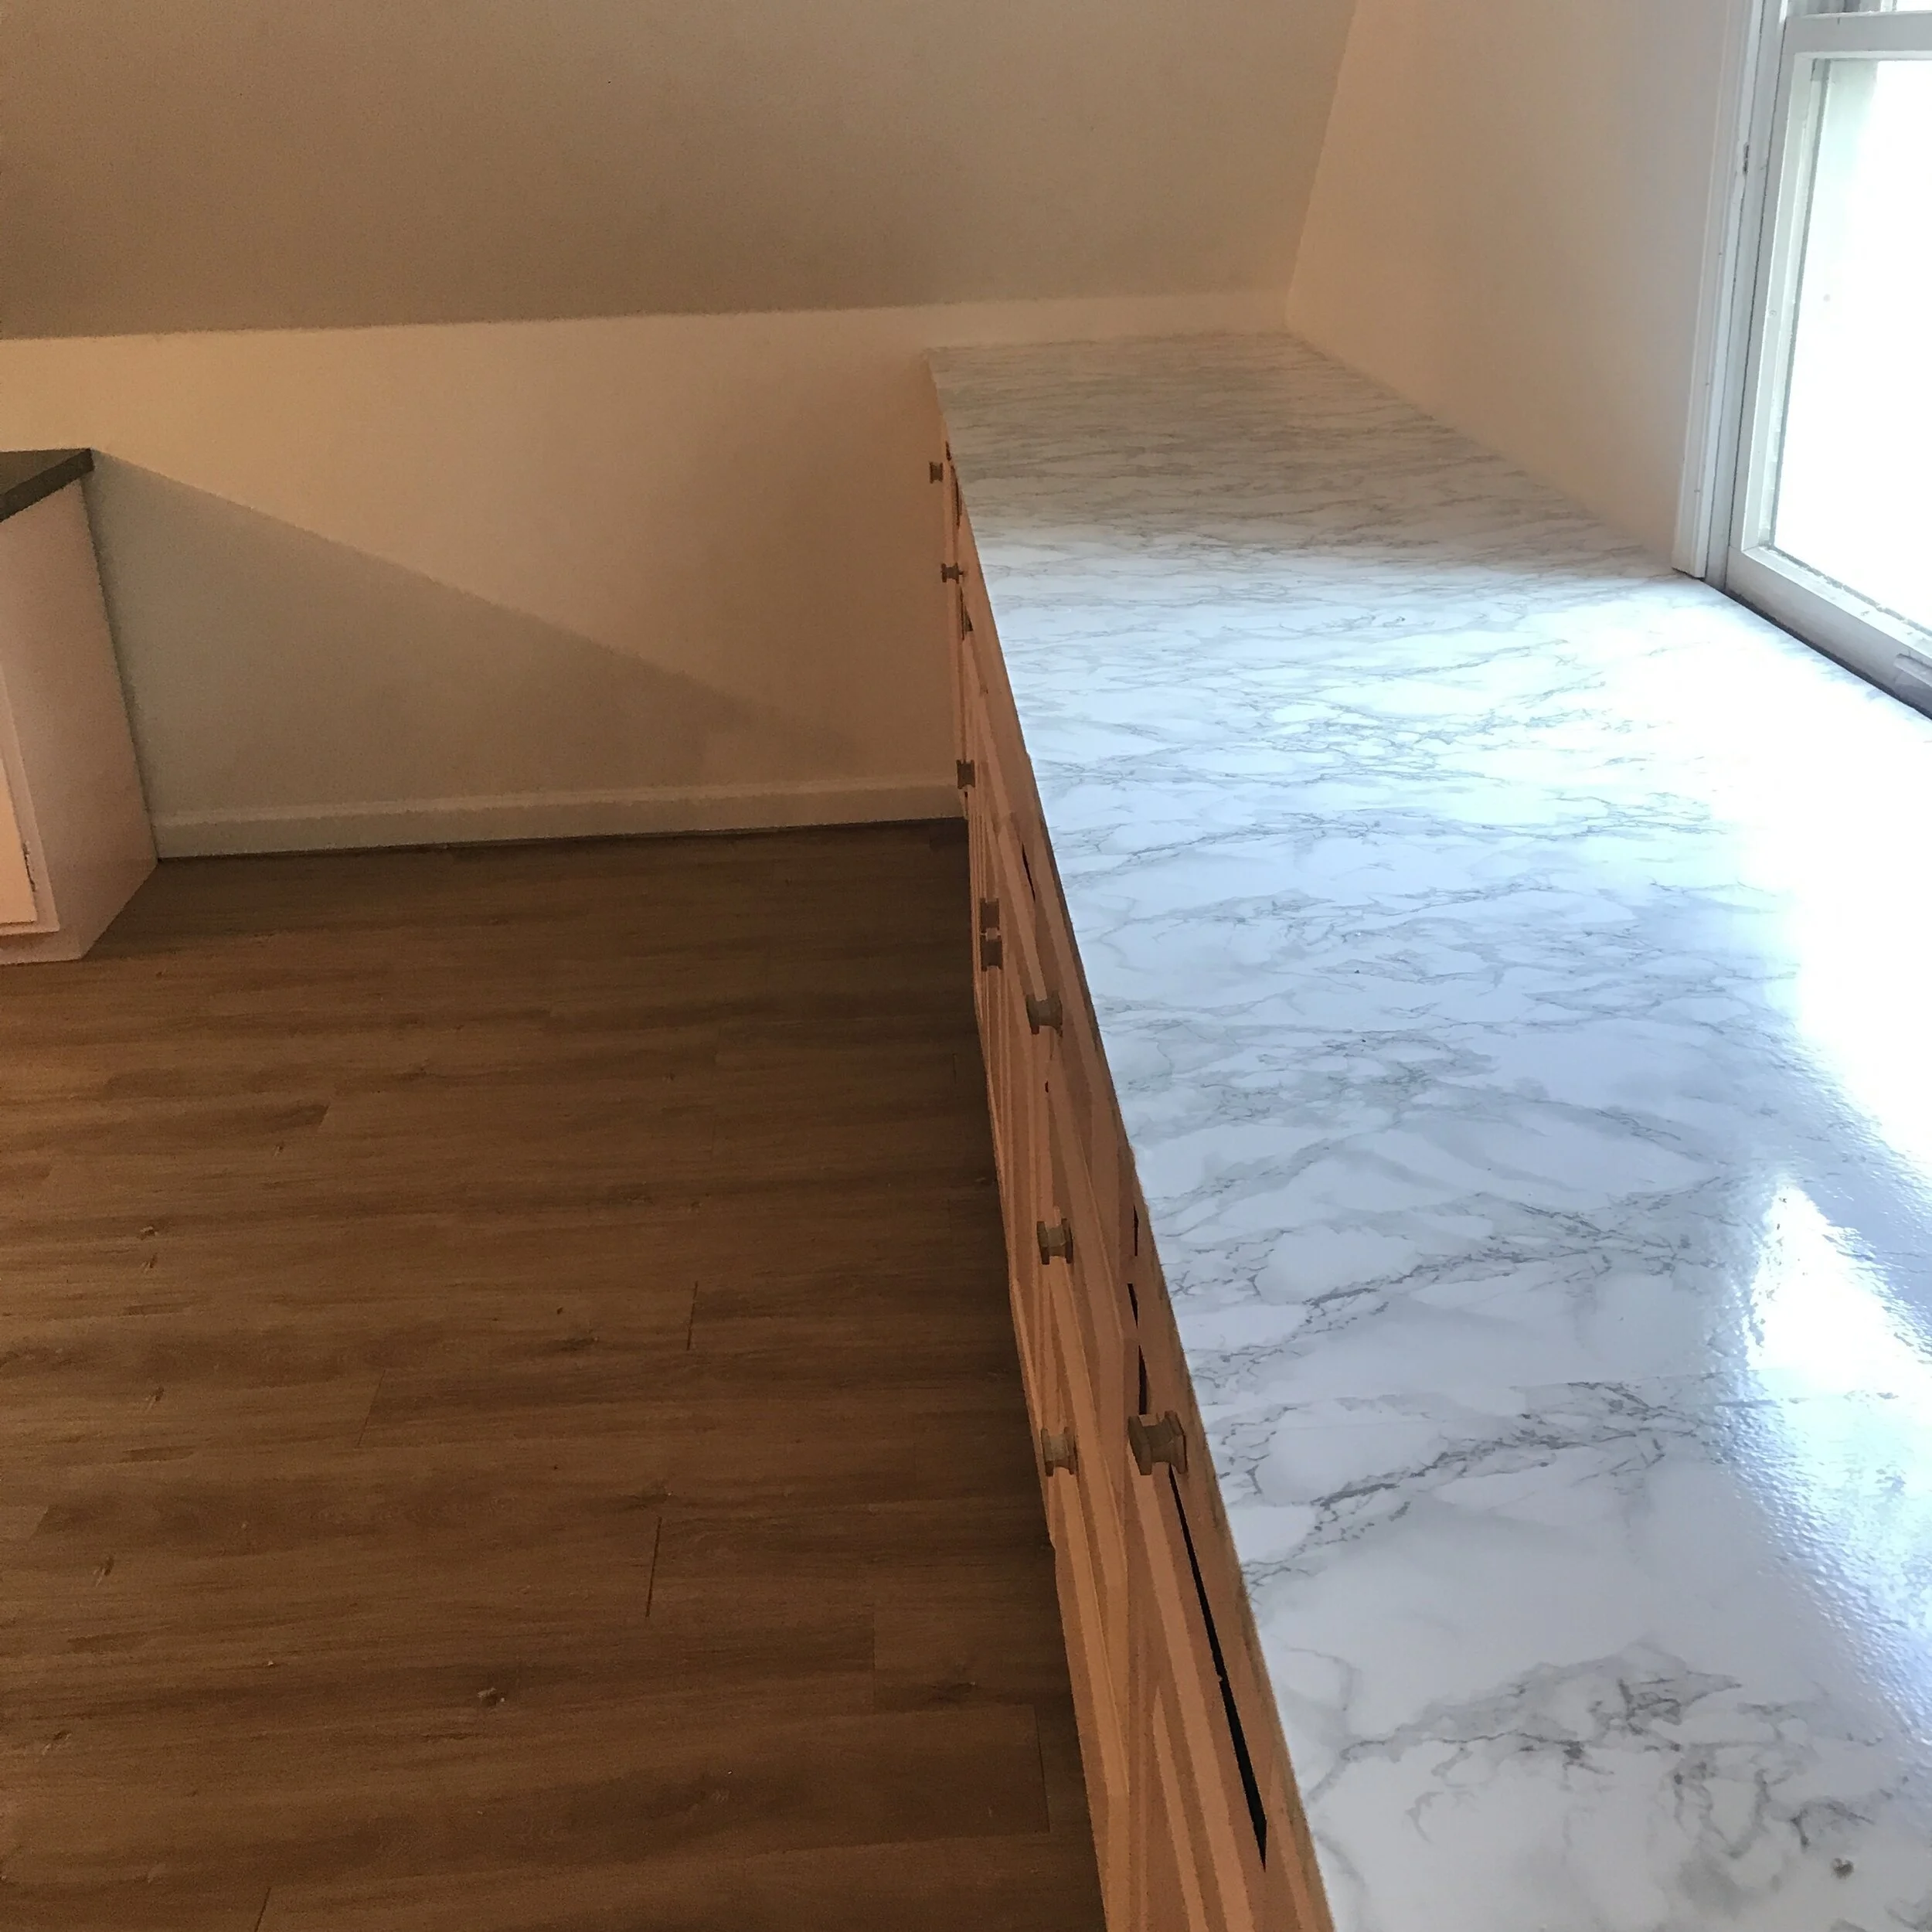
We purchased the MDF board and had them cut it to the size we needed right at Lowe’s (definitely recommend this!). Once we got it home we just placed it and screwed it in to the top of the cabinets using wood screws and a drill. One hint: My husband figured out that it helped to drill just a bit into the pilot holes with a larger drill bit before drilling your screws in (example video below). This allows your screw to kind of sit inside the hole so that there aren’t any bumps sticking out above the MDF board (which would show through the contact paper!). For the waterfall island we just added the same counterpart pieces to the sides of the cabinets as well, making it look like one continuous board all around. For the waterfall countertop on the island we did not attach the countertops until after I covered them completely with the contact paper, which made it way easier for me to get the edges wrapped all around (we then screwed those on from the inside of the cabinets out so no screws would show!).
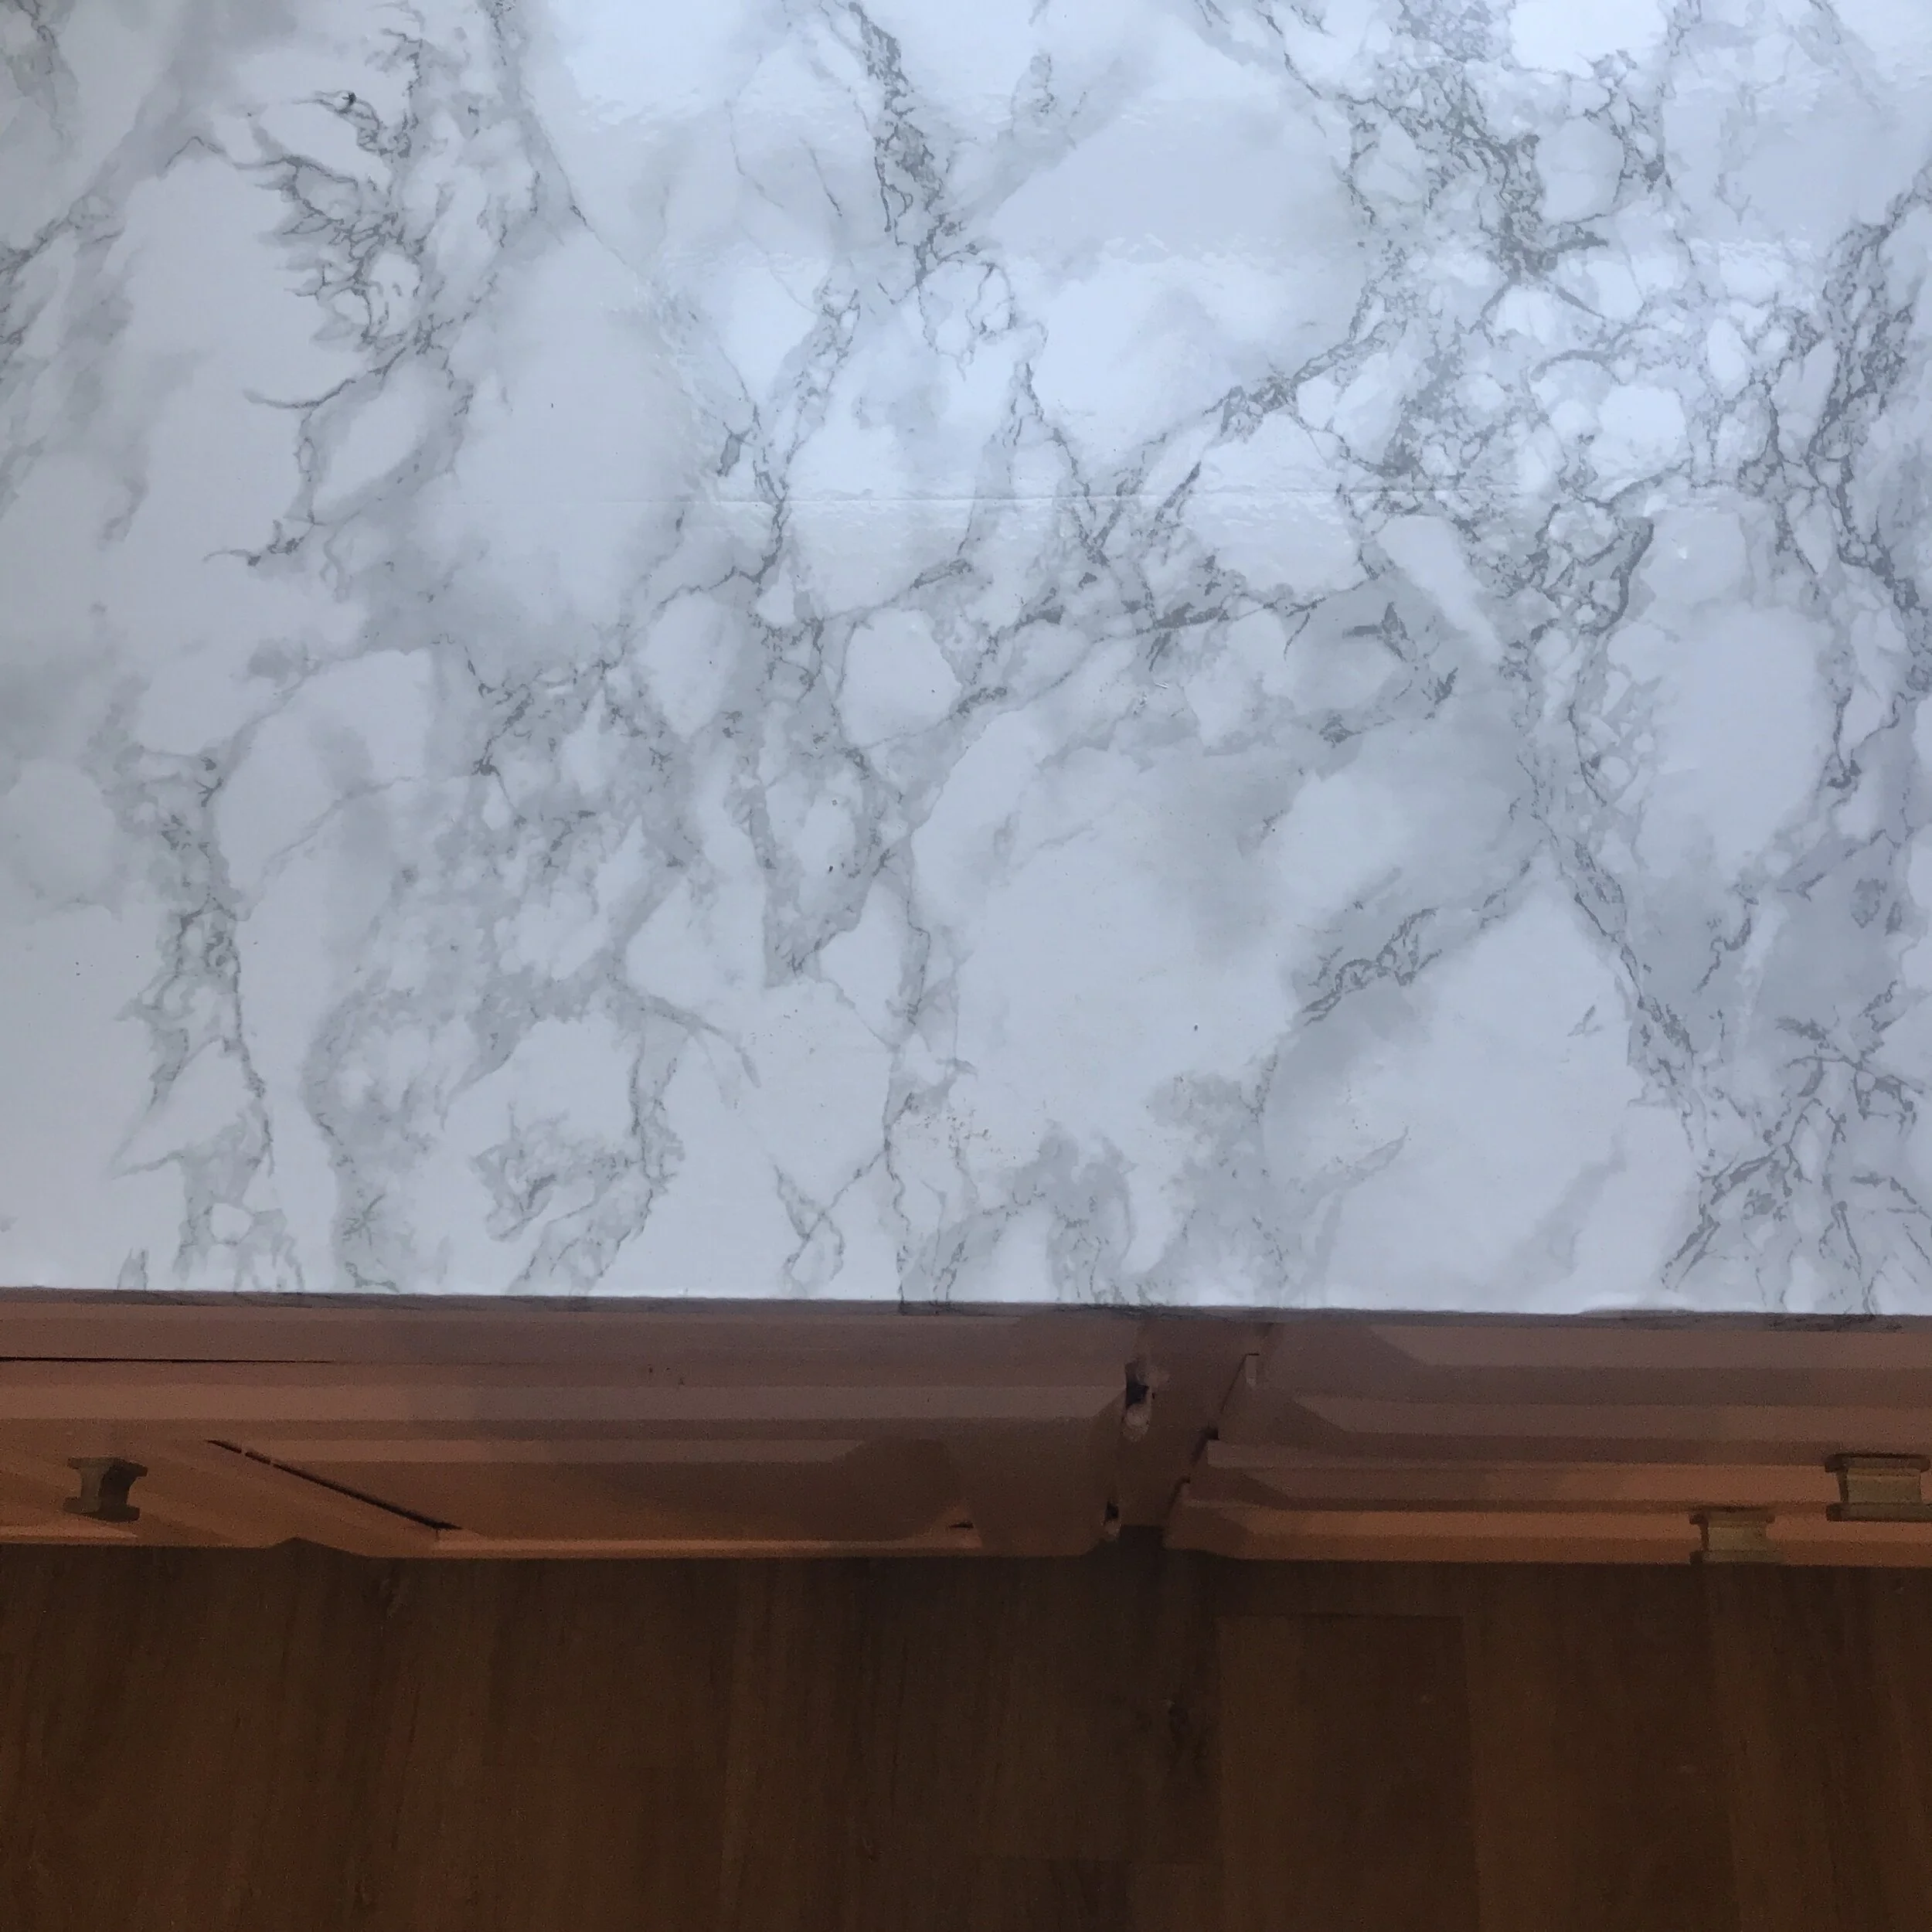
Now that the countertop bases are attached, you can start adding the contact paper! For the back countertops, I started at the very end and worked my way down. For the island I started in the center and worked my way out on each side, because I didn’t want to risk having a big seam right down the middle. You want to overlap as little as possible because the contact paper does stick really easily to itself and it’s almost impossible to undo it! The only problems I had were when I tried to overlap too much and the paper got stuck to itself by accident.
Start by lining the paper up at the top of the counter, then carefully pull back a little of the backing at a time and stick it down as you go, also lining it up along the side as well. I kept a large level handy so I could keep a straight line going but if you get off alignment at all, it’s super easy to pull up and restart (as long as you aren’t overlapping too much!).
Keep carefully pulling the backing off and smoothing down (using the wallpaper smoother as you go to avoid any bubbles or bumps). When you get to the end, I would go ahead and cut my paper off the roll, then carefully wrap it around the end of the countertop. The wallpaper smoother really came in handy for this step because it was difficult to smooth the corners and edges with my fingers and that helped really get it smooth and tightly wrapped around it.
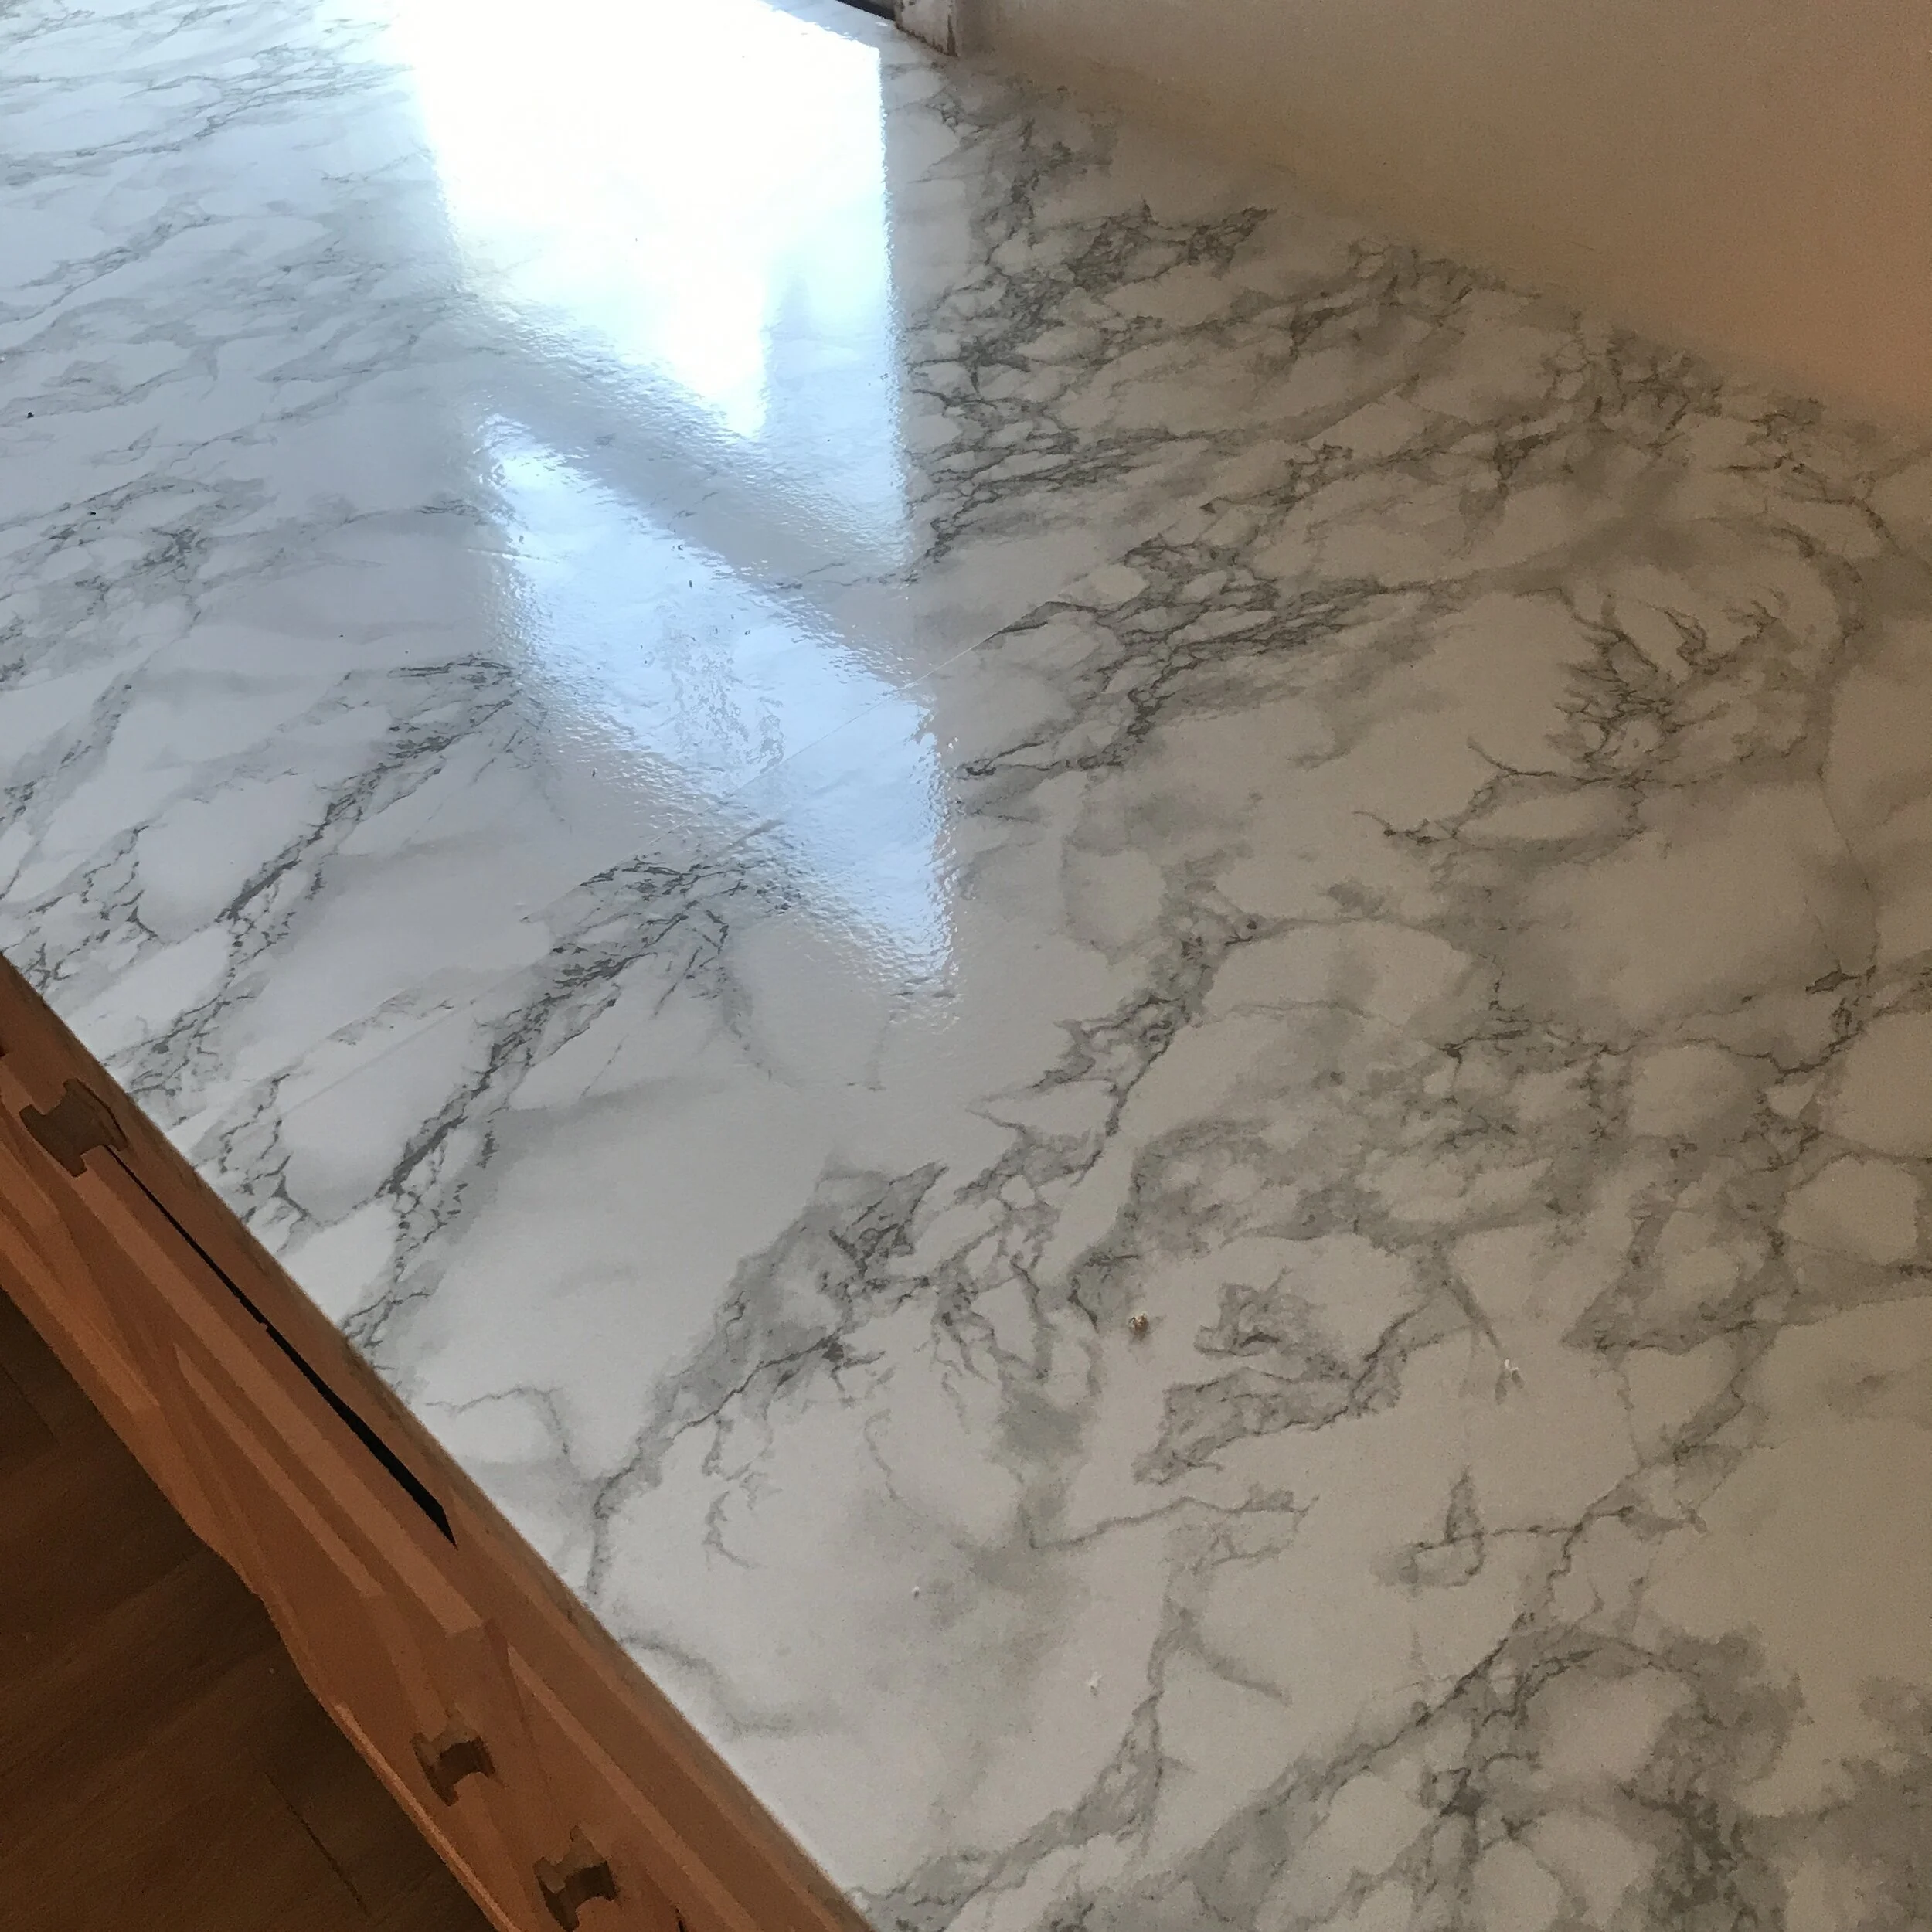
Repeat the steps all the way down your countertop, overlapping as little as possible until you reach the end. The end was the only area I struggled with because I tried to overlap it too much on the last run instead of just trimming the paper lengthwise before I stuck it! I did not match the pattern on my seams just because I would have needed to buy twice as much paper for that. I don’t think it is super noticeable though!
For the waterfall counter, we left the sides unattached so I could easily wrap them with the contact paper all around the edges on both sides. Then after I finished, we screwed them into the cabinets from the inside so that the screws wouldn’t show!
As a finishing touch (optional), caulk around the edges of the countertop where it meets the wall so there is no gap and it looks completely smooth! This will also hide any imperfections you may have around the edges and give you a smooth line! Be sure to get bright white caulk so it matches the marble paper well.
As a side note: I was pleasantly surprised at how easily and smoothly the contact paper went down. I guess from my wallpapering experience I was expecting a lot of bubbles and having to pull up and redo it many times, BUT it’s definitely MUCH easier than wallpapering. Also this marble pattern is very forgiving of both the seams and any imperfections. I would highly recommend the contact paper I used and linked above because it is a thick, waterpoof (you can wipe it down!), and great quality which I think is so important to the ease of install. There definitely are some small areas here and there that aren’t perfect but overall I’m so pleased with the result!