How to Build a Cheeseboard Themed Easter Basket
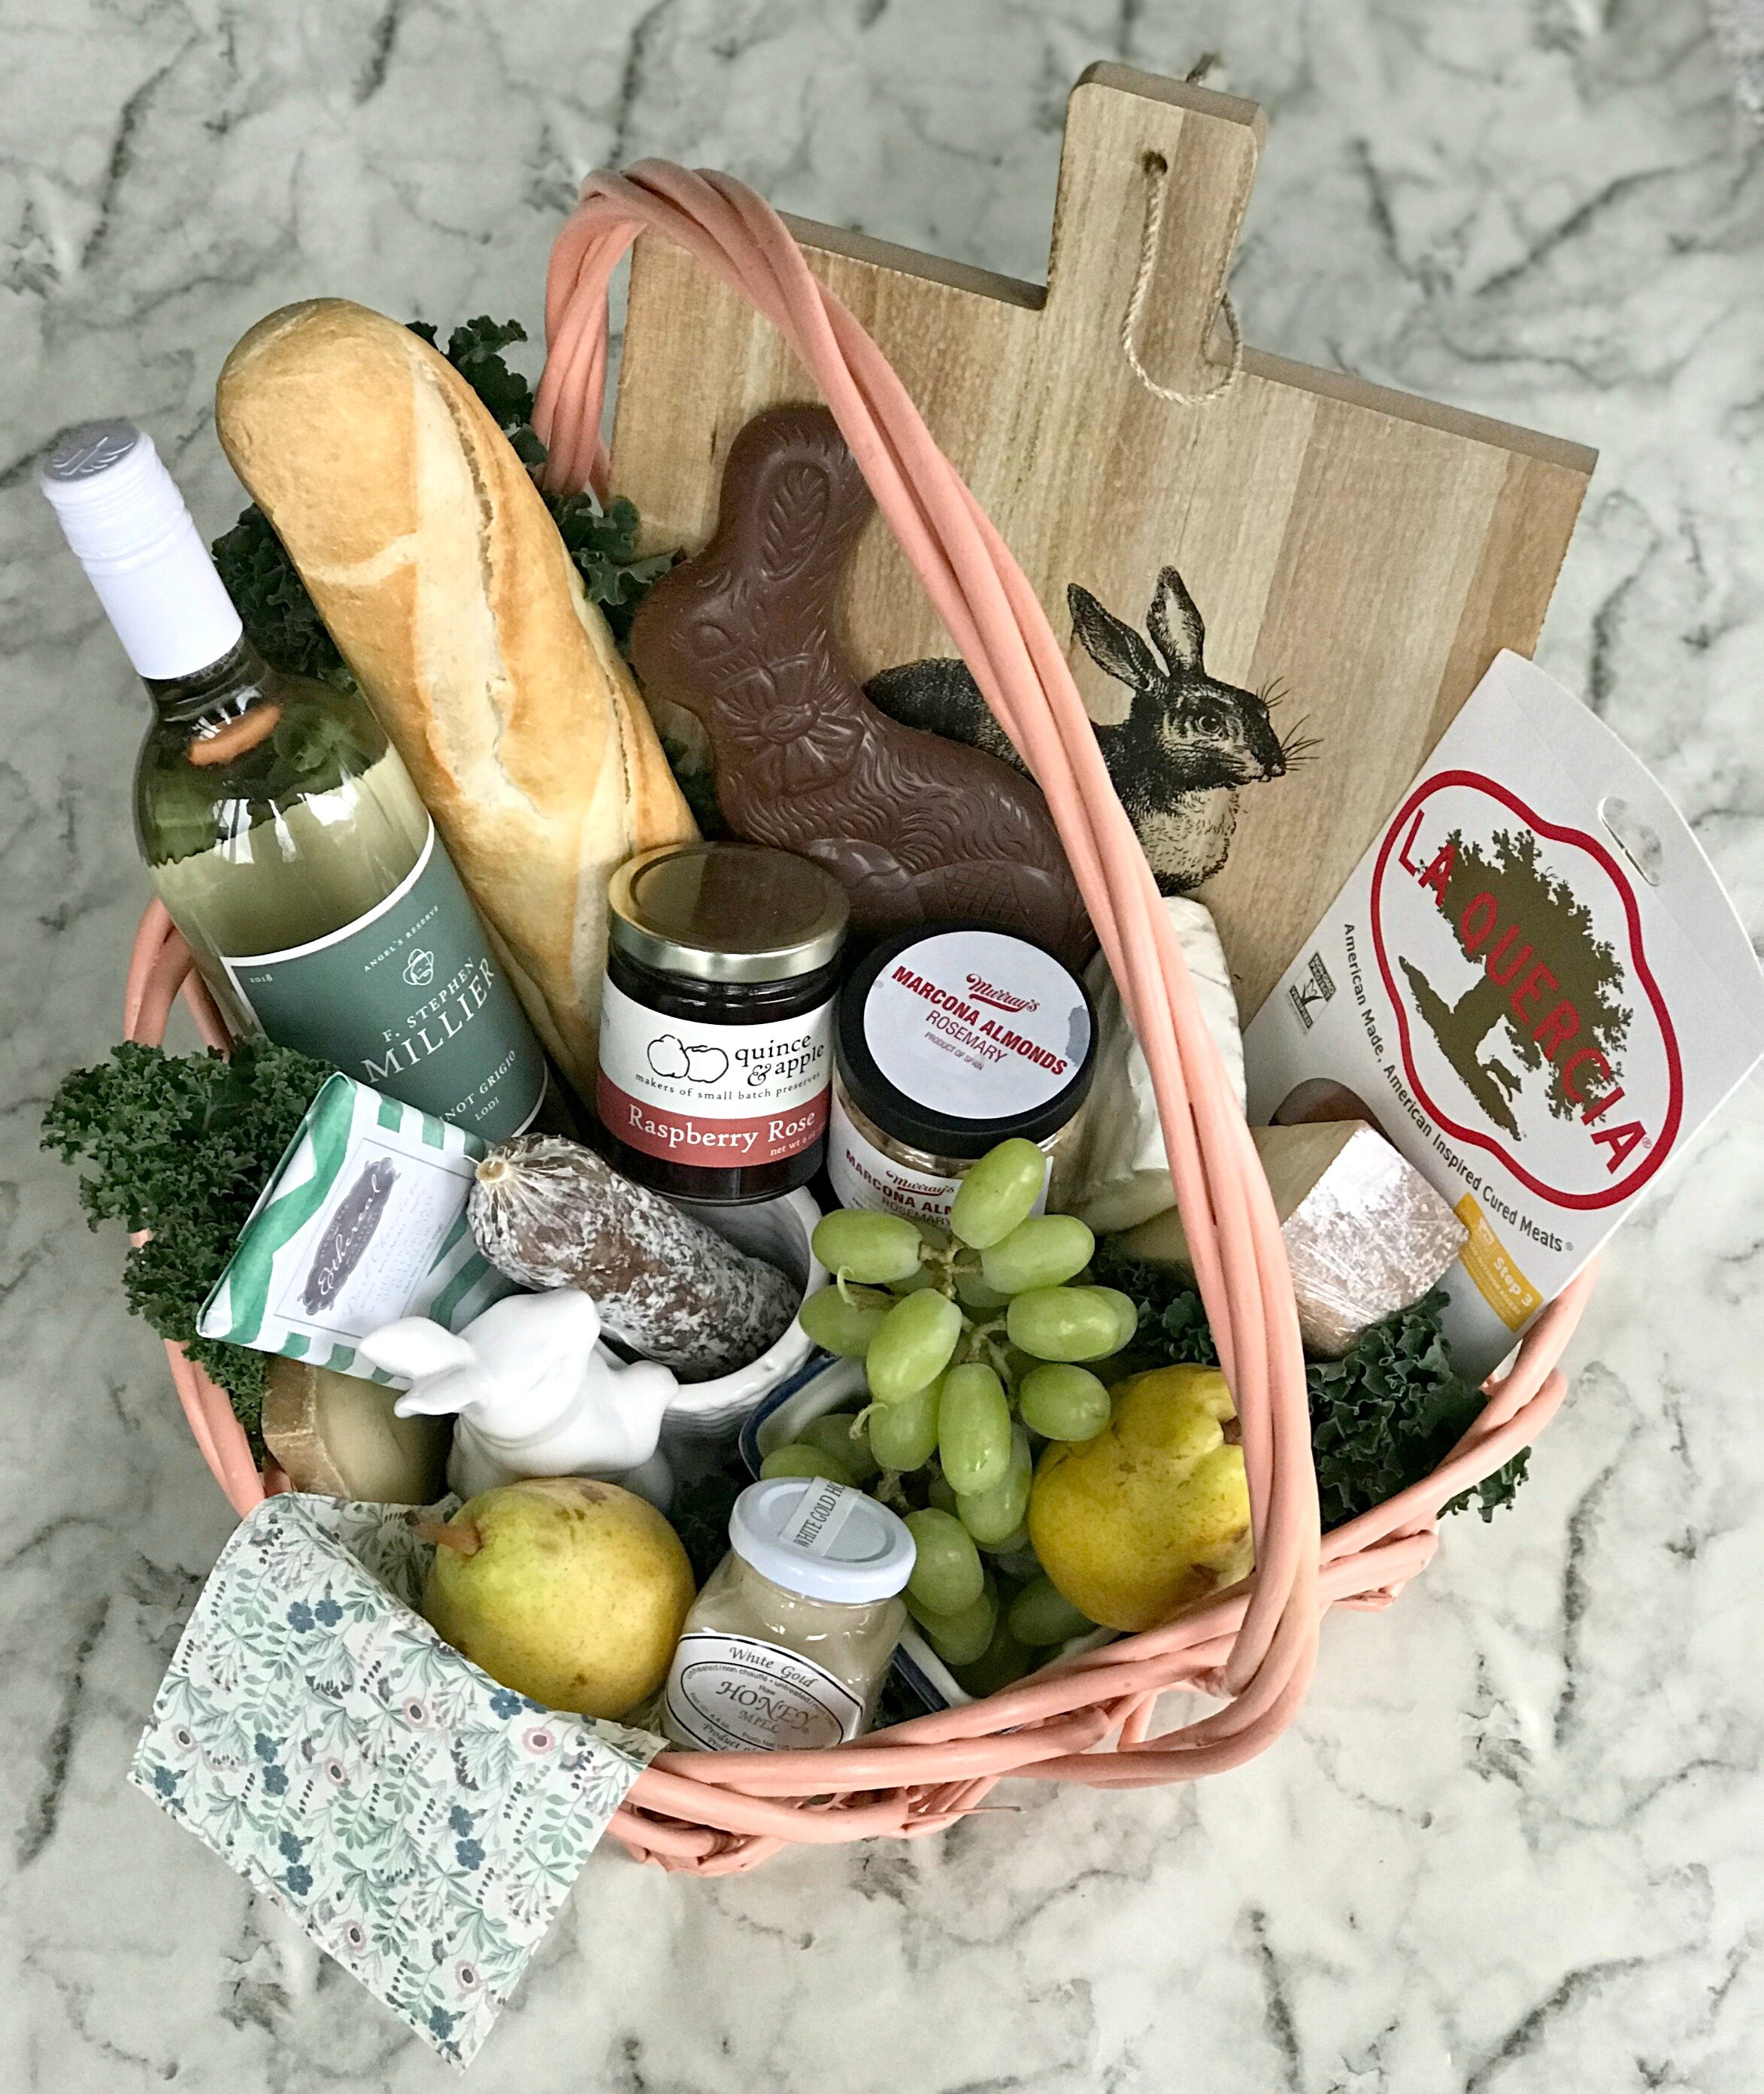
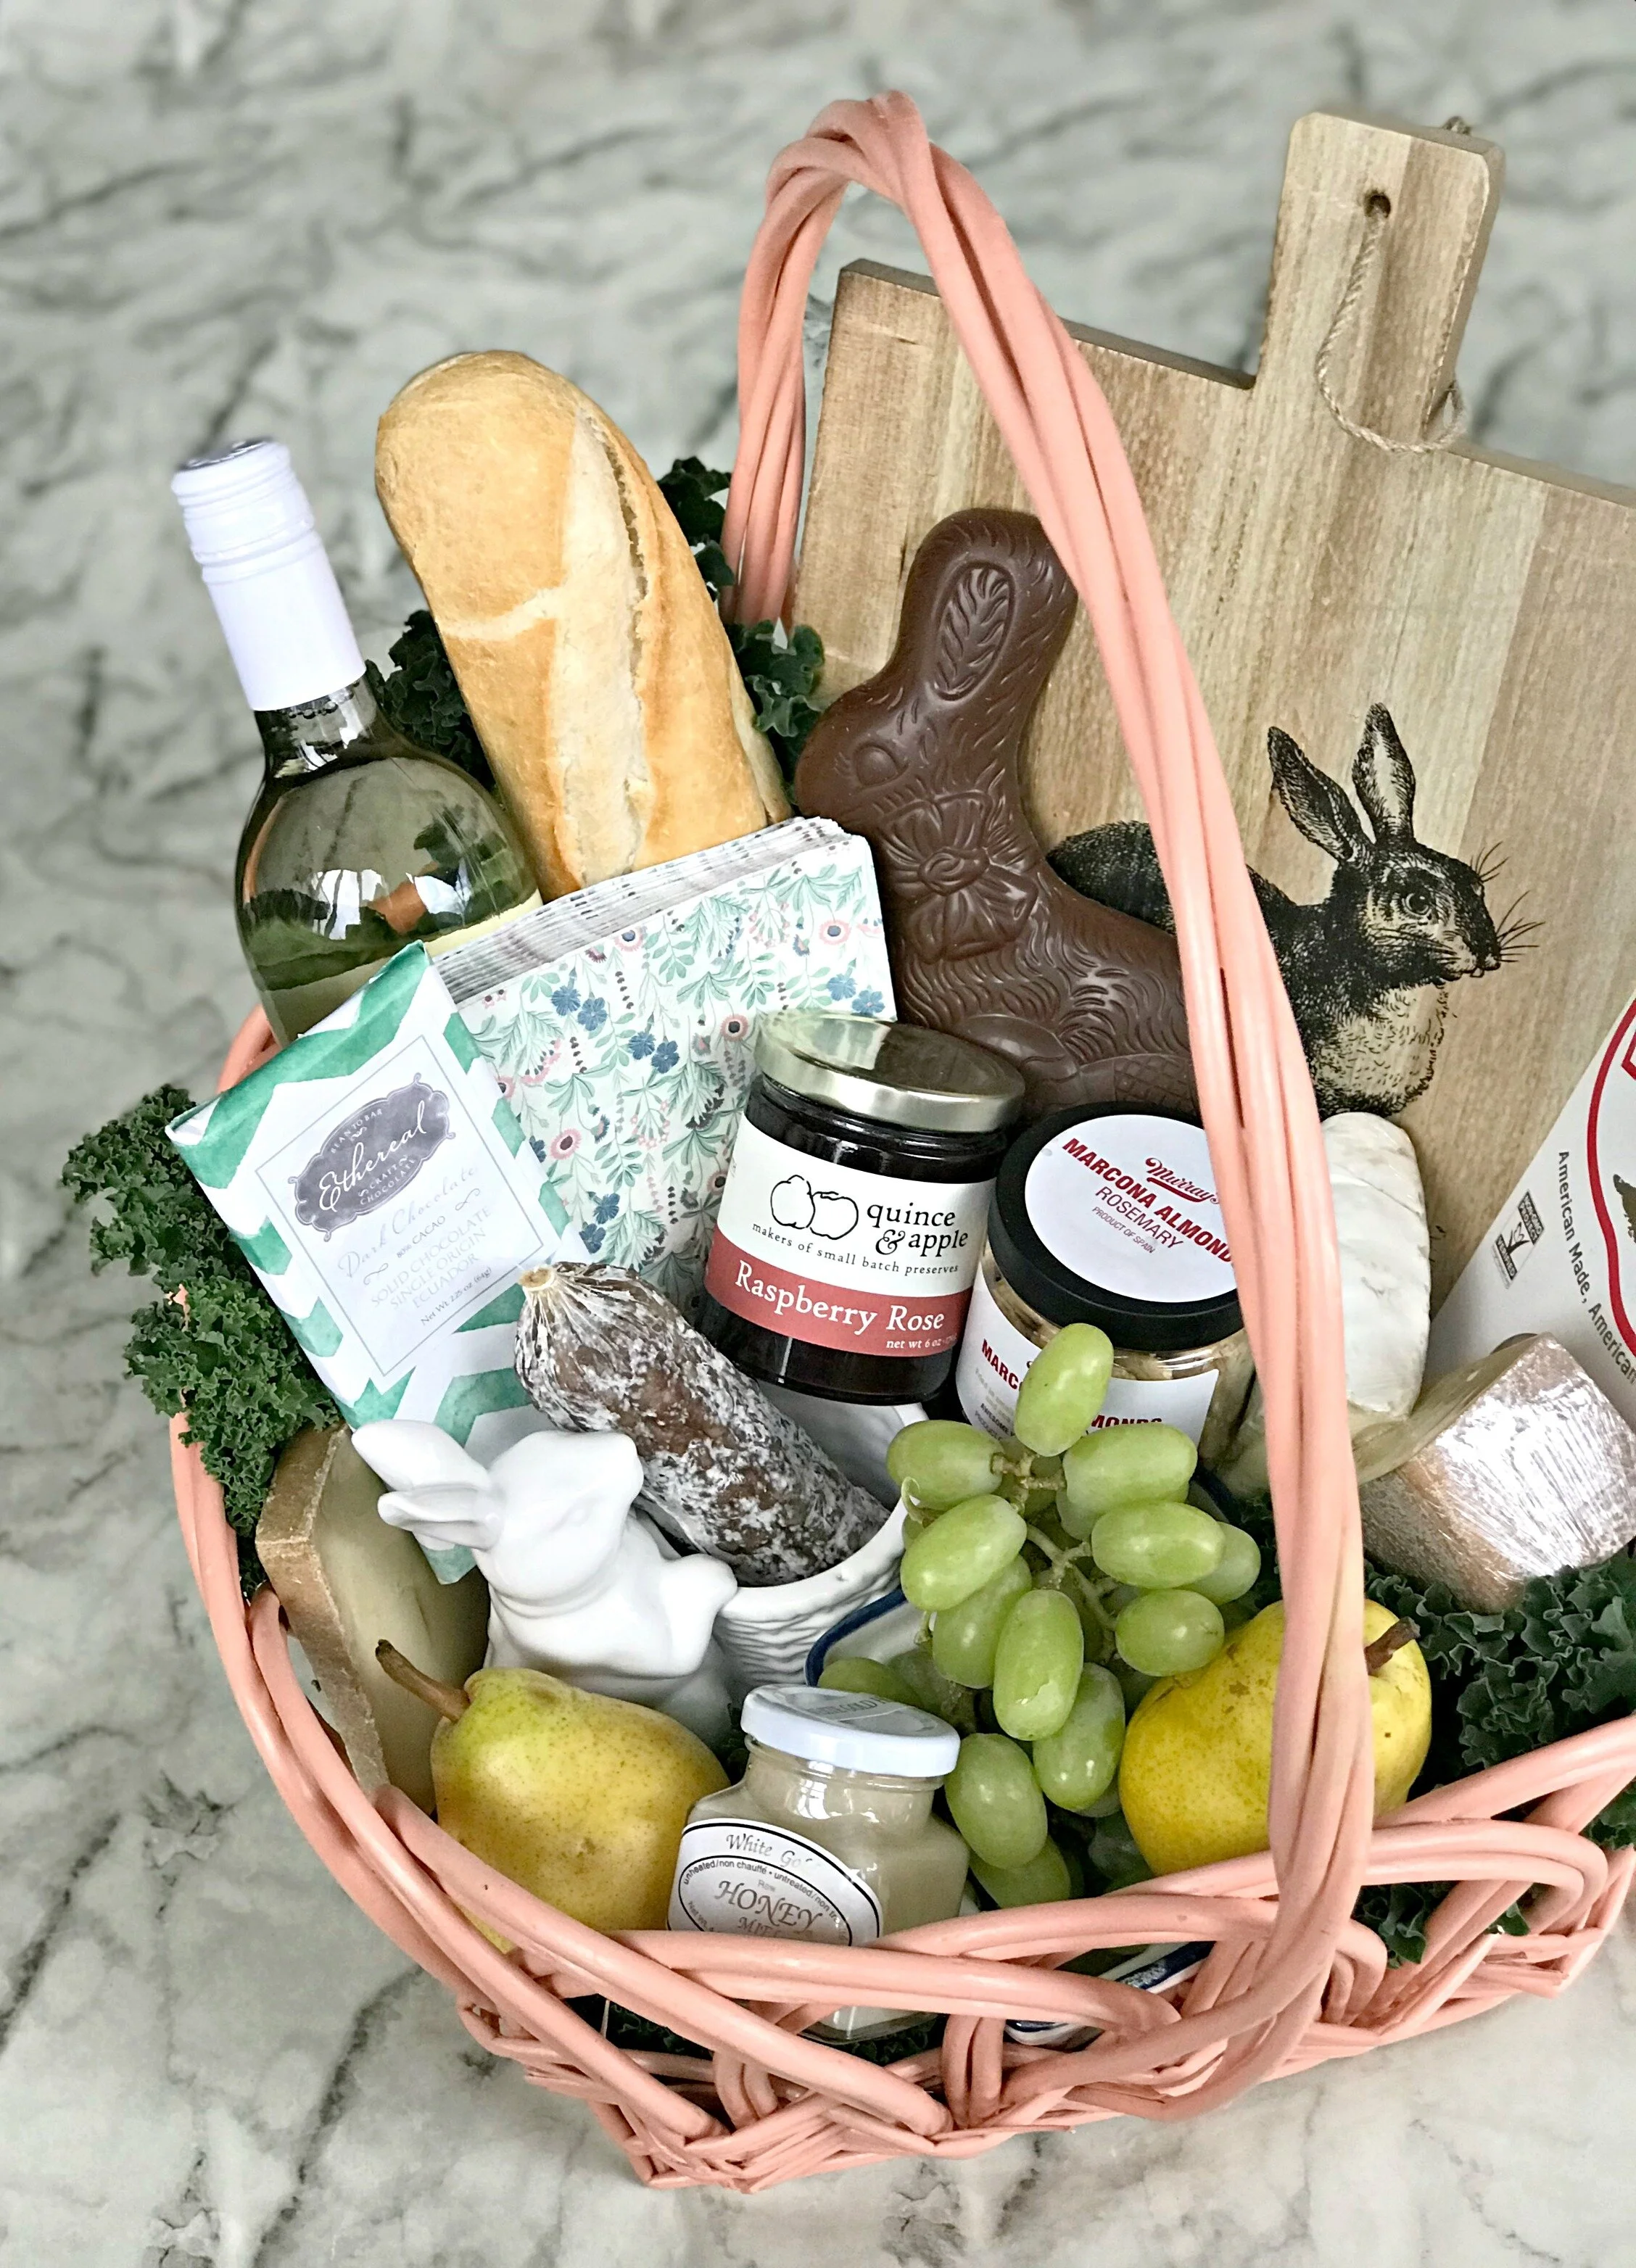
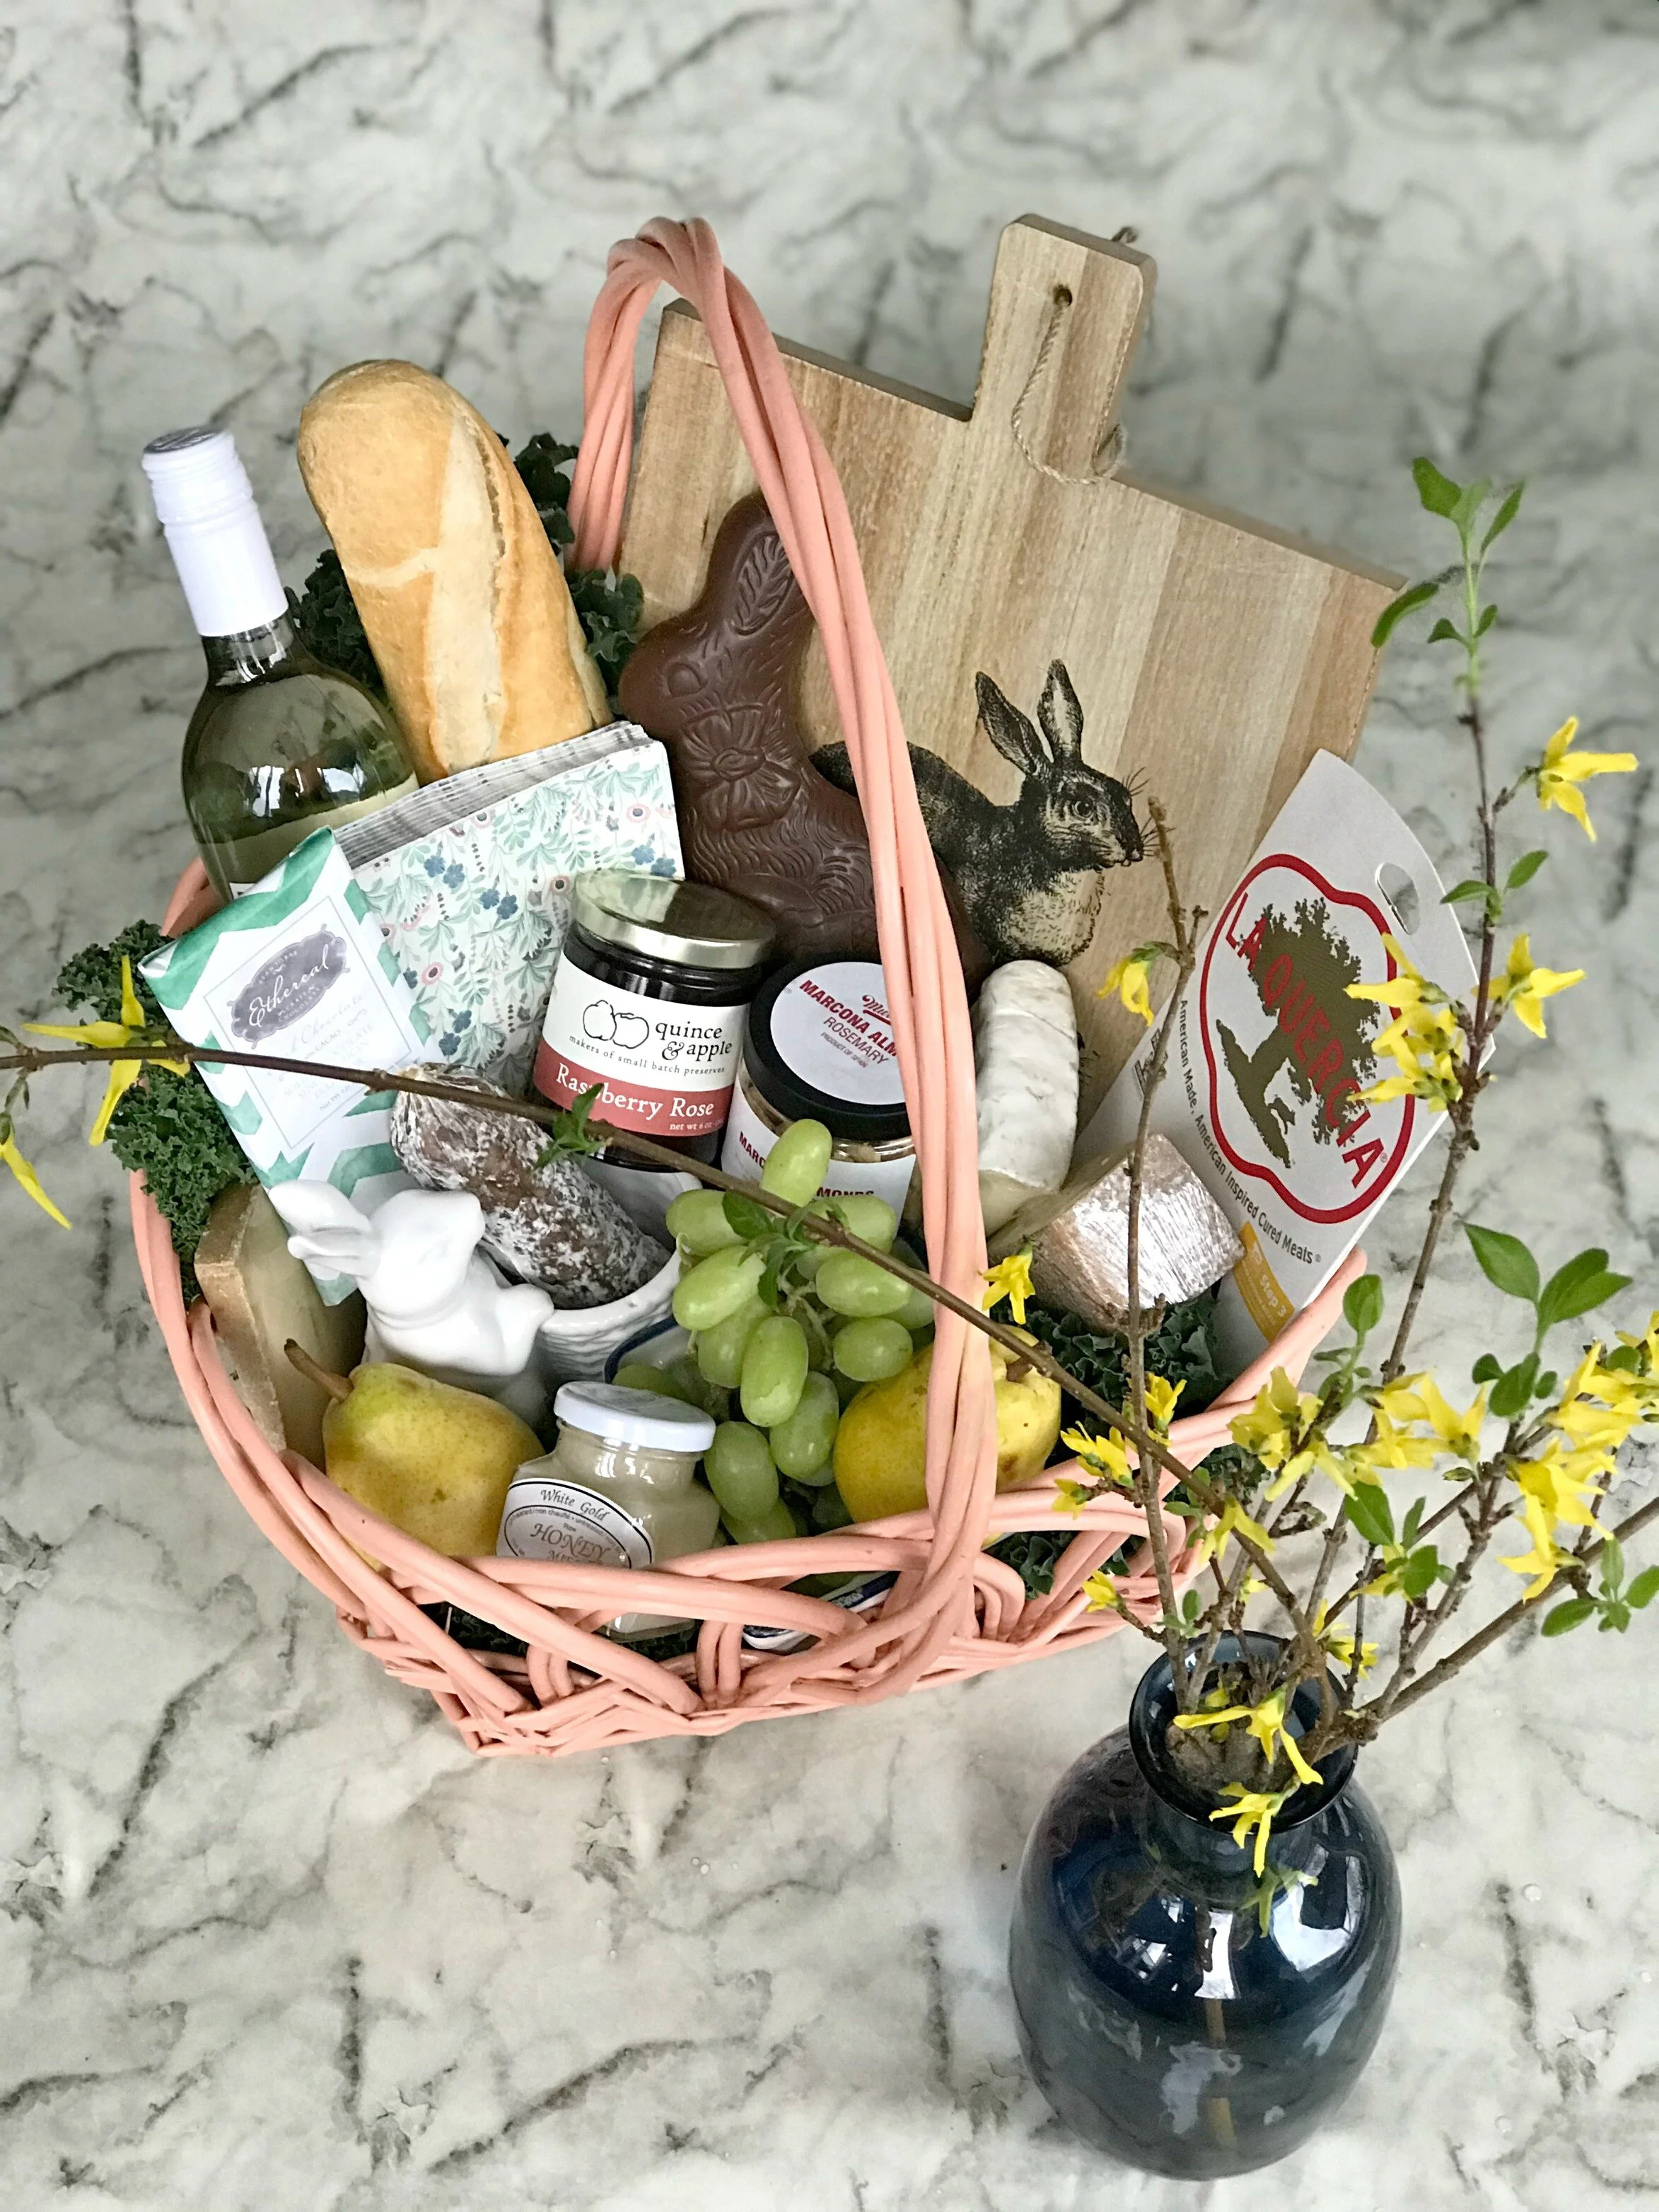
Who says Easter baskets should only be for kids? I partnered with Kroger to put together the perfect adult Easter basket that anyone would love- a cheeseboard Easter basket! It contains everything you need for a beautiful and delicious cheeseboard- from the meat and cheese, to nuts and fruit, and even a board, wine, and napkins! I especially love that this basket is so perfect for gifting to anyone on your list- male or female, young or old; friends, neighbors, co-workers, moms, dads, siblings, husbands, or hostesses! The recipient can totally enjoy and snack on the basket on their own, share it with friends and family, or even use it for a ready-to-go Easter brunch appetizer! You can customize this completely based on your tastes and style but I’ve listed everything I used in mine below to get you started. Keep in mind that I was able to find every single thing I used at Kroger- even the cute basket, cheeseboard, and decorative bunny! Find a full list of ingredients and step by step instructions (plus a video) for assembly below!
Happy Easter!
xoxo
Emily

every single item I used was purchased at my local Kroger (including my basket and all decorative items)!
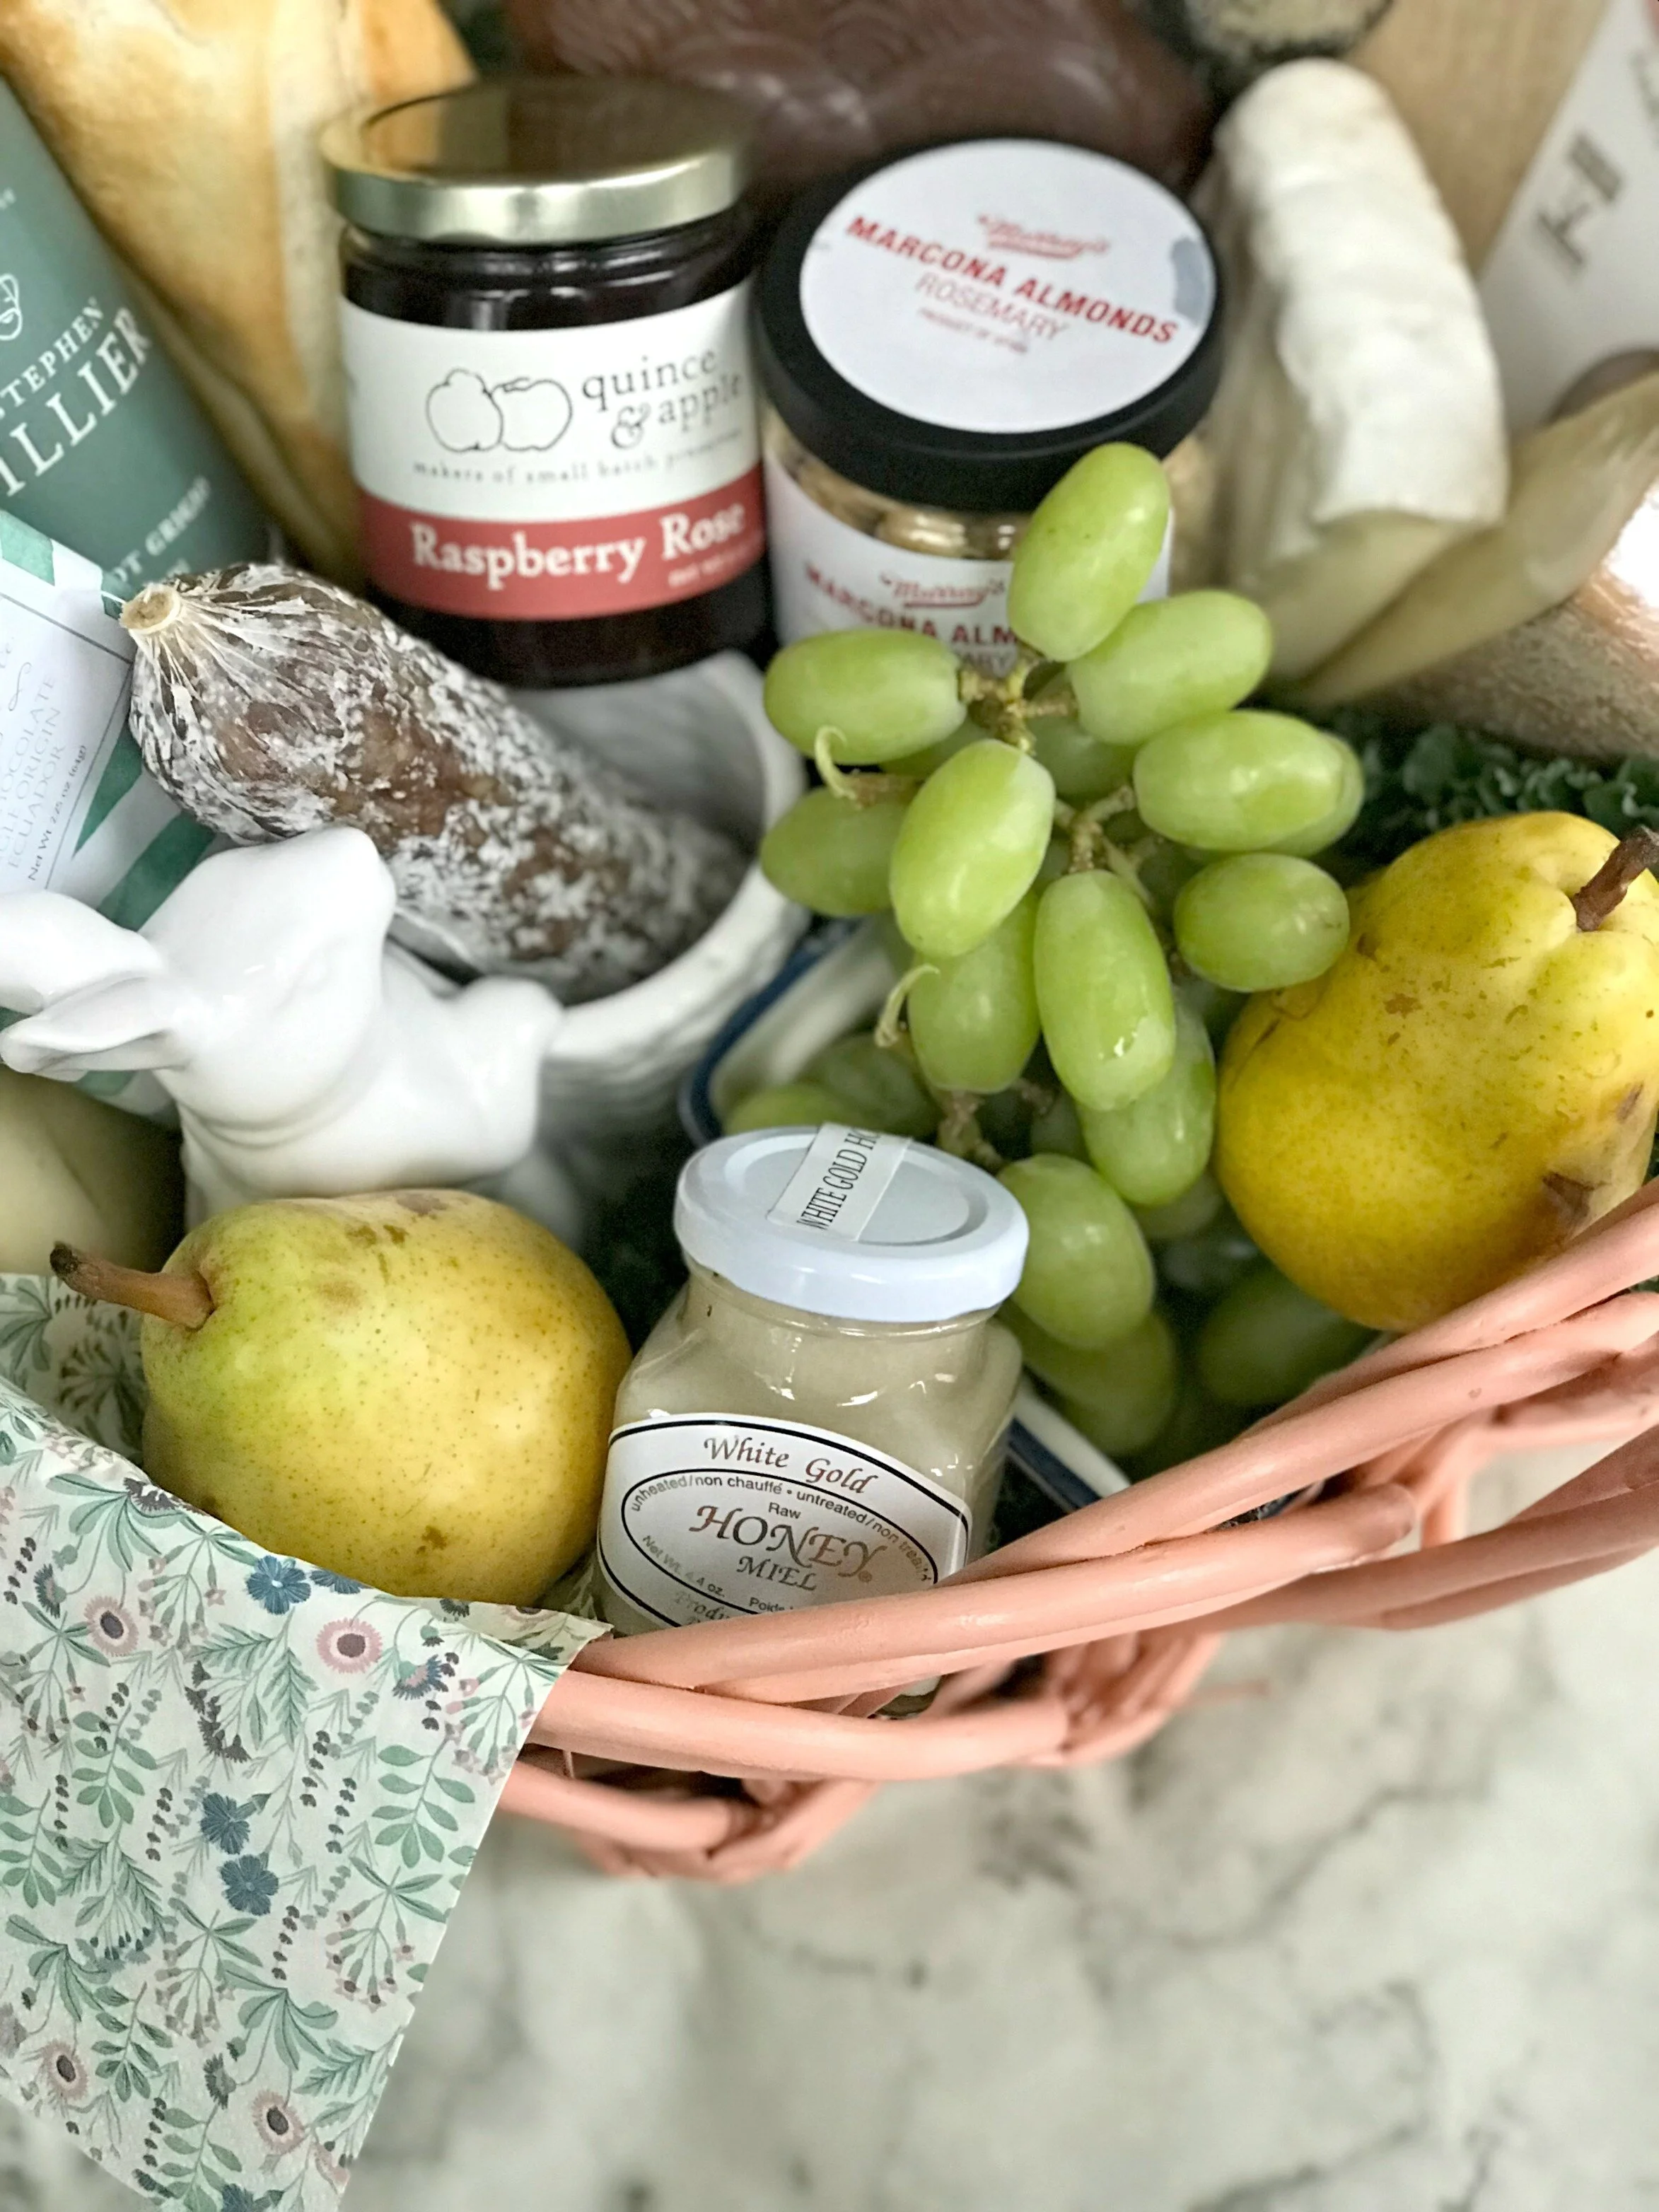
-3 cheeses of your choice
-1 package of prosciutto
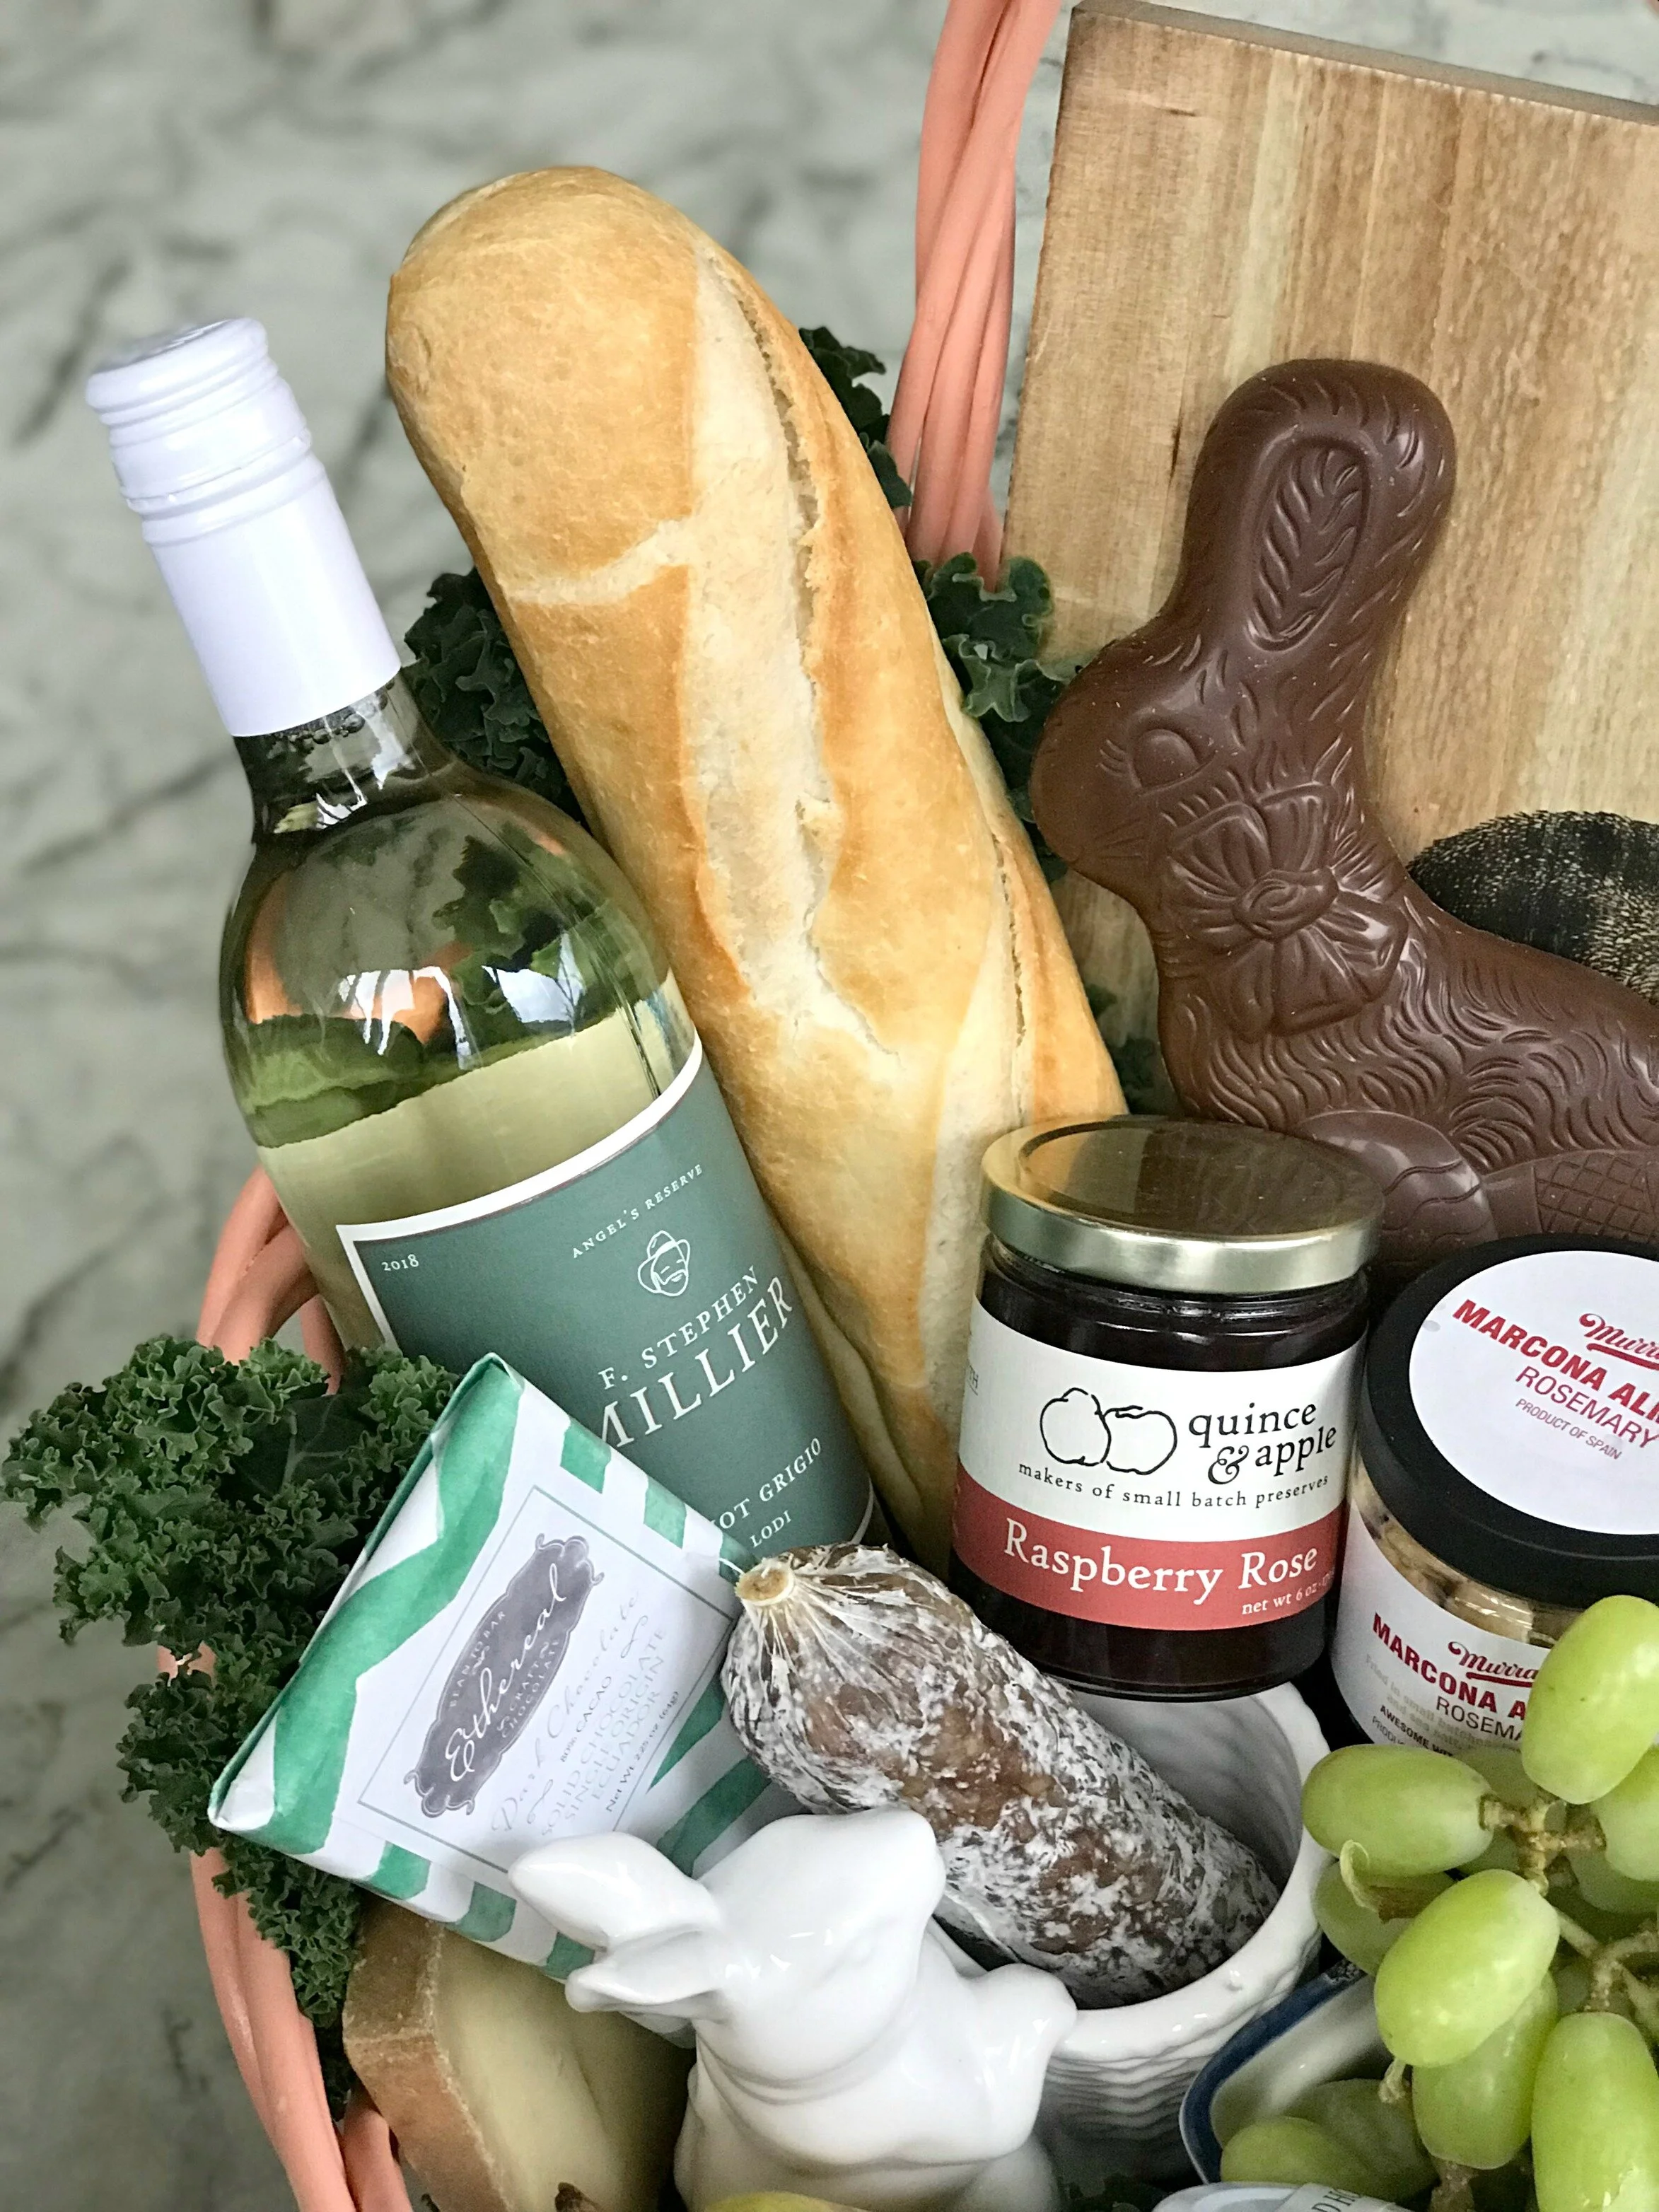
-1 package of salami
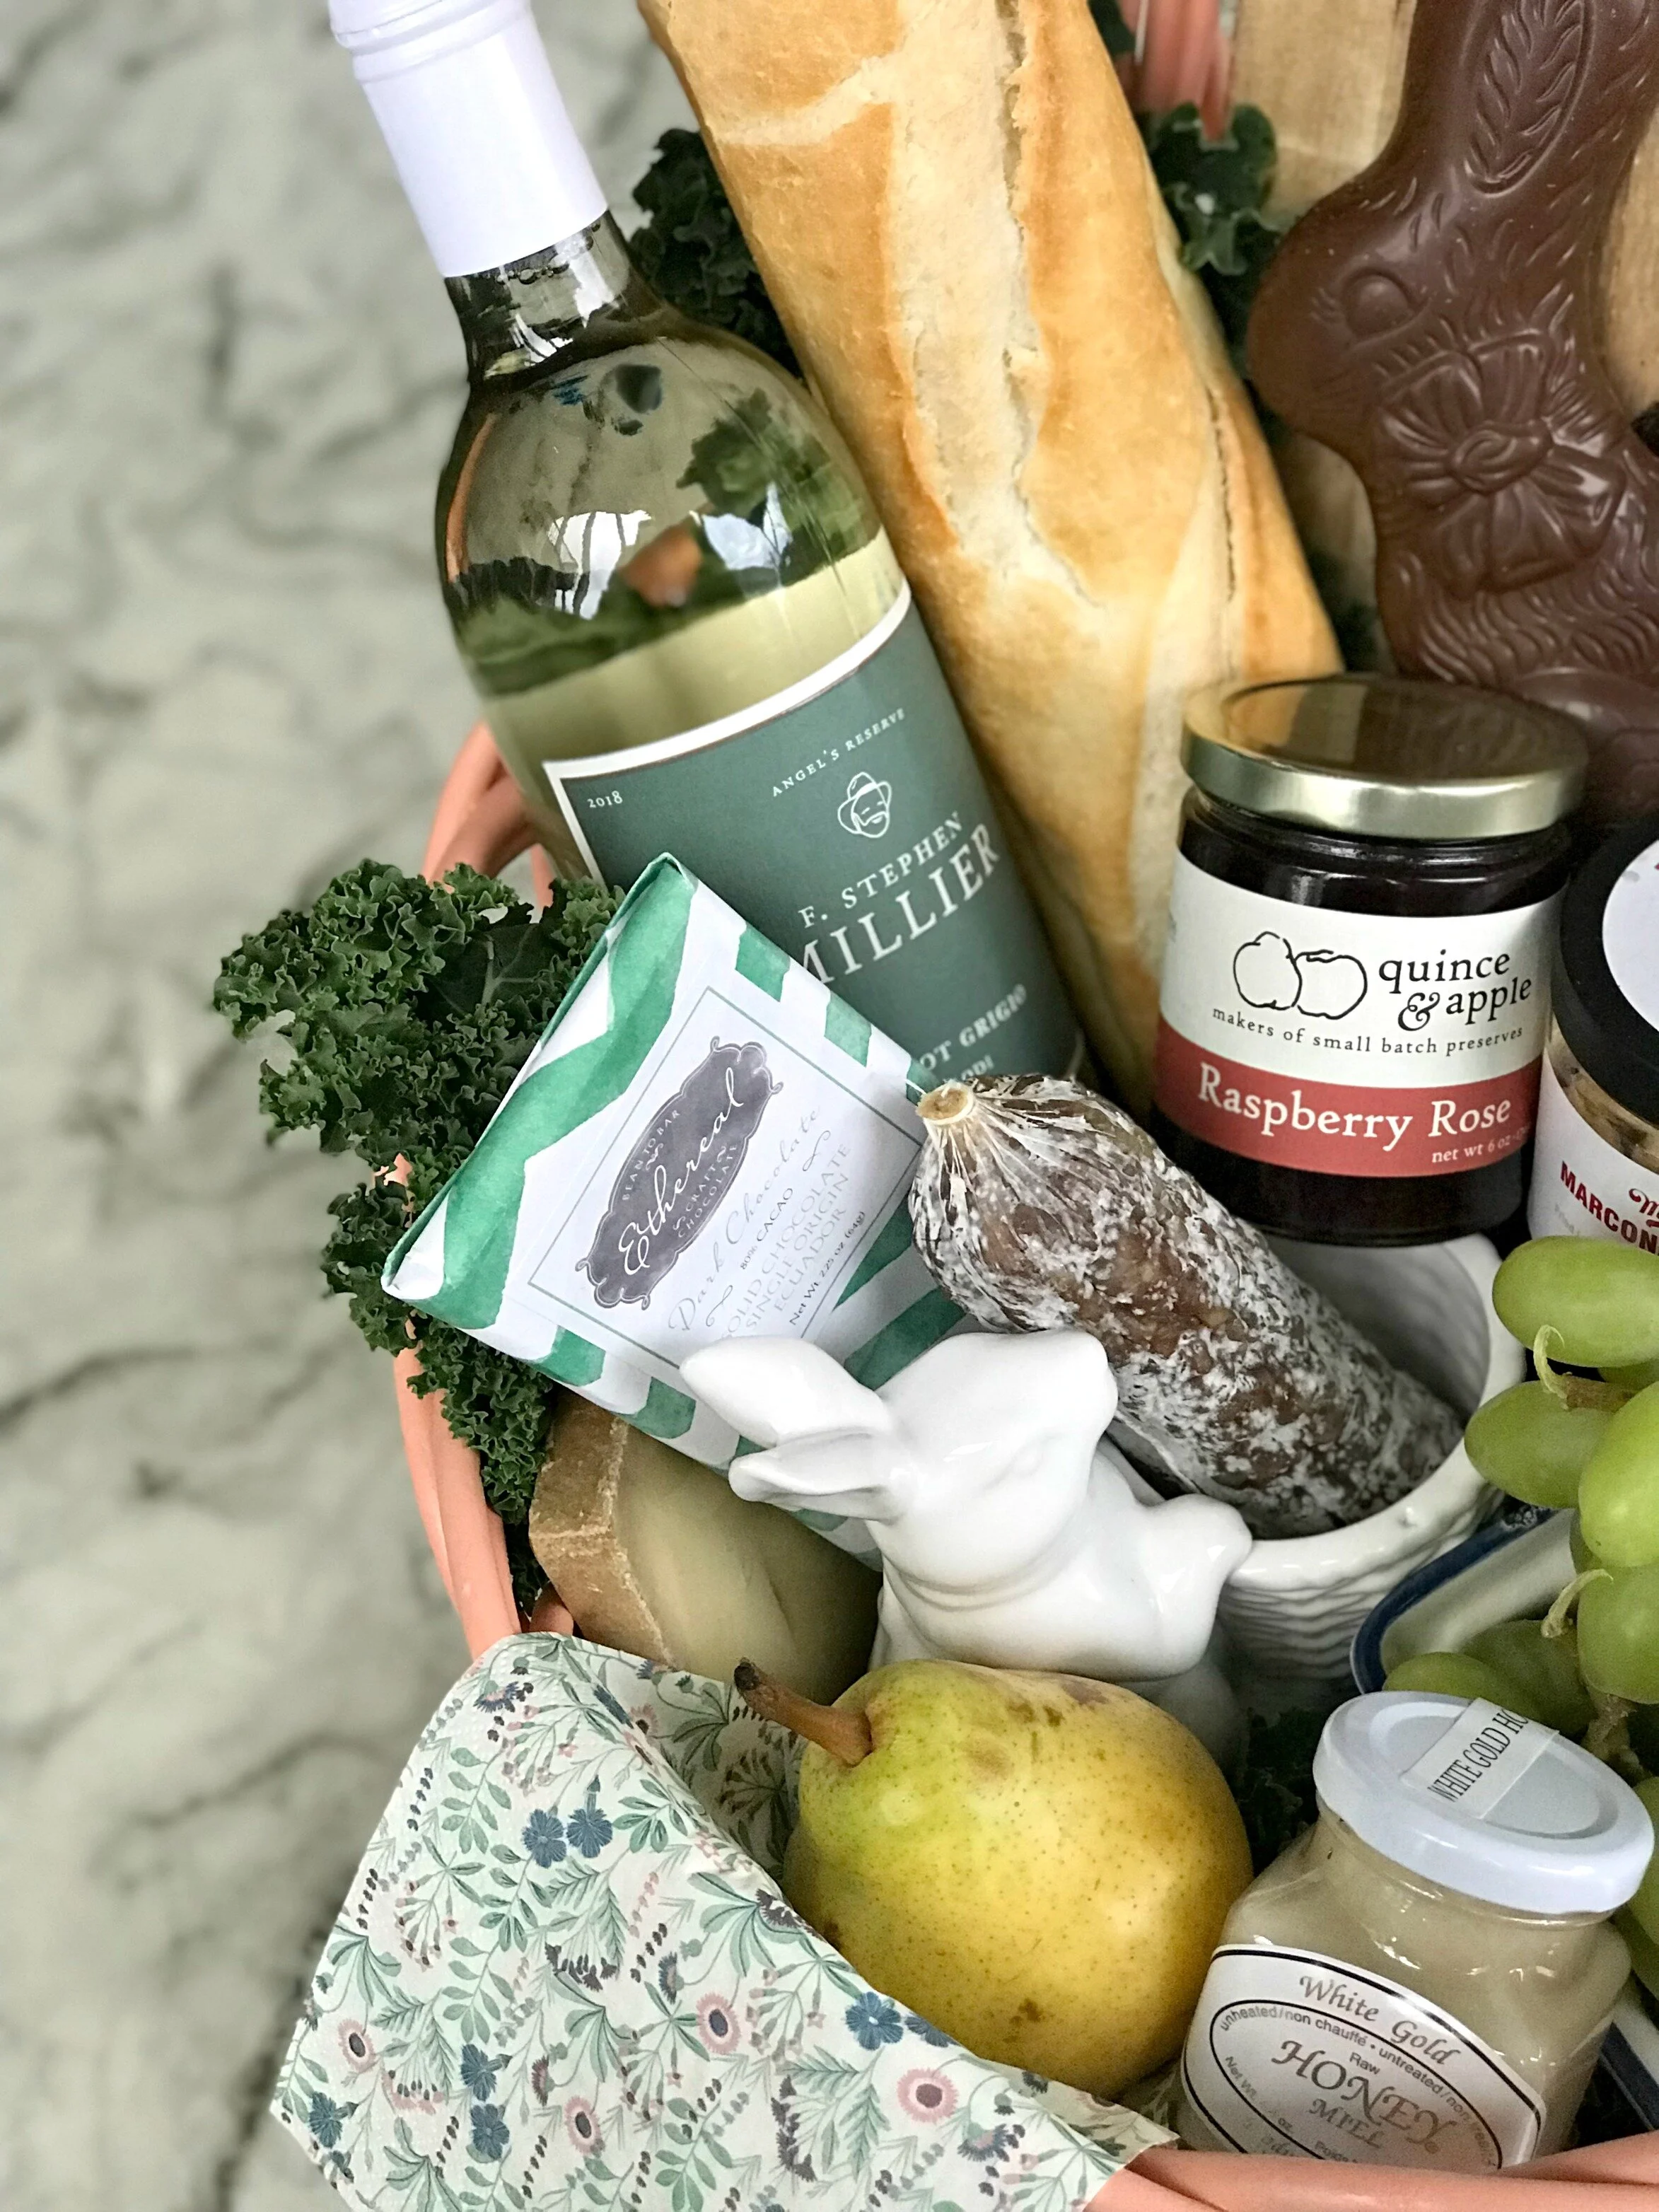
-1 baguette or french bread loaf
-bottle of wine of your choice
-jar of honey
-jar of nuts (I used Marcona Almonds)
-jar of jam (I used Raspberry Rose jam)
-1-2 fresh fruits (I used pears + grapes)
-dark chocolate bar
-chocolate bunny
-napkins
-cuttingboard/cheeseboard
-kale
-basket
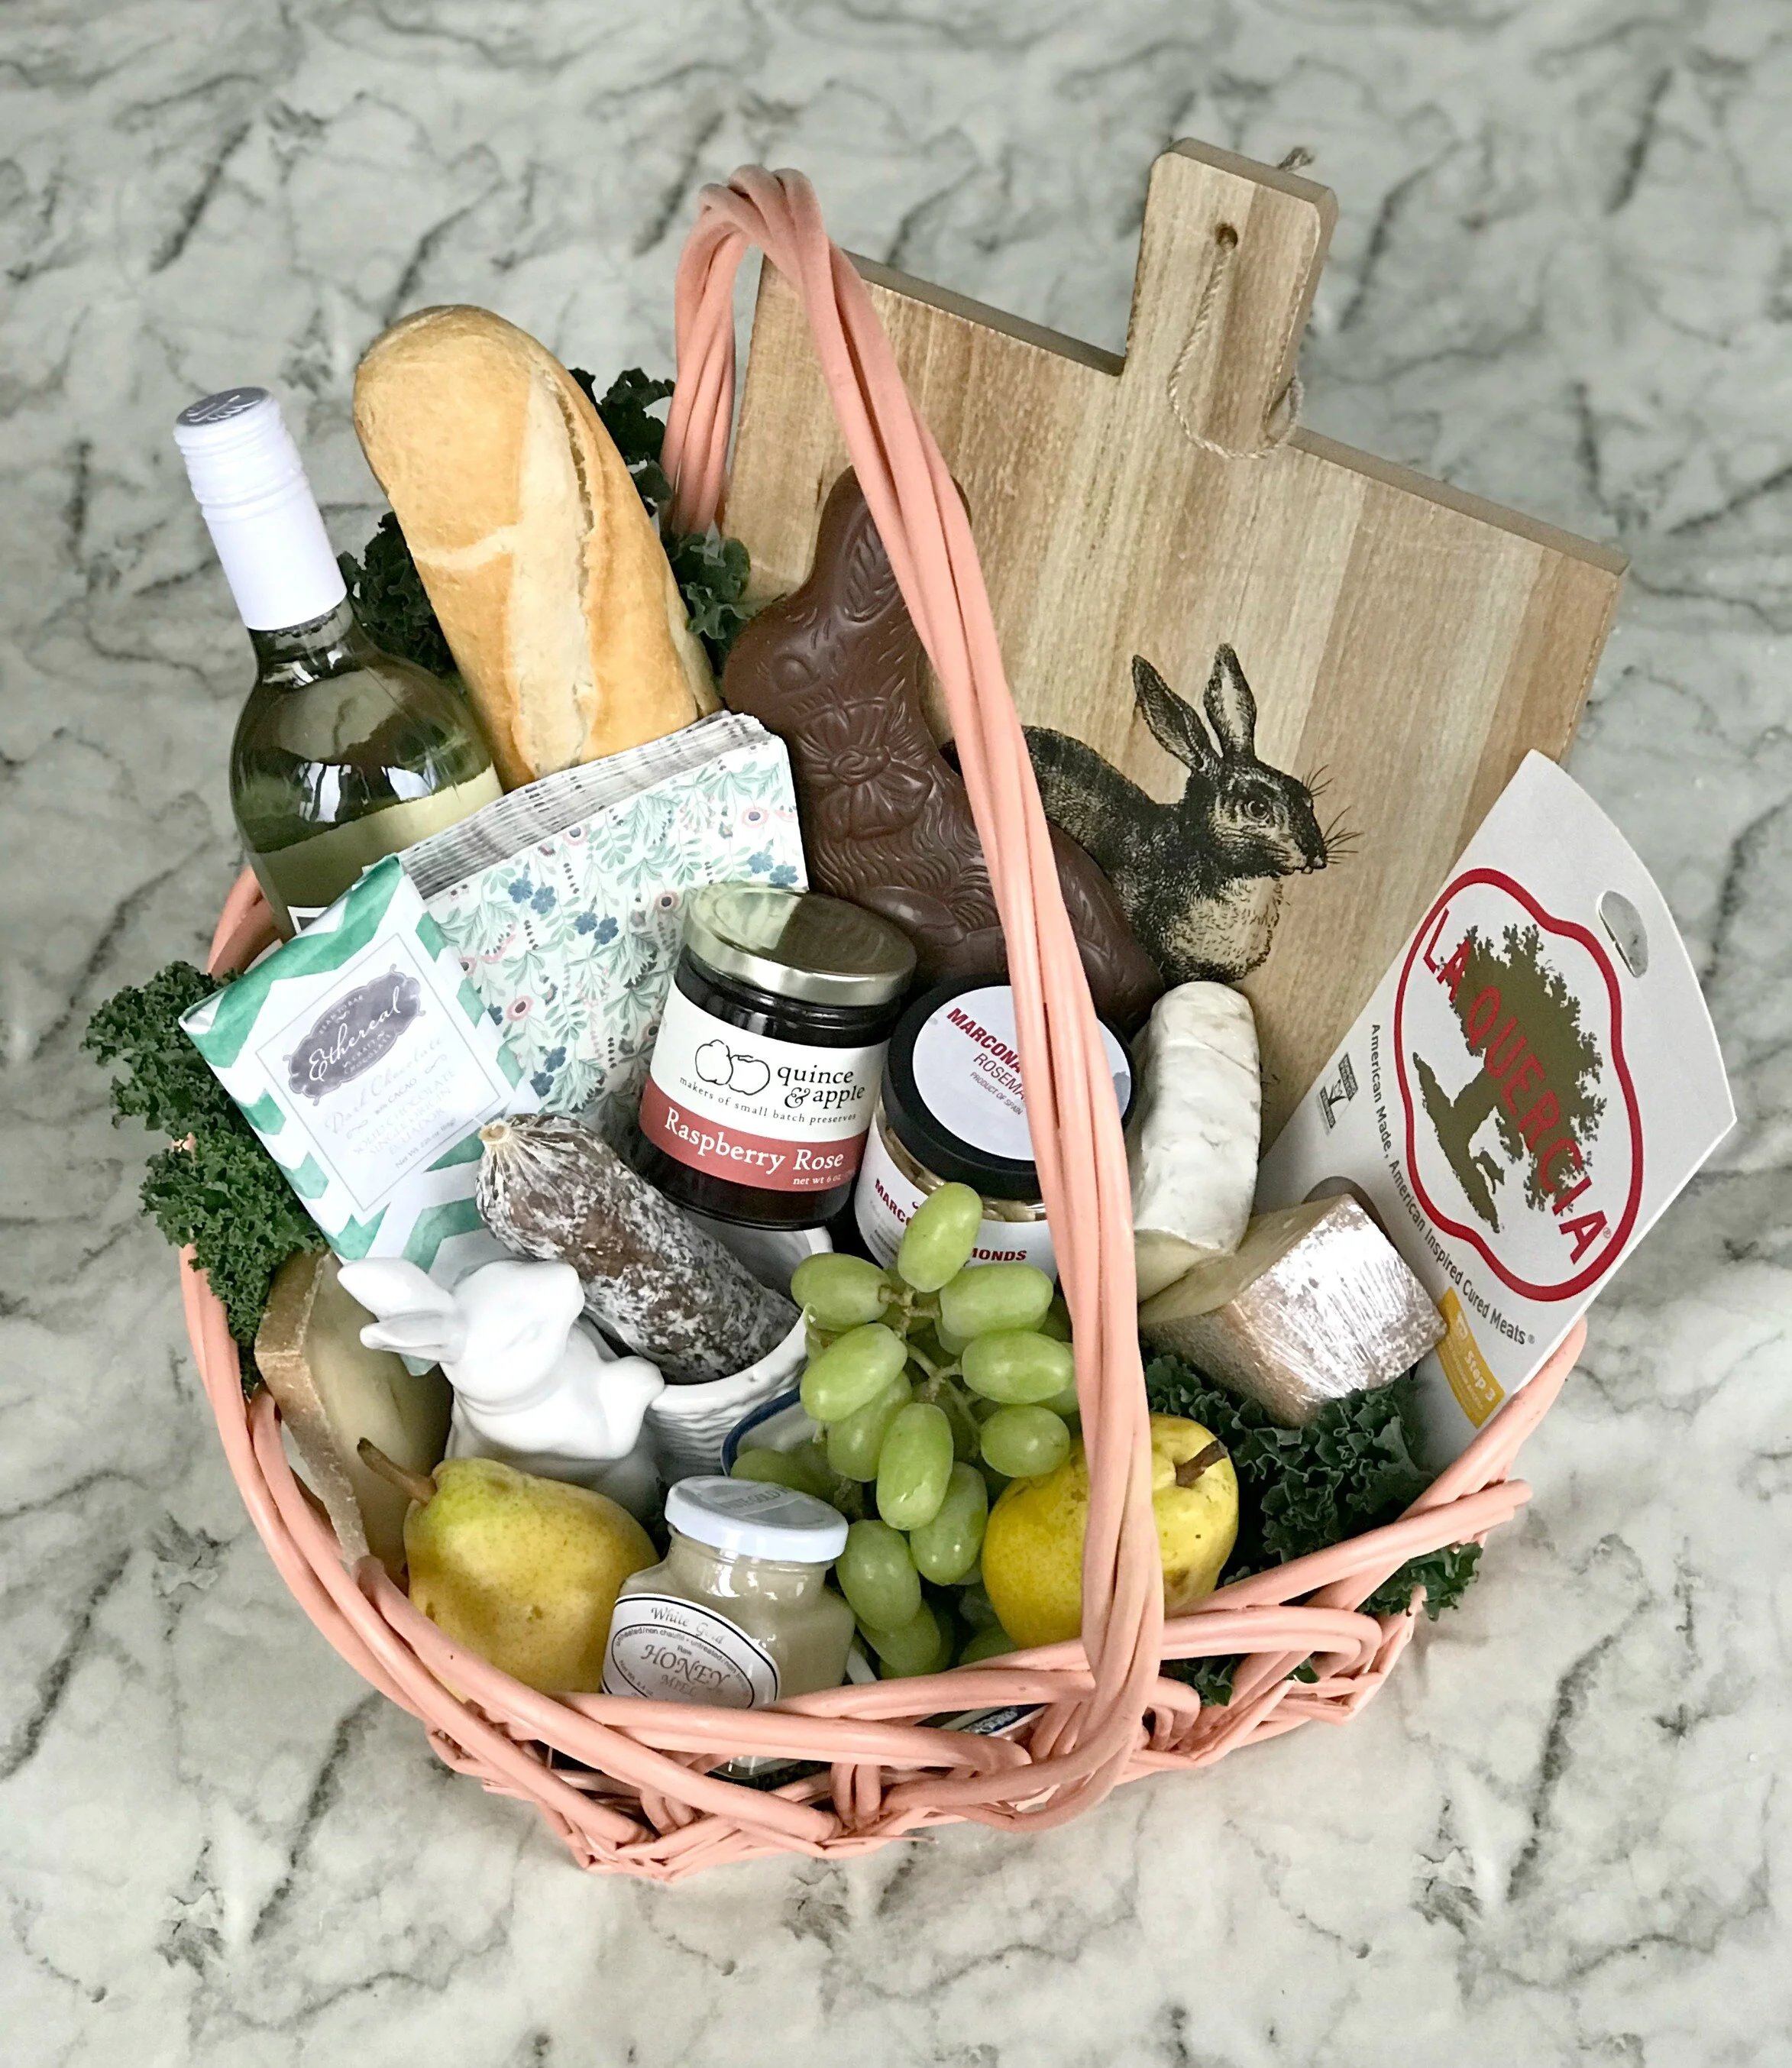
Start by lining the bottom of your basket with the kale leaves. Layer some up on the back side as well.
Place the tallest items in the back of the basket first- the cutting board, baguette, and bottle of wine were my first items.
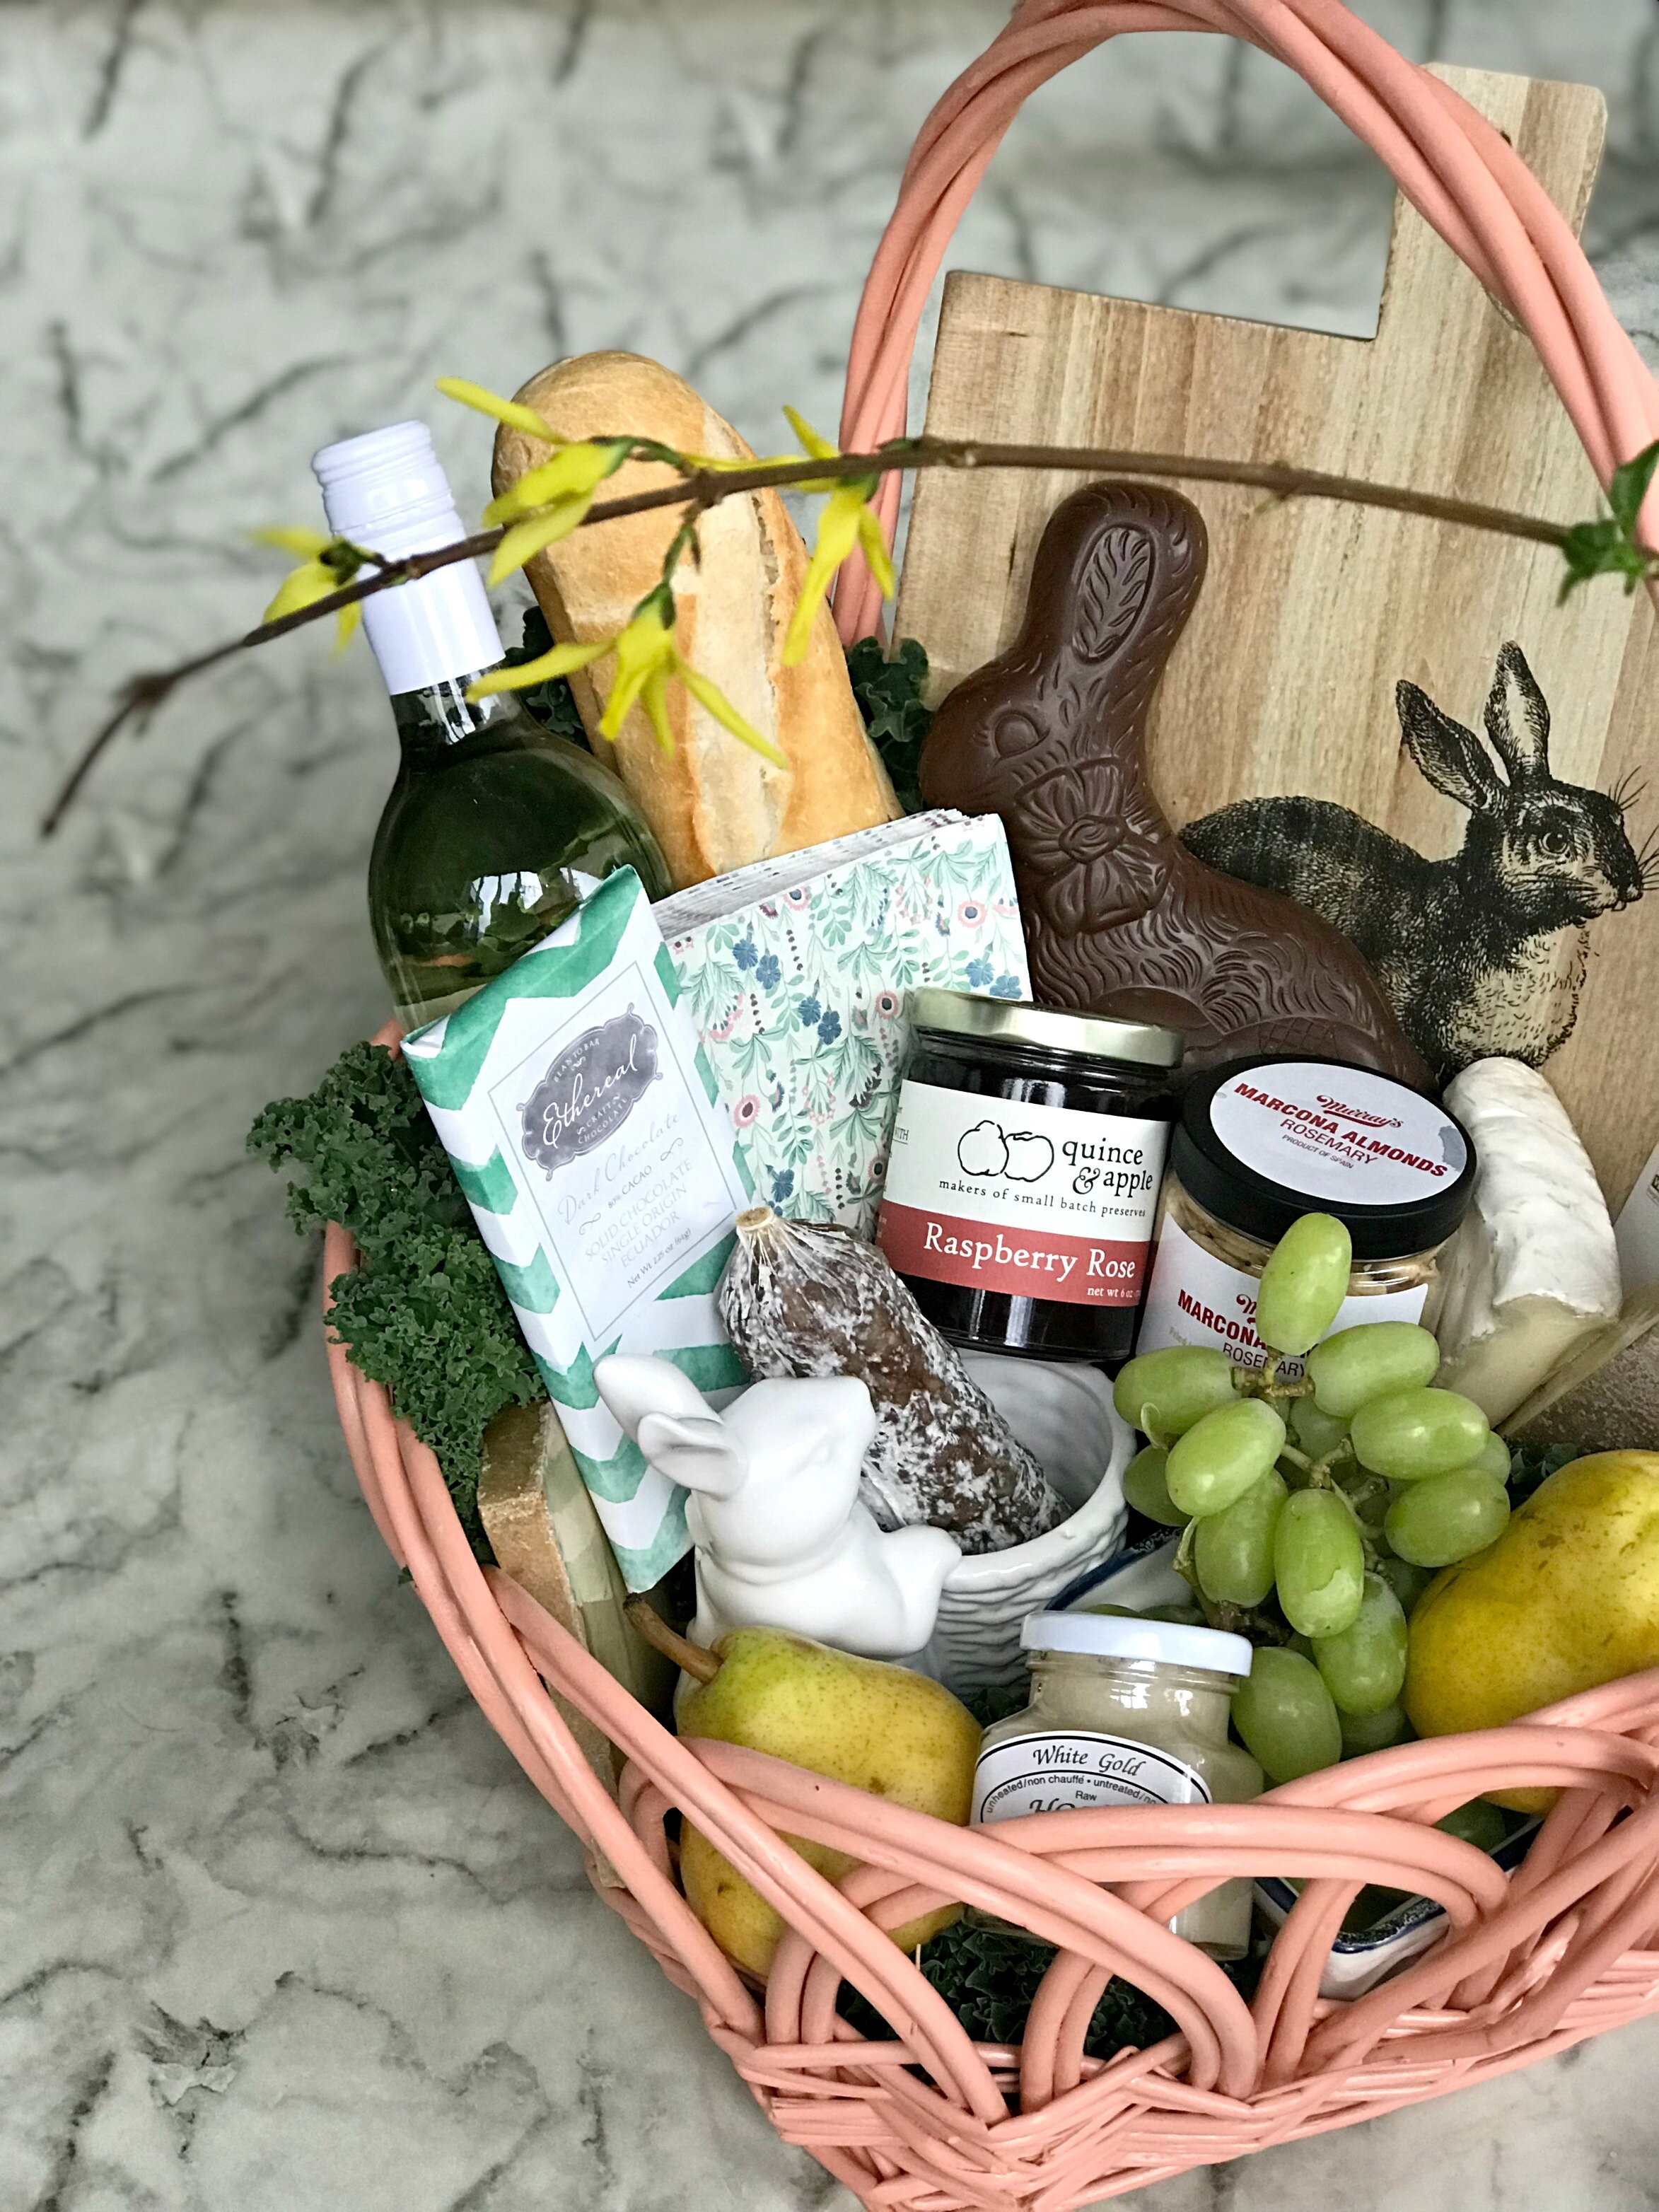
Next add the cheeses and meats, layering them in front of your board and wine.
Finish by adding the remaining items wherever there are holes or spaces. I put the fruit in the very front since it was bright and colorful!
Try to make sure all items are facing forward and layer them so that everything is visible.
Check out the step by step video below to see how I assembled my basket from start to finish!