Step by Step Plan for an Organized Home: Week 2 | Fridge
After a brief hiatus, it's time to resume our organizing challenge! You can catch up on week 1 (kitchen cabinets) here. This week we will be focusing on one of my favorite hobbies organizing the fridge! Now I admit this is truly taking it to another level and may not be for everyone, but I promise it is not a difficult thing to keep up with! I also think it has more benefits than just aesthetics, as you can keep better track of what you have in the fridge and (hopefully) be encouraged to make better choices when snacking and ultimately waste less food. There are two major steps to getting started: 1. a deep clean on the entire fridge, and 2. the organizing phase. I've also linked up all my favorite must-have products to get you started at the end of this post (crates, dividers, bins, etc.). Let's get started- find all my tips + tricks below!
xoxo
Emily
I emptied my fridge one shelf at a time (be sure to move top to bottom- so you don't drop crumbs/dirt on what you've already cleaned!).
I would clean/wipe each shelf completely top and bottom. My main shelves were not that dirty so I was able to just leave them inside the refrigerator and wipe them down, but my drawers and door caddies I removed and washed out in the sink.
I even used the vacuum a little to suck up excess crumbs/debris.
A magic eraser works well on random stain, marks, or stickiness that you are having trouble getting clean!
Don't forget to wipe down all the crevices in between the door hinges, around the seal, and the top and bottom of the fridge.
I like to do this deep clean of the fridge every 2-3 months. Go ahead and mark your calendar or make a note of the next time you want to plan on doing it.
Next you can start to put everything back inside! Here's some things to keep in mind as you start organizing:
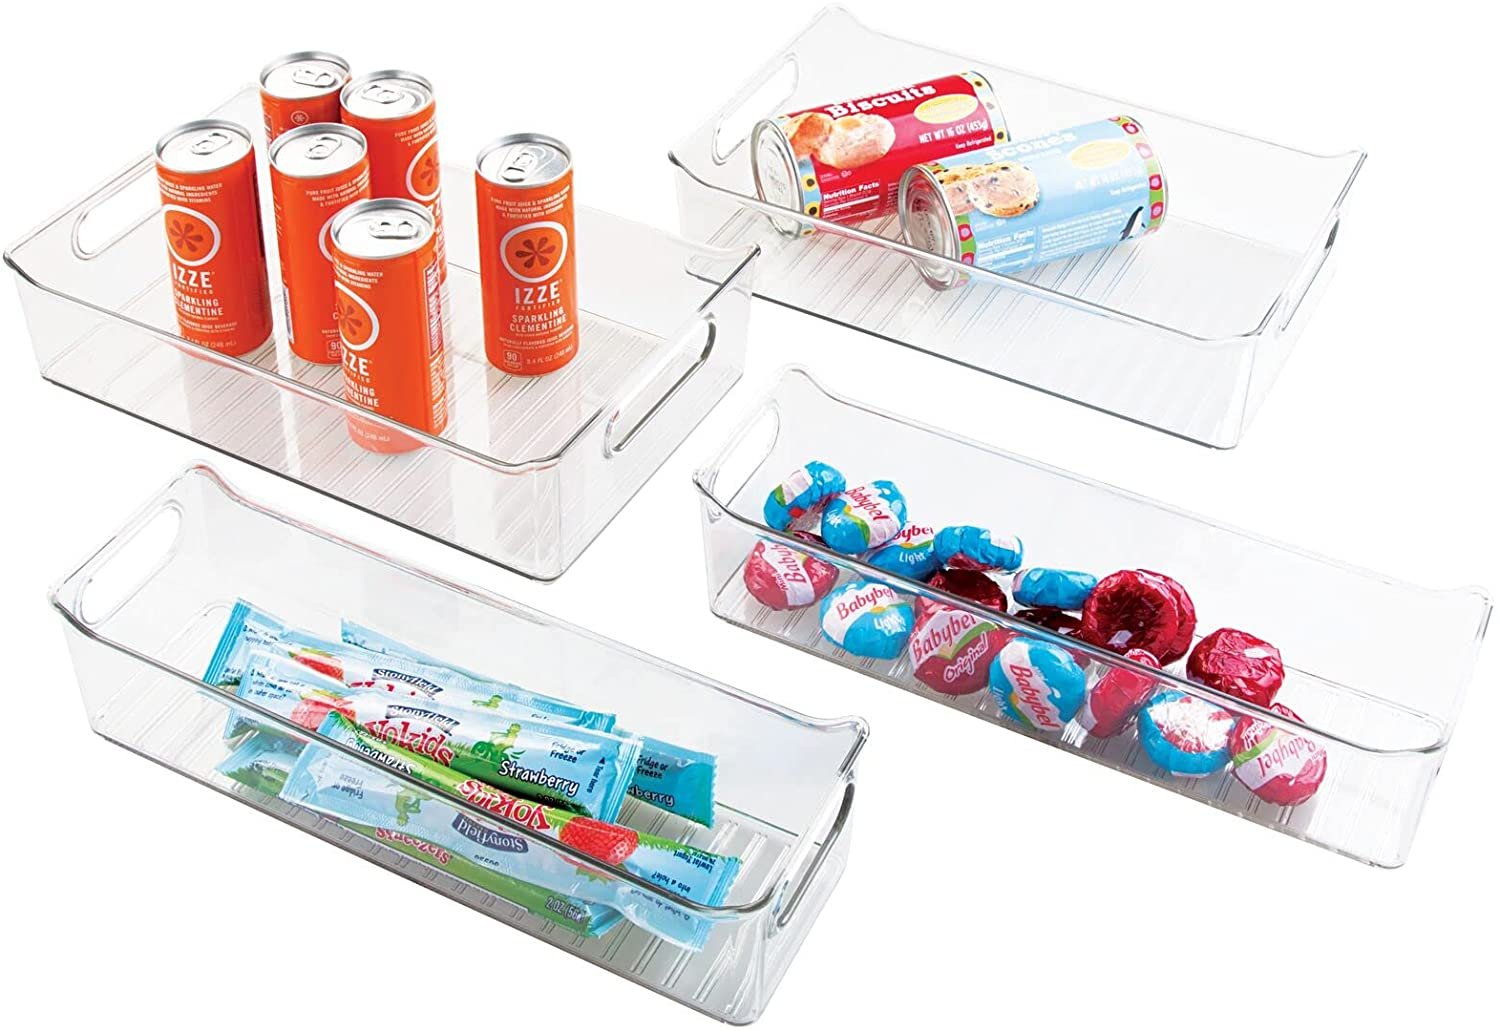
Your produce is some of your prettiest, brightest, and healthiest items so keep it front and center! I like to use my drawers for less attractive items like beef, chicken, bacon, lunch meat, etc. and to corral larger packages like shredded cheese and sliced cheeses. On shelves, line items up neatly front to back to give your fridge a streamlined look. Use clear plastic bins to hold like objects- these are perfect because you can still see everything easily!
My top tip: Take as many items as you can OUT OF PACKAGES! For example, I love my ceramic egg carton and always take my eggs out and place them in there. It only takes a few seconds, but makes such a big difference. Another example- I poured my juice into a clear + simple glass pitcher for a more clean and streamlined look. I also have a white ceramic produce basket that I put fruit inside. It makes it super easy to grab a few bites anytime you are looking for a snack. Get rid of all the boxes, plastic, and additional labels that you can if you truly want to have an aesthetically pleasing fridge.
Everyone's fridge will look a little different depending on what food you have, but here is how I generally lay mine out.
Door caddies (I have 3):
Top- drinks: water bottles, canned drinks, tonic water, etc.
Middle- condiments, sauces, pickled items
Bottom- dressings, minced garlic, butter, lime/lemon juice, broth, etc.
Drawers (I have 2):
Top- cheeses
Bottom- meat, lunch meats, bacon, misc. snacks
Shelves (I have 3):
Top- milk/creamer, coffee, juice, produce, drinks
Middle- shredded/crumbled cheeses + dips, veggies + produce
Bottom- snacks, eggs, butter/dairy/yogurt, produce
Below are some of the exact items I use constantly in my fridge as well as a few similar options too. The clear caddies, ceramic produce basket, and ceramic egg cartons are a few of my must-haves. Another essential I haven't mentioned yet is tupperware! We all know there is some really bad tupperware out there but I have found the solution! These gorgeous glass tupperwares (below left) are my go-to and they will totally fit in with your new beautifully organized fridge! The tops are plastic and snap on all four sides, so they are perfectly air-tight. Both the tops and bottoms are dishwasher safe as well, so you can keep these looking perfectly brand new. I love these so much that I have purchased multiple sets of them!


