Step by Step Plan for an Organized Home: Week 1 | Kitchen Cabinets

via Pinterest
As soon as the holiday season ends each year, I'm ready to take down the Christmas decor and get my whole house clean + organized for the new year. This year I decided to tackle one area a week and create a plan to cover the entire home. I'm focusing on the spaces that I find get the most cluttered throughout the year and sharing my tips for reworking each space and getting it organized and clean top to bottom. Not only will we get our entire home organized together, but we'll also make each space beautiful and streamlined so you'll WANT to keep it organized all year long. I'm diving in and tackling my kitchen cabinets first! Find all my tips, tricks, + shopping picks below!
xoxo
Emily
1. Empty your cabinets and start evaluating what you will keep and purge. I think it's easiest to get EVERYTHING out at once so that you can see everything in one place and decide what goes where.
Get rid of any items that you don't use or that are in bad shape and needing to be replaced. If you haven't used it in the past year, it needs to go! I only keep items in the kitchen that I use often and need close at hand. Serving dishes, holiday items, etc., I store in a different room/space. There's no reason to clutter up your cabinets with items that you don't use often.
2. Clean cabinets out while they are empty. Vacuum out cabinets and drawers and then wipe down the insides with an all purpose cleaner. If you haven't lined your drawers or cabinets with paper or drawer liners, this is a perfect time to do that too! I have also used extra wallpaper before to line drawers and cabinets. Lining your drawers and cabinets make them much easier to clean in the future and helps them look extra neat and tidy in between cleanings too
3. Start making a plan of how to put items back in the cabinets. I like to start making piles of similar items (all pots and pans; all tupperware; etc.) and then evaluate what will fit best where. Keep in mind size, shape, and location of your cabinet when choosing what goes where. You may have certain cabinets that are already designed for specific things- for example I have a pull-out spice rack drawer and a tall skinny cabinet for cookie sheets and pans, so I automatically know what is going in those spots. You may also want certain items close to the stove or sink so they are easy to grab in a hurry.
I like to take just about everything I can out of packages if possible (for example if you have paper towels, remove them from the plastic package and stack them in a basket or neatly line them up in rows in a cabinet). Many food items can be transferred out of packages into jars, tupperwares, or labelled containers. Eliminating all that unnecessary and unsightly packaging and bulky boxes will really help streamline all your kitchen cabinets and drawers.
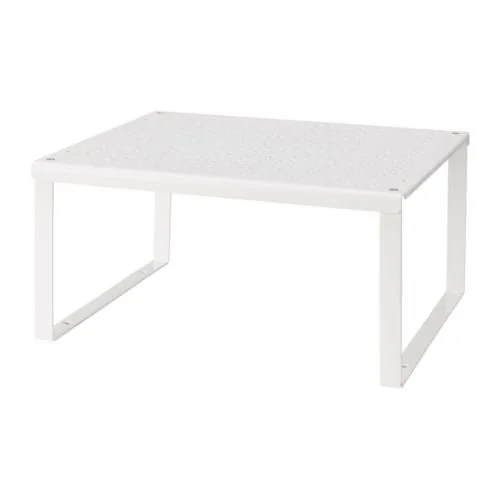
One more thing to consider, especially if you are low on cabinet space, is what items you can pull out of cabinets to display on countertops or open shelving. Adding a shelf, hutch, or wall shelves in the kitchen gives you extra storage space to help reduce cabinet clutter. You want to pick the most attractive items to display here though, like glass jars of dry goods, stacks of plates, or pretty drinking glasses. Try to reserve your closed cabinets for the stuff you really don't want seen, and then get creative with how to display your most used and prettiest pieces.
4. Begin reorganizing cabinets and drawers. Below are some of my favorite ideas + products for starting this process. Keep in mind that you may need to make a shopping list and purchase a few items before you can complete this portion. Ikea and The Container Store are great resources for organizing if you have one nearby (some of their items are also available online). It may take a little trial and error before you get it just right and find the perfect fit.
via the Kitchn
This is a perfect mix of baskets, canisters, and neatly arranged items that can all work in cabinets. Baskets of all sizes can hide less attractive items and help corral smaller objects. I also try to take as many things as possible out of packages and transfer them into glass jars or containers if possible. This helps everything look neater and more streamlined.
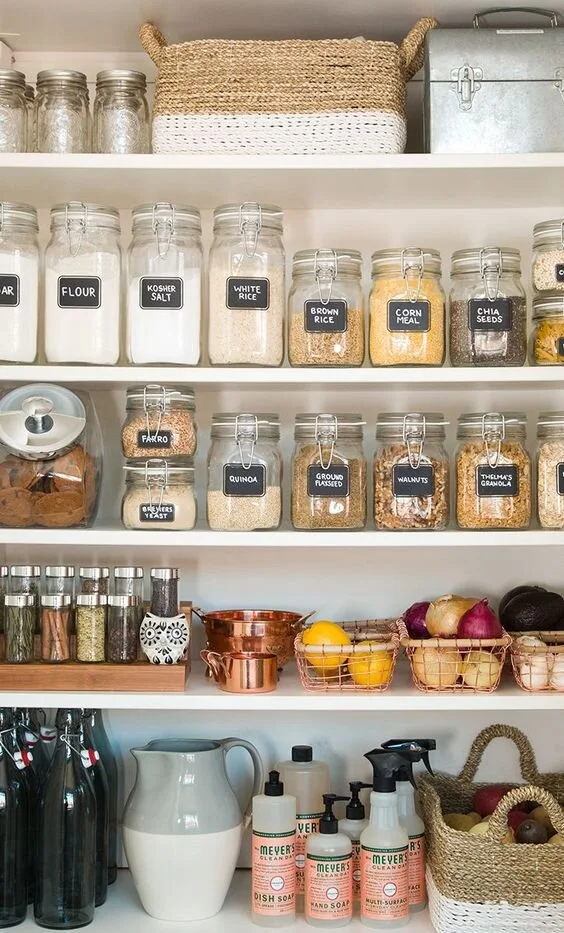
via the Kitchn
Above is another great example of using a variety of baskets to hold items and make objects of all shapes and sizes look clean + organized. The tiered shelf for soups is a great way to display canned items so they can all be seen but still look neat. Products that have attractive packaging like the Pellegrino and coconut water are fine to just be lined up on shelves
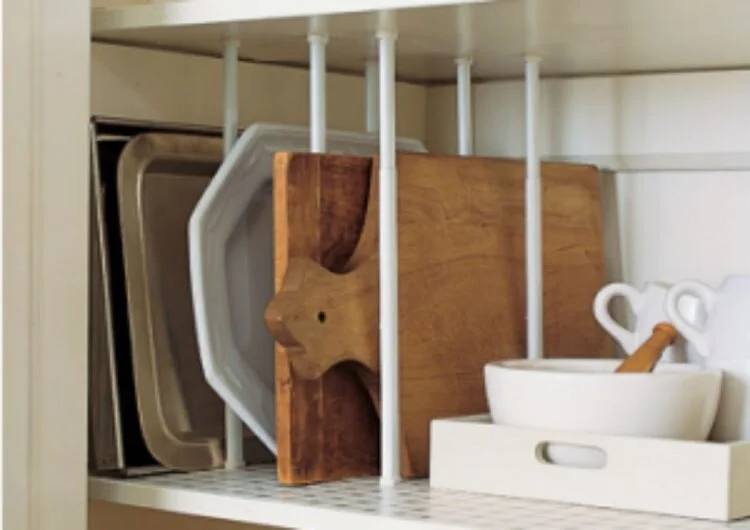
via Homey Life
I really love this idea of adding dowel rods/tension rods to open cabinets to create separation for long, skinny items like cutting boards, pans, and platters. I know these are things that are always falling out of my cabinets and hard to keep straightened and this is a simple fix that keeps them looking neat and staying in place.
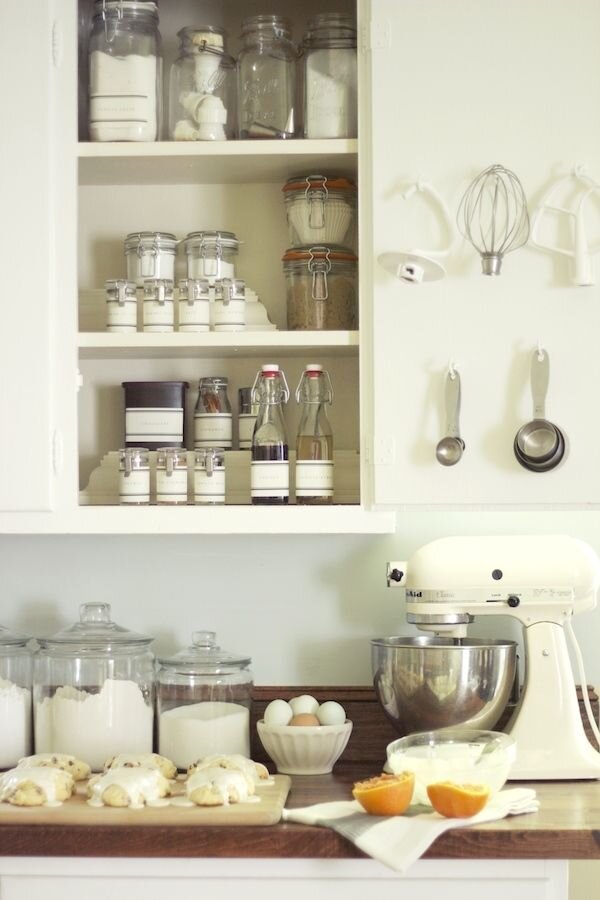
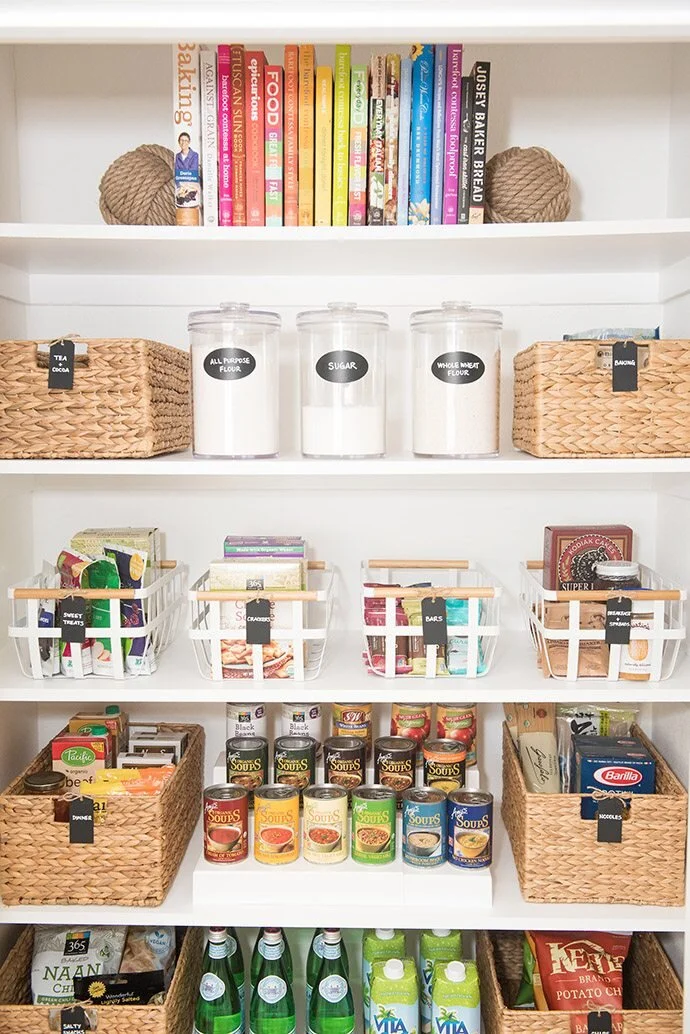
via The Kitchn
A super streamlined and beautiful way to organize your baking supplies in your kitchen. I love how they added hooks to the back of the cabinet door for small tools and measuring cups. If you're running short on space, pulling some items out of cabinets to highlight on open shelving or countertops will help alleviate some cabinet space. Just be sure to pick items that are attractive enough to be displayed- like these glass jars of flour and sugar.
via DIY + Mag
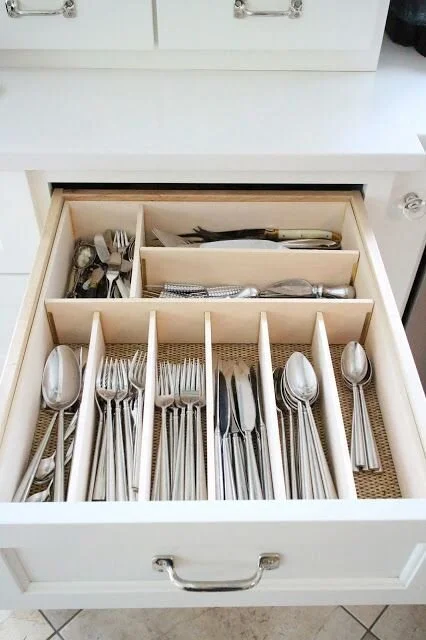
Utensil caddies and drawer organizers are a must for every drawer in your kitchen. Just a little separation between items helps to keep things straightened and from becoming a dreaded "junk drawer." You can find both plastic and wooden drawer caddies and organizers in a variety of sizes (I've linked many options in the next section too!).

via Homey Life
This is just another example of how taking items OUT of packages makes the biggest difference in organization. Garbage bag boxes are bulky and unsightly but with a few tools and some items from the hardware store, you can easily make these under-counter dispensers for garbage bags and paper towels! It also frees up floor space on you under-sink cabinet allowing you to fit more things inside!
via HGTV
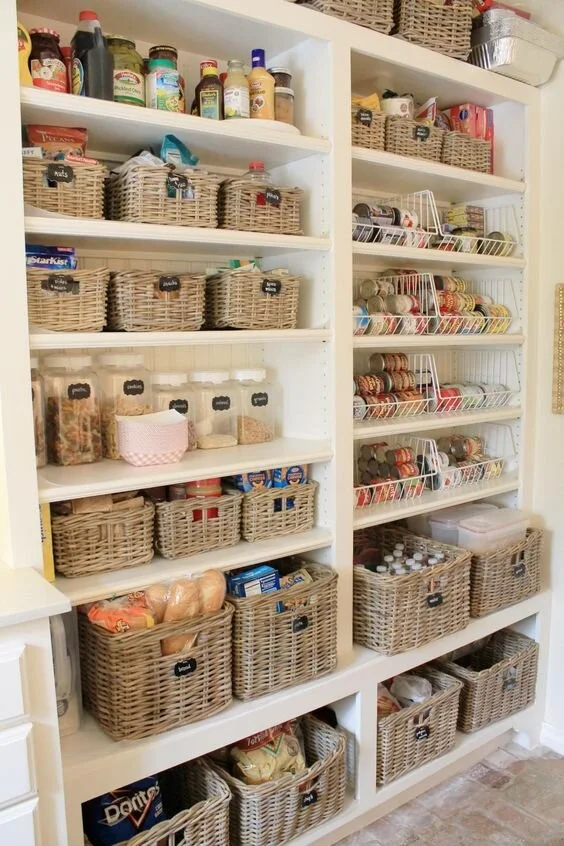
Separate baskets and containers for each shelf makes this cabinet space feel so neat and organized! Everything is labelled too with a chalkboard tag- easy to change out and super cute! I really like the use of those wire baskets for stacked canned goods.

via Homey Life
Don't forget to take advantage of the back of cabinets too! This will free up so much extra space inside your cabinets and it's a great way to hold odd-shaped items like these cutting boards or baking sheets. These mounted racks also come in a variety of sizes for things like spices or canned goods too!

via Homey Life
Lots of jars, containers, and dividers, all with matching labels! You can clearly see everything you have and pull it out easily when you are baking or cooking.
via The Kitchn
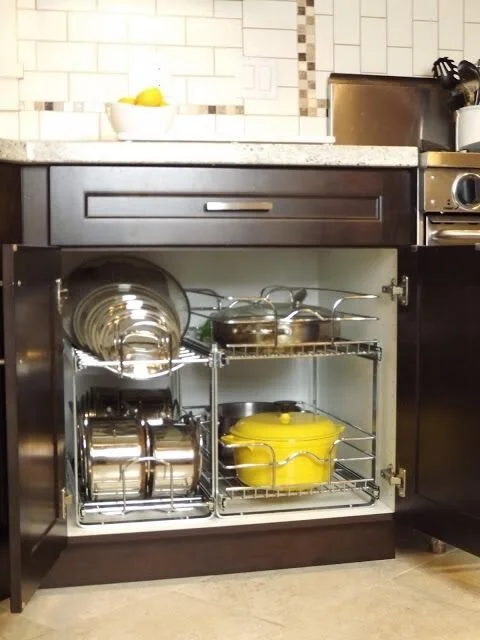
These tiered roll-out shelves allow you to double the amount of items your cabinet can usually hold. They are ideal for pots and pans which are hard to organize as there's so many different pieces and sizes! I love how the top left rack has the perfect set-up to hold all the lids and tops at just the right angle! You can find these in a variety of sizes on Amazon and at The Container Store (some linked below).
A few of my favorite cabinet organizing items to get you started! Click on any item to shop it!