Our Fixer Upper: Dressing Room Updates

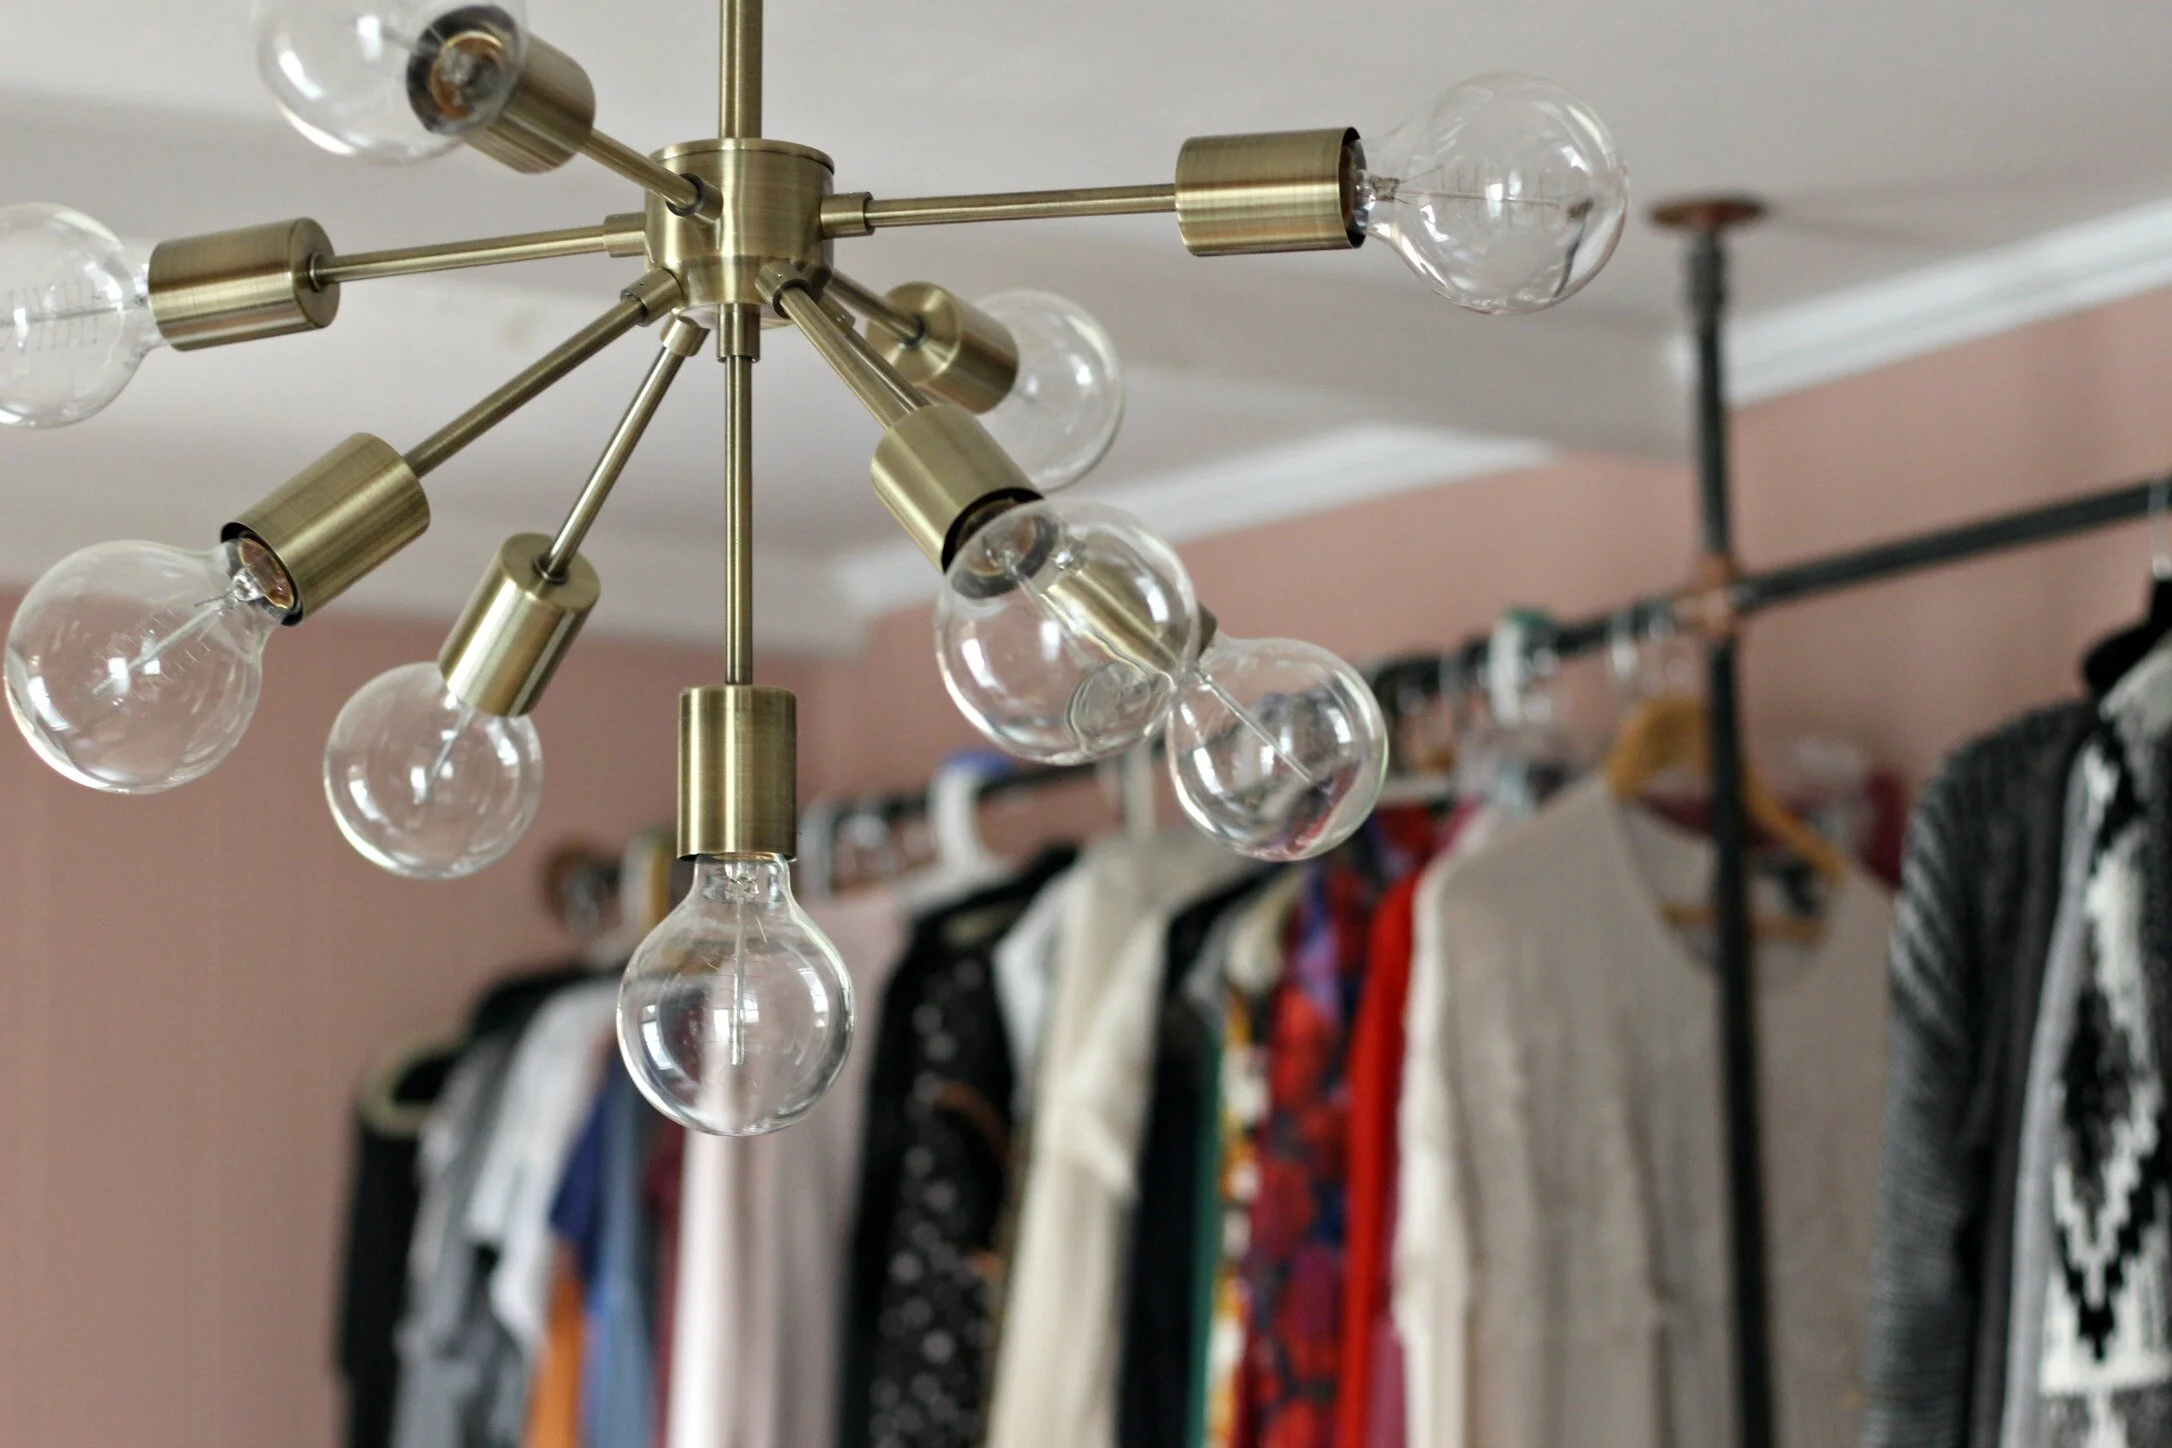
After living here for over six months, I am finally getting around to finishing up my dressing room! Since we moved in, I had just set up some temporary IKEA racks in here until I decided exactly what kind of permanent shelving/racks I wanted. Actually, just about everything in here was temporary and the only thing I had really finished was painting the room and changing out the light fixture. I still have a few projects to go, but after finishing my clothing racks and shoe shelving, I wanted to share a progress update! Check out how this room looked before we moved in below:

That carpet! It was smelly, stained, and the carpet pad underneath was completely GLUED and fused to the subfloor! We had to literally sand that nasty stuff for days to get it off, but now we have beautiful laminate floors in here (that also continue out into the hallway and into the master). The wall color was also quite bright and fluorescent and I'm just a little upset that they painted the wood ceiling beams white! I'm still scheming on how to get these back to the original wood.
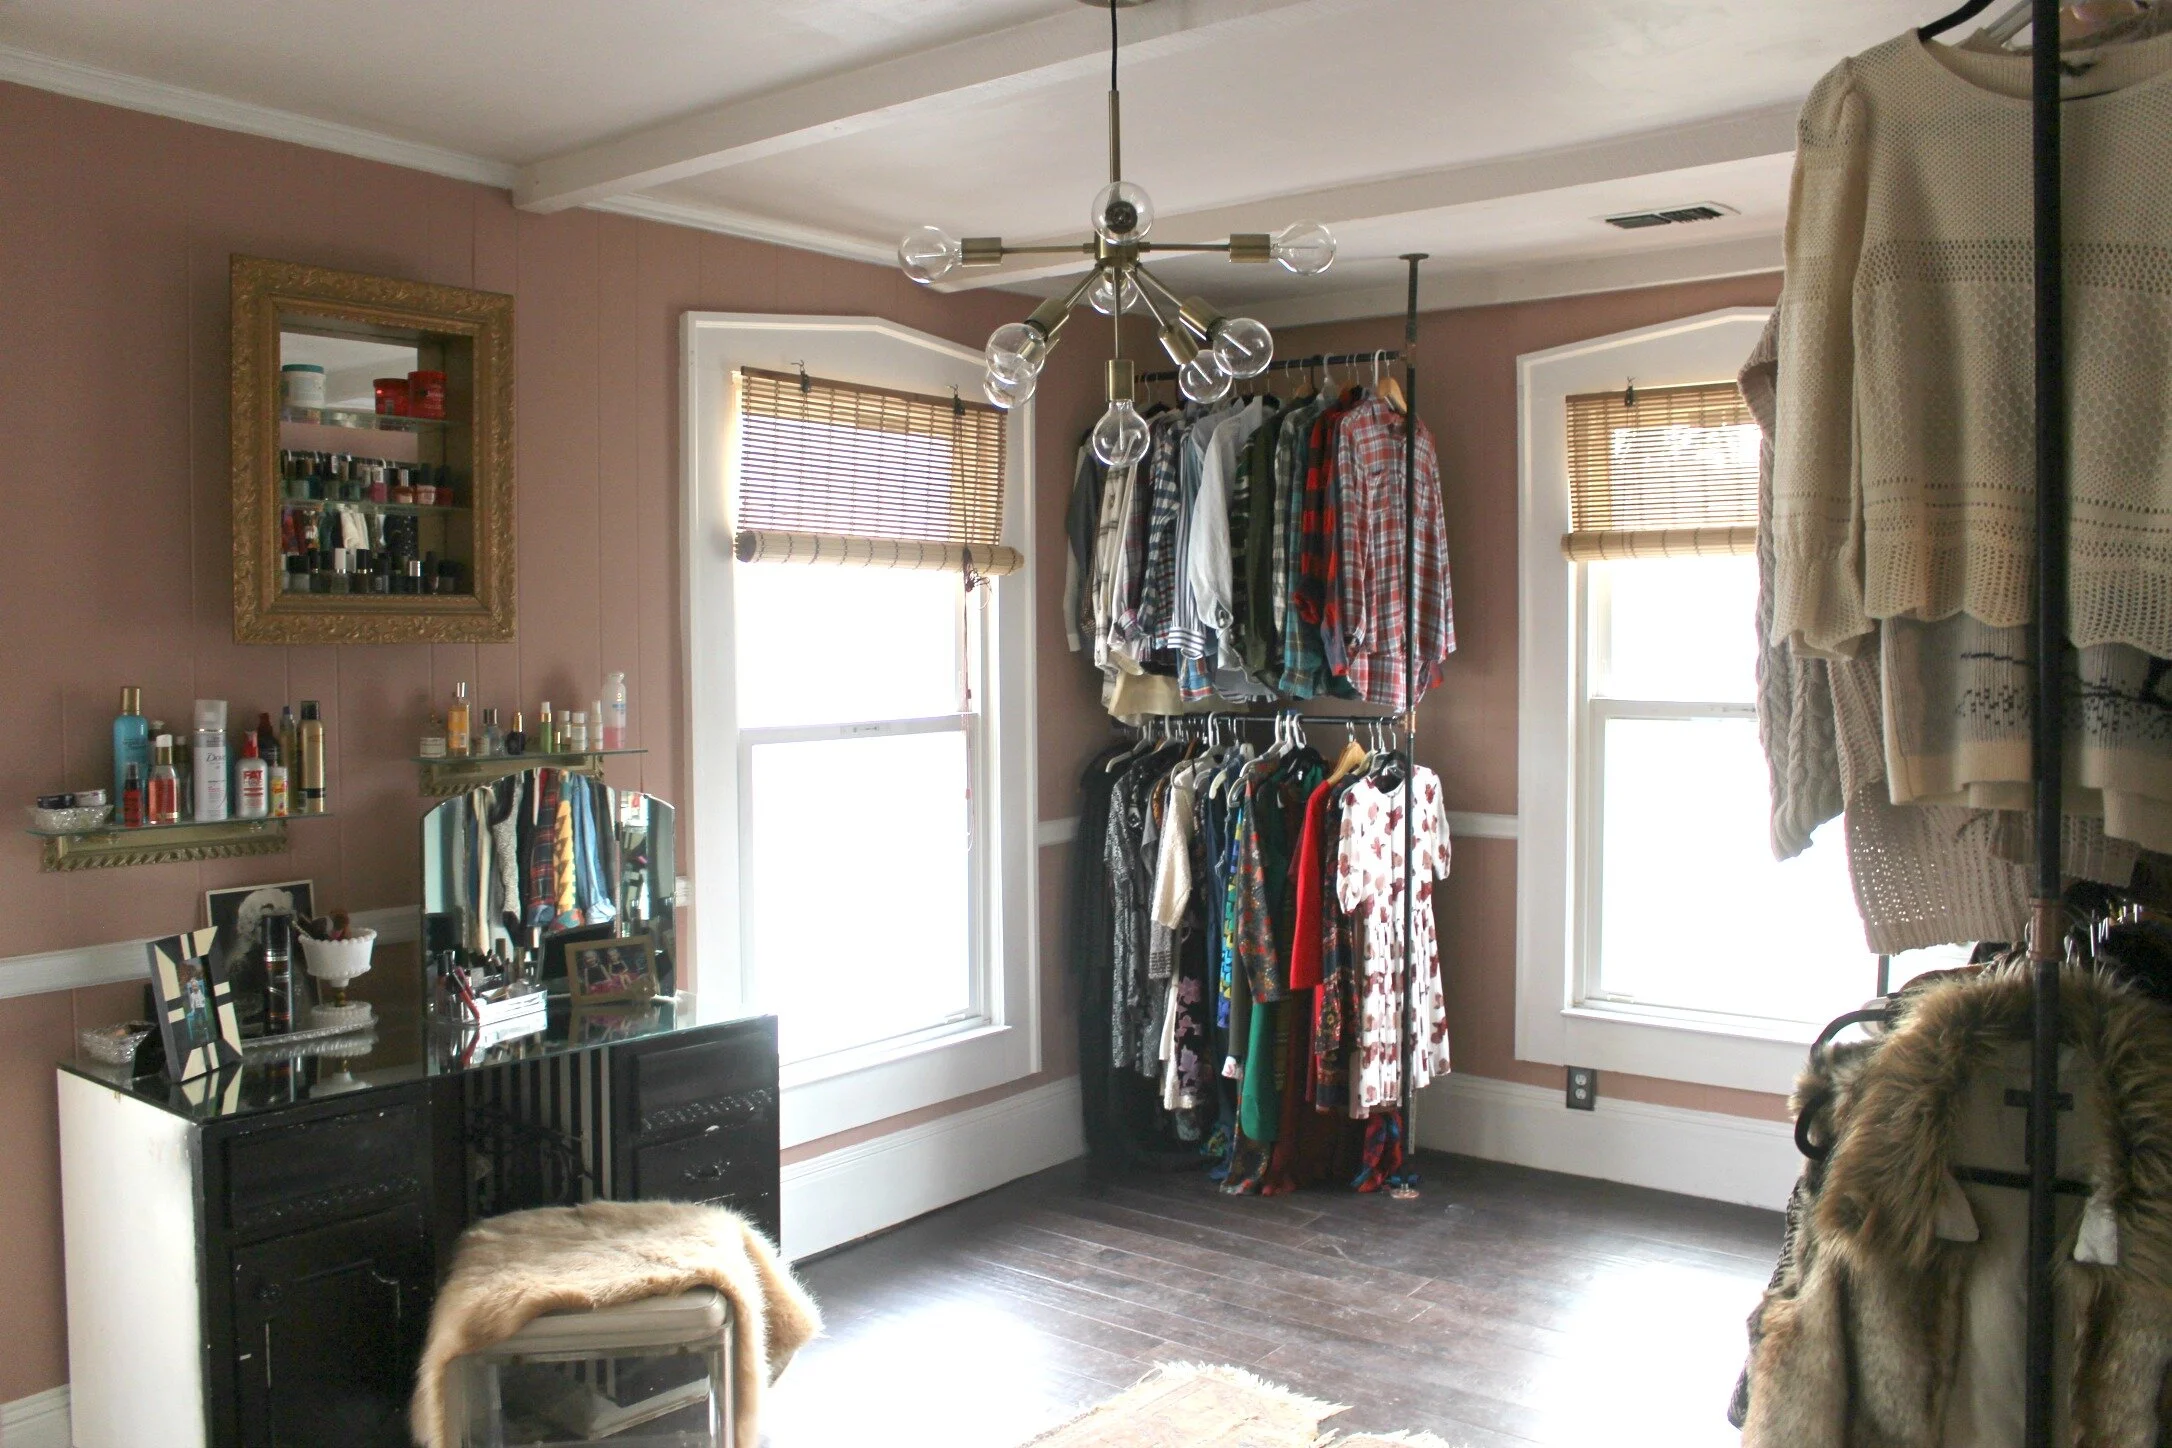
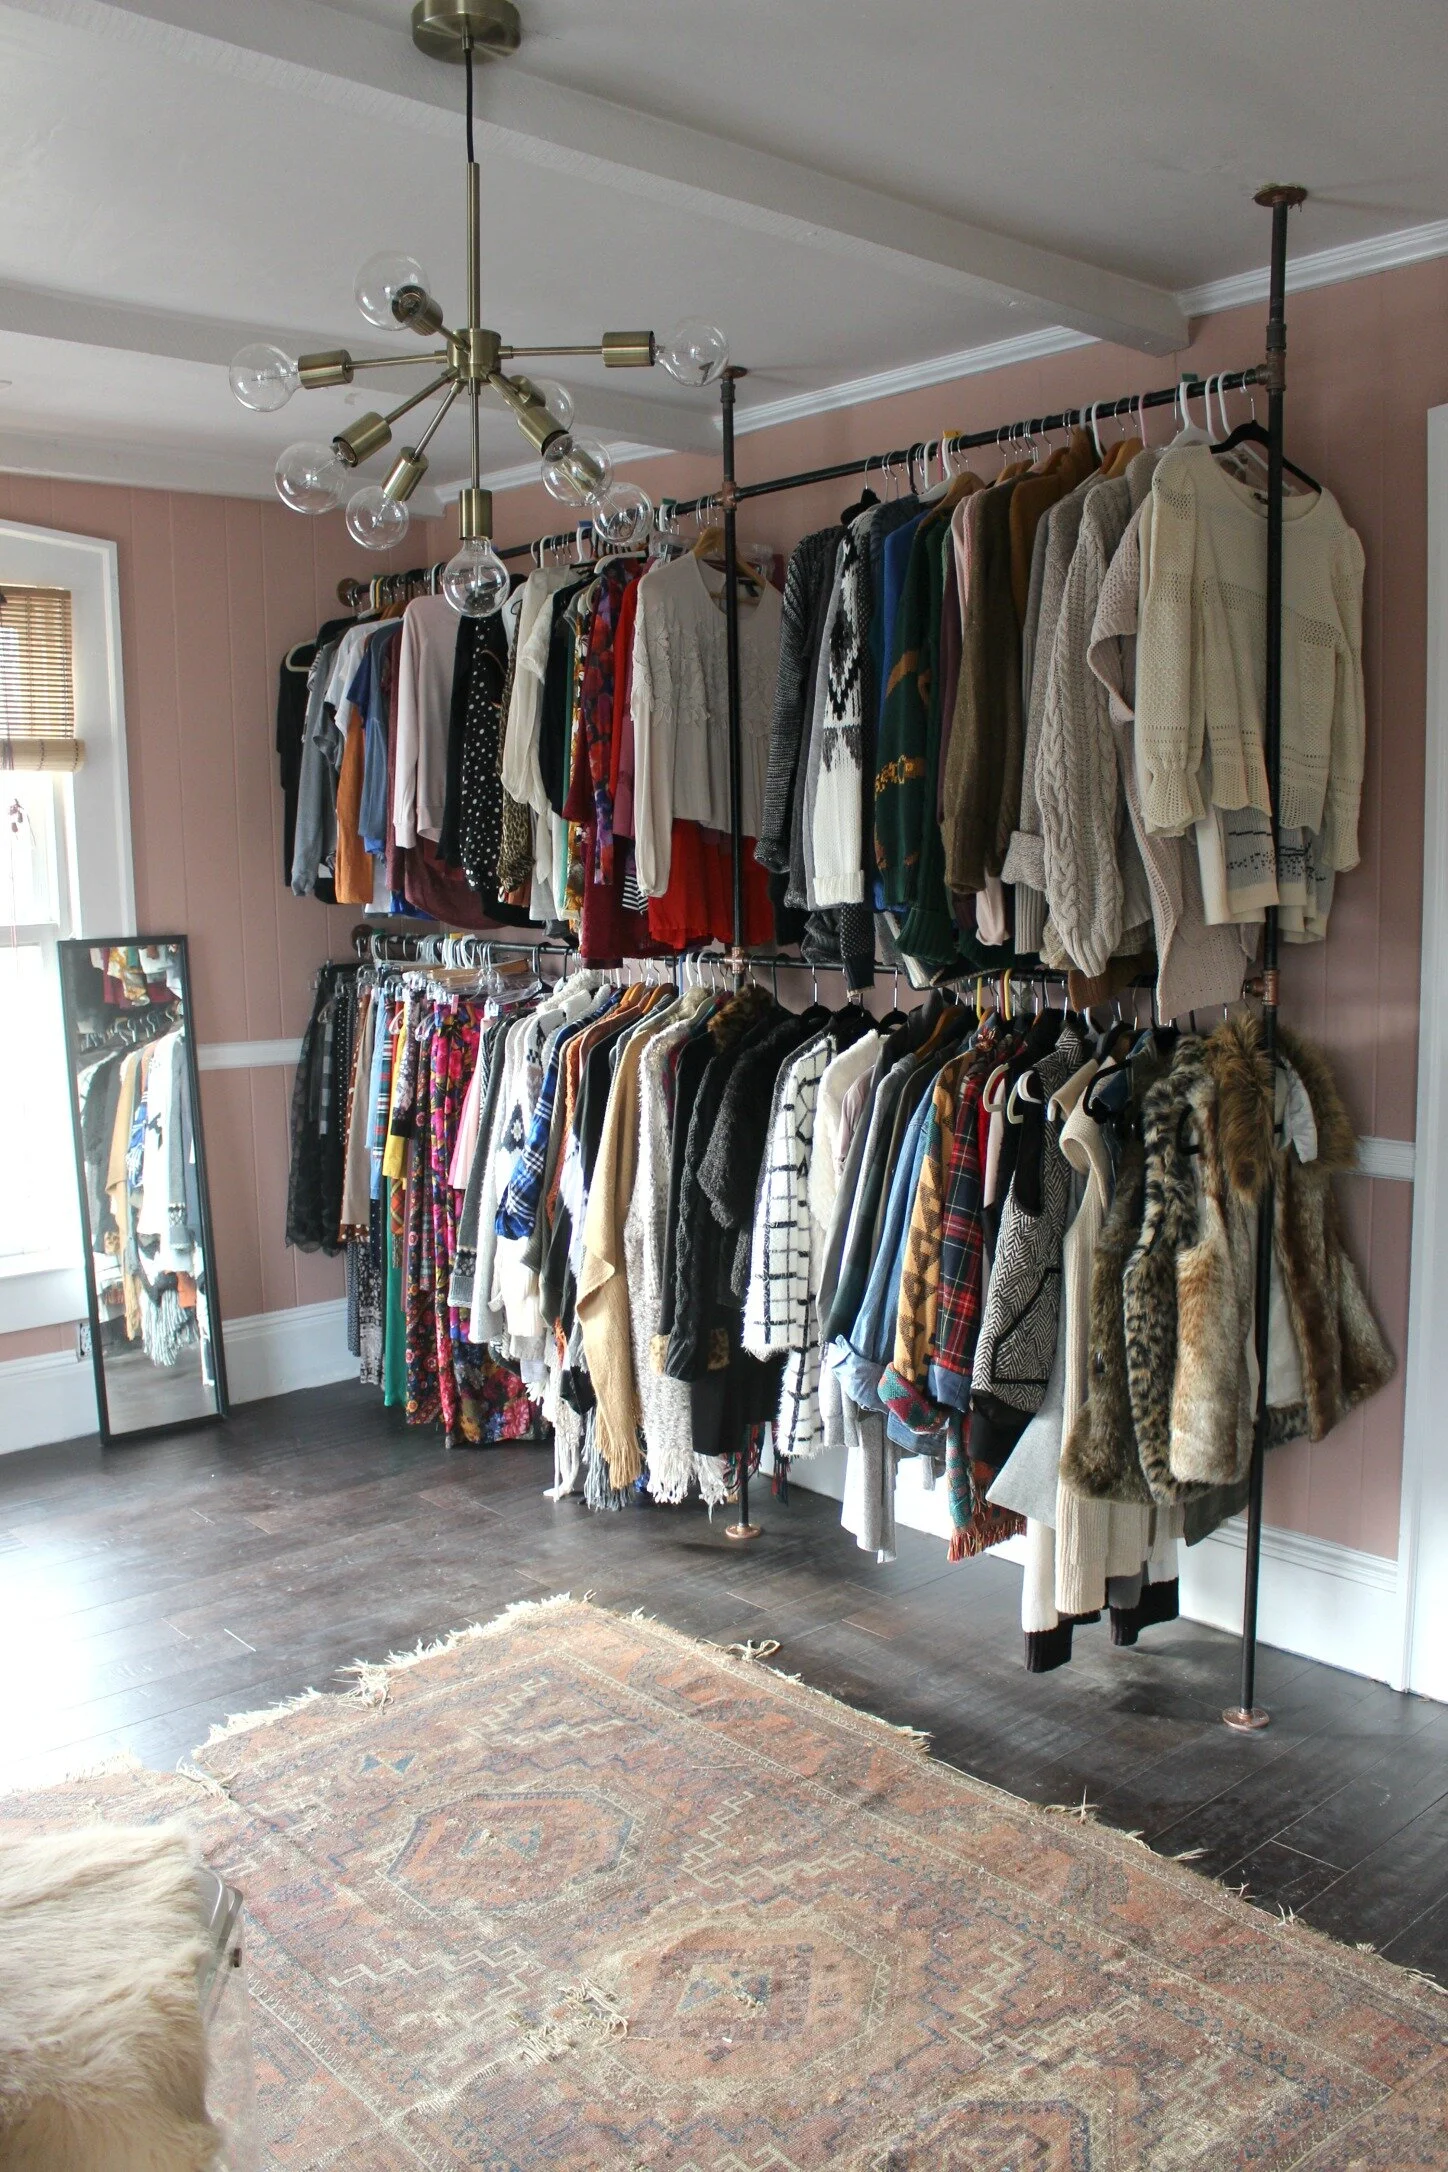
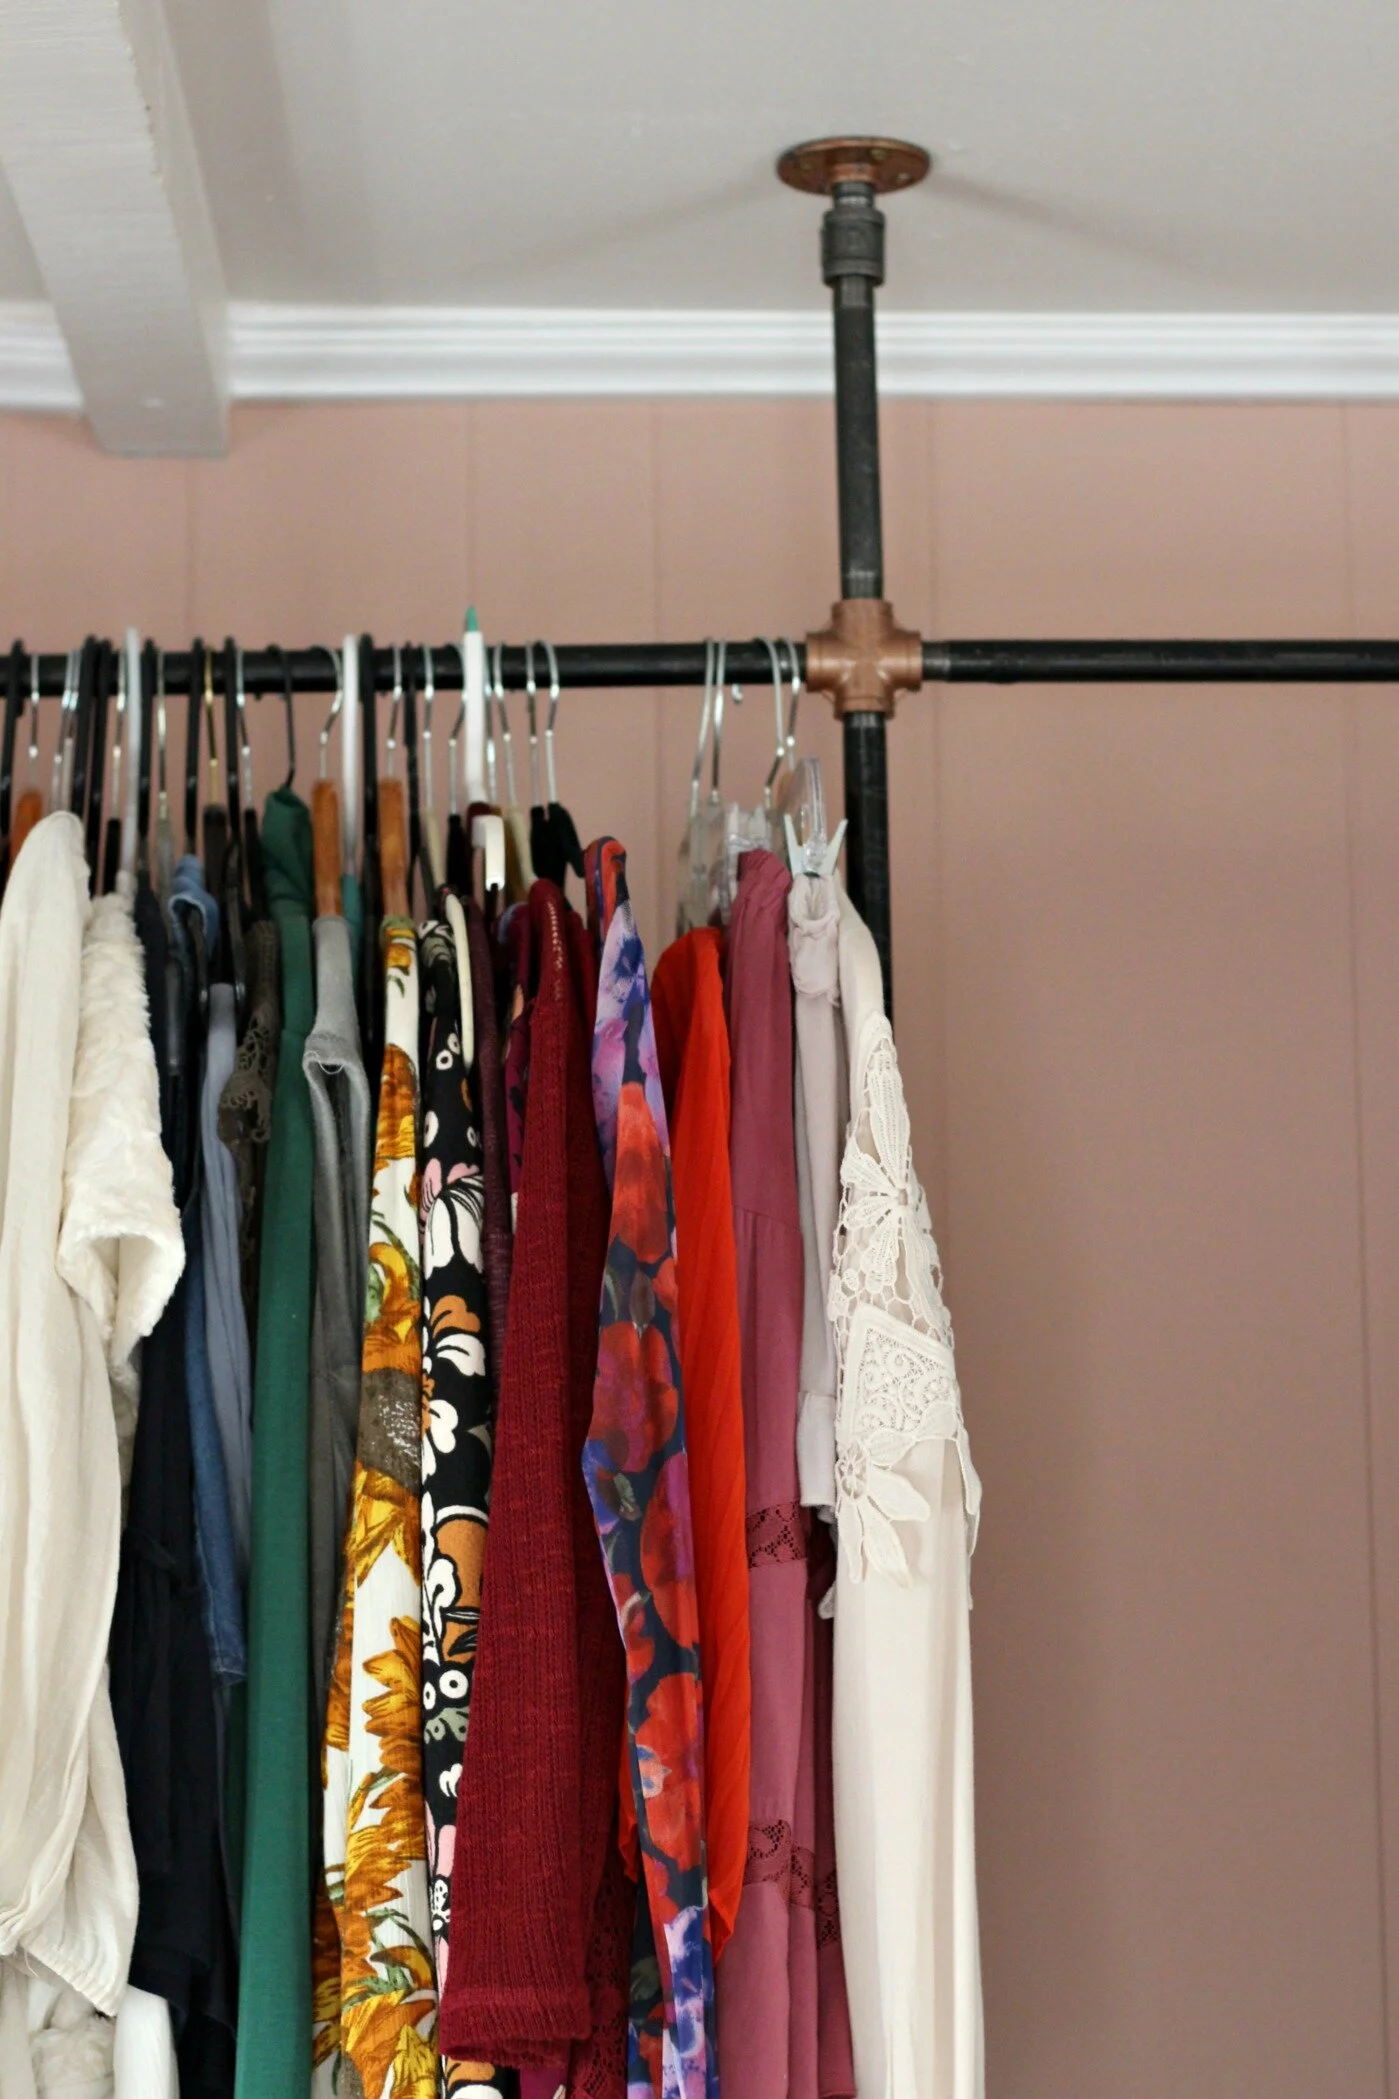
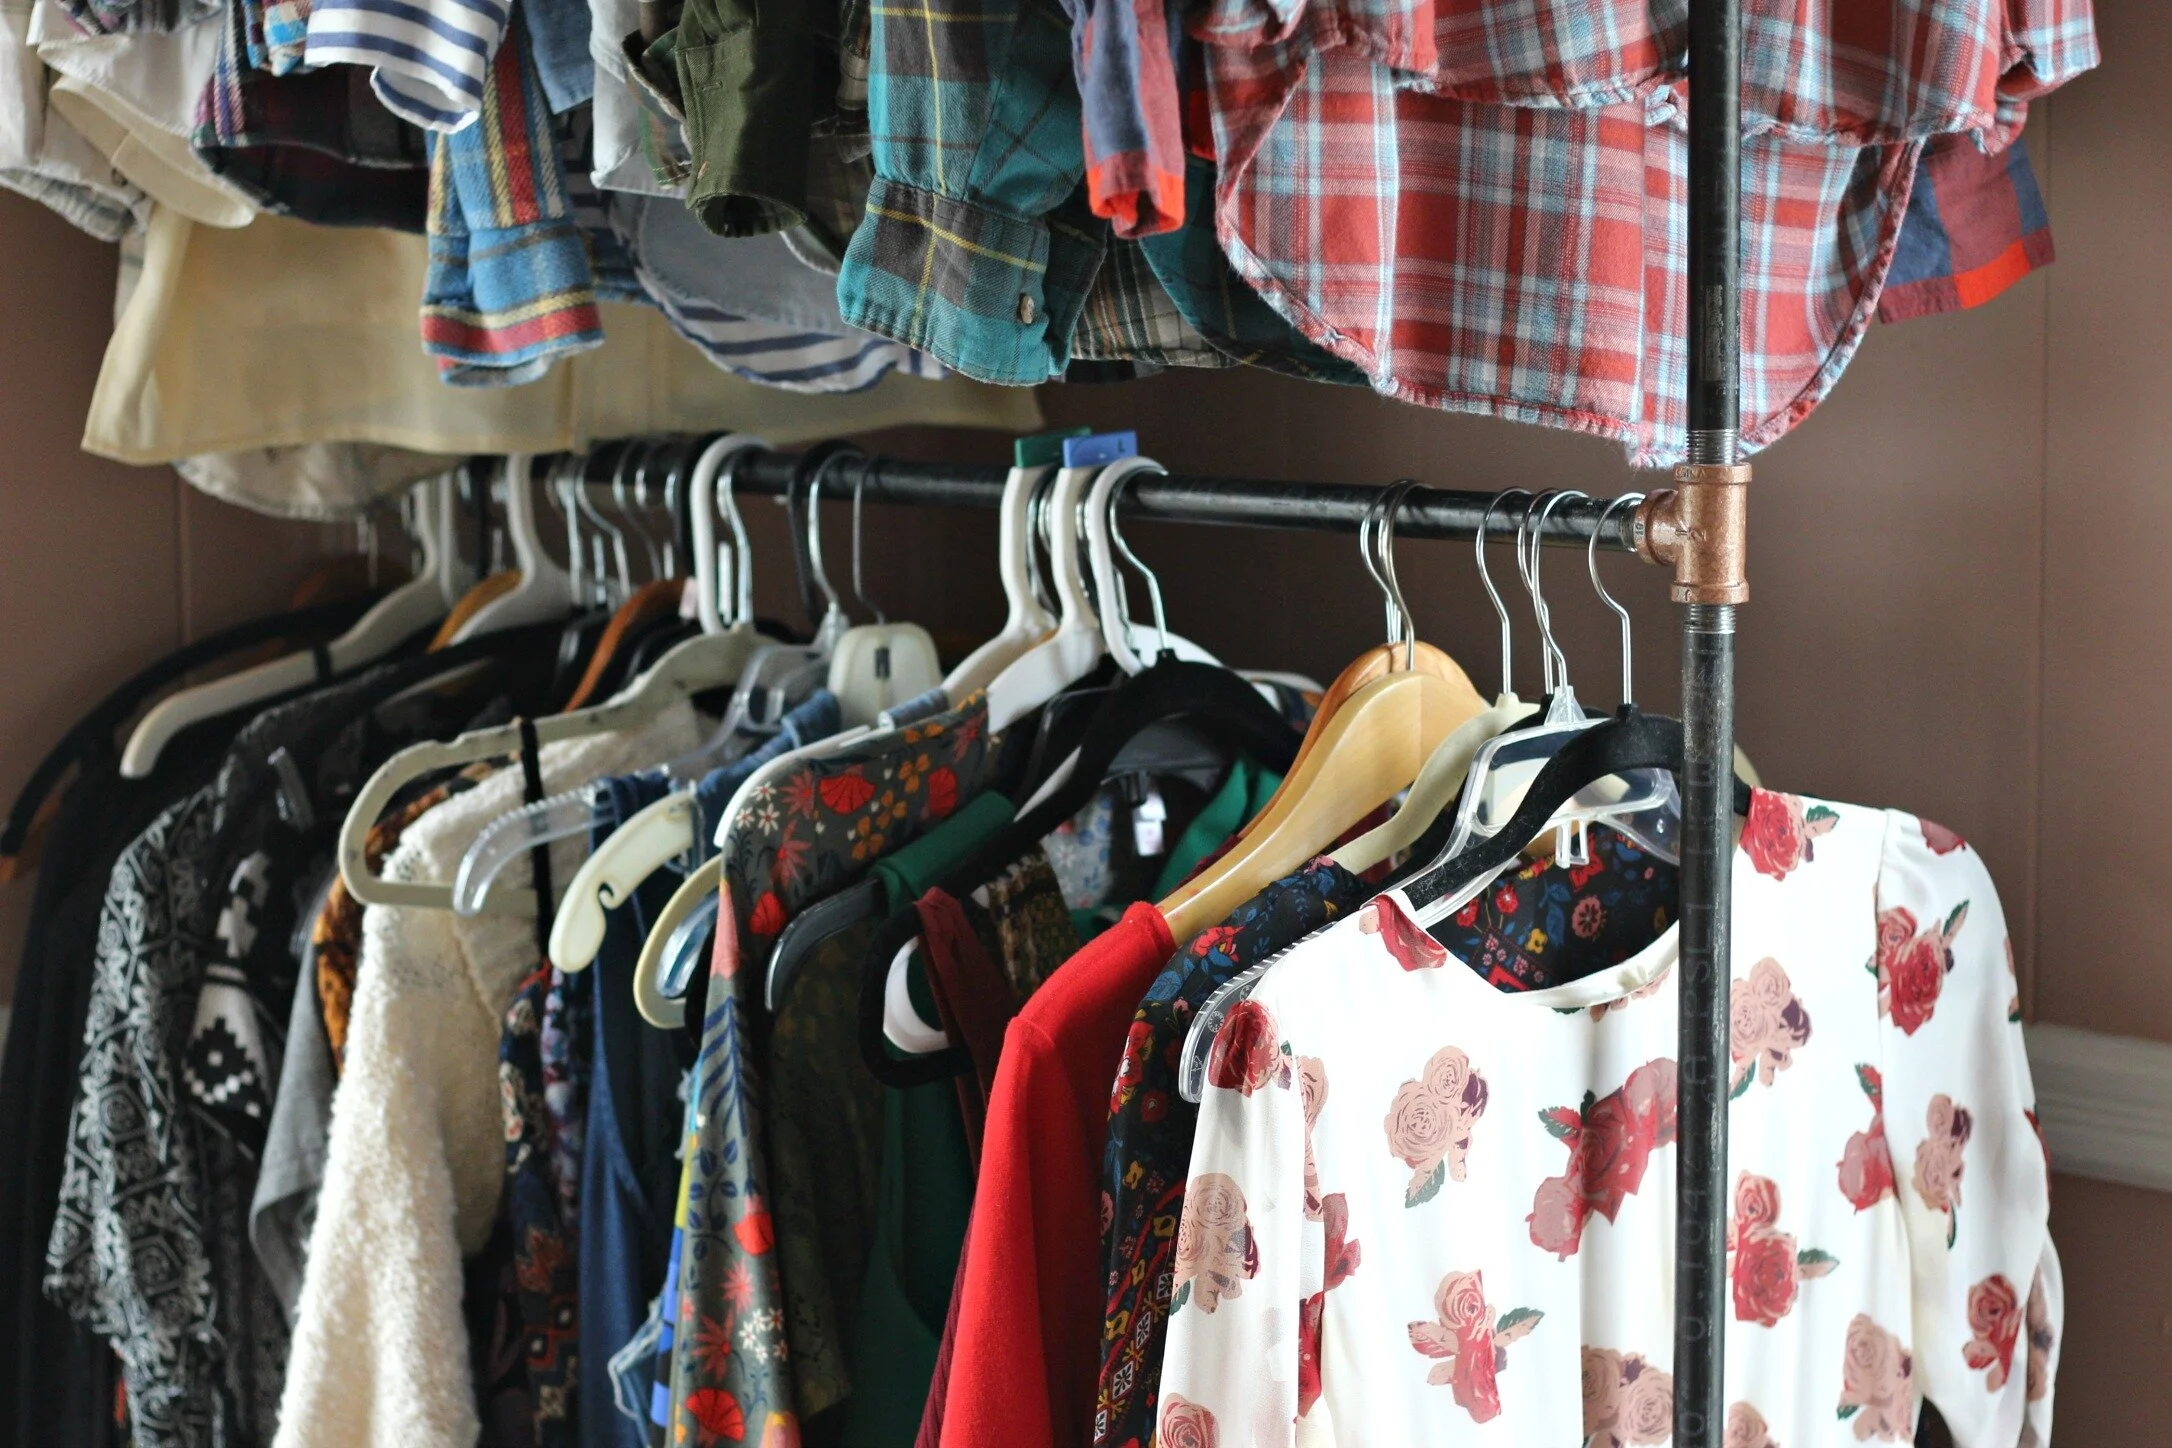
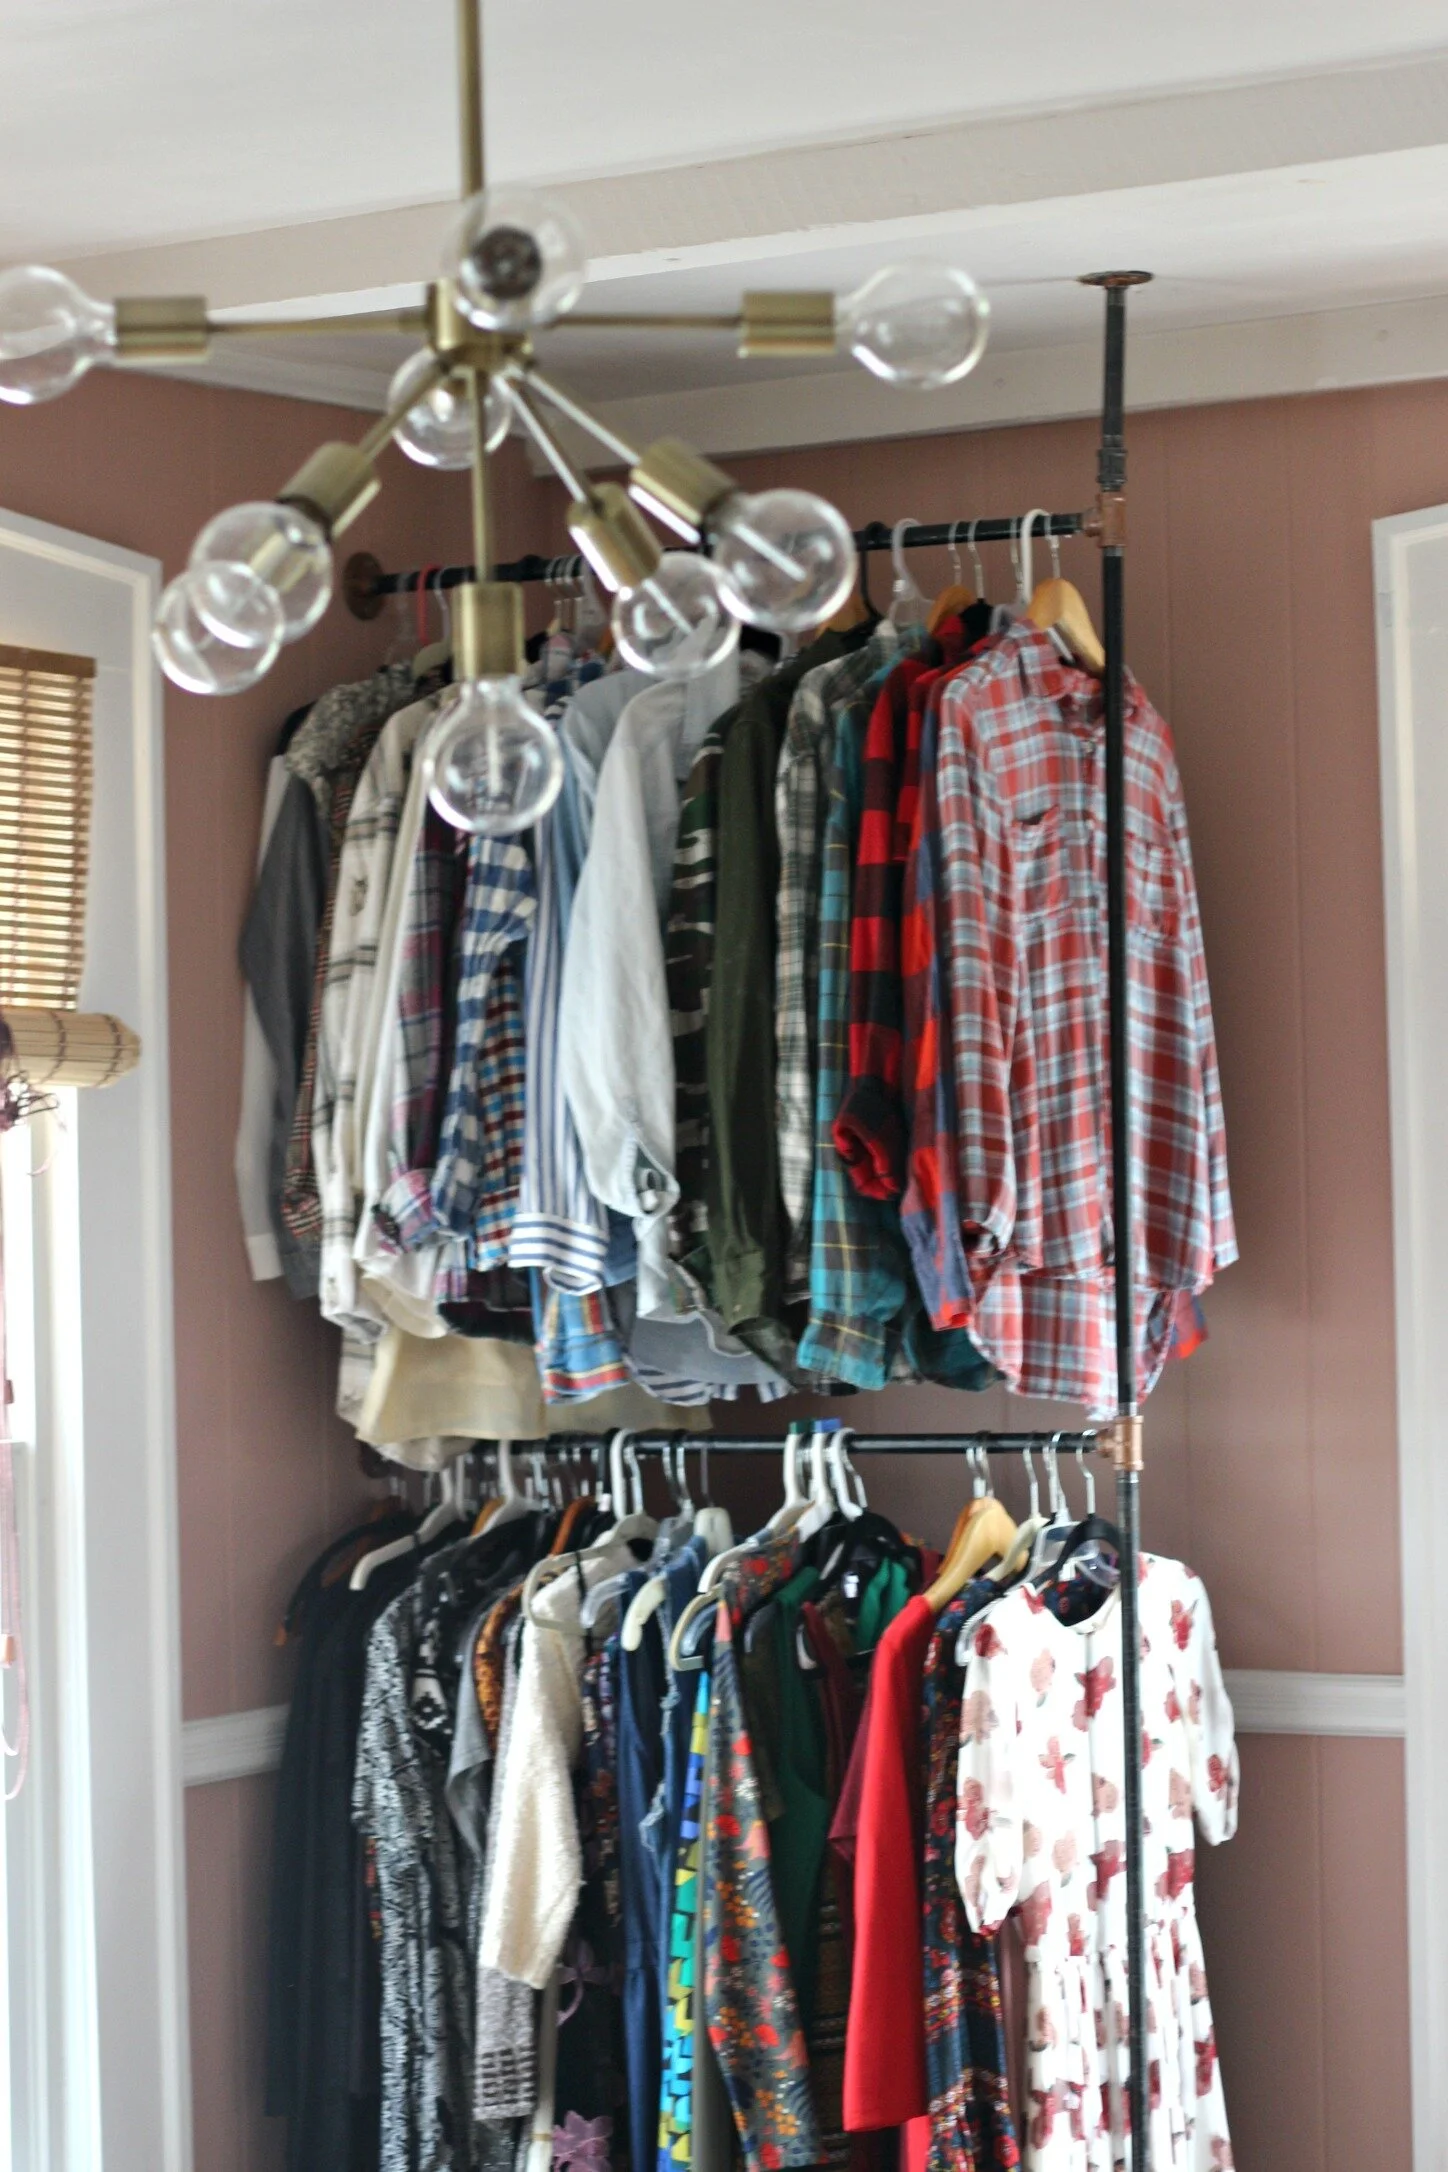
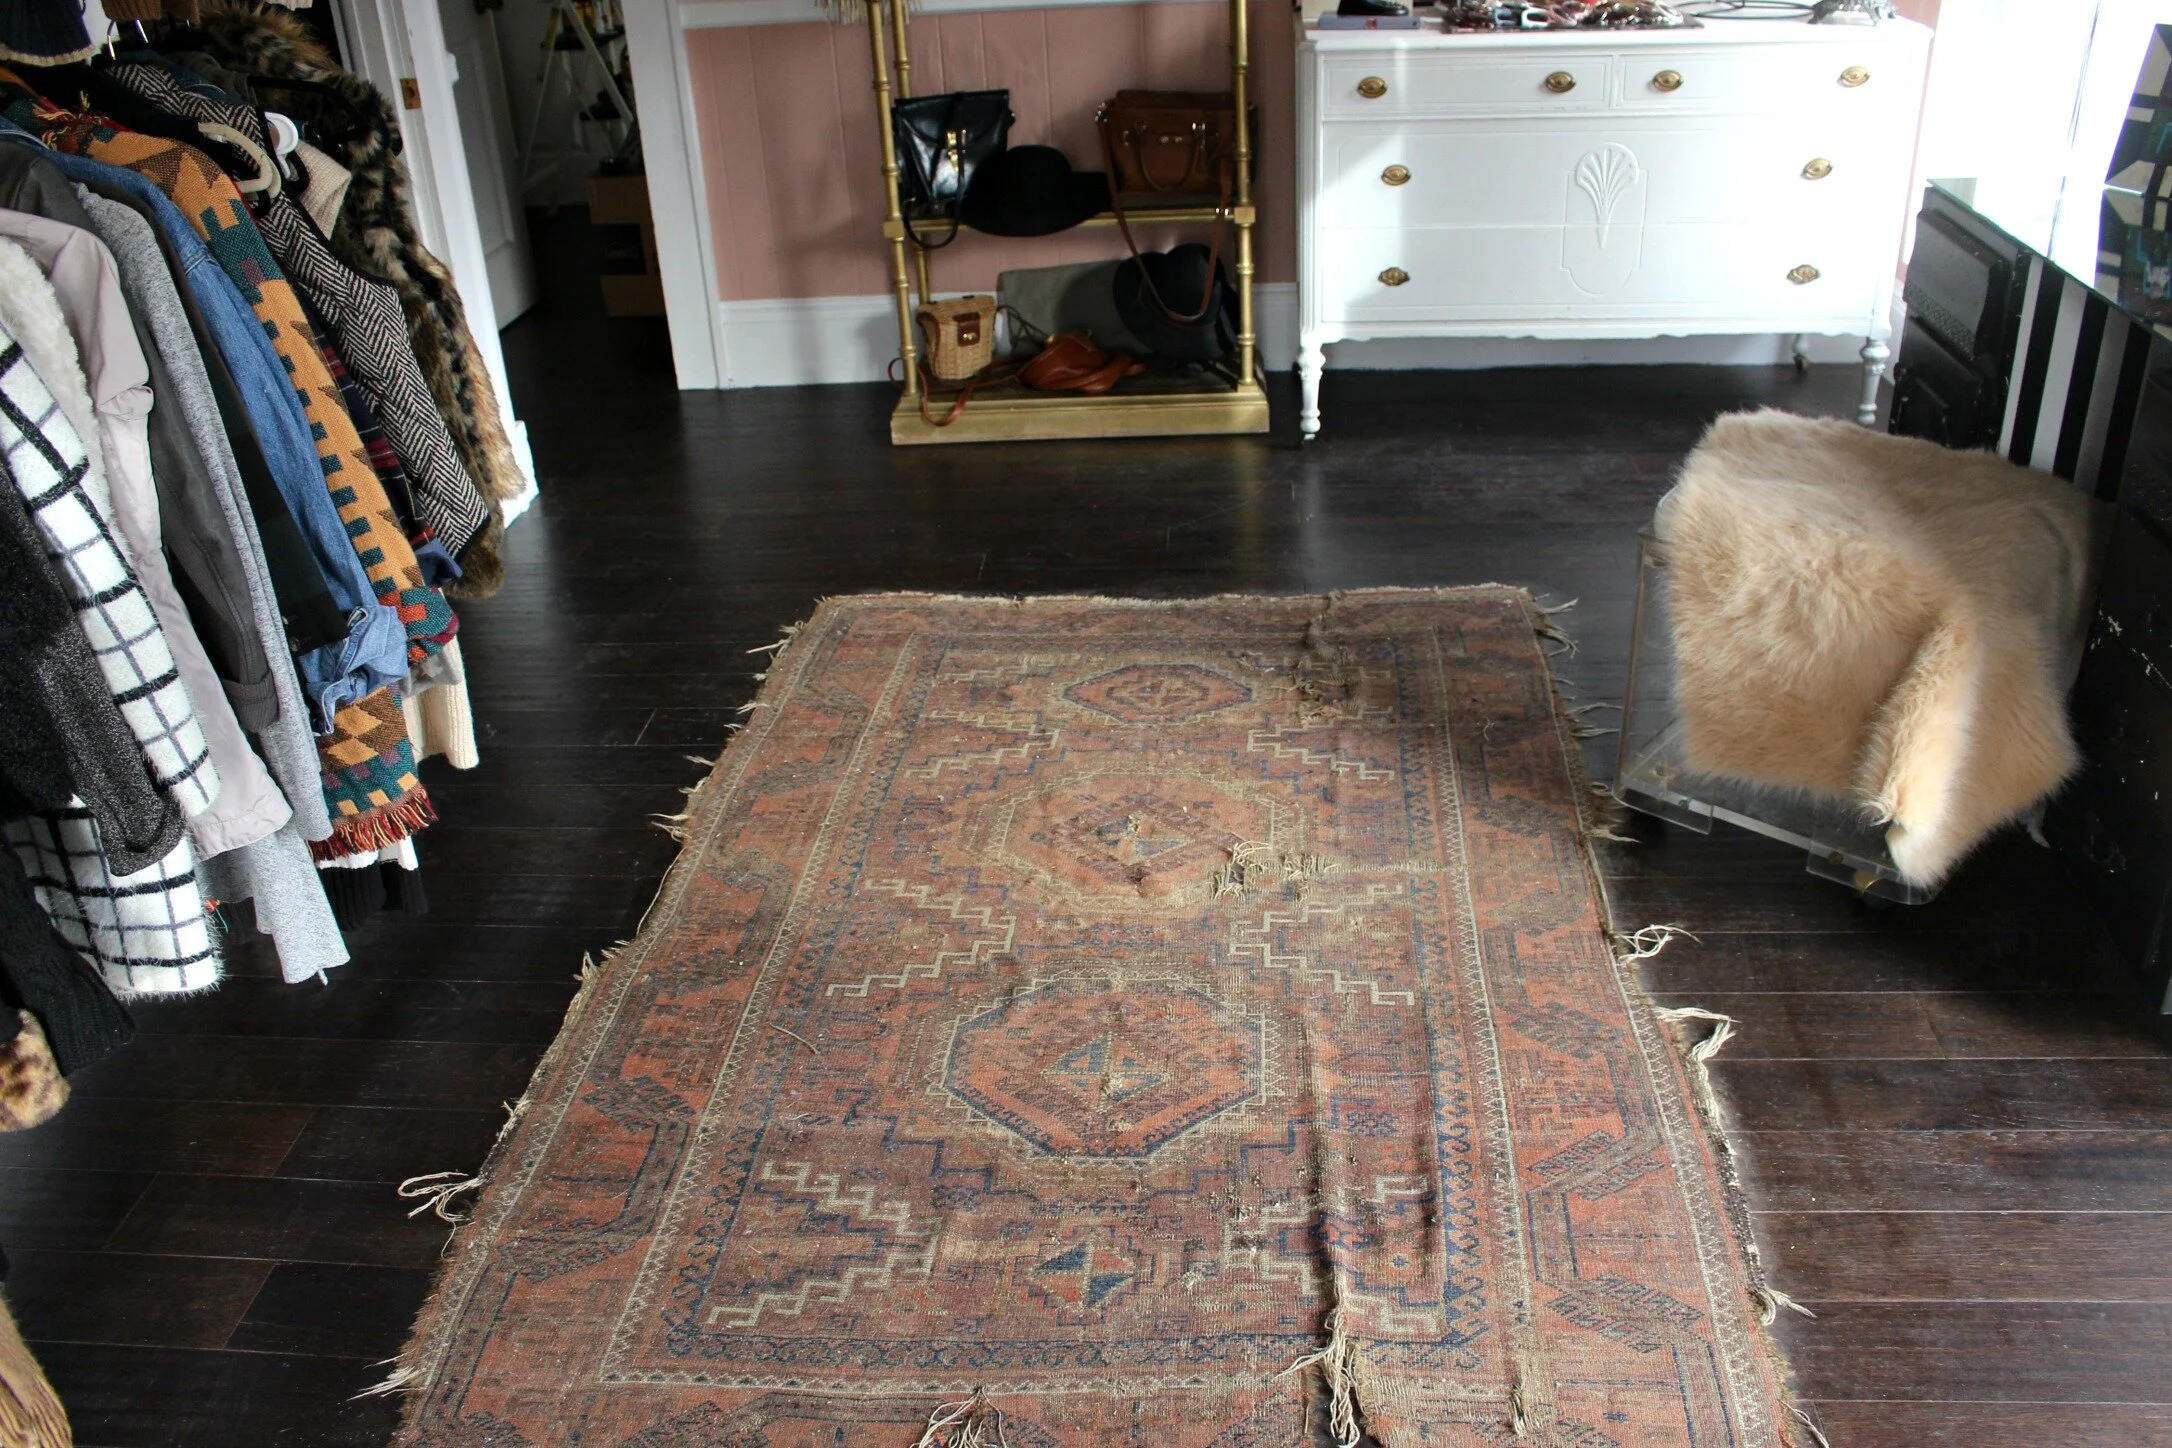
Above you can see my current set-up after we installed the clothing racks. I have one smaller set in the corner and then a large wall full of racks along the right side of the room. I'm so OVER that vanity that I just made out of old cabinets and a mirror top for my original dressing room at the old house. I'm looking for something new to use as a vanity that is more mid-century and hopefully a dark gray or wood finish.

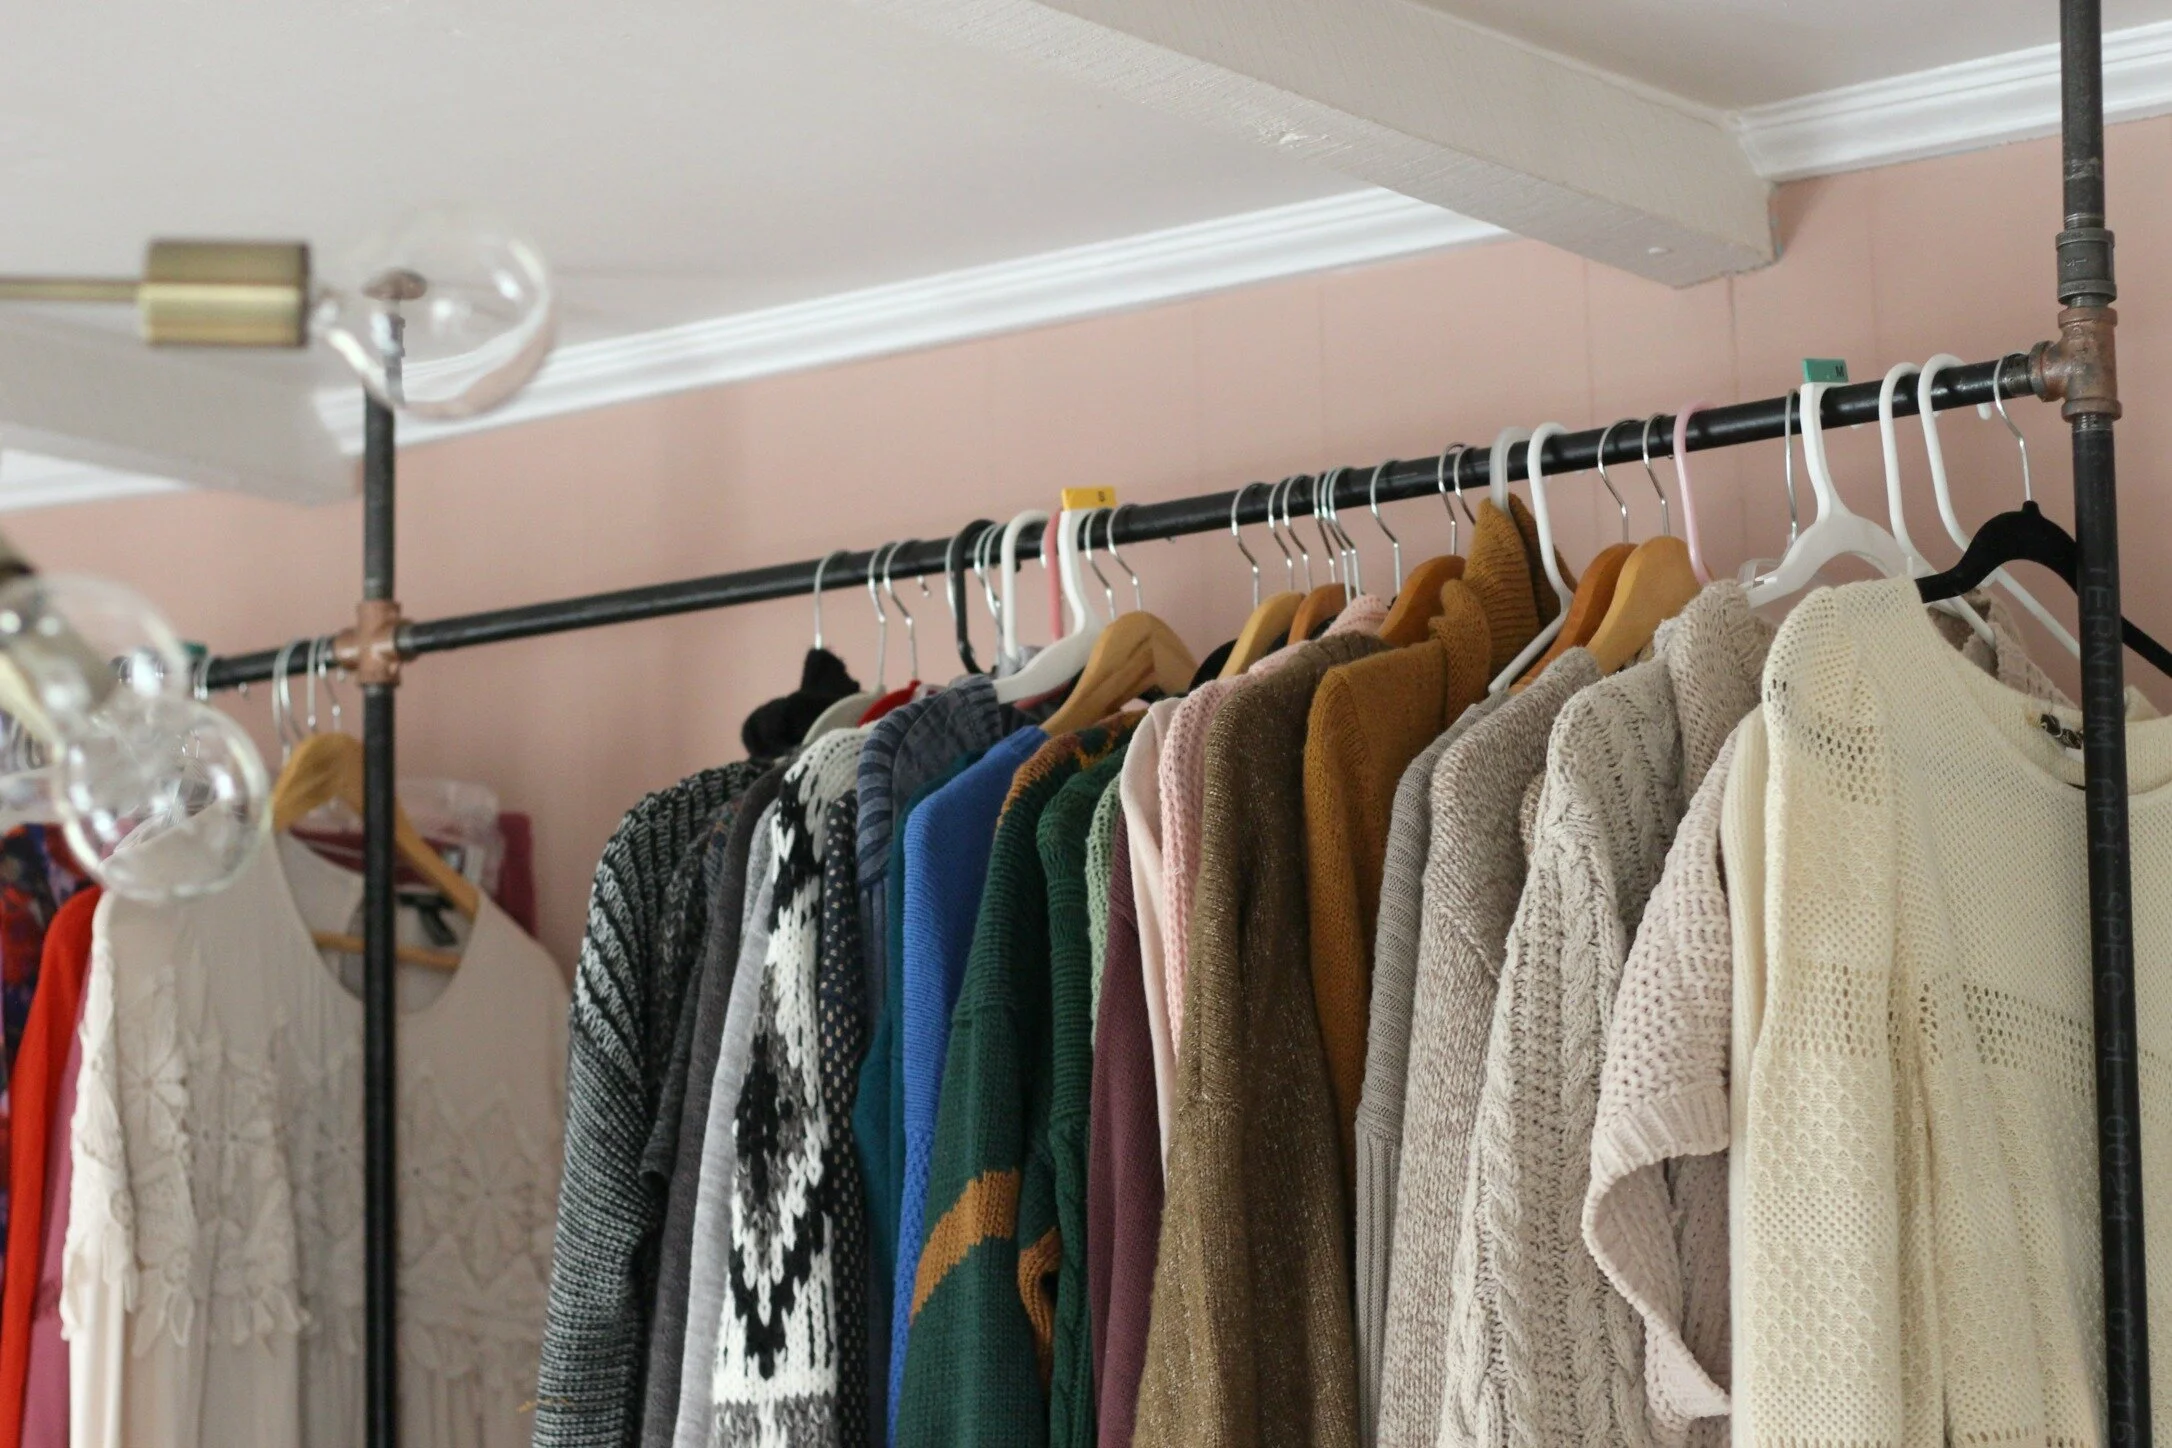
Above you can see the clothing rack set-up a little better. We made this completely out of plumbing fittings from Home Depot. I originally wanted to use all copper pipes but they are much more expensive and just not as strong as the steel or iron piping, so I decided to do the black steel pipes. For a two-tone look and just a touch of the copper, I spray painted the fittings (end and connecting pieces) with hammered copper paint. I will share more details on the assembly of these clothing racks in a later post, but let me just say they are NOT as easy as they look and we had some definite struggles! BUT they are done and hopefully I can now share my knowledge with you on how to make these avoiding the mistakes we made!
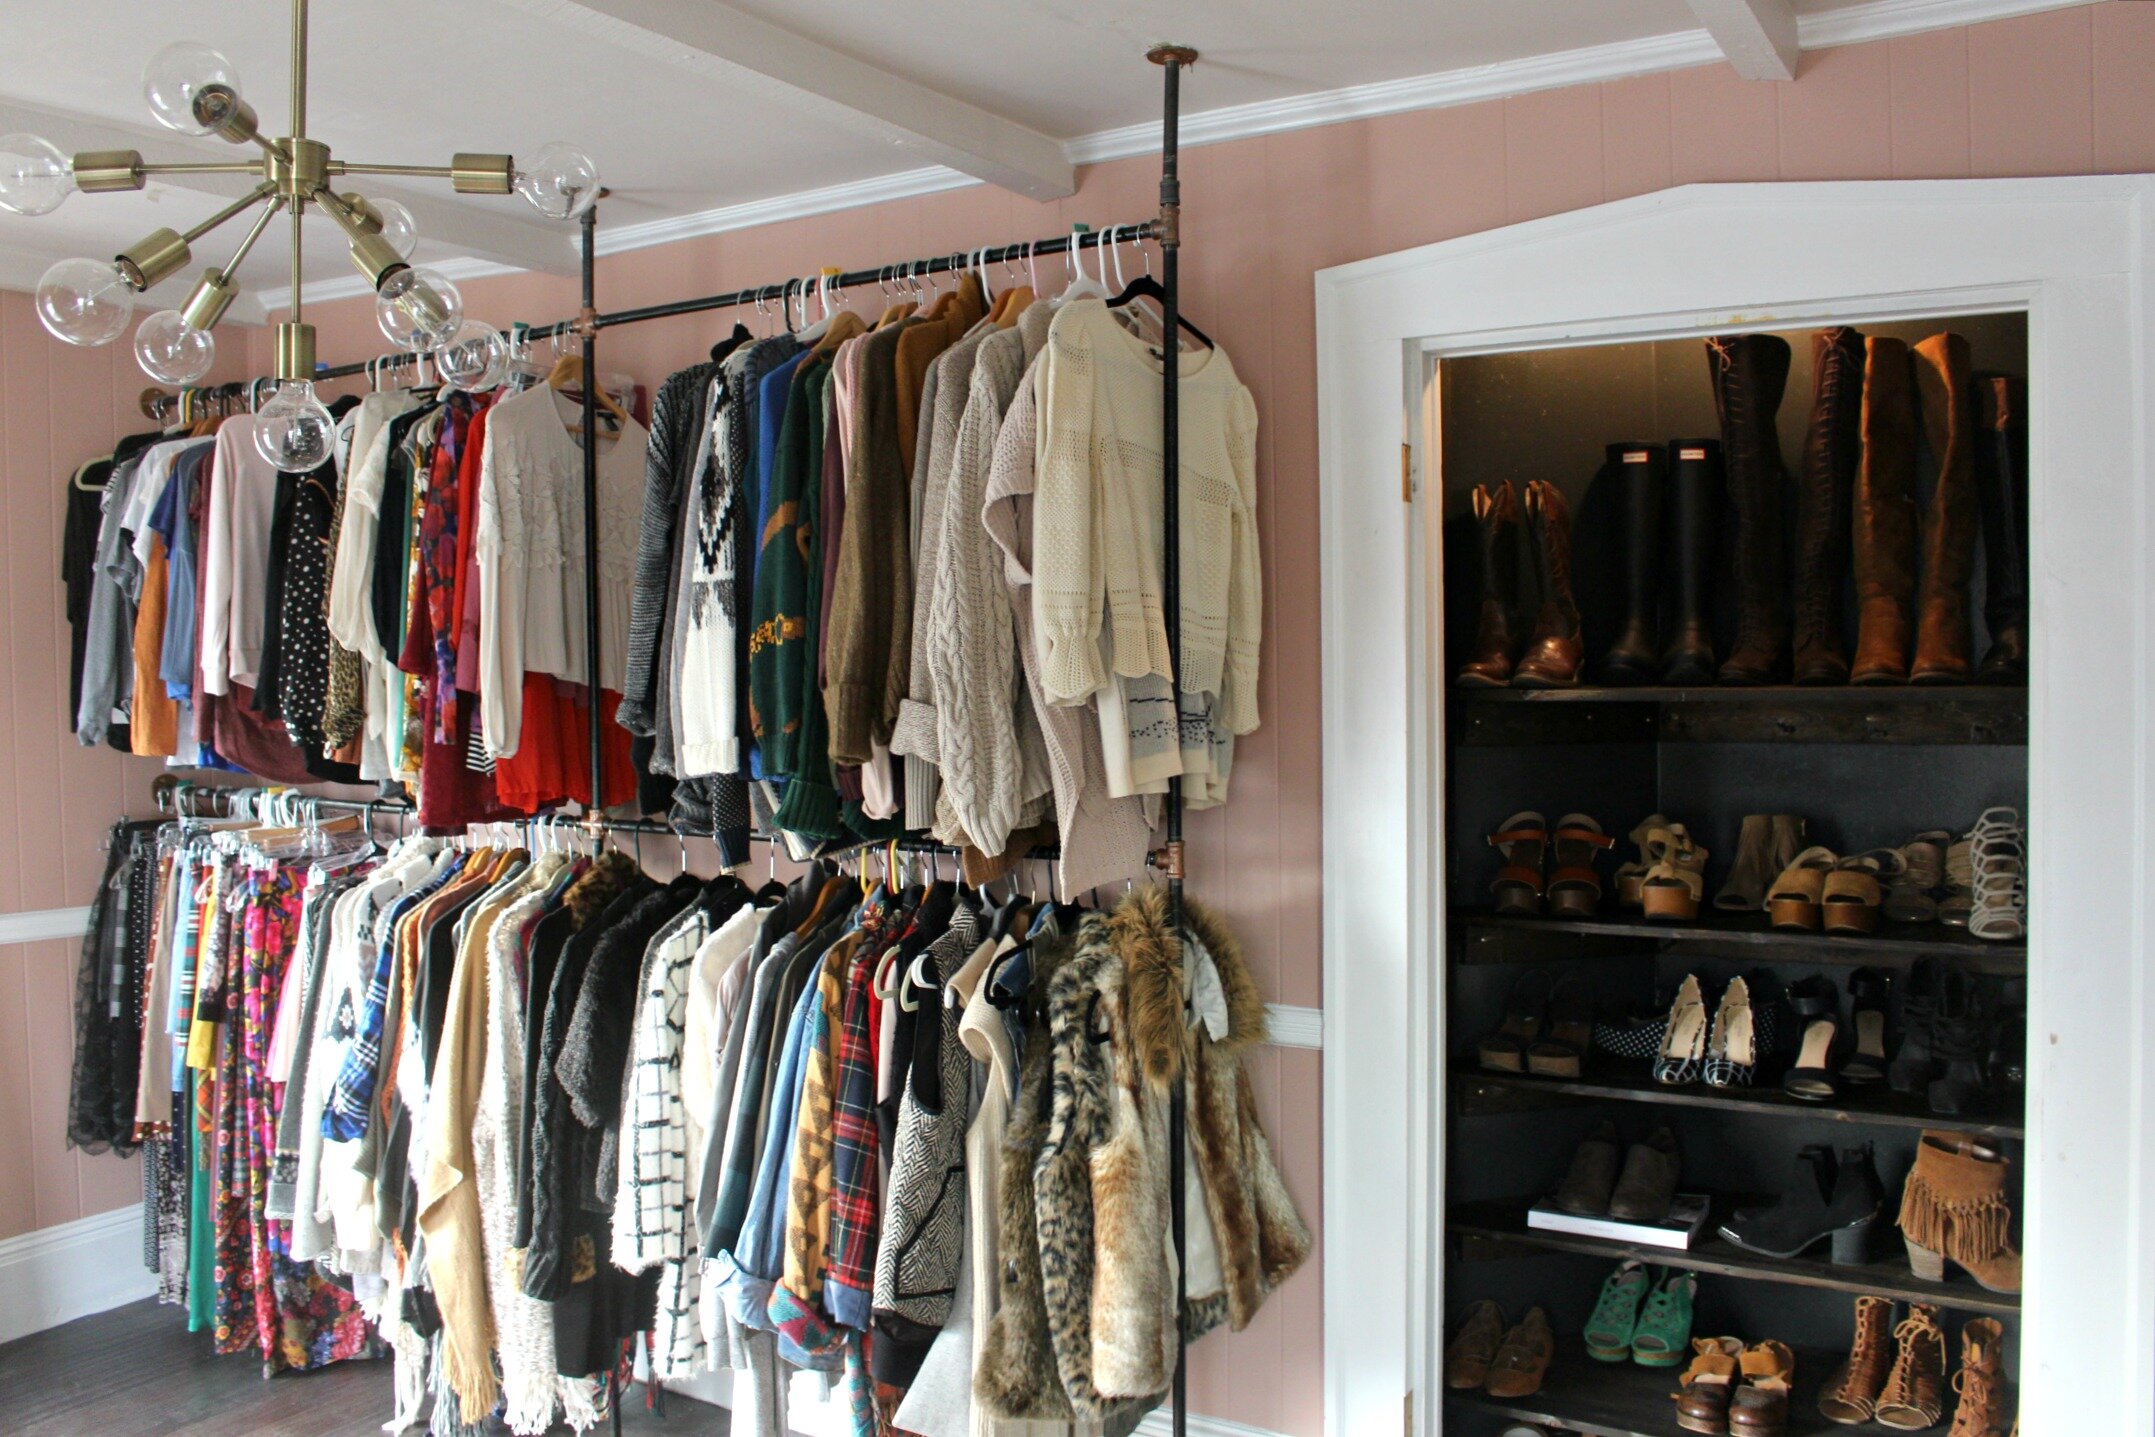
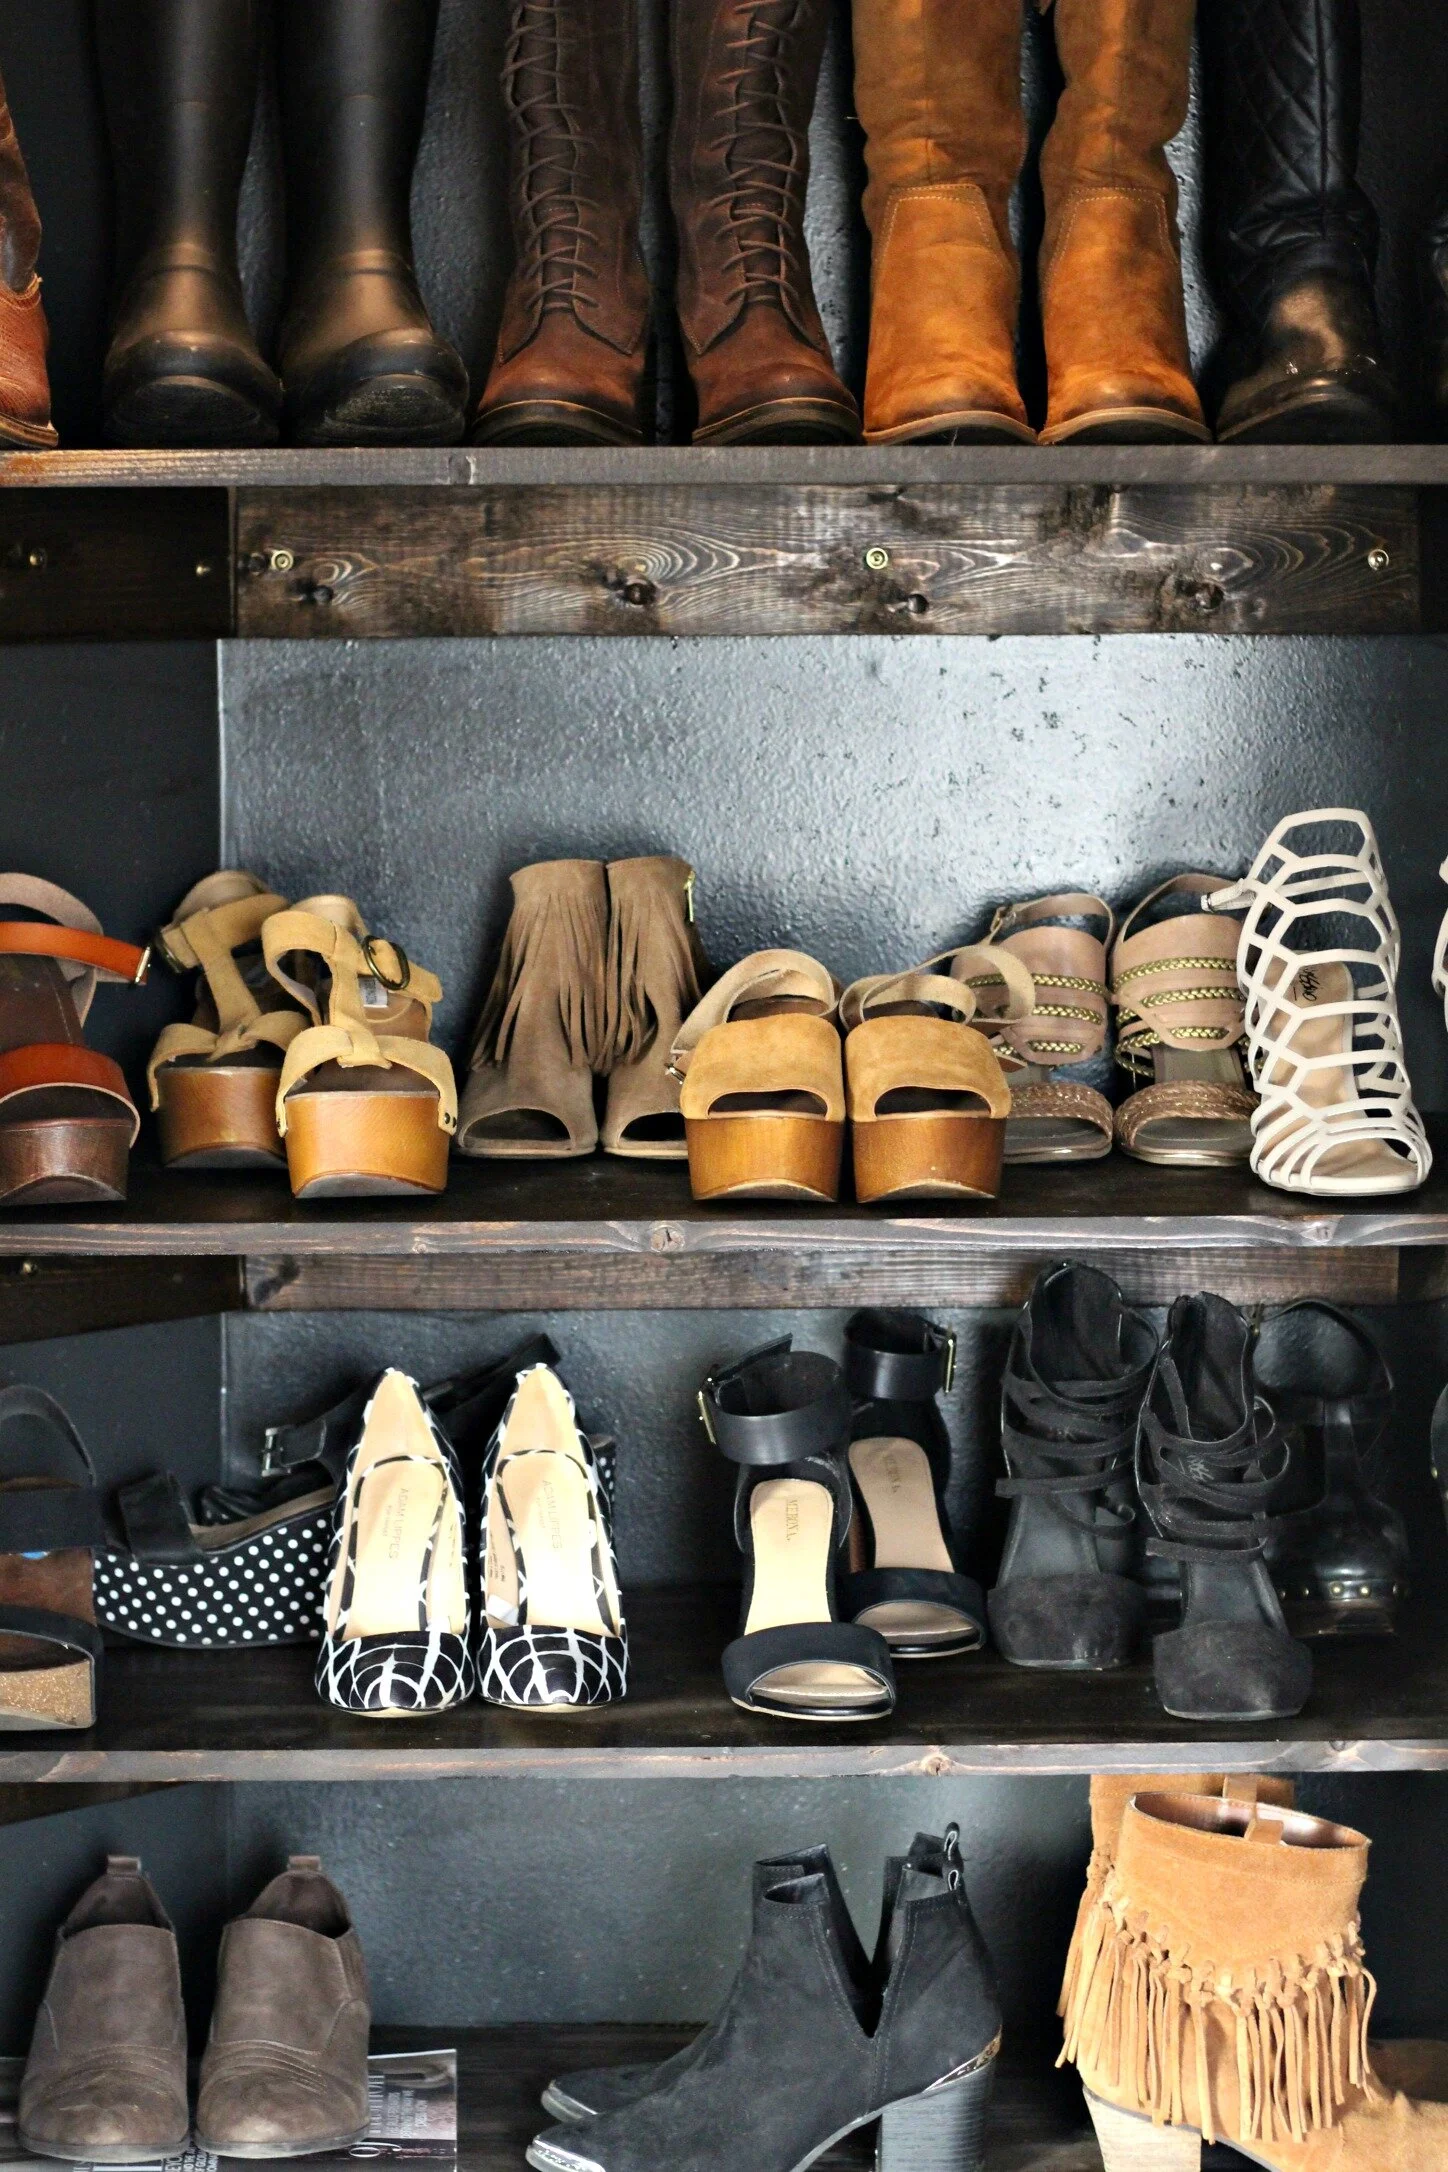
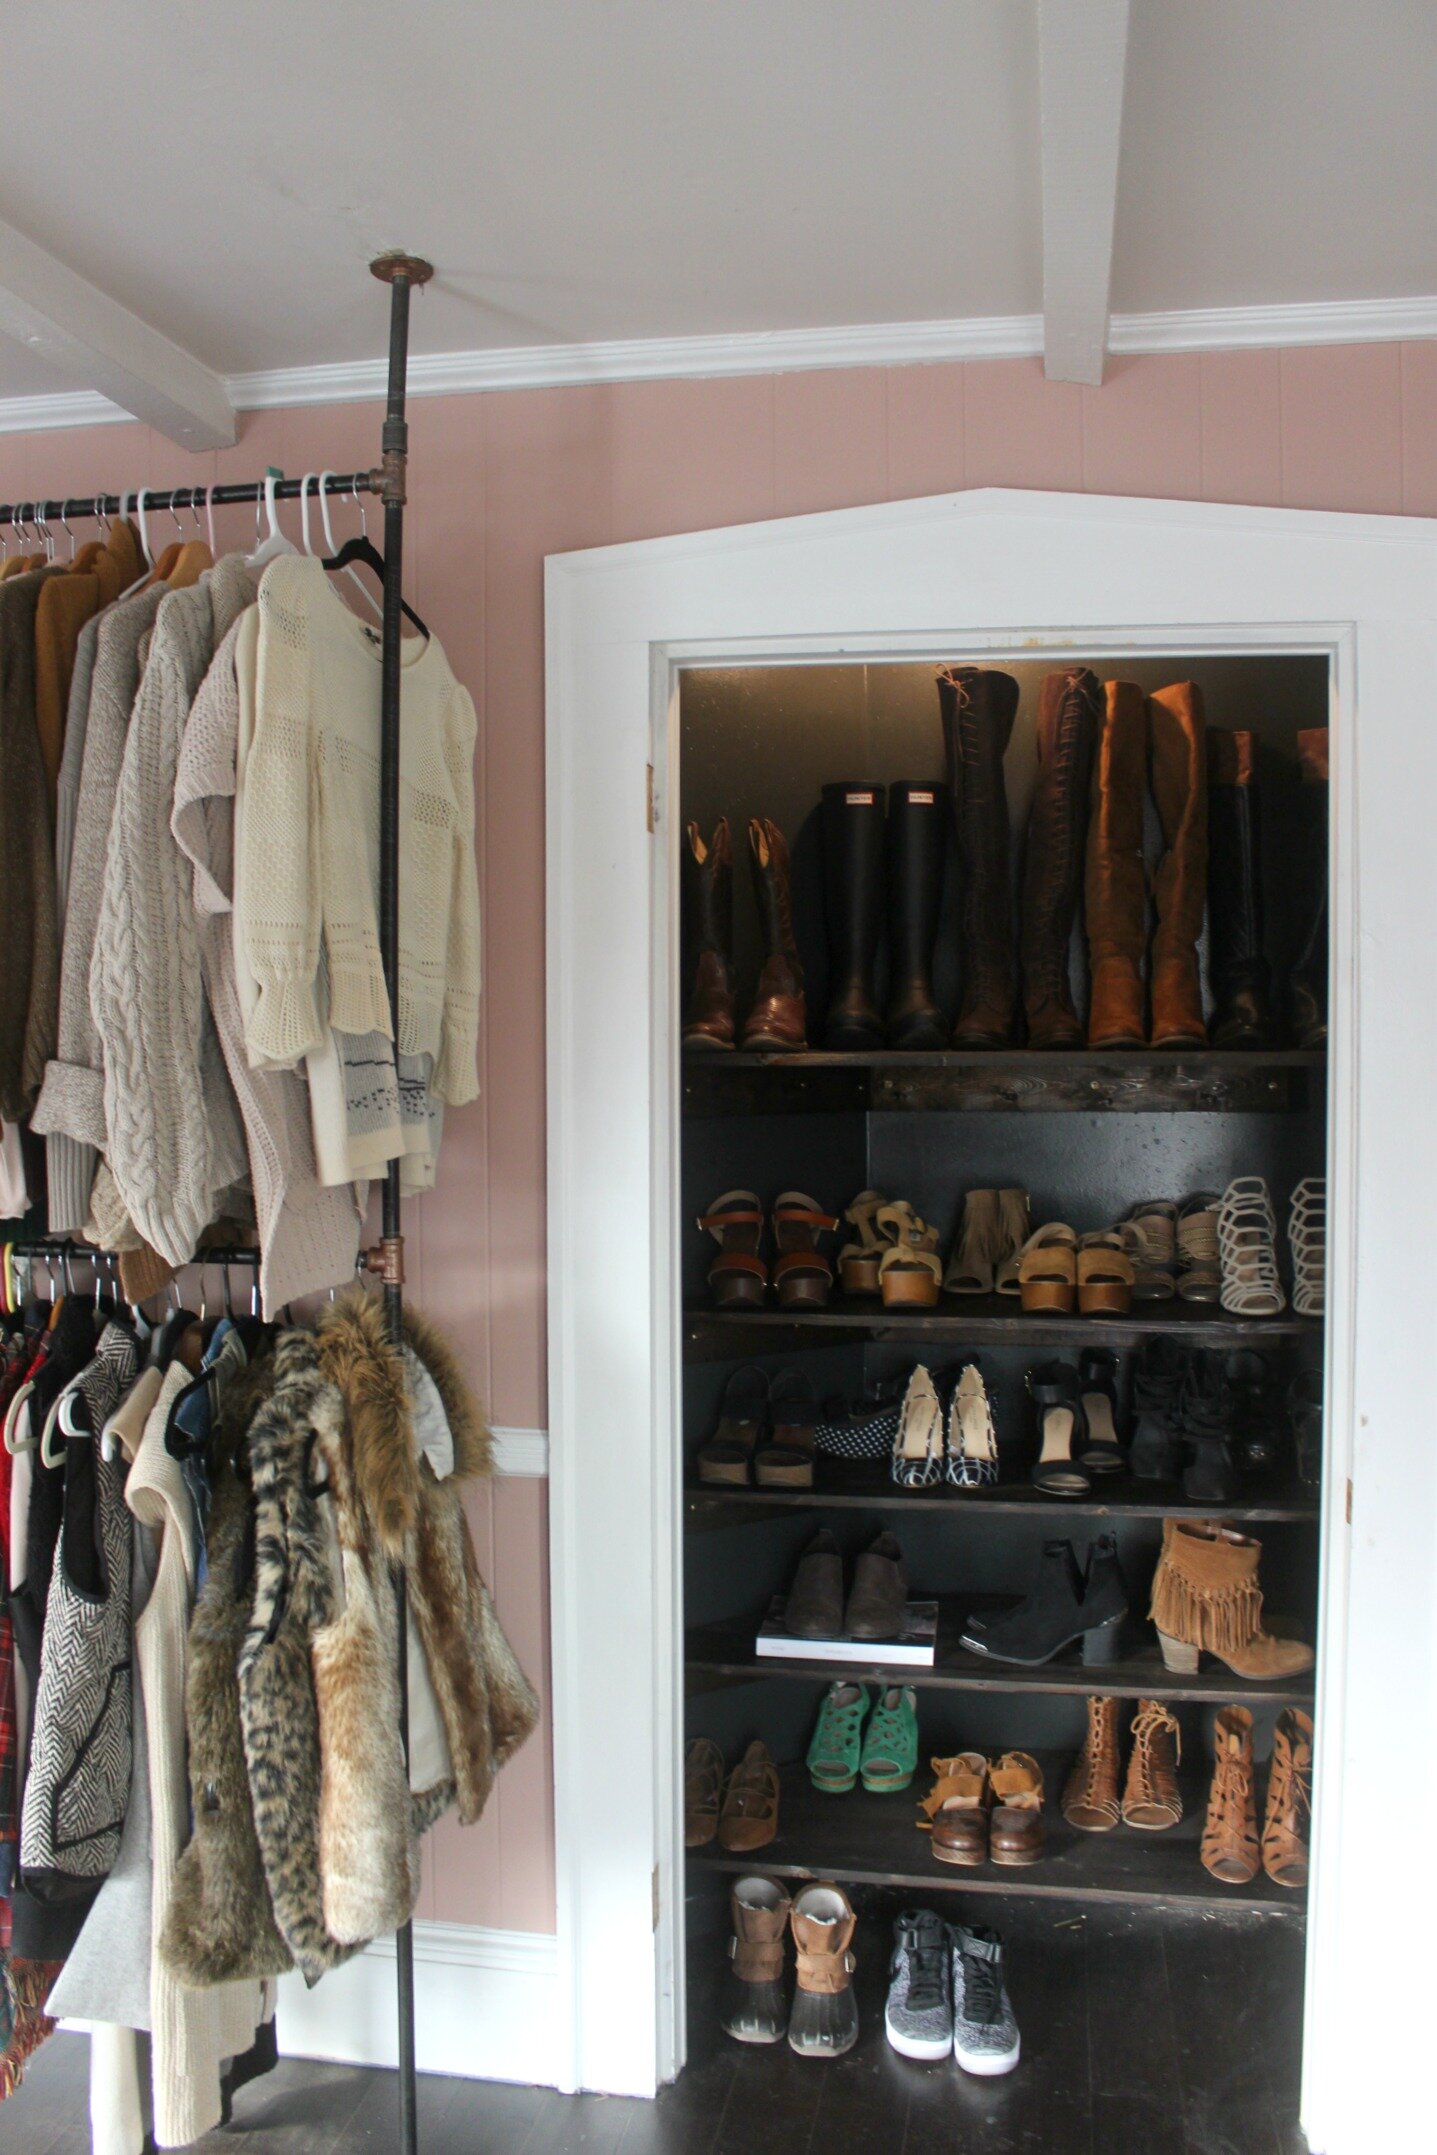
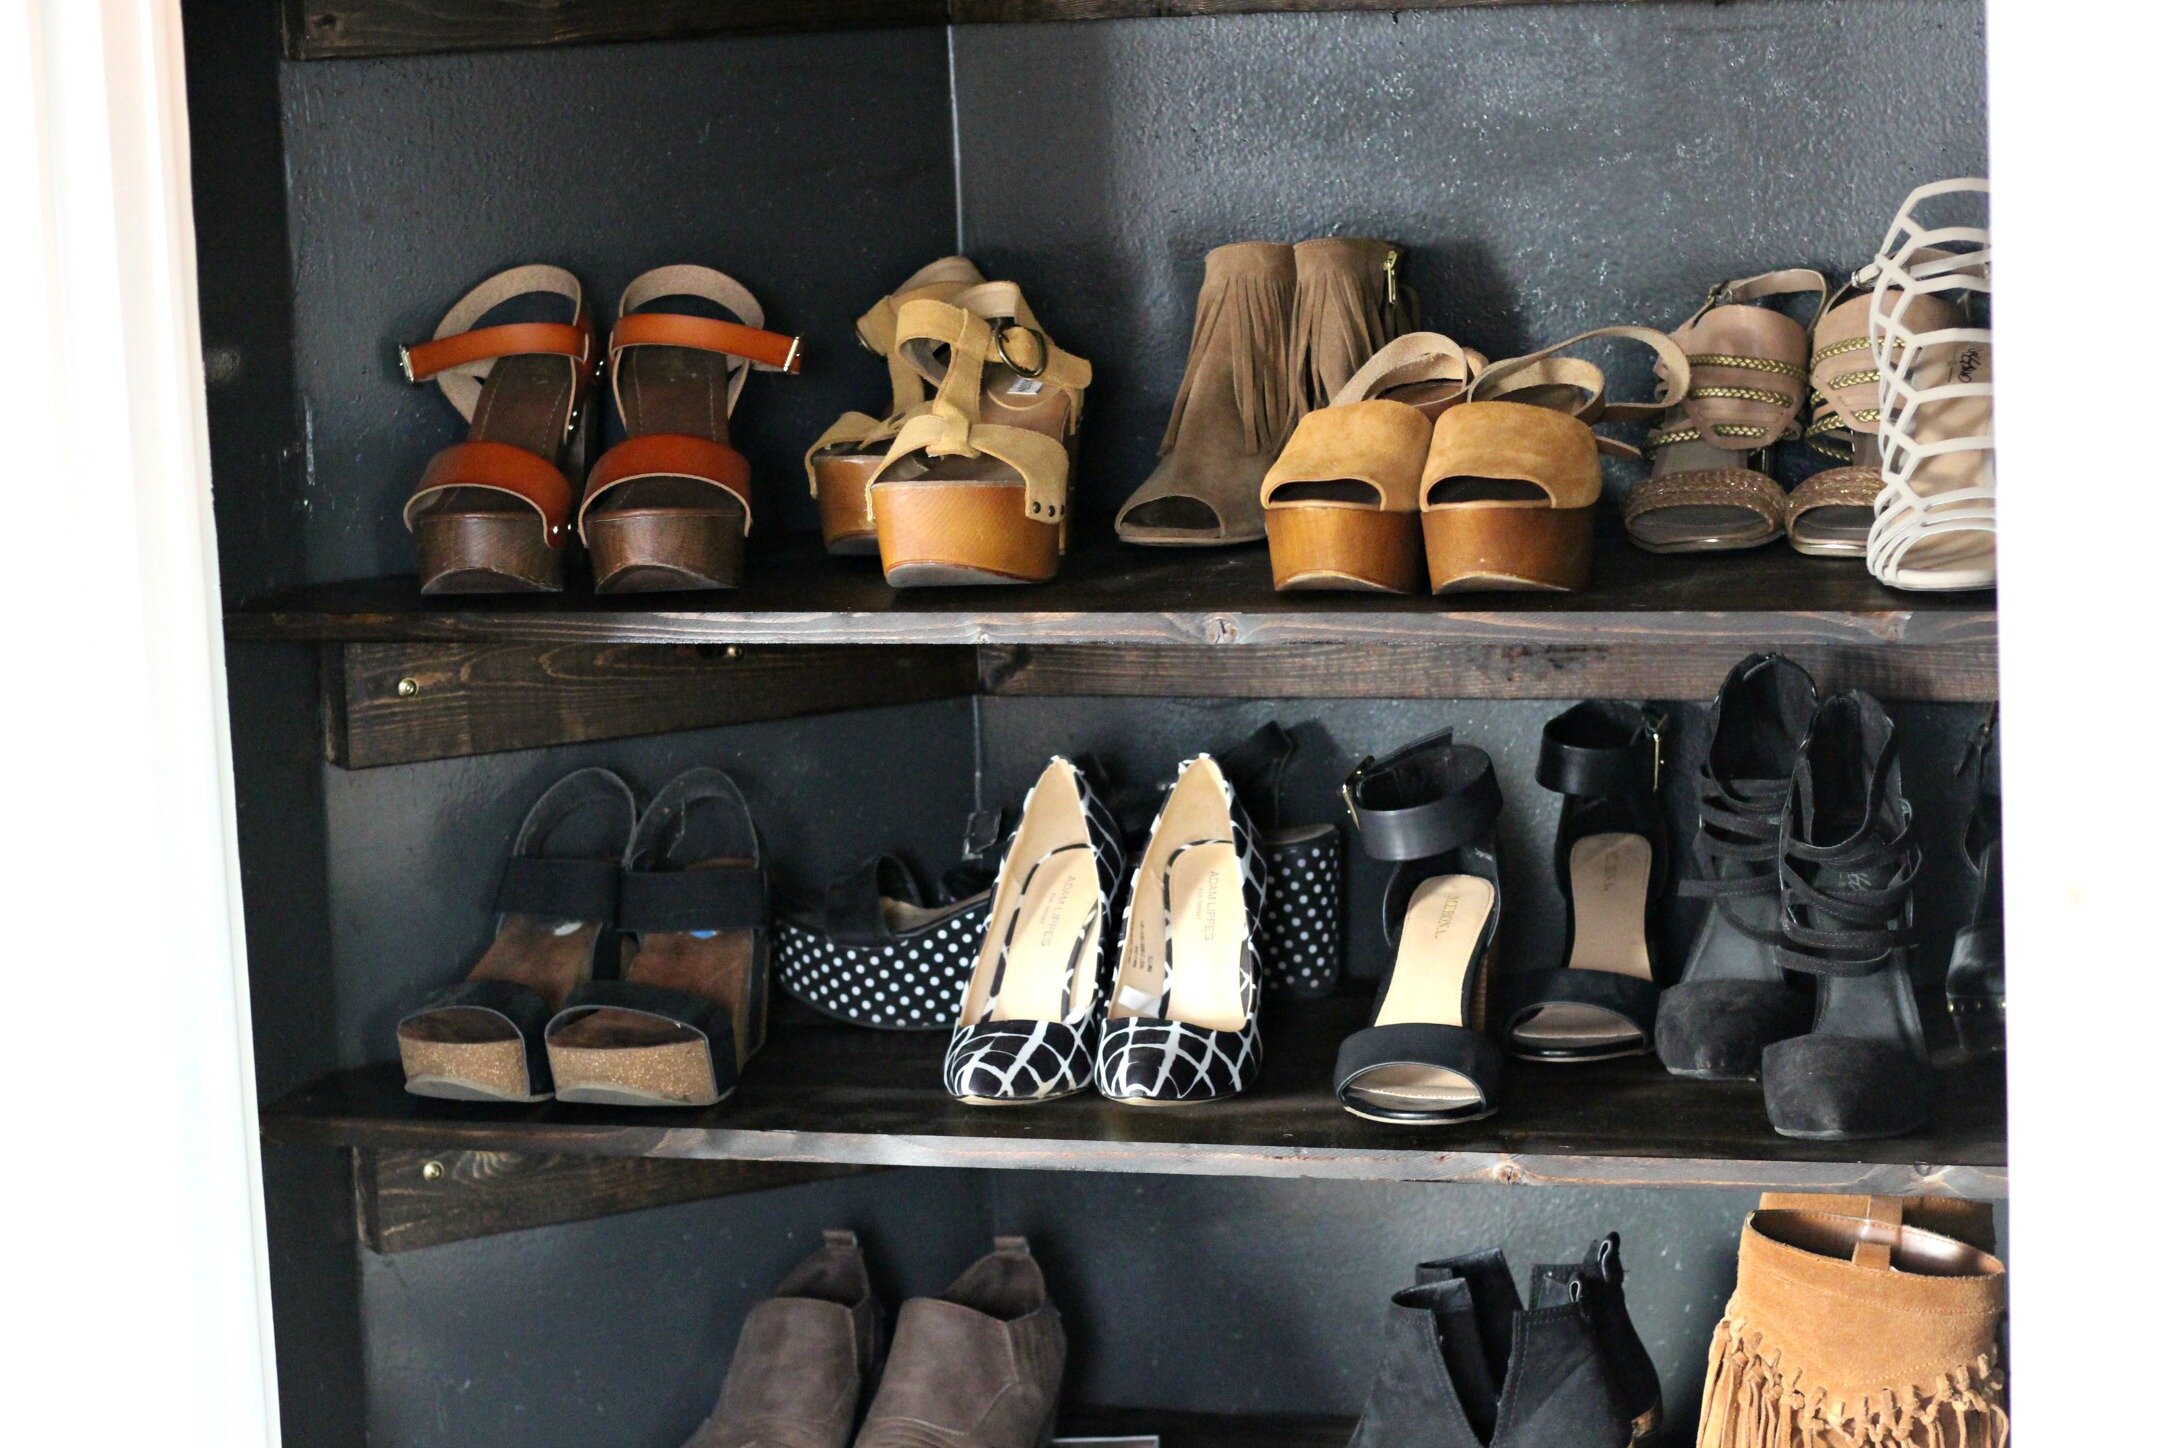
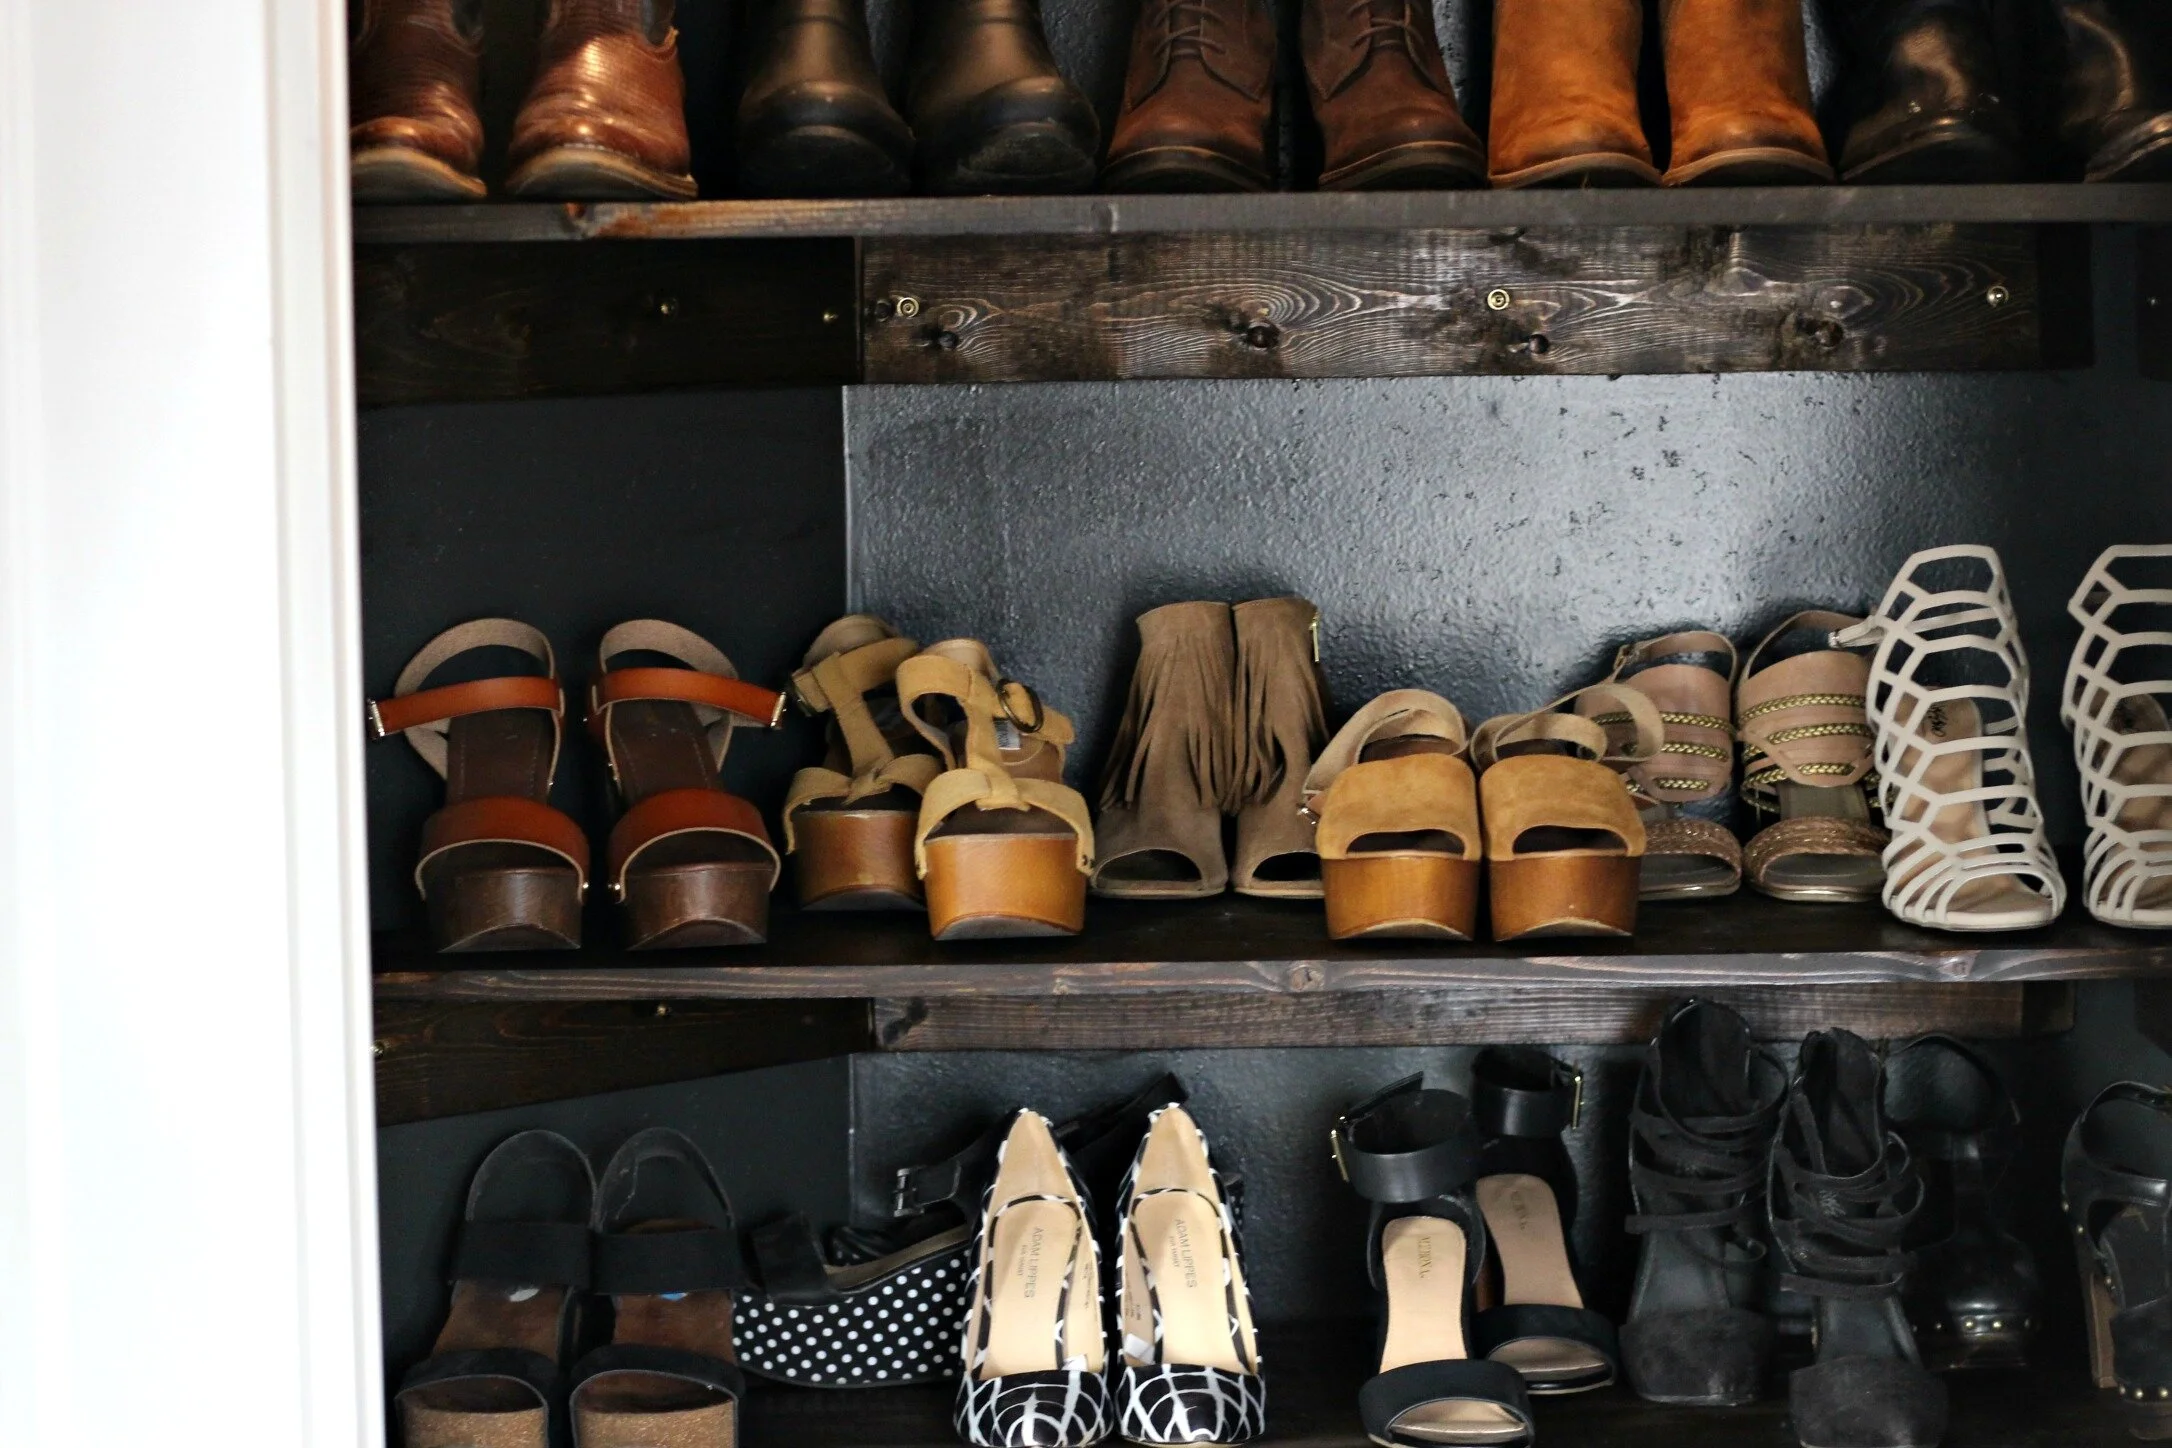
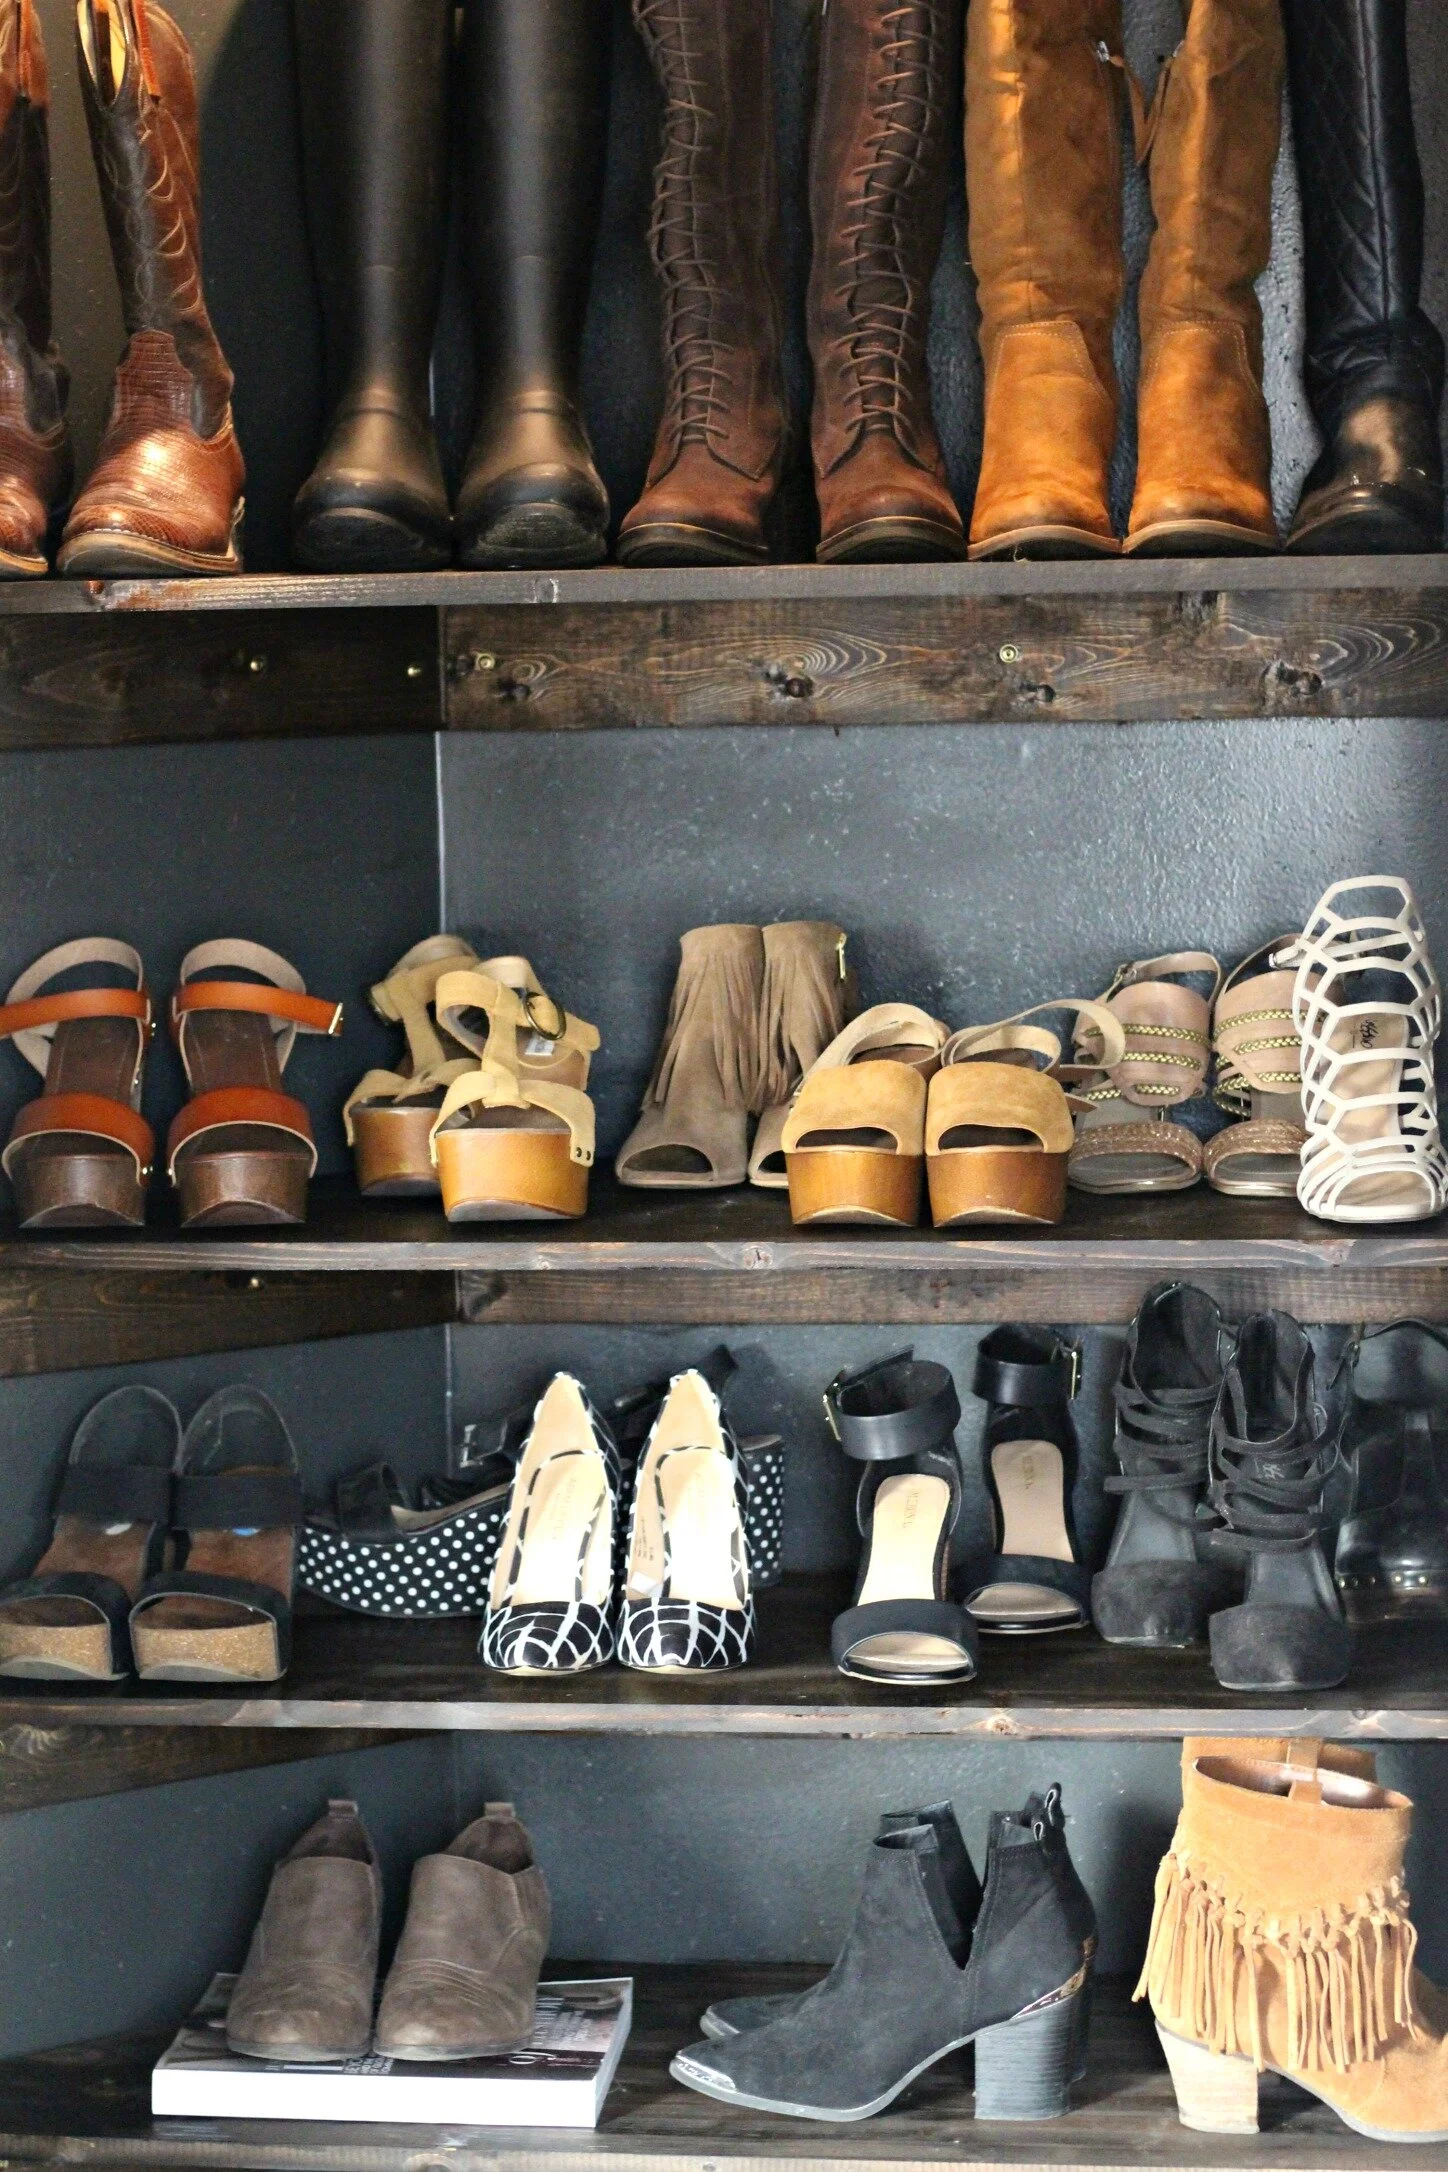
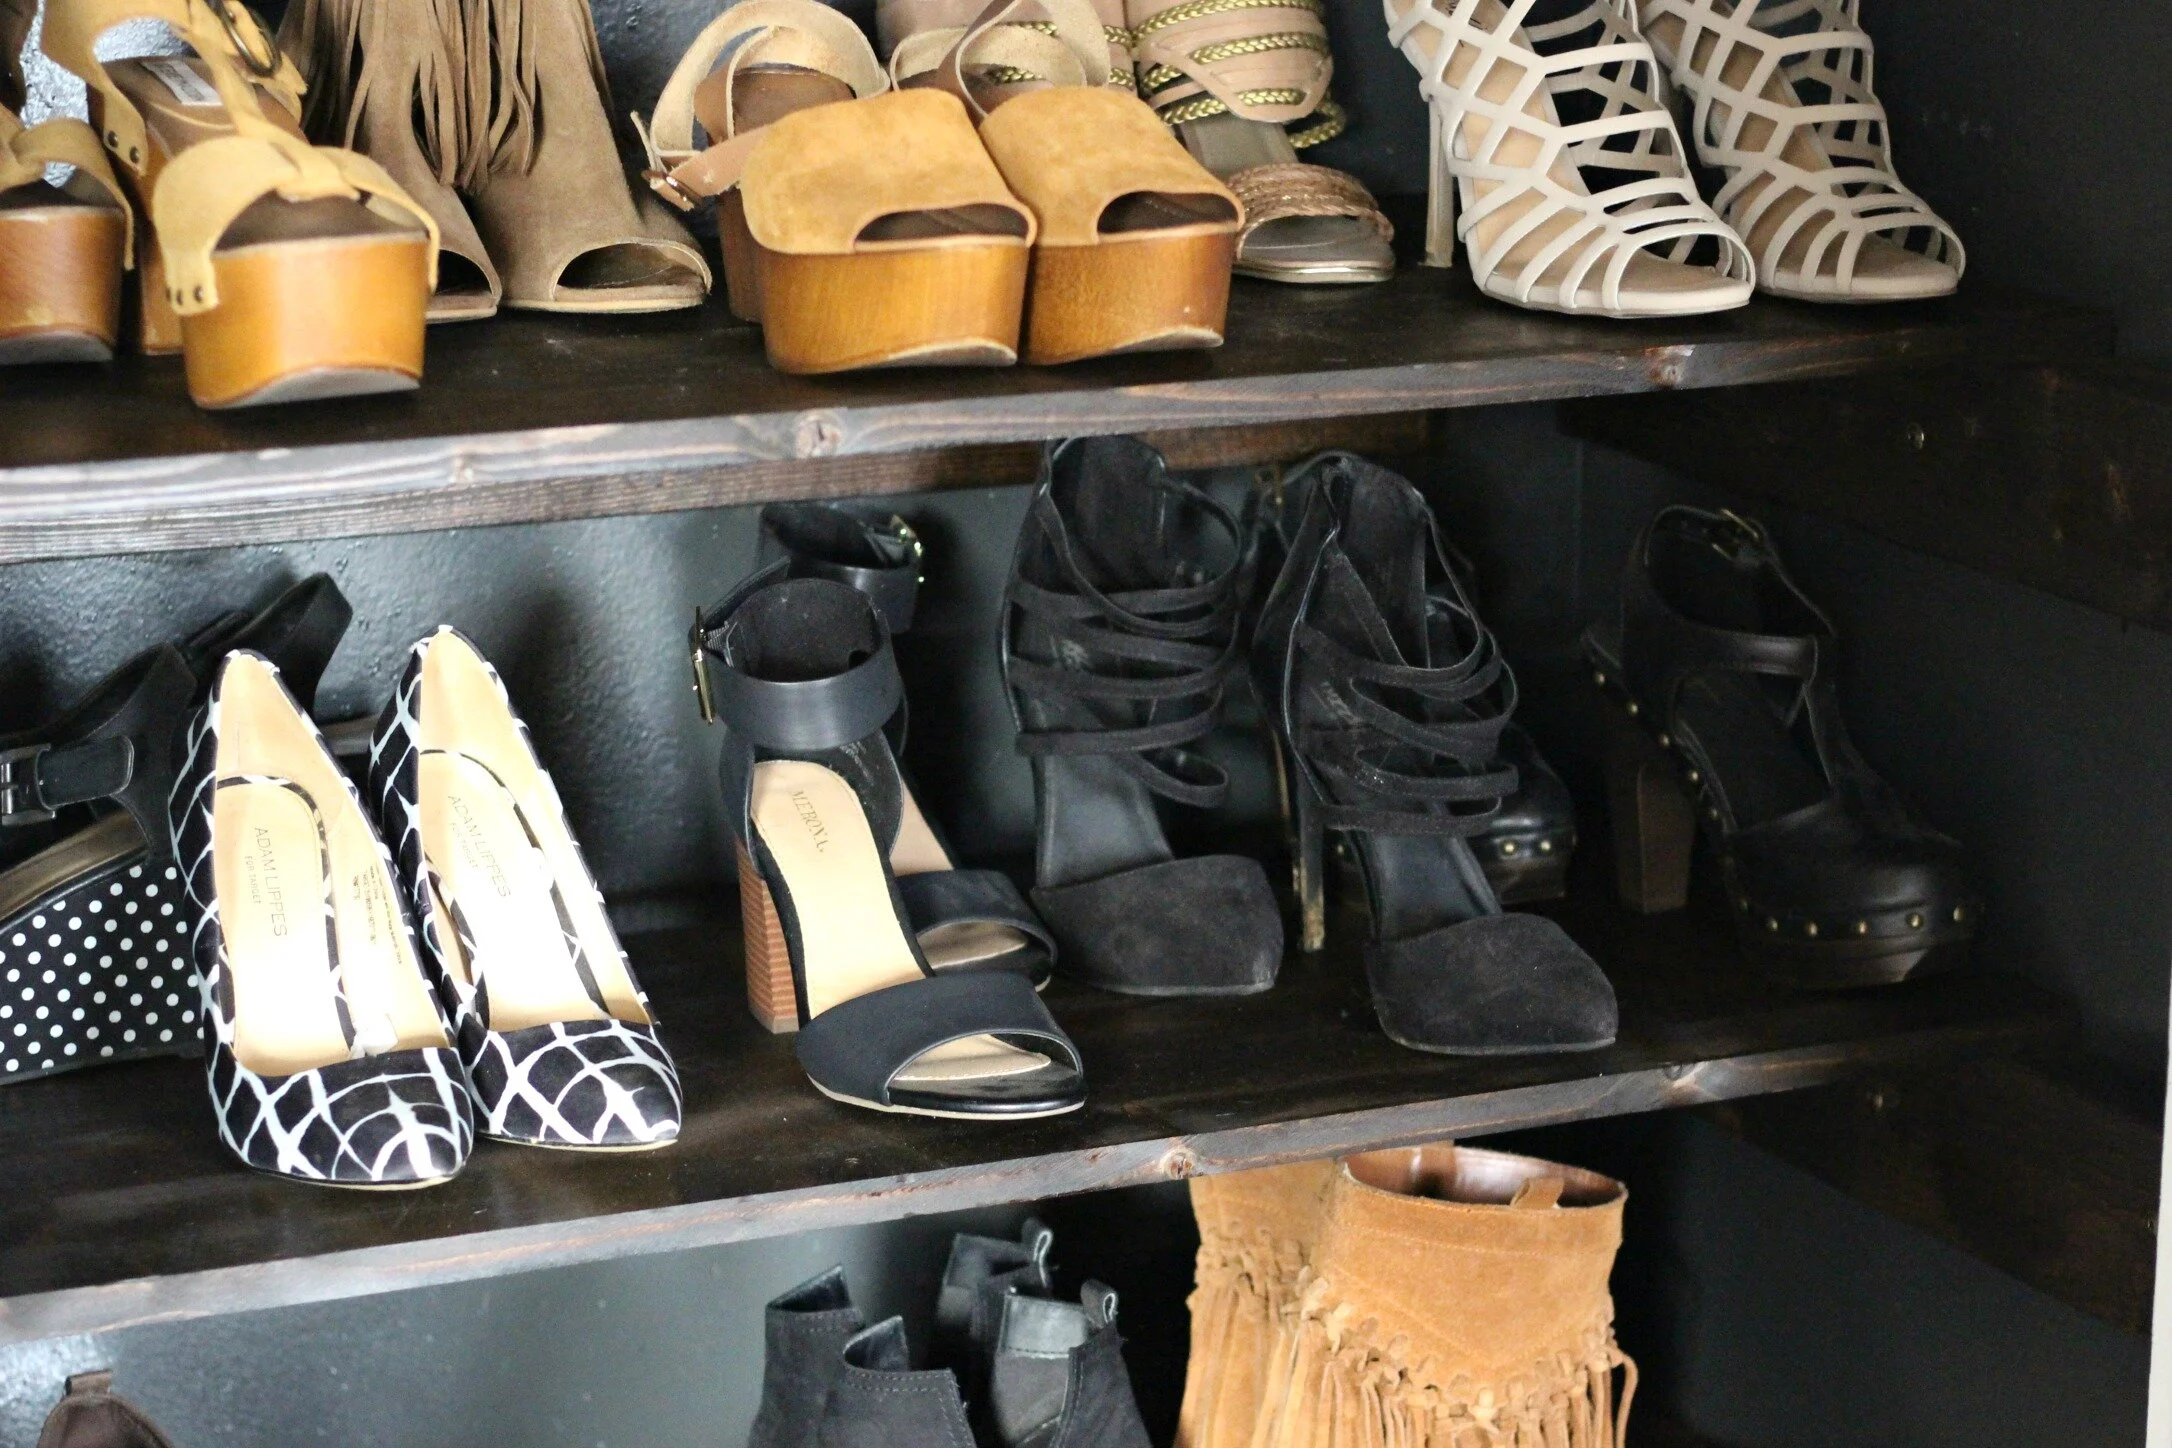
I have more than enough room for all my clothes and even some space for a little separation between the sections. Above you can see my new shoe closet which we created by just filling the clothes closet in here with shelves. We removed the door for now but I may try to find a neat vintage door with some kind of glass panels or windows. My husband made all the shelving by creating wood ledges and attaching them to the wall, then cutting shelves to fit perfectly on top of them. I wanted the shoe closet to really stand out so I stained all the wood dark and painted the inside of the closet with some leftover trim paint from our entryway. Because the closet is a nice depth, I have plenty of room for multiple rows of shoes on each shelf. There is a small light in the closet too which I would love to replace with a little pendant that hangs down slightly in front of the shoes (maybe something to kind of match my gold light fixture in here?)

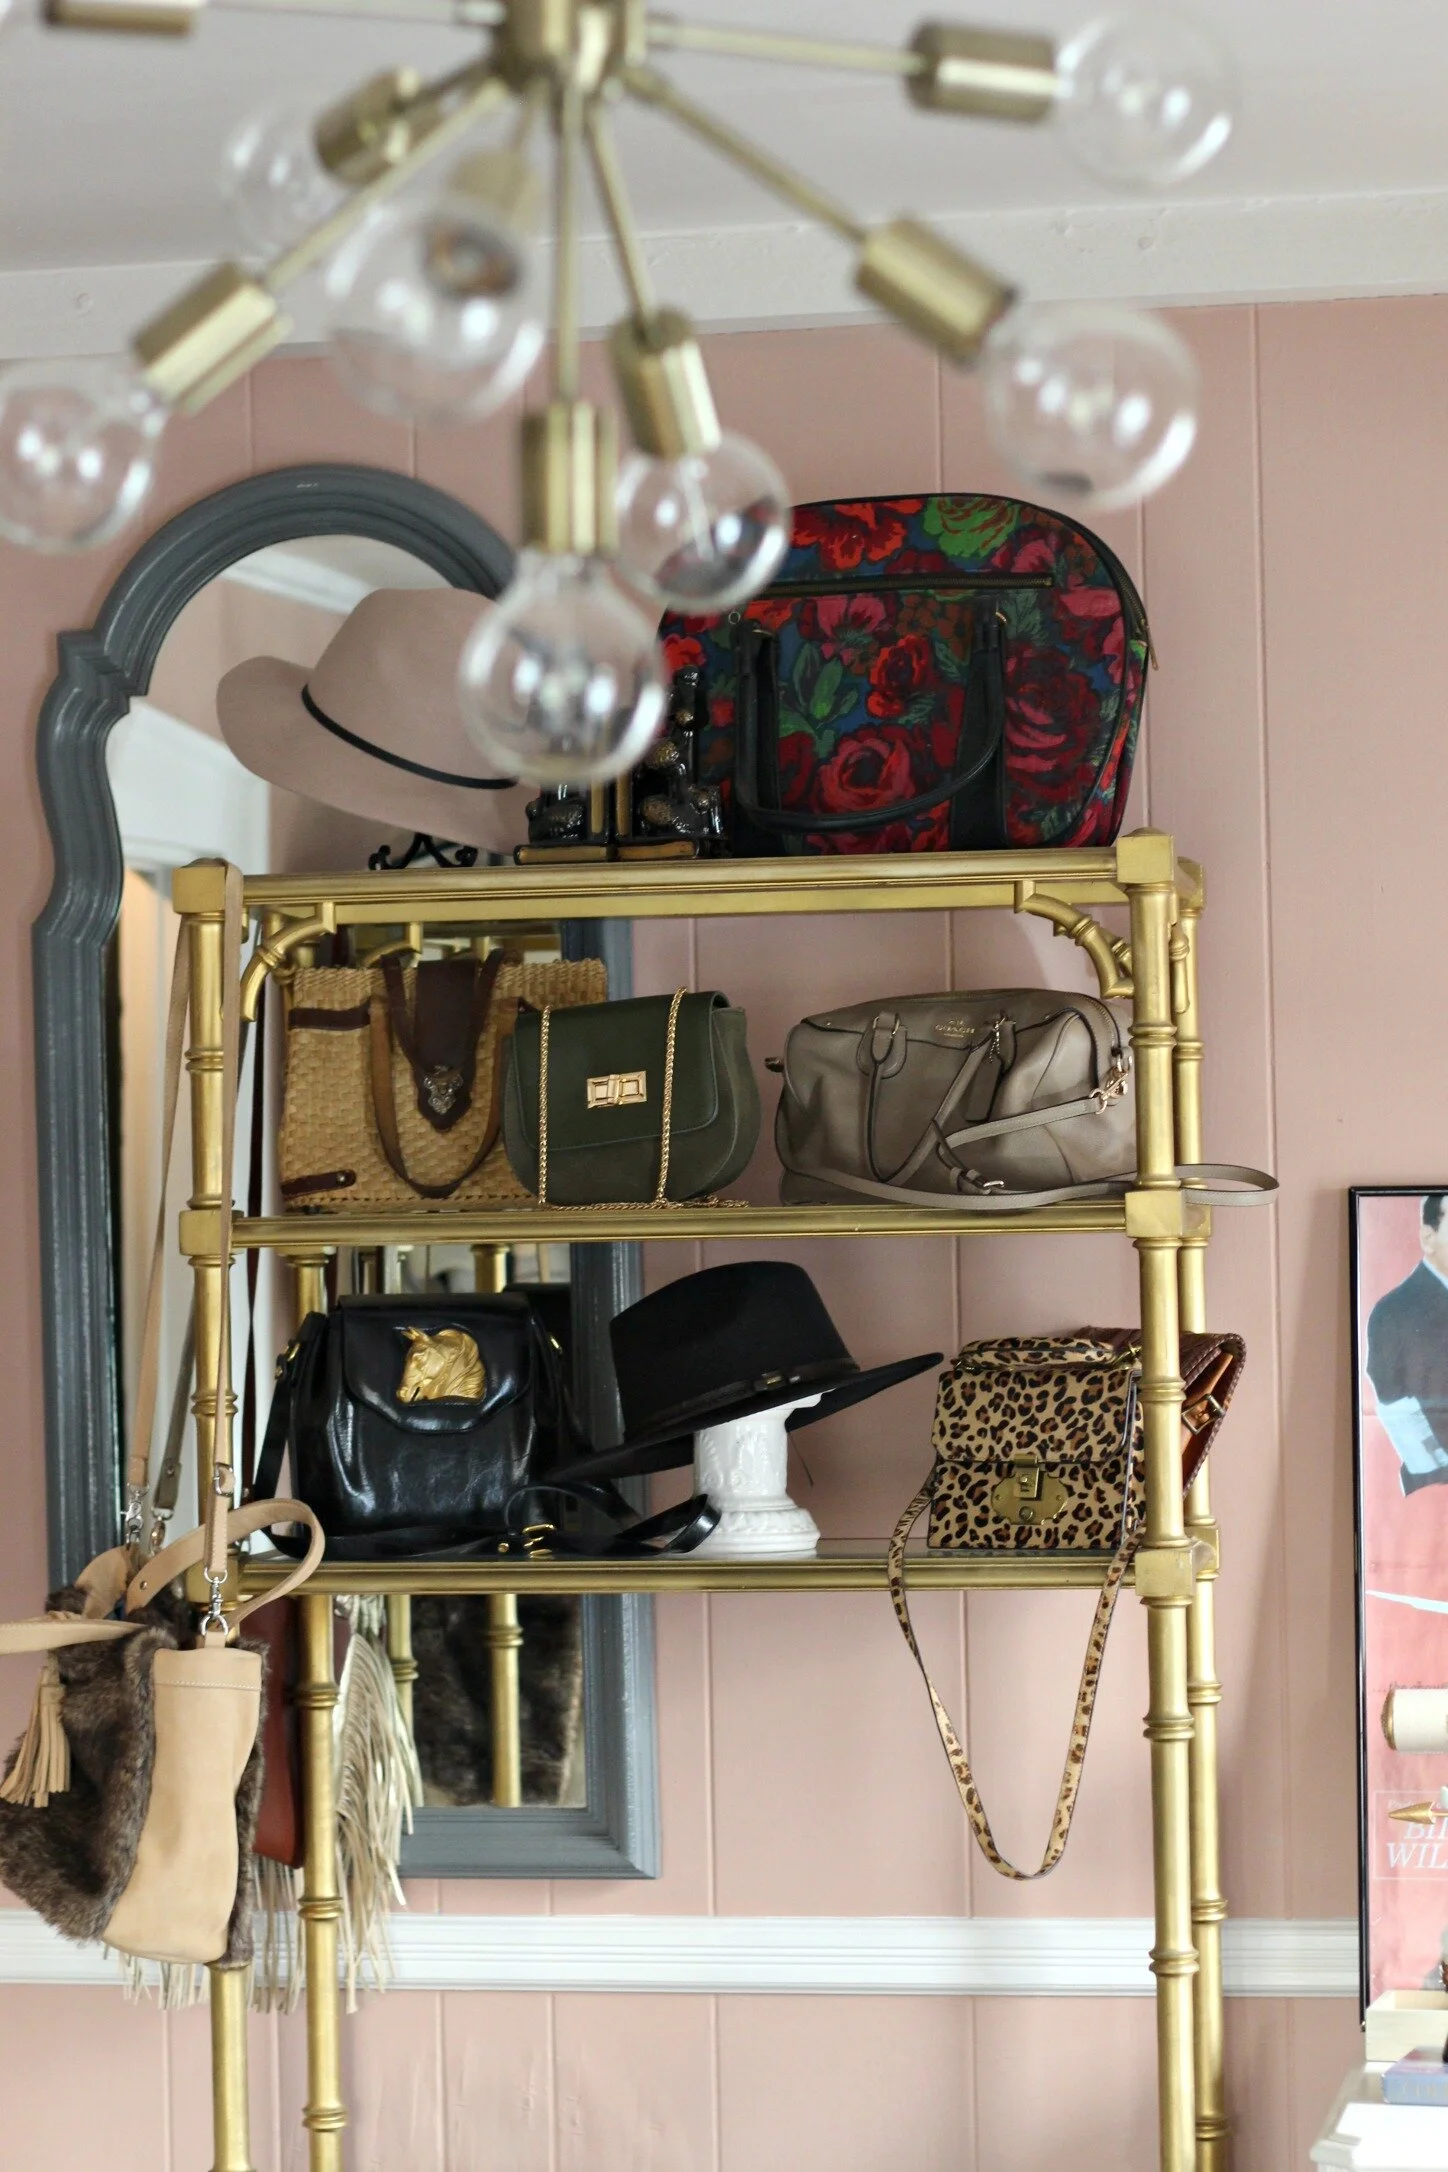
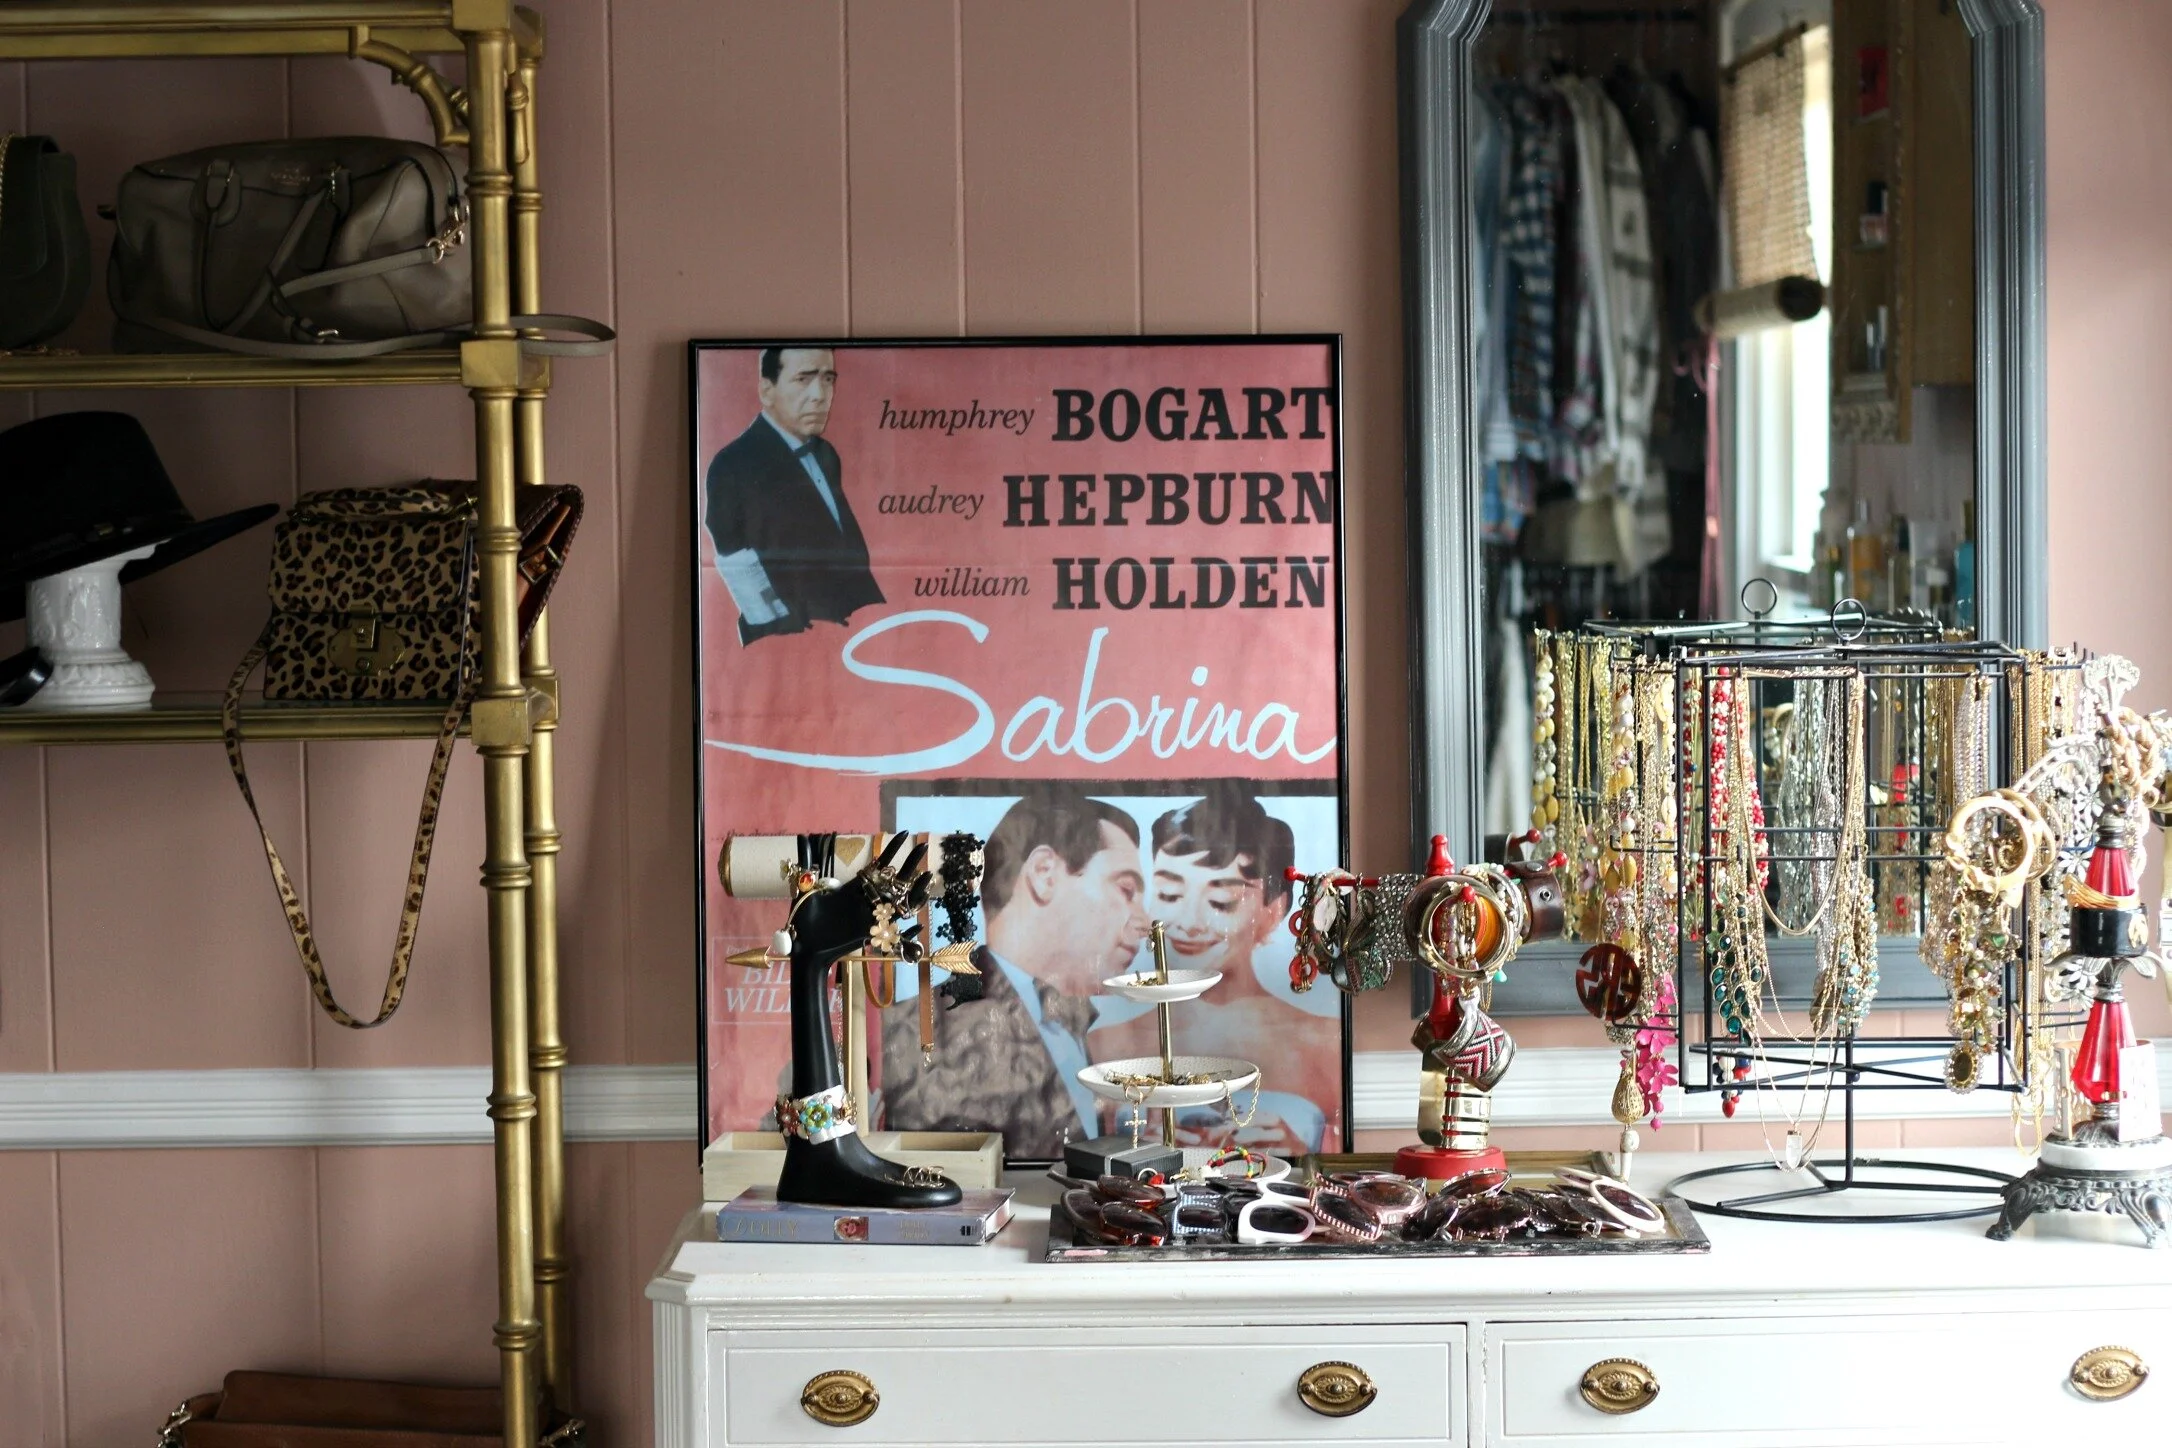
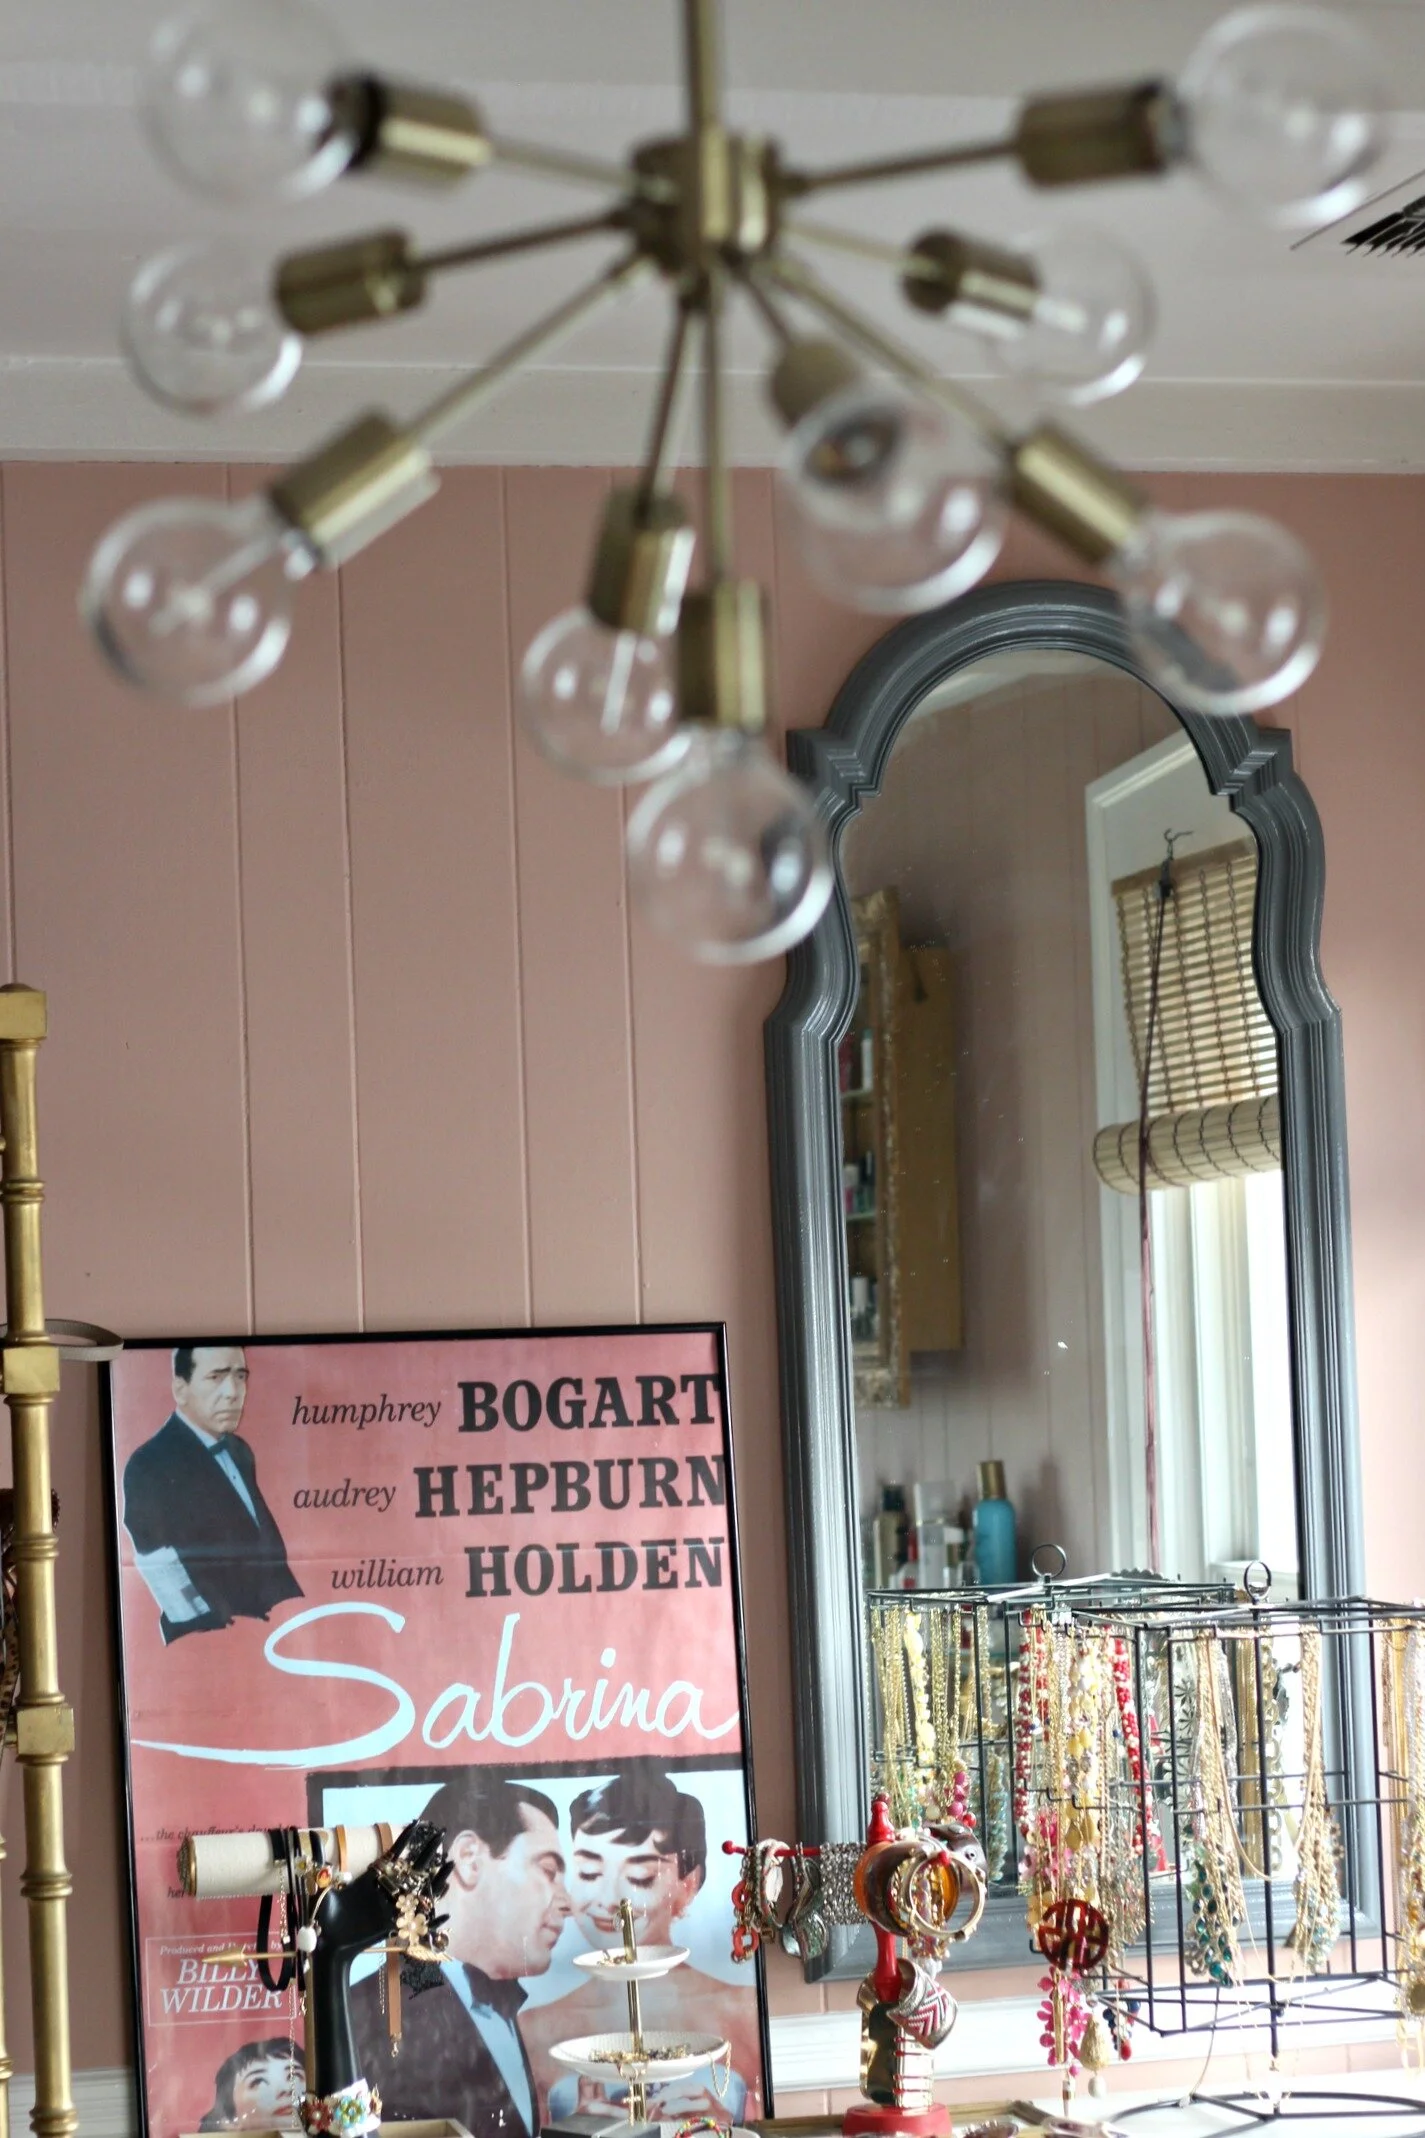
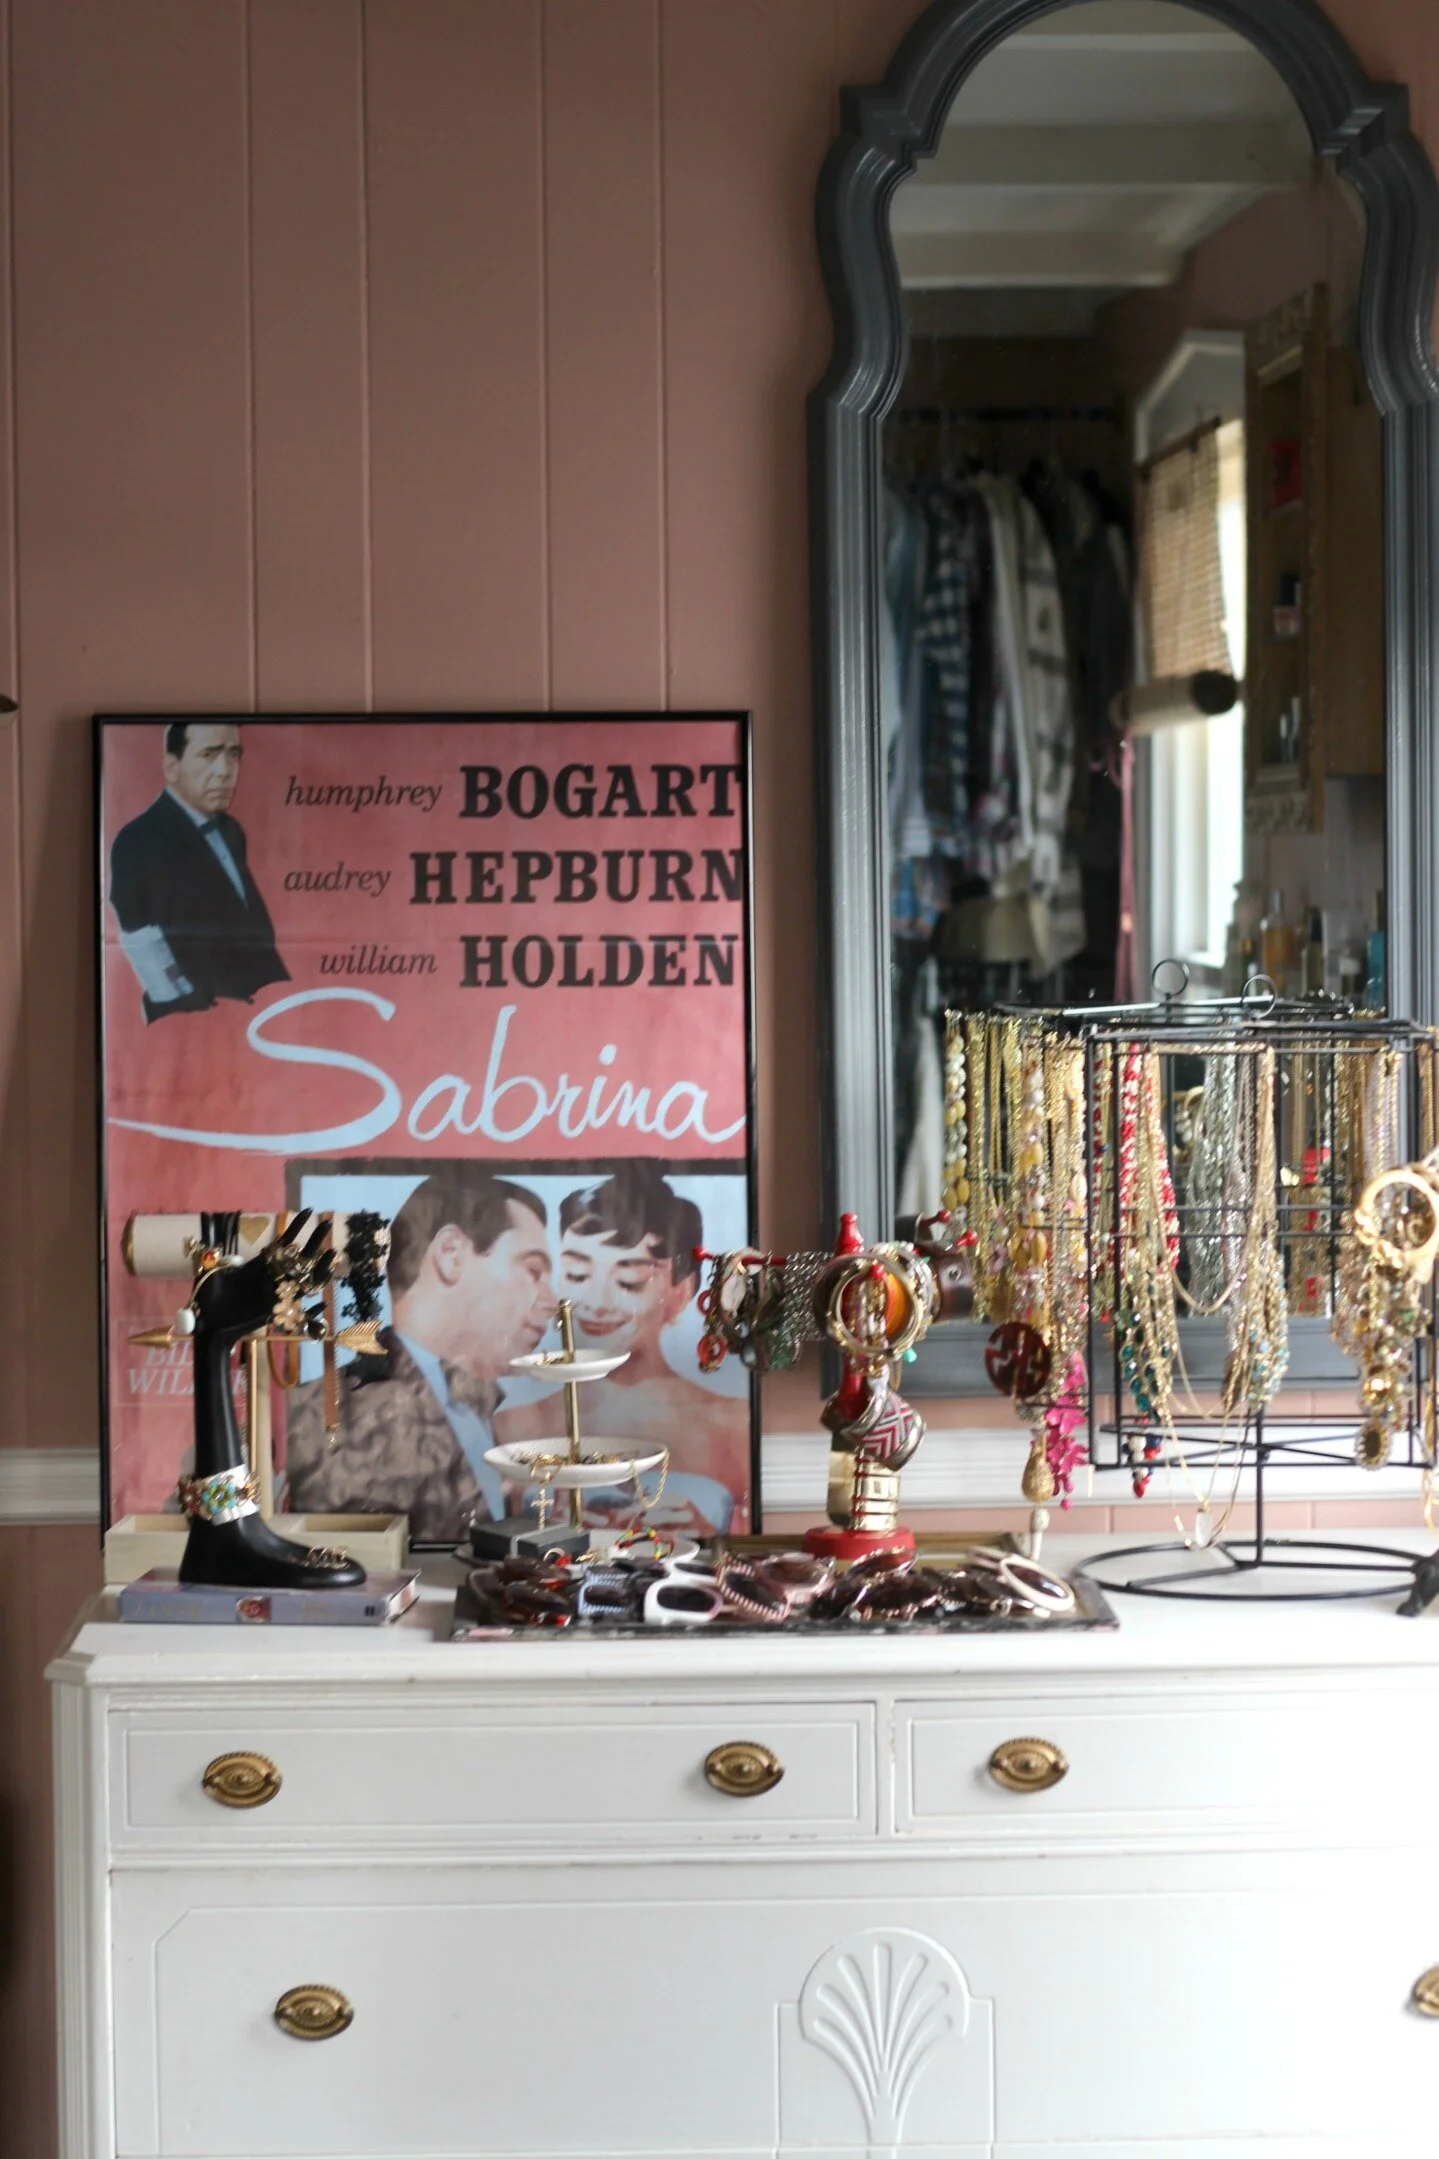
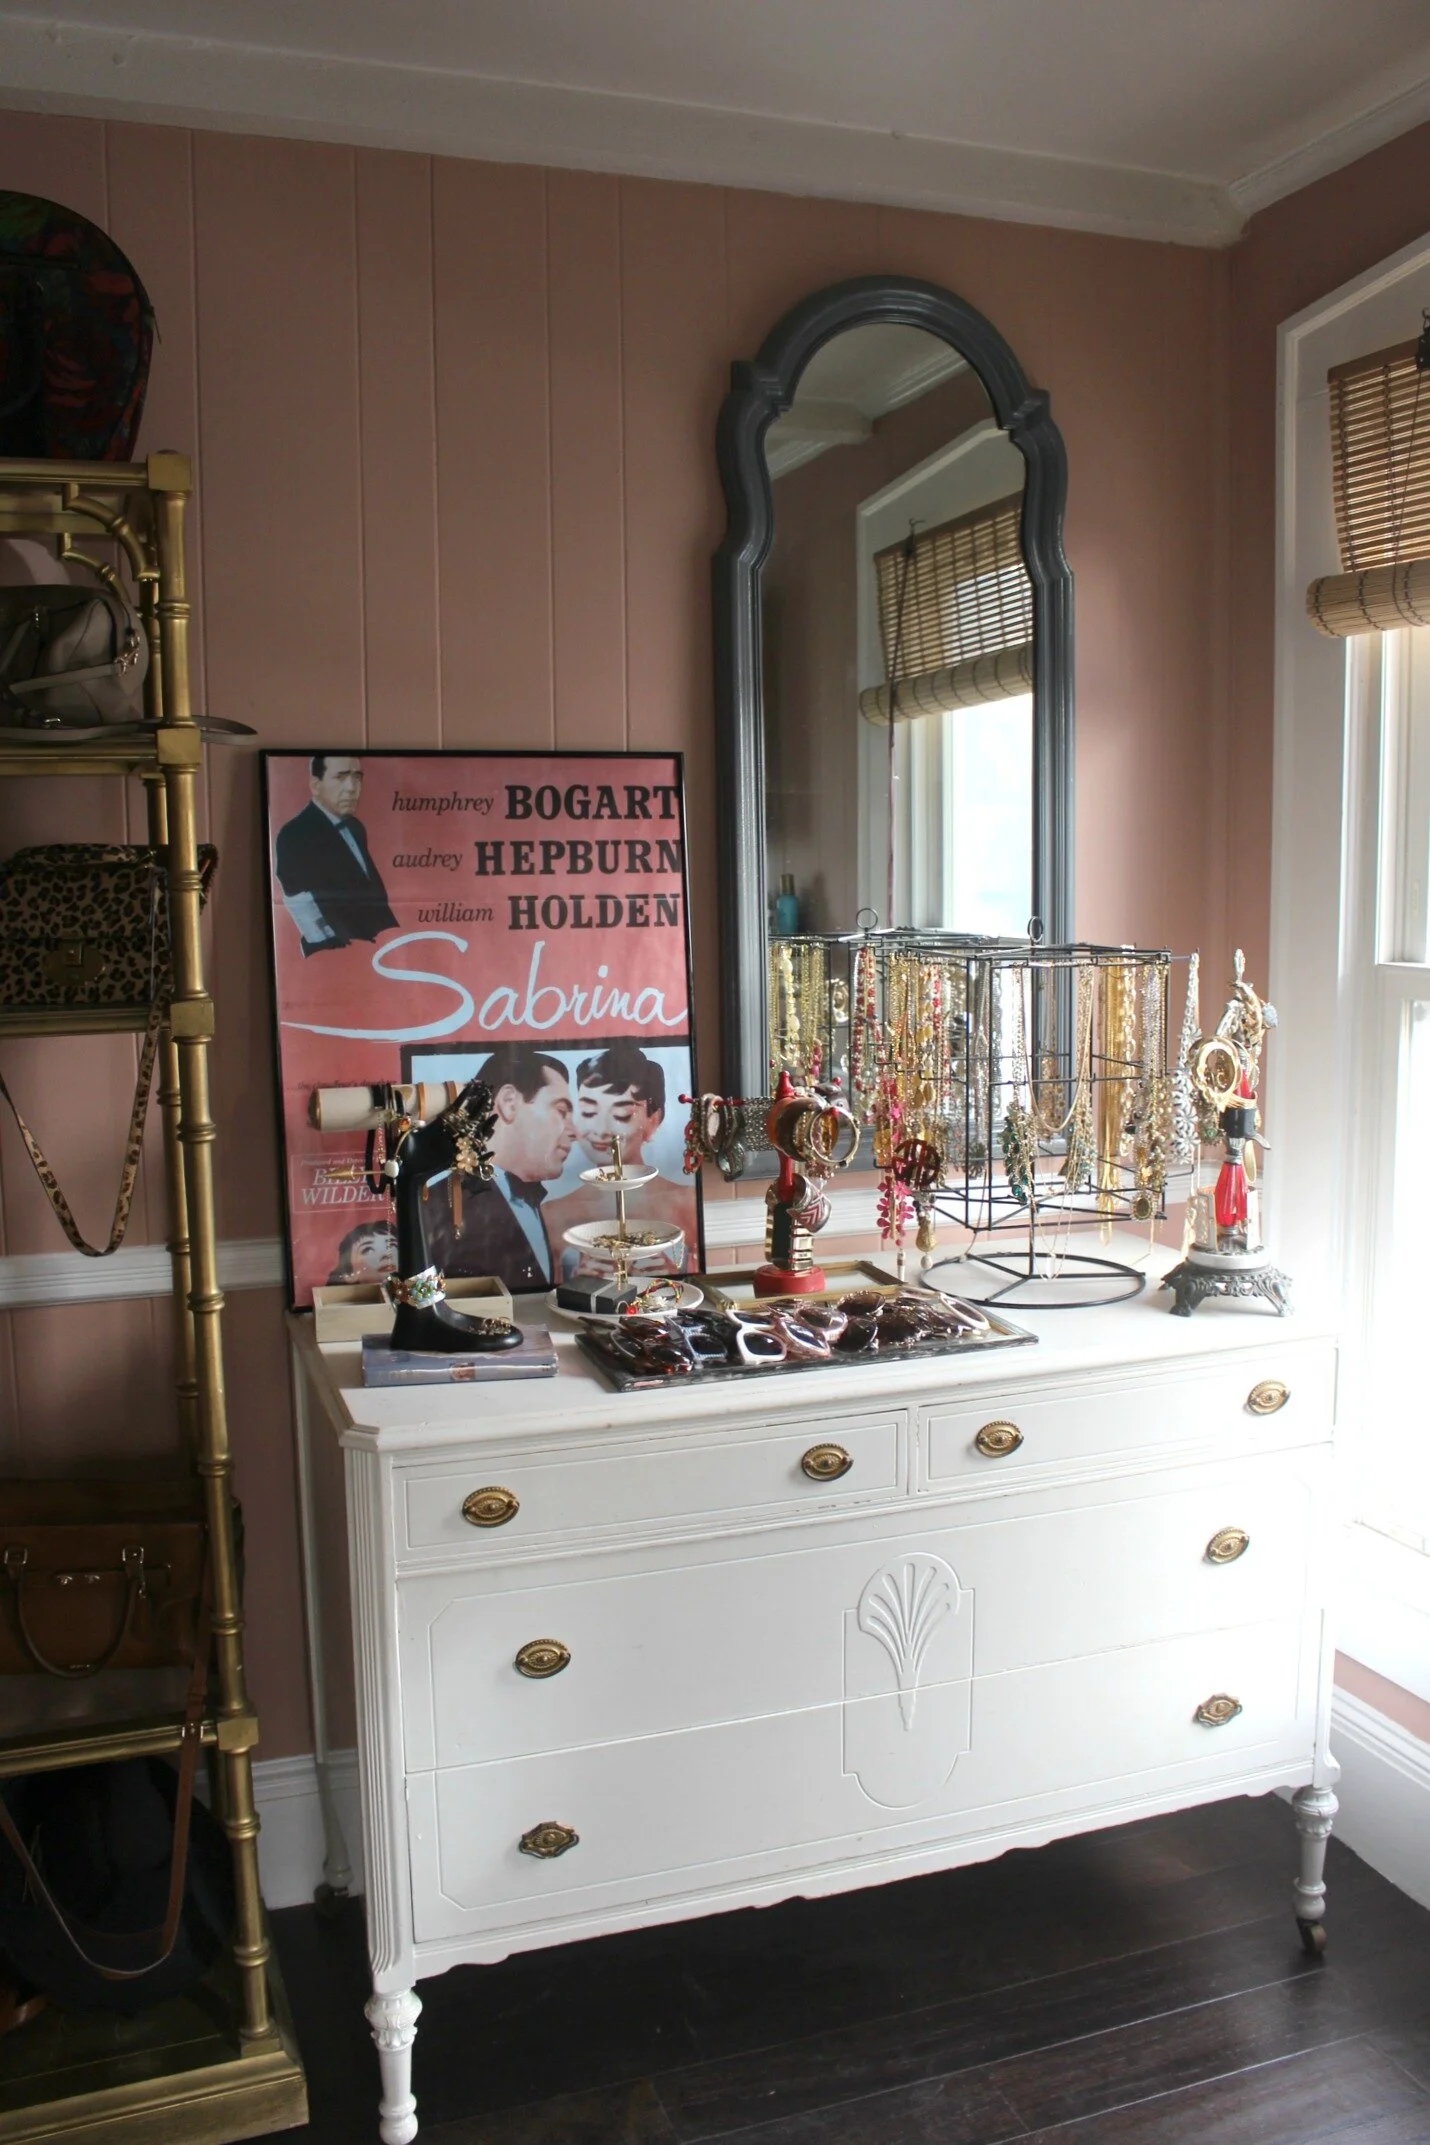
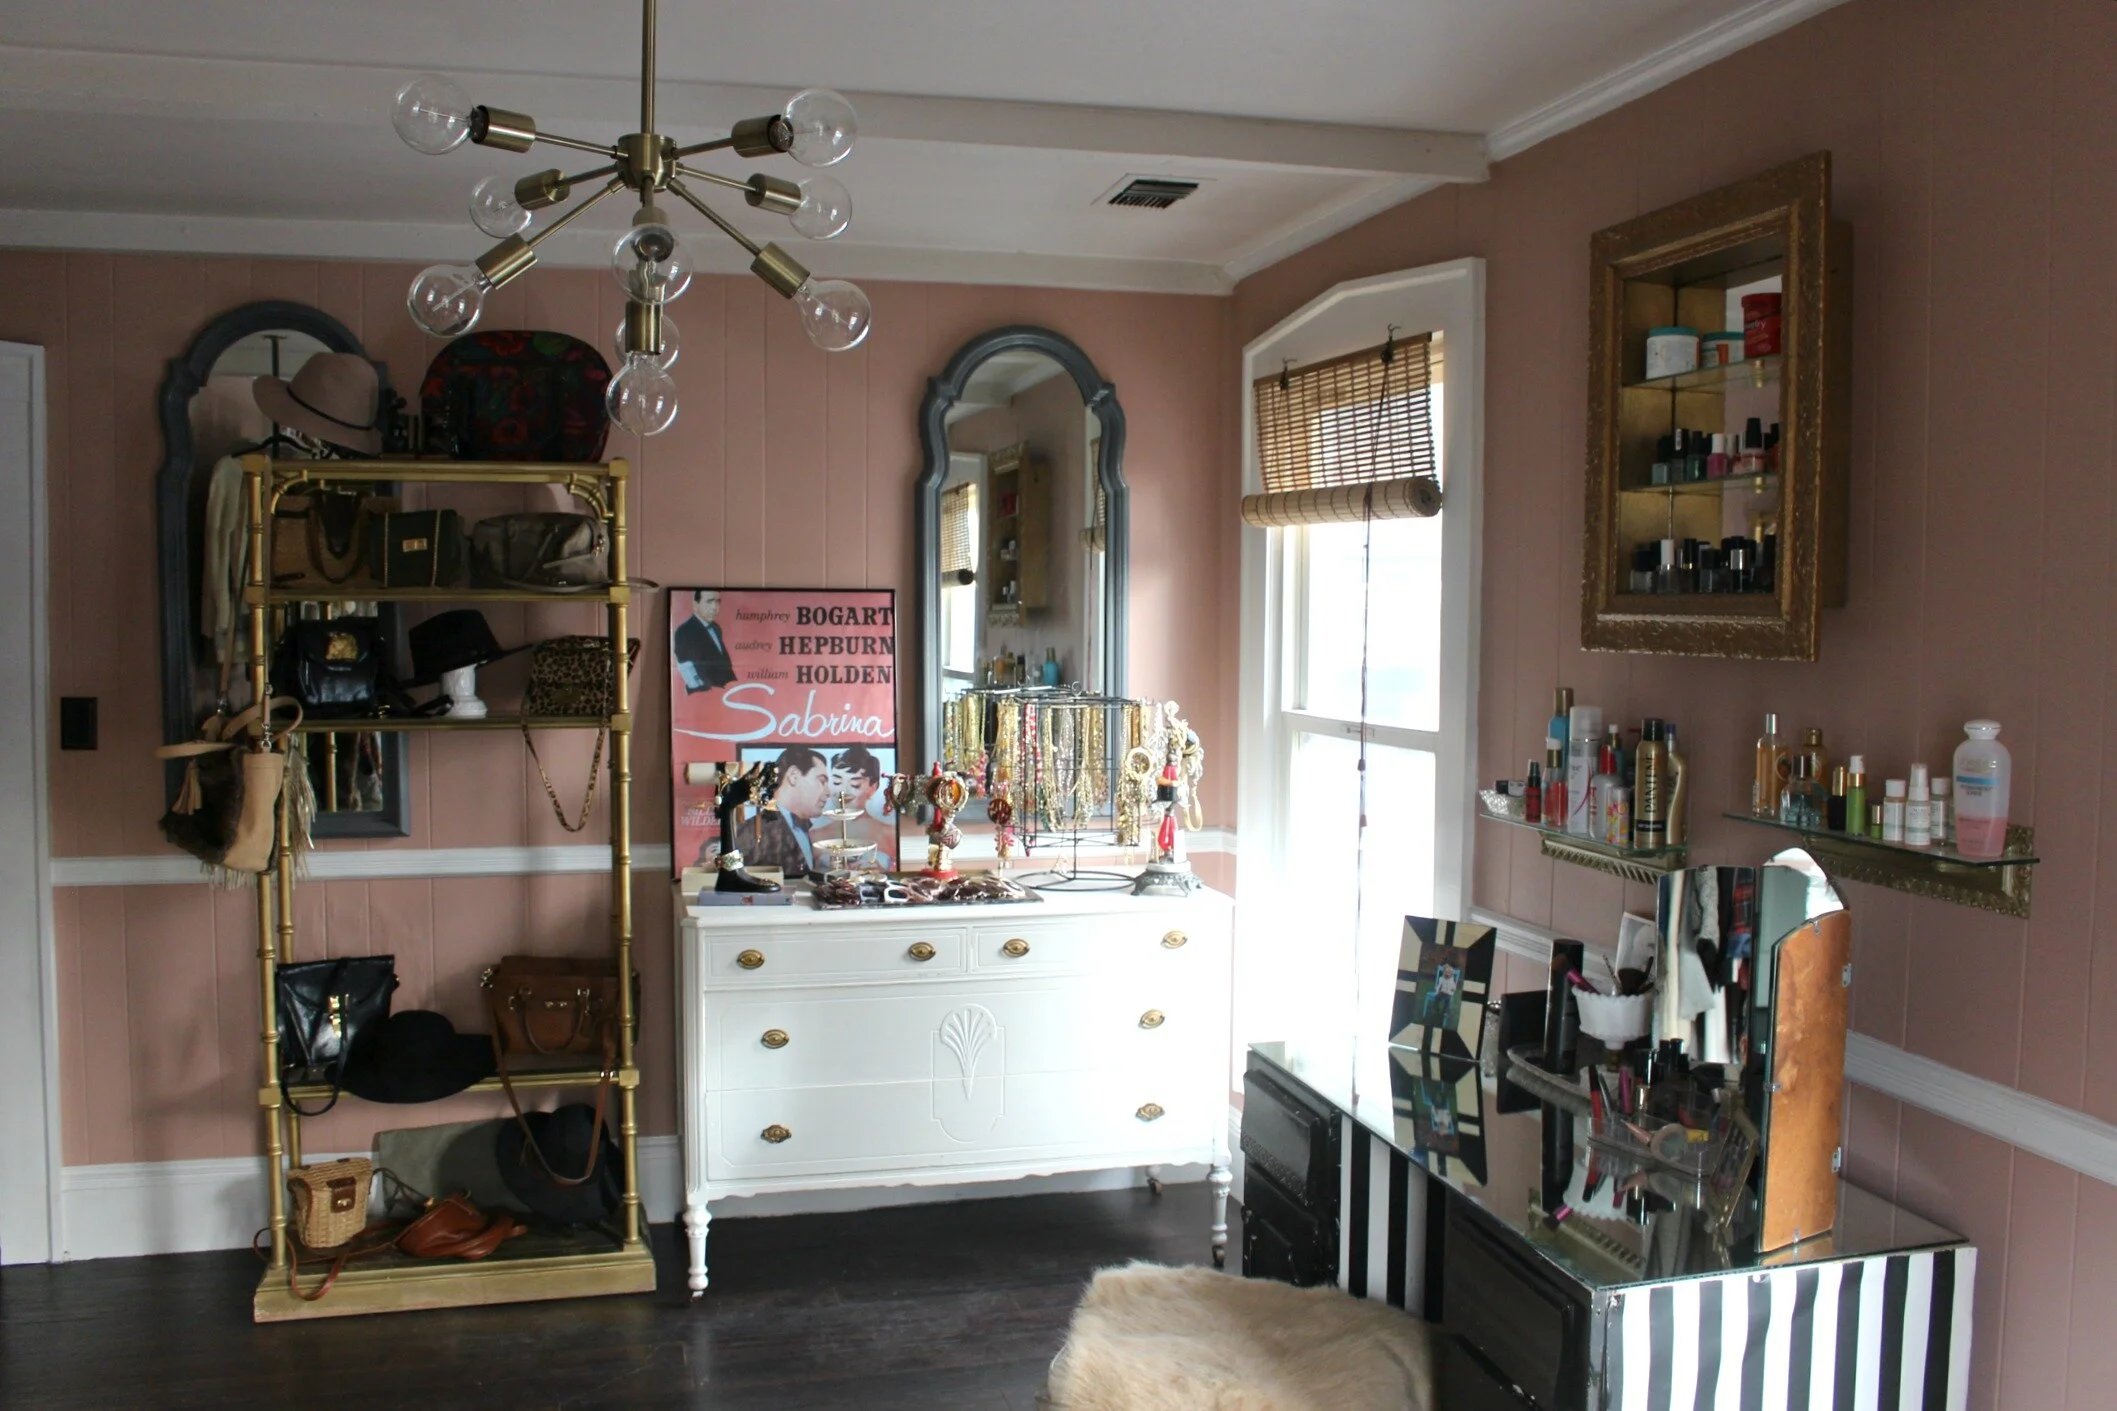
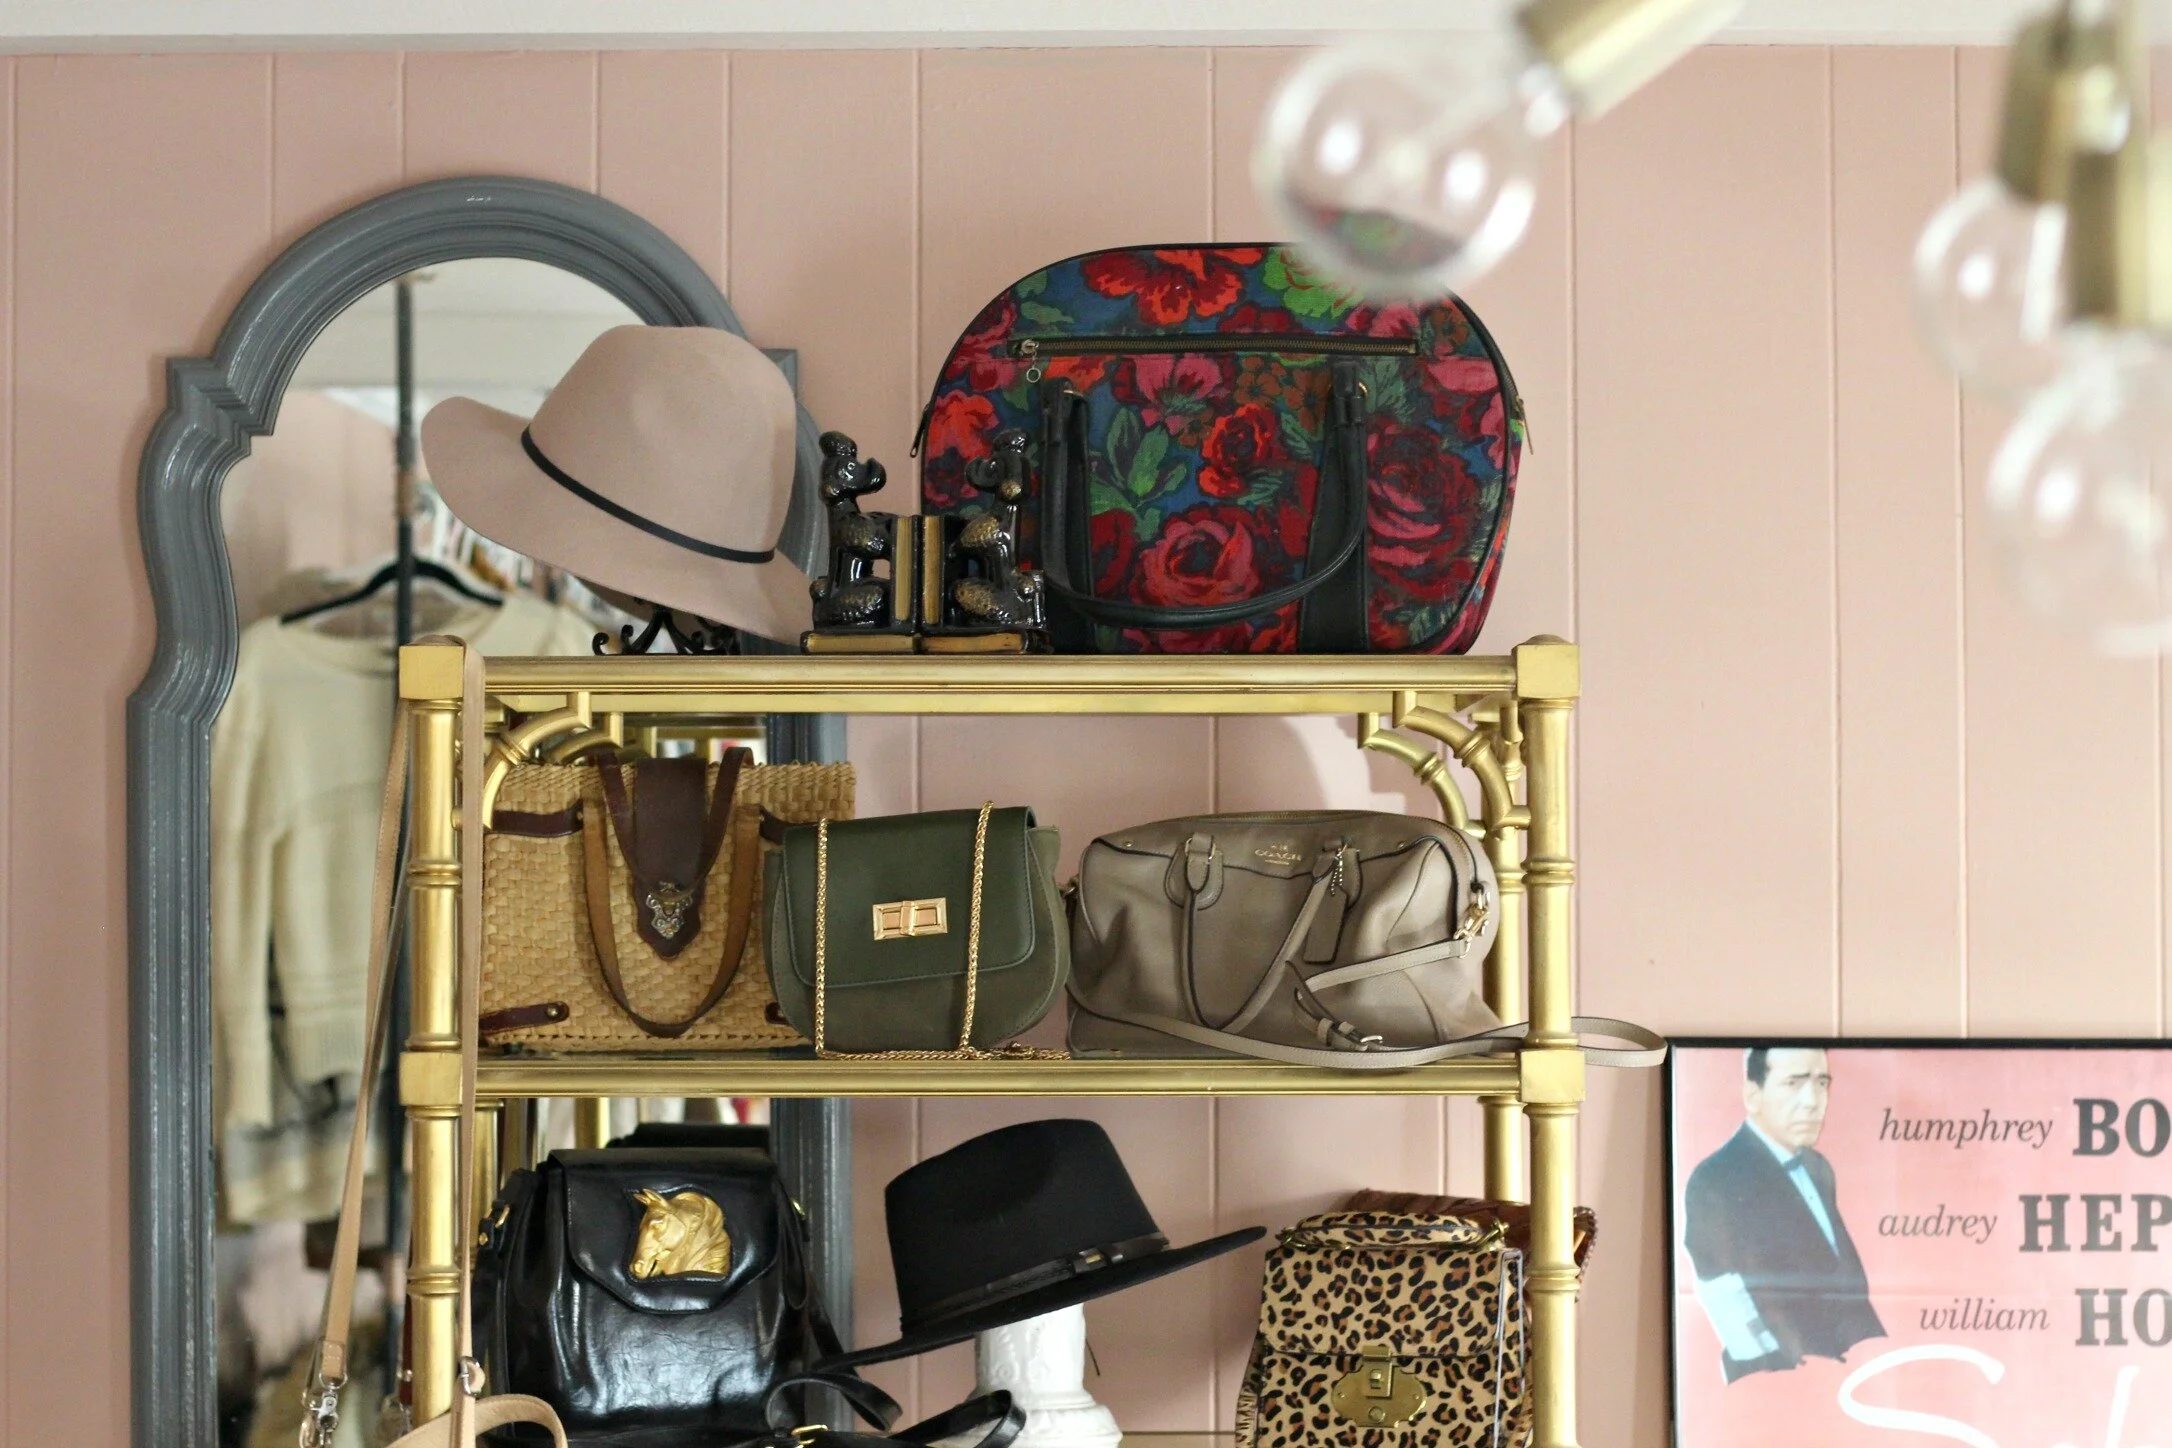
Above you can see another wall of the dressing room which will house all my jewelry and accessories. I love this antique dresser and I store jeans, winter scarves, and hats inside of it and jewelry on top. I am planning on painting it something darker- either a charcoal gray or deep navy blue. I'm not sold on the placement of the gold shelf here because I don't like it blocking part of the mirror, but I'm going to continue to mess with the arrangement. I love the pair of mirrors and want to keep them together but I'm not sure it's possible to do that and keep both furniture pieces on this wall! I'm planning on reorganizing my jewelry and getting all matching, gold or brass jewelry stands and organizers (like these) and maybe adding some shelving on the wall above the dresser.
Still a few projects to go, but I'm so happy to have some permanent storage and finally begin to organize everything in here! You can find my post with my original design plans + inspirations for this room here. I've also linked all the details on my paint colors, fixtures, + decor details at the end of this post!
xoxo
Emily

Wall paint color: Art Deco Pink by Behr
Trim paint color: Pure White by Sherwin Williams
Light Fixture: Target
Clothing racks made with plumbin fittings from Home Depot
Closet paint color: Sherwin Williams Iron Ore
Shoe shelf stain: Minwax Espresso
Hardwood flooring: Lumber Liquidators
Sabrina poster: Ebay
Rug: Thrifted
All furniture: Vintage/thrifted
Jewelry stands/displays: Thrifted
Mirrors: Vintage/thrifted
Bamboo shades: Big Lots