Our Fixer Upper: Updates
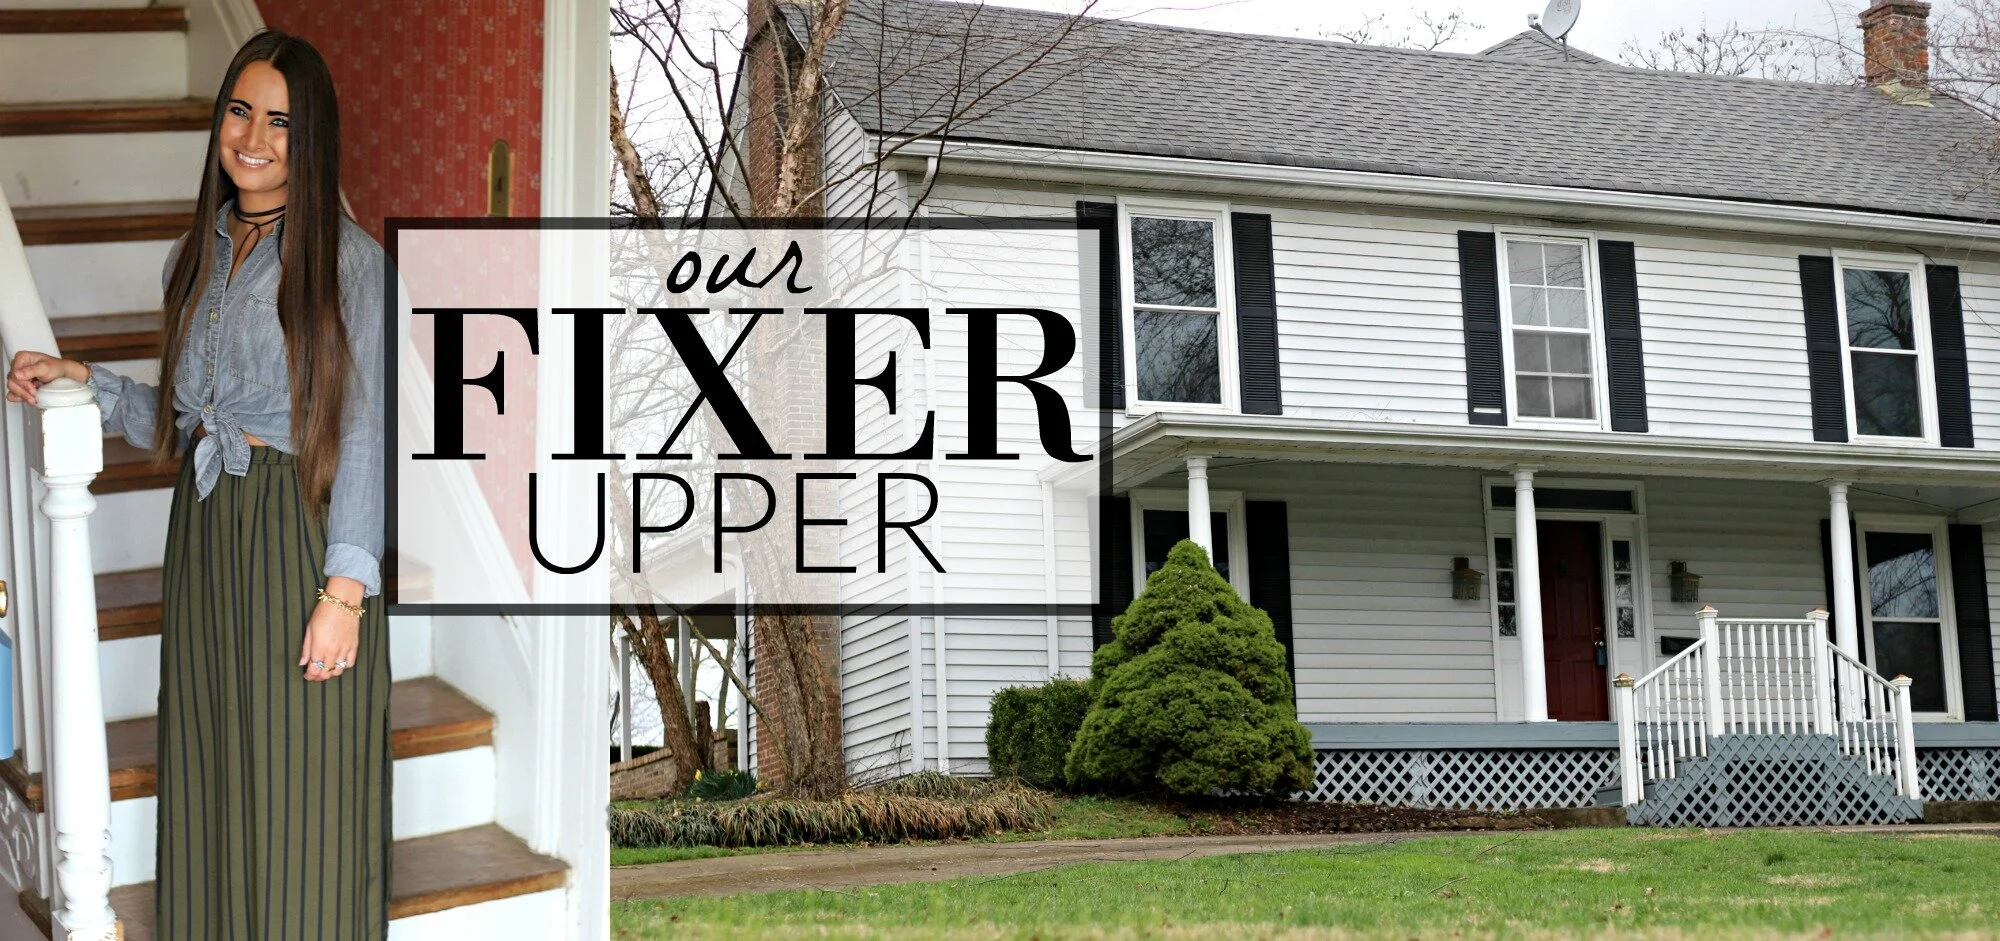
We're nearing the end of all the plumbing and foundation work this week and hopefully (fingers crossed!) floors, dry wall, and more fun stuff will start happening early next week! Today they had started demo on the second bathroom upstairs (the guest bath with the clawfoot tub) and they will continue the final plumbing work in there this week. While they finish that up, another important job is happening in the kitchen.
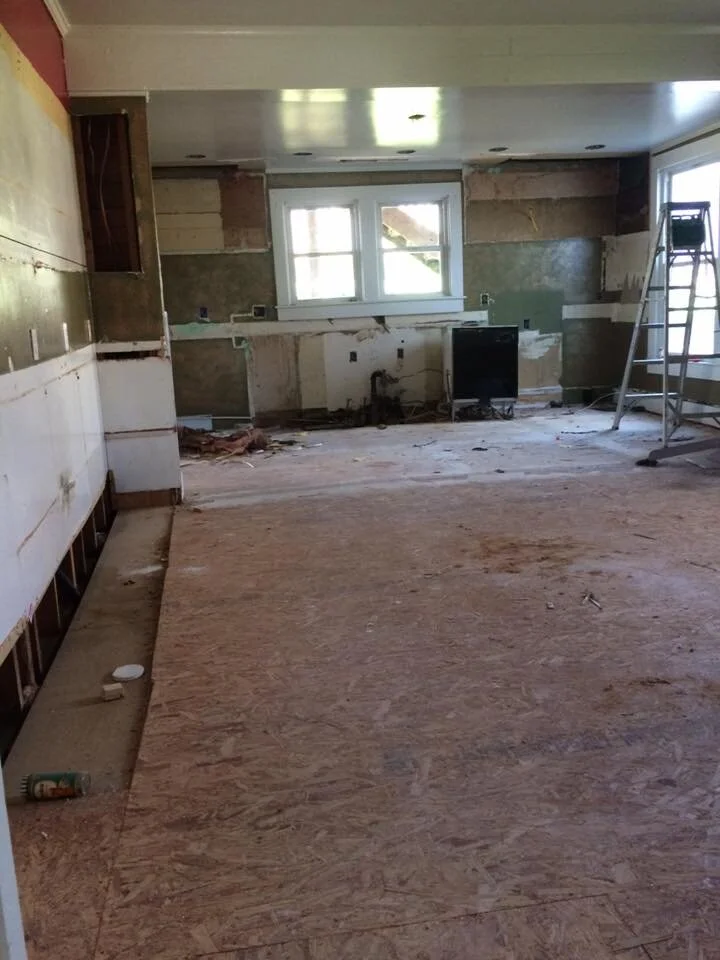
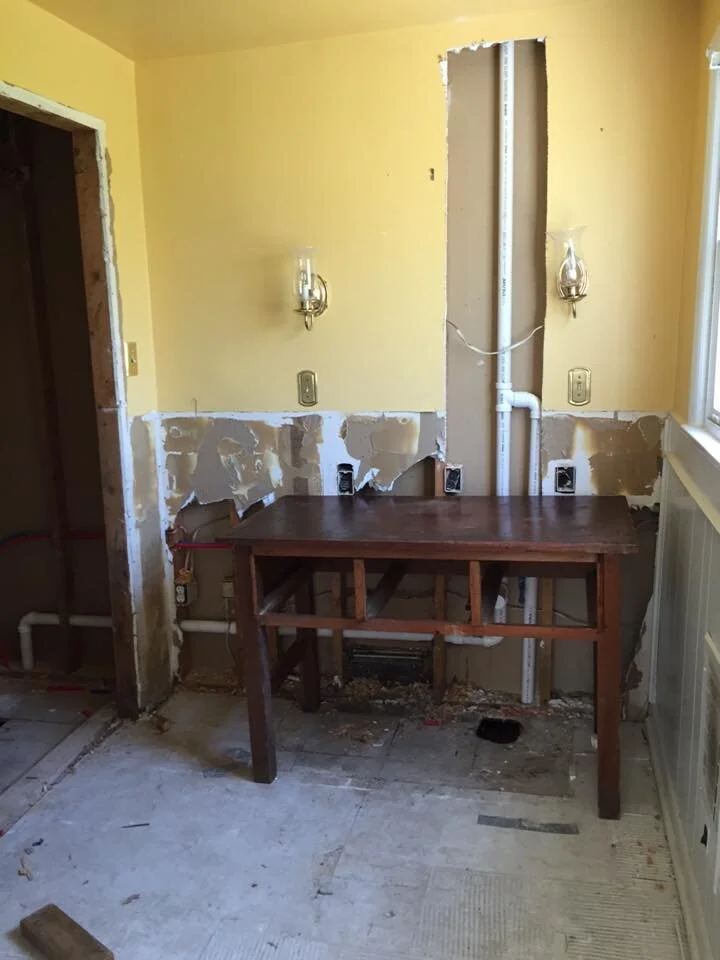
kitchen after demo
If you read my last fixer upper blog post, you know that we came across a not-so-fun, unexpected surprise in the kitchen. Since the plumbers had to remove large sections of the sub floor to finish the plumbing in the kitchen, the inadequate foundation that was holding up the back wall of the kitchen was revealed. We could not take a chance and move forward without correcting the problem, especially when we have all kinds of brand new flooring, cabinets, and appliances coming that will add extra weight to this already wonky foundation. So here is where we are now:
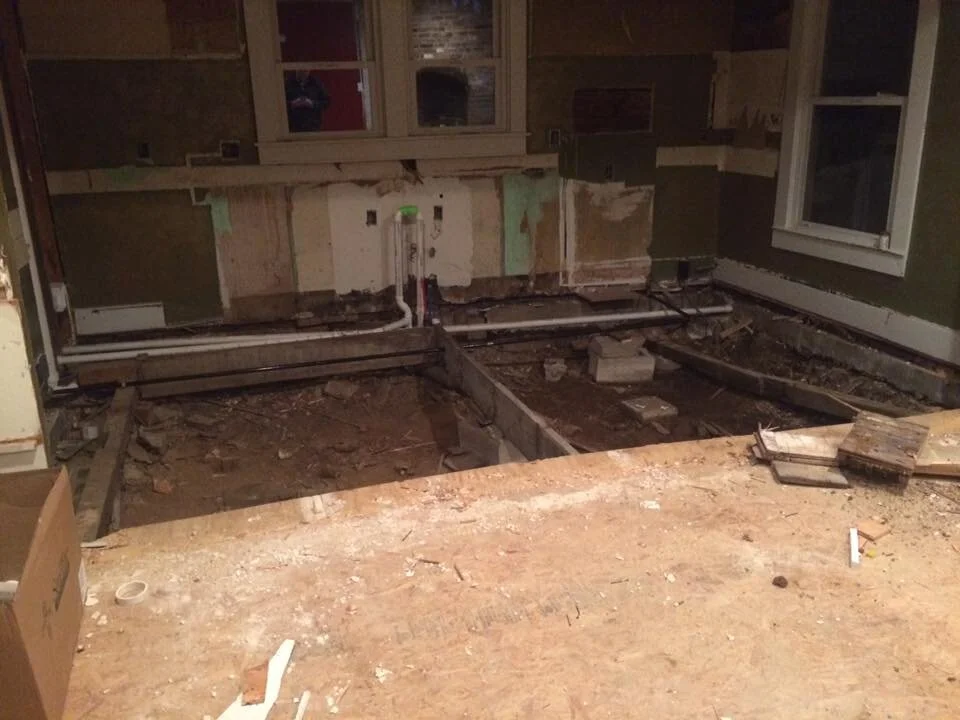
All the sub floor has been removed in the back half of the kitchen. The front half appears to be framed correctly so we don't have to touch that. We are guessing this back half was an addition, but it is hard to tell because everything that is under there looks ancient. Either way, you can tell by the pictures that everything underneath these sub floors was a complete mess and was never framed correctly. There were random bricks and concrete blocks stuffed into holes, old plumbing pipes just buried in the ground, and support beams that had completely collapsed. The good news is that now that they have dug this out, they will be able to pour a new concrete footer and then re-frame this entire area in a couple of days. I will be so relieved when this is taken care of and we know that we have the proper foundation we need.
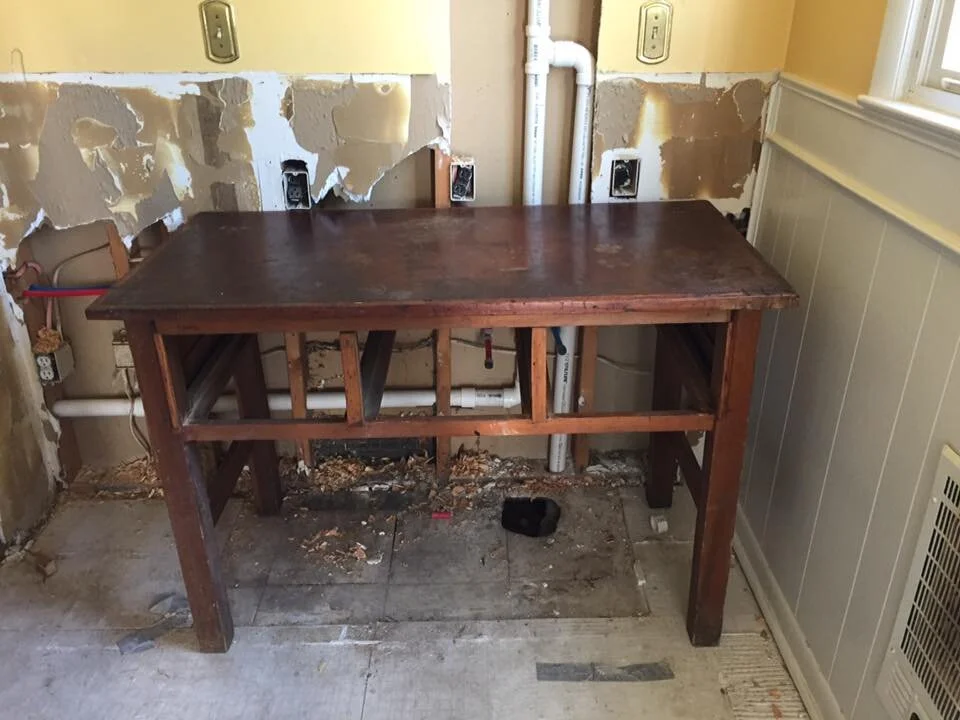
We've also been doing some treasure hunting for some specific fixture pieces for certain areas of the house. I needed to find a large furniture piece to use for our kitchen island and we wanted something unique that would fit the industrial farmhouse look of the space (get all the details of our kitchen plans here.) I found this old workbench at Restore and it just happened to be the perfect dimensions and height!
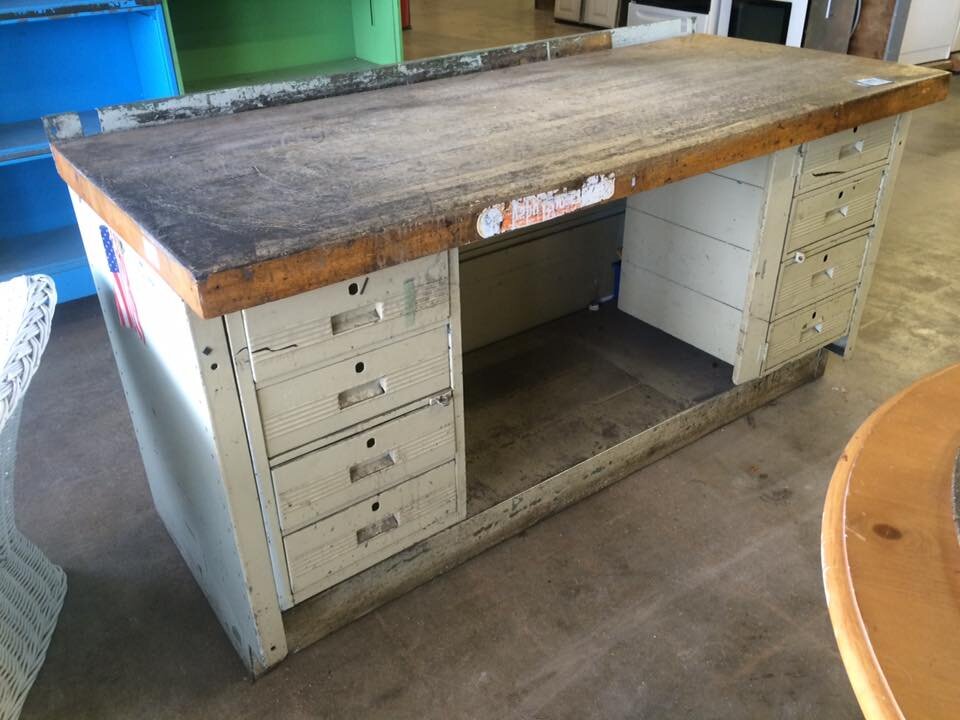
It is in rough shape now, but I can see its potential! The base is all metal and we are going to have it powder-coated by the same company who is reglazing my clawfoot bathtub. They can even match custom colors so they will be able to make it match our gray kitchen cabinets! If you have never heard of powder coating, it is the same process they use for painting many appliances, cars, and bicycles. It gives metals a super smooth, shiny, and perfected finish that you can't get with other painting techniques. Here's a sample before and after of powder-coating:
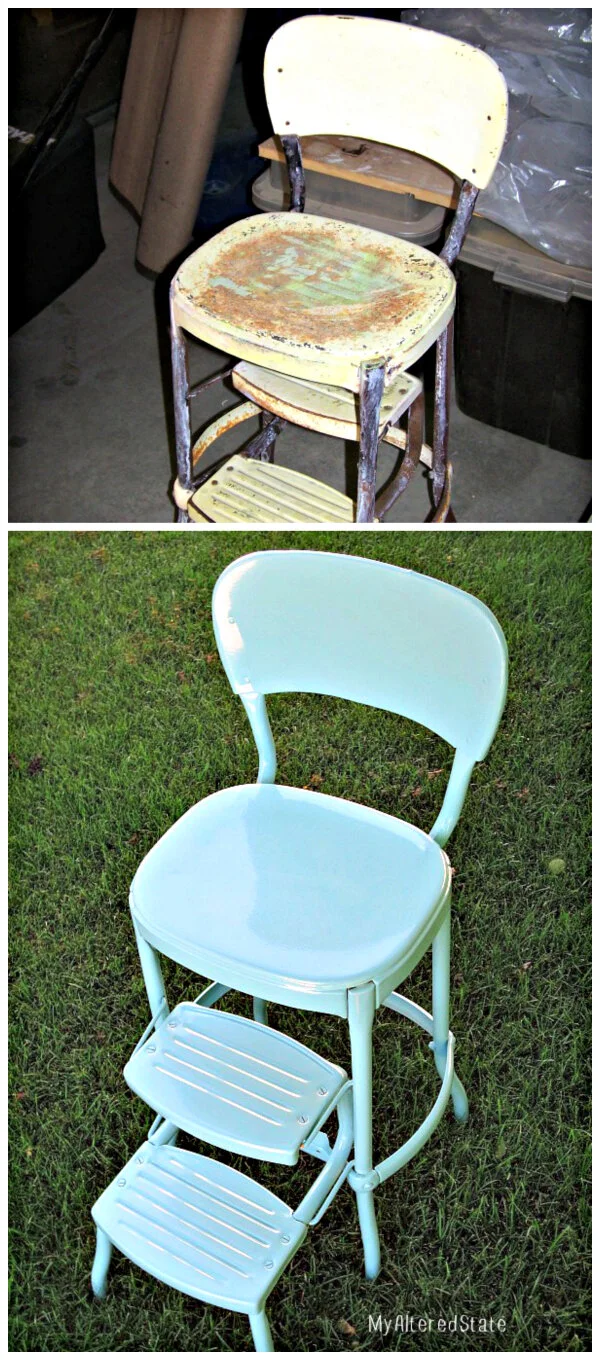
via My Altered State
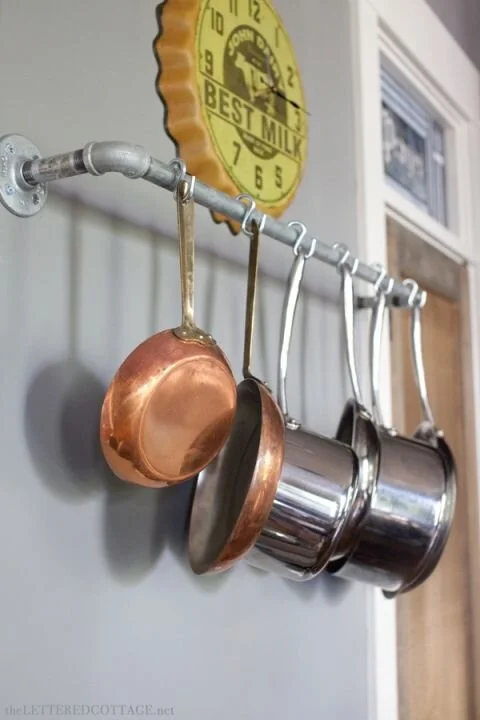
I cannot wait to see how it transforms this workbench! We love the butcher block top and are going to try to sand it down and reseal it so it looks like new. Eventually we may have a larger reclaimed wood top made that hangs over the edge a bit (so we can have some island seating up to it). The workbench also gives me lots of storage drawers and we are going to do something creative in that open middle space too between the drawers (maybe a couple of shelves or a bar to hang our pots and pans from?!). What we are envisioning now is one or two bars going across the middle (made out of plumbing fixtures) with hooks to hang all our pots, pans, and skillets from like this:

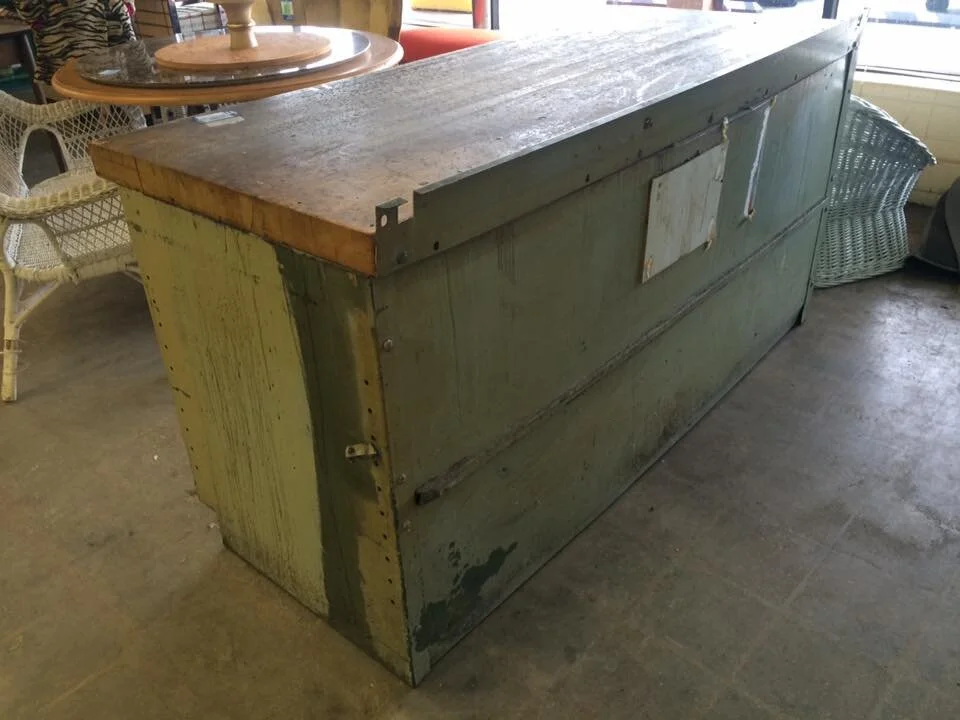
Onto the master bathroom! I also was unsure if this rustic sideboard I had in our entrway now was going to work for our master bathroom vanity (it has three big drawers in those open holes but I removed them to make it easier to move).
We brought it over and placed it in the bathroom and it is just the perfect size! I know it is hard to picture it with all the plumbing exposed and walls torn up but eventually we will have a white rectangular vessel sink on top and a wall mounted, oil-rubbed bronze faucet above it. You can see all the details on our plans for the master bathroom here. All the plumbing in here is brand new, finished, and ready to go.
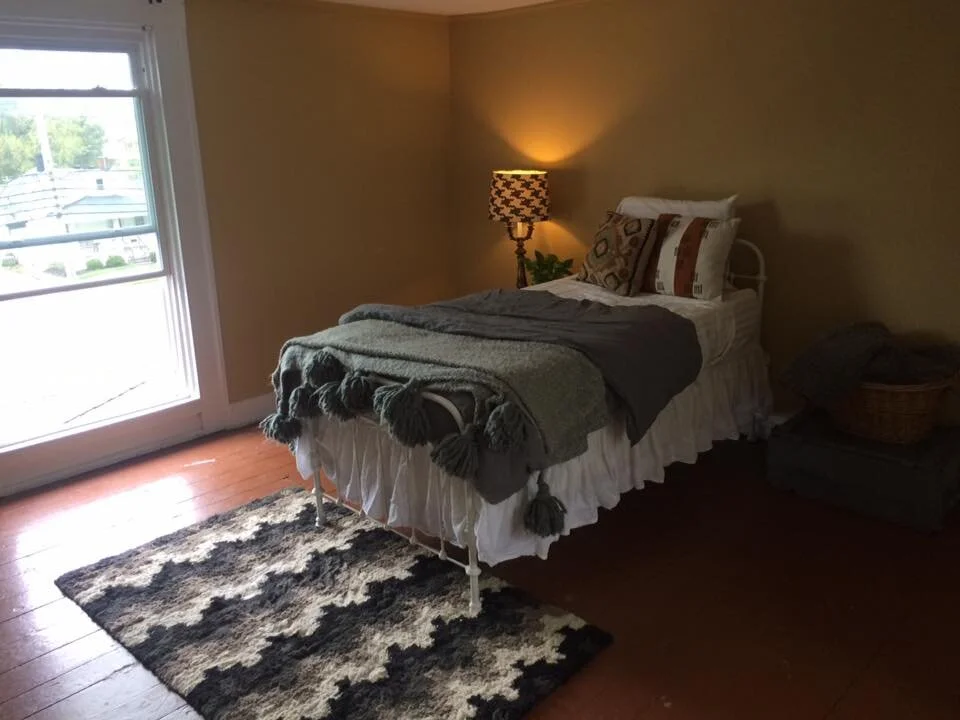
Today we also moved everything that was in our guest bedroom and hallway over to the new guest bedroom. Besides painting the walls, sanding that brown paint off the floors, and switching out the ceiling light fixture, this room won't be having any major work done. I'm not sure when we will get around to painting, so I went ahead and set up the room for now (minus hanging anything on the walls). Even if we have to move the furniture to the center of the room or cover it to paint, it makes me feel a little more accomplished to get that entire room moved, unpacked, and put in its place.
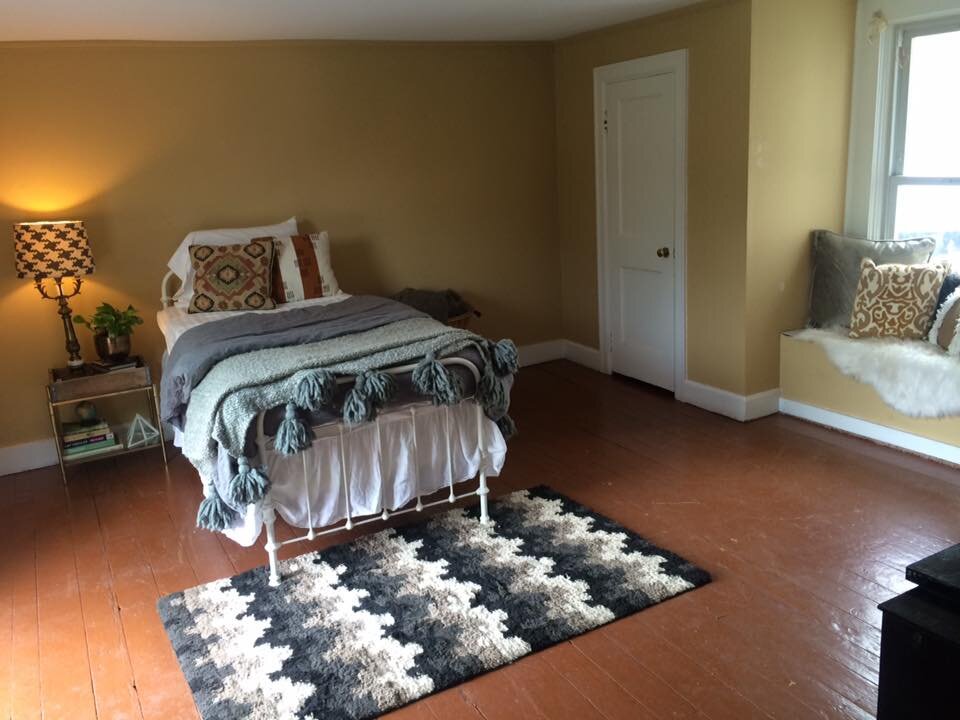
It's amazing how much space we have in this bedroom compared to our old bedrooms! Eventually when we are able to upgrade to a king size bed for our master, we will put our queen bed in here, but for now this super comfy twin bed will do. I'm so excited to have this cute little window seat (it also has storage inside!). This room has so much great natural light from the giant windows and the front window looks out onto Main Street. I was surprised that the colors on the walls and floors actually looked decent and matched most of my decor already, so if I have to live with them for a little while it will be fine!
That's all the updates I have for now, but hopefully I will have a ton more (with maybe some new floors?!) by next week!
xoxo
Emily