Tips for a Thriving Fiddle Leaf Fig Tree
Fiddle leaf fig trees have been the stars of the home decor world for quite a while now. They are also one of the most finicky plants out there, so beware before taking the plunge and investing in a fig tree. I learned the hard way as my first fig died a slow, painful death after several months. I was so sad because not only did I love the way it looked, but it was also the most expensive plant I had ever purchased. I waited a few months, read up on the plants, and decided to try again. My second fig tree is thriving and is so happy! It has sprouted so many new leaves since I've had it (something my first tree never did), and it is incredibly green and healthy looking. Here are my tips for mastering the care of your fiddle leaf fig:
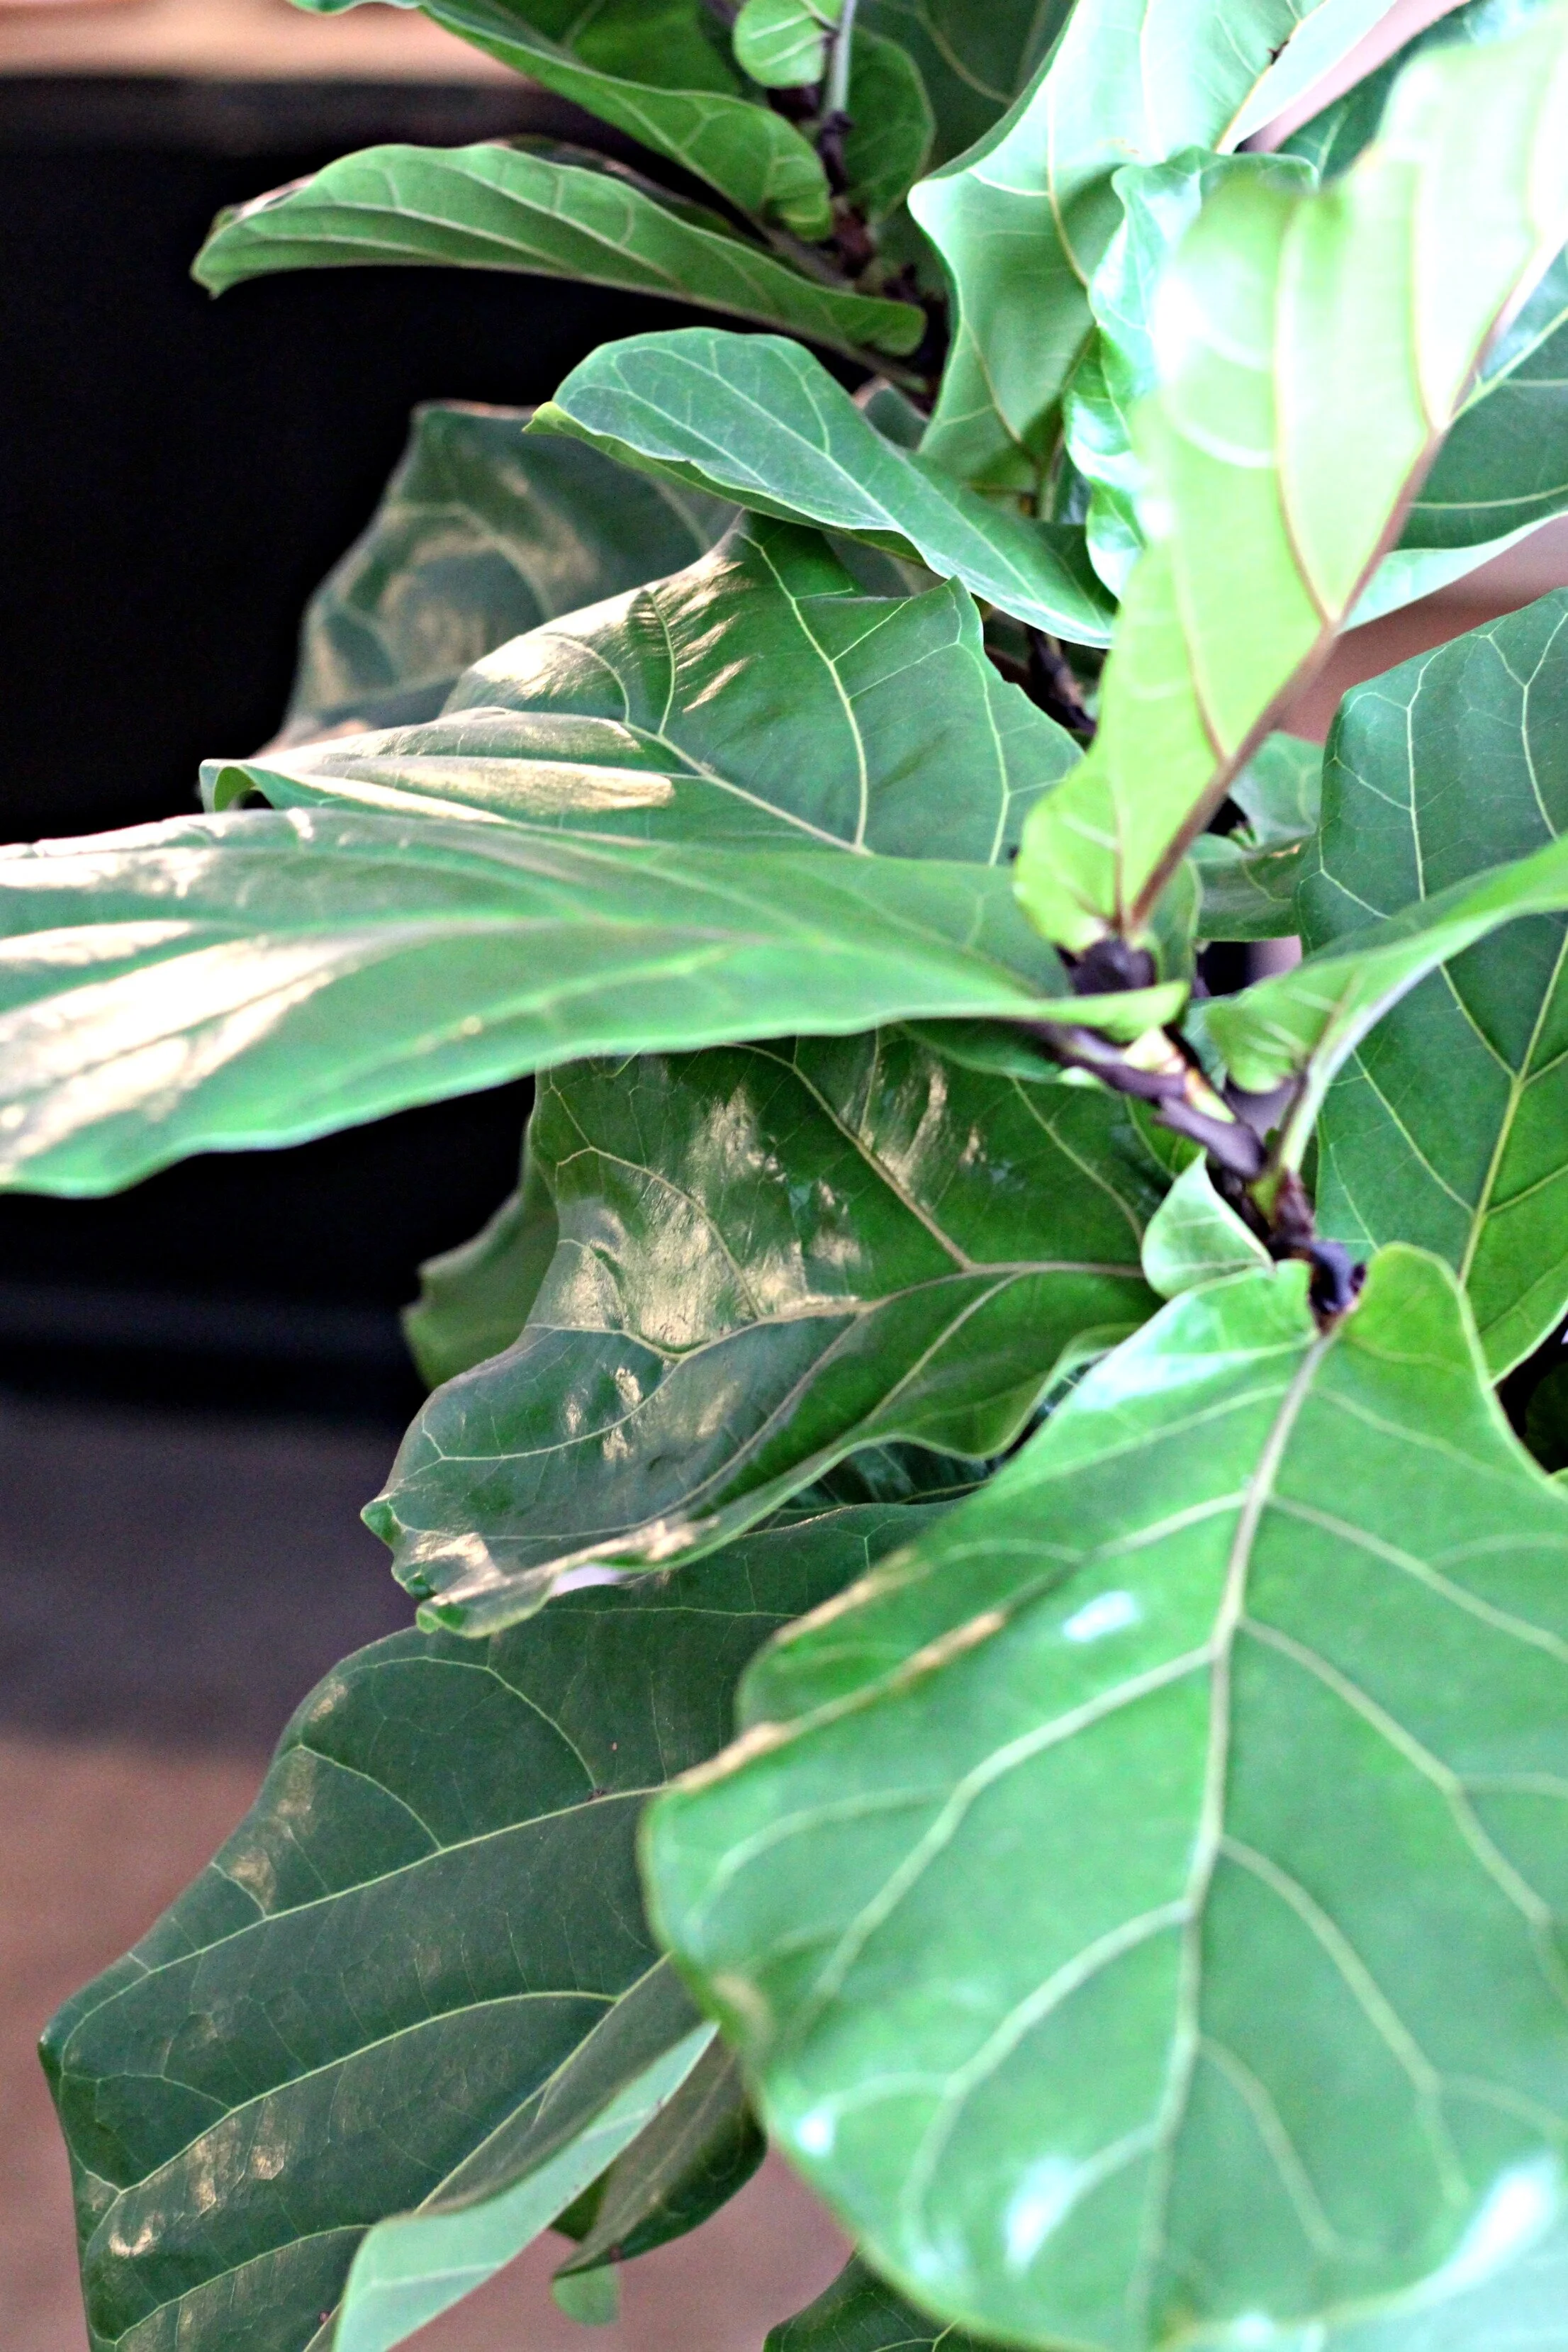
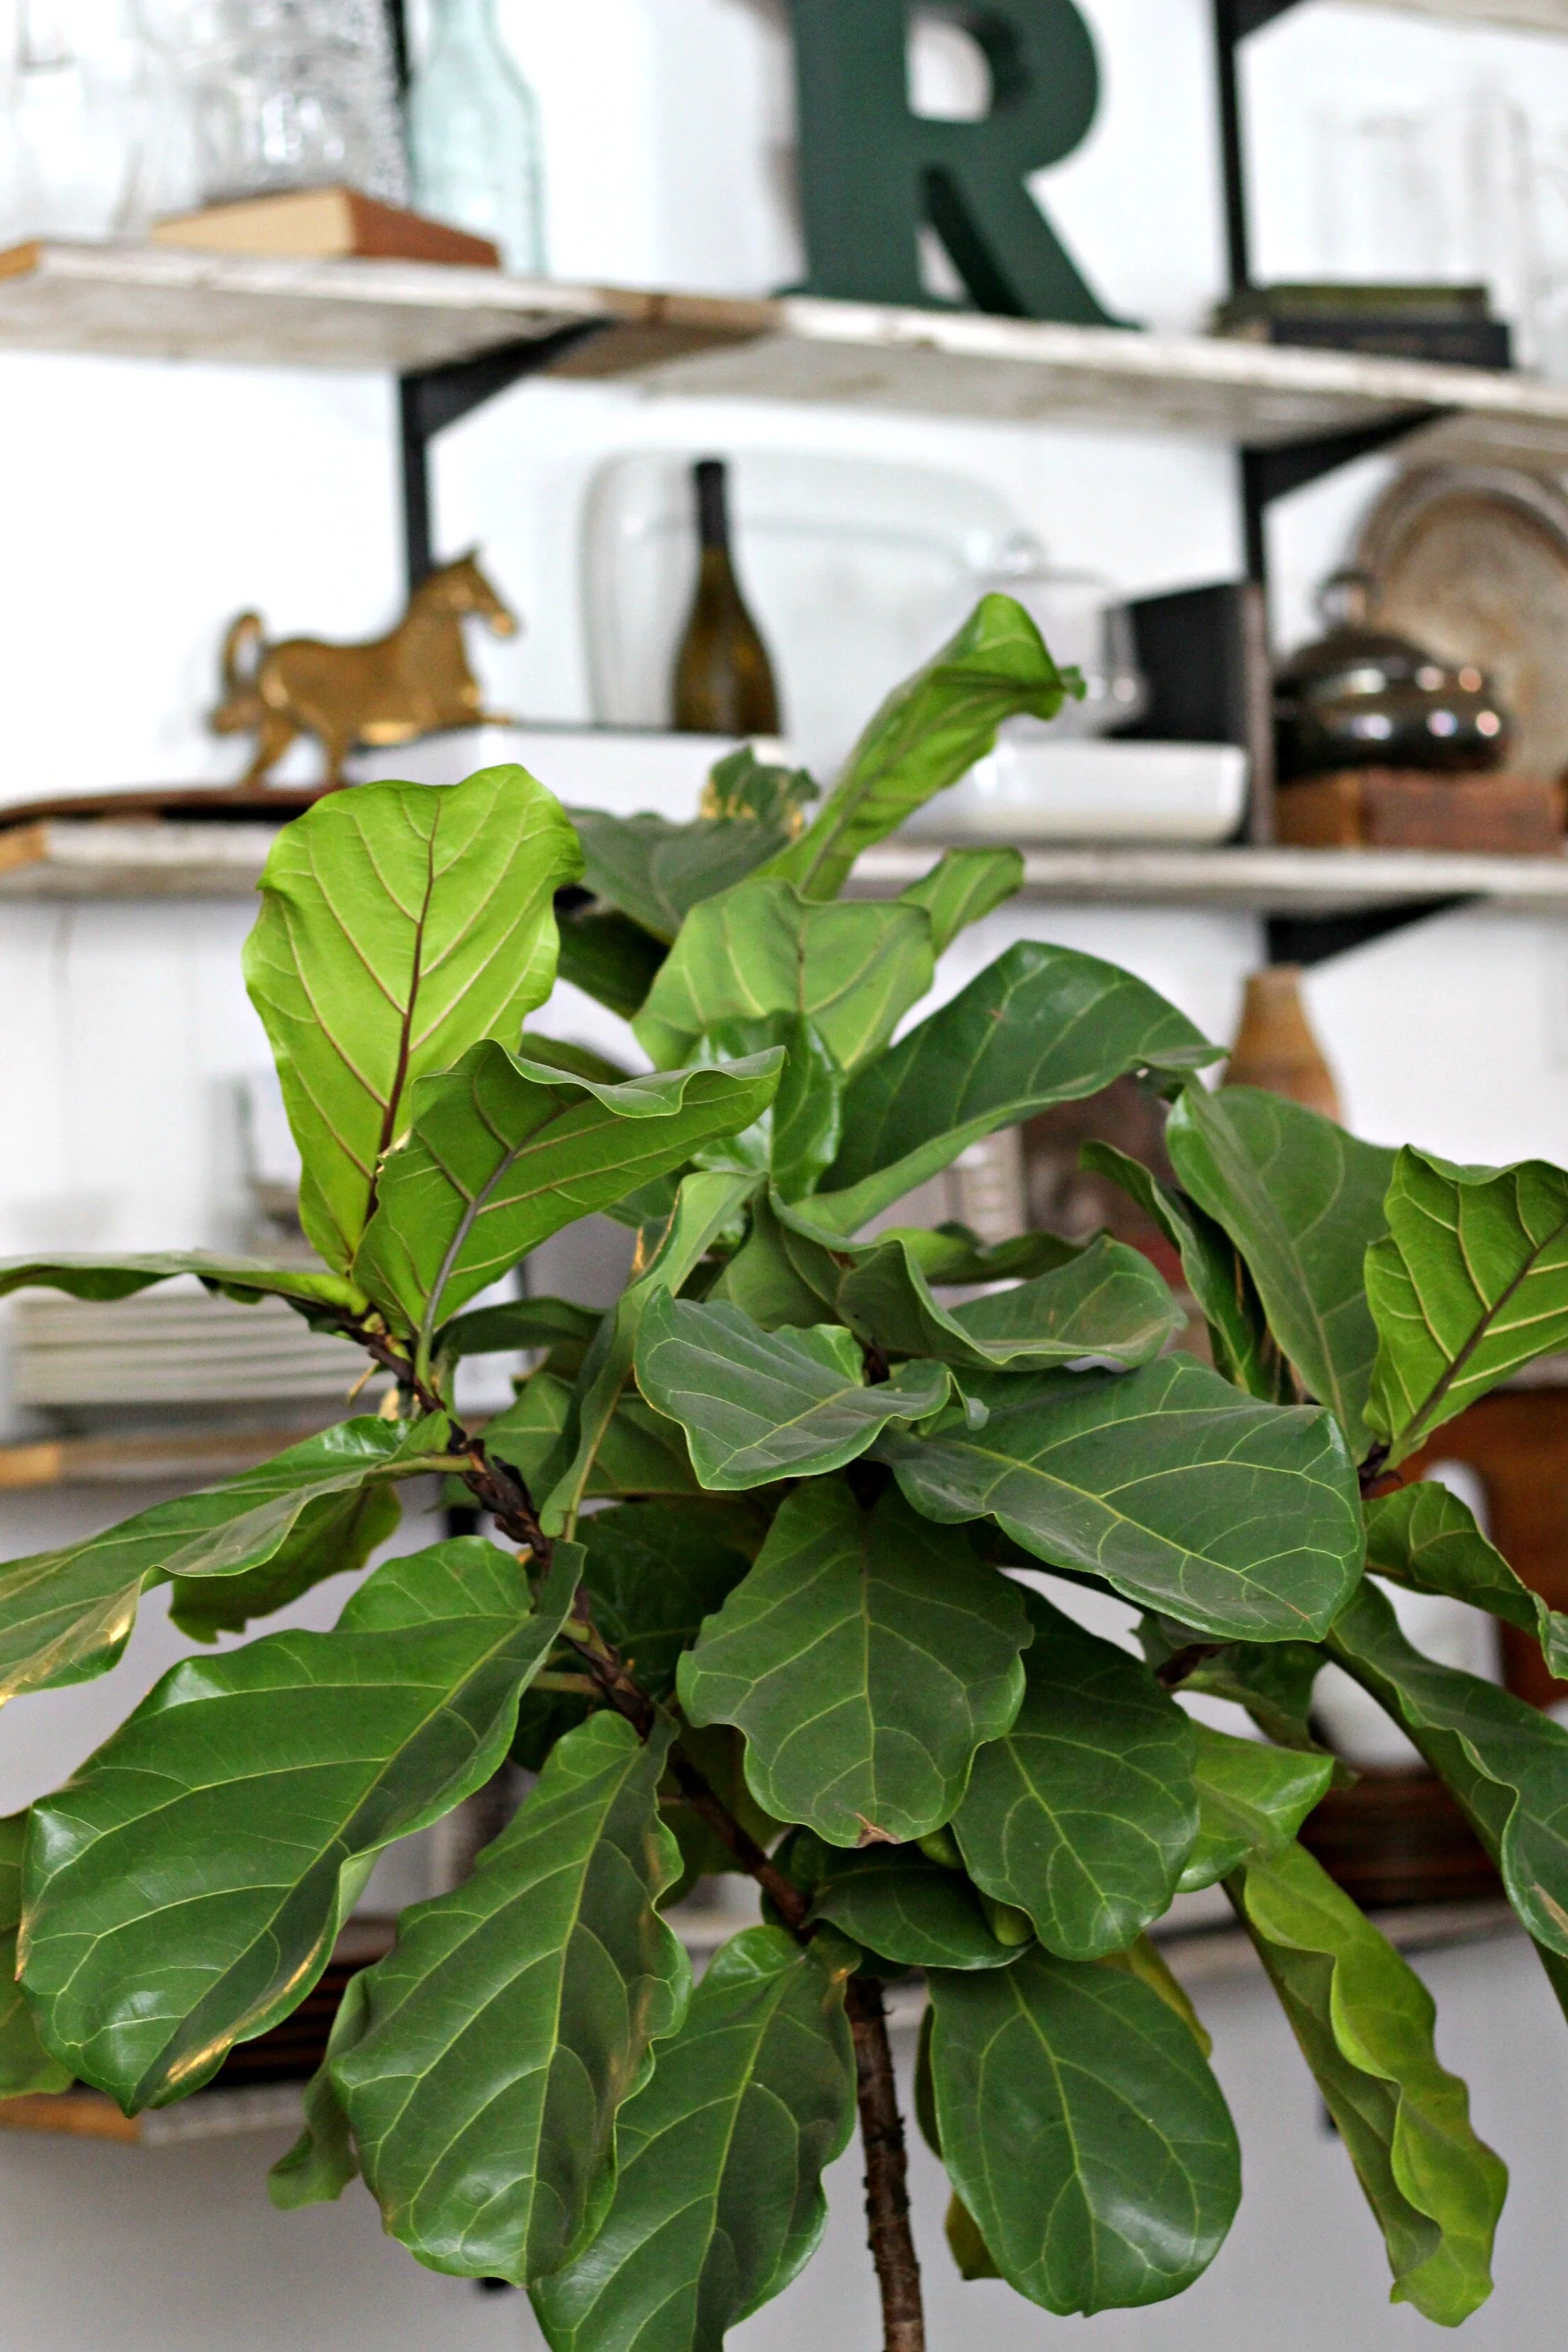
1. Sunlight: This is the most important factor for the health of your fig tree. They LOVE sunlight. Most sources say to set it in an area with plenty of indirect sunlight, but I have found that my fig loves both direct and indirect sunlight. I set it right in front of a window where sunlight was constantly streaming in and it sprouted new leaves like crazy! If you do not have an area with good sun, unfortunately the fig tree might not be a good choice.
2. Water: Fiddle leaf figs do not require a lot of water and over-watering can make them go downhill quickly. The soil should feel dry to the touch and one or two cups of water a week is usually plenty. I also recently learned that throwing a couple of ice cubes into your water helps tremendously. The ice will slowly water your plant as it melts so that it is not getting overwhelmed with too much water too quickly. It is also important to be sure that your planter can drain properly and that too much water does not gather at the bottom. If your leaves start to turn yellow, you are likely over-watering. Let it dry out for several days, you can even try to drain the planter of extra water if you want.
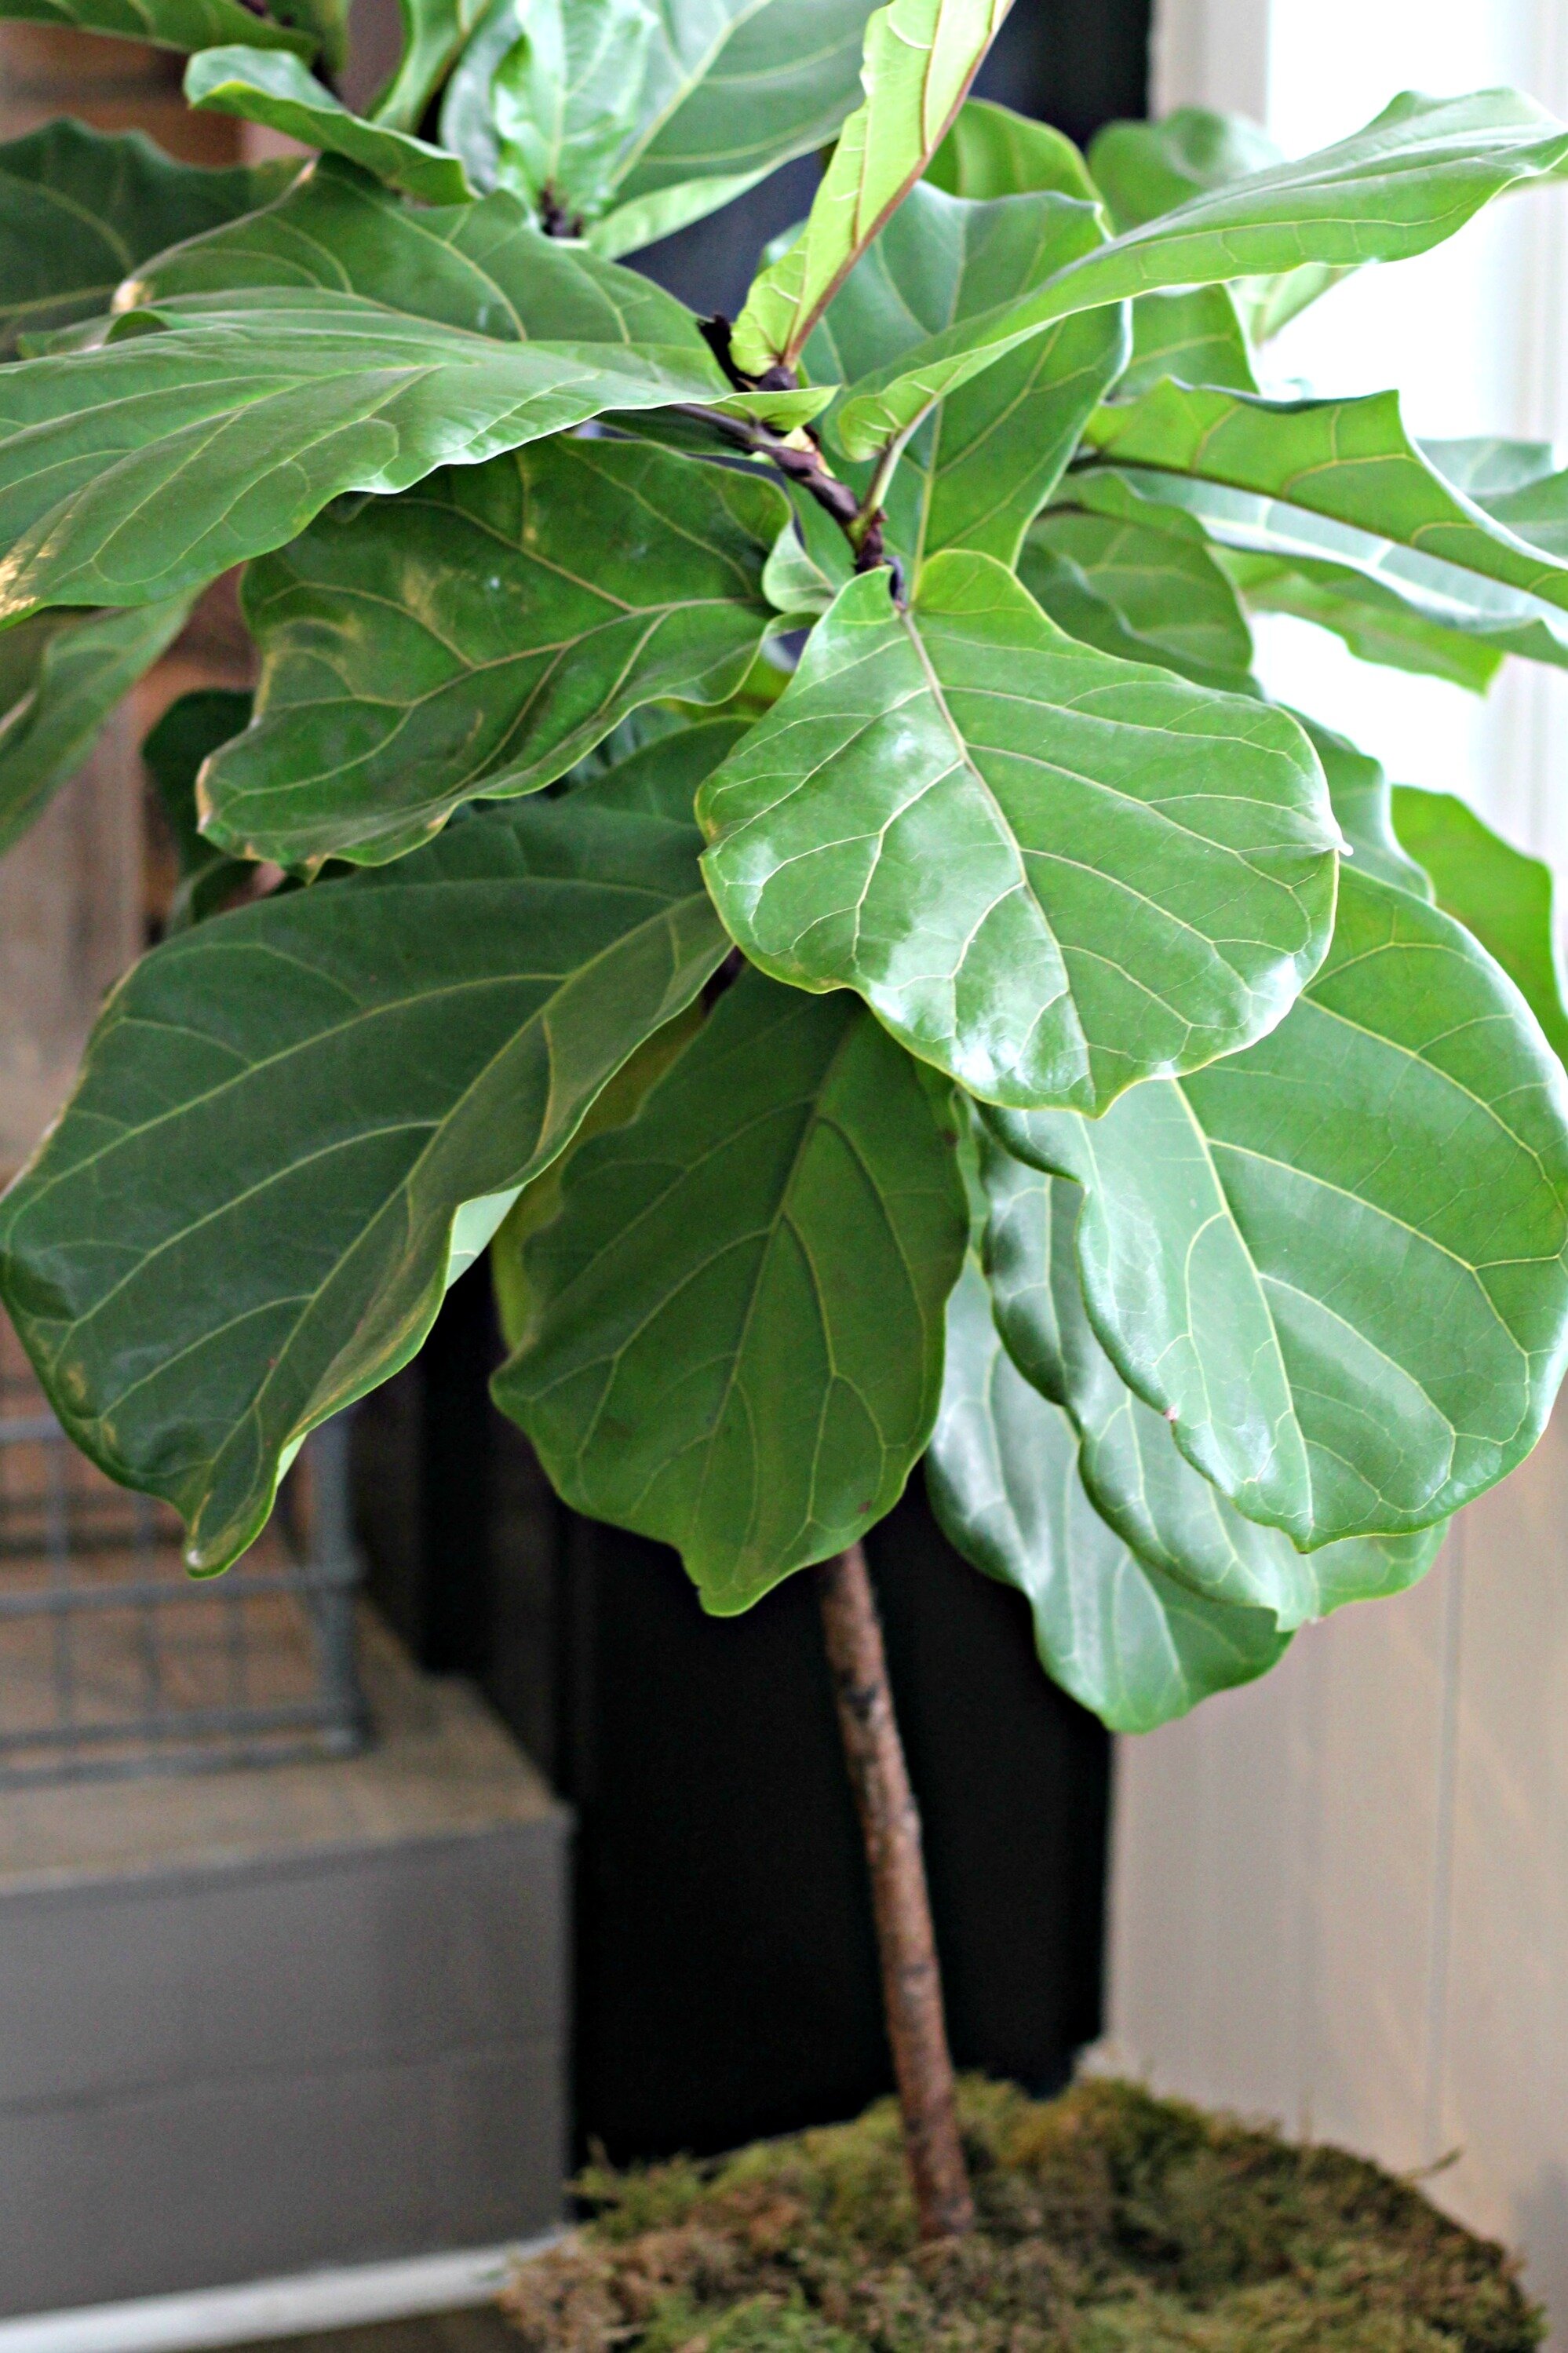
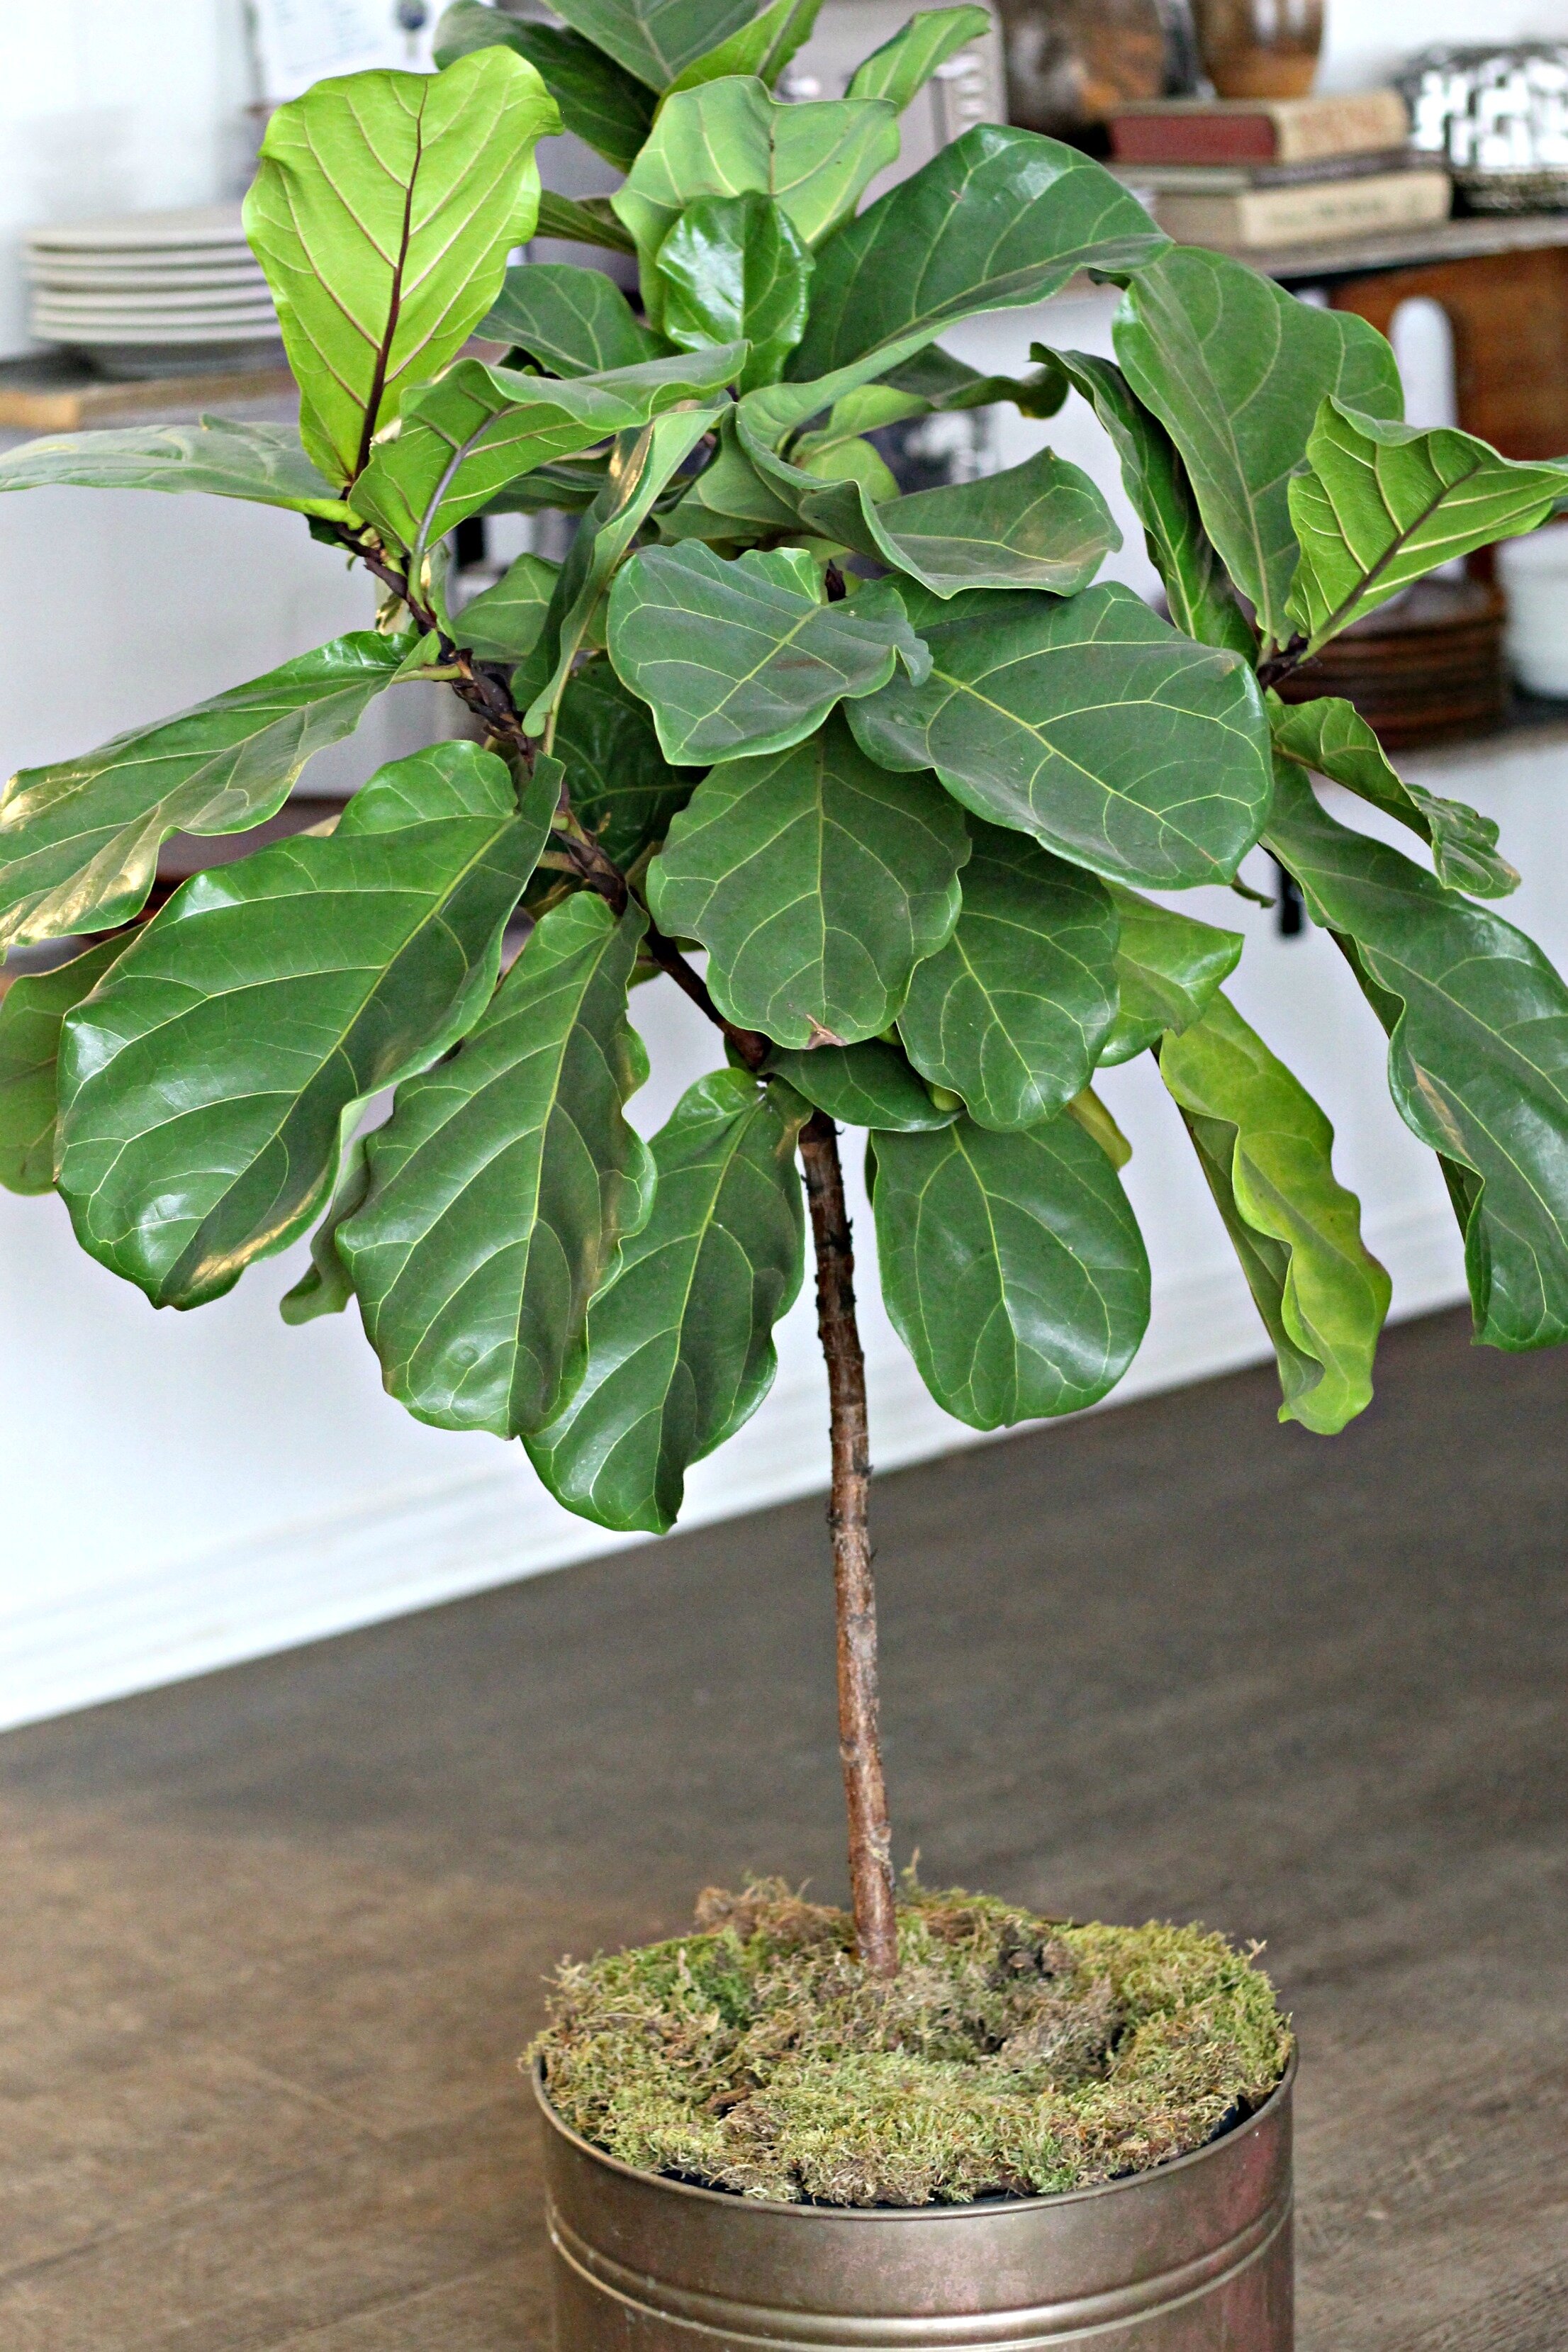
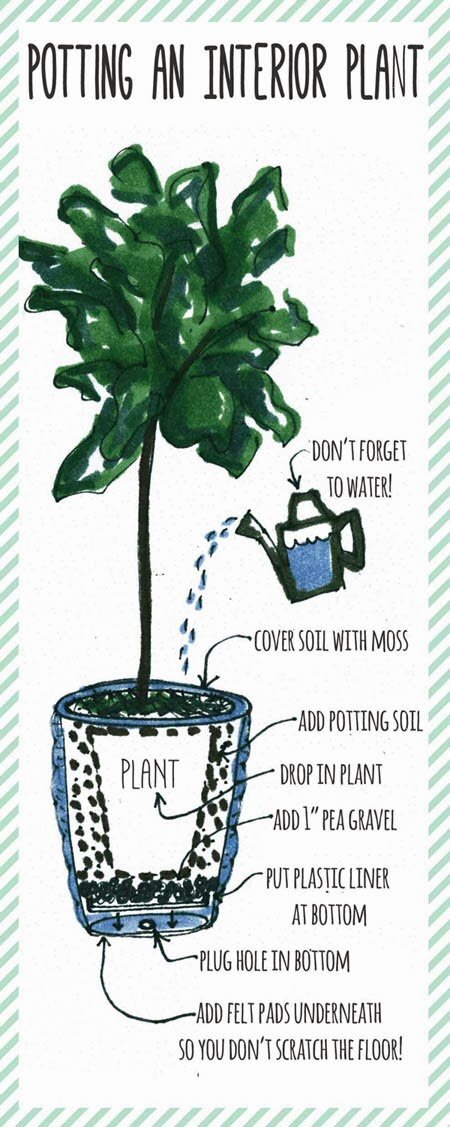
3. Choosing your planter: With my first fig, I removed it from the plastic pot it came in at the store and re-potted it in a slightly larger brass pot, adding a little more dirt. I don't know if this played a factor in its eventual demise, but I have read that often figs do not like to be re-potted and may "freak out" if they are not in a tight, secure pot. I was much more careful with my second fig tree. I left it in the original plastic pot that it came in, and just set that pot inside of a larger brass pot. I then covered the top with some faux green moss so that you couldn't even see the plastic pot anymore! I will probably continue to stick to this method from now on with my figs just to ensure that the re-potting process does not upset them!
4. Routine: This is another important step that I have found to make such a big difference the second time around. Fiddle leaf figs love routine and you should water your fig with the same amount of water at the same time every week. Also do not move your fig if you can help it. Find a good spot for it and leave it there (you can turn it occasionally so that all sides get good sun).
Here's a few more of my favorite sources for Fiddle Leaf Fig Tips:
View Along the Way Blog: The Fiddle Leaf Fig Trick


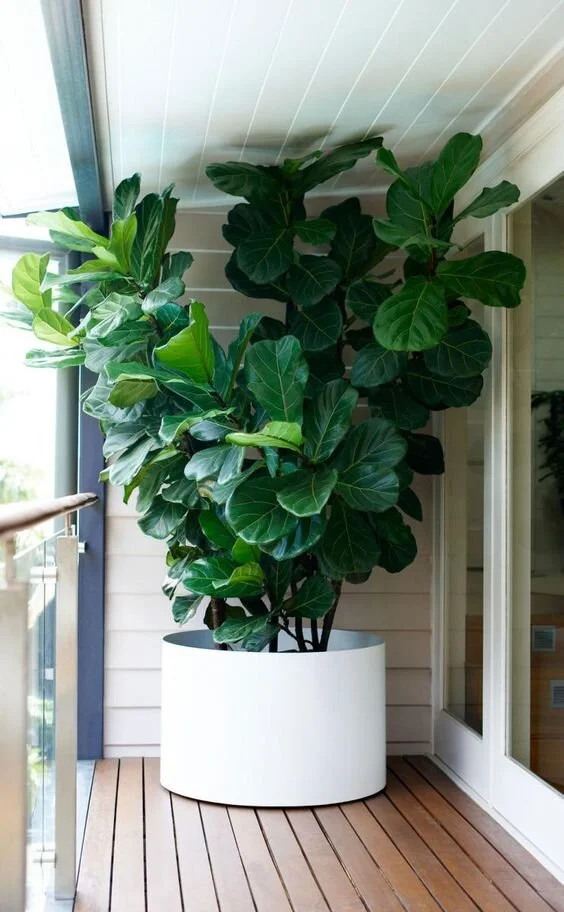
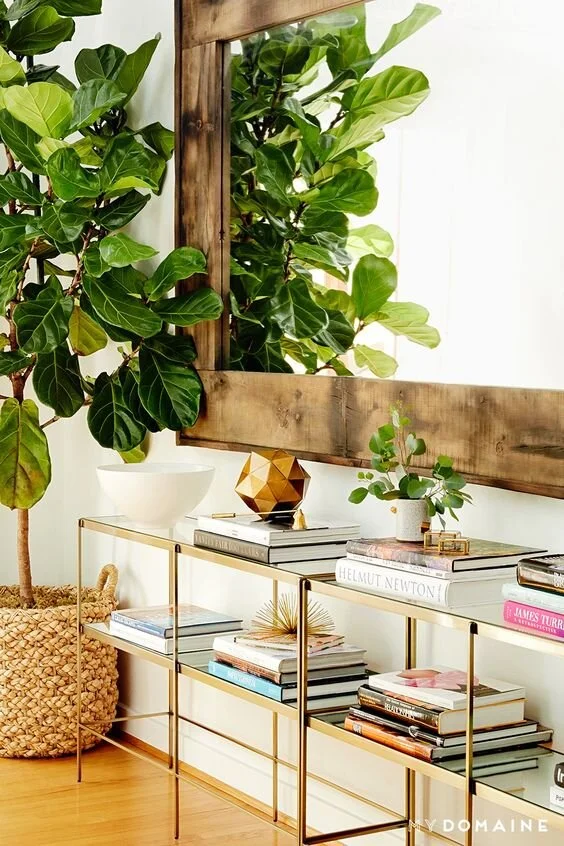
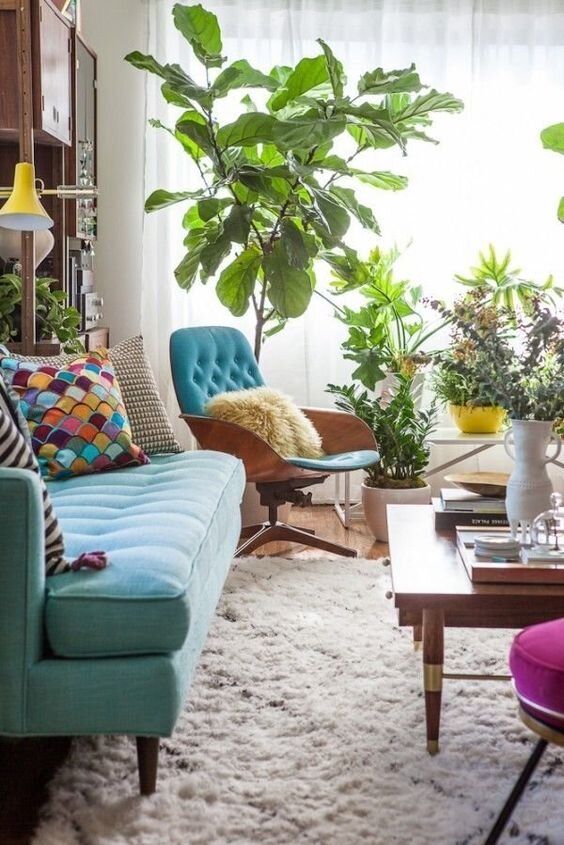
I get asked often where I bought my fig tree. My go-to is Pemberton's greenhouses which is a local Lexington business that has THE best selection of plants of all kinds. They have very reasonable prices for fig trees (I have paid $45-75 3-4 foot trees) and always have a good variety. Wilson's Nurseries in Frankfort, KY also has a great variety of fig trees especially if you are looking for something larger and more full. I have heard that Home Depot or Lowe's occasionally have fig trees but I have yet to ever see that in their Kentucky stores. Your best bet is a local greenhouse where you can get a healthy plant and plenty of advice from an expert. Last but not least, some photos of the most lush and beautiful fig trees to dream about! With all these tips and tricks, we will all be on our way to having one of these beauties in no time!
xoxo
Emily