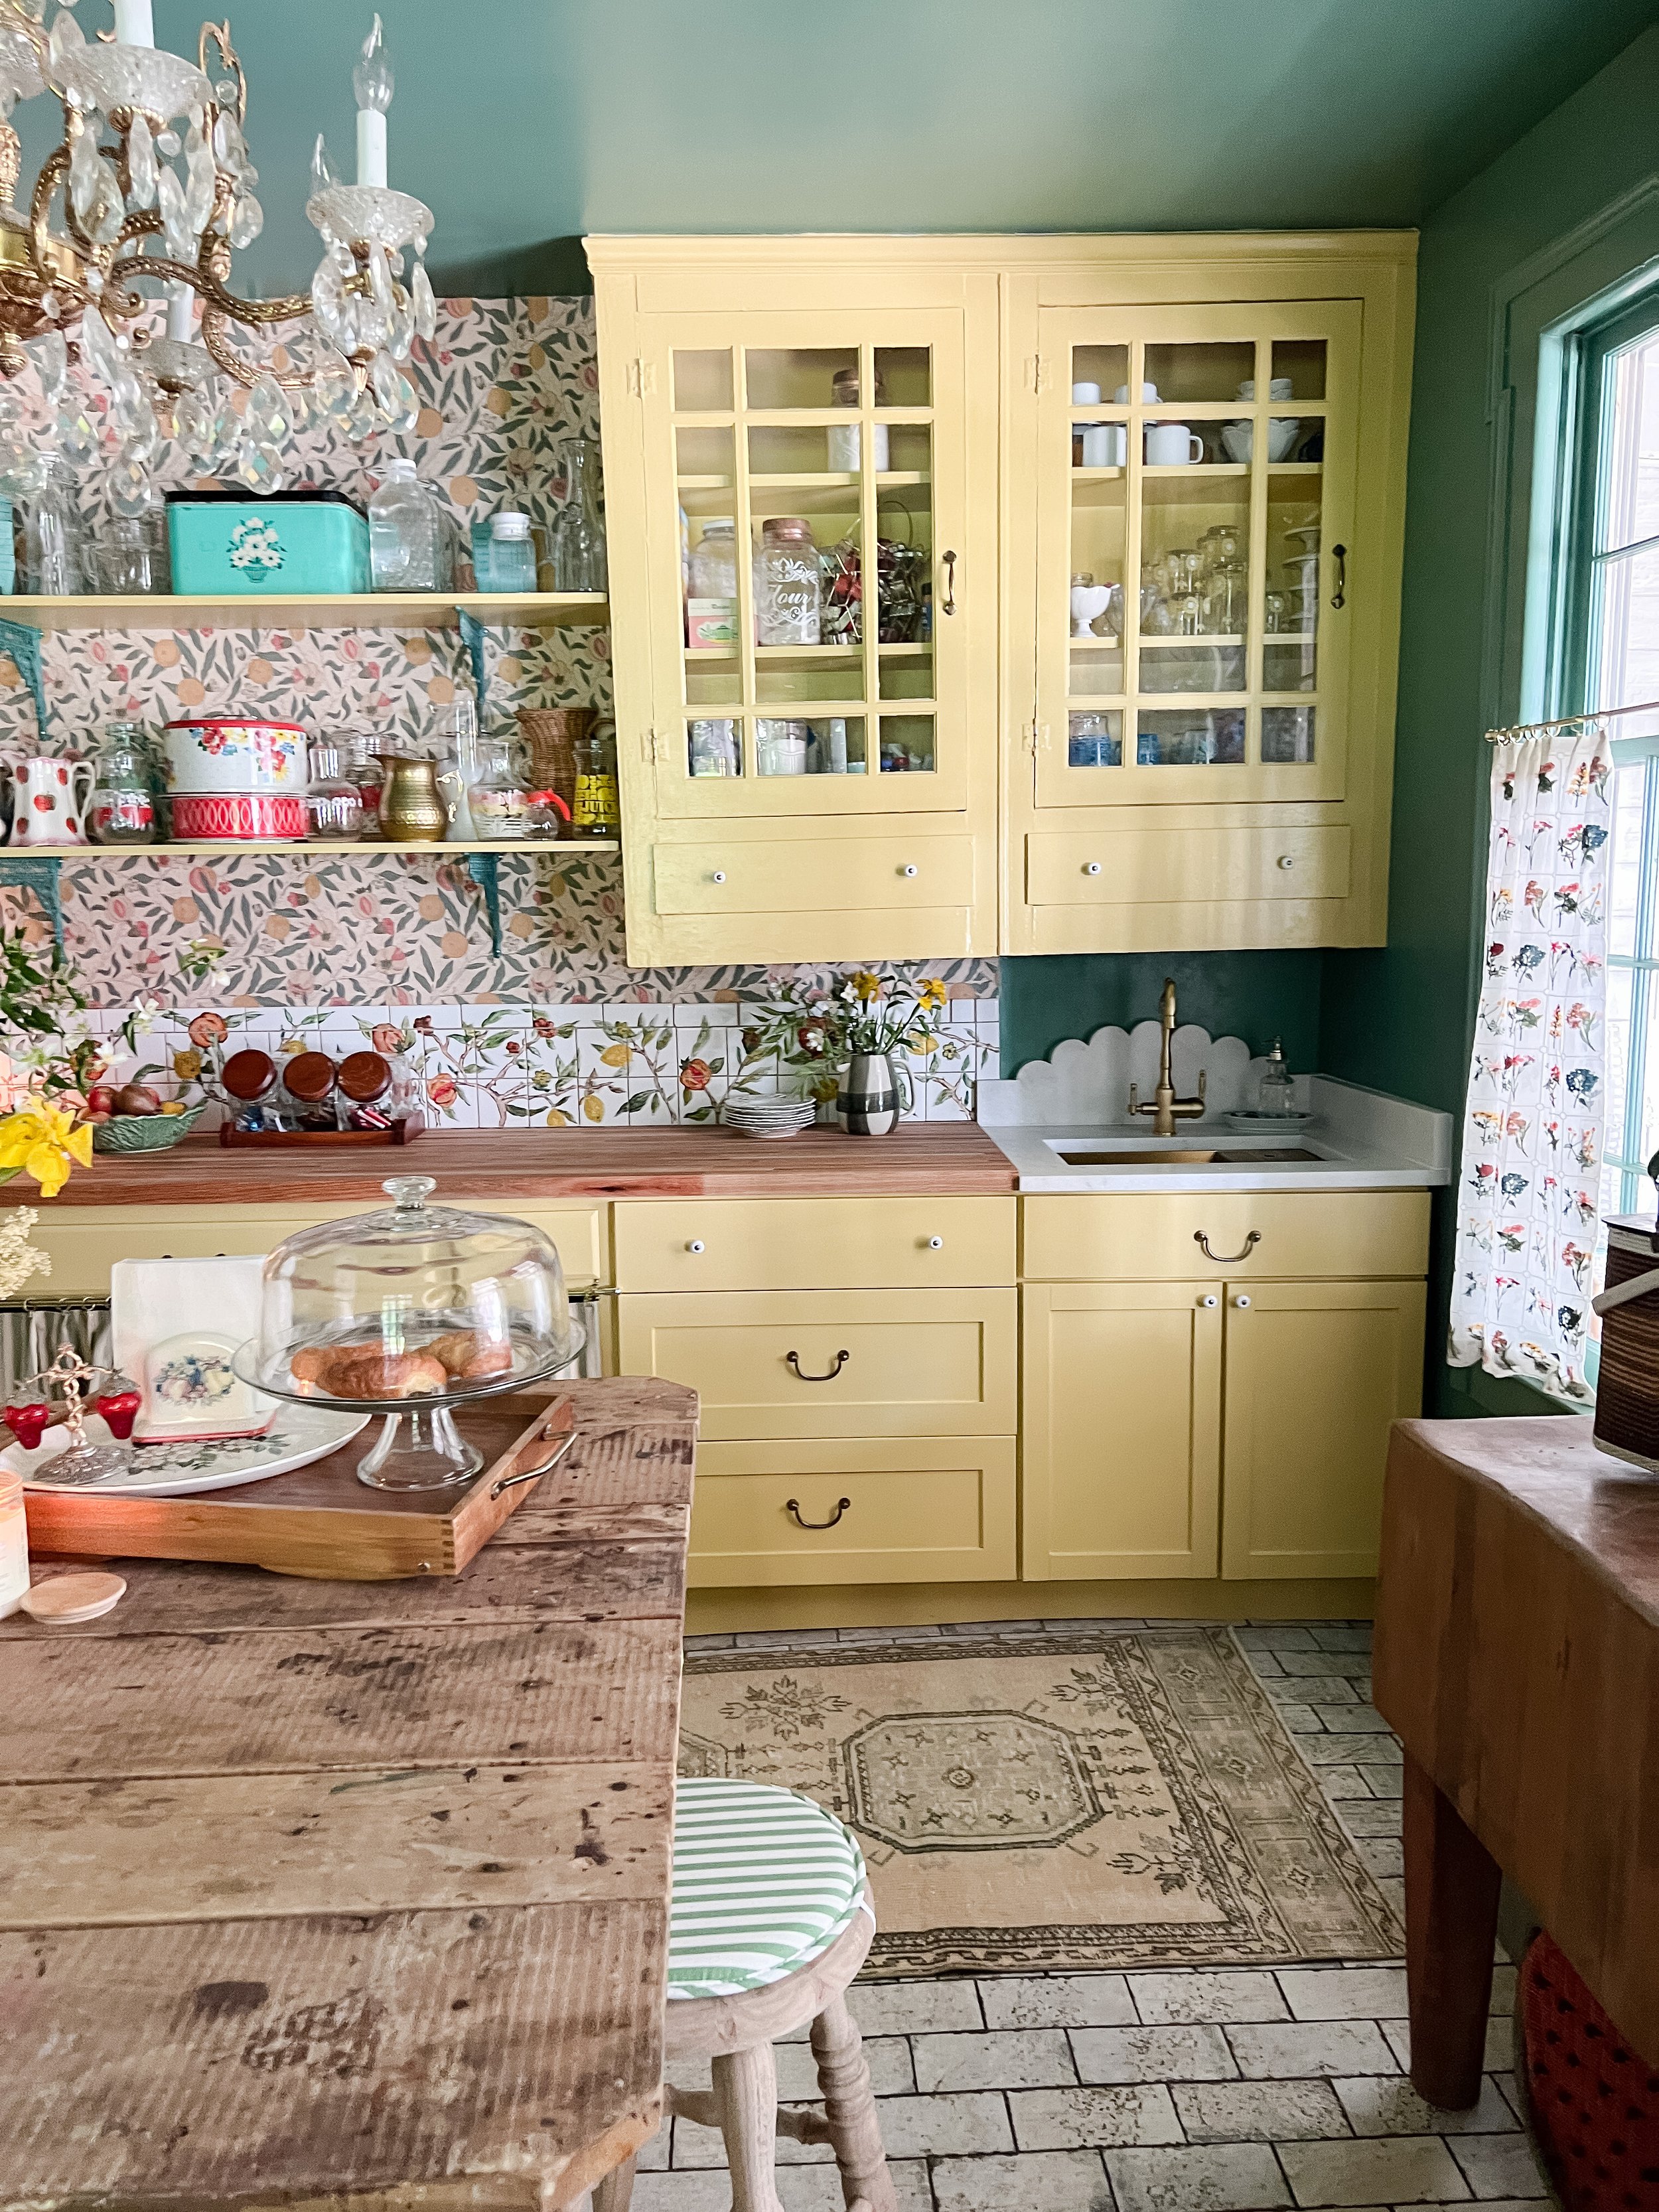
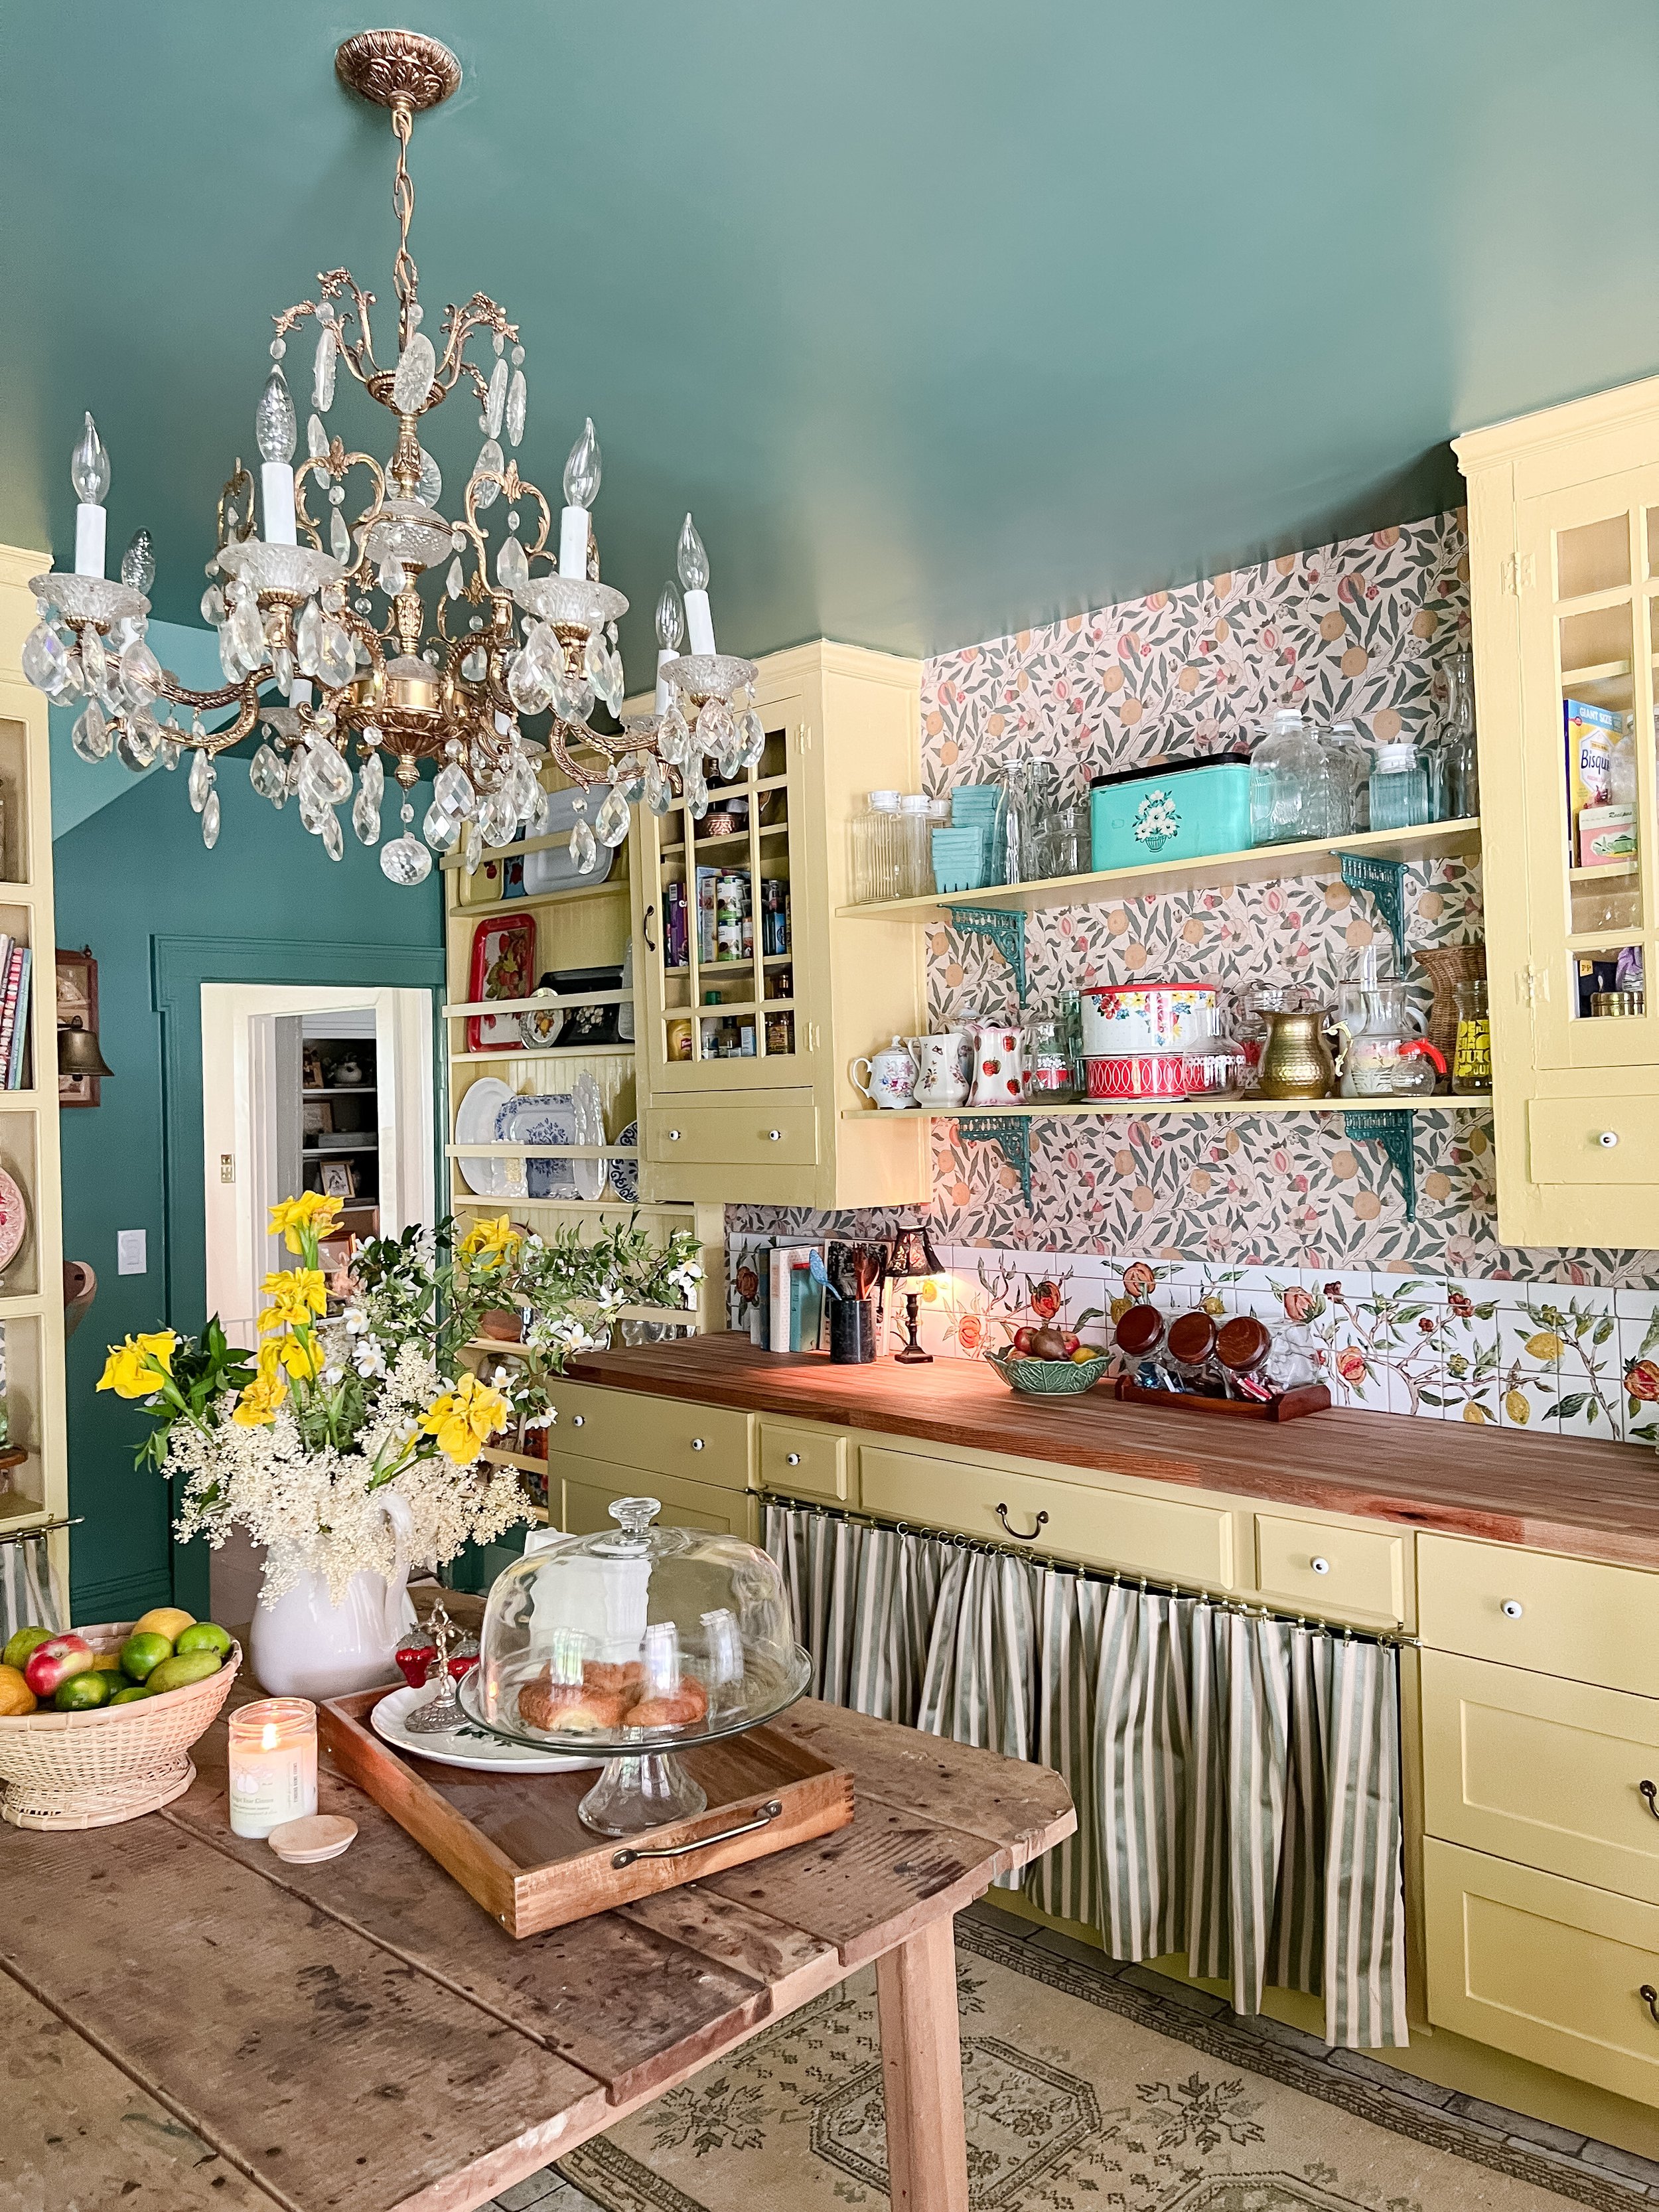
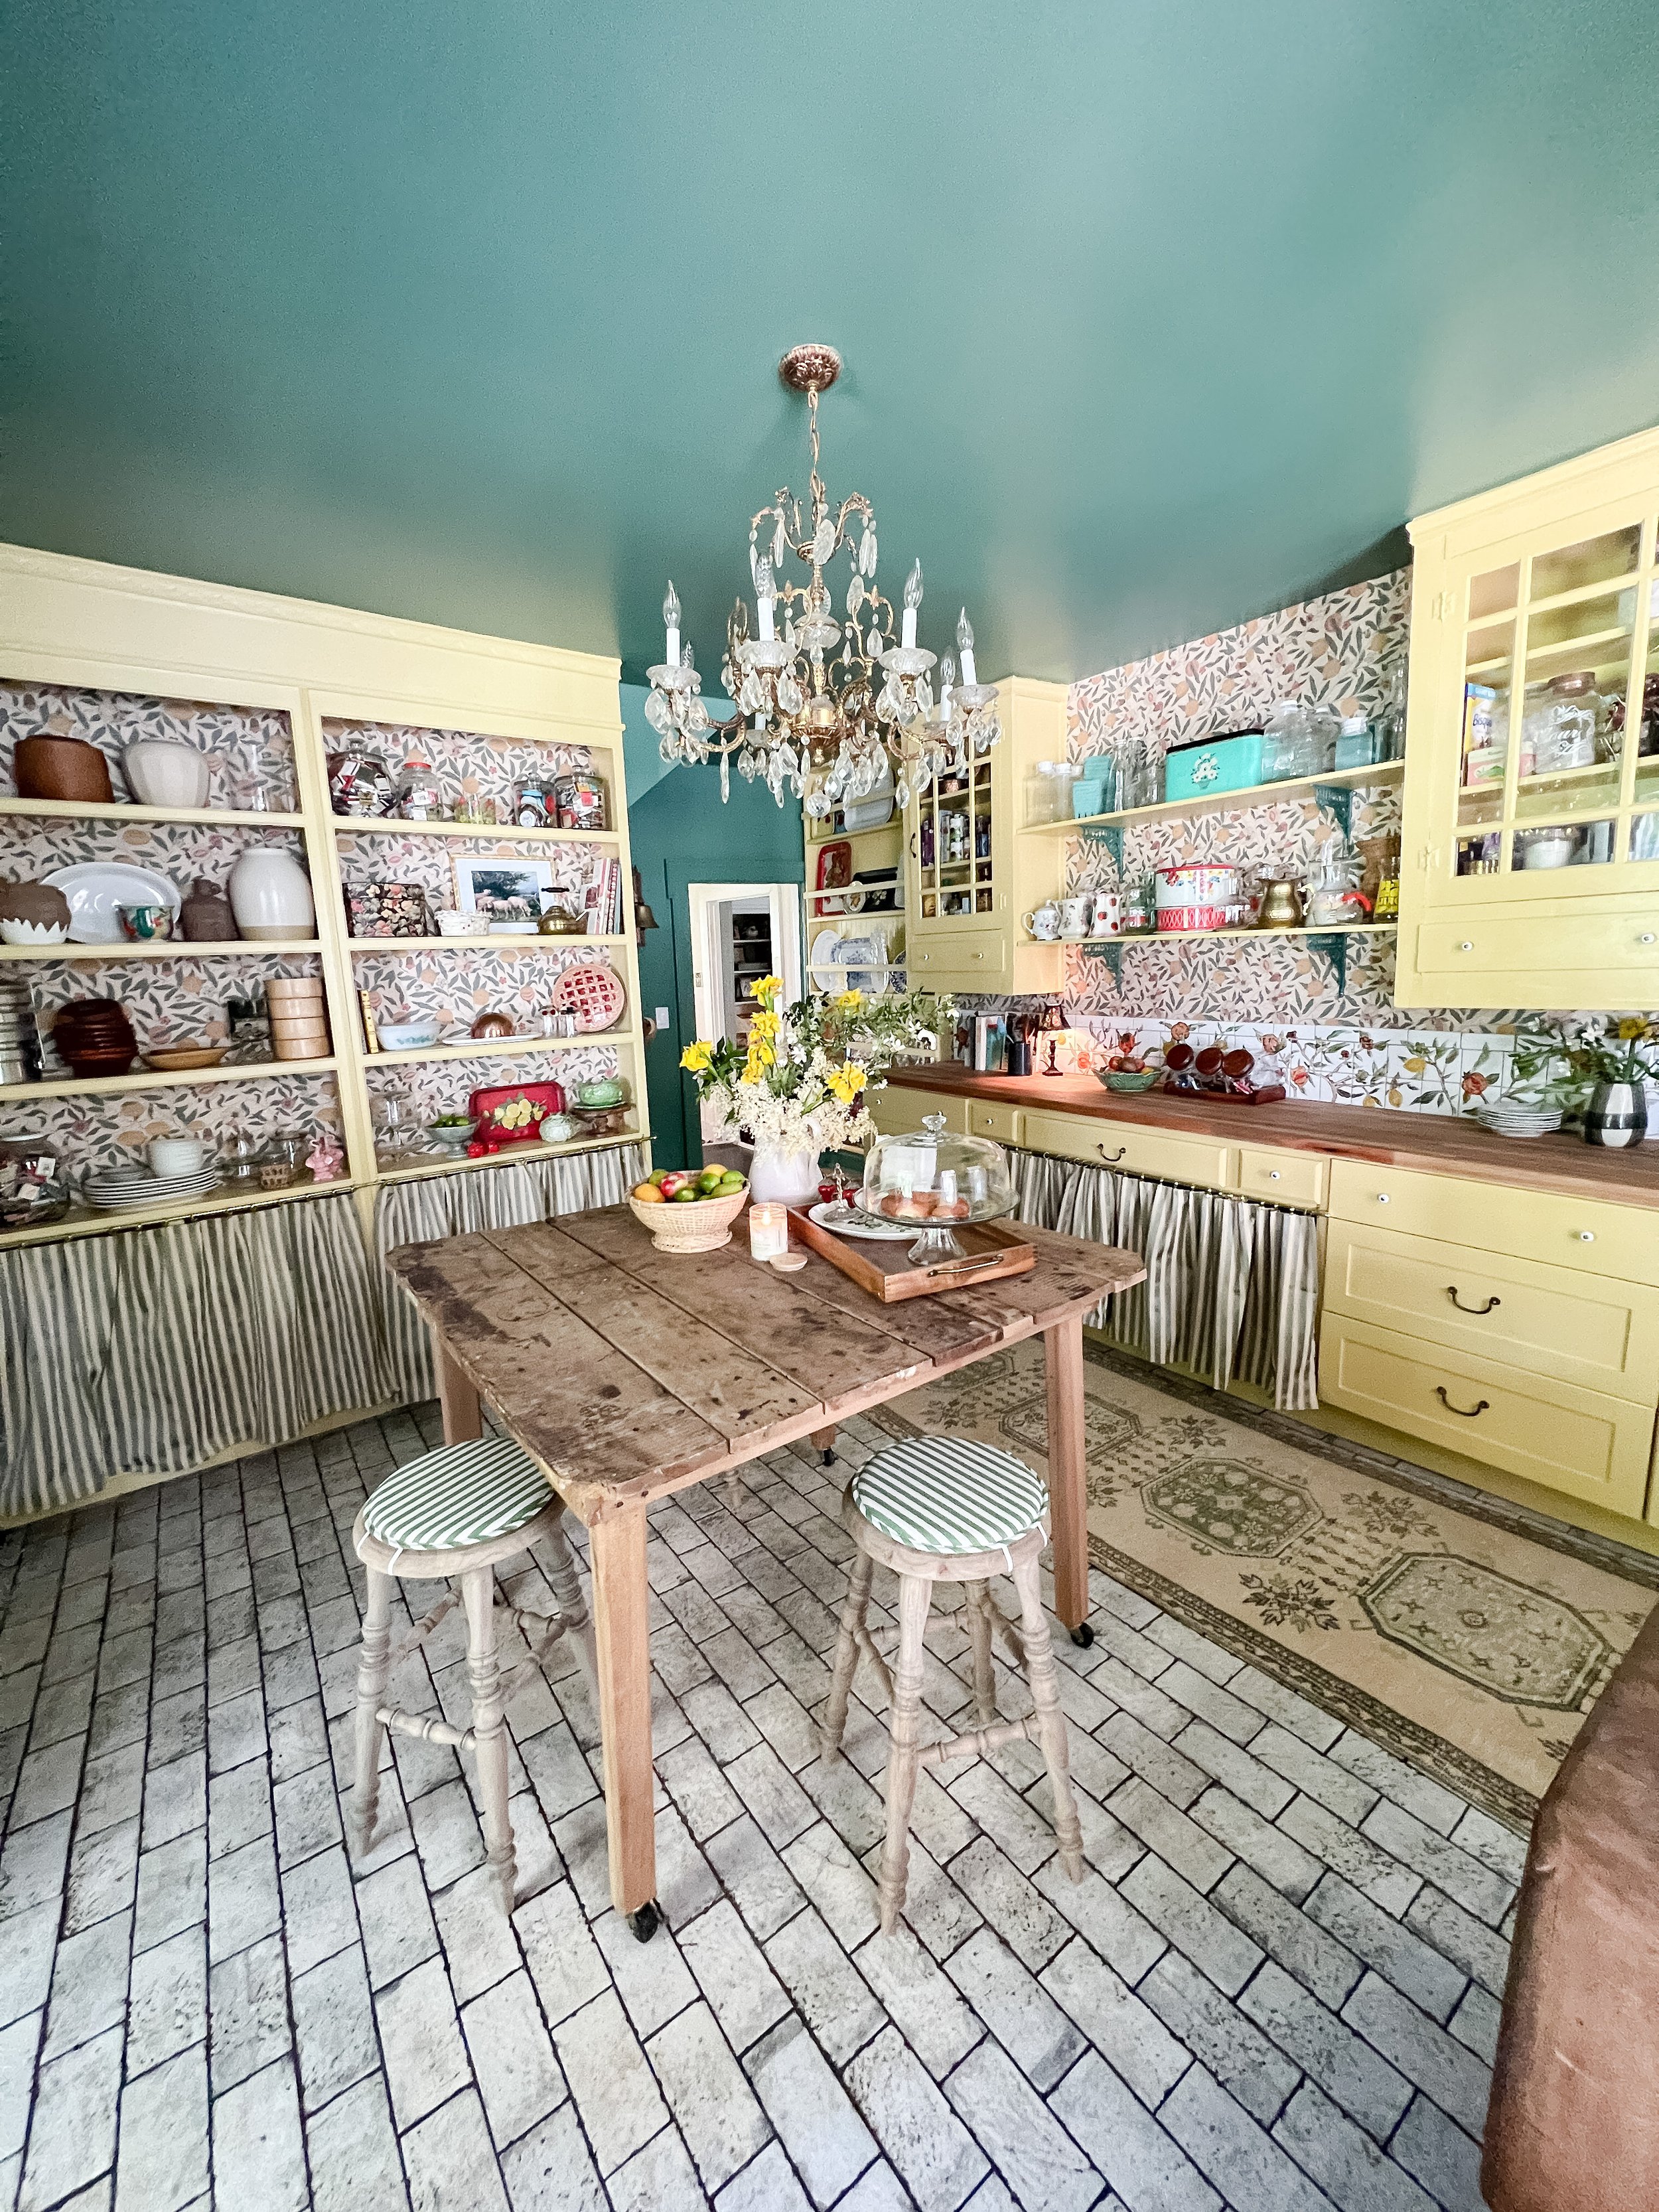
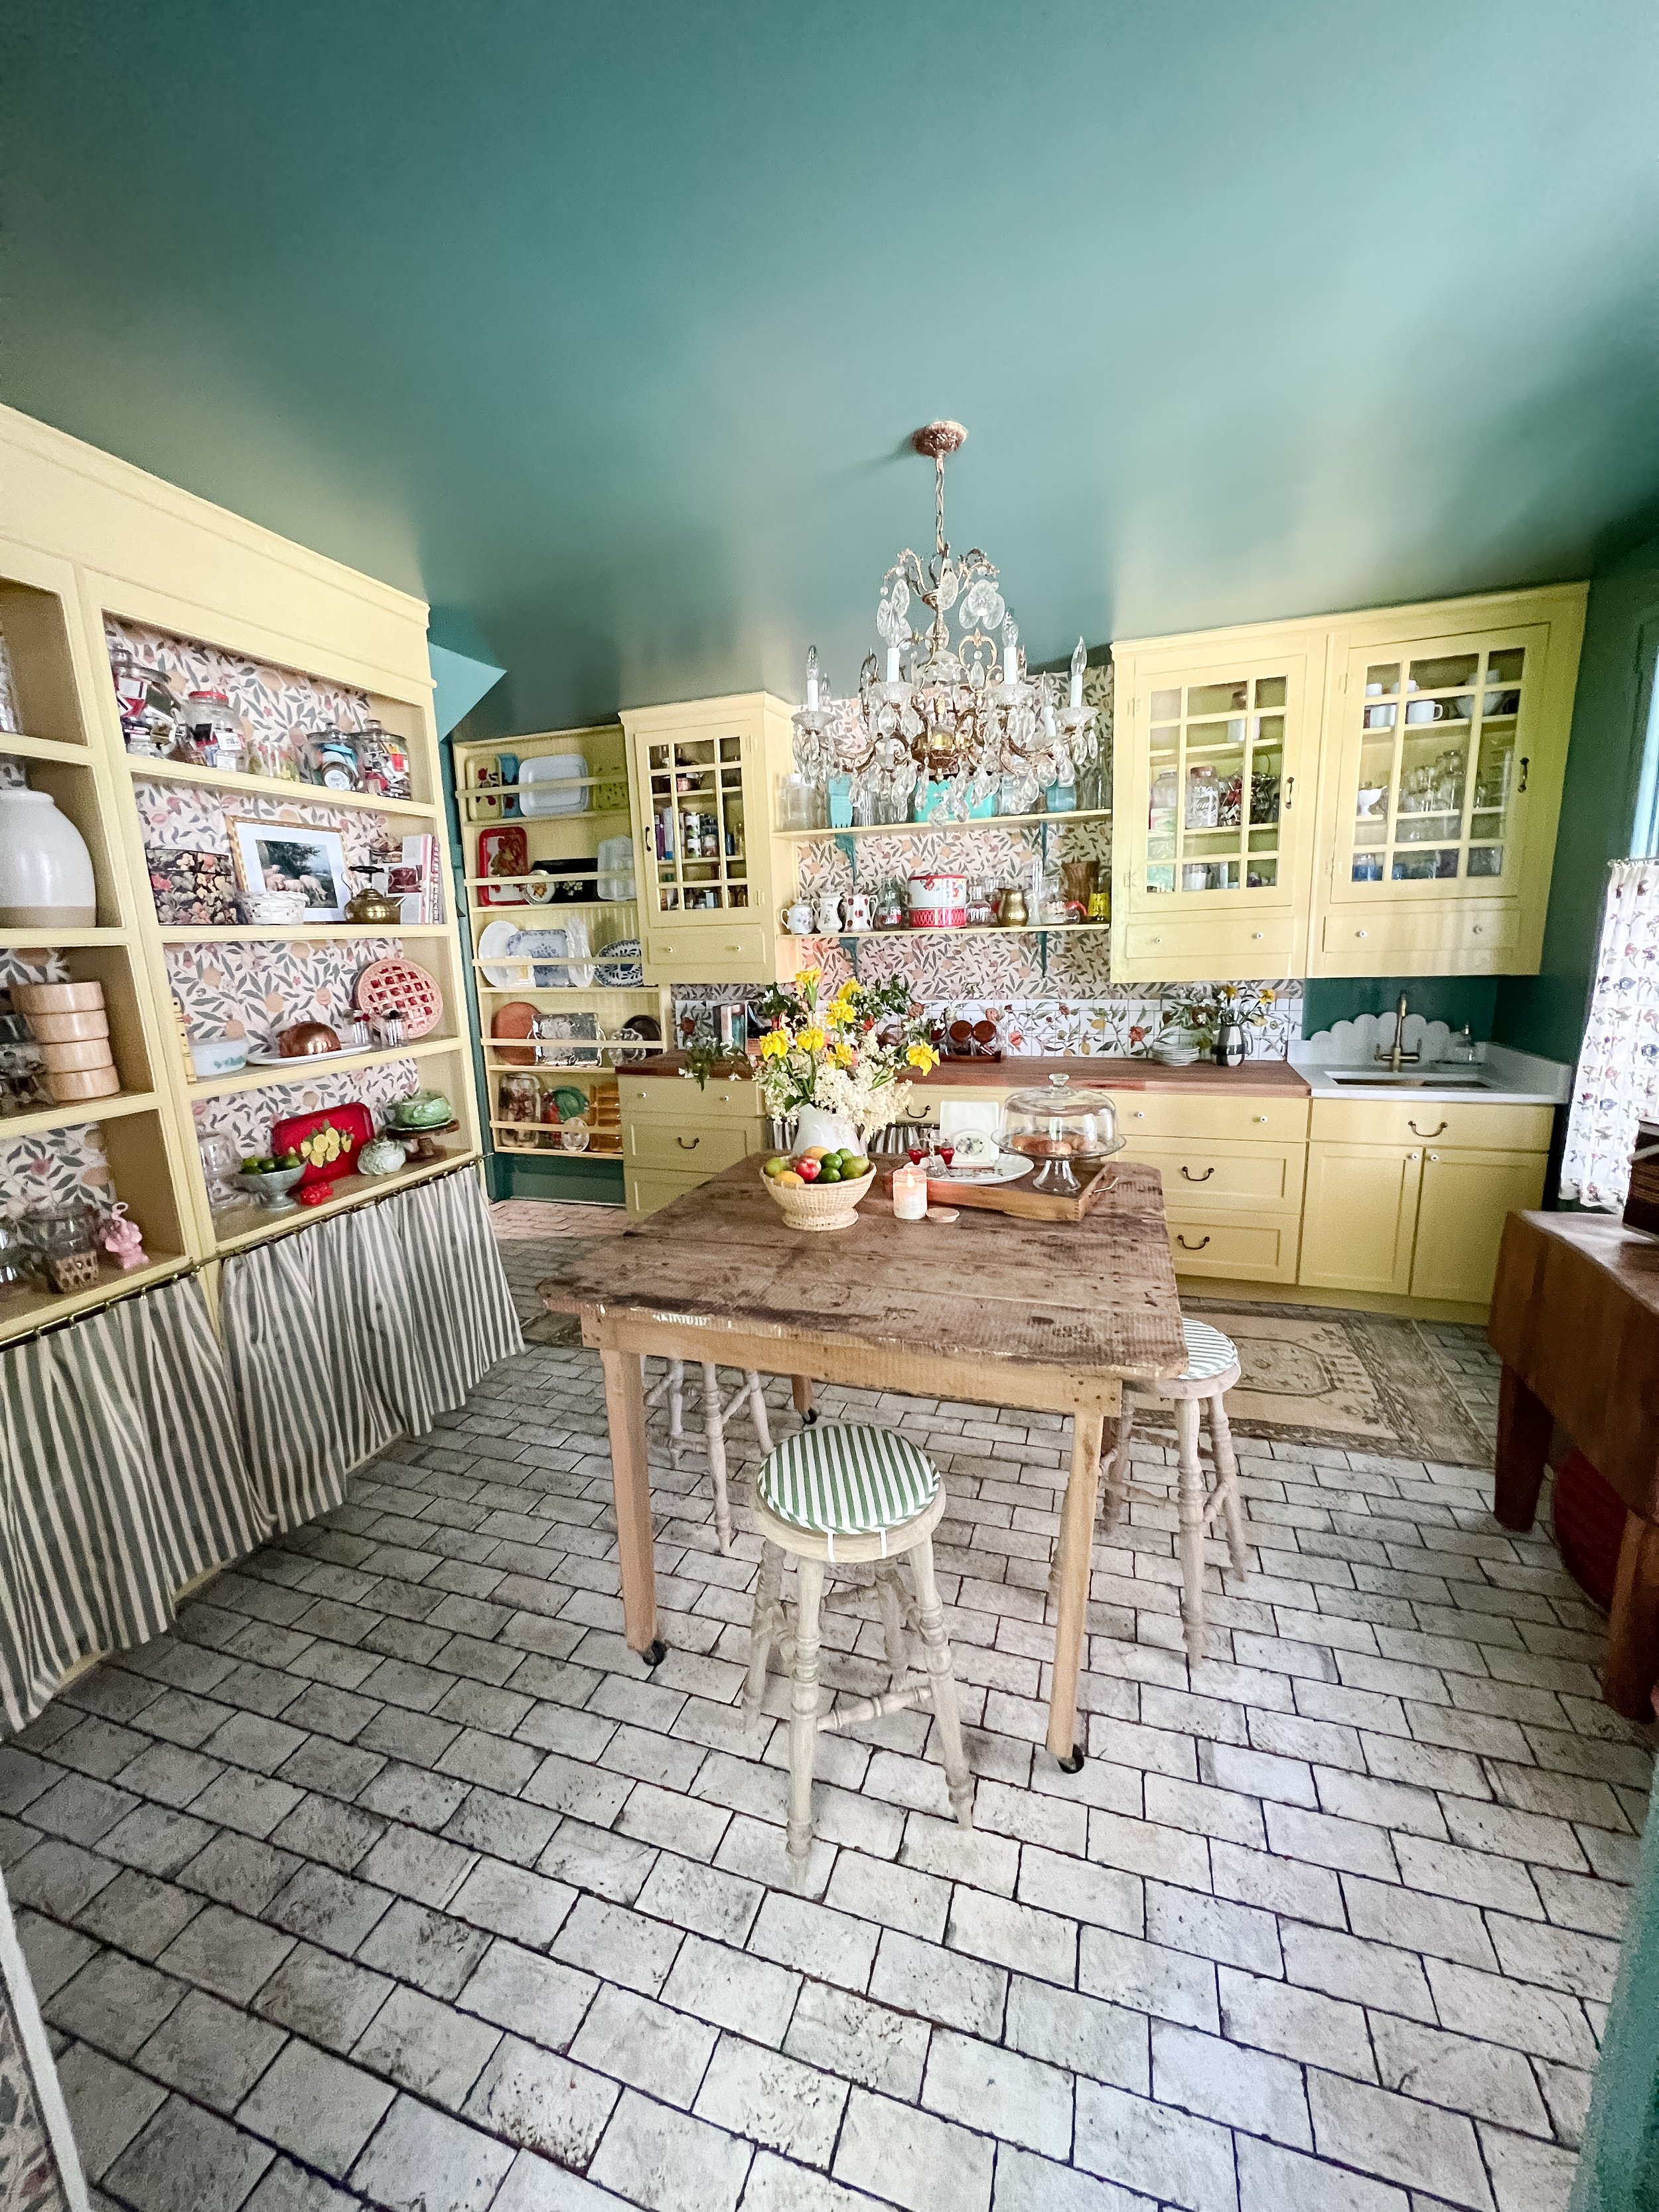
DIY Handpainted Tile Backsplash
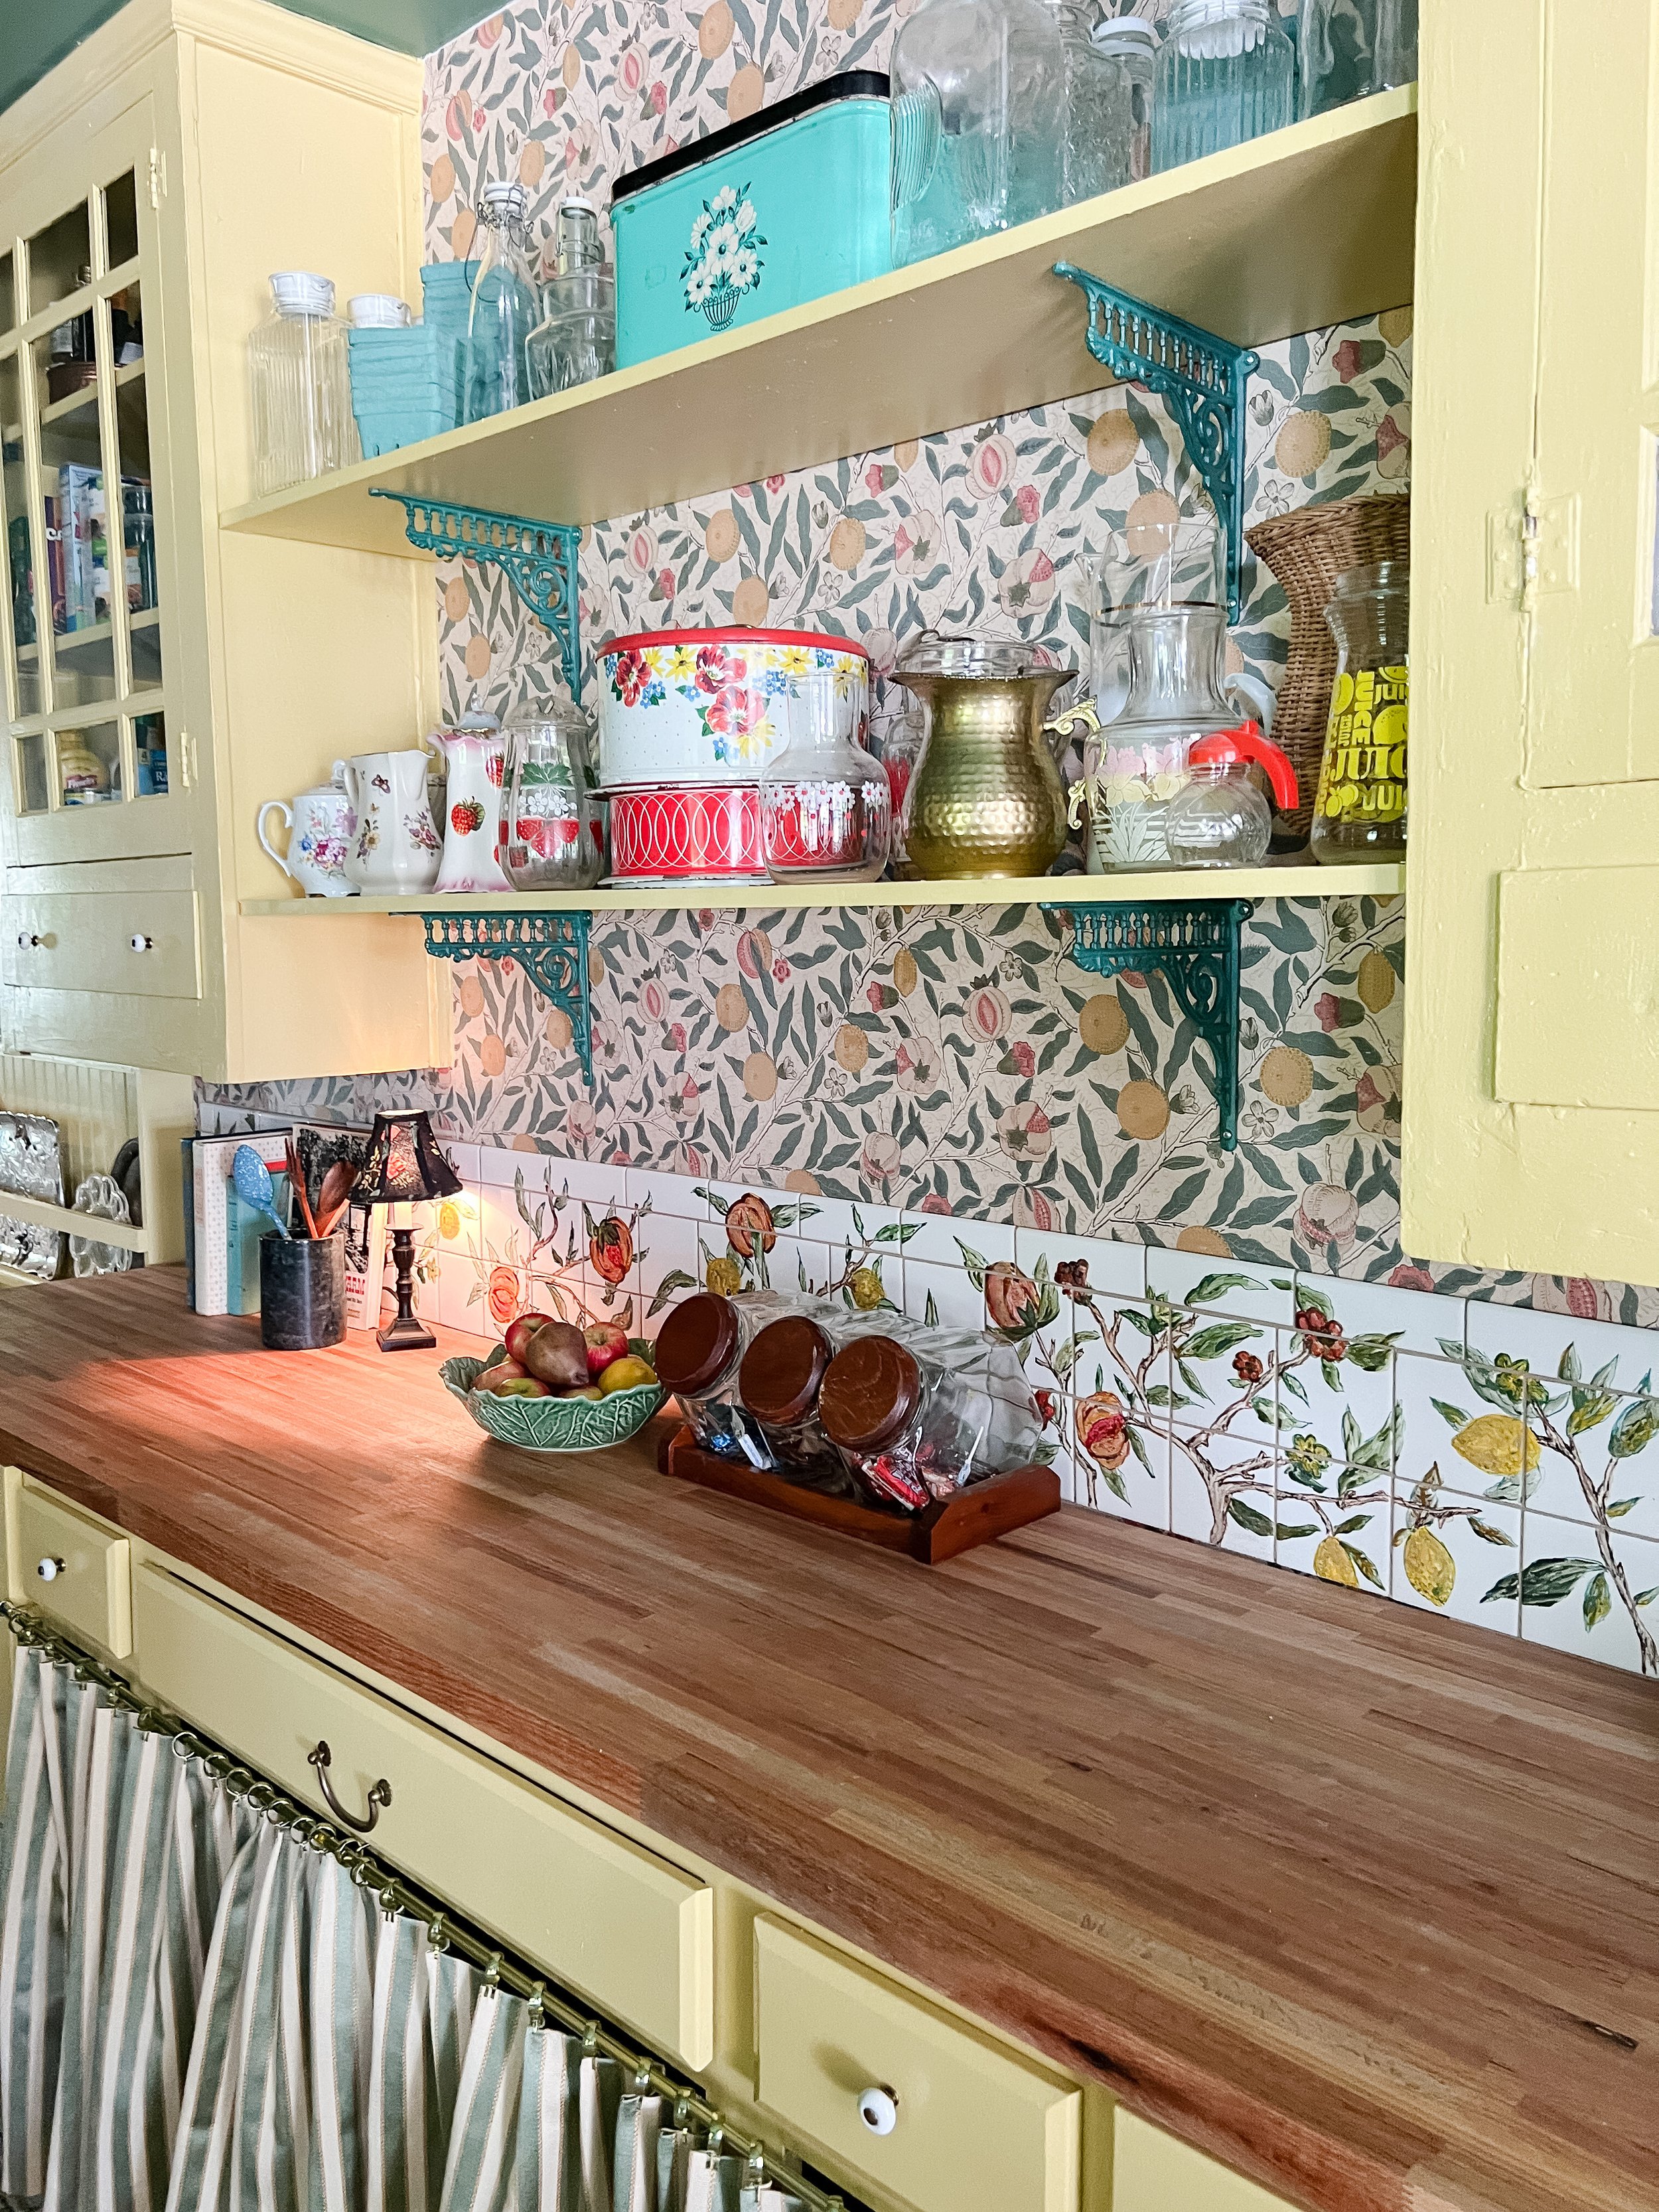
I custom hand-painted and installed my own tile backsplash for the One Room Challenge this year, and here is a rundown of exactly how I did it!
This was, shockingly, the easiest and smoothest DIY I took on for the pantry project. I hand-painted all the tiles Tuesday night, baked them Wednesday morning, and installed them Wednesday night (this project had to be done by Thursday morning, so I was definitely cutting it close, but I got it done!). Not to mention, this was my first time ever tackling any kind of tiling project, but I was shocked at how smoothly it went! I followed @athomewithashley’s tutorial for painted tiles, and it worked perfectly! You can find her full tutorial here- it was very helpful to guide me, and I love following everything she does!
You can find the list of supplies with links and instructions below!
Let me know what questions you have in the comments below, and be sure to check out the full details of this project by watching my reel here!
xoxo
Emily
All Tile (from Home Depot and in stock at most stores!)
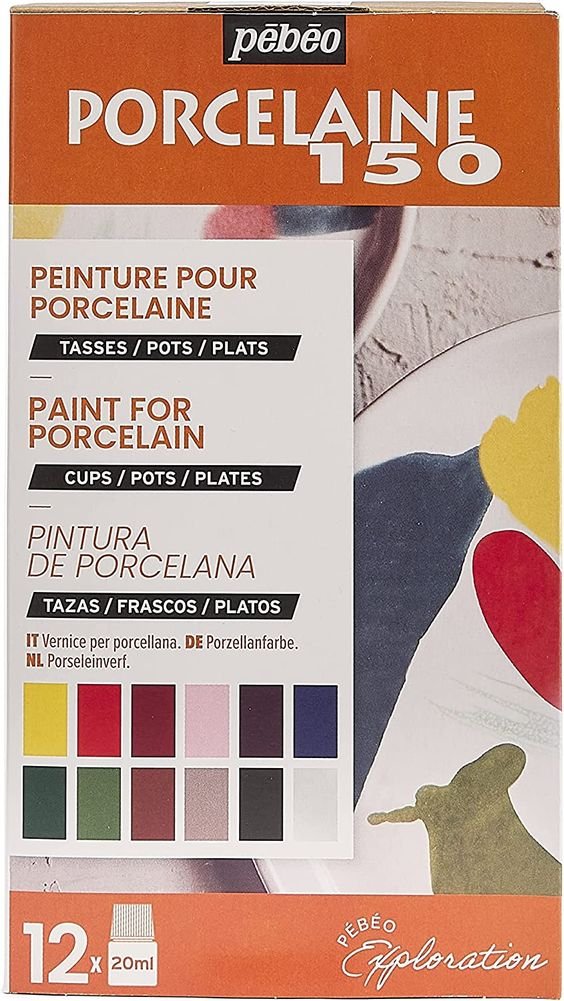
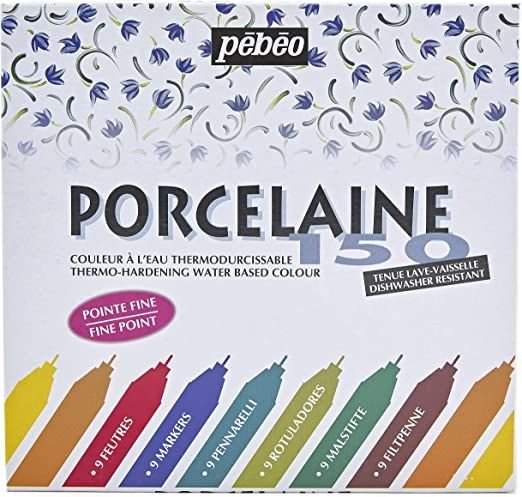
Porcelain Paint Pens and Paints
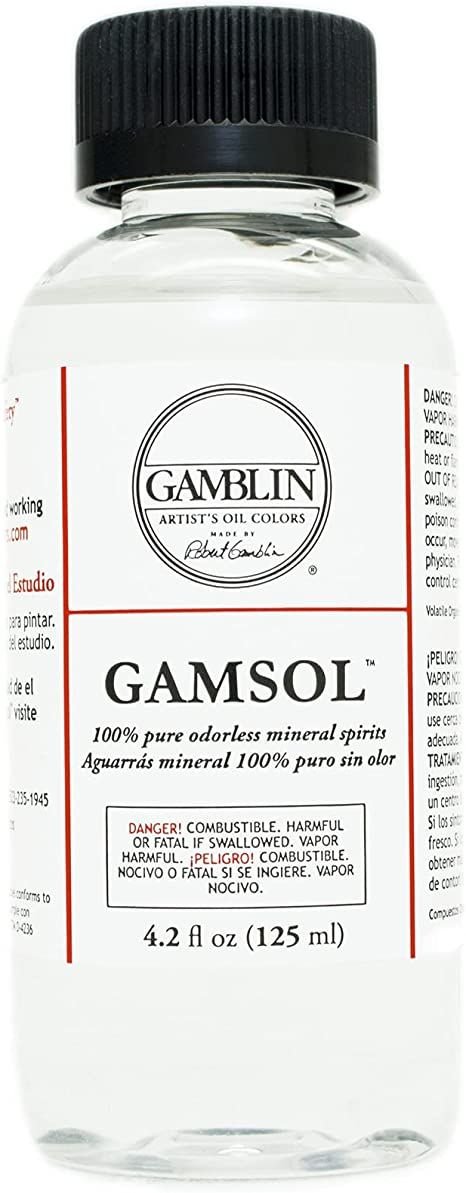
Paint Thinner or Mineral Spirits
An Oven and (lots of) baking sheets!
Bucket for water
Ceramic and Porcelain Tile Cutter (this worked great for the couple of cuts that I needed for this project, but I recommend renting or borrowing a wet tile saw if your space needs a lot of cuts!)


I’ve listed my own experience/instructions below, but this project was pretty basic! For more details on how to use the Musselbound Mat & tiling backsplash in general, you can check out these posts from Honey Built Home and Shoe Makes New!
First, you will lay out your tiles and then plan your design. I used a combination of porcelain paint pens and paints (you can mix these just like normal paints) and used a little paint thinner when needed. I totally freehanded my design but you could practice on paper before or sketch it out with the paint pens or a marker before committing (they are easy to wipe away before dry!). You want to be sure you have all your tiles laid out exactly as you will be laying them before painting so they are in the right pattern and will connect properly!
After painting, let dry for 24 hours if possible. I didn’t have that long but I did let them dry about 12! Then bake the tile at 300 degrees for 35 minutes to set the paint (this makes it dishwasher resistant and completely set!). I baked just a bit longer since I had time but I don’t know if it made any difference.
Pull the tiles and allow to cool completely before beginning to tile. I tested a few of mine after cooled and tried to wipe the paint to make sure it was set!
I unrolled and stuck my musselbound mat to the wall a little at a time, tackling about 3-4 feet at a time.
Begin mounting the tiles on to the mat, following instructions on the musselbound packaging - using the spacers that come with it. I used the smallest spacers in the package. Press as firmly as you can all over for 5 seconds. They stick quickly and easily. Again, working a little at a time allowed me to learn from my mistakes and get better as I went. I did have to remove a few tiles and fix a couple of times- they are VERY hard to remove so be careful (but it’s possible if needed!). Make sure you are pressing all edges of the tile down on the spacers so they’re perfectly aligned without any space. The only time I messed up is when it stuck before I had pressed down on the spacers all over and it stayed crooked. I also used a level at the top to make sure my top row was as level as possible across!
I thankfully only had a few cuts needed on the tile which was the only reason I felt confident taking this project on. I used he least expensive tile cutter available and it worked fine for this! I just followed the instructions included and it was shockingly easy. Only drawback was that you can only cut straight lines all the way across the tile, not any right angles, so there was a couple that I had to cut straight across two ways and then piece back together. Thankfully they are partially behind the electrical outlet cover so you can’t even tell! I would only recommend this if you don’t have a lot of detailed cuts, otherwise you may want to look into renting or borrowing a wet tile saw!
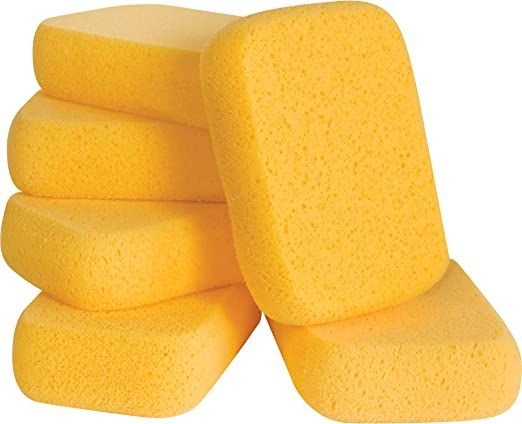
I allowed my tiles to set on the musselbound mat for a few hours before grouting. For ease, I used premixed grout (you can choose color of your choice), a grout float to apply (just the least expensive option), and a sponge and bucket of water to wipe off excess. To grout, I simply smeared a thick layer of grout on the the tile at a 45 degree angle working to fill all cracks/edges between tiles and corners. You can immediately wipe off with a sponge and water, so all that stays is the grout in the cracks! This was definitely the most nerve-wracking part as I felt like I was going to wipe off all my hard work painting, but it was completely set and didn’t budge!
To make it go quicker, I had a friend help me and she grouted while I followed behind and wiped with the sponge. I had to change/wash out my water 3-4 times to keep it clean for wiping as well.
Allow your grout to set overnight (really only important if it will be getting wet, and this space won’t!) and then enjoy your work of art!