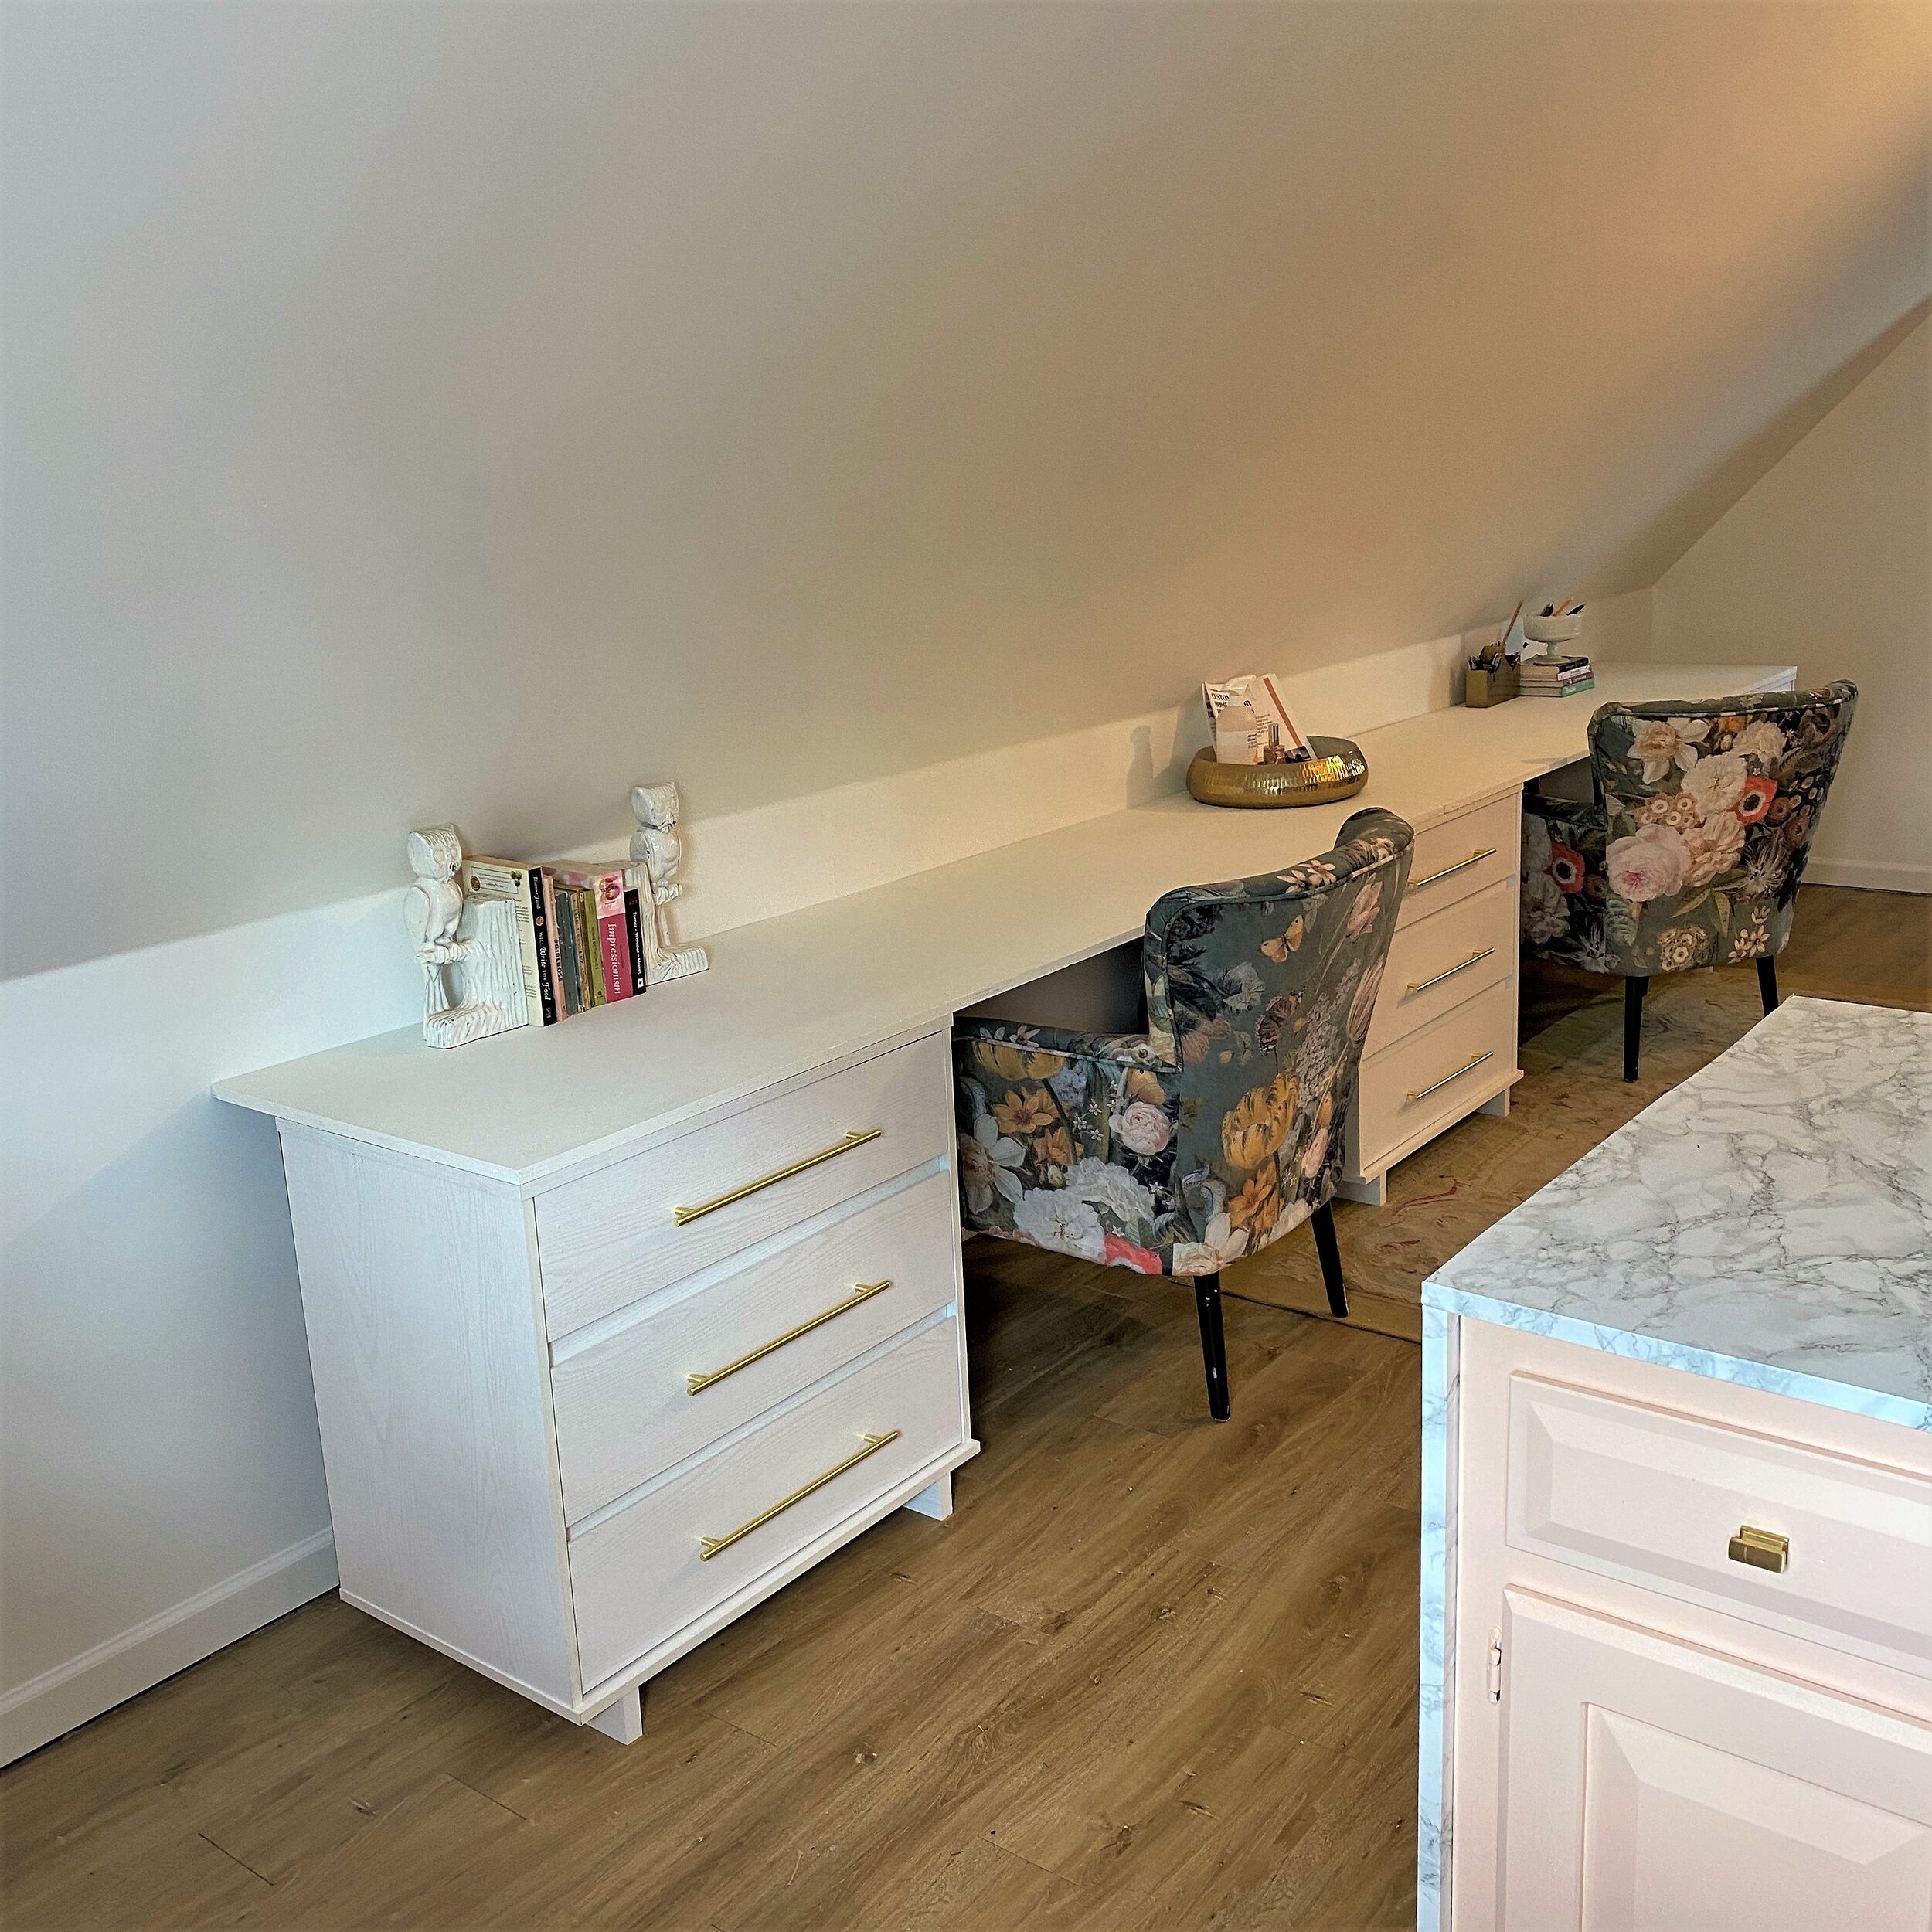
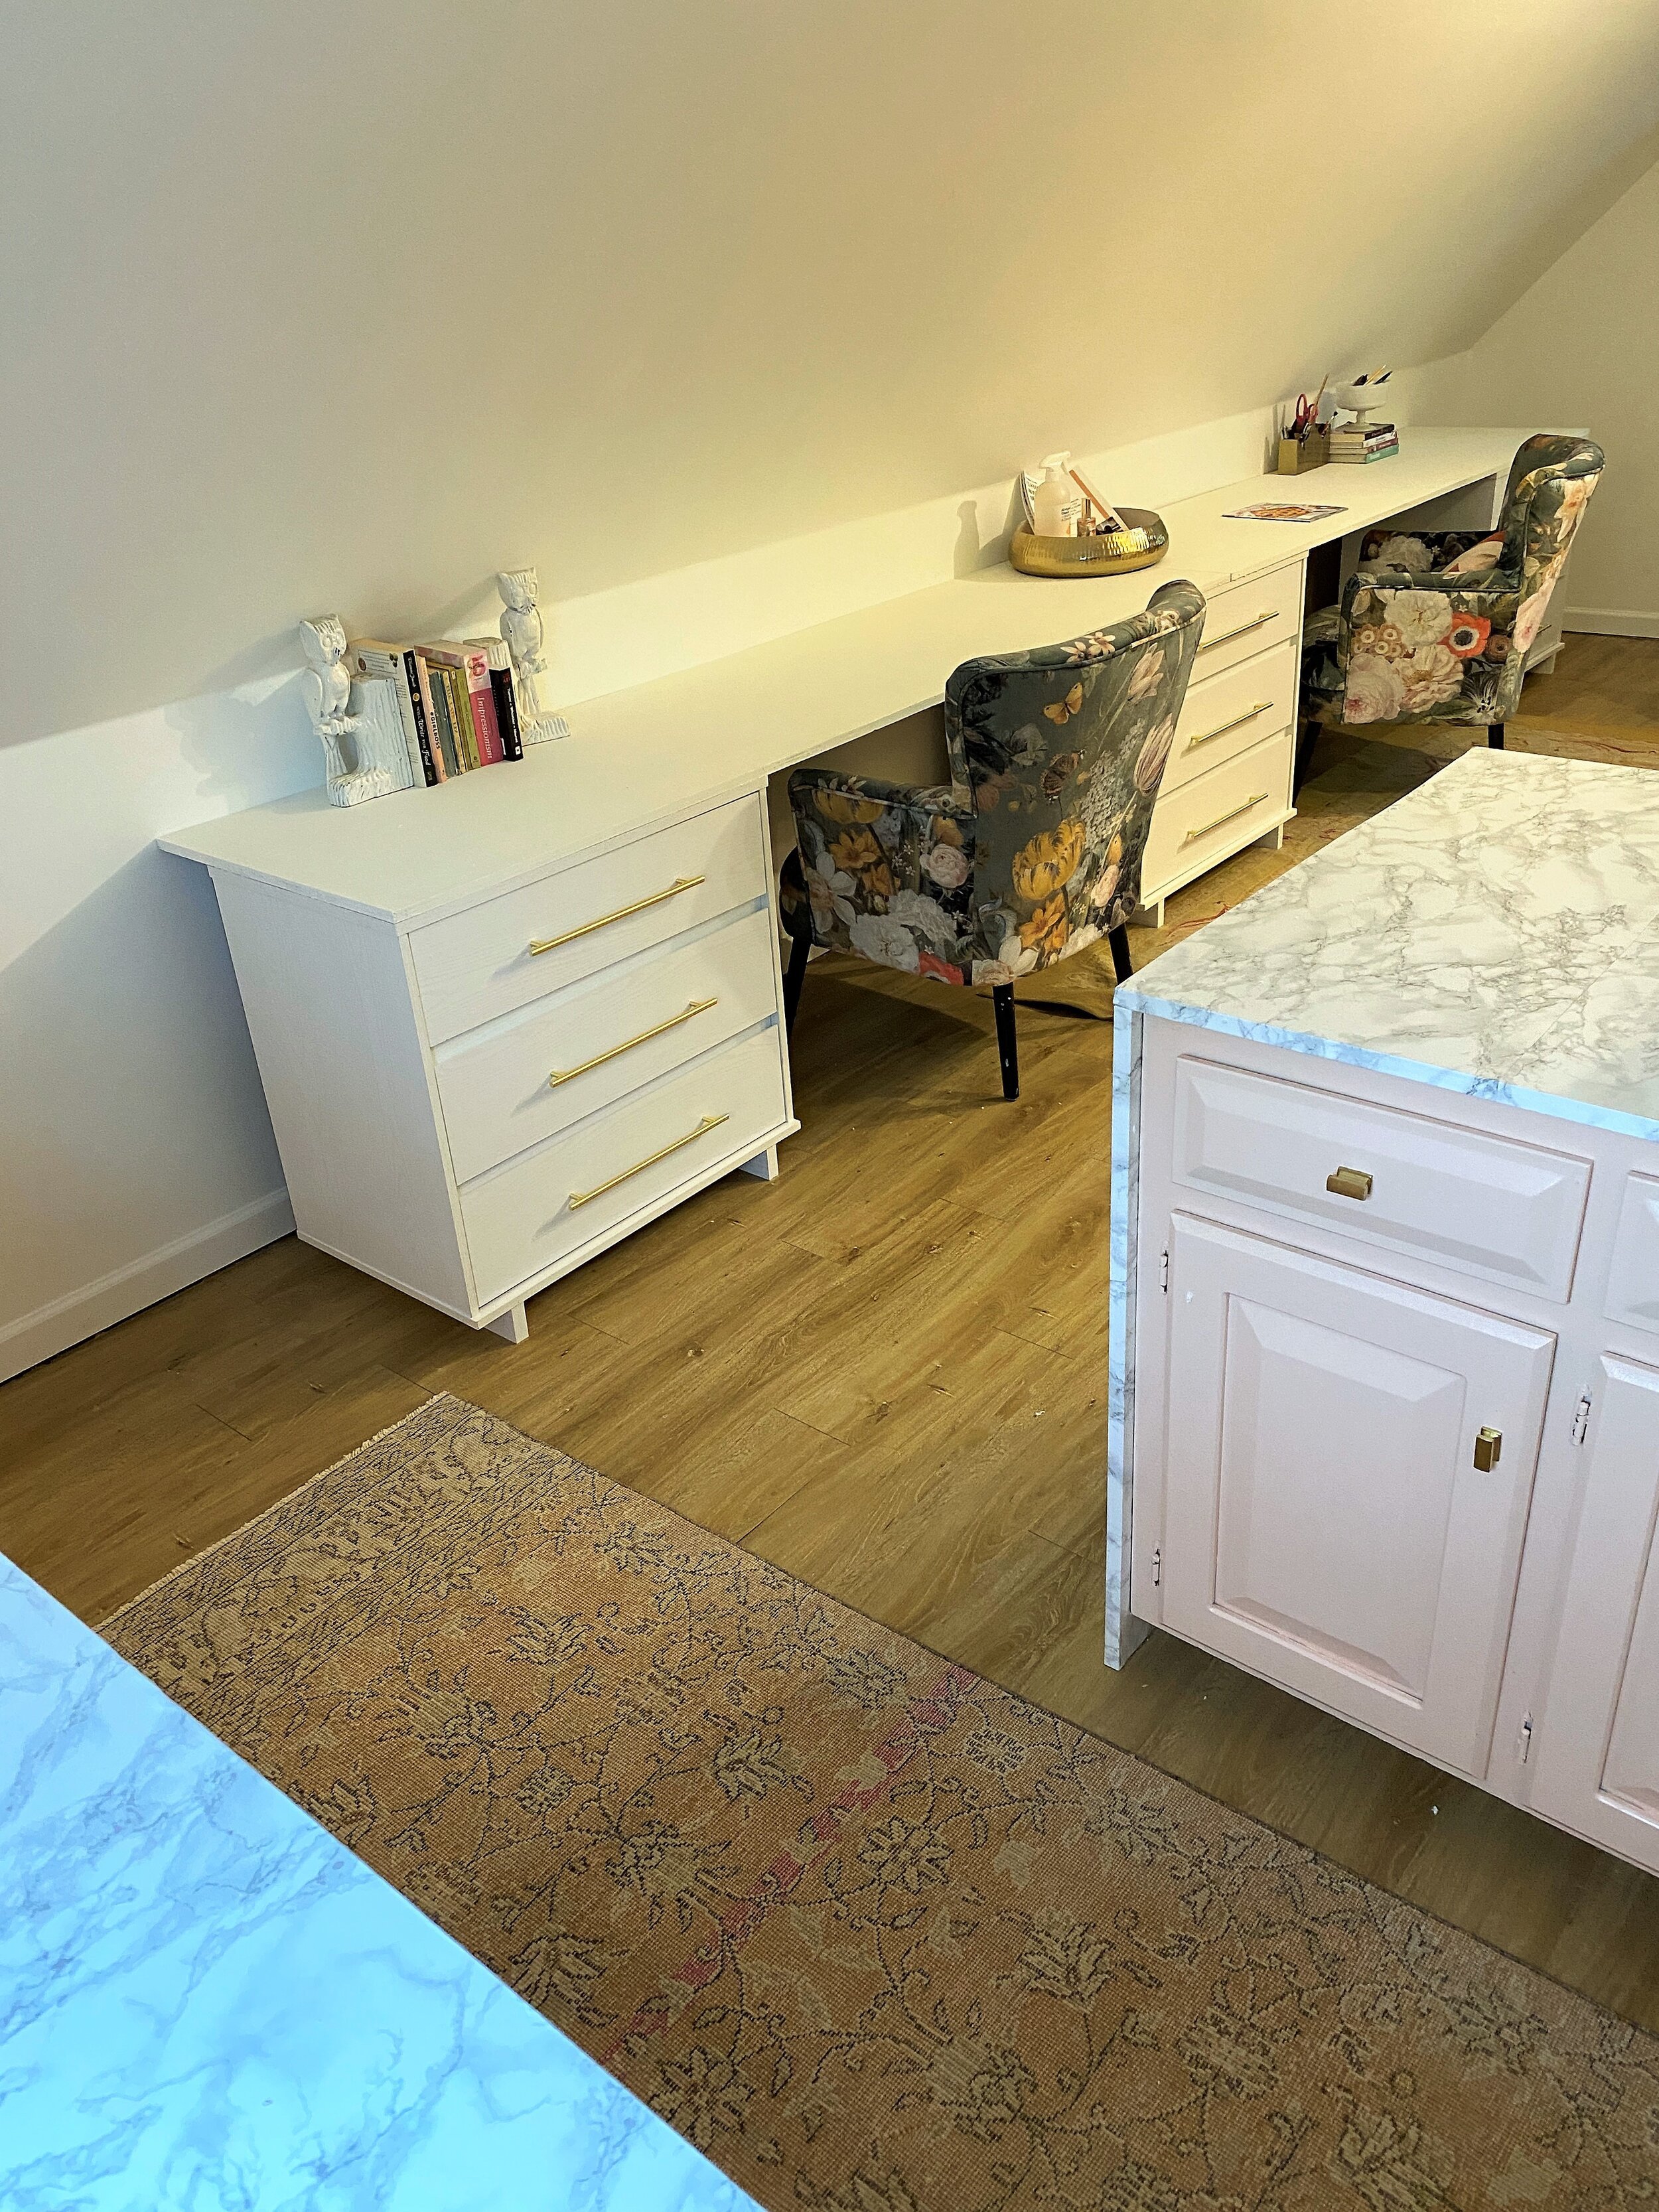
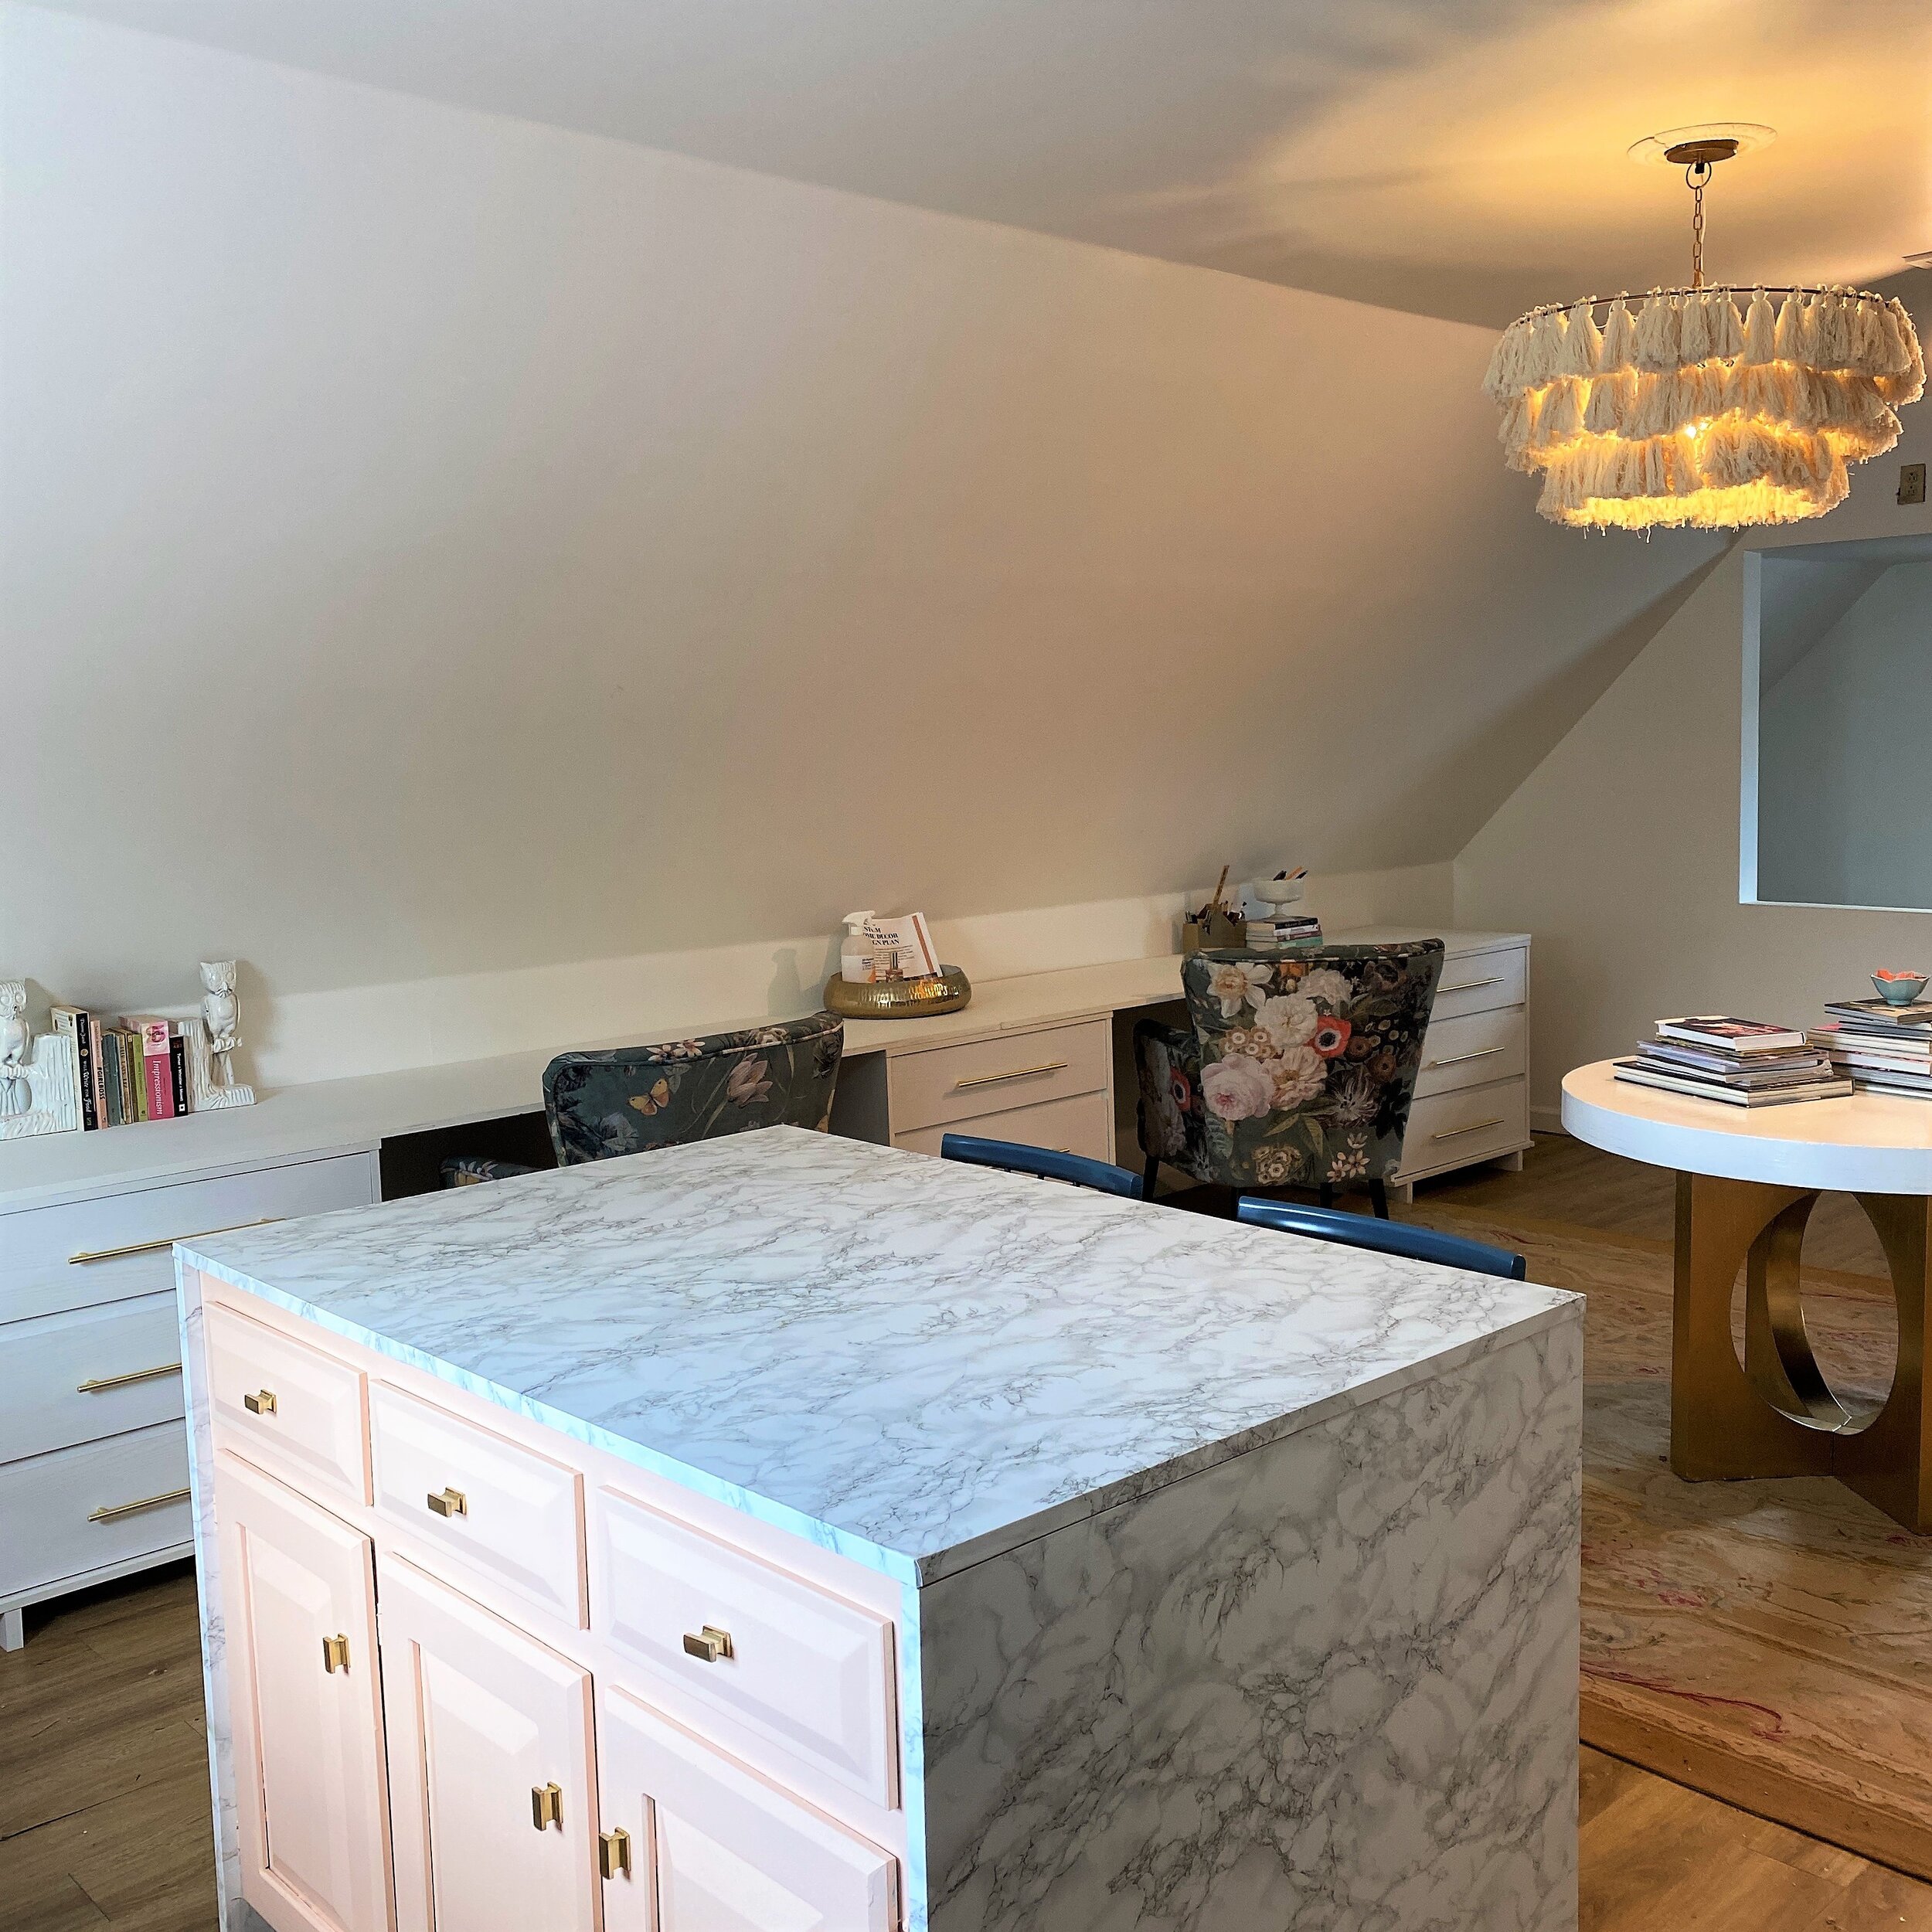
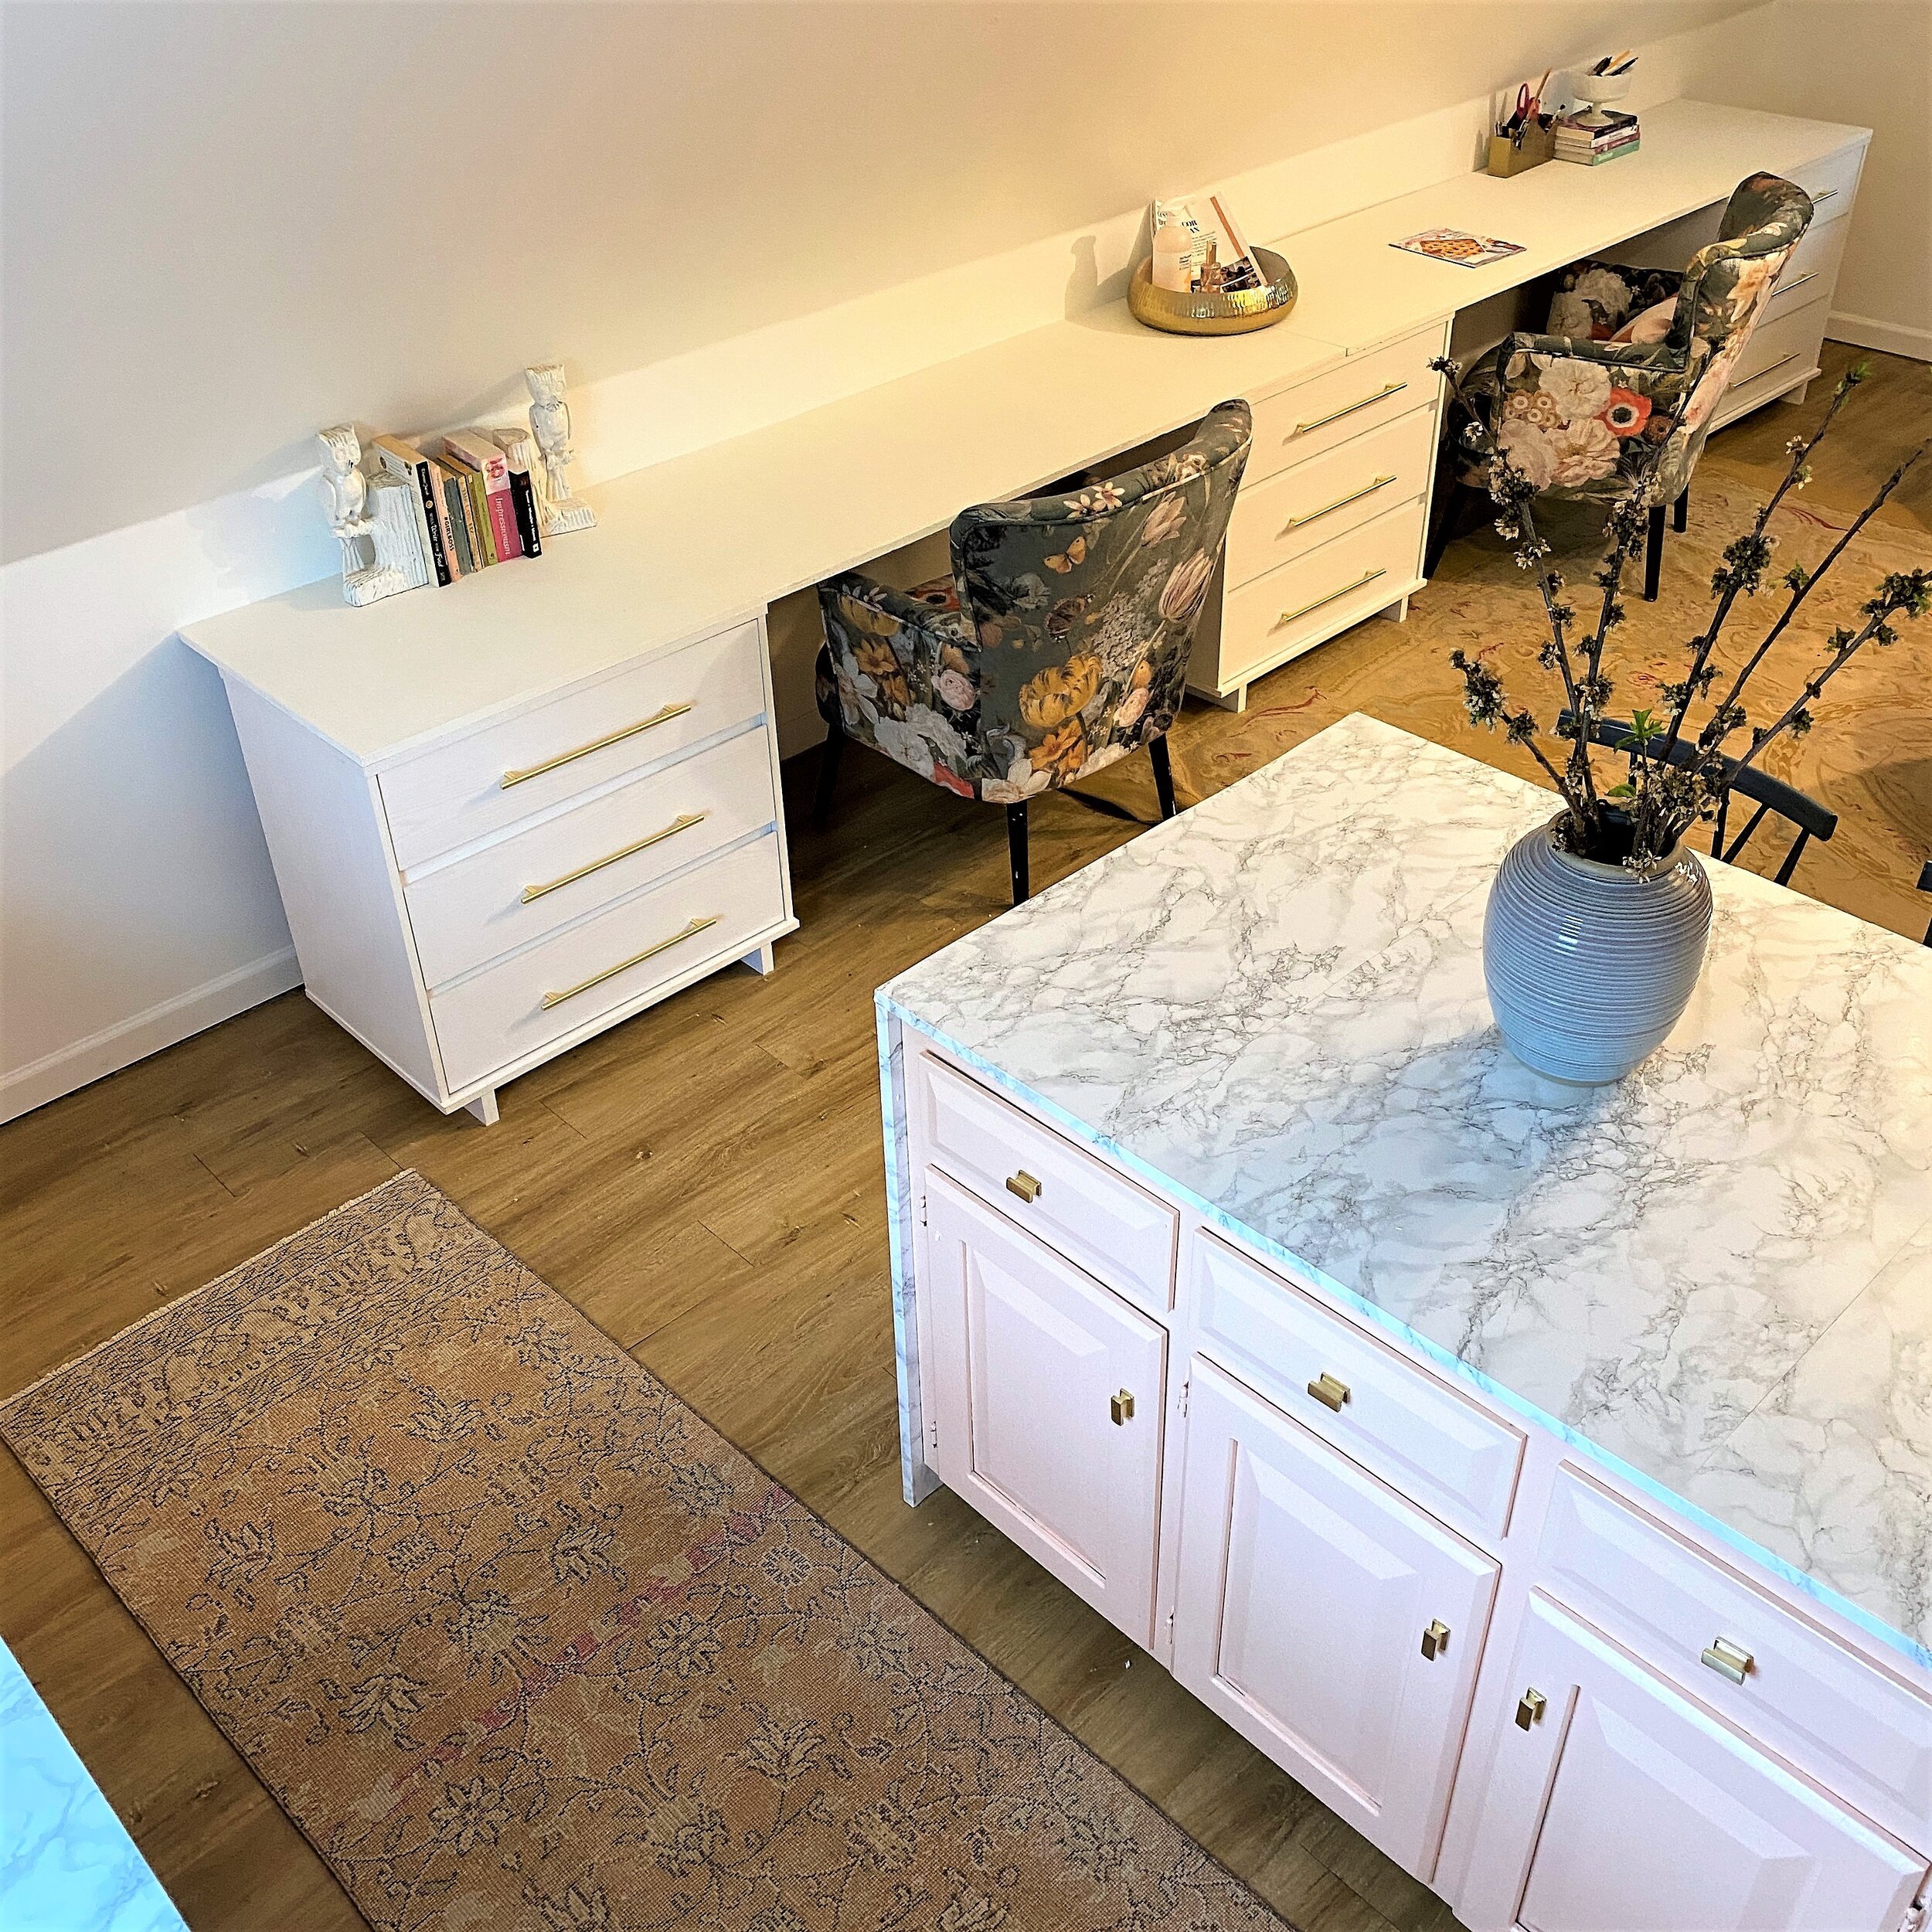
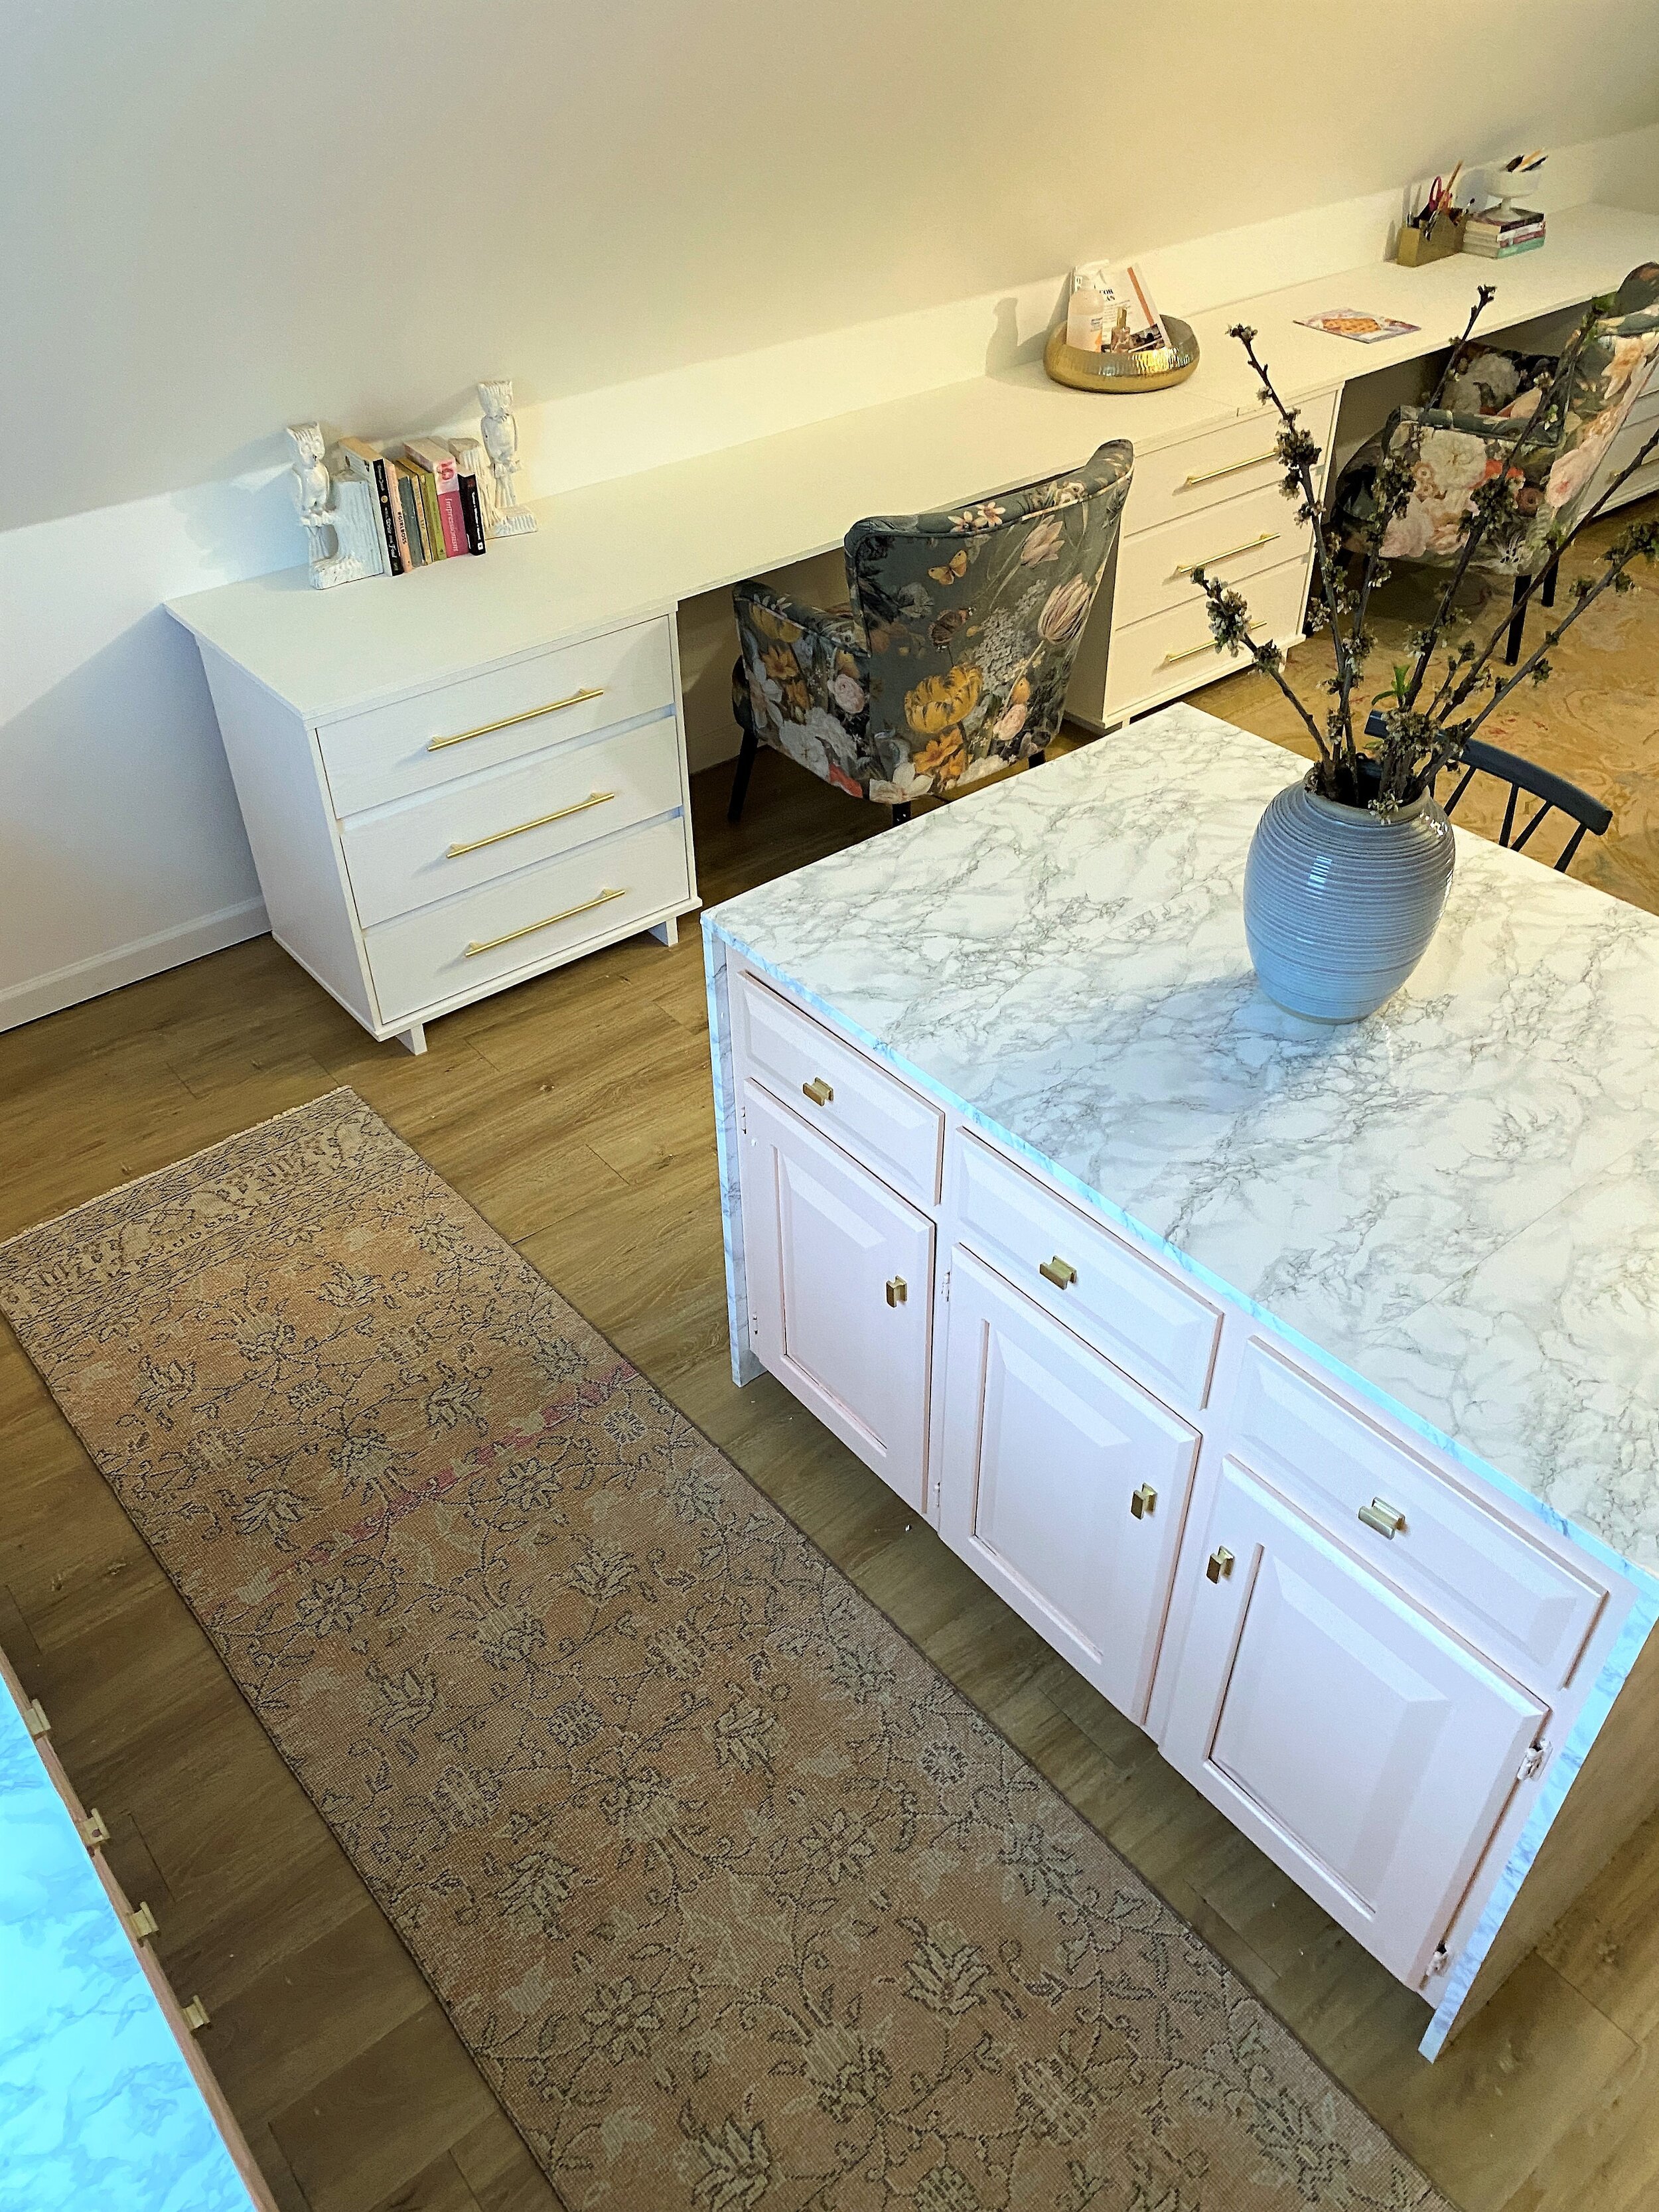
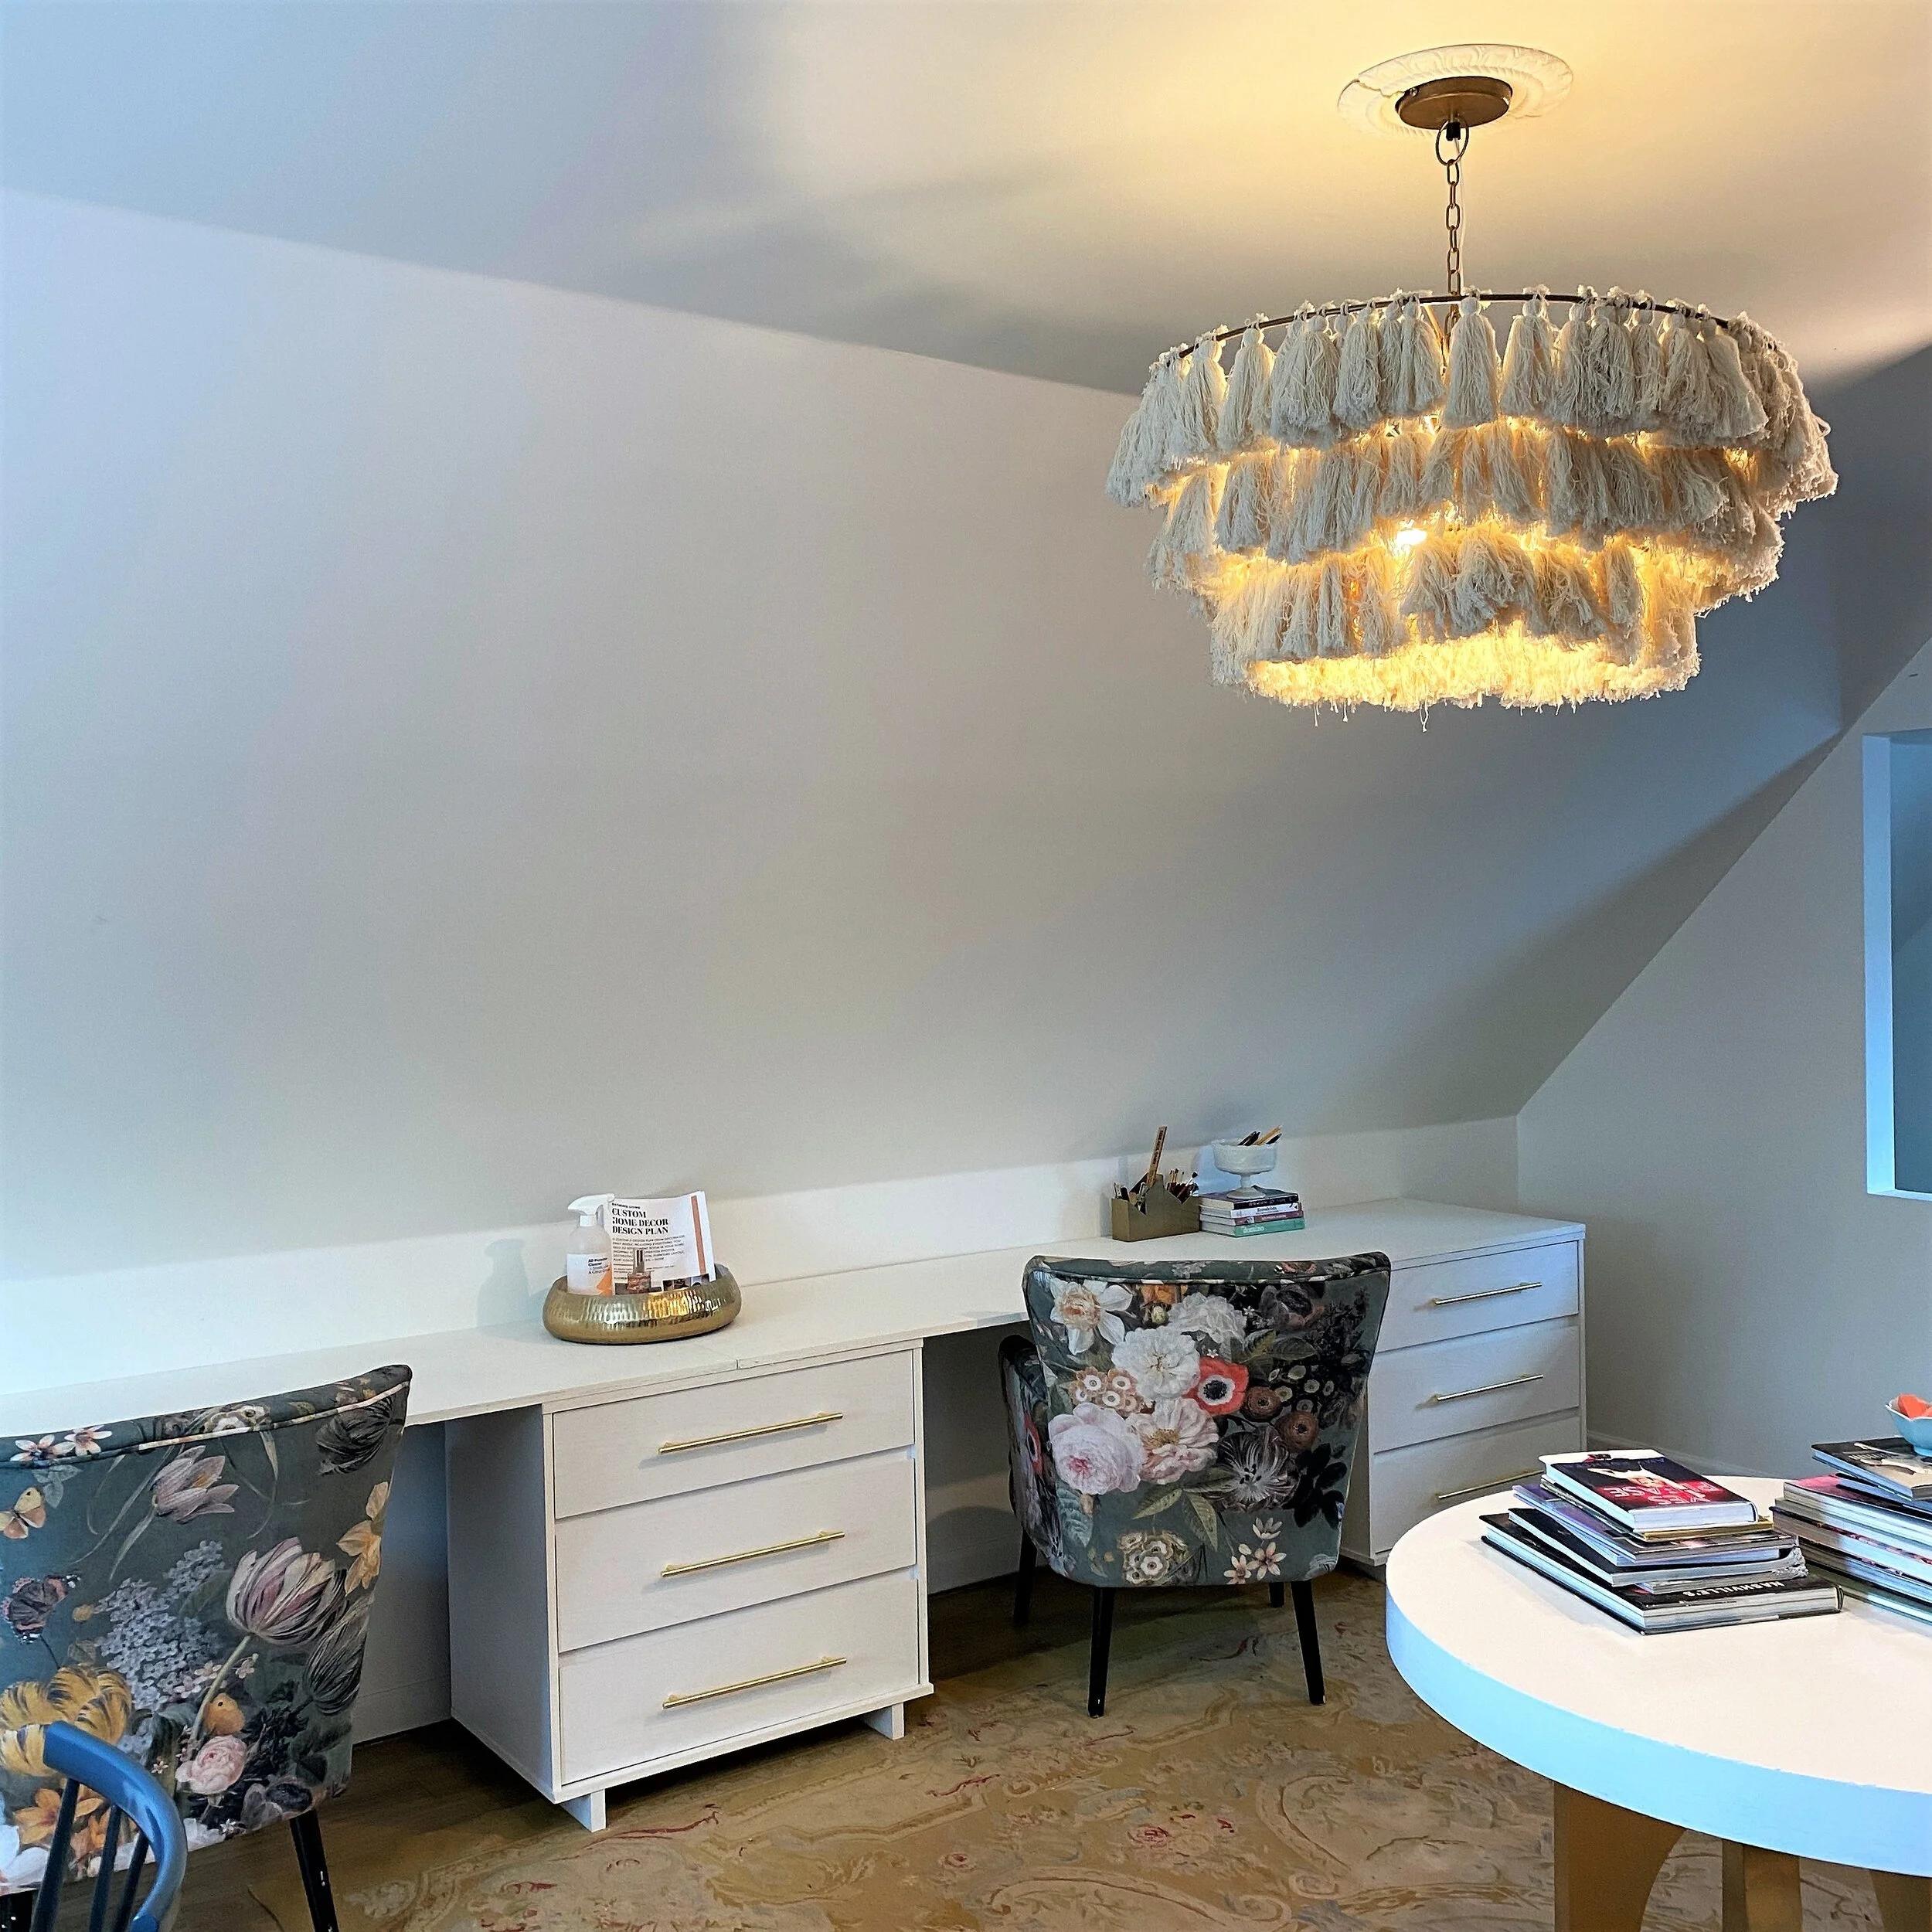
DIY Inexpensive Large Built-In Wall Desk

I am so excited to finally be putting together a blog post about my giant built in desk in the office space! This is pretty affordable and easy to do, and is great for creating a large workspace with plenty of storage. I listed and linked the items I used, as well as the steps of how to put it together! I have loved have this workspace and have been using it constantly- it’s so comfortable and sits at the perfect height for crafting, art projects, or working on my computer. What I love about this project is that you can use the basic idea and materials I listed but really customize it to fit your own space/style! Whether you use different dressers, knobs, or a countertop- there’s so many ways to create this awesome built-in workspace on a budget! Let me know if you try this project and how you make it your own!
xoxo
Emily
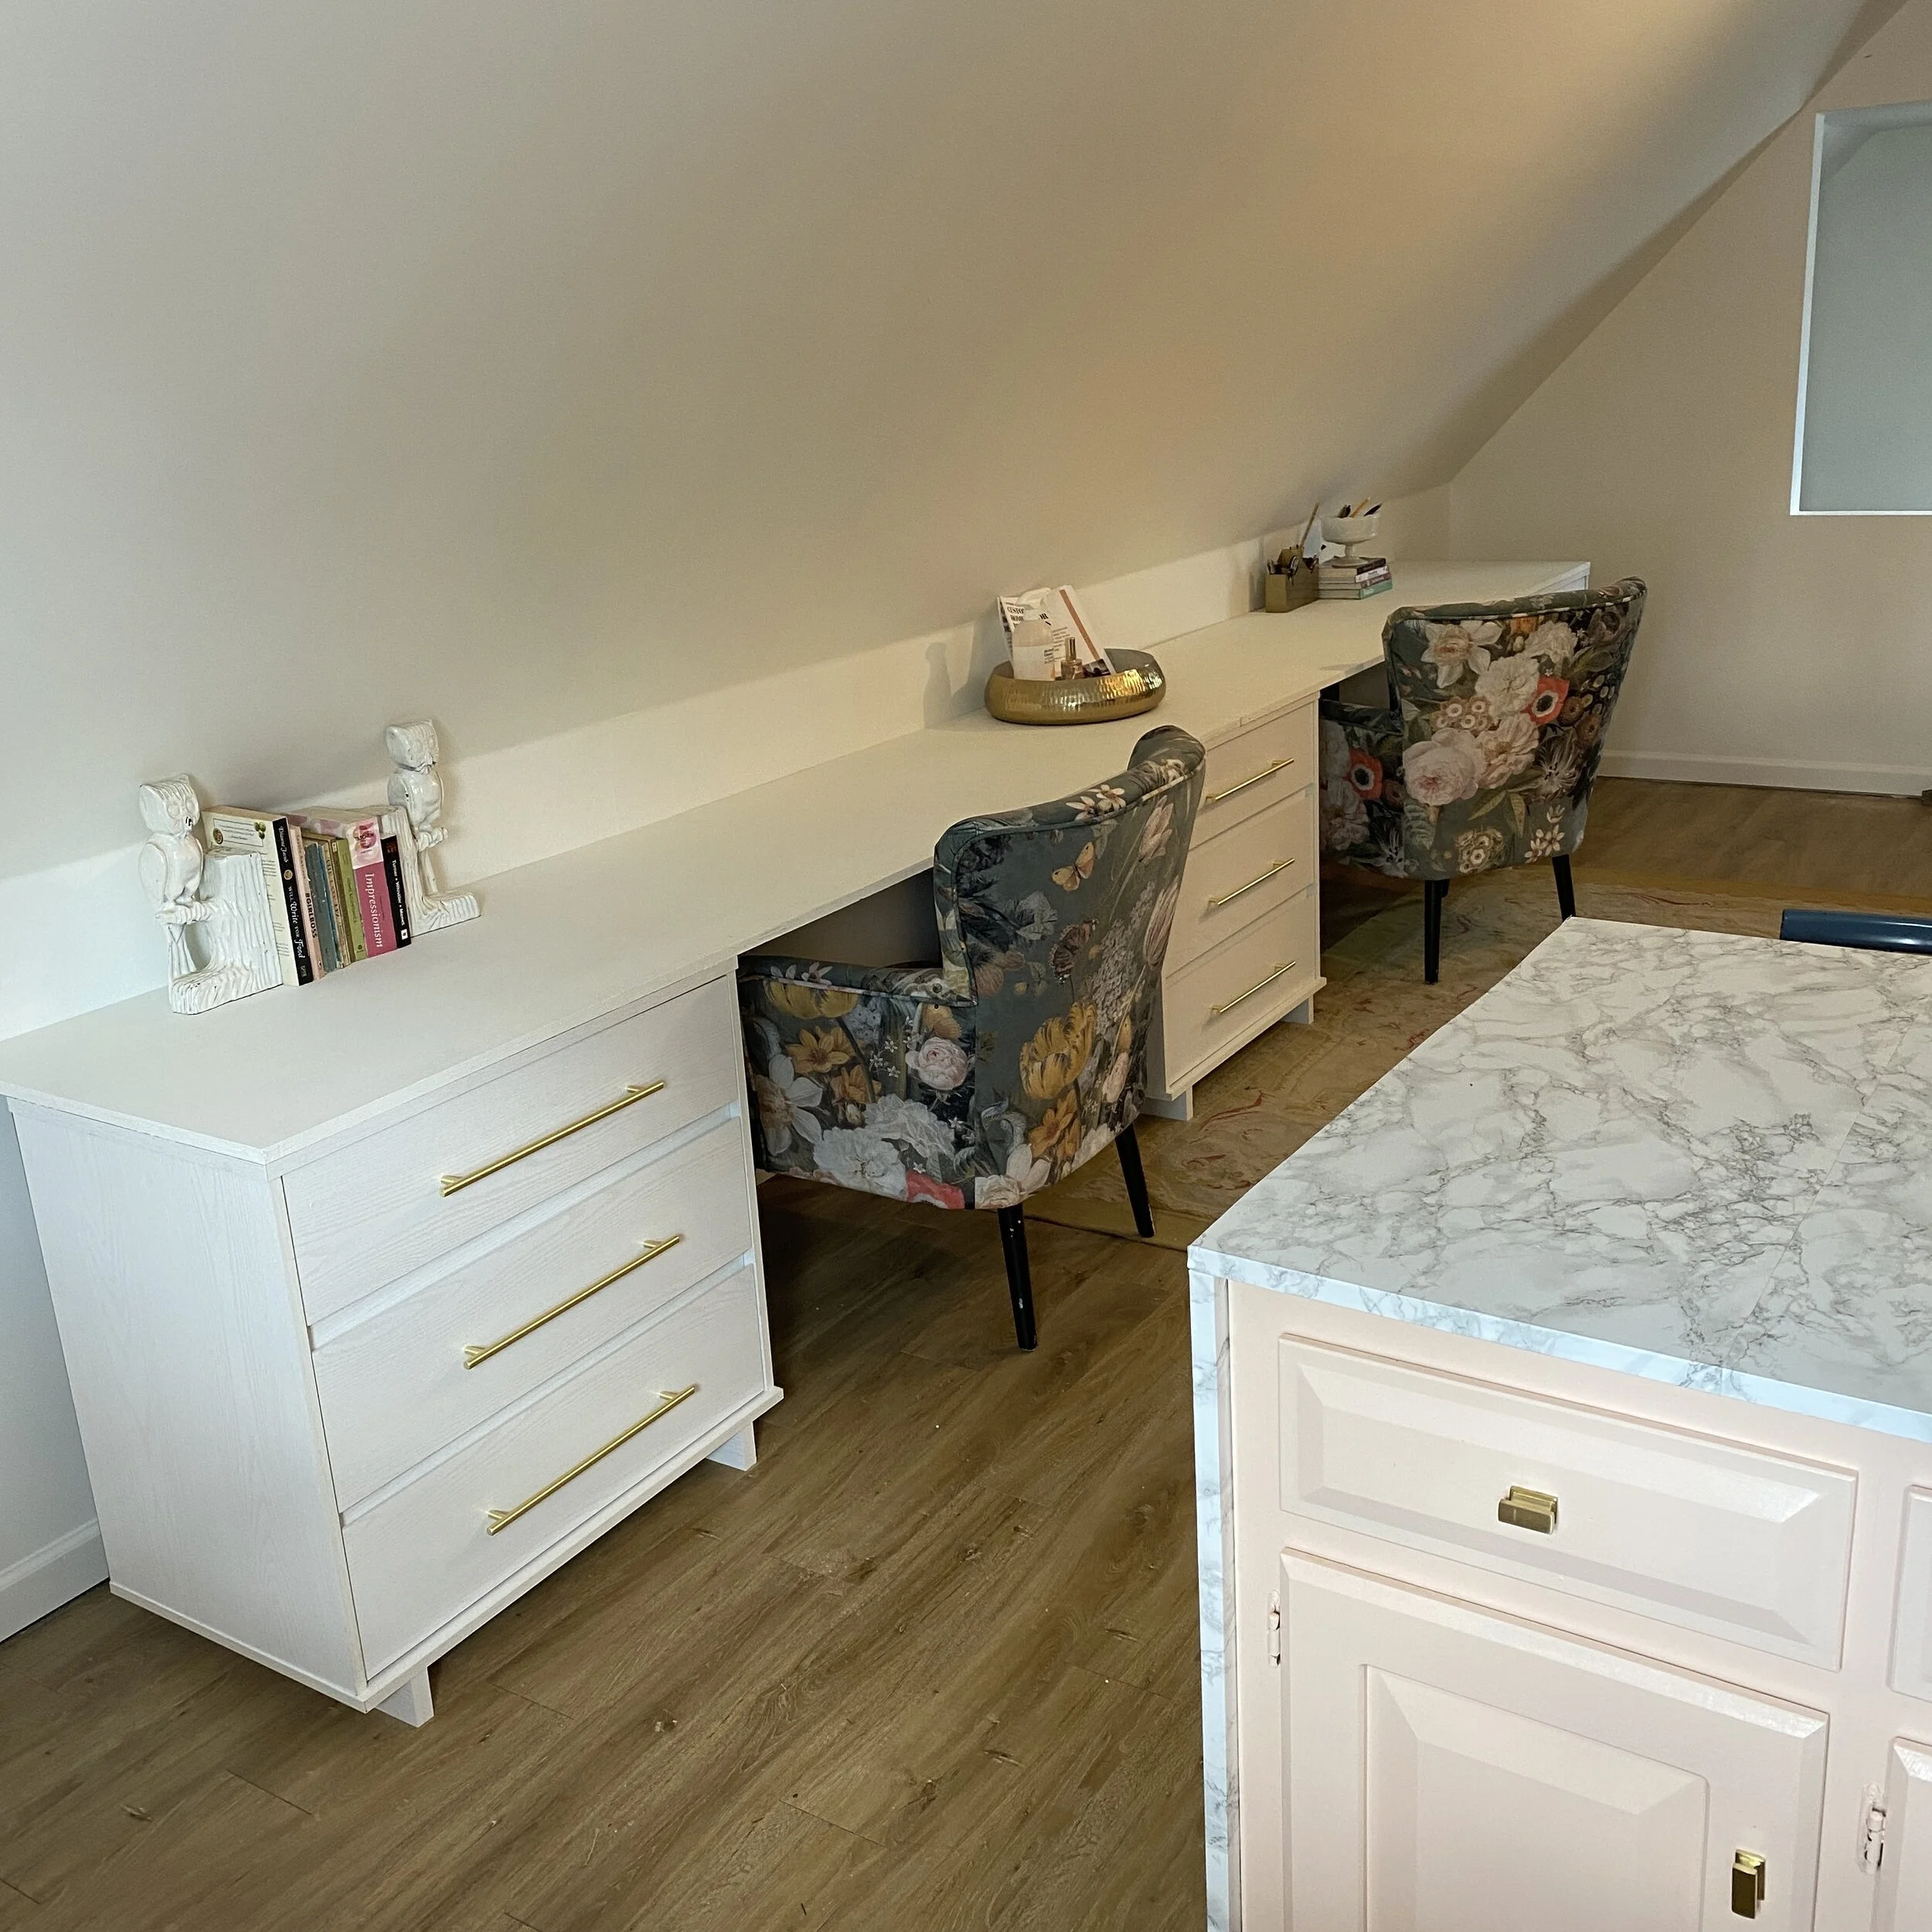
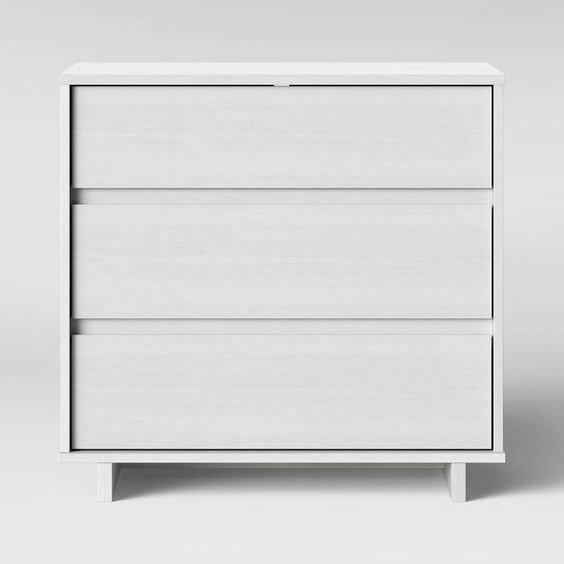
Dresser with 3 Drawers -Ikea and Target have some great options, but the one I used is from Target! Make sure they are between 28-32” tall so it is a comfortable height for a chair.
Hardware - I used a long, sleek gold pull. You could also use a similar style in black or silver. The drawers are also be functional without pulls, so you could leave off the hardware for a more modern look.
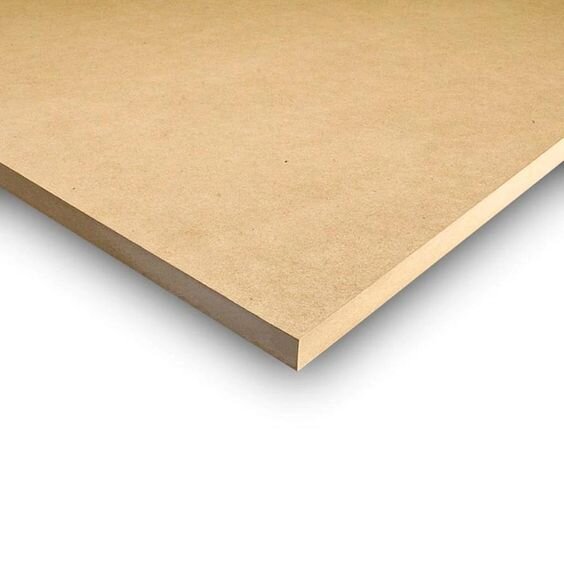
MDF (medium density fiberboard) - this is a lightweight type of plywood that I used for the top of the desk. It is easily screwed into the dresser and can be finished with paint and polyurethane too.
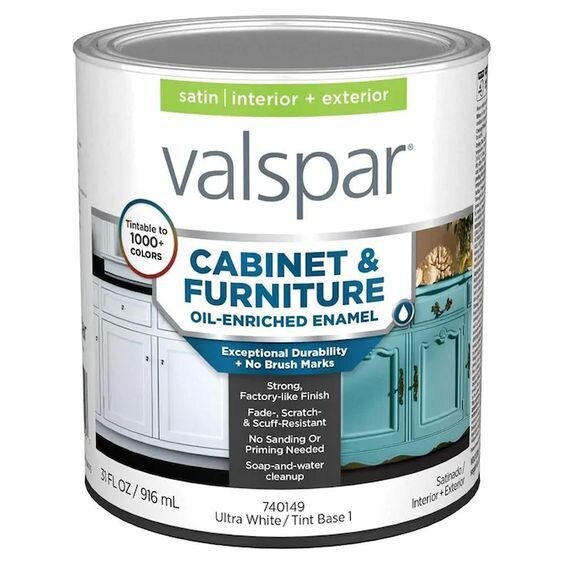
Cabinet and furniture paint - I got Valspar from Lowe’s. I painted the top of the MDF to match the white dressers. There are a lot of options for finishing the top though (for example, you could do a contrasting color, stain/distress the wood, or even cover in a faux marble paper like I did here- feel free to get creative!).

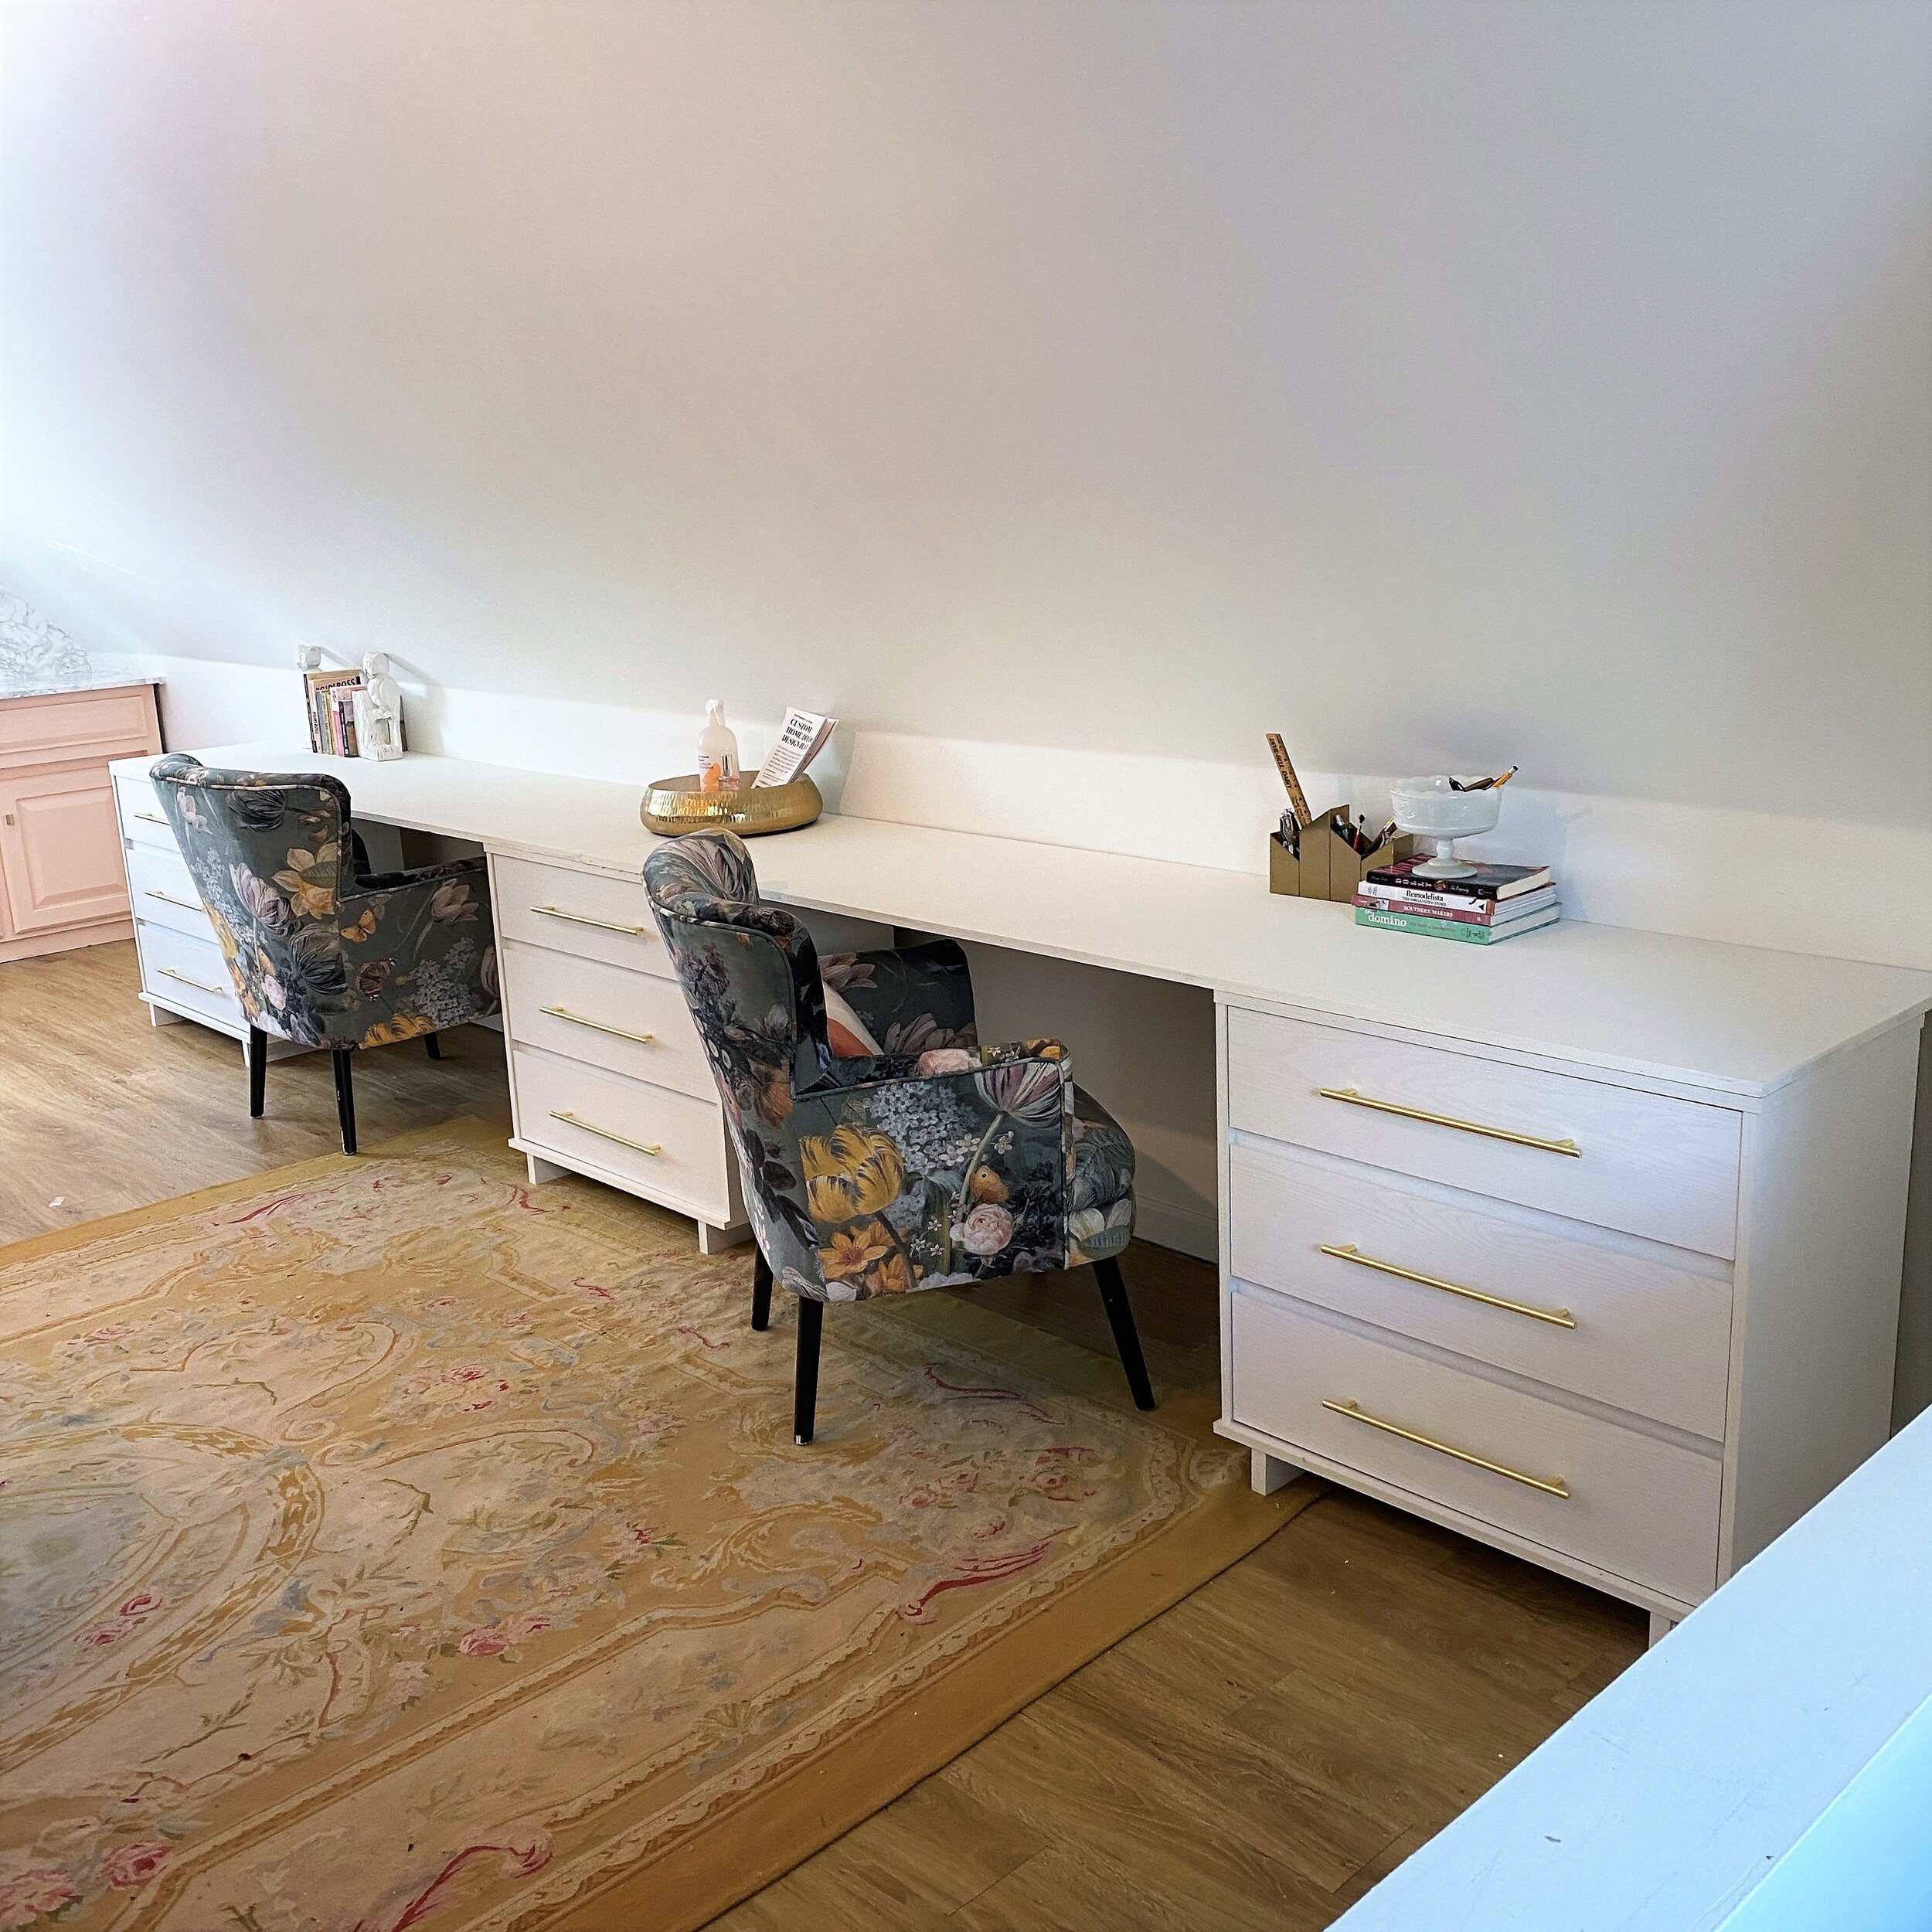
Start by assembling the dressers via their instructions (this is the hardest part of the whole project!).
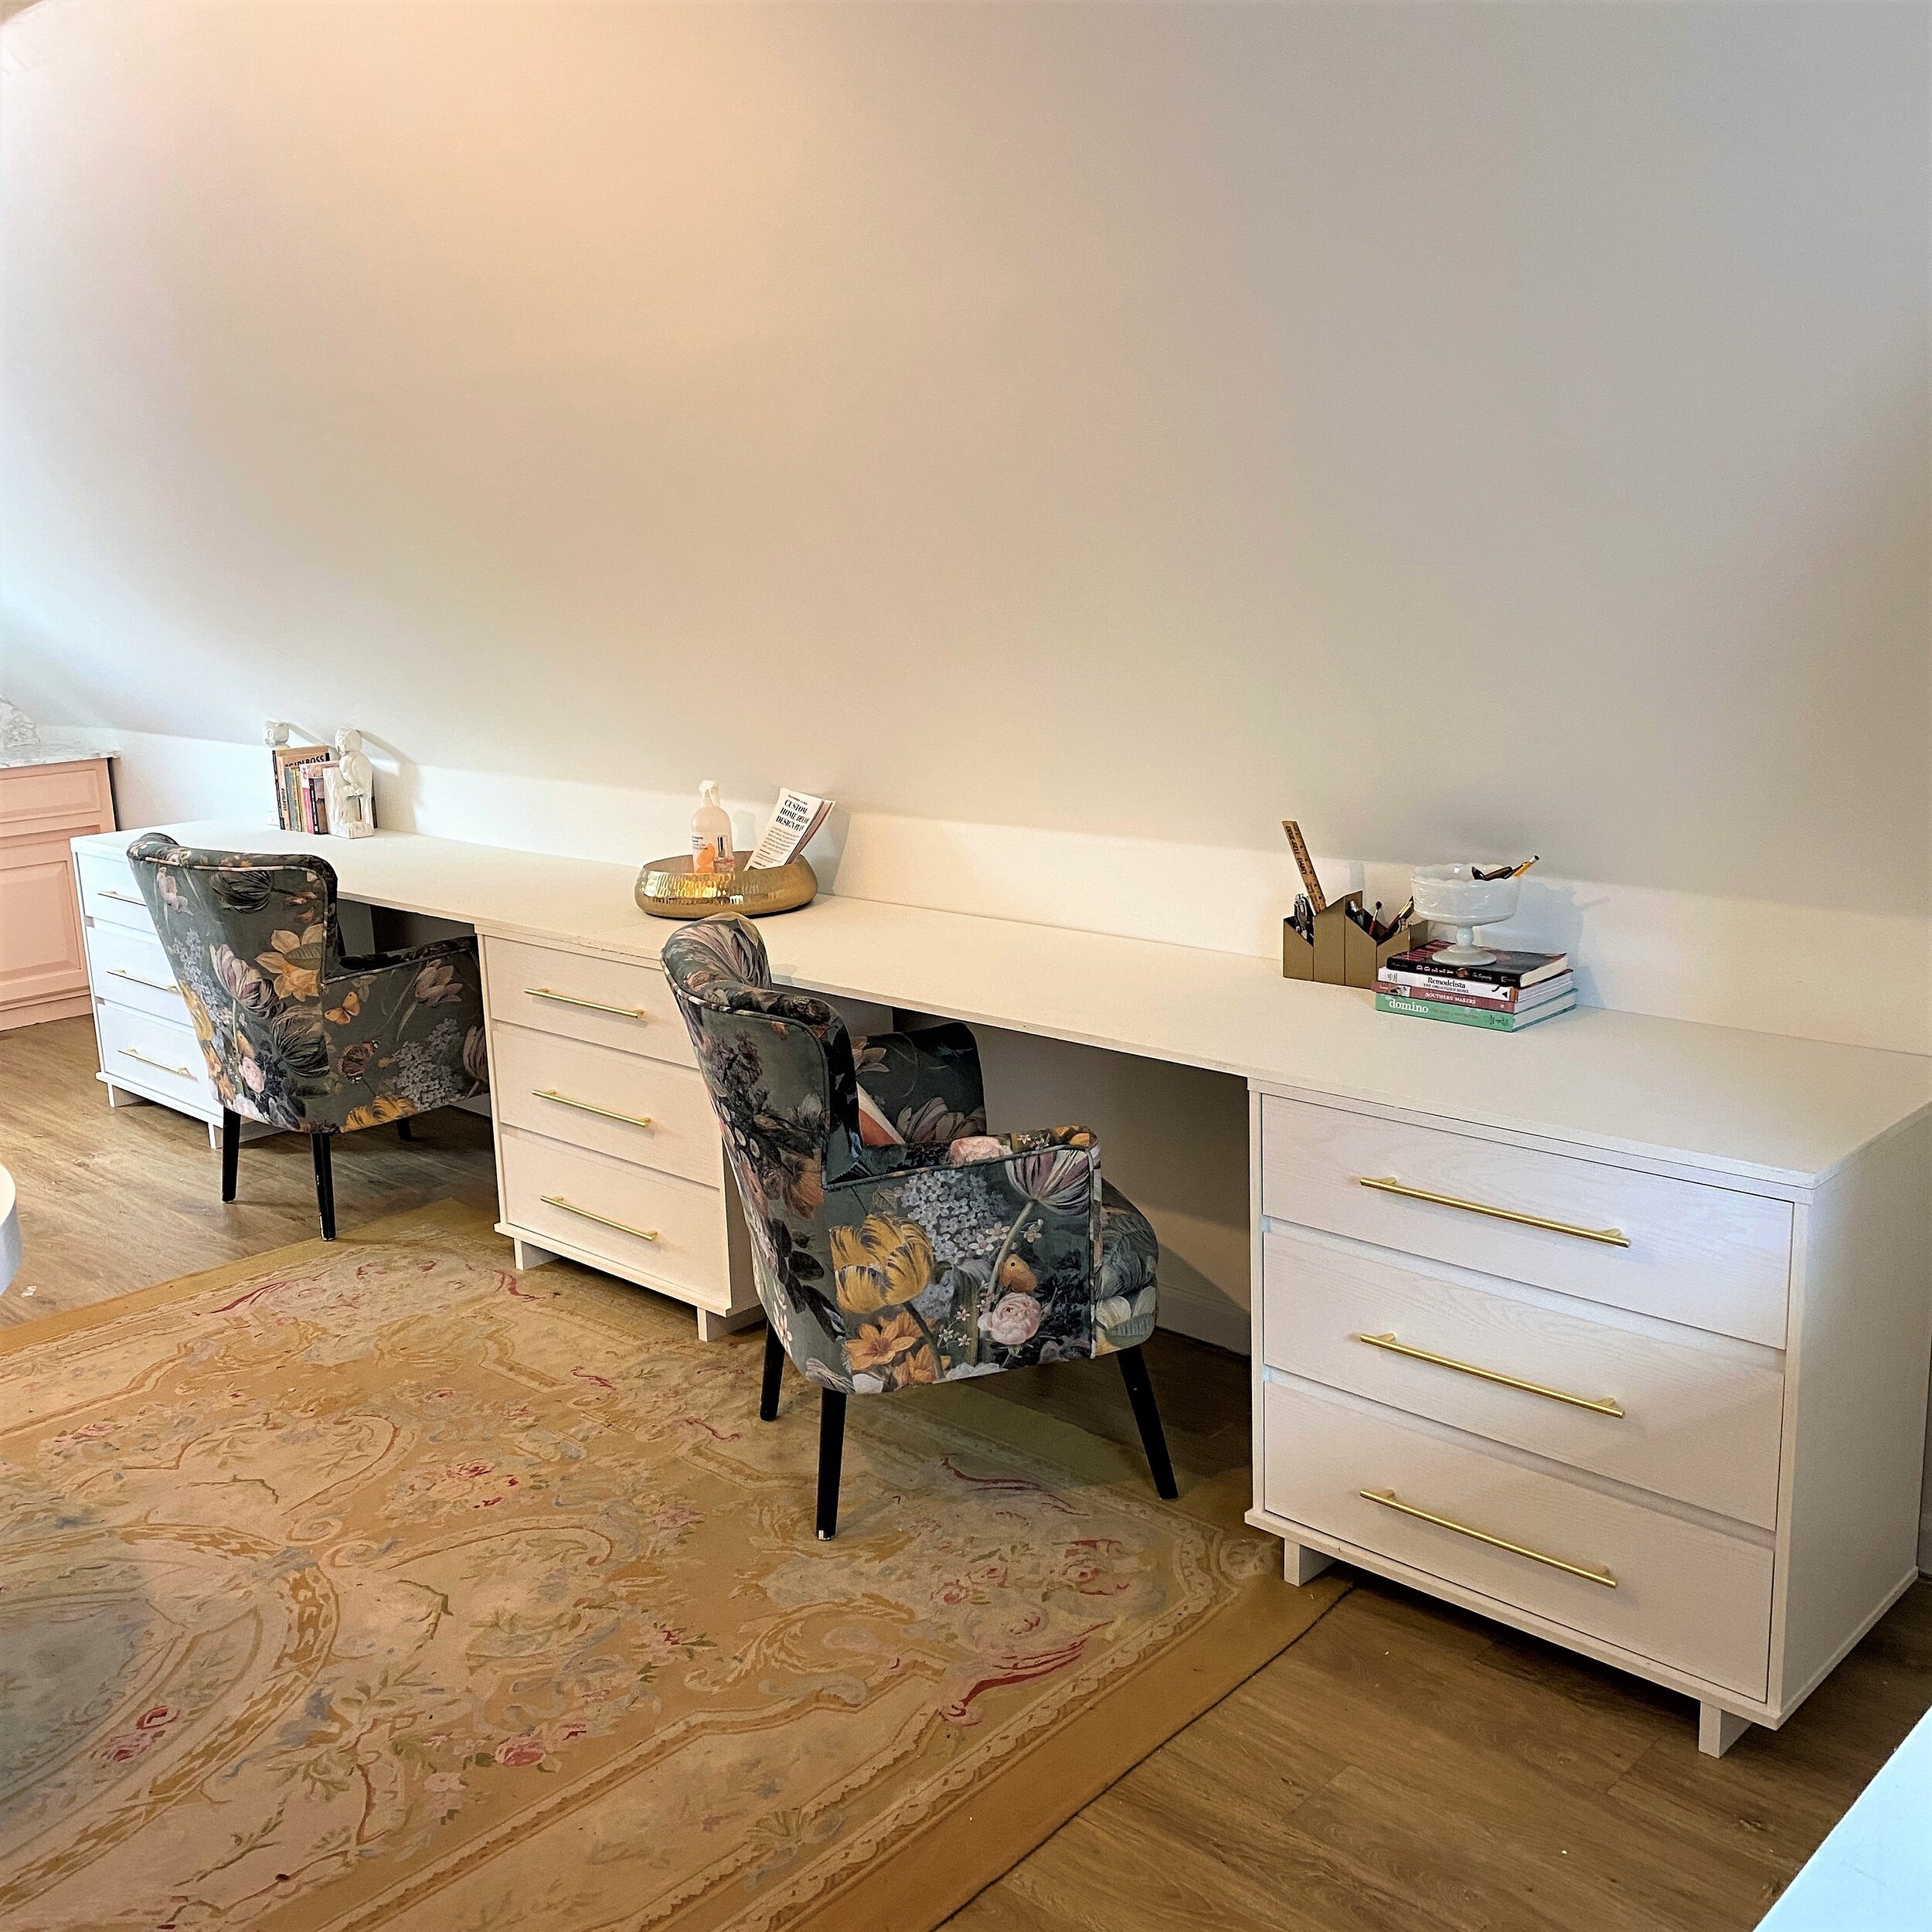
Measure your wall space and place the dressers equal distances apart. Between 2 to 3 feet apart works well. If you have the space, make your desk a total of 16 feet long so you don’t have to cut the MDF (which is 8 feet long).
Paint your MDF to match the dresser. Seal with polyurethane so it is extra durable and you don’t have to worry about scratching the paint when using it.
Measure your MDF board. As mentioned, the one I used comes in 8 foot pieces. Then decide if you want it to sit flush to the front of the dresser (like I did) or want it to have a slight over-hang. This will determine how far out the dresser sits from the wall.
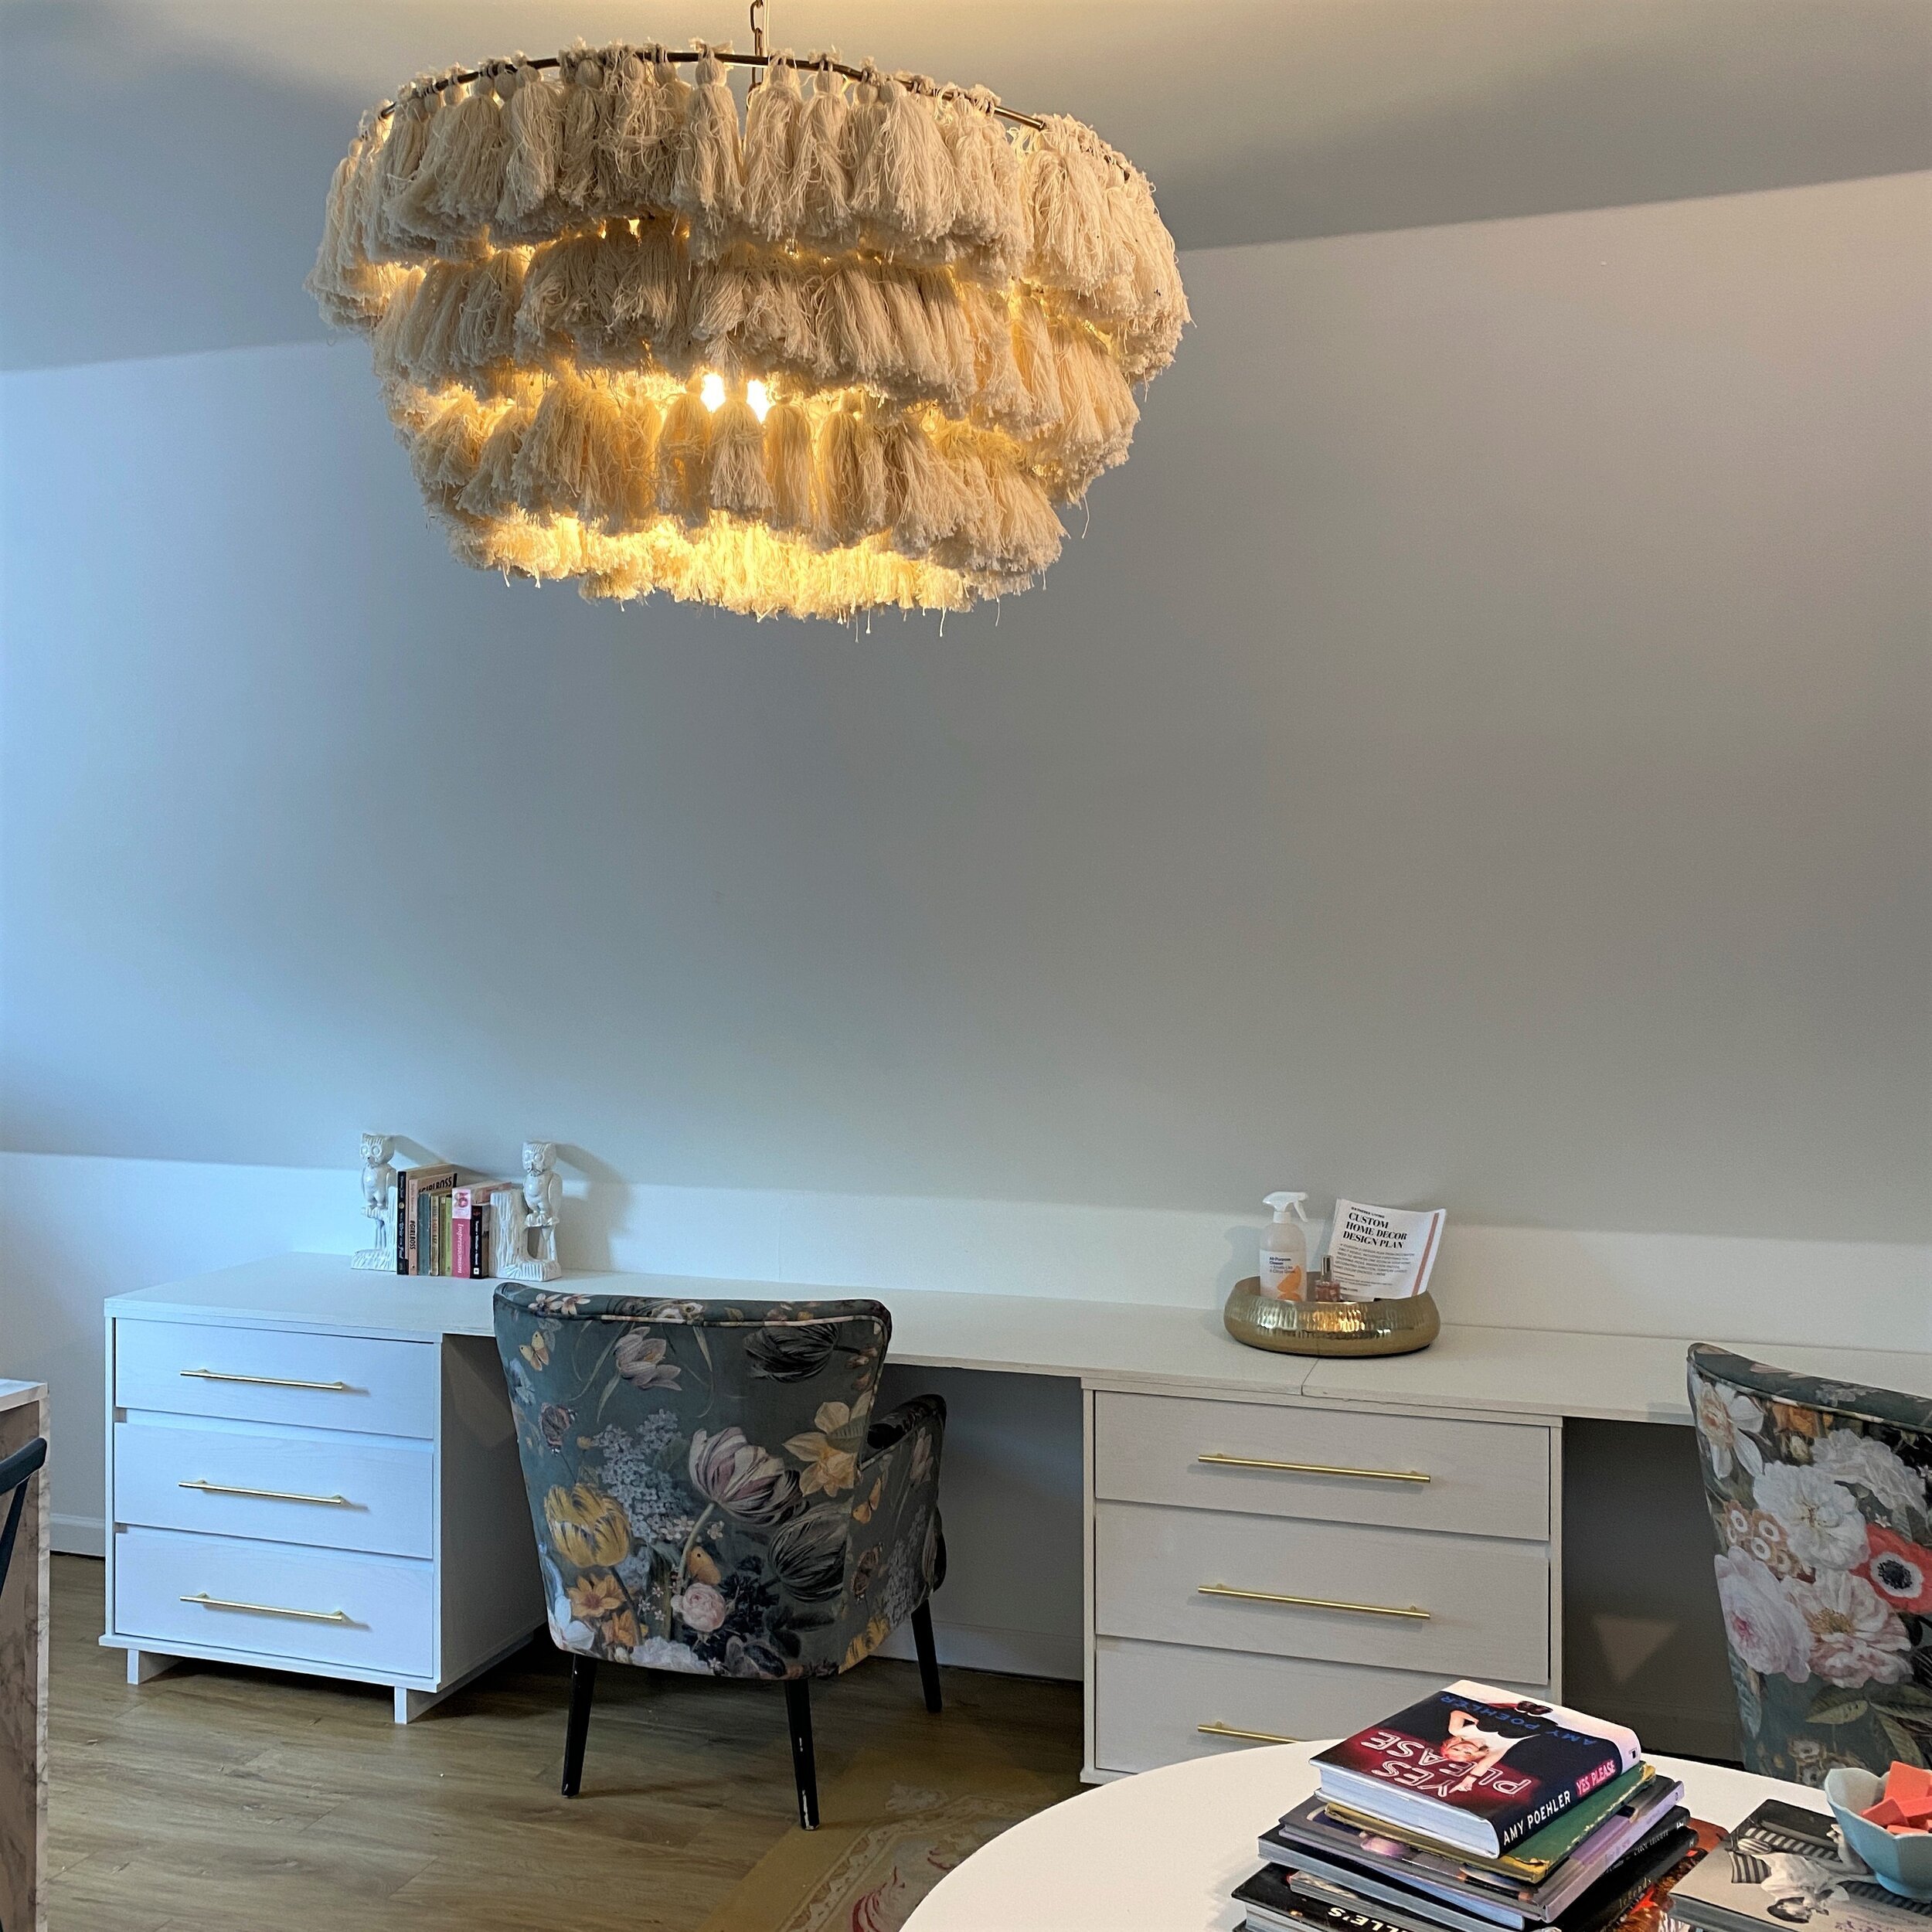
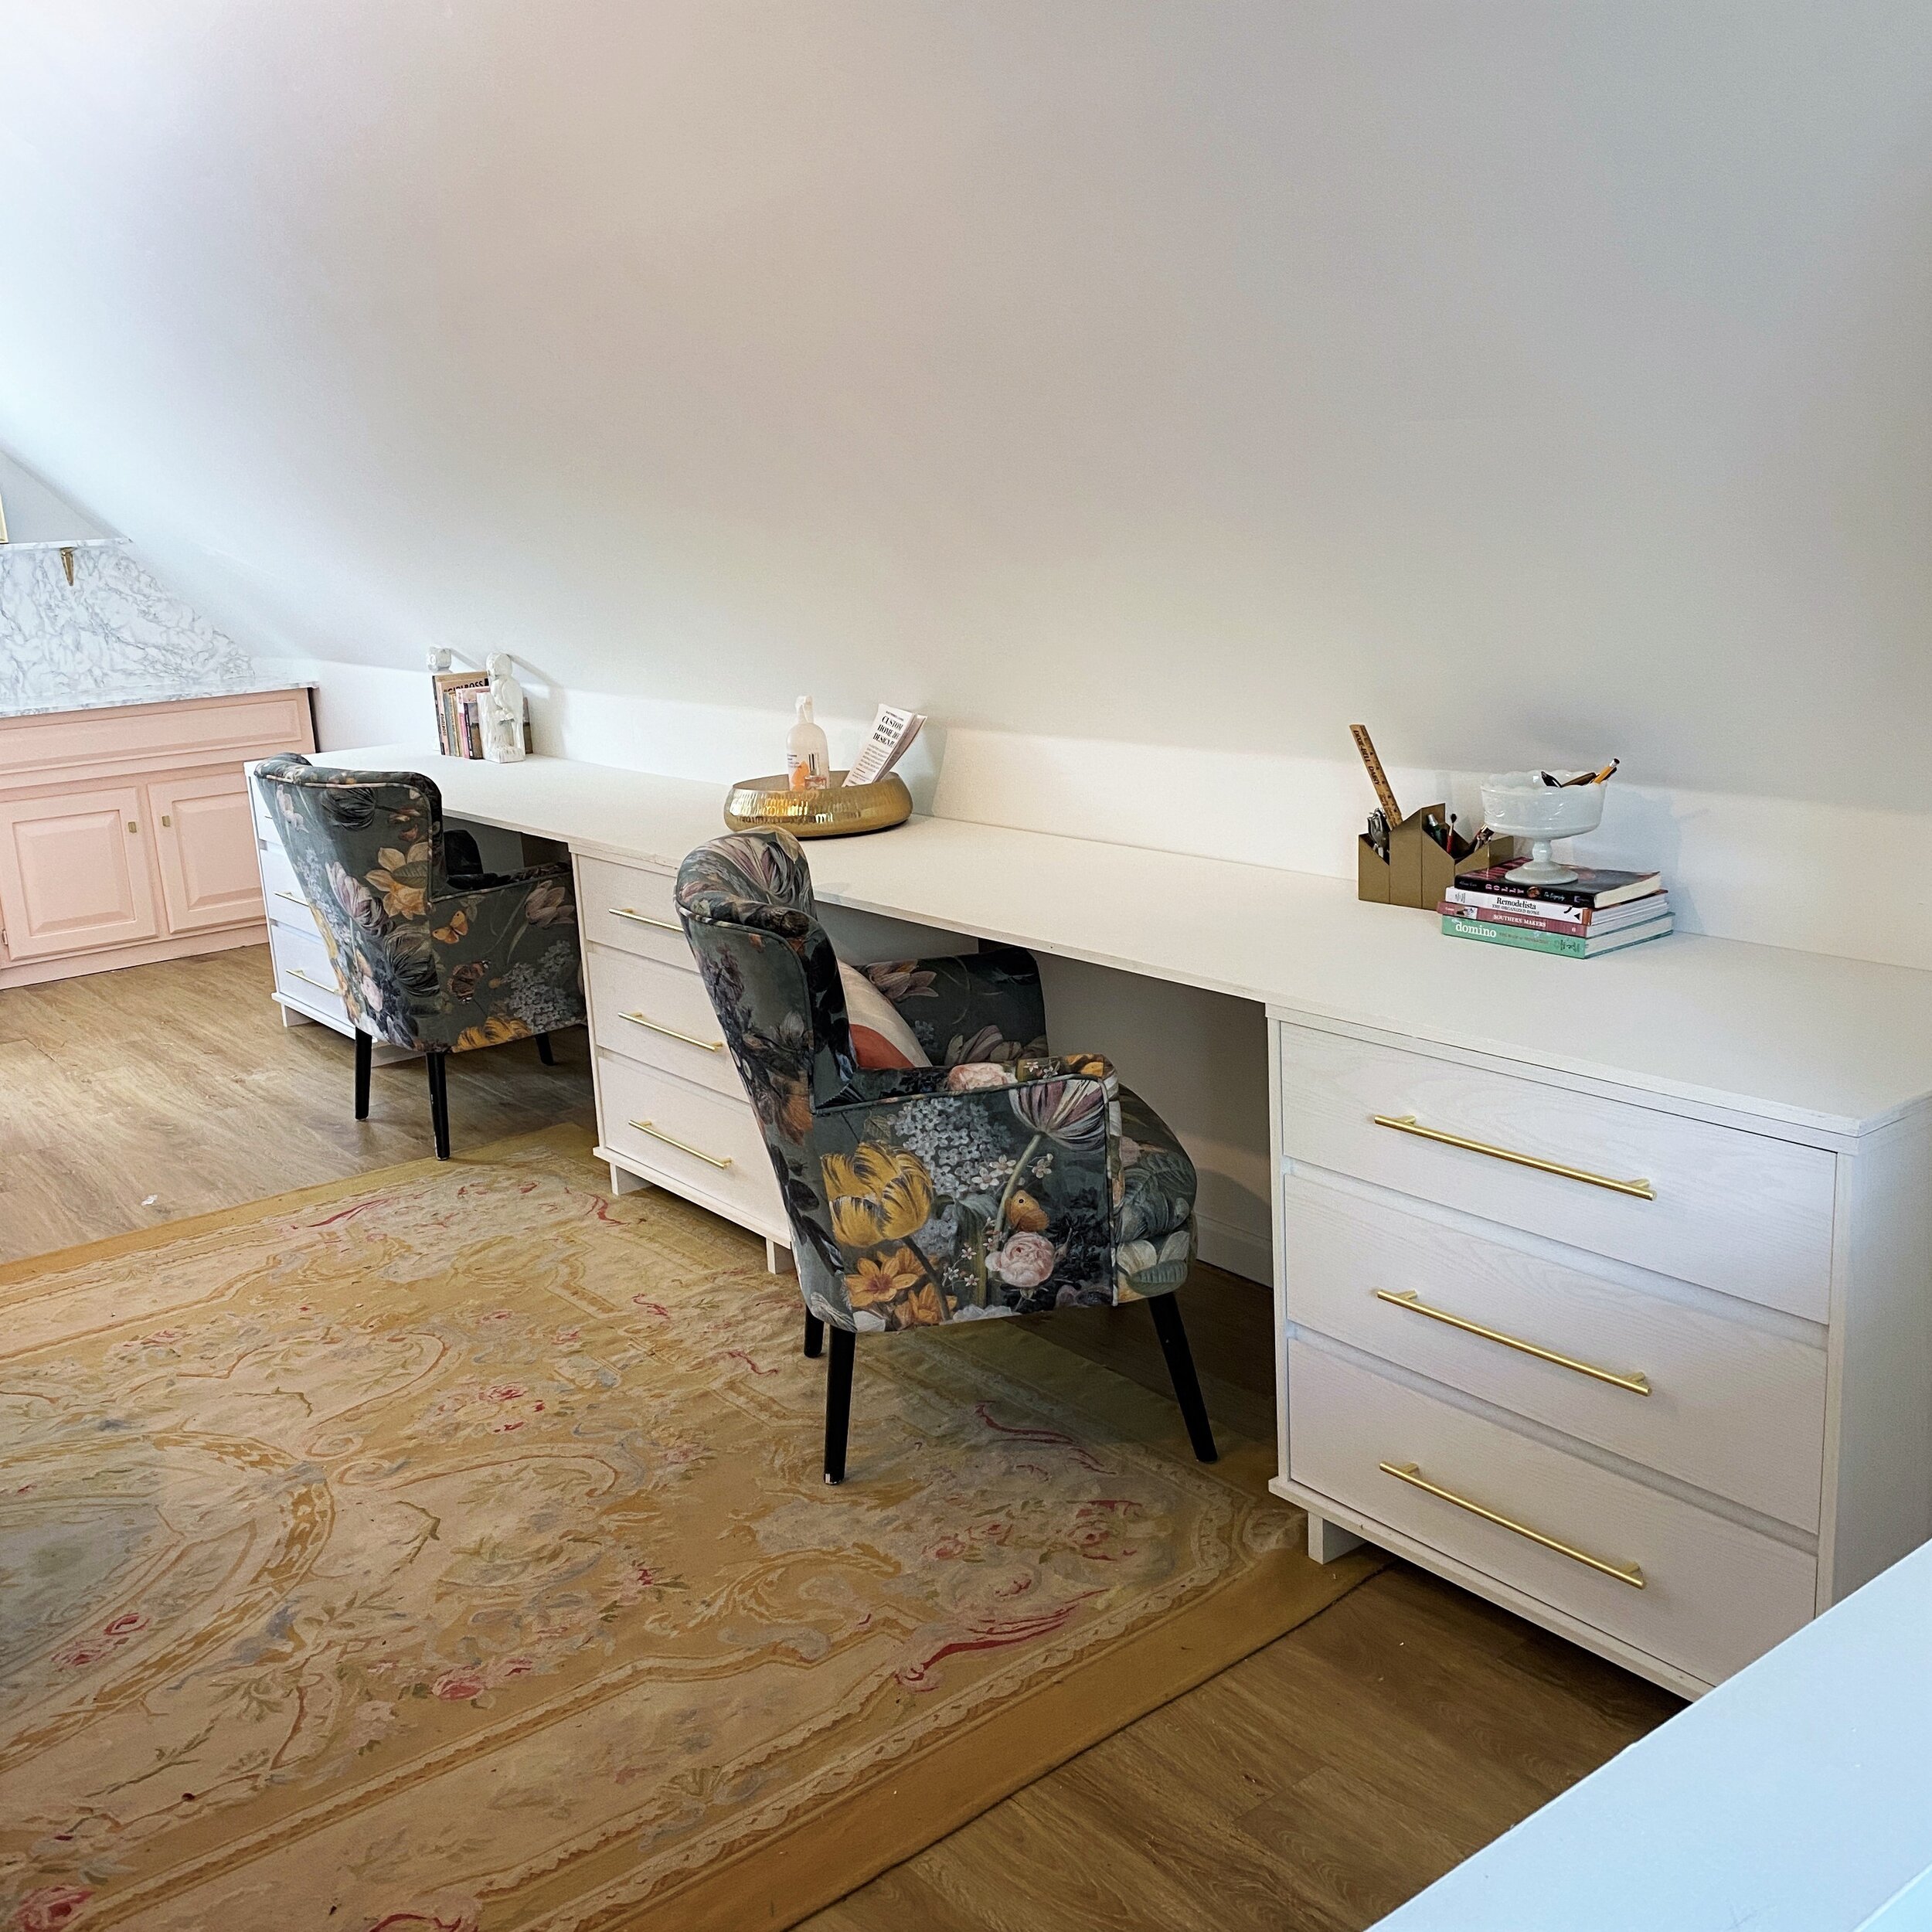
Screw down the MDF to the dressers. There will be a slight crease where the two boards meet on the middle dresser. You can fill this with wood glue, sand, and paint it.
Add your hardware by screwing holes into the cabinet drawers with an electric drill. The trickiest part is making sure the hardware is centered and lined up! Use a level, pencil, and measure extra carefully before drilling your holes!
Enjoy!