DIY Balloon Arch

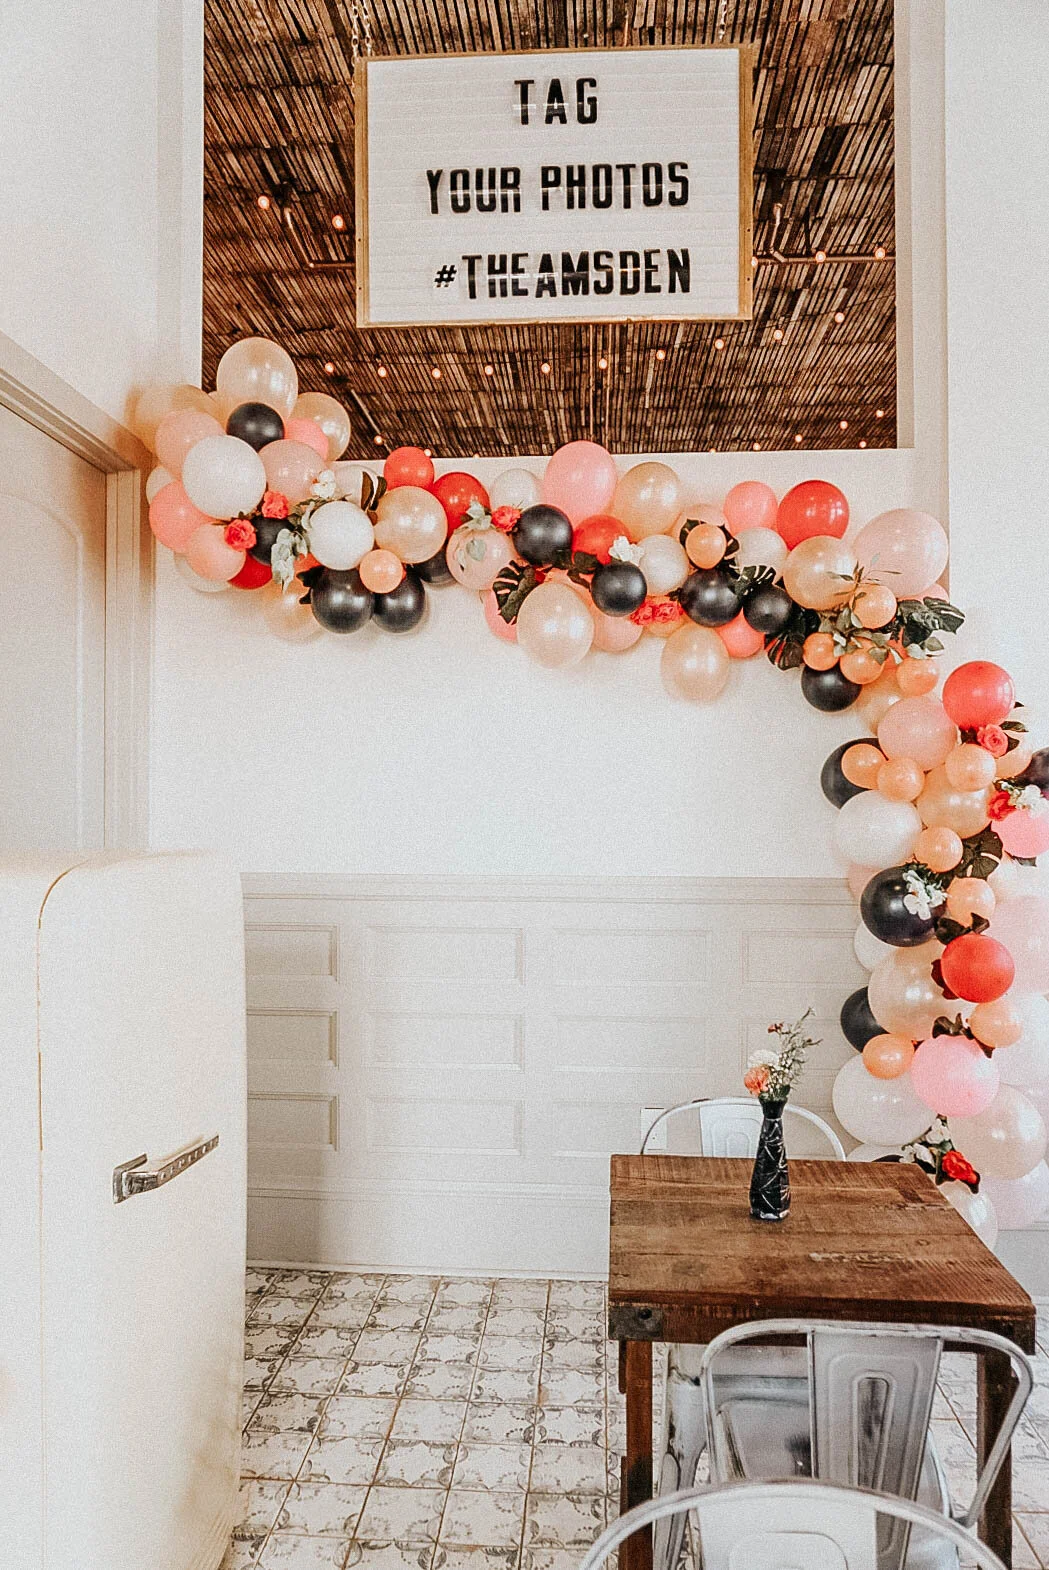
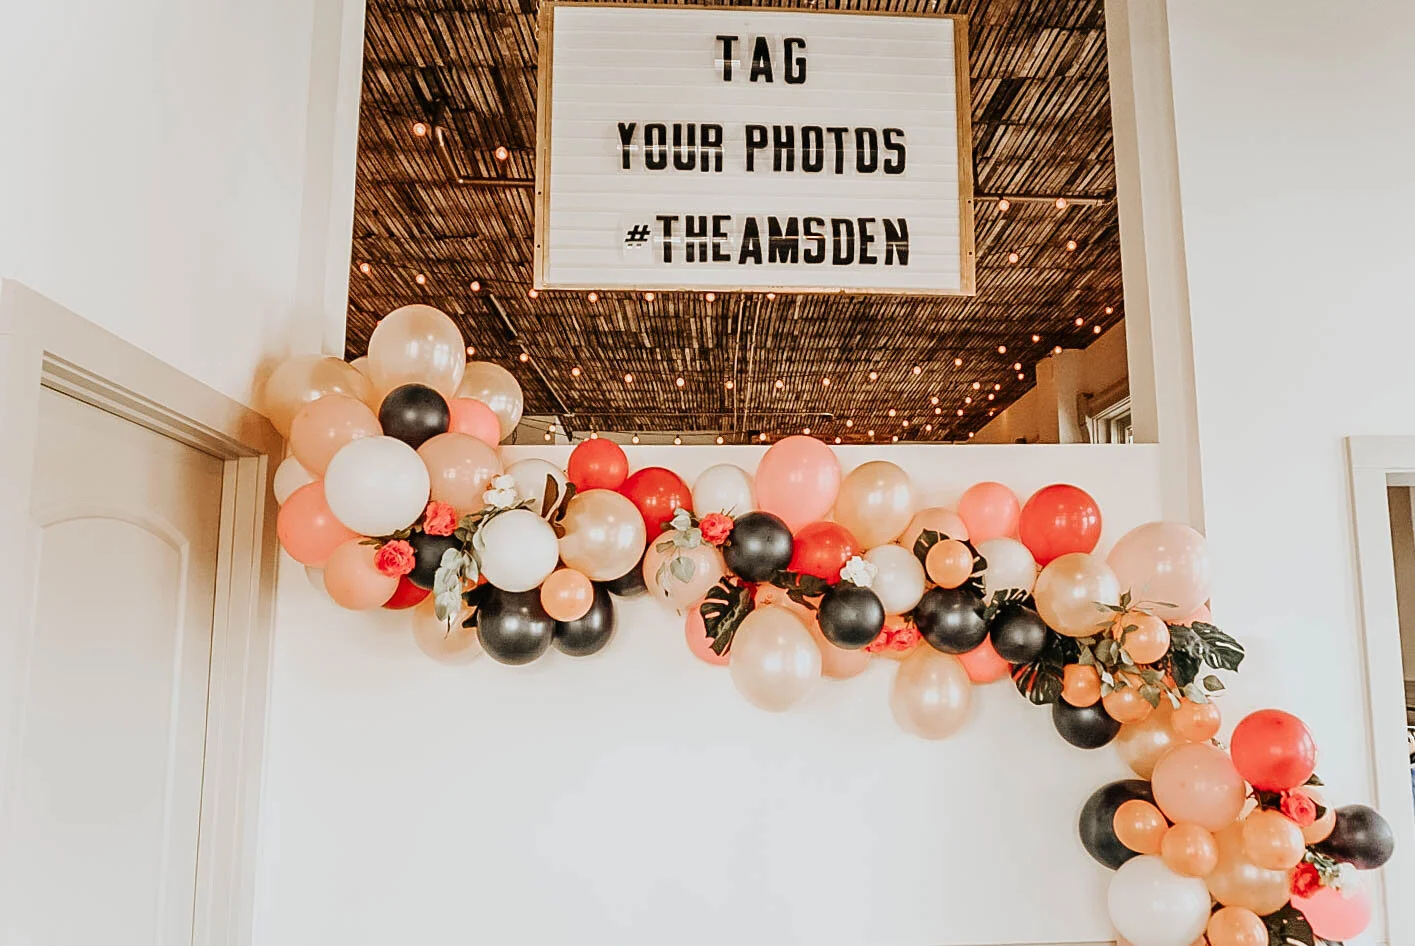
One of my favorite parts of our Creative Collective Meet + Mingle event was designing + putting together this balloon arch backdrop. This was my first time attempting any kind of balloon arch, but I was surprised at how easy it was and how quickly I seemed to get the hang of the process. Like most of my DIY projects, I read several tutorials online and then kind of combined the easiest steps from each (because I don't have any time for complicated projects!). I did have lots of help with this project, as one of our coffee shop employees helped me blow up most of the balloons and my friend Katie helped me assemble and hang the arch onto the wall. This is such a great way to create a stunning focal point for any event or party and I PROMISE it isn't as hard as it looks (or I wouldn't have done it). I've listed all the supplies needed, links to my exact balloons (because it's super hard to find good colors online), and step by step instructions below. Let me know what you think and if you get a chance to try this out!
xoxo
Emily
Chicken Wire (I used plastic but I think wire would work best for holding shape, especially if you don't have a wall support like I did)
Balloons (probably around 75-100 for this size)
Twine
Packing/duct tape or low-heat hot glue gun
Floral stems/ embellishments
Tacks
Here's links to the balloons I used (all purchased from Amazon):
light pink + white variety pack
magenta + hot pink came from this pack

I created my arch in 3 smaller sections and then hung them together on the wall to appear as one large arch. This tutorial is for assembling a balloon arch where you have a wall to attach it to and support it. If you are needing to do a free standing balloon arch, you can follow most of my same steps but you will need to create some kind of base to support it (I've seen this done with PVC pipes or kits like this).
1. Start by cutting your chicken wire into 3 long thin strips (each around 3 ft tall and 8-10 inches wide). I used plastic chicken wire but I think next time I will try real wire as you can kind of bunch that together and create more of a 3-D form to work off of. The plastic did work fine, as I was able to just tack it straight to the wall, but it was a little more difficult to maneuver once the balloons were all attached.
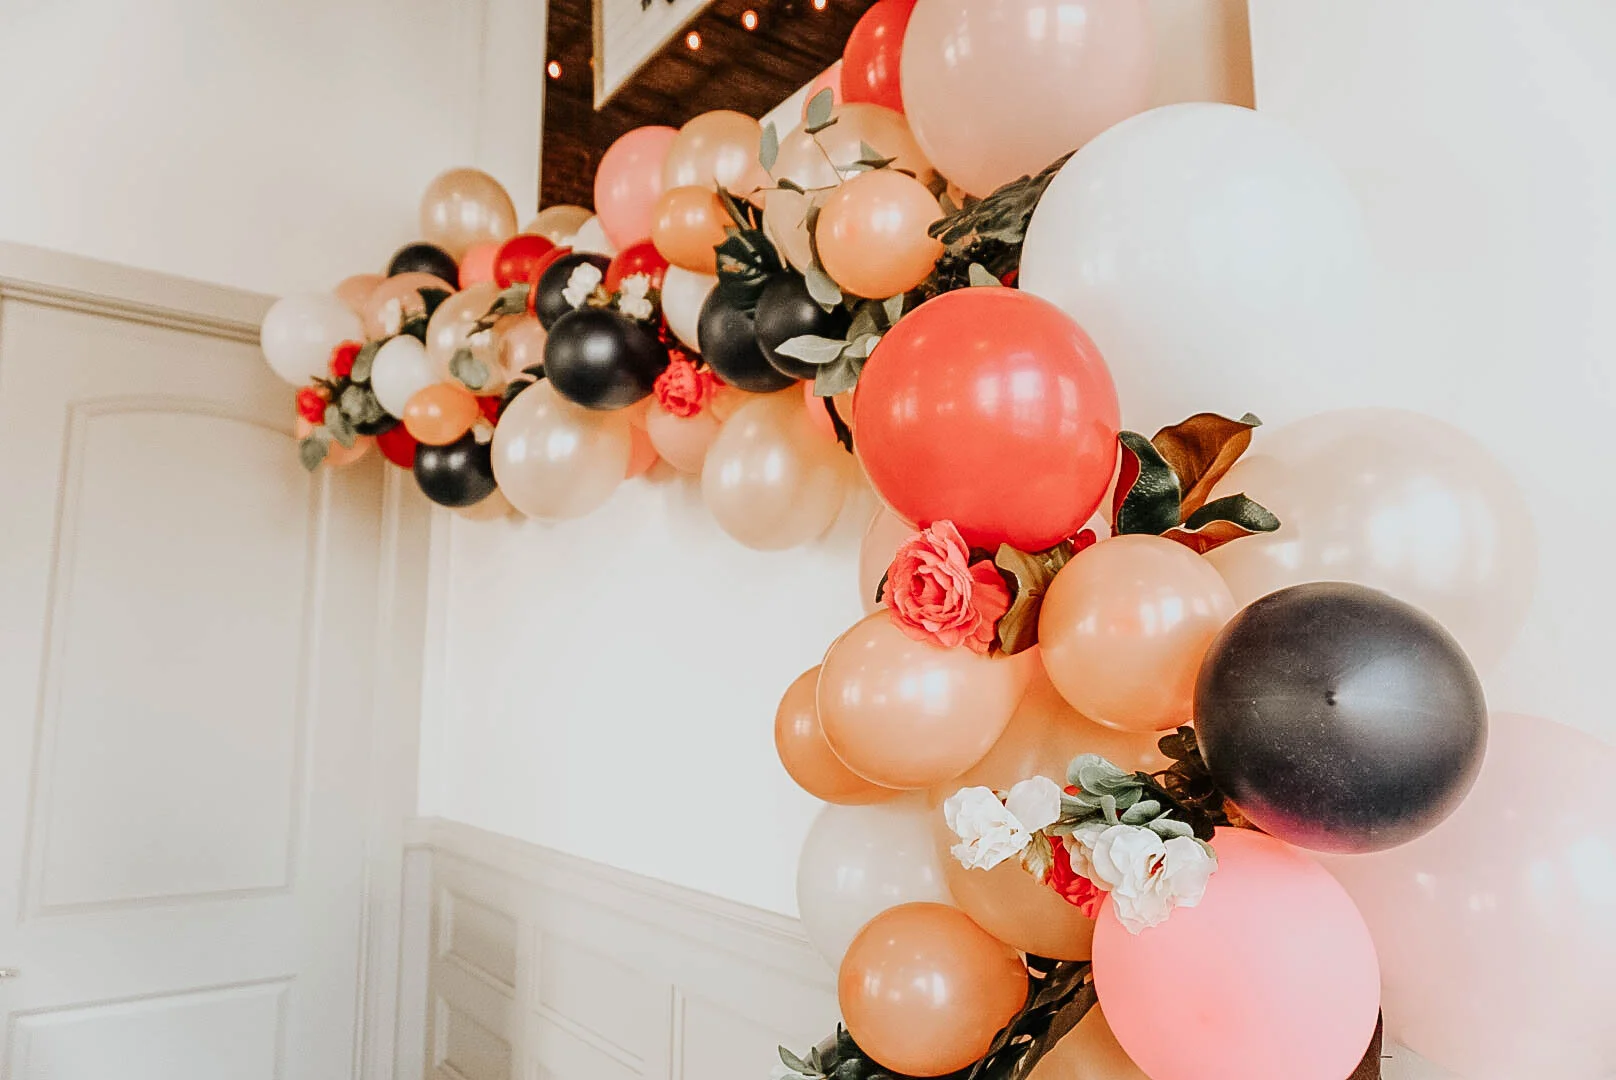
2. Start blowing up your balloons and tie normally. You can either do this a little at a time, or all at once. I did about 20 at a time, attached them to the chicken wire and then started again once I had an idea of how many more I needed to finish. You will want to blow up the balloons in a variety of sizes: large, medium, and small. I used mostly pink, white, and peach and then just added a few navy and darker pink here and there.
3. Cut a piece of twine about 4-5 inches long. Tie the twine around the center of the balloon knot tightly with equal string hanging off each side. Next, tie the balloon using the twine directly to your chicken wire as tightly as you can. You can start at the center and work your way out. You will notice that the balloons will start layering on top of each other, but you want to try to hide the chicken wire as best you can.
4. Repeat tying the balloons to the chicken wire until you have filled your first section, then repeat on the other two sections. Don't worry about a few small holes here and there, as we will fill those in during the last step!
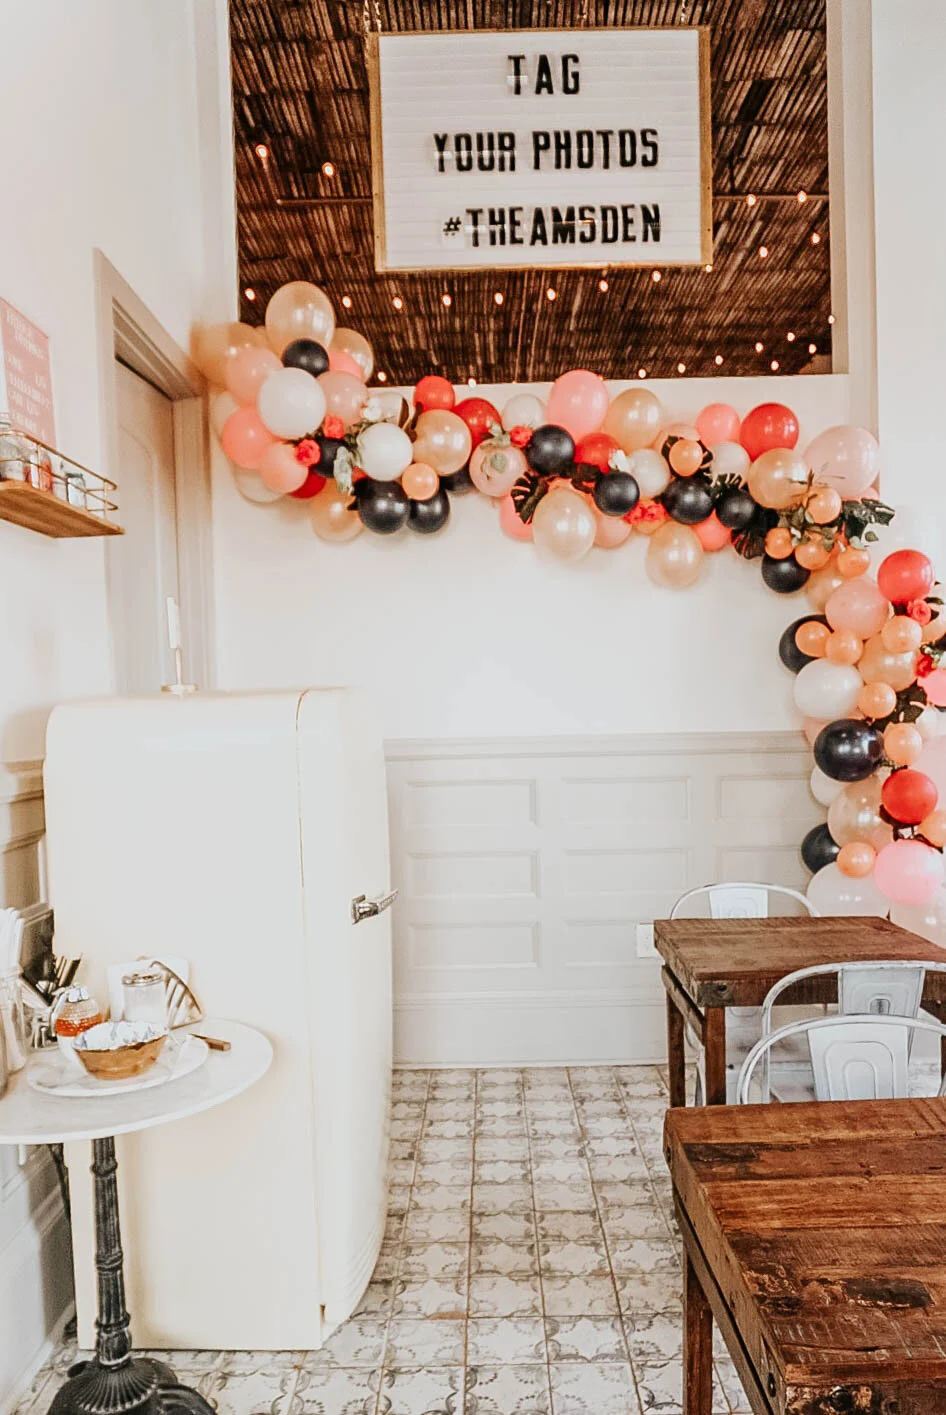
5. Using tacks or small nails, hang your first filled chicken wire panel to the wall (I started at the bottom and worked my way up the arch). Hang your next two panels as closely as you can so that there are no gaps between panels. My last two were more difficult to hang as the balloons started wrapping around and getting a little tangled. It's good to have two people for this step, as one can help hold the panel flat to the wall, while the other can tack it down. These panels aren't very heavy so it does not take much to keep them up on the wall (I only used 2-3 tacks per panel).
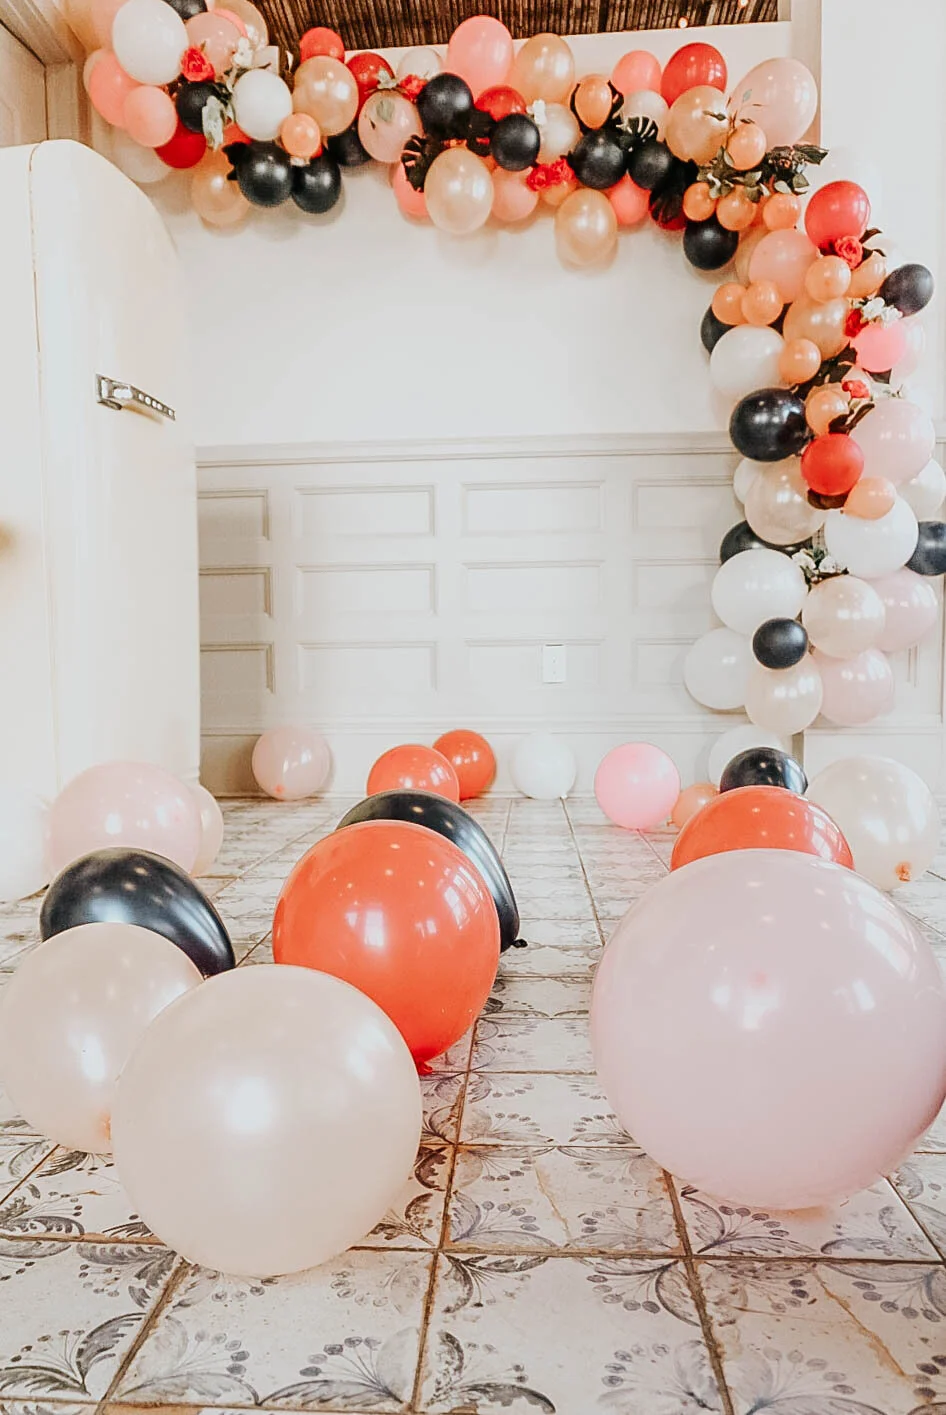
6. Now you can fill in your holes with extra small balloons and then finish with some greenery and florals! I simply rolled up a piece of packing tape (sticky side out), placed it on the side of a small balloon, and then stuck it directly on top of my balloons to fill gaps and holes. I also read to use a low heat hot glue gun for this step too, but since I didn't have that, I just used tape. I will probably invest in the glue gun for the next time just because it would make those added balloons a little more secure! I stepped back from several different angles to take a look at my arch throughout this process, as you will notice different holes and gaps from different angles.
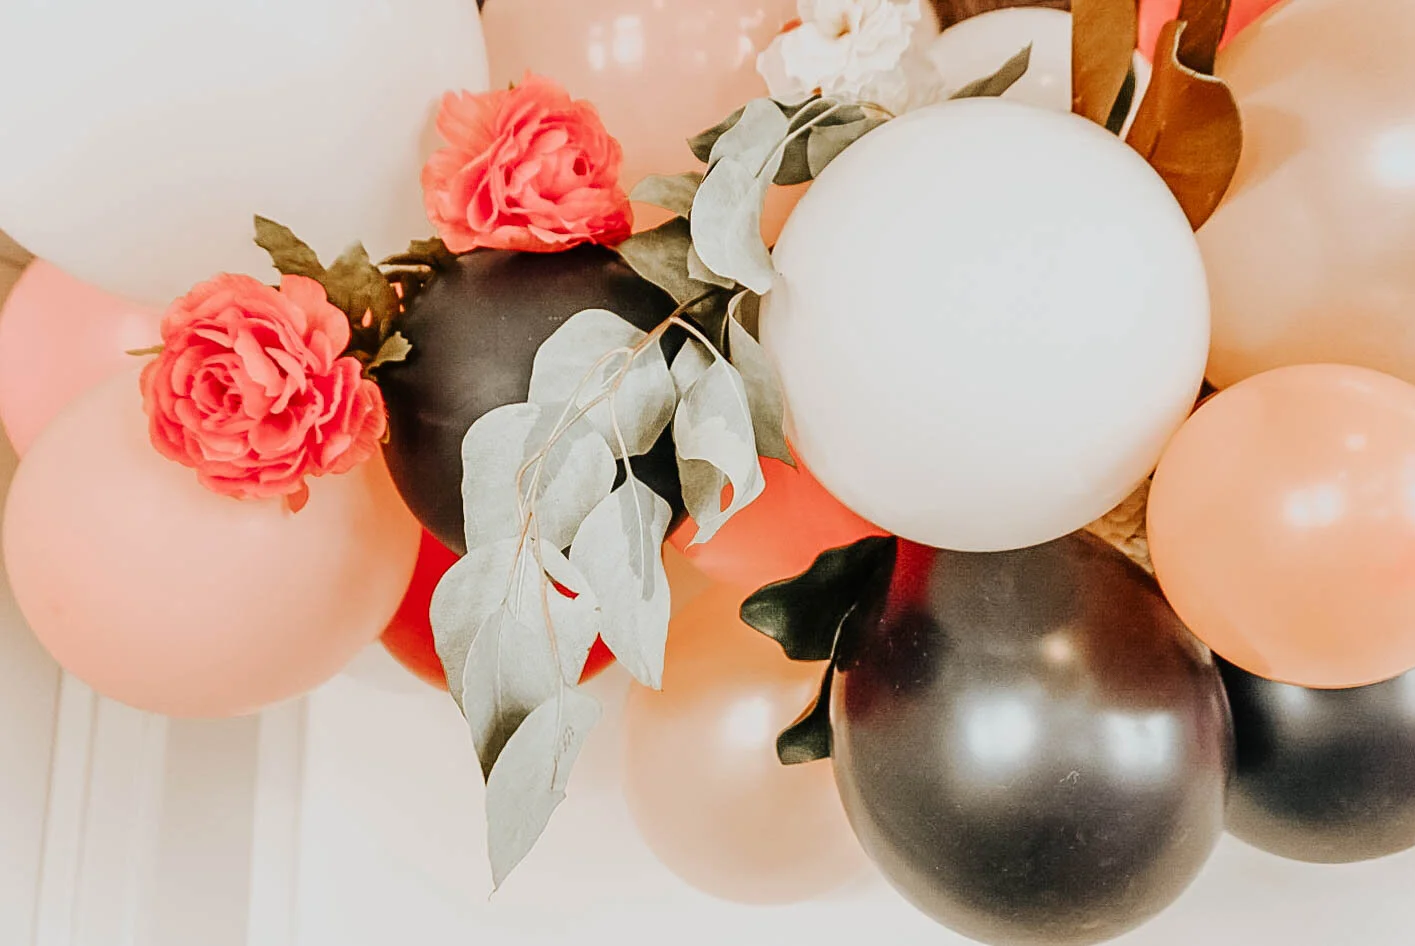
7. For the smaller, harder-to-fill gaps you can use greenery and florals to fill your space. This was my favorite step and really takes your balloon arch up a notch! I used a mix of real and faux greenery and flowers. I did not use anything to attach them, but simply just stuck them inside gaps and they seemed to stay put. If you want them to be more secure a low heat glue gun would definitely help with this step.
8. Enjoy and snap some photos in front of your backdrop!