How to Build a Beautiful Thanksgiving Charcuterie
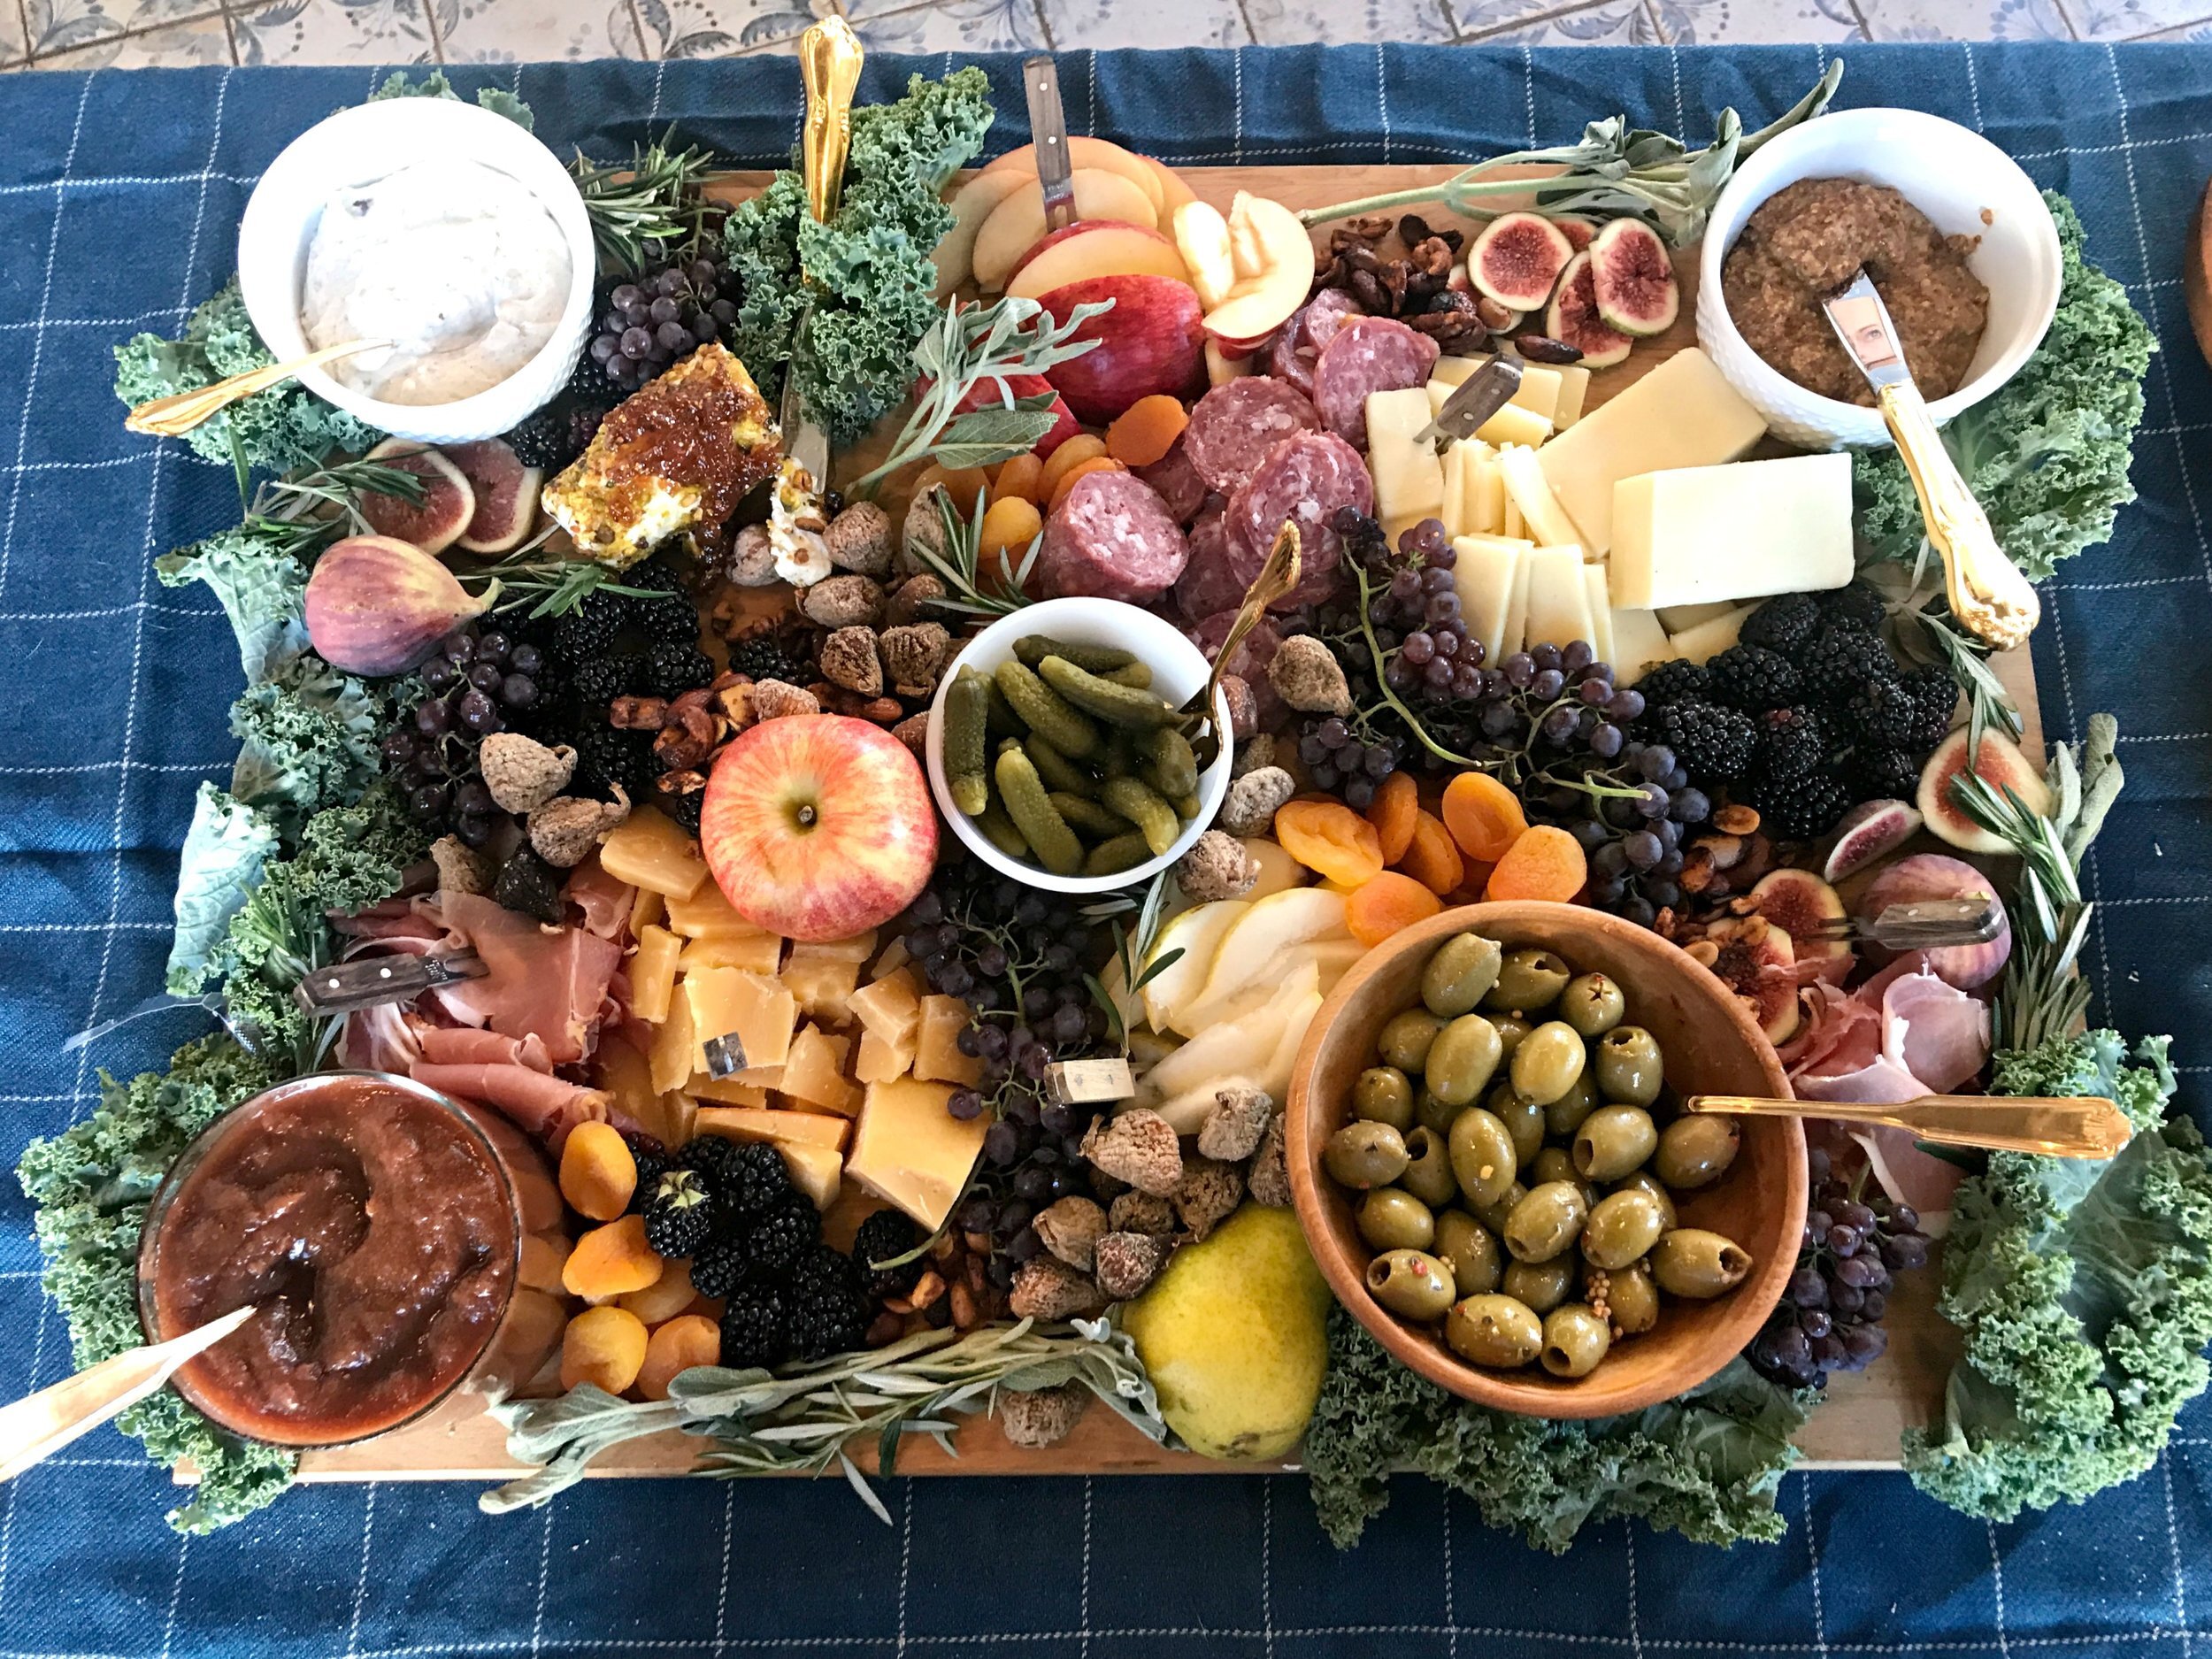
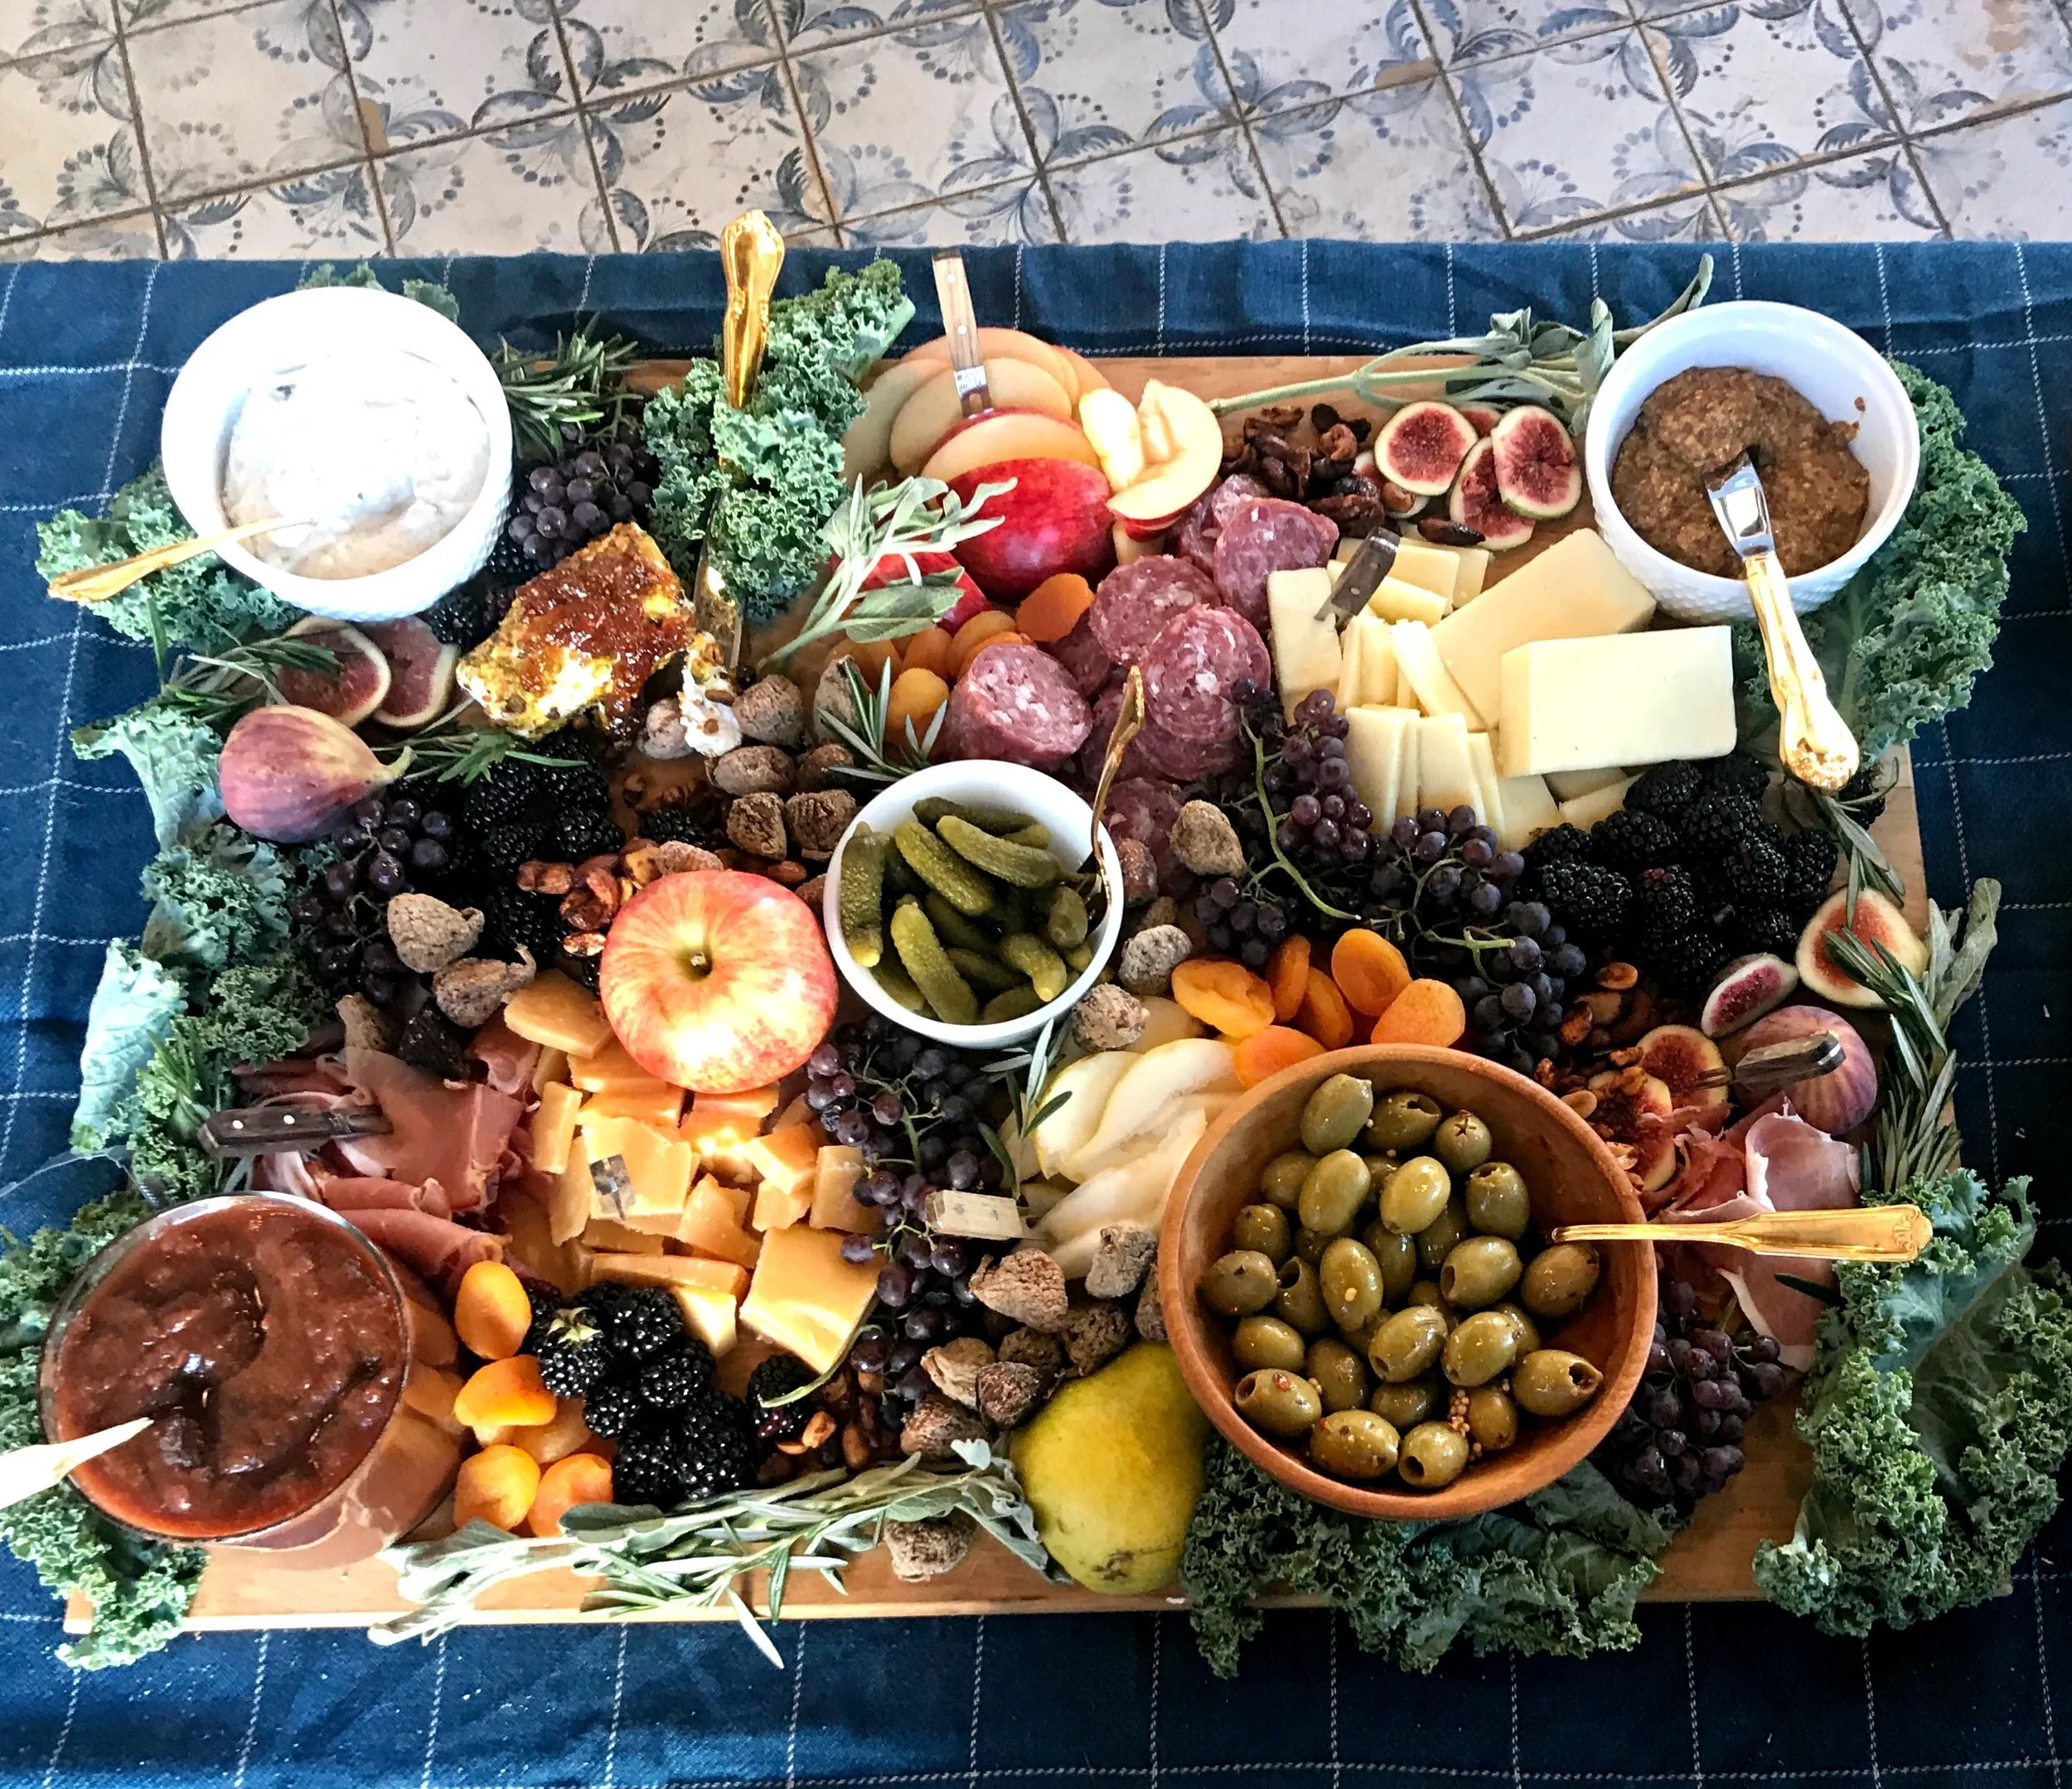
Thanksgiving is without a doubt the biggest holiday centered around food and entertaining. What better way to kick off a day of continuous eating than with a giant charcuterie platter that’s just as beautiful as it is delicious?! Seriously this board could be a meal in and of itself, so it’s totally appropriate for a Thanksgiving appetizer when you will be stuffing yourself all day long! This board is full of seasonal ingredients that can be mixed and matched together in so many different ways for countless combinations and delicious bites. I’m also sharing all my tips and tricks for arranging the board like a pro from start to finish for the most show-stopping presentation. Find a full list of the exact ingredients I used to build this board and assembly instructions below.
xoxo
Emily

Inglehoffer’s Stone Ground Mustard
Olives (any variety)
Apples (any variety)
Salami
Prosciutto
Pears
Blackberries
Grapes
2 Firm Cheeses of your Choice: I recommend a sharp cheddar and aged Parmesan or Gouda
Dried Apricots
Trader Joe’s Blue Cheese Roasted Pecan Dip
Goat cheese log
Fig Spread
Figs (I used dried Pajarero figs as well as fresh black figs)
Cornichons
Autumn Spiced Nuts (recipe here)
Crockpot Apple Butter (recipe here)
Kale/Fresh Rosemary and/or Sage (for garnish)
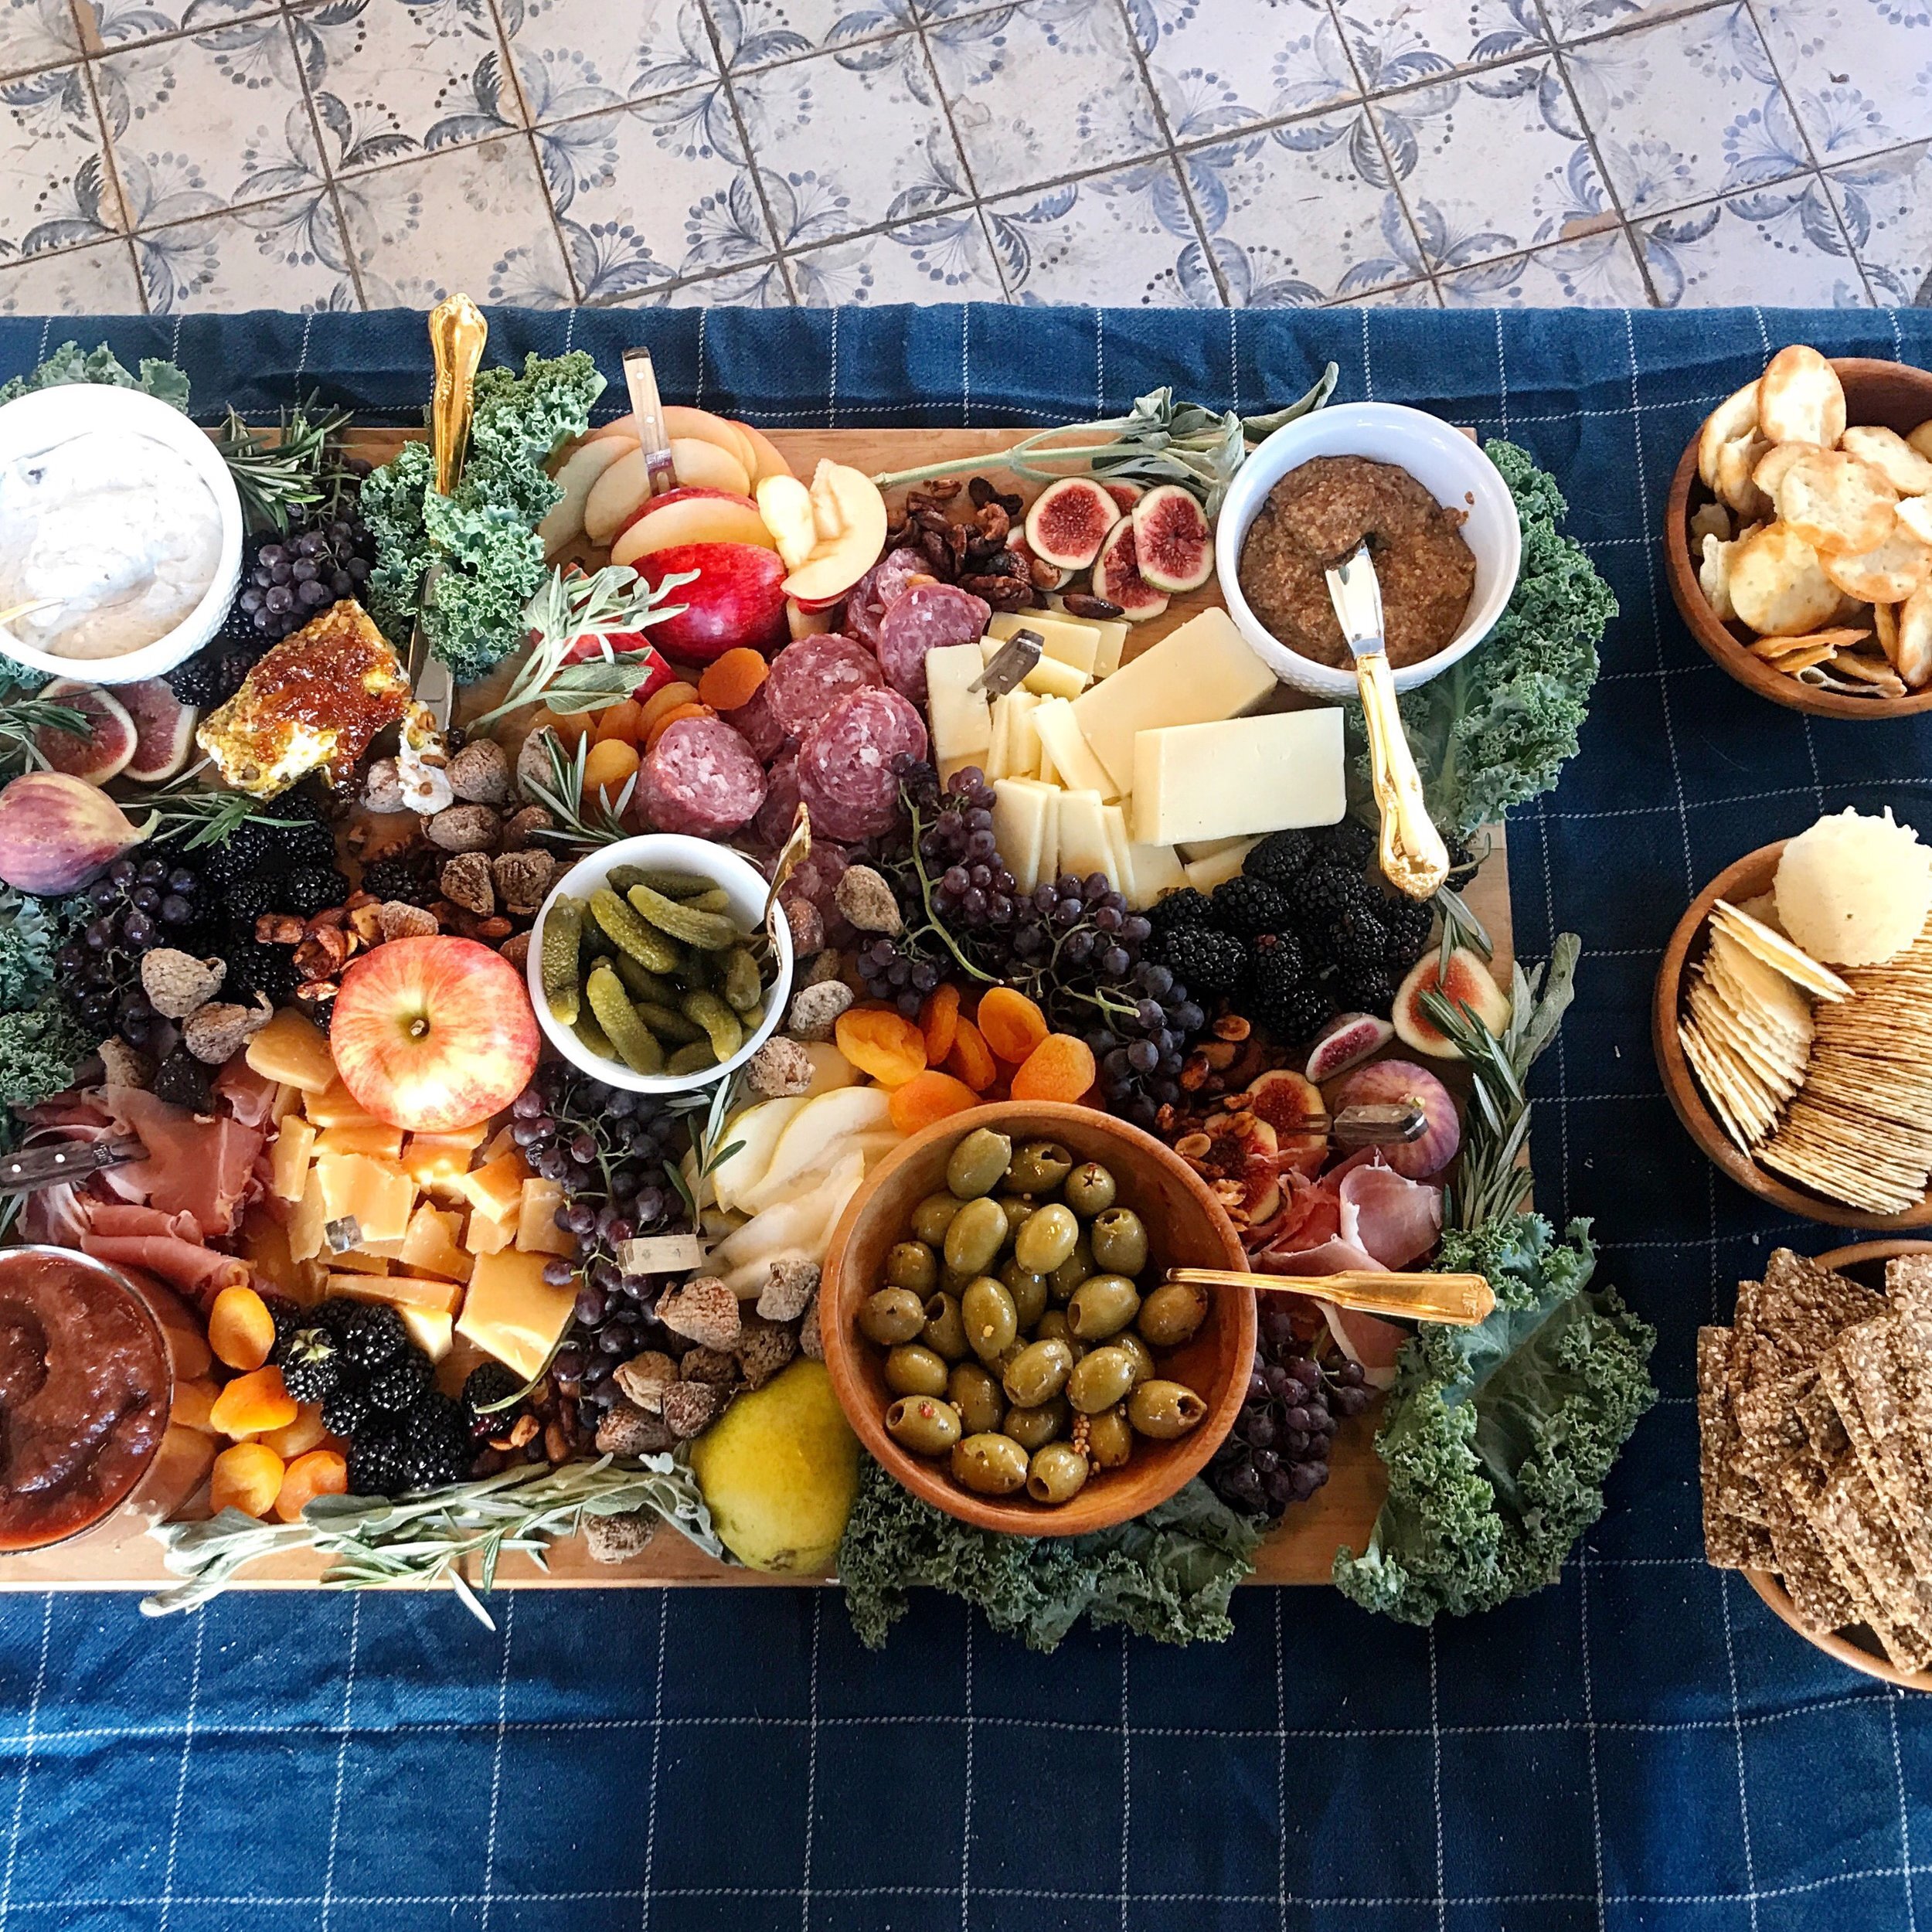
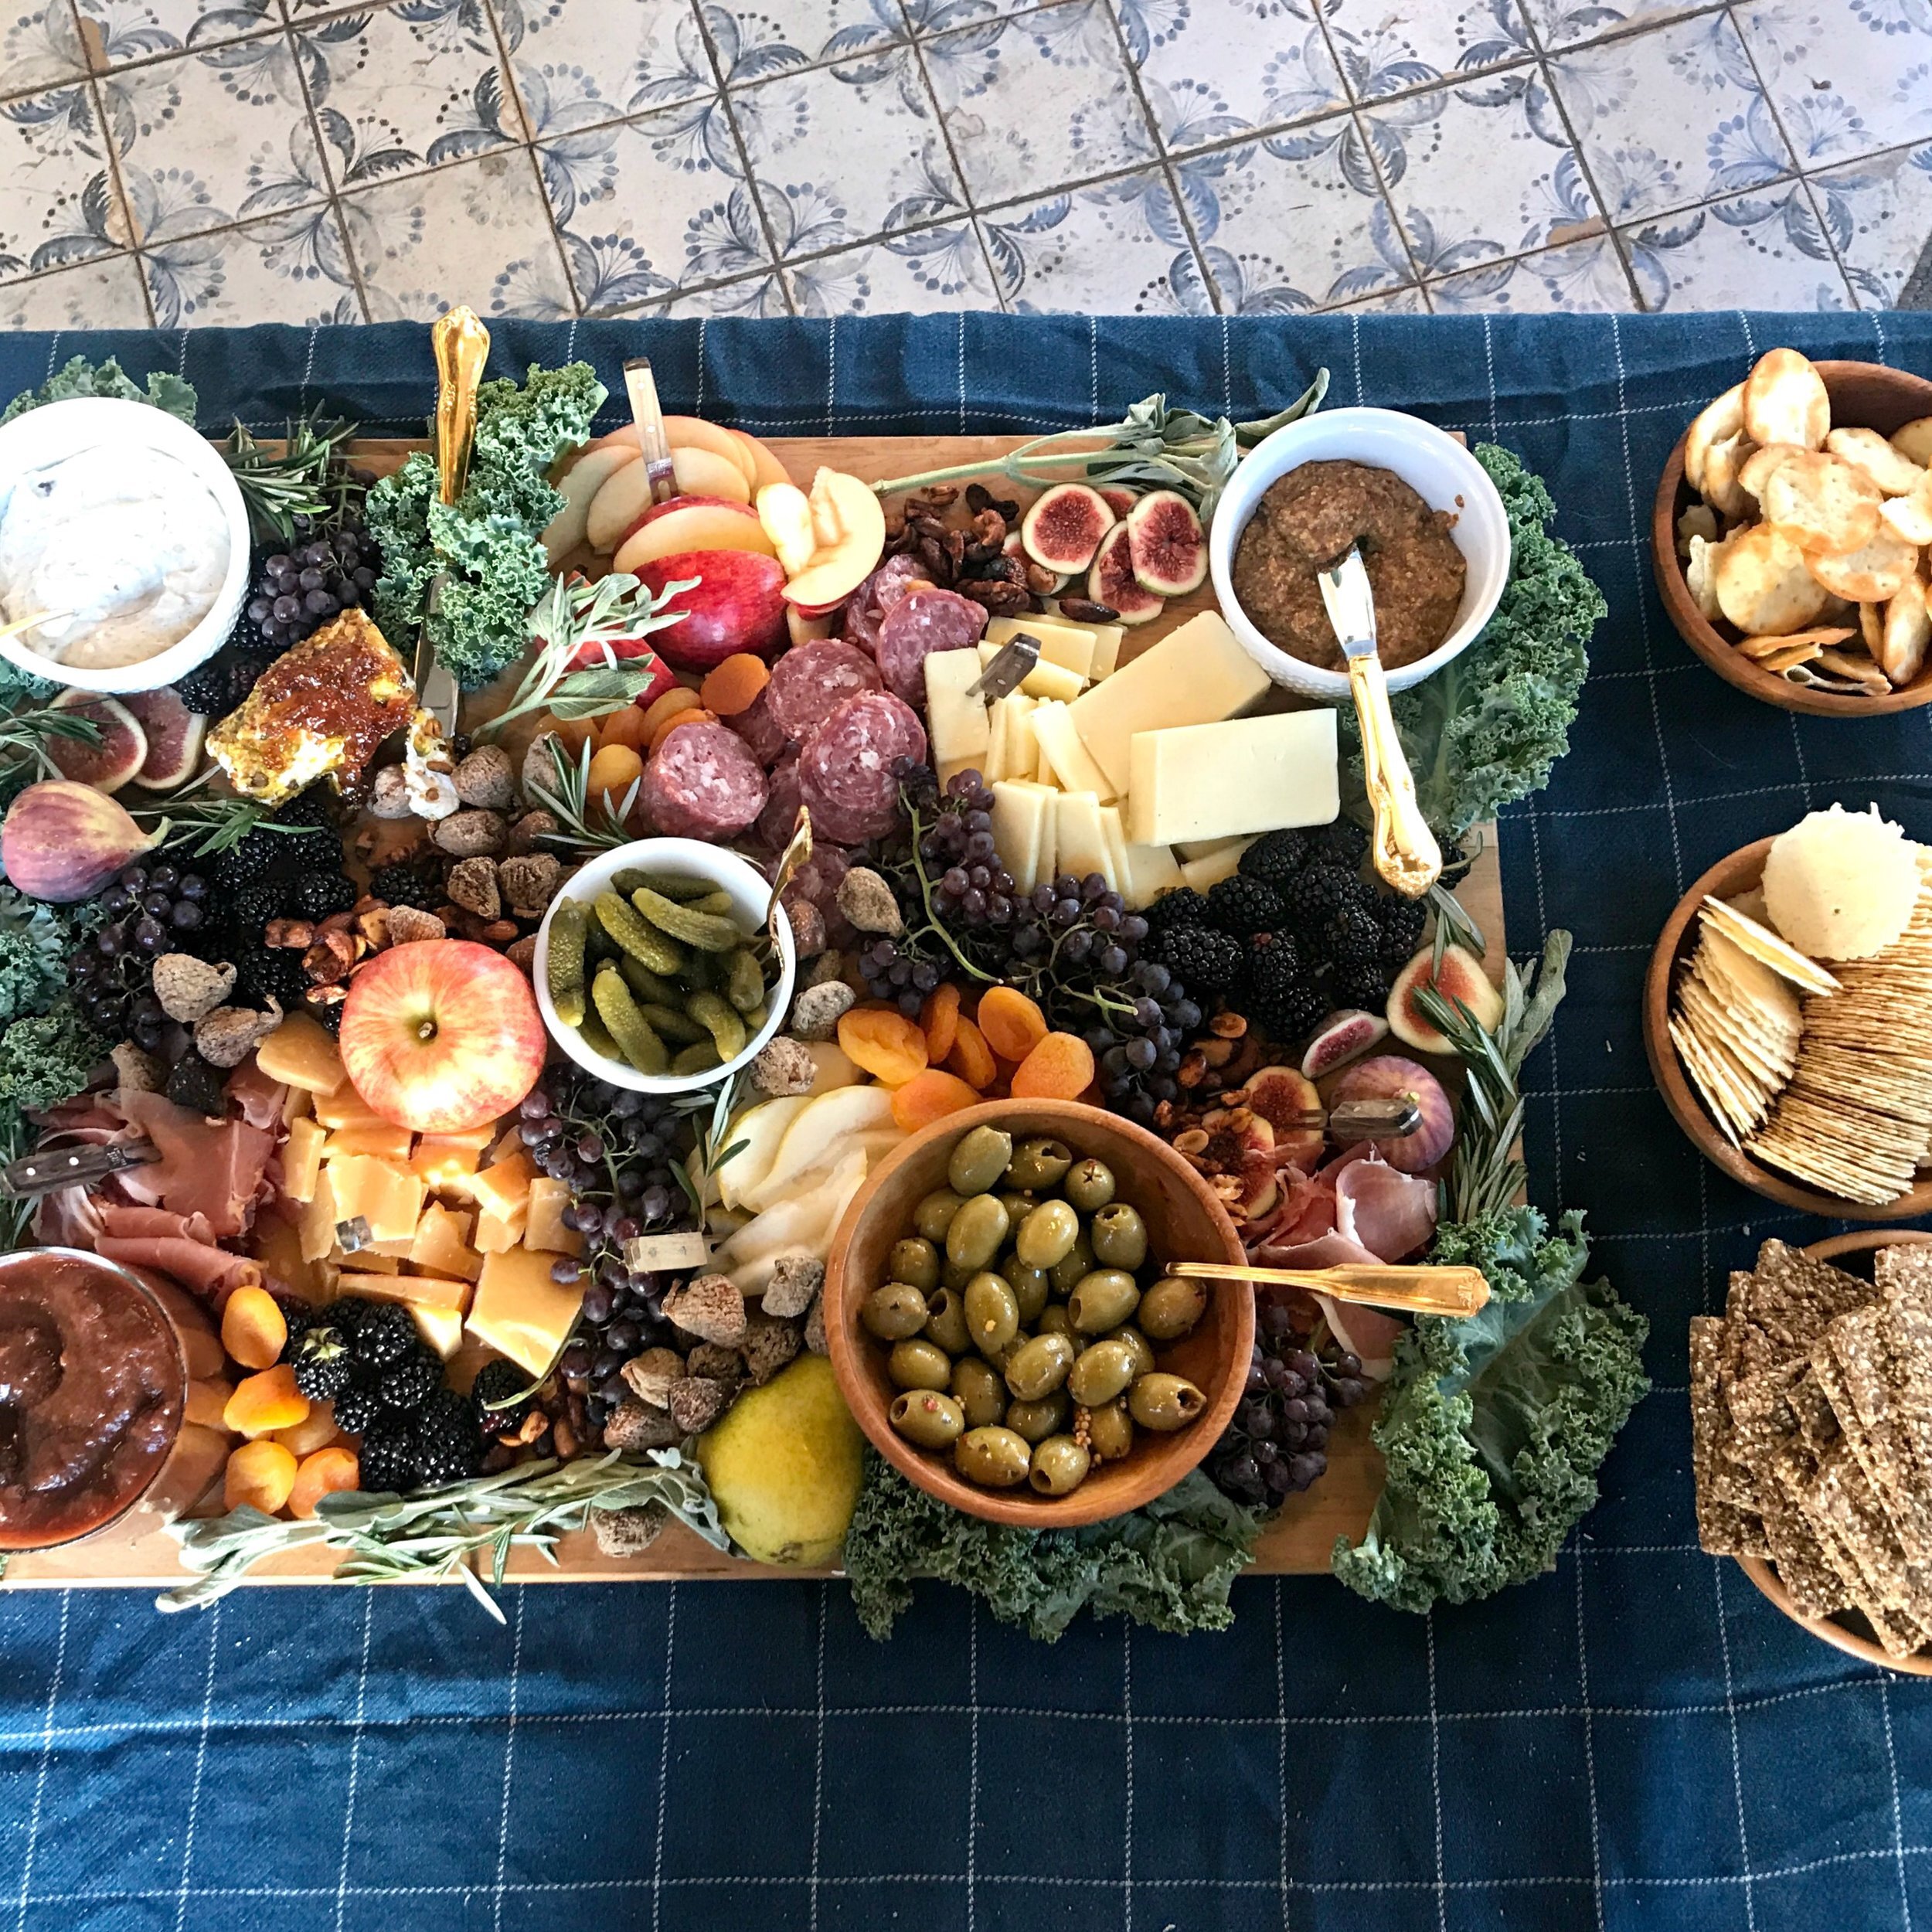
Crackers + Bread Slices of your Choice (I like Trader Joe’s Pita Bite Crackers and 34 Degrees Crispbreads; simple slices of French bread are always good too!)

1. Start with a large empty board. Begin by slicing your two firm cheeses into bite sized pieces, leaving a small chunk of cheese unsliced (the rind provides a pop of different color). Place the cheese on the board in small piles spacing them far from one another.
2. Next cut your meats into bite sized pieces. Many meats will come pre-sliced and should be good to go straight out of the package (unless you want to cut them into even smaller pieces). Add the meats to the board next spacing them away from each other. (I placed each next to one of the cheeses)
3. Place your goat cheese on the platter (away from the other two cheese if possible)and top with a scoop or two of the fig butter. Place a small knife or spreader next to it for easy serving.
4. Accompaniments (olives, nuts, any other snack-type foods) will all be placed differently depending on the type of food. Some items like pickles or olives may need to be placed in a small bowl or dish with a spoon, while others like nuts can just be placed directly on the board. Any soft spreads, dips, or sauces will also need to be placed in small dishes or bowls with a spoon or knife for serving (that includes the mustard, apple butter, and blue cheese pecan dip for this board). Evenly space all your small dishes throughout the board next and then you will be able to fill in the holes around them with the remaining items listed in steps 5 + 6.
5. A lot of your fruit can be served whole (blackberries and grapes), but fruit like apples, figs, and pears will need to be sliced into bite sized pieces. I like to leave one larger section of those kind of fruits un-sliced just for a pop of different color on the board and a more rustic touch.
6. Grab a handful of each of your remaining items and start placing them on your board. Try to mix the items so that there is a good balance of color and types of food (for example-don't put all the fruits together in one spot, but disperse them throughout the board in between different cheeses and meats). Start at the center of the board and work your way out. You also do not have to put the entire grouping of one item in one spot (for example: all the blackberries in one pile); instead I usually like to make a few different piles of each type of fruit throughout to vary color and texture across the board.
7. Finally add a few big handfuls of bread or crackers throughout the board (if there’s room remaining). If you run out of room on your board for your bread/crackers, I often just serve them in a large bowl or tray placed beside the board too. They don't add a ton of color, so it's not as necessary to have them on the board as the other ingredients.
8. Fill any holes on the board with your fresh herbs or kale for garnish, especially the outer edges of your board.
9. Share + enjoy!