White Cheddar Mac and Cheese Stuffed Acorn Squash

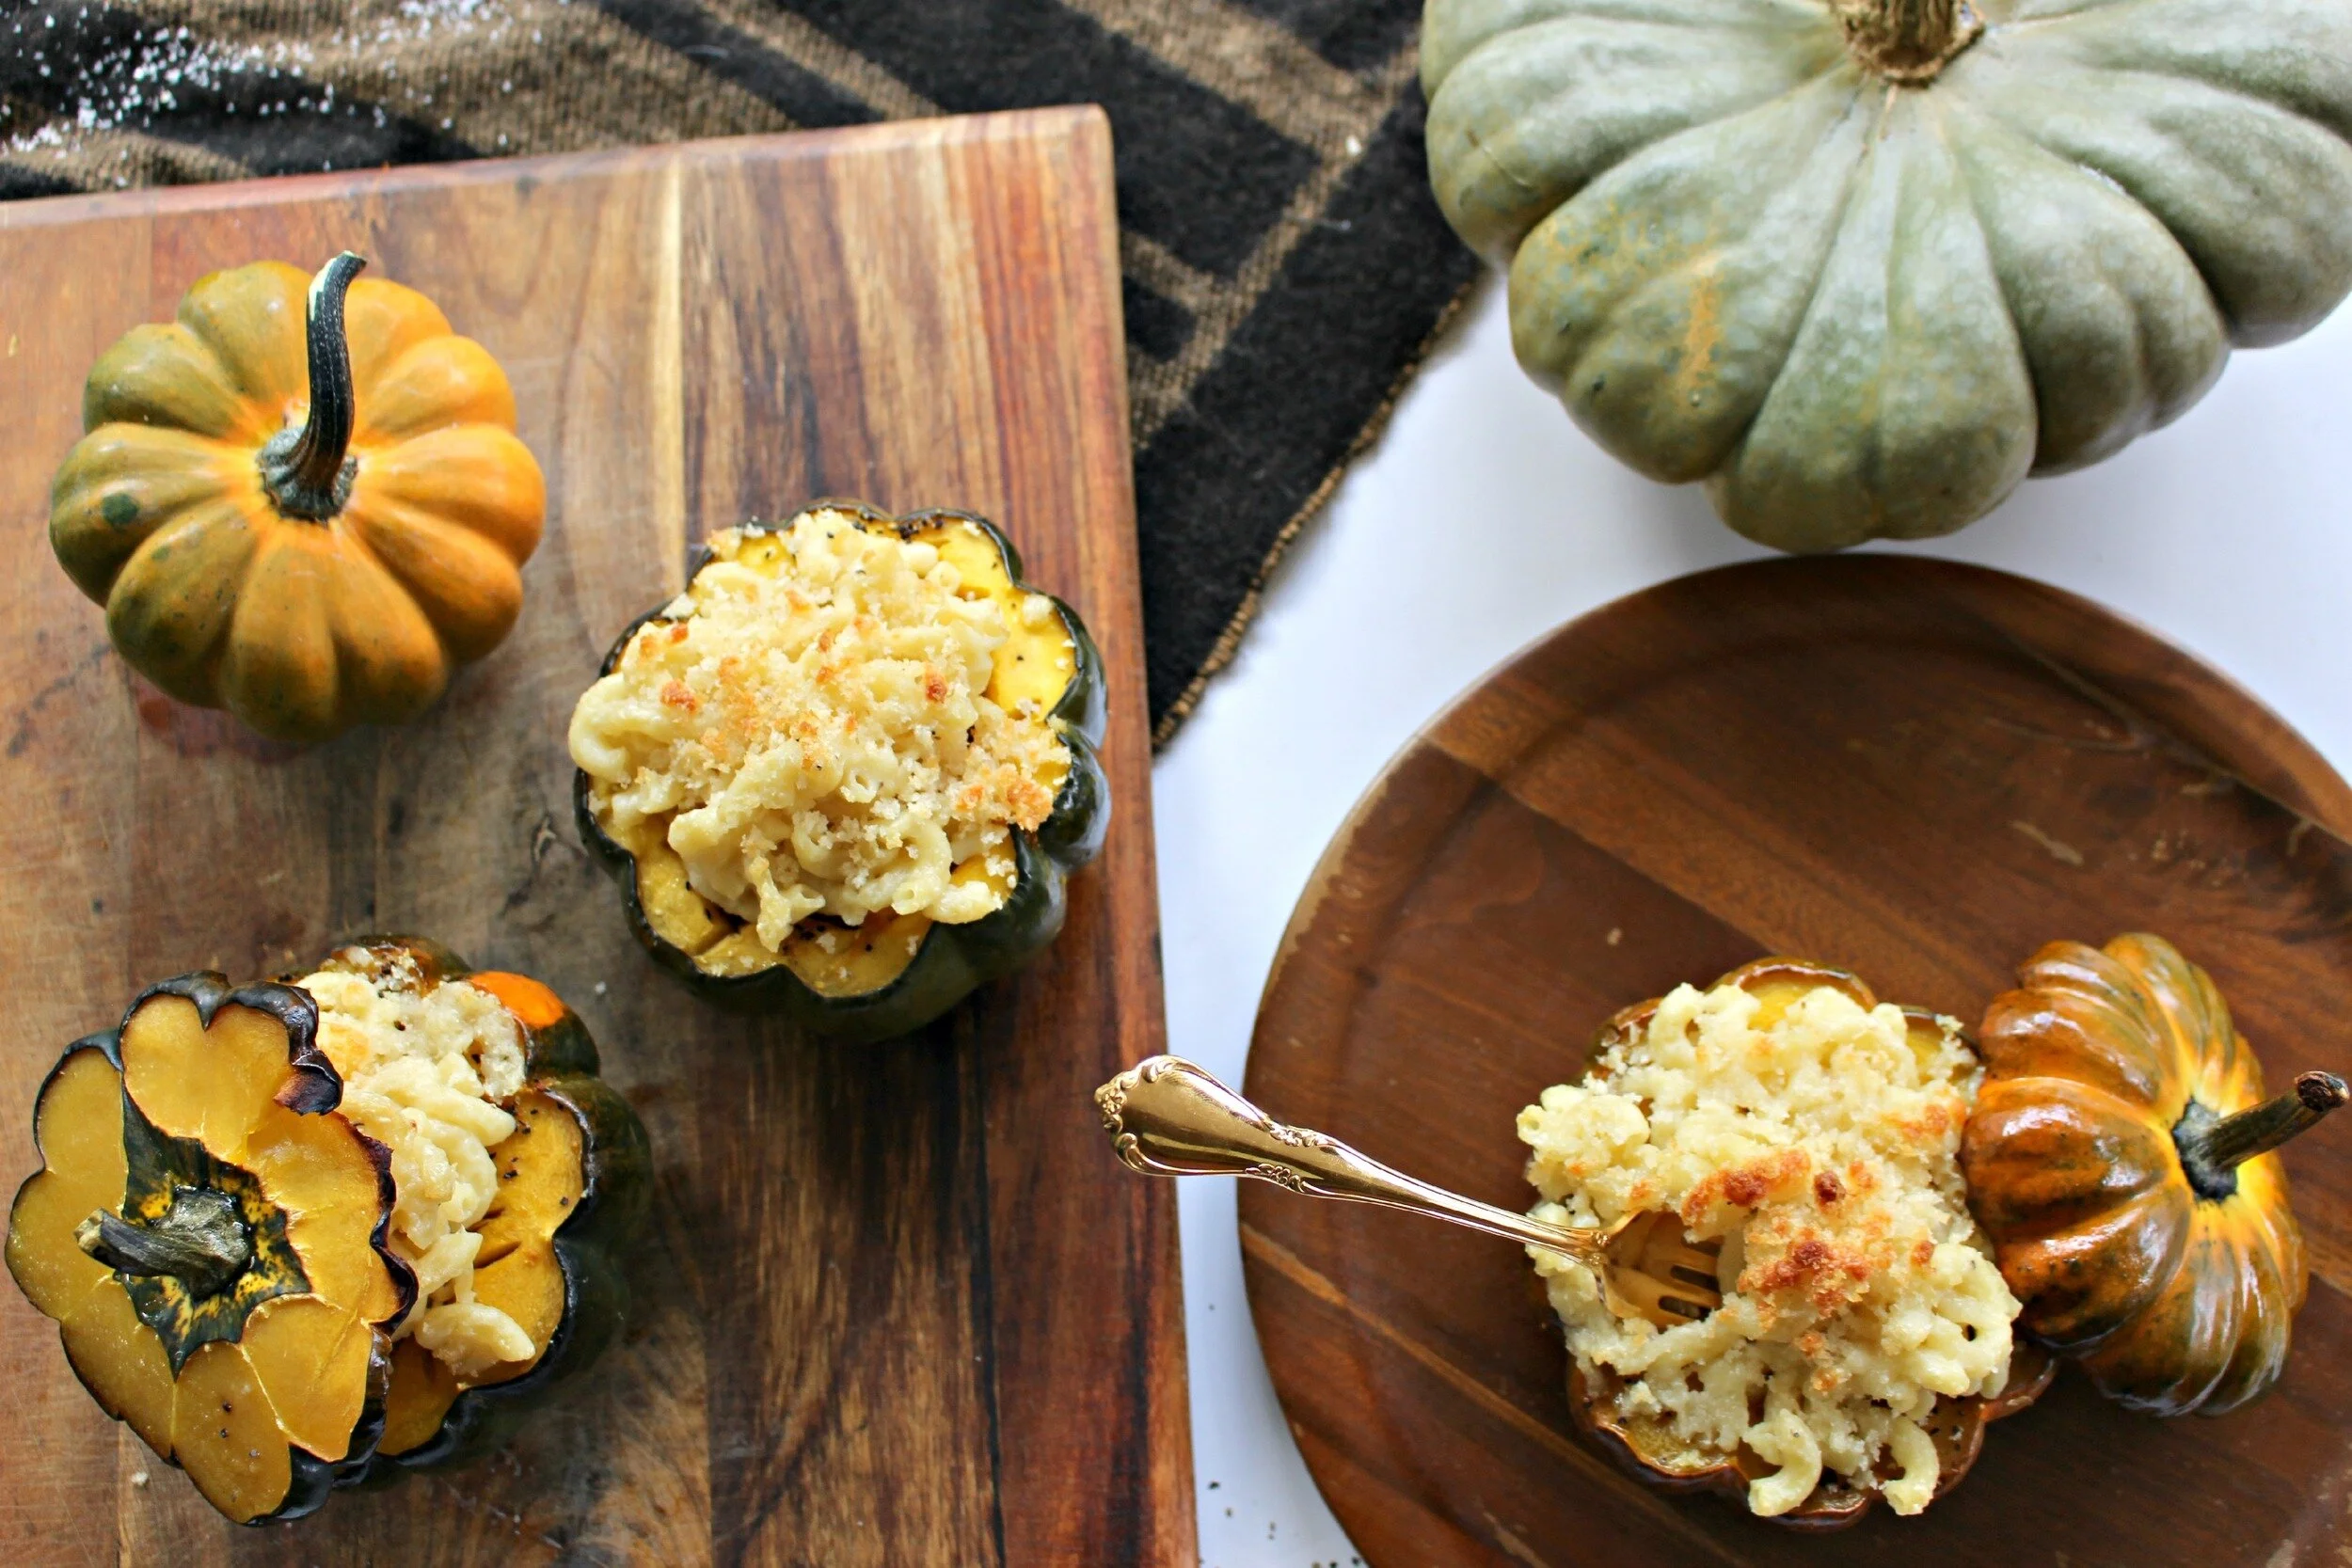
What screams fall like eating your dinner out of a cute little pumpkin? Ok, so it's technically an acorn squash, but it still looks just as pretty and festive! Mac and cheese is one of my favorite comfort foods and I love the idea of serving it in these gorgeous, bright roasted acorn squashes. I found this recipe on Pinterest from one of my favorite food blogs, Honestly Yum. I tweaked the steps in the original recipe just a little but kept most of the ingredients the same. The finished product turned out equally delicious and beautiful, a perfect dish for fall entertaining or to accompany your Thanksgiving dinner!
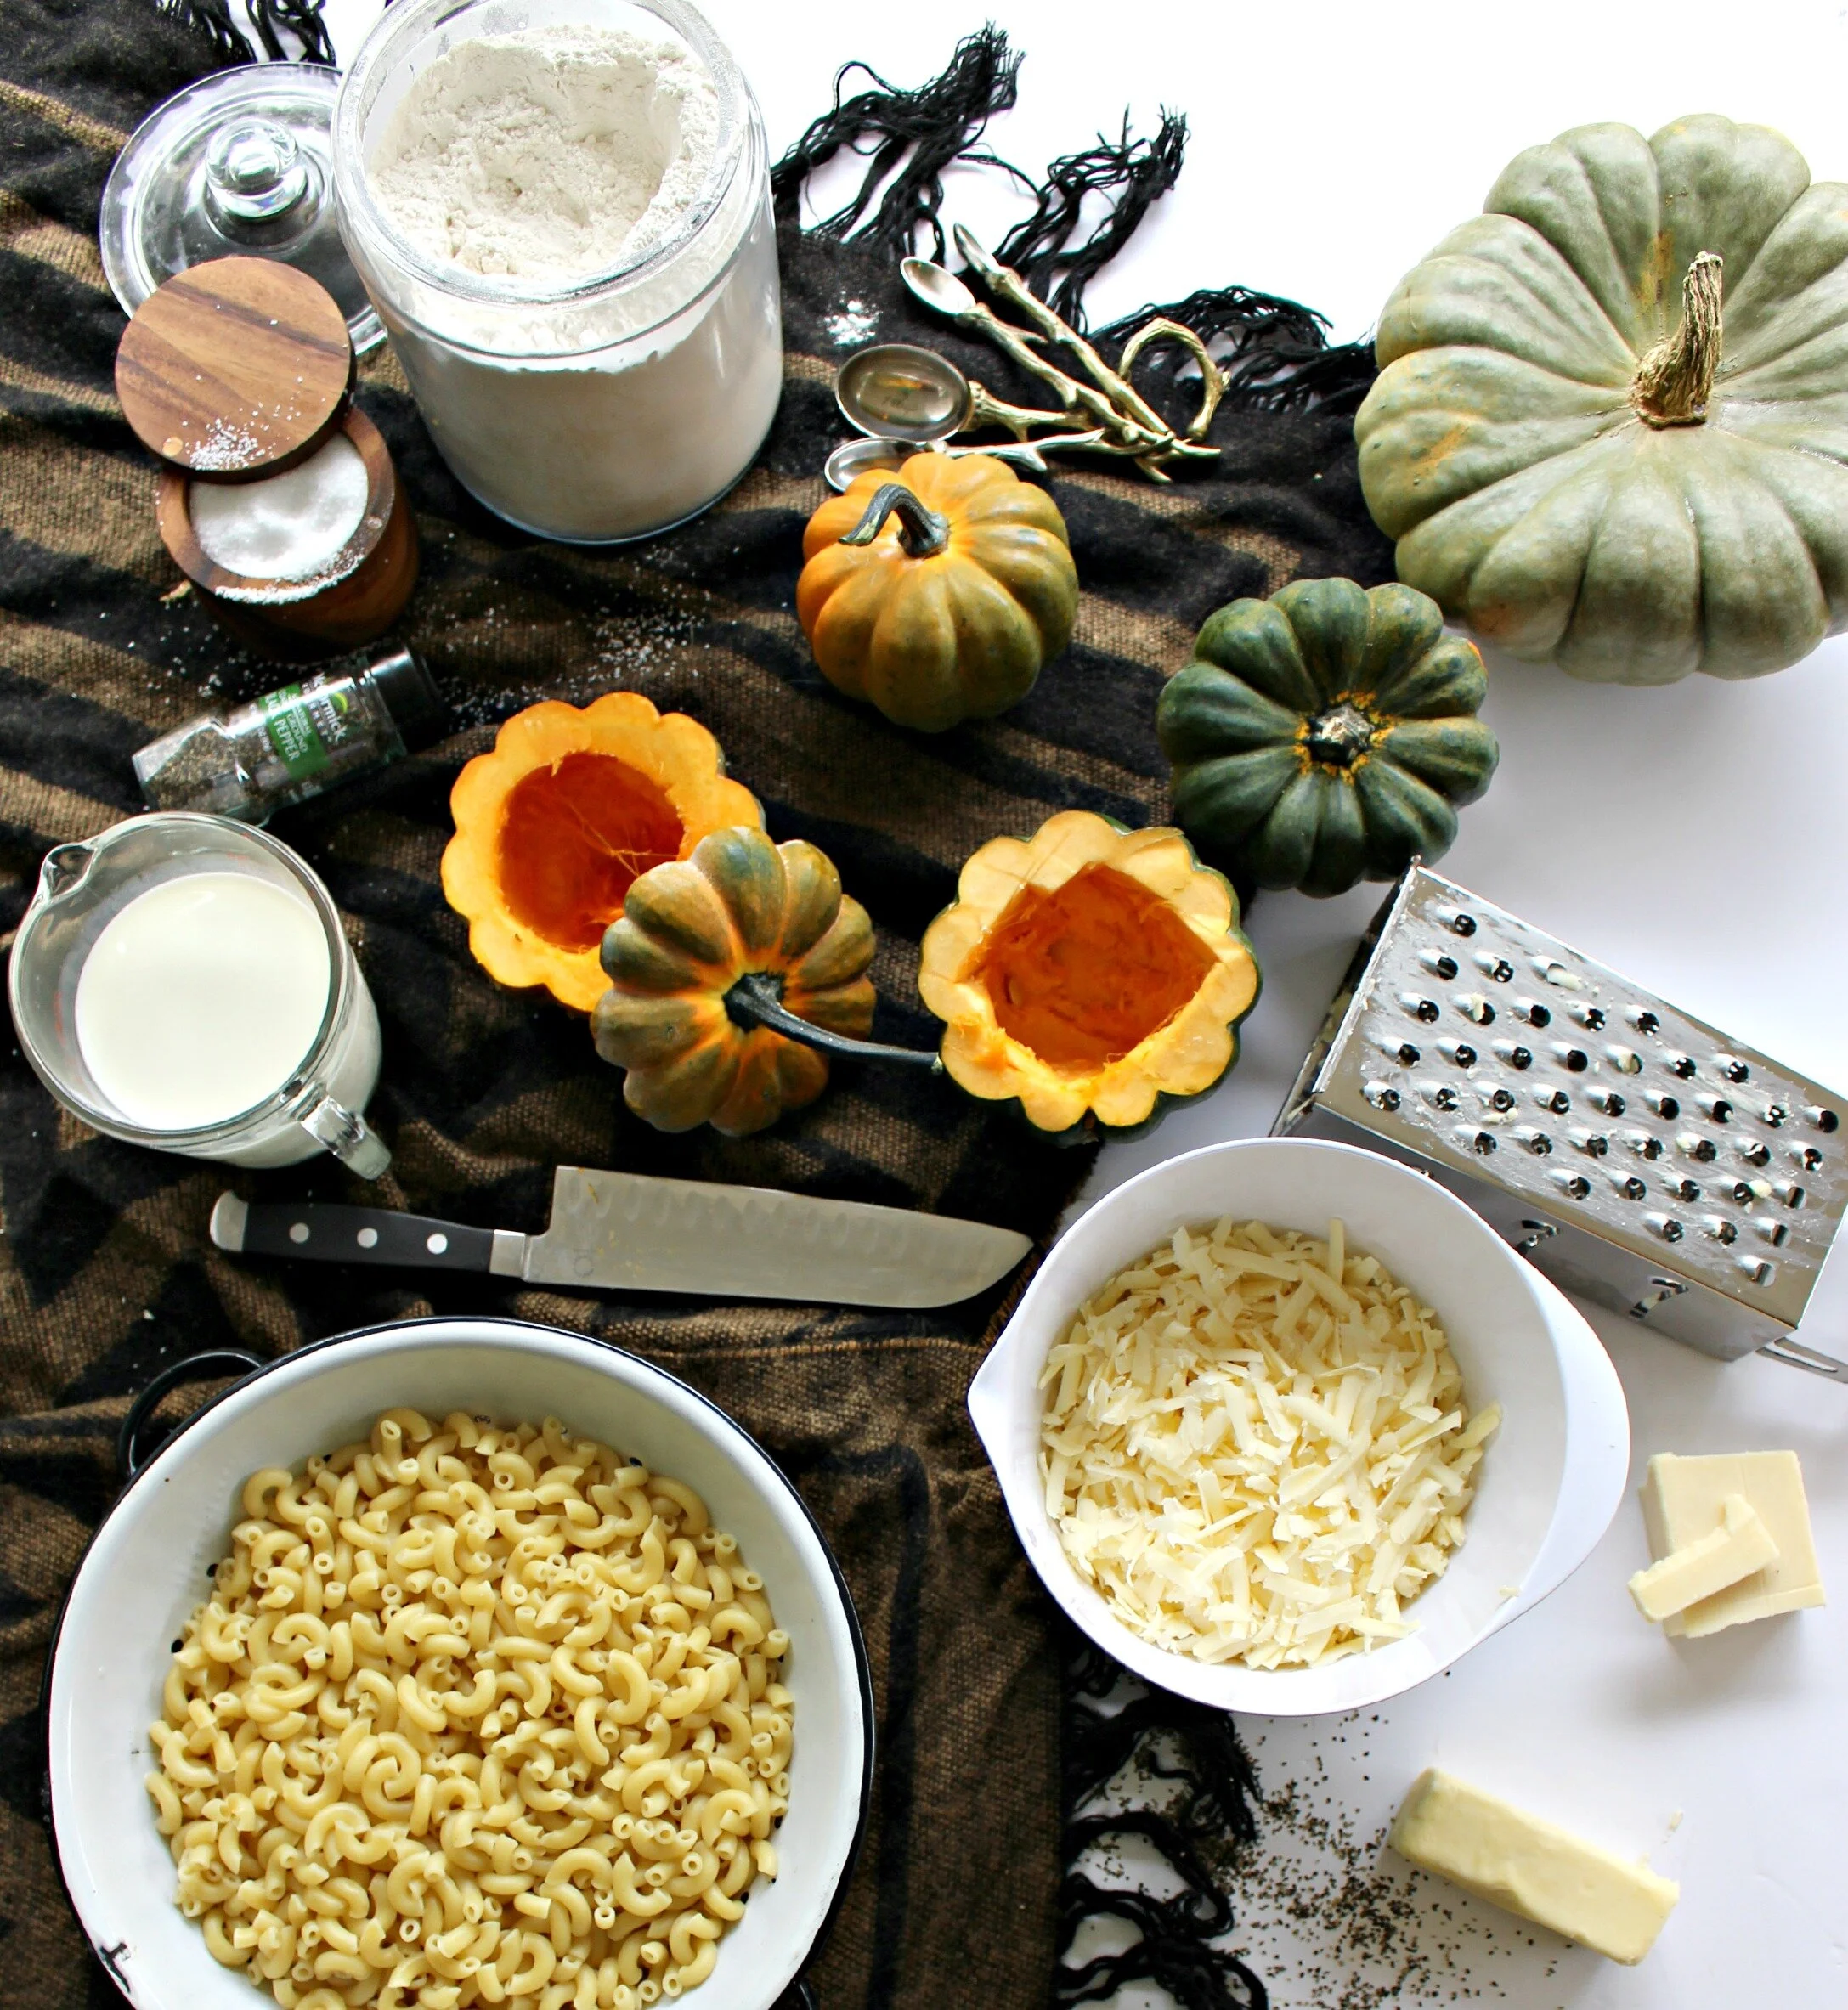
Here's what you need for your stuffed squash:
1 lb. elbow macaroni
1 stick of butter
5 cups of whole milk
1/2 cup flour
1 teaspoon minced garlic
16 ounces white cheddar cheese
salt and pepper
olive oil
1/2 cup Panko bread crumbs
about 8 acorn squash (You can fill up to 10 with this recipe, but you only have to make as many as you want to serve. You can always save any left over mac and cheese!)
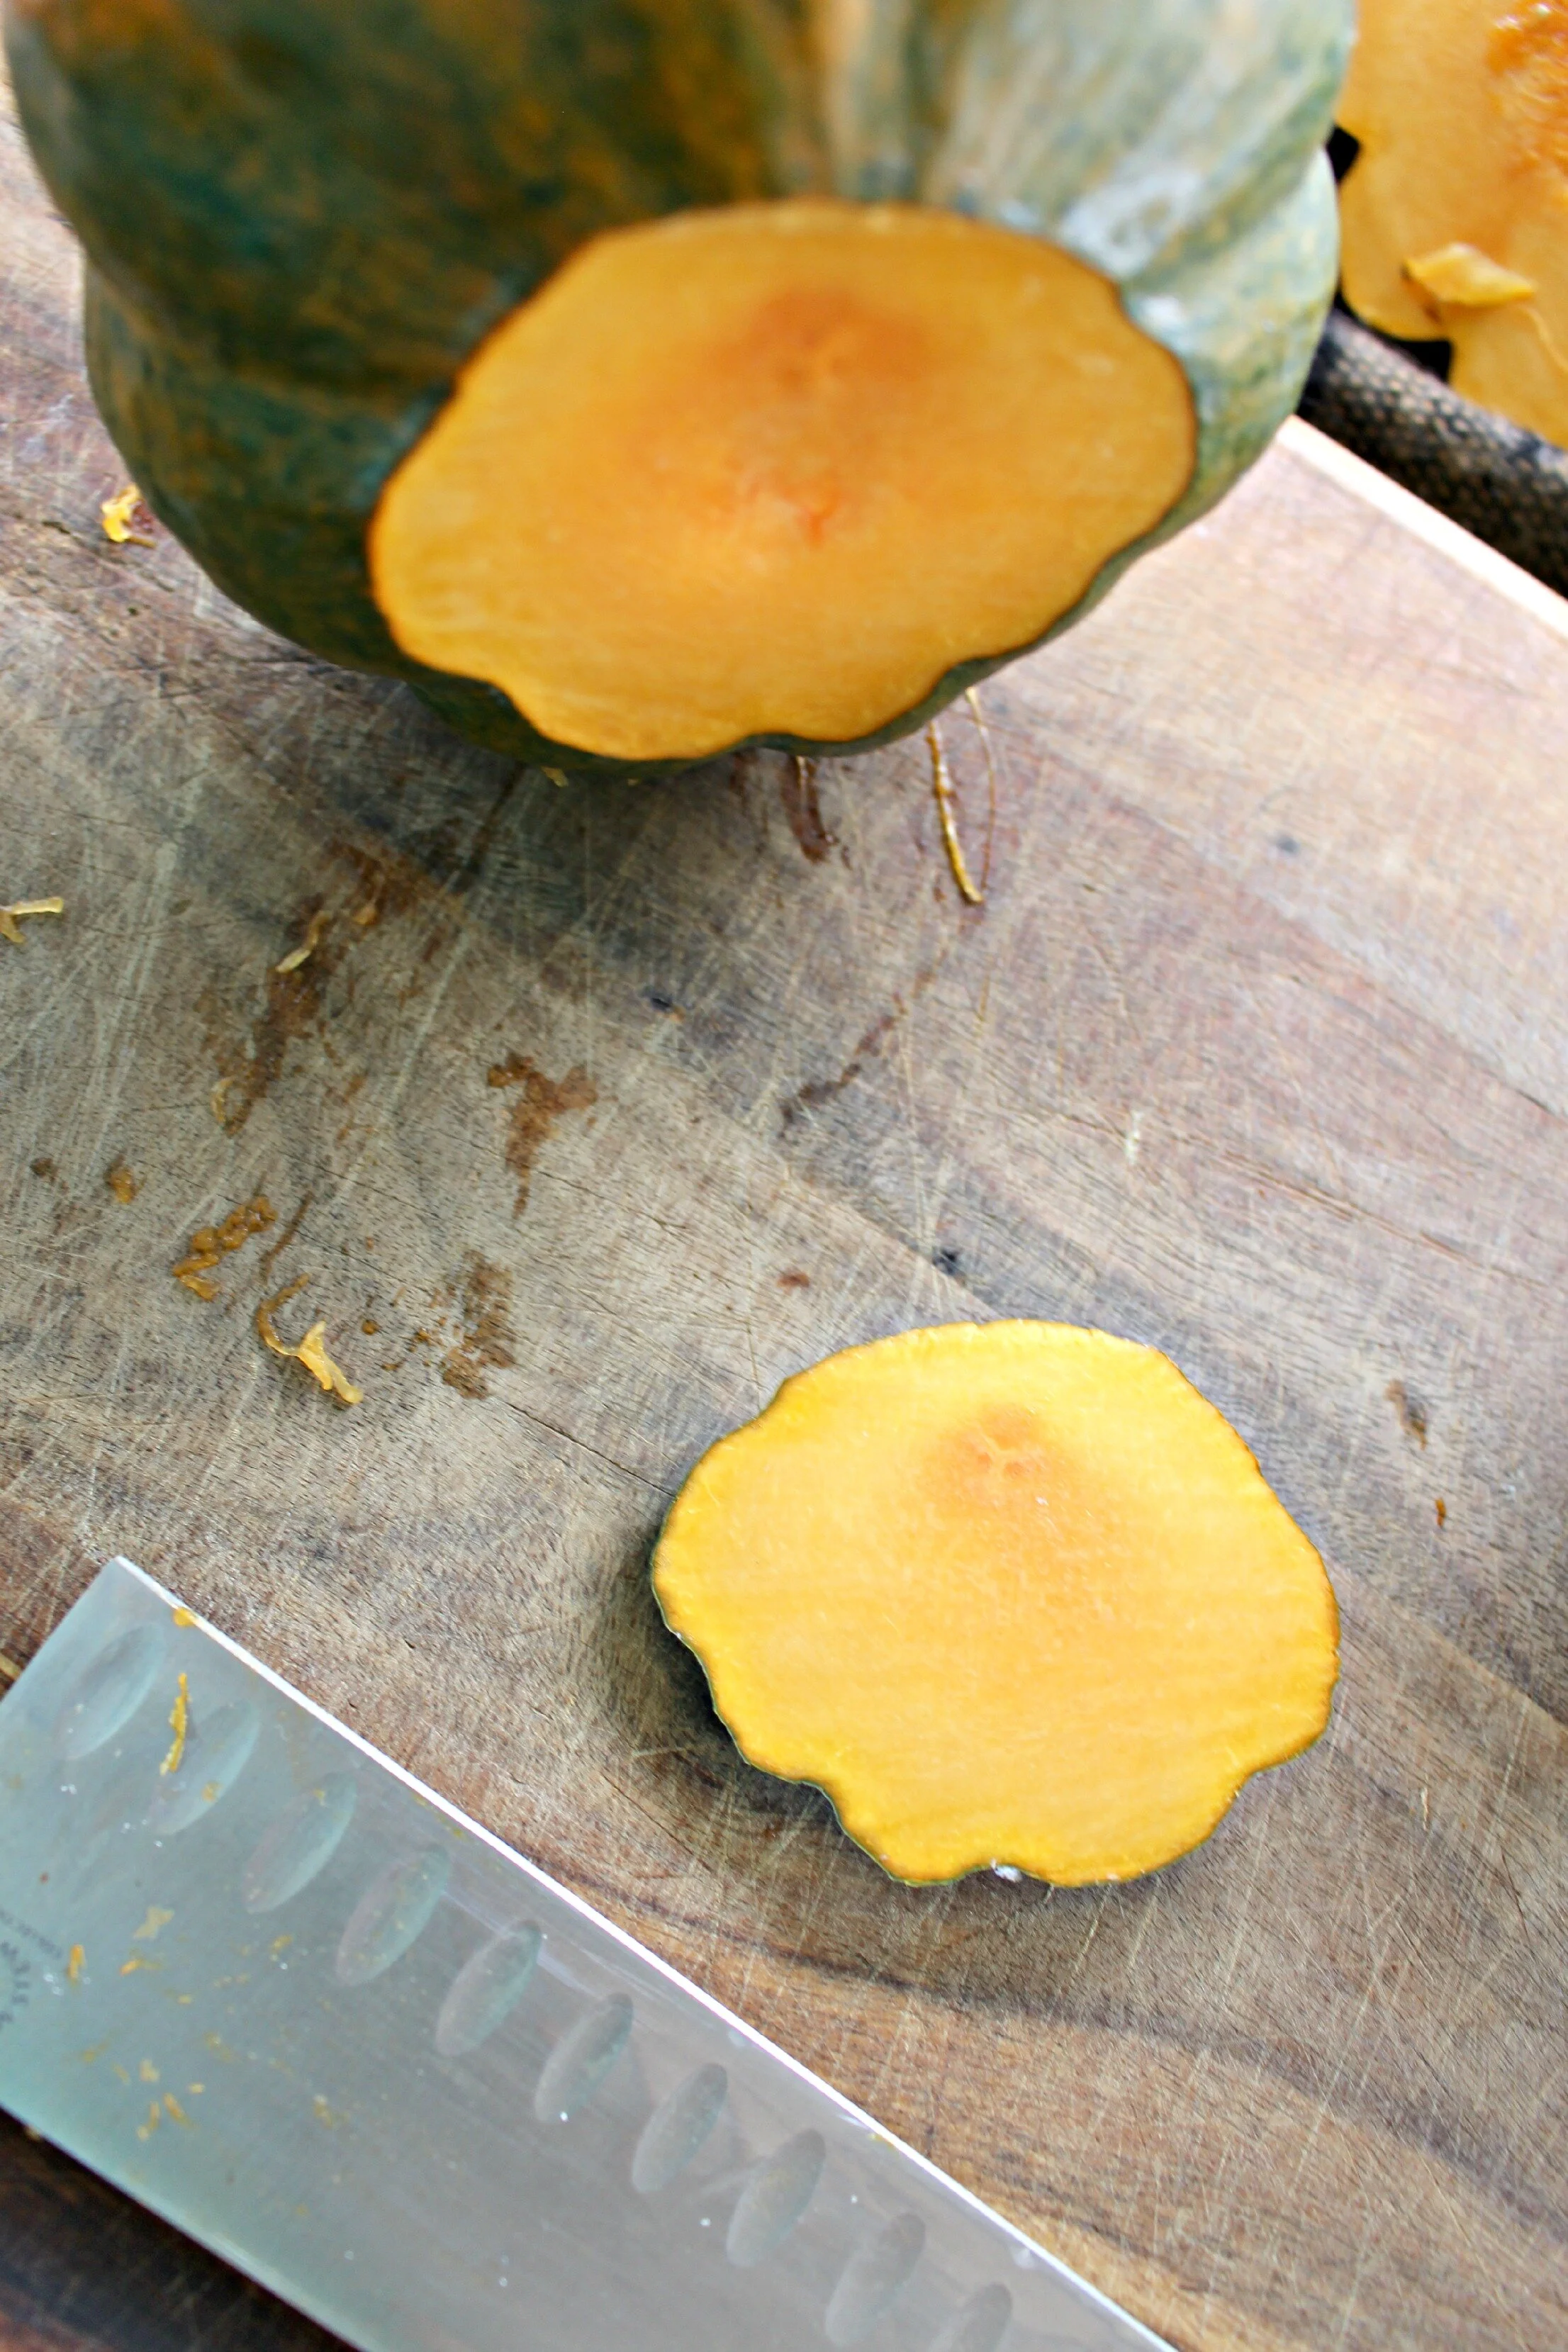
Preheat your oven to 375. Begin by preparing your squash for roasting. Cut a tiny bit of the bottom of each squash off (just enough so it can sit up without rolling!)
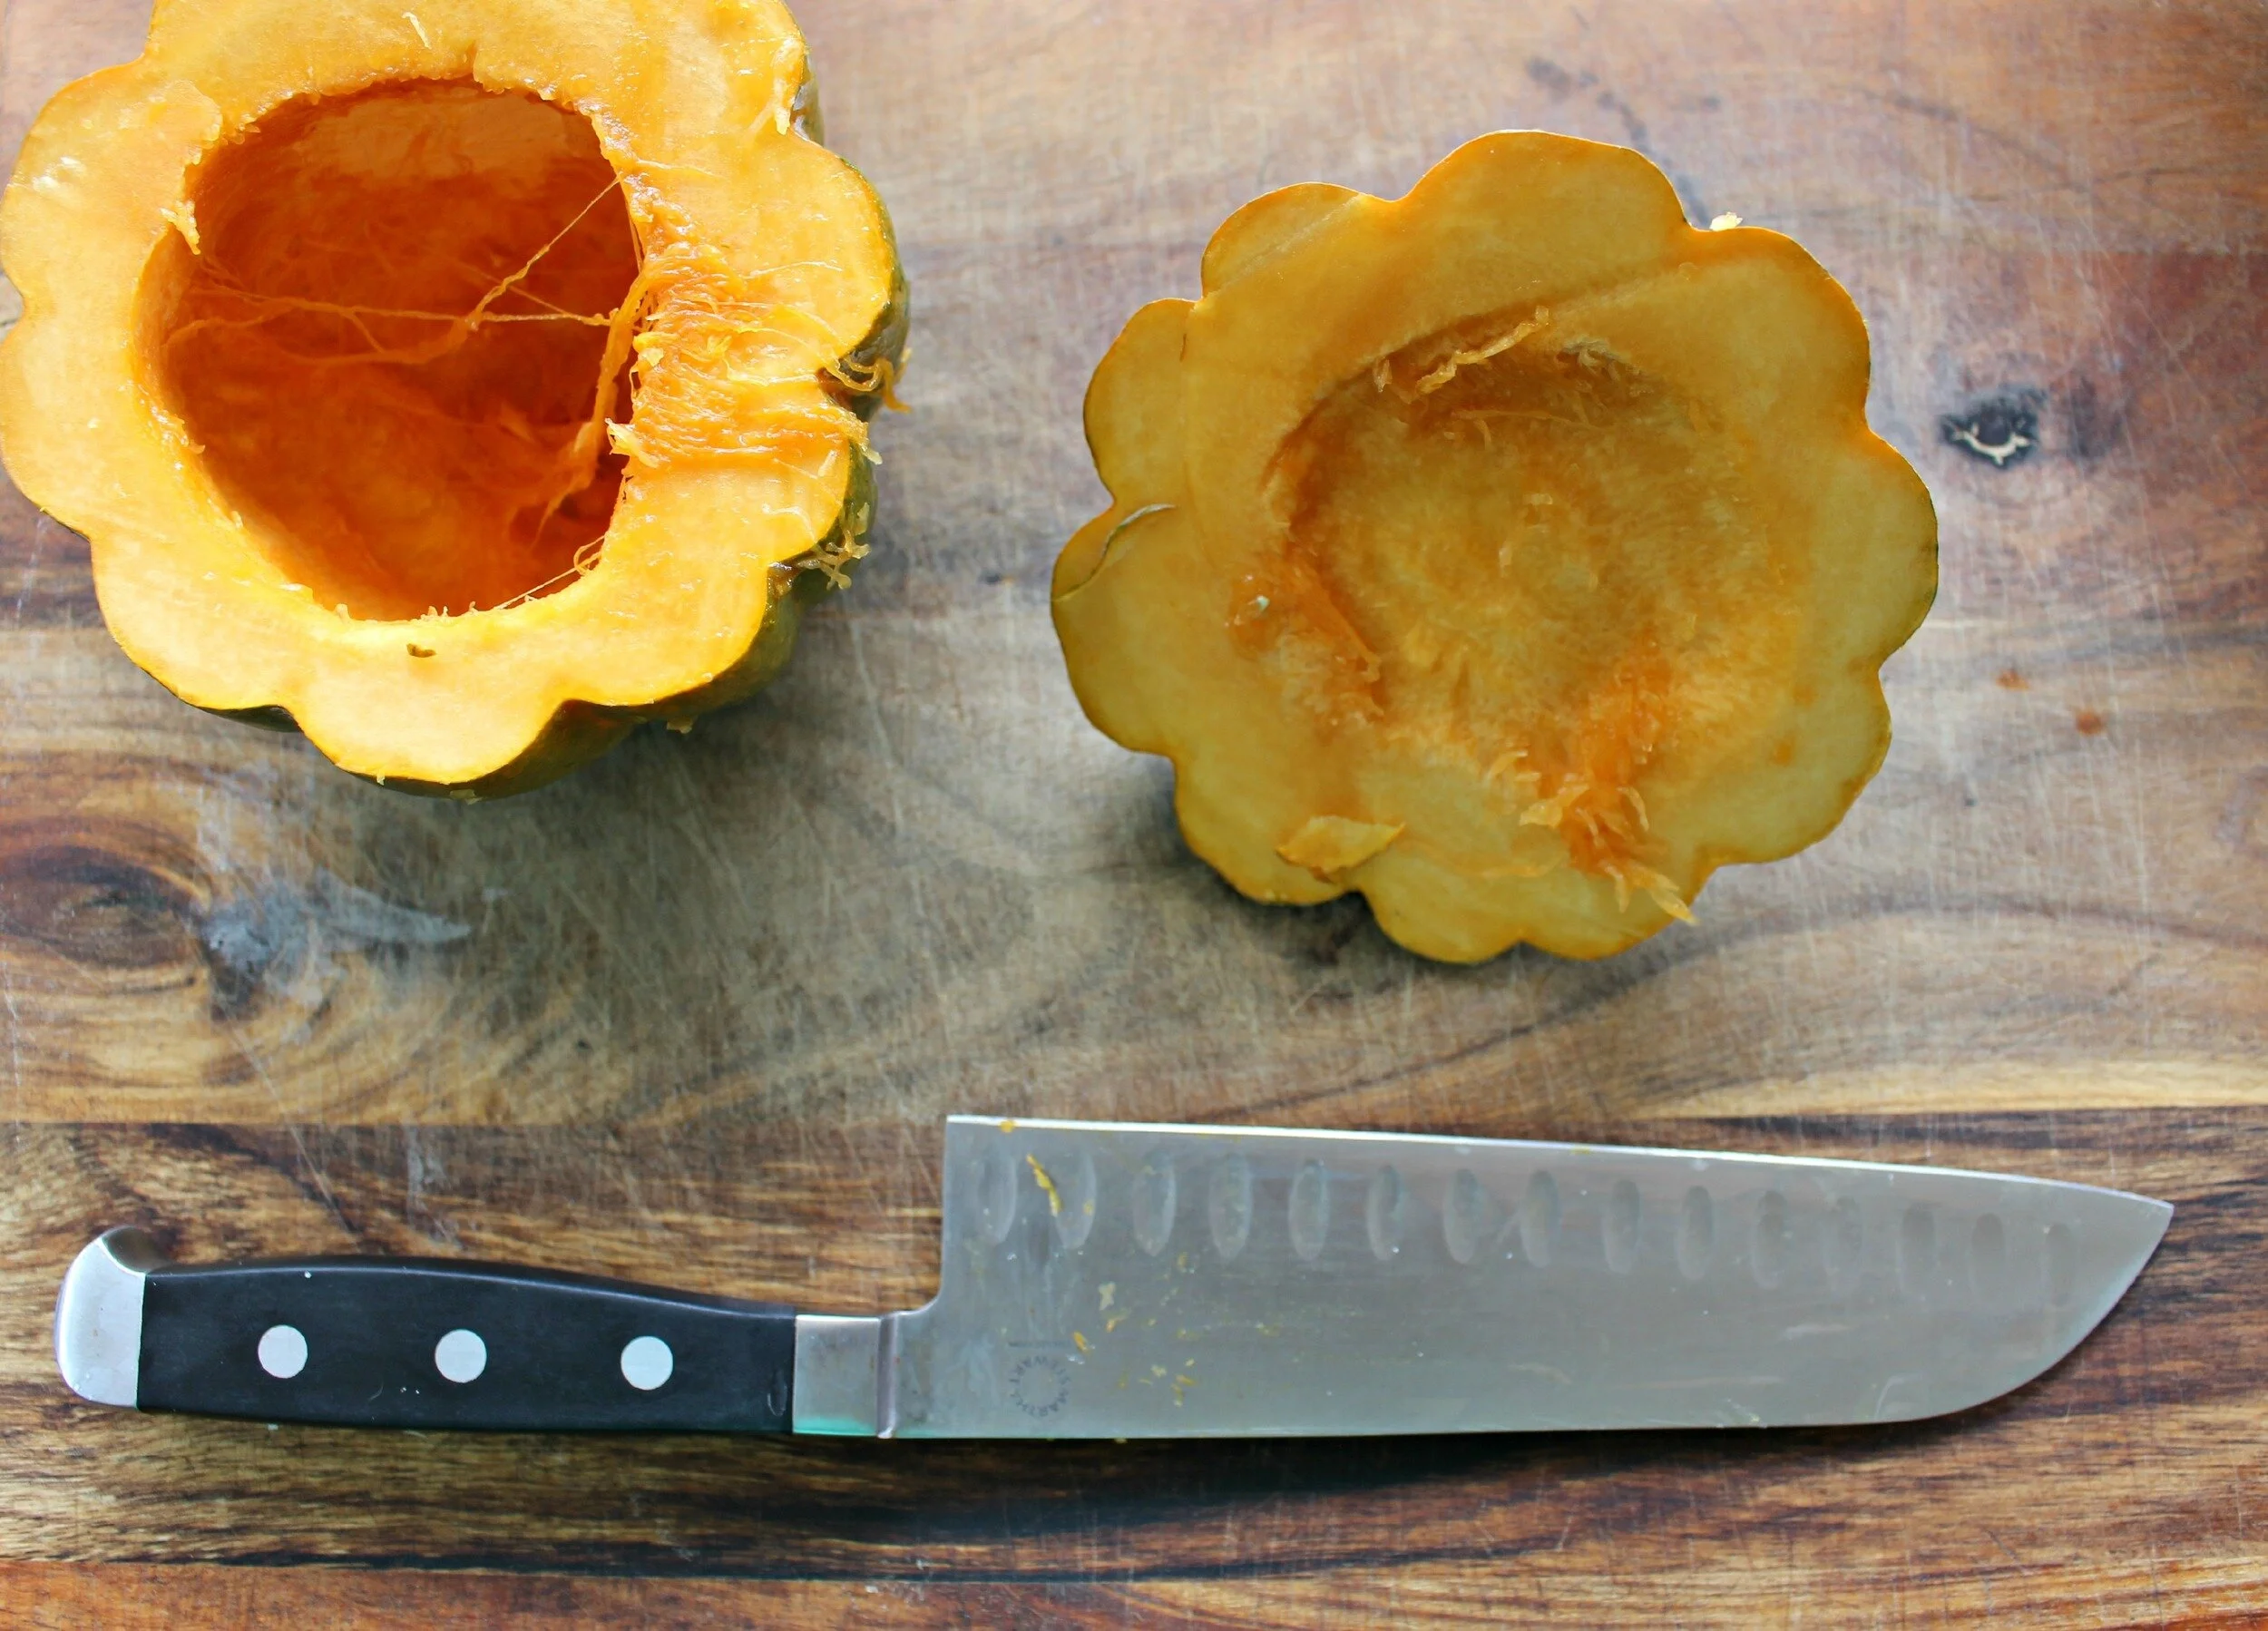
Next cut the top off of each squash so that you have a removable lid. You will need a sharp knife for this. I cut my first squash too high up and hit the stem about half way through, but eventually got the hang of it. If you mess up it doesn't really matter because the lids are just decorative!
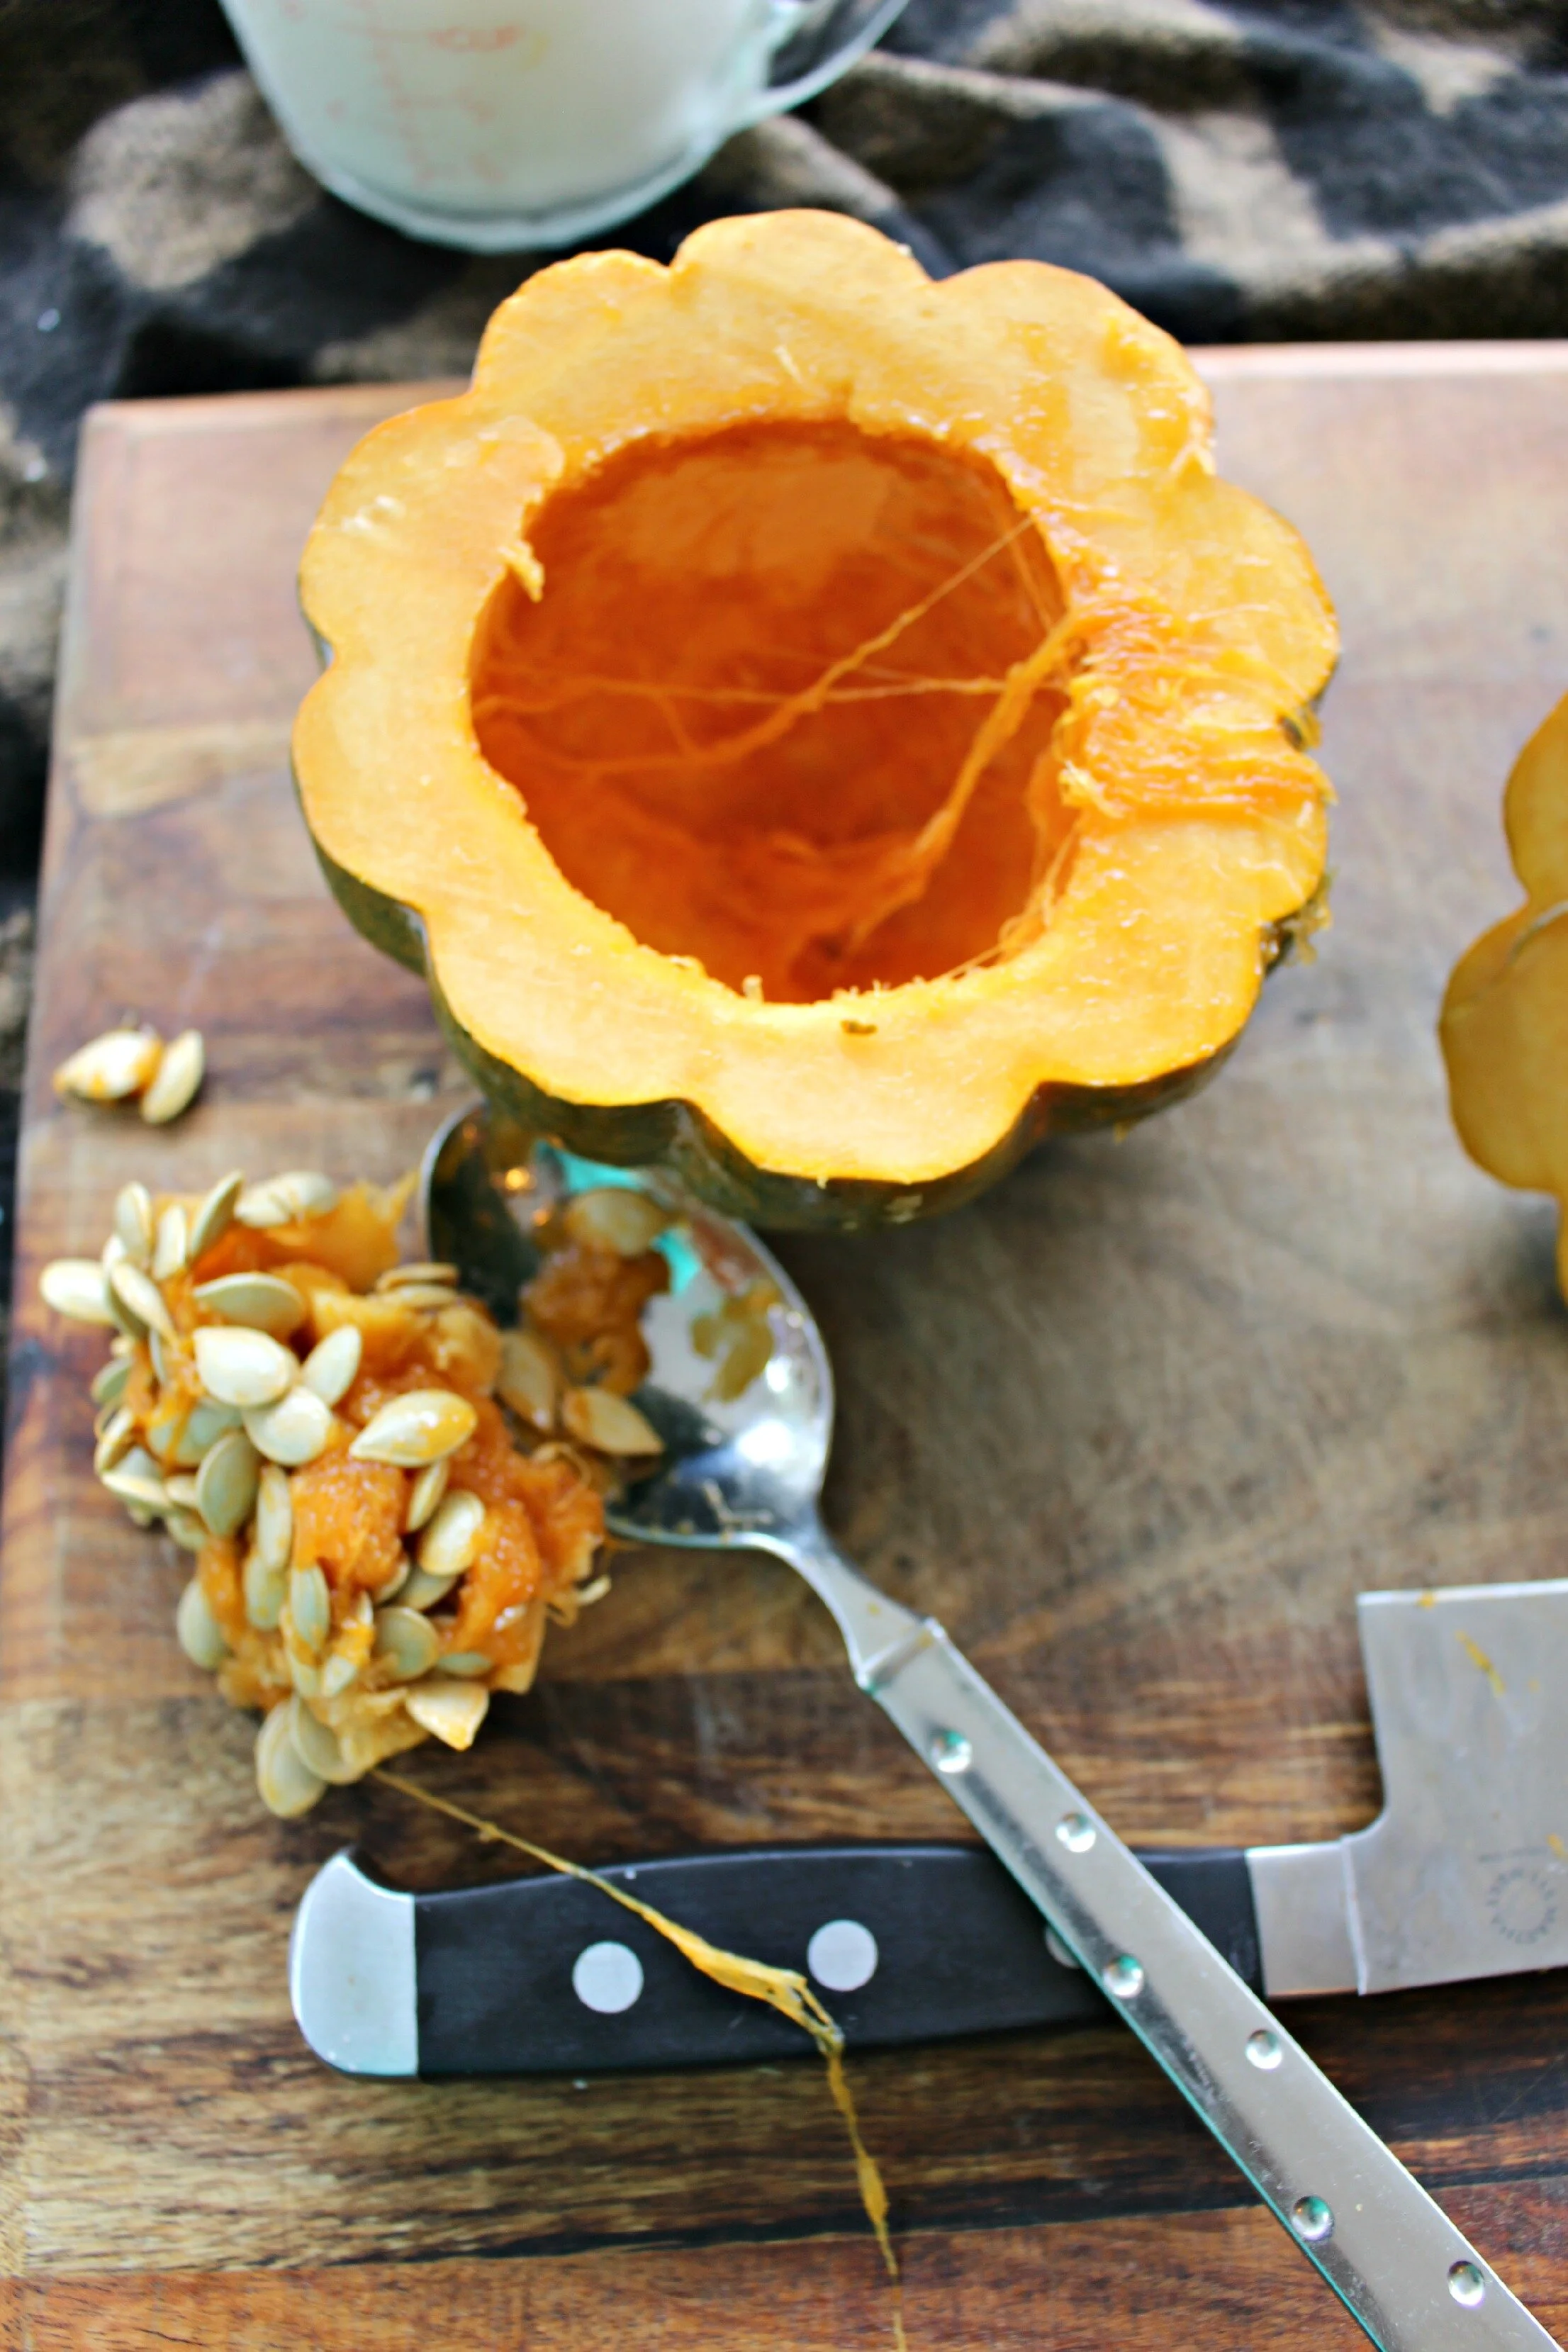
Use a spoon to scoop out all the seeds and scrape as much flesh out of each squash as you can.

Drizzle each squash (tops and bottoms) with plenty of olive oil and sprinkle generously with salt and pepper.
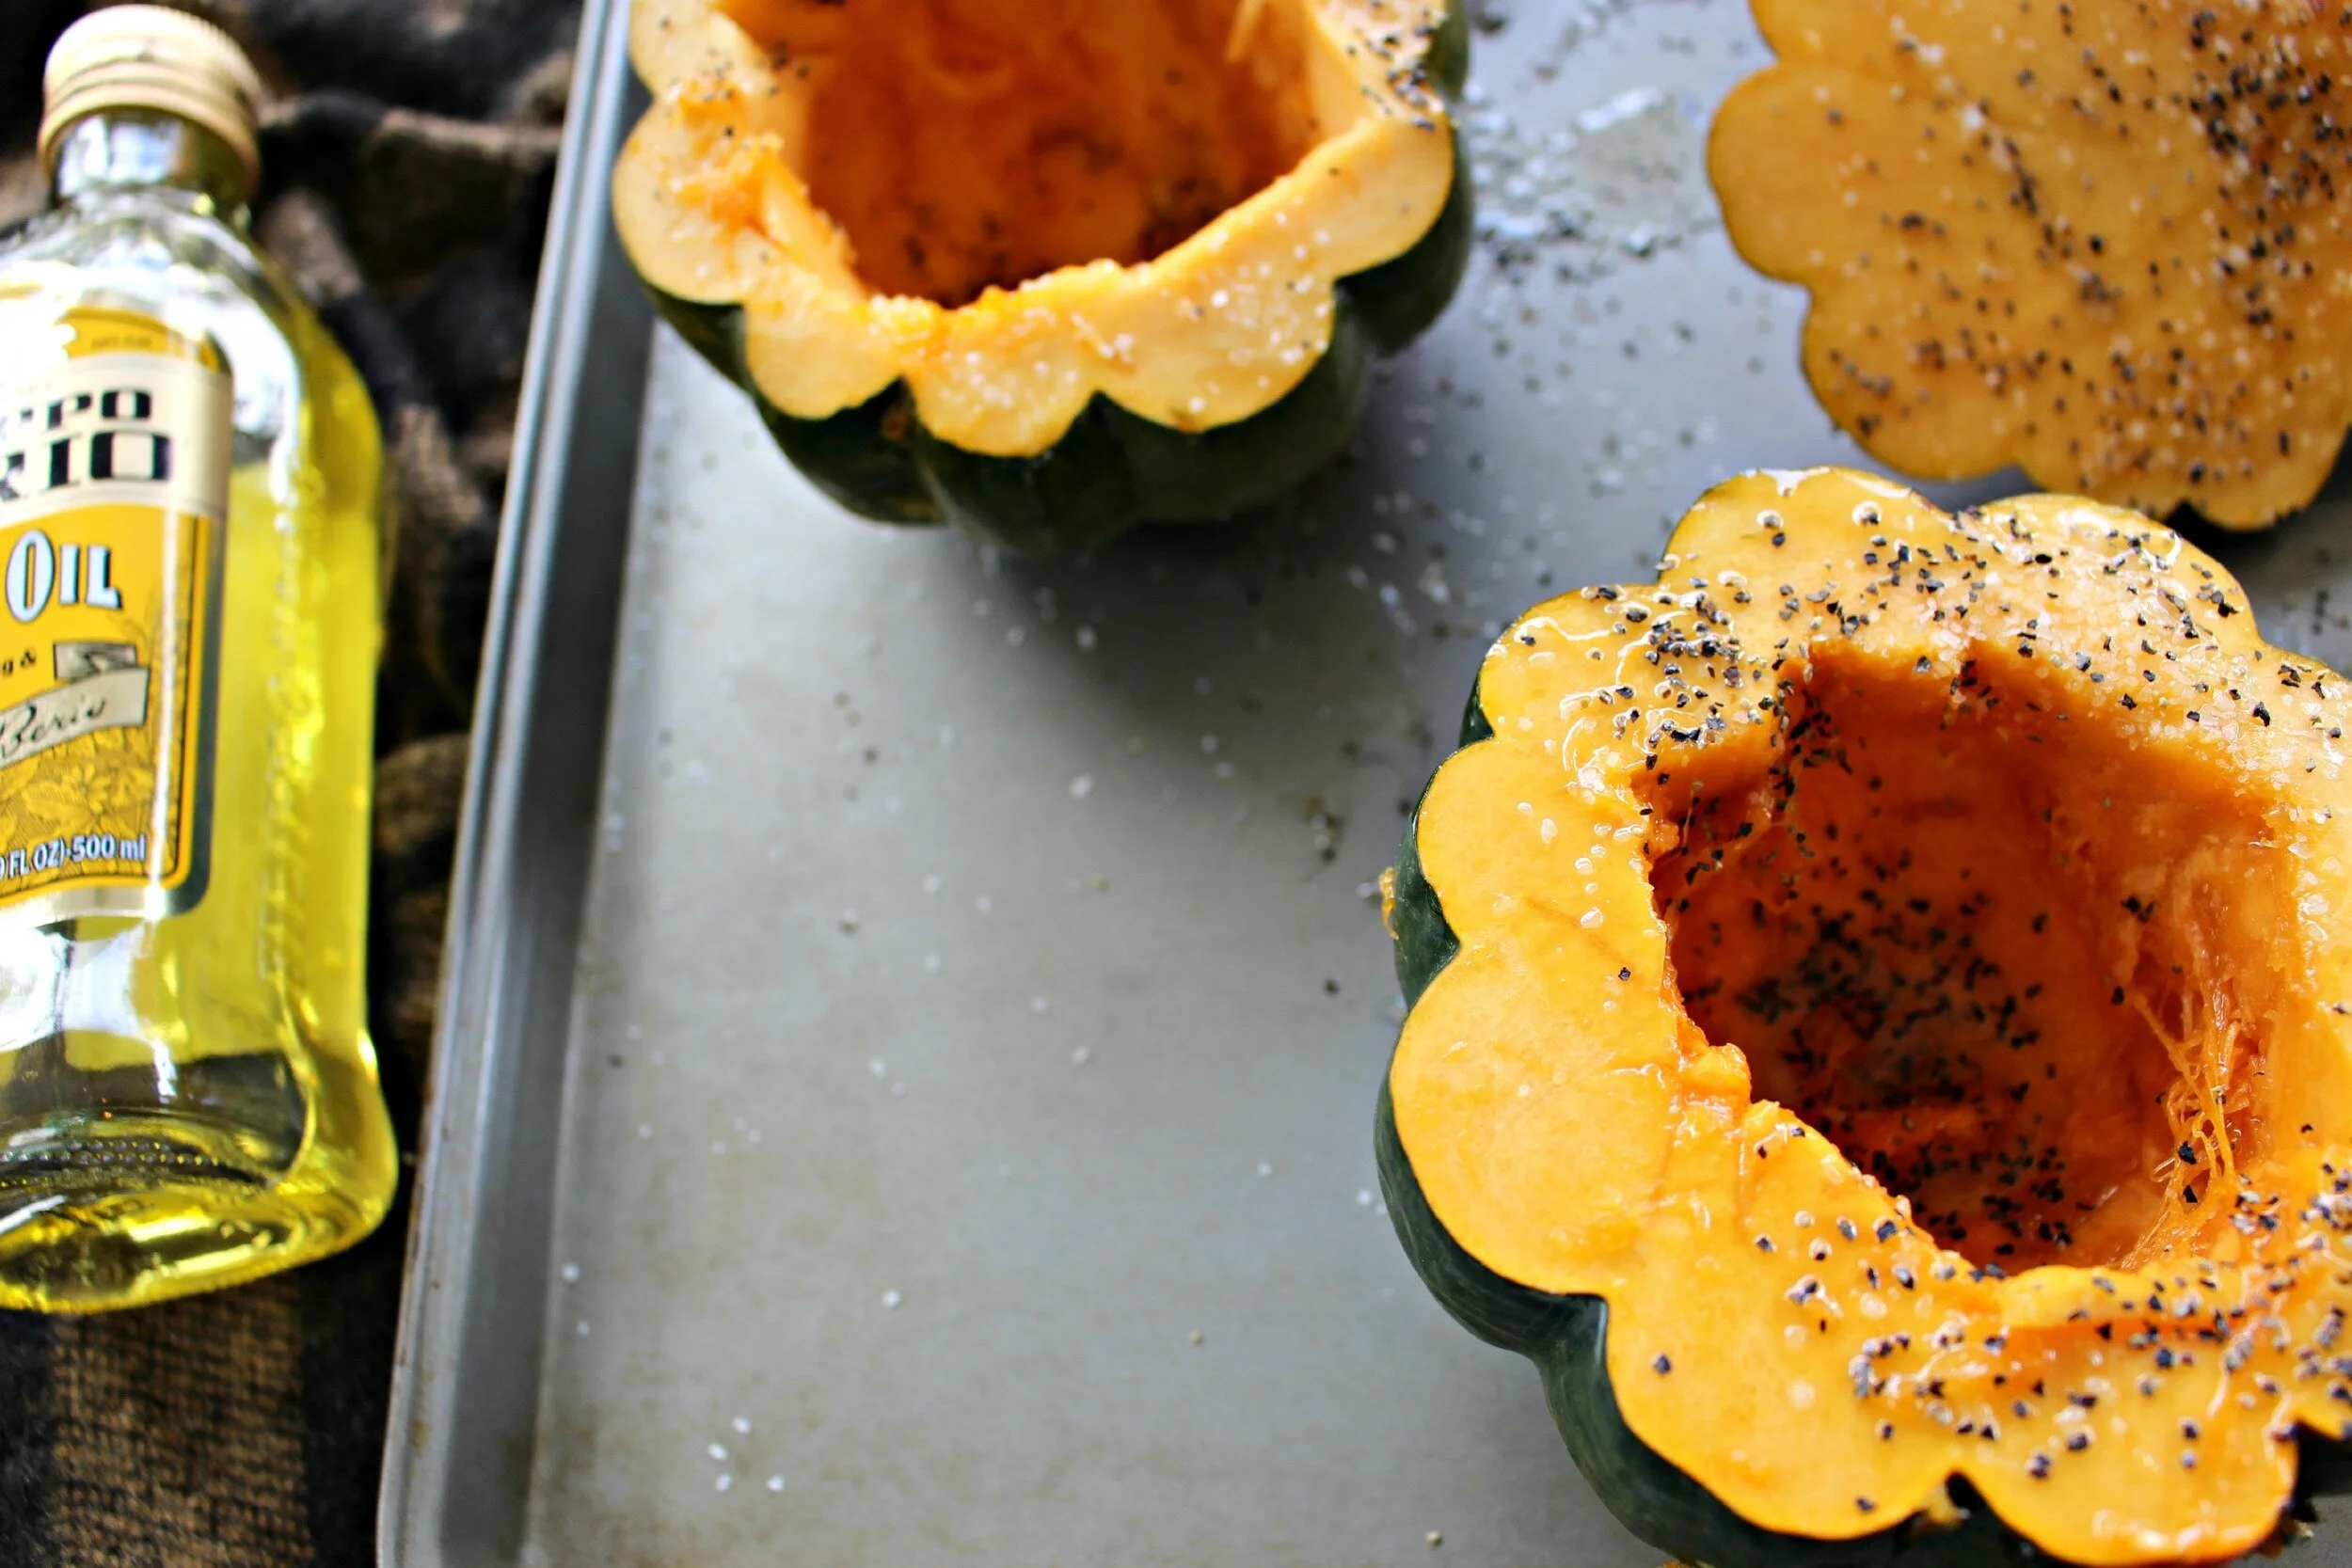
Roast on a pan or cookie sheet at 375 for about 25-30 minutes.
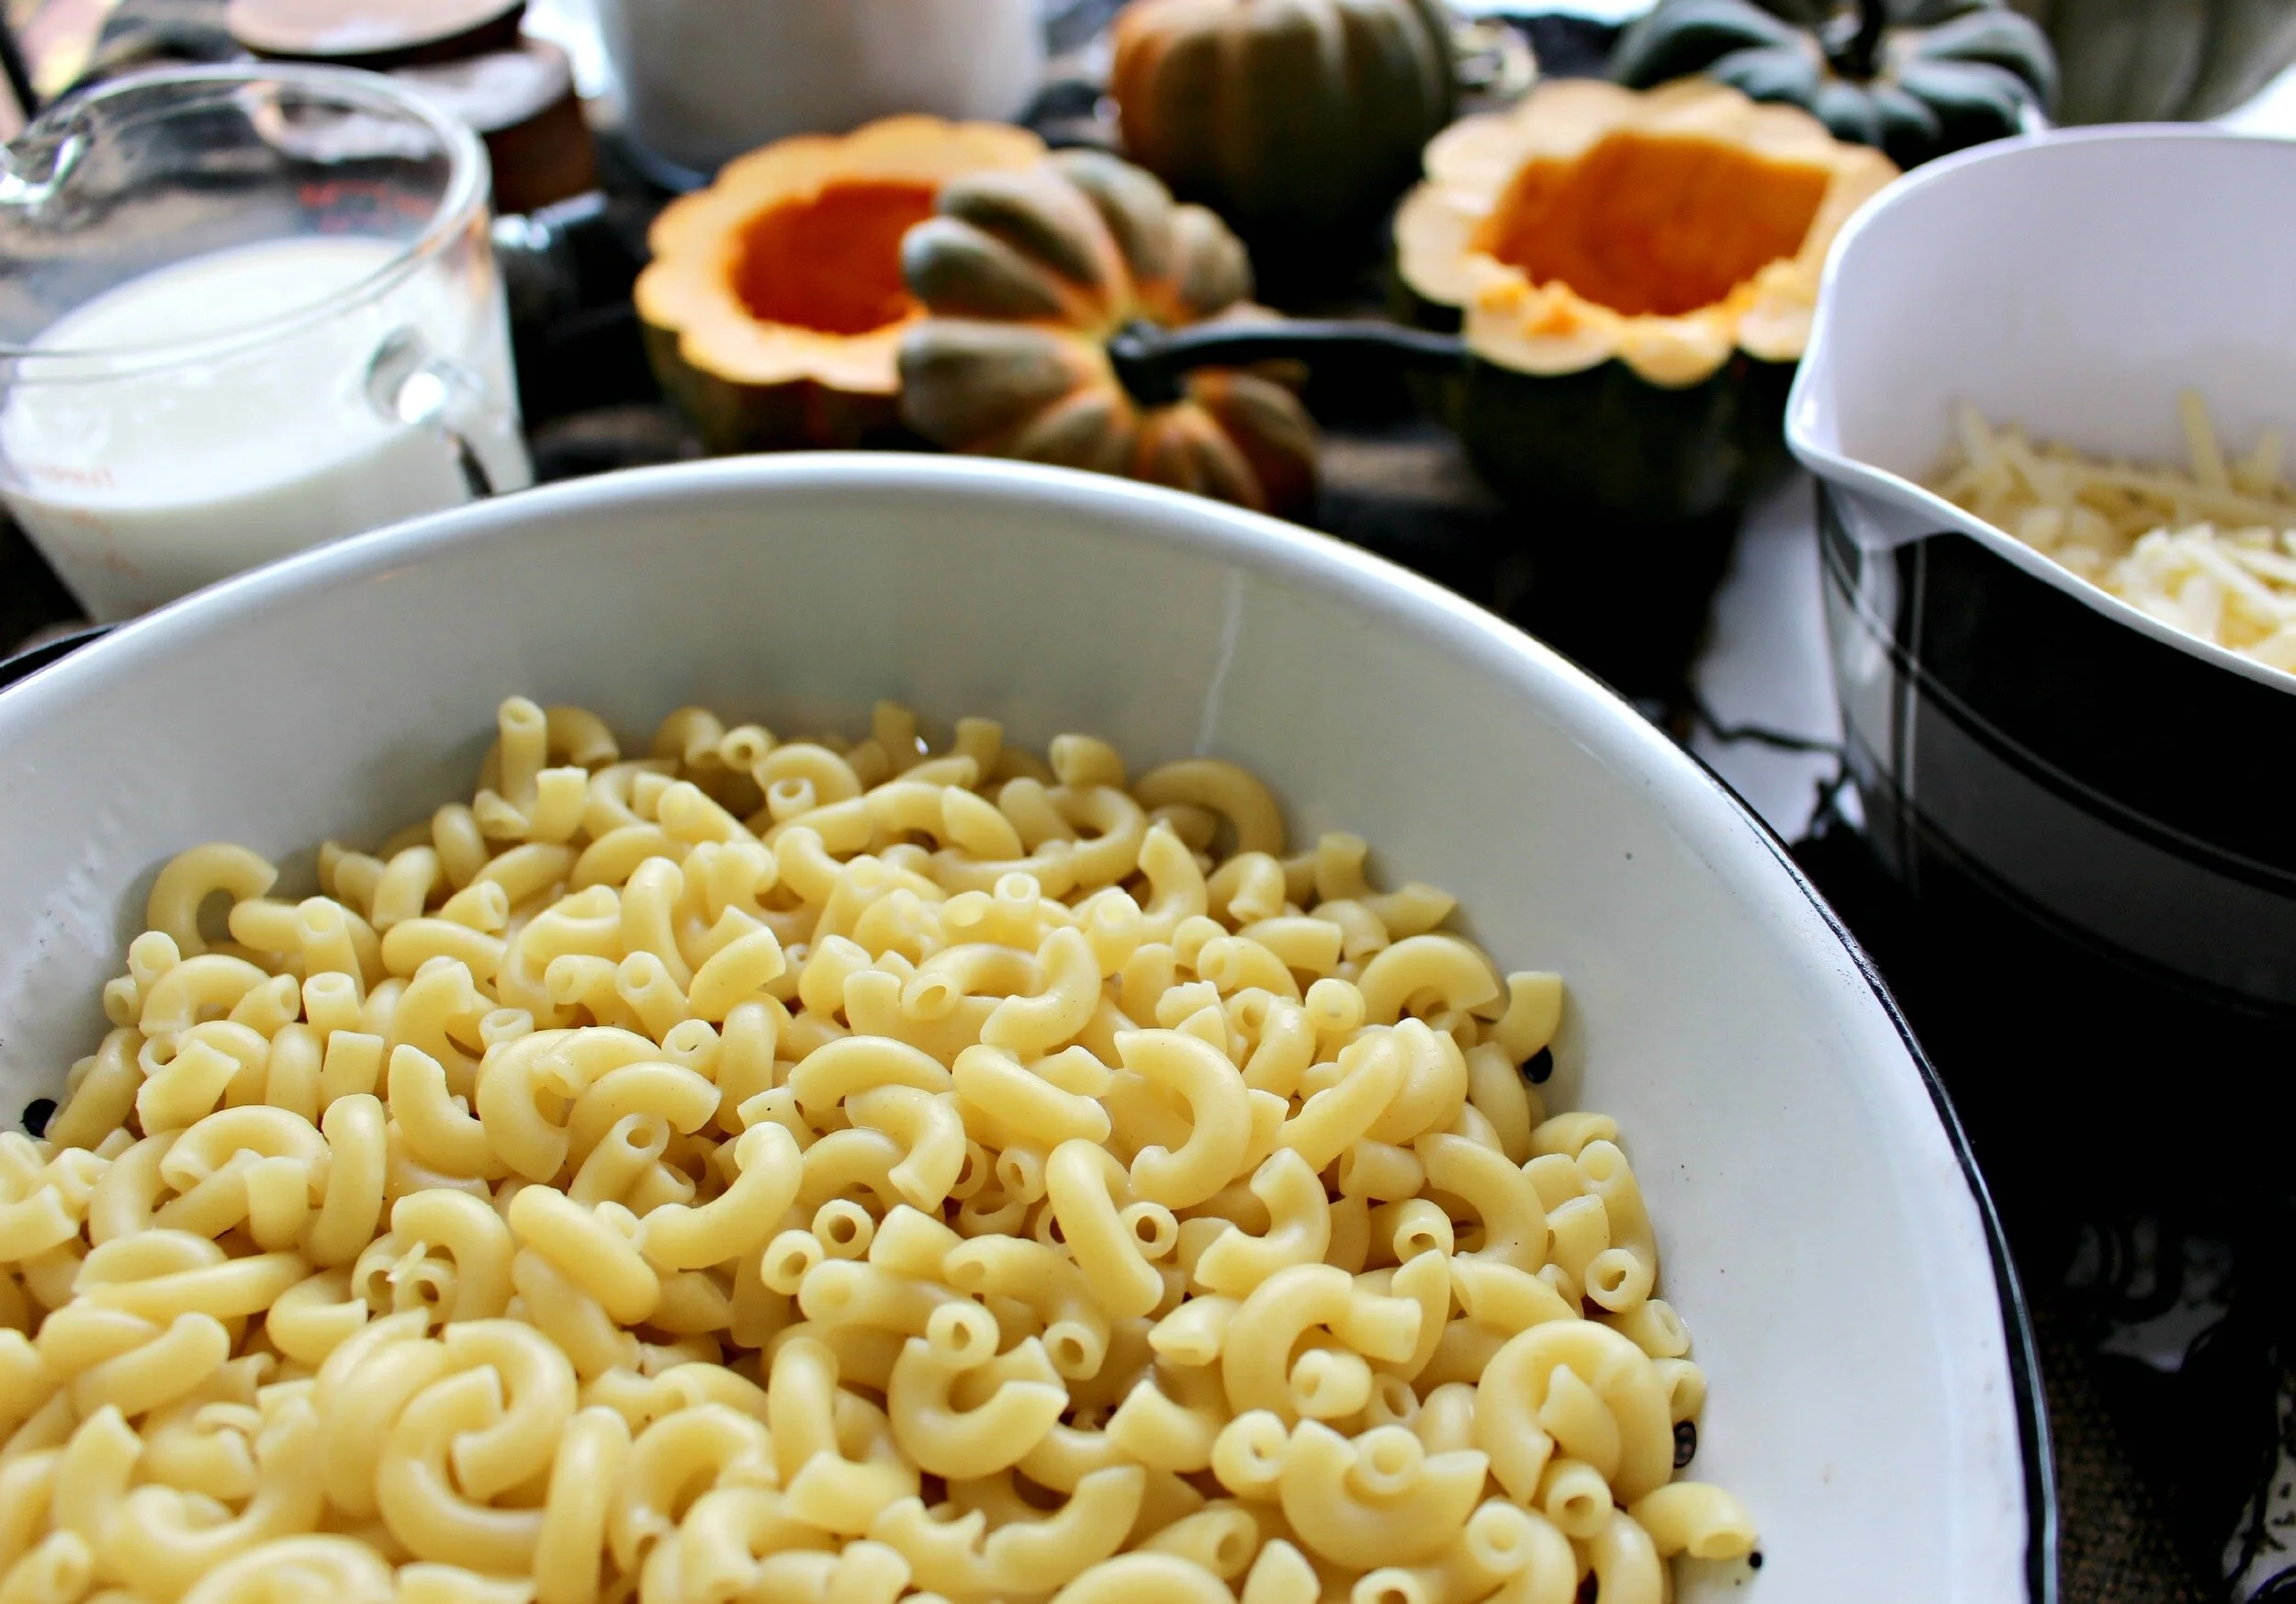
While your squash is roasting you can start making your macaroni and cheese. Bring a pot of salted water to a boil and cook your macaroni for about 6-8 minutes until al dente. Drain all your water and run under some cold water.
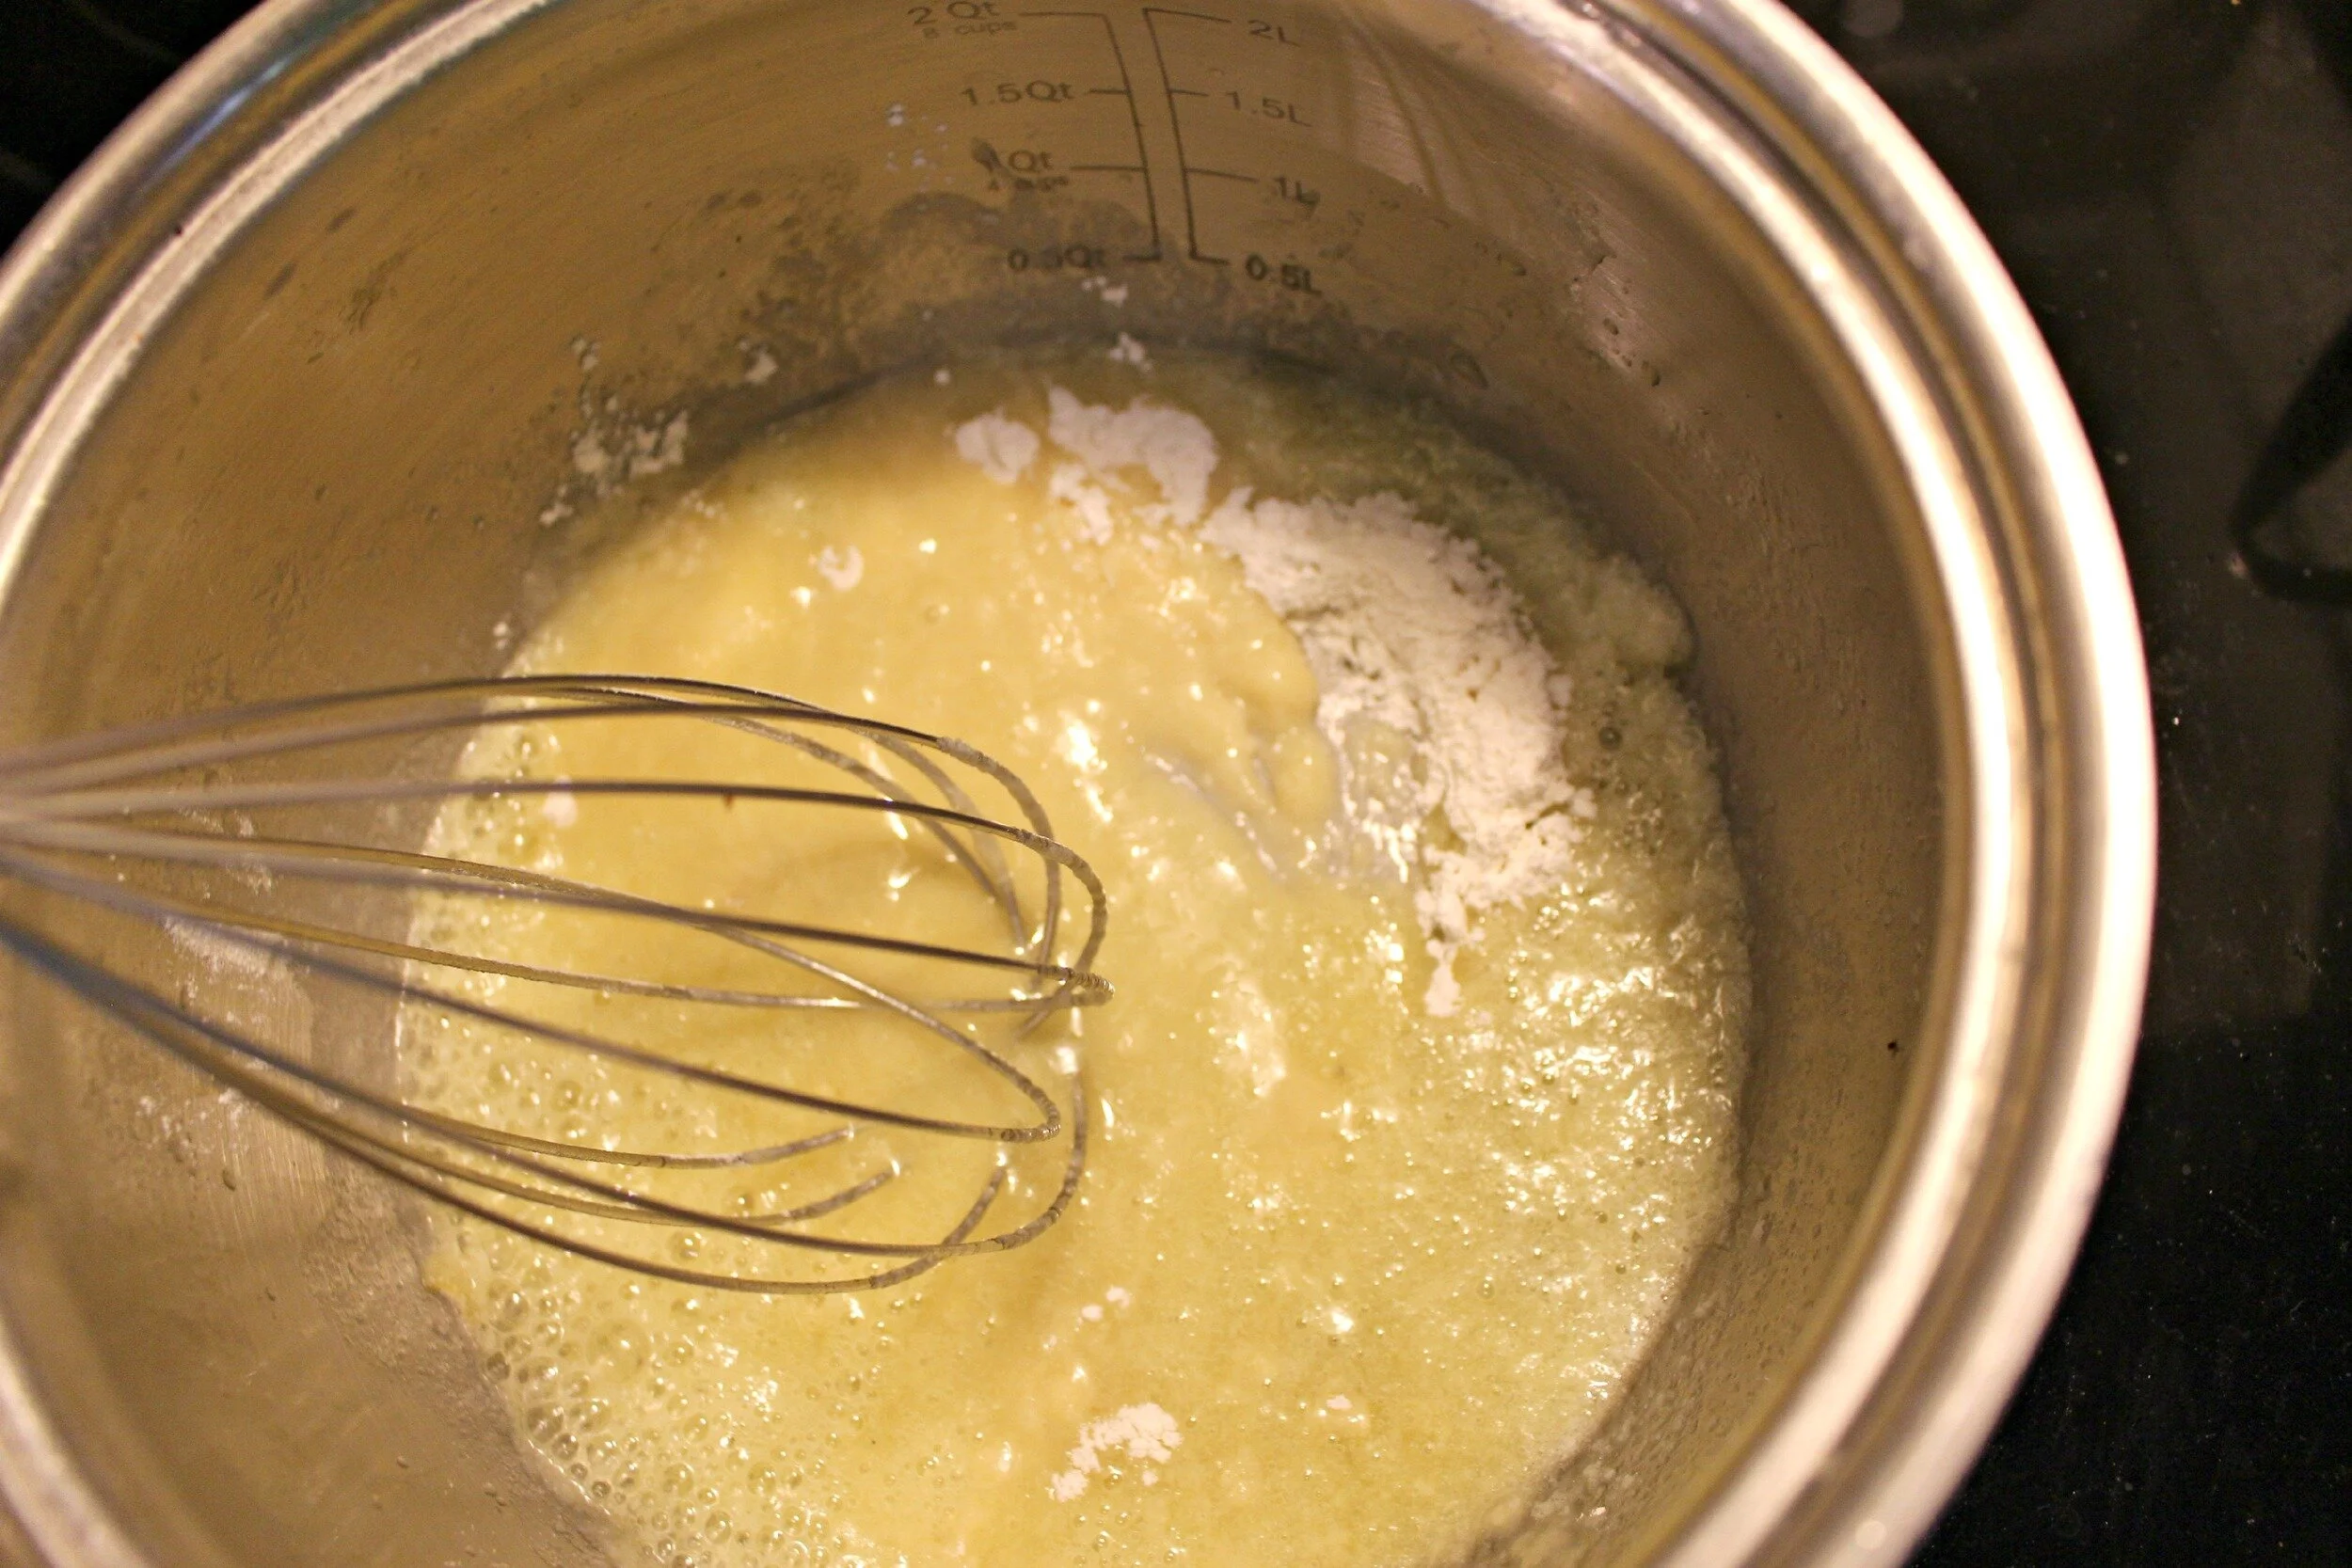
In one saucepan melt your stick of butter. As it begins melting, add your garlic and slowly add your flour, whisking constantly so there are no lumps. In another saucepan, begin heating your milk on medium-high heat. Leave it just until it starts to bubble around the sides but remove it right before it starts to boil. Slowly pour your milk into your butter/flour mixture, whisking the entire time. Continue whisking until the mixture is completely smooth.
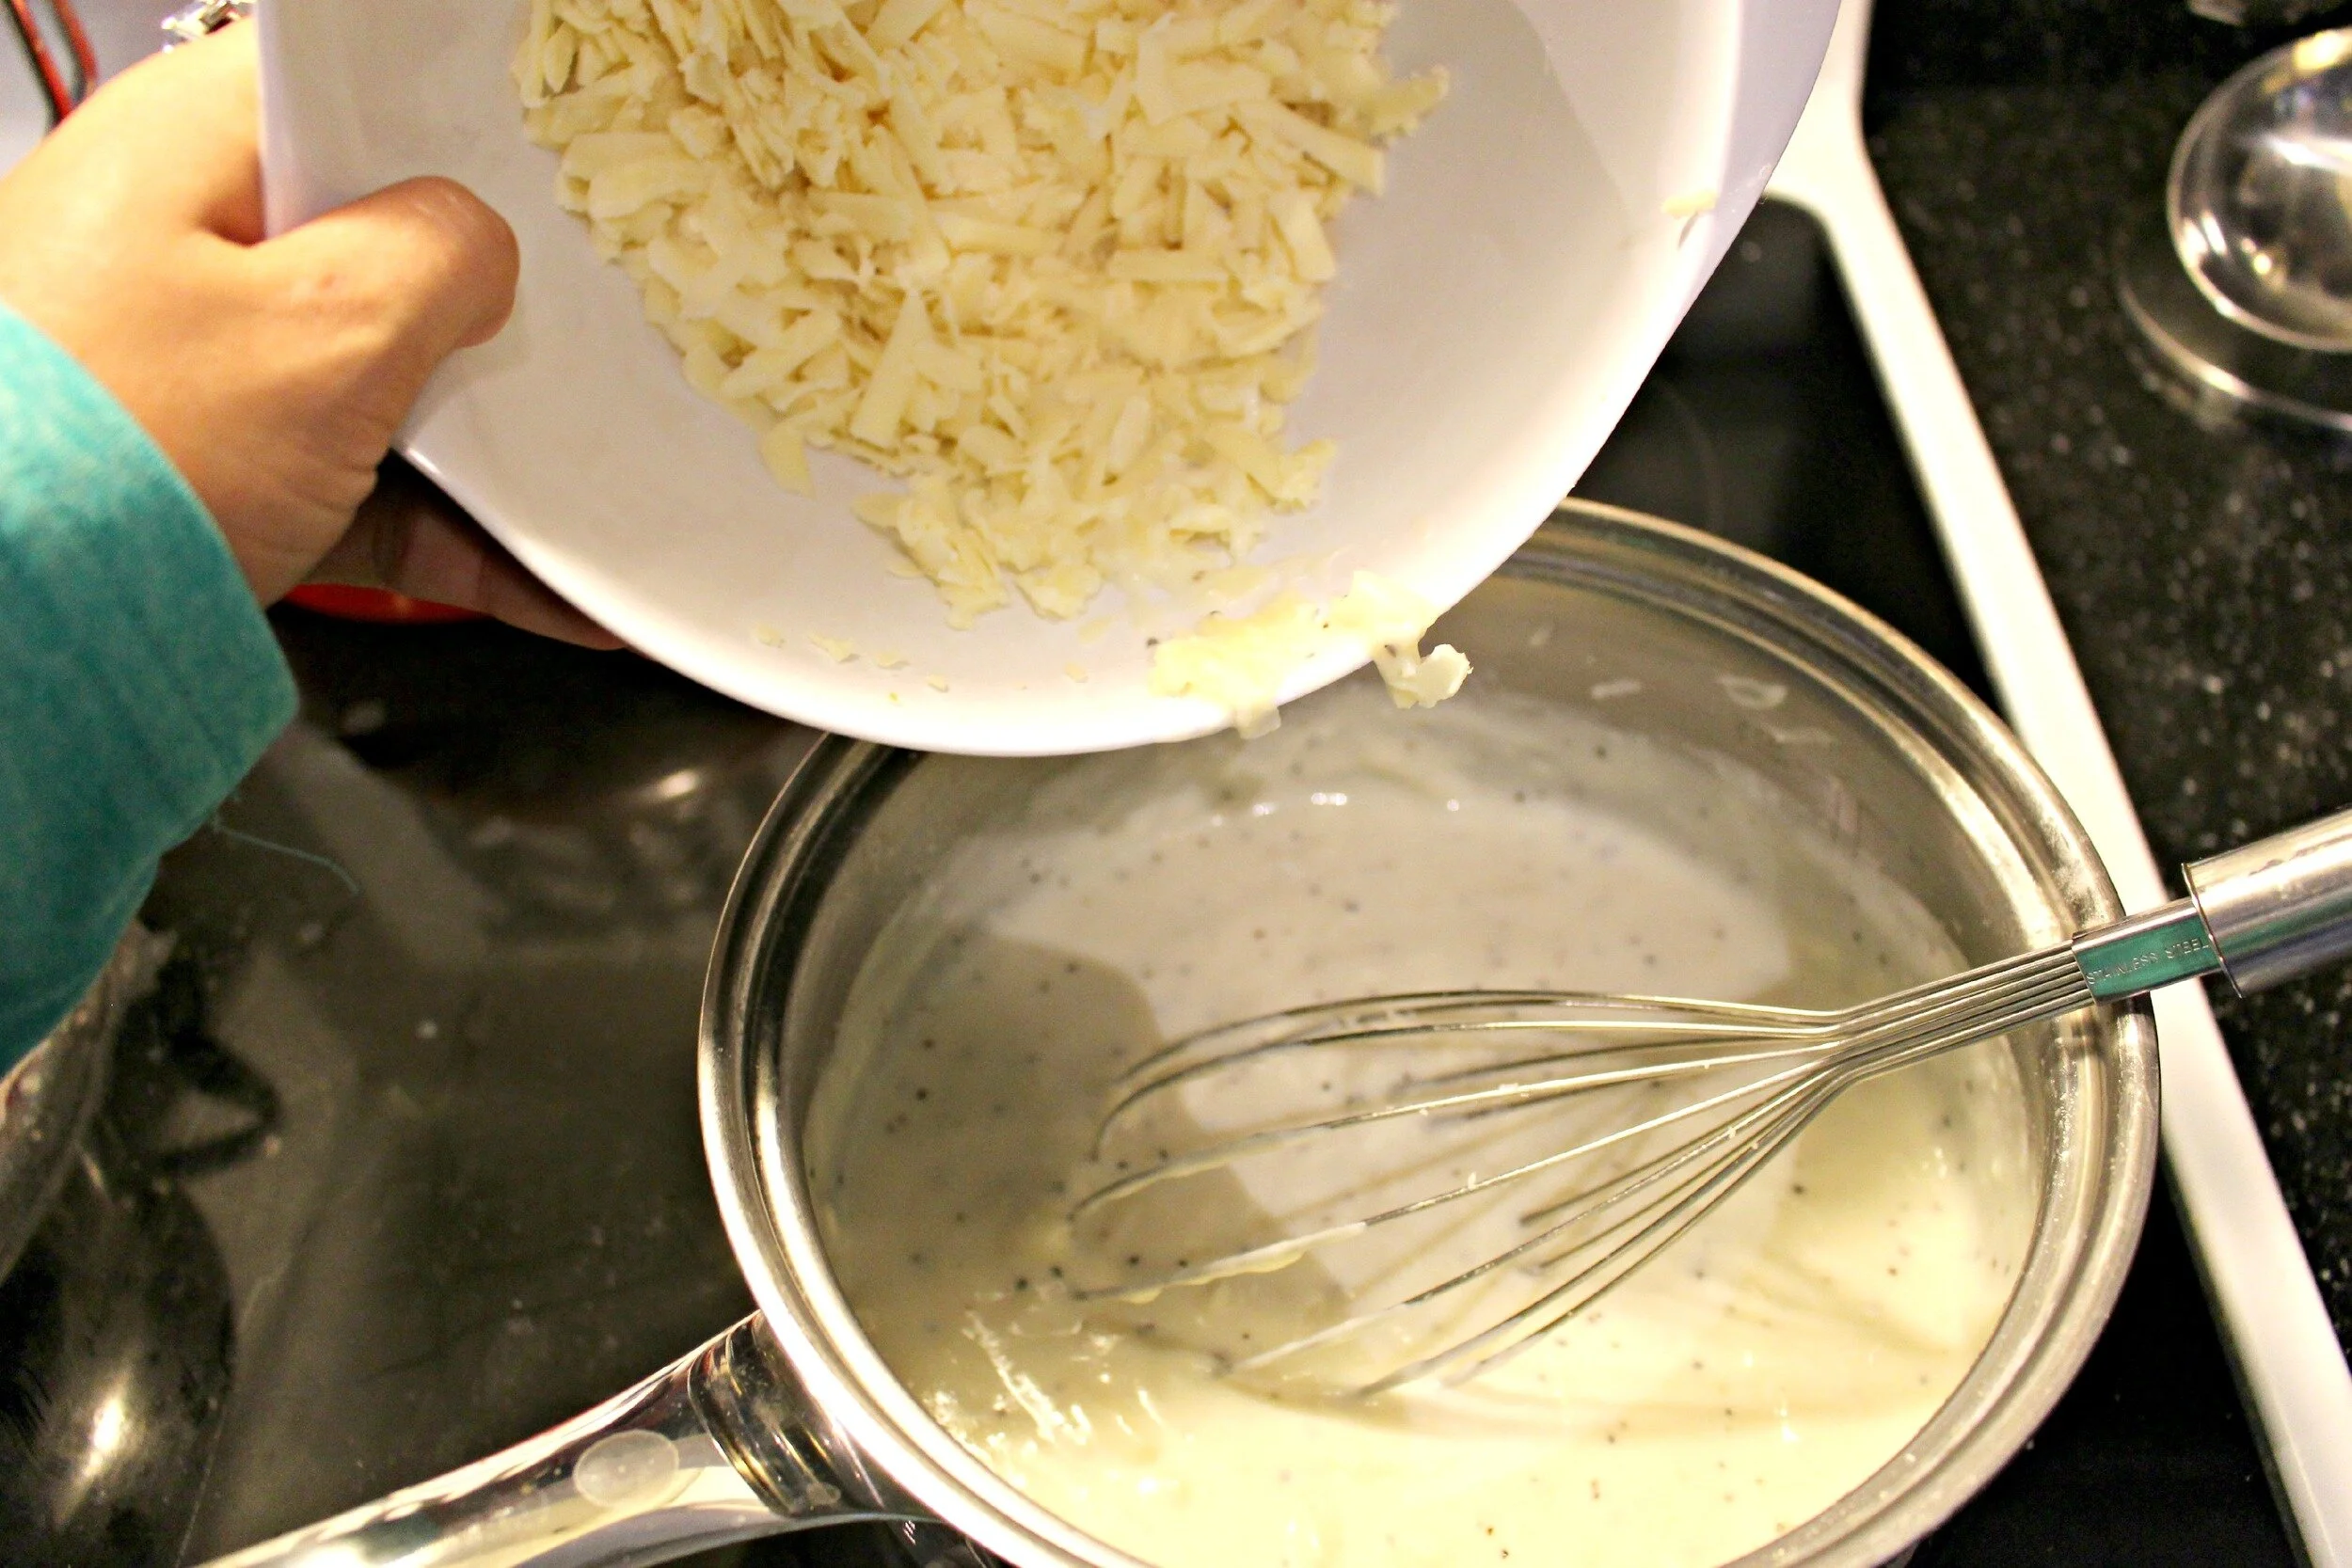
Now you can slowly add your cheese to the mixture (I shredded my own cheese because white cheddar is difficult to find already shredded). I saved about 1/4 cup of cheese to use later as a topping. Continue whisking the entire time to keep your sauce creamy and smooth. Add salt and pepper to taste (I use at least 1/2 tablespoon of each).
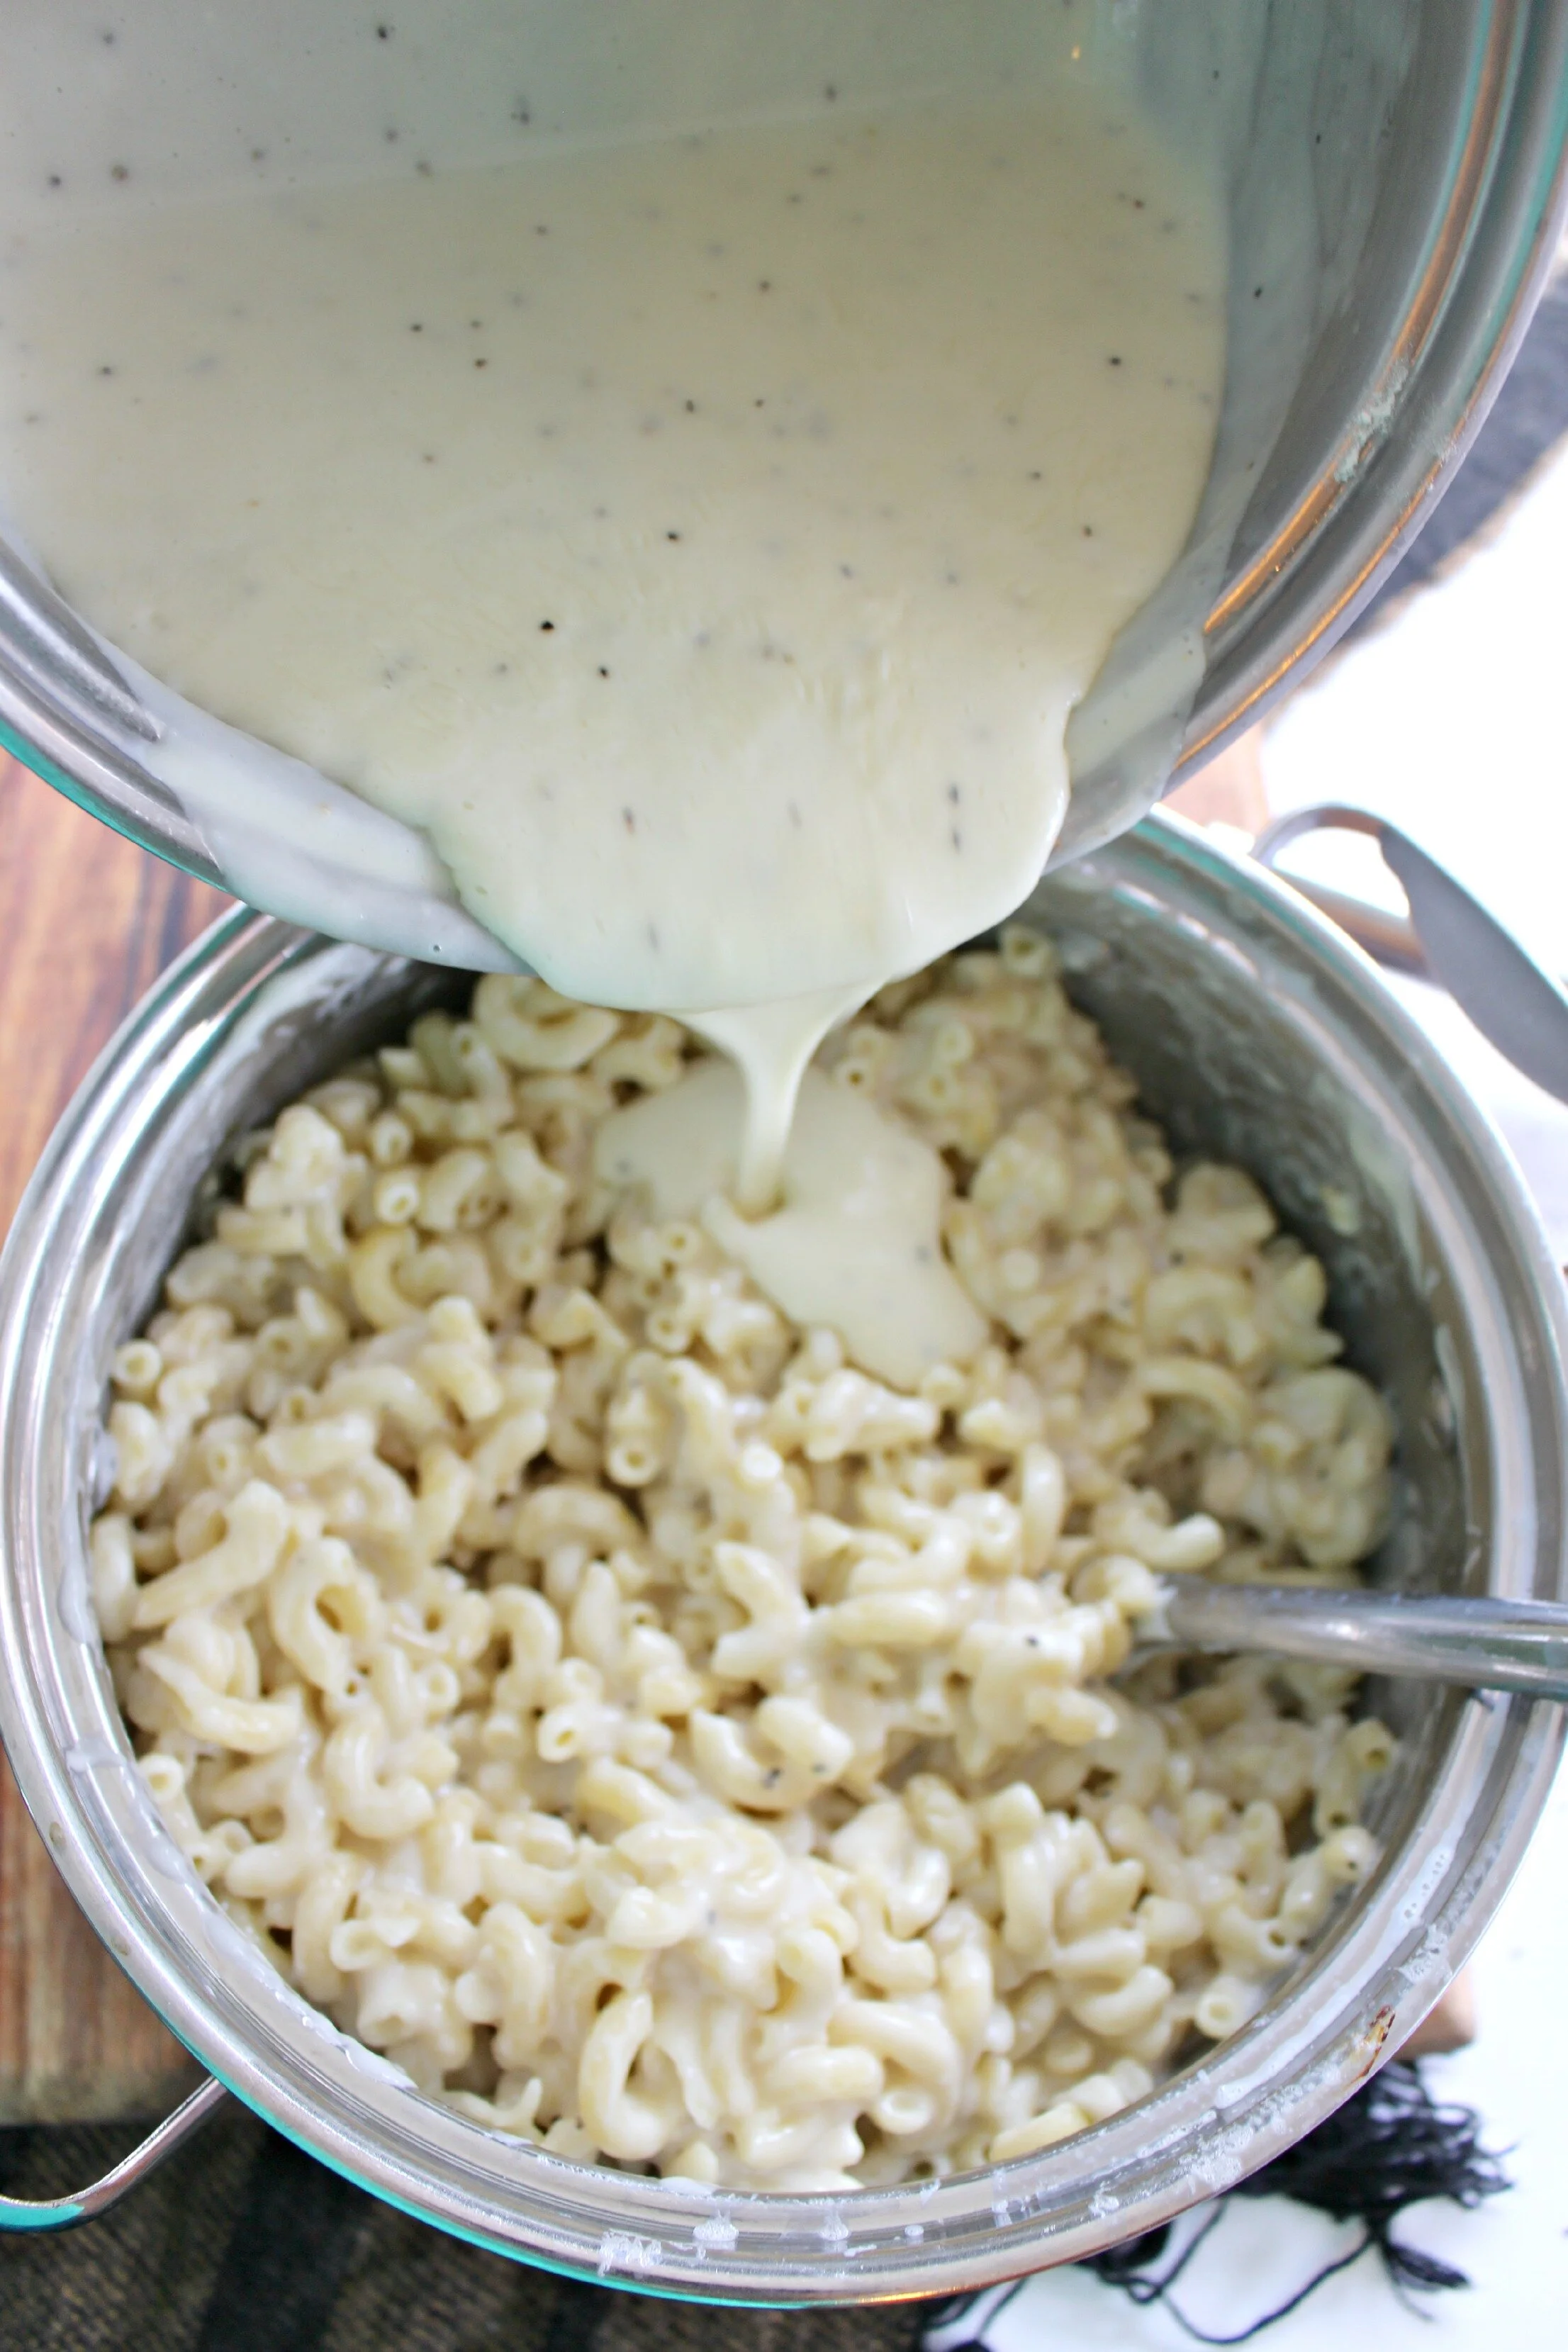
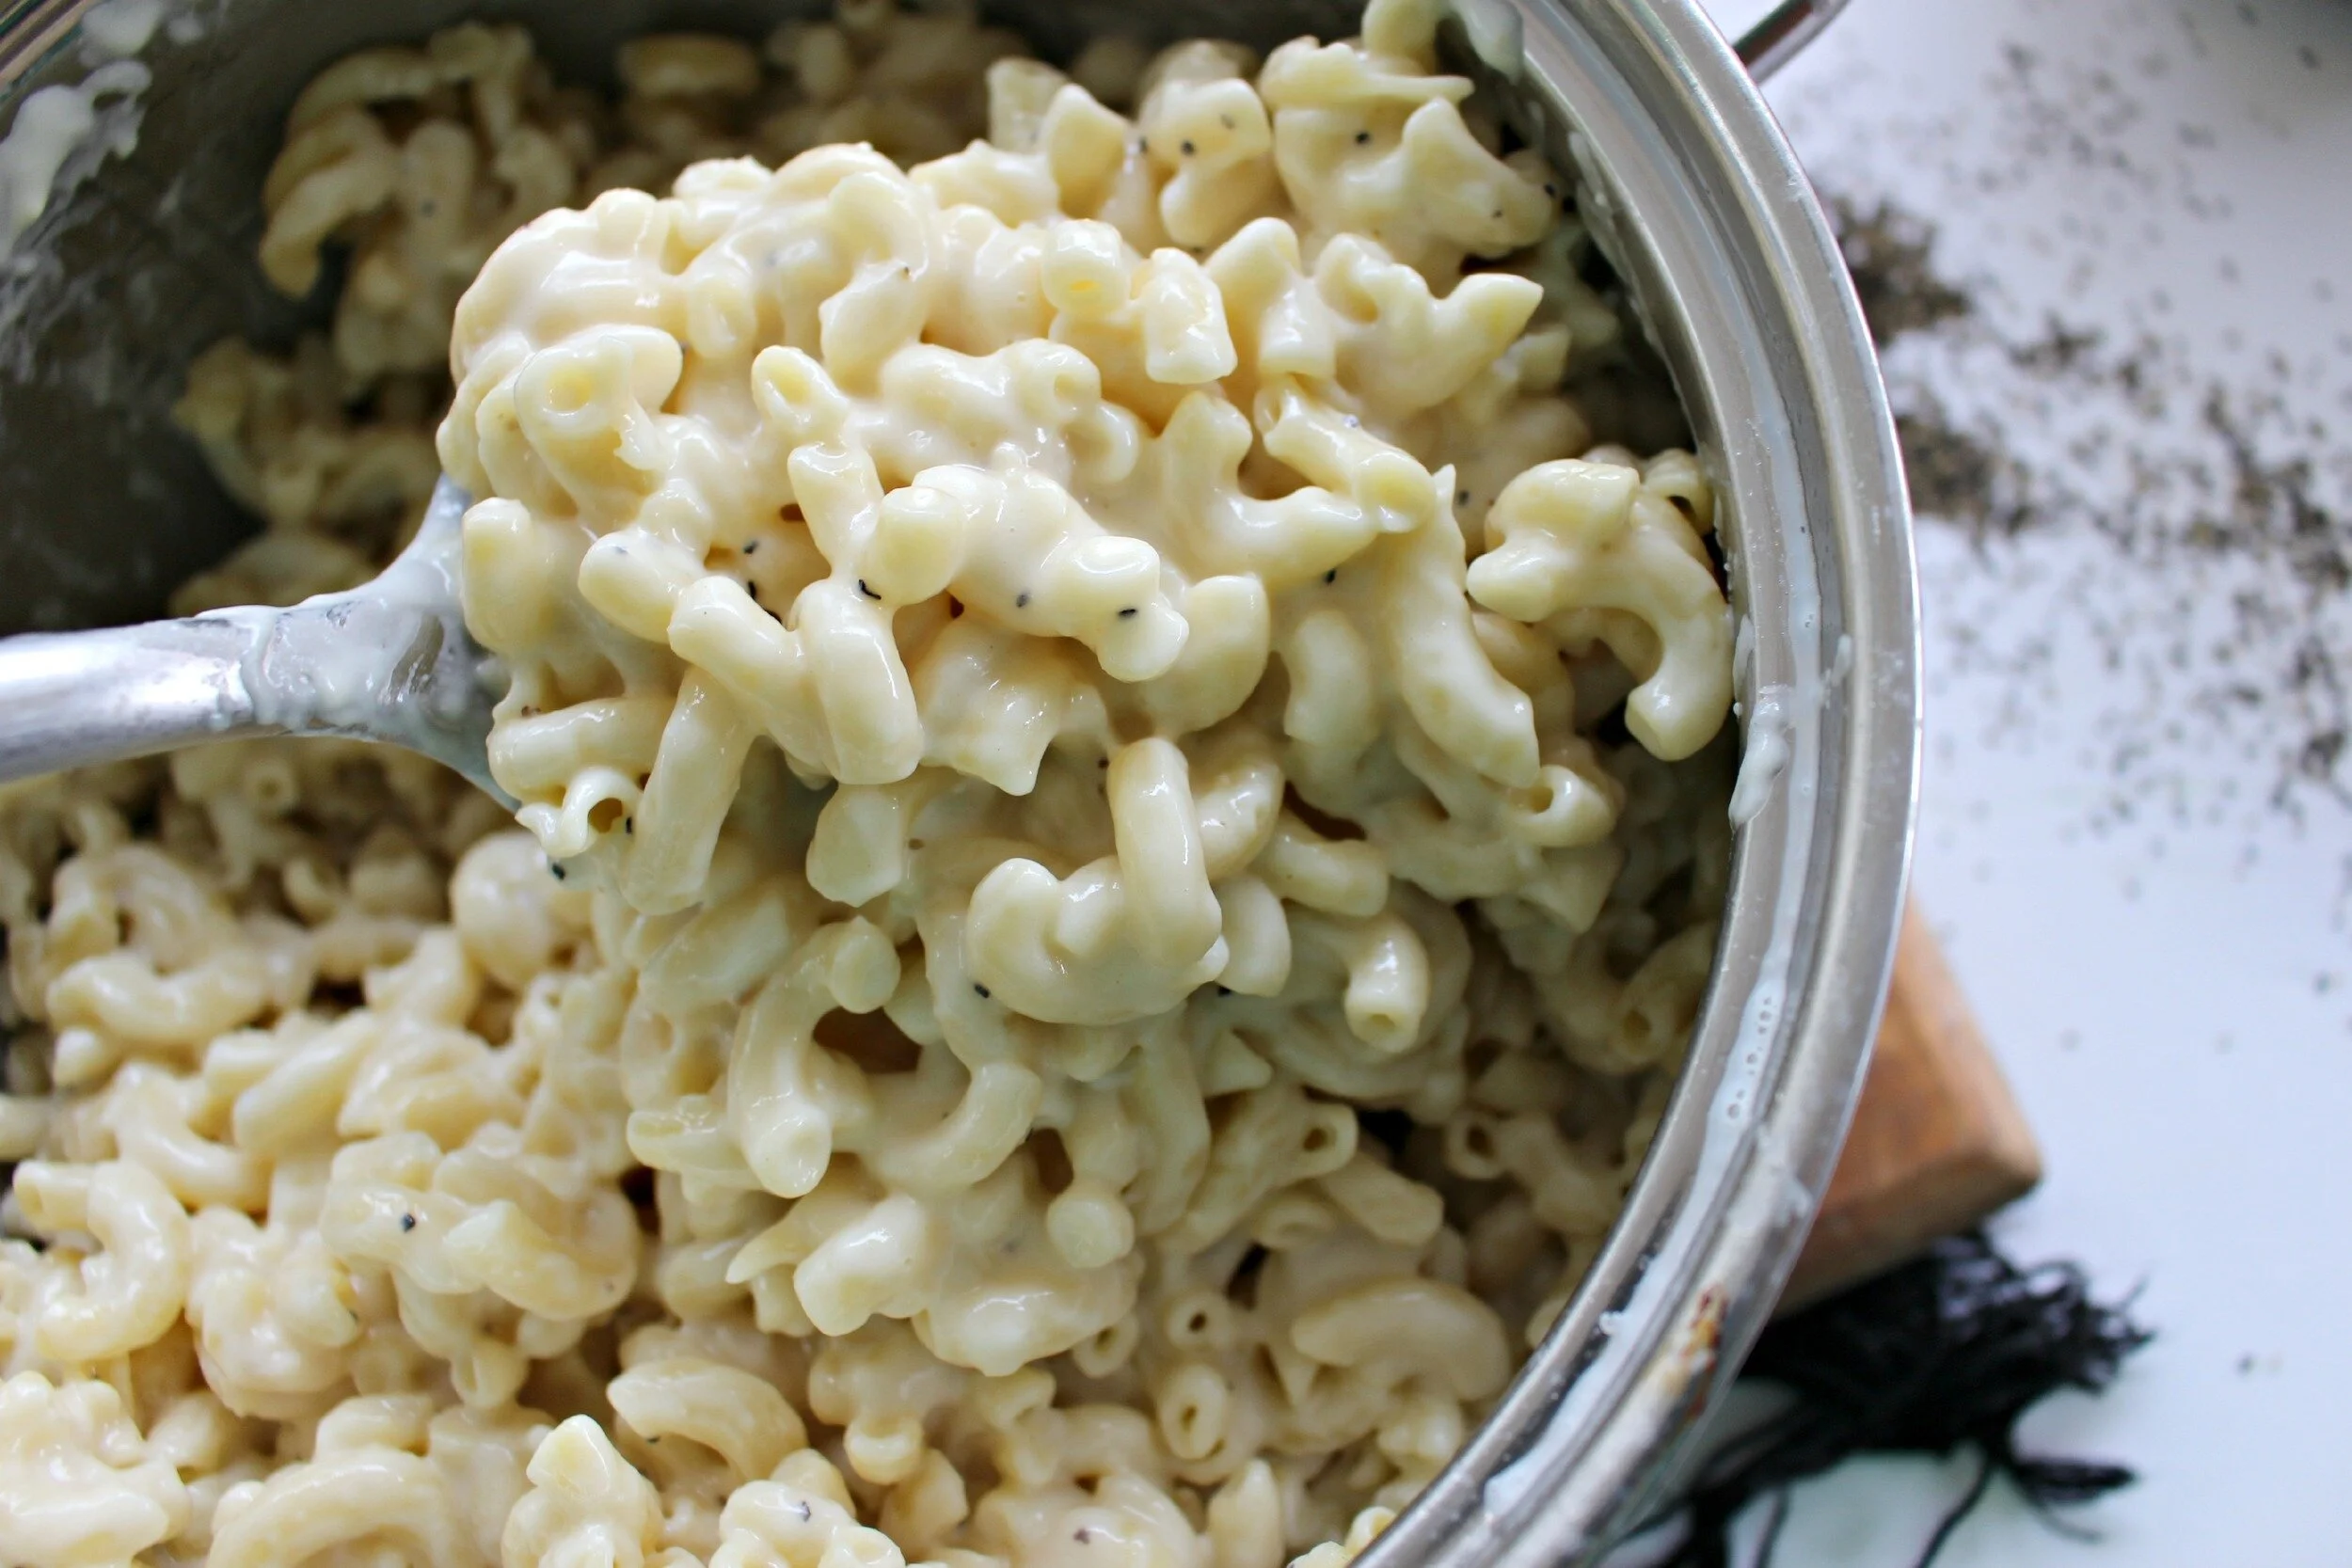
Slowly add your sauce to your macaroni, stirring until well combined.
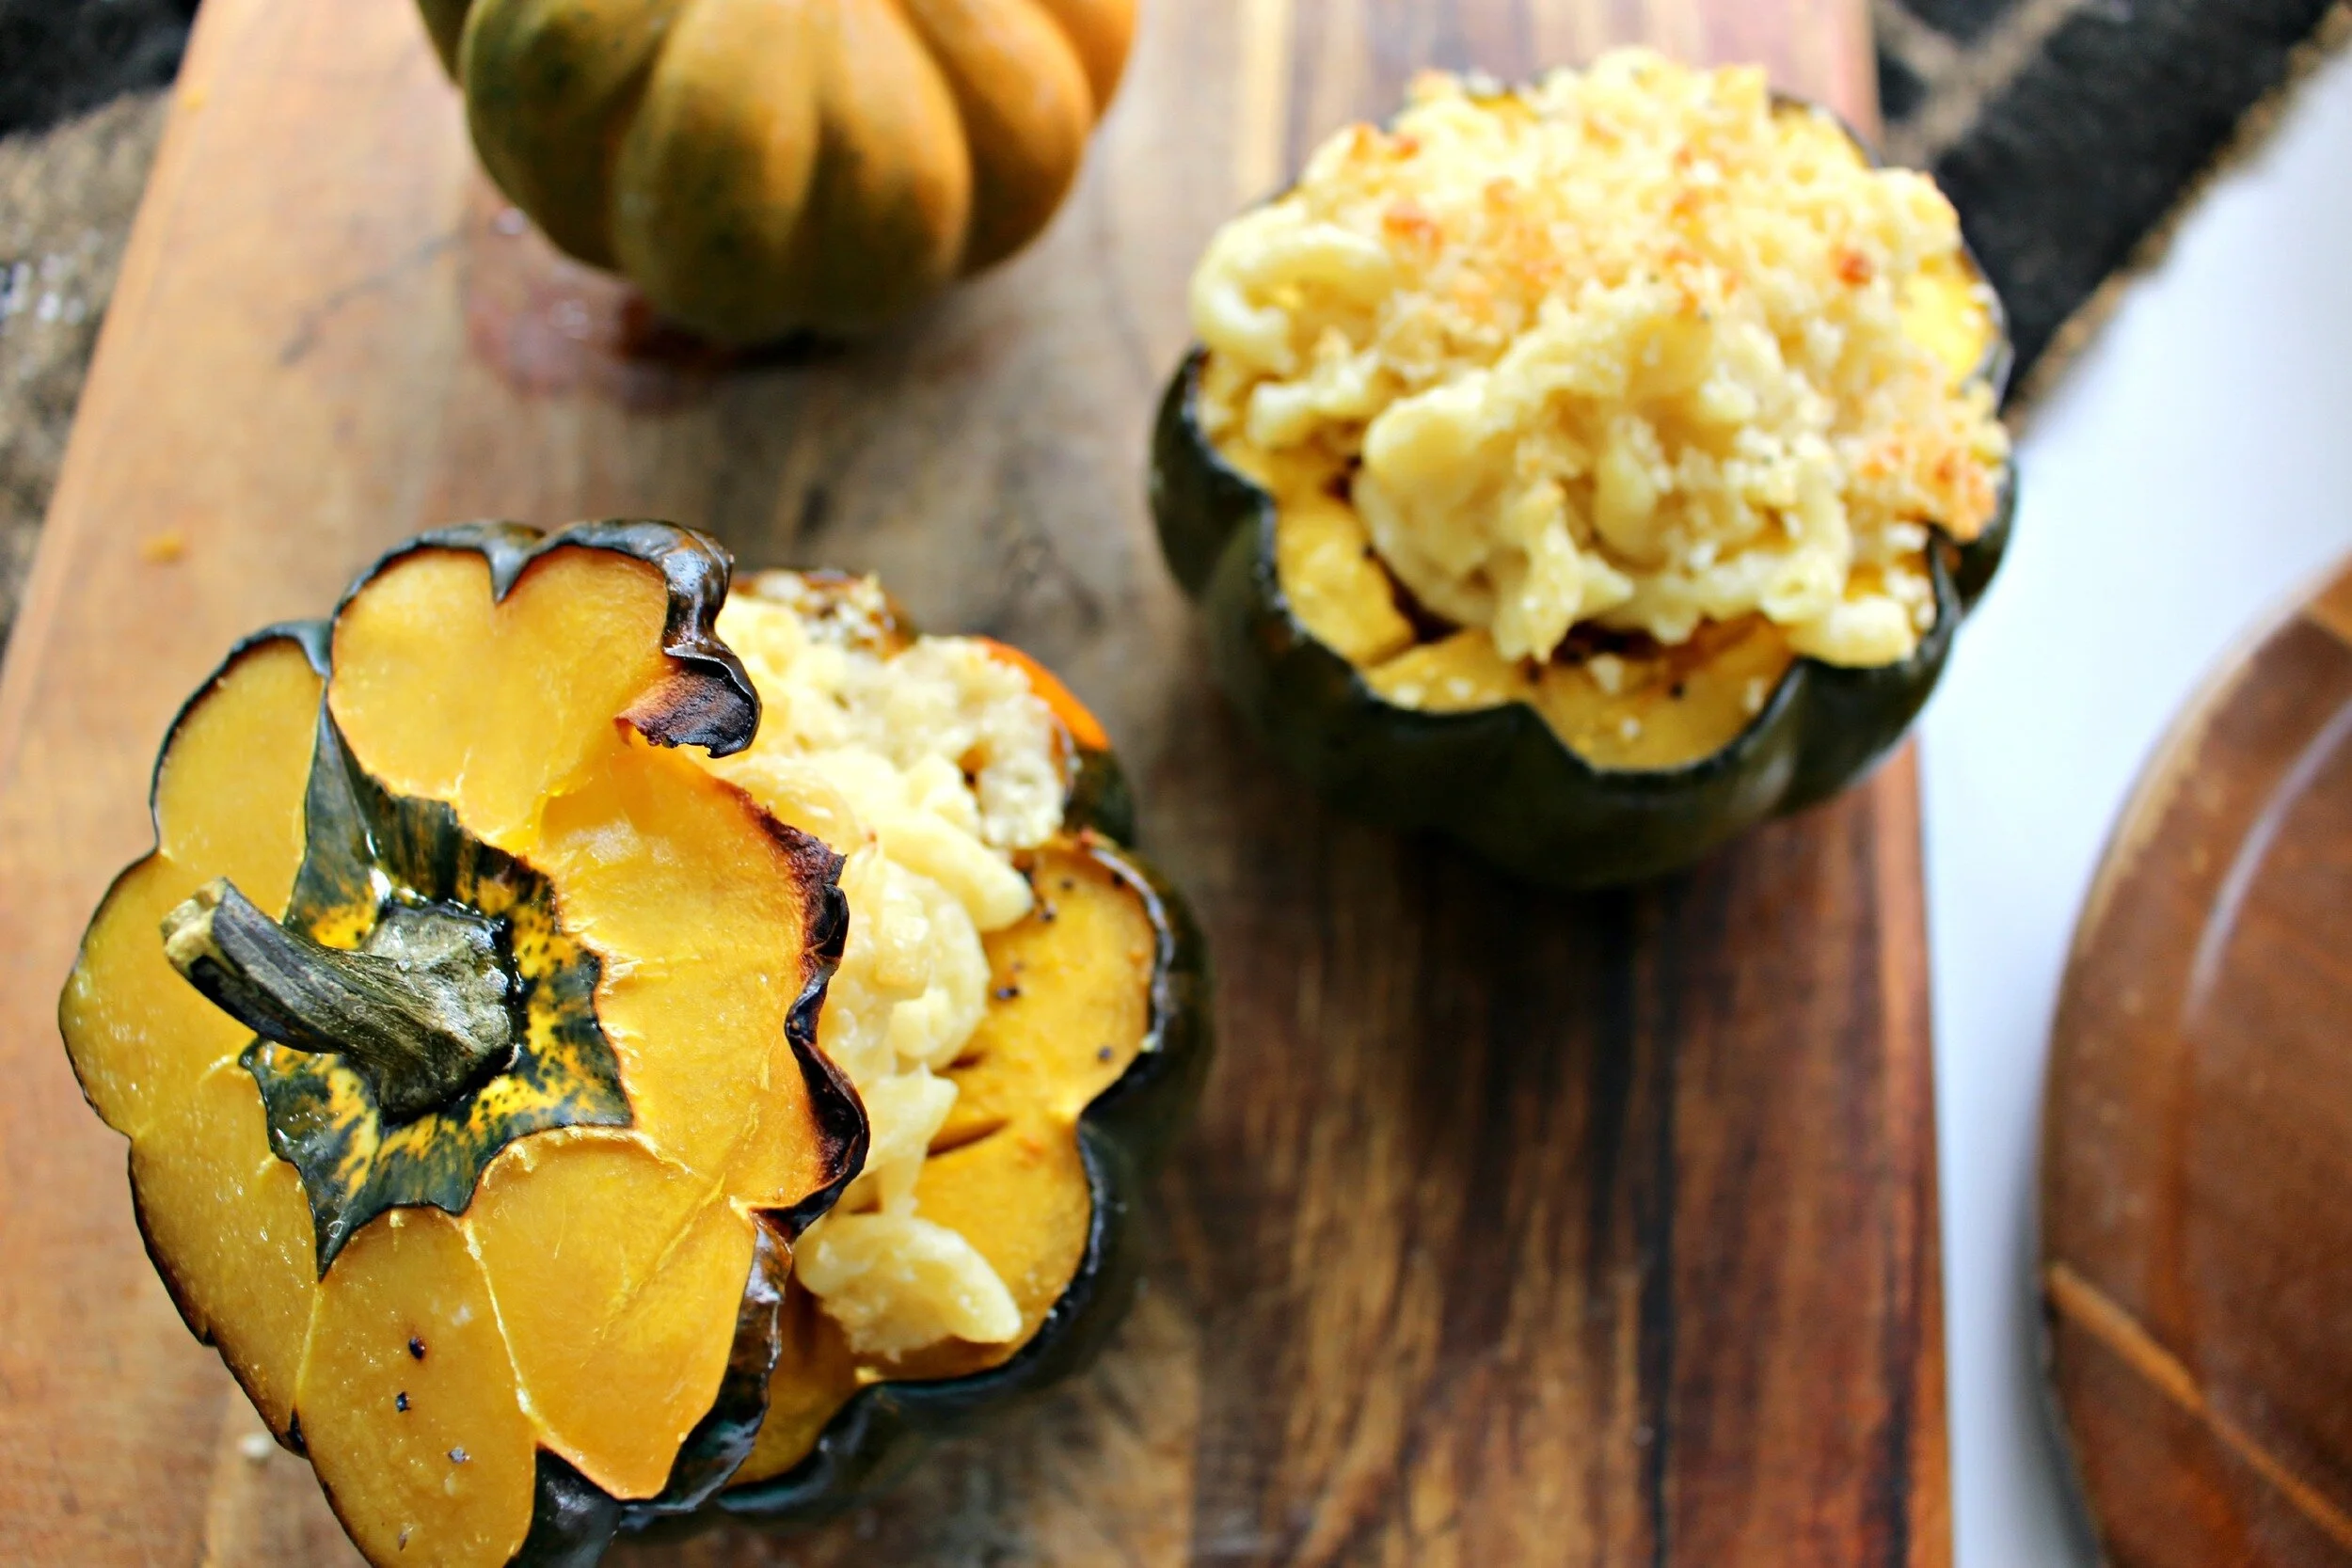
After 25-30 minutes remove your squash from the oven. Fill each squash with your mac and cheese (You may have leftover mac and cheese depending on how many squash you decide to make).
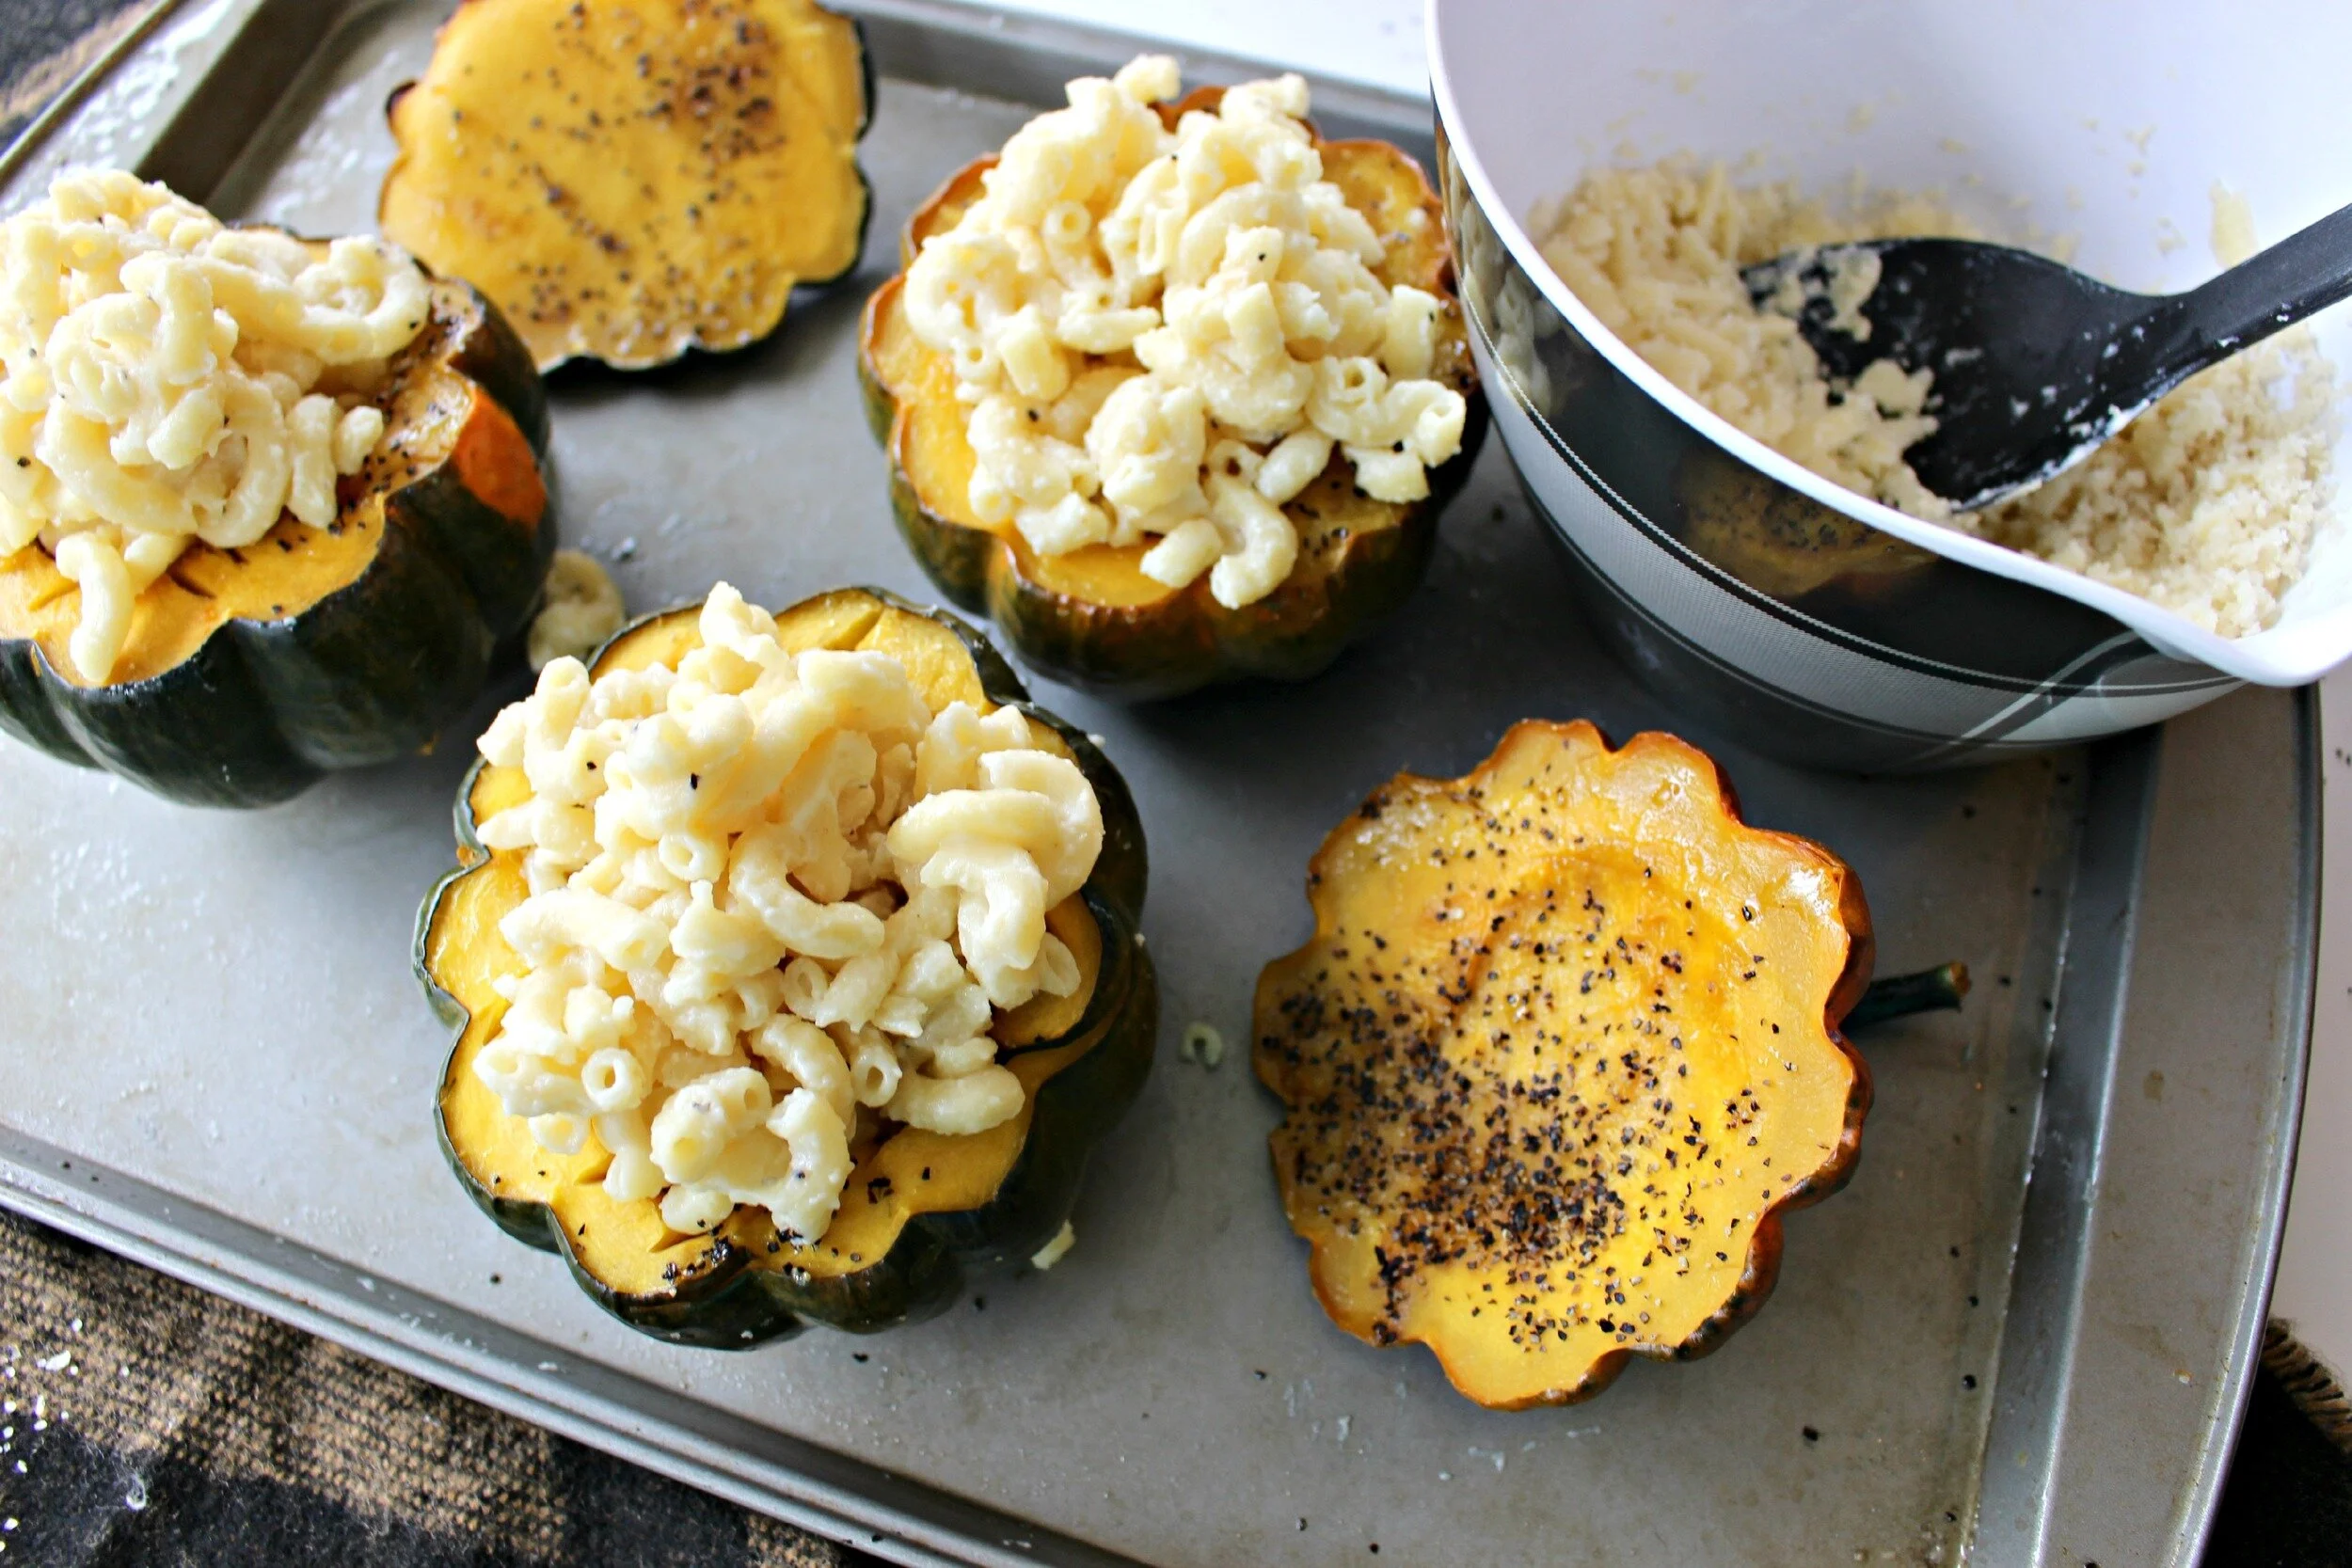
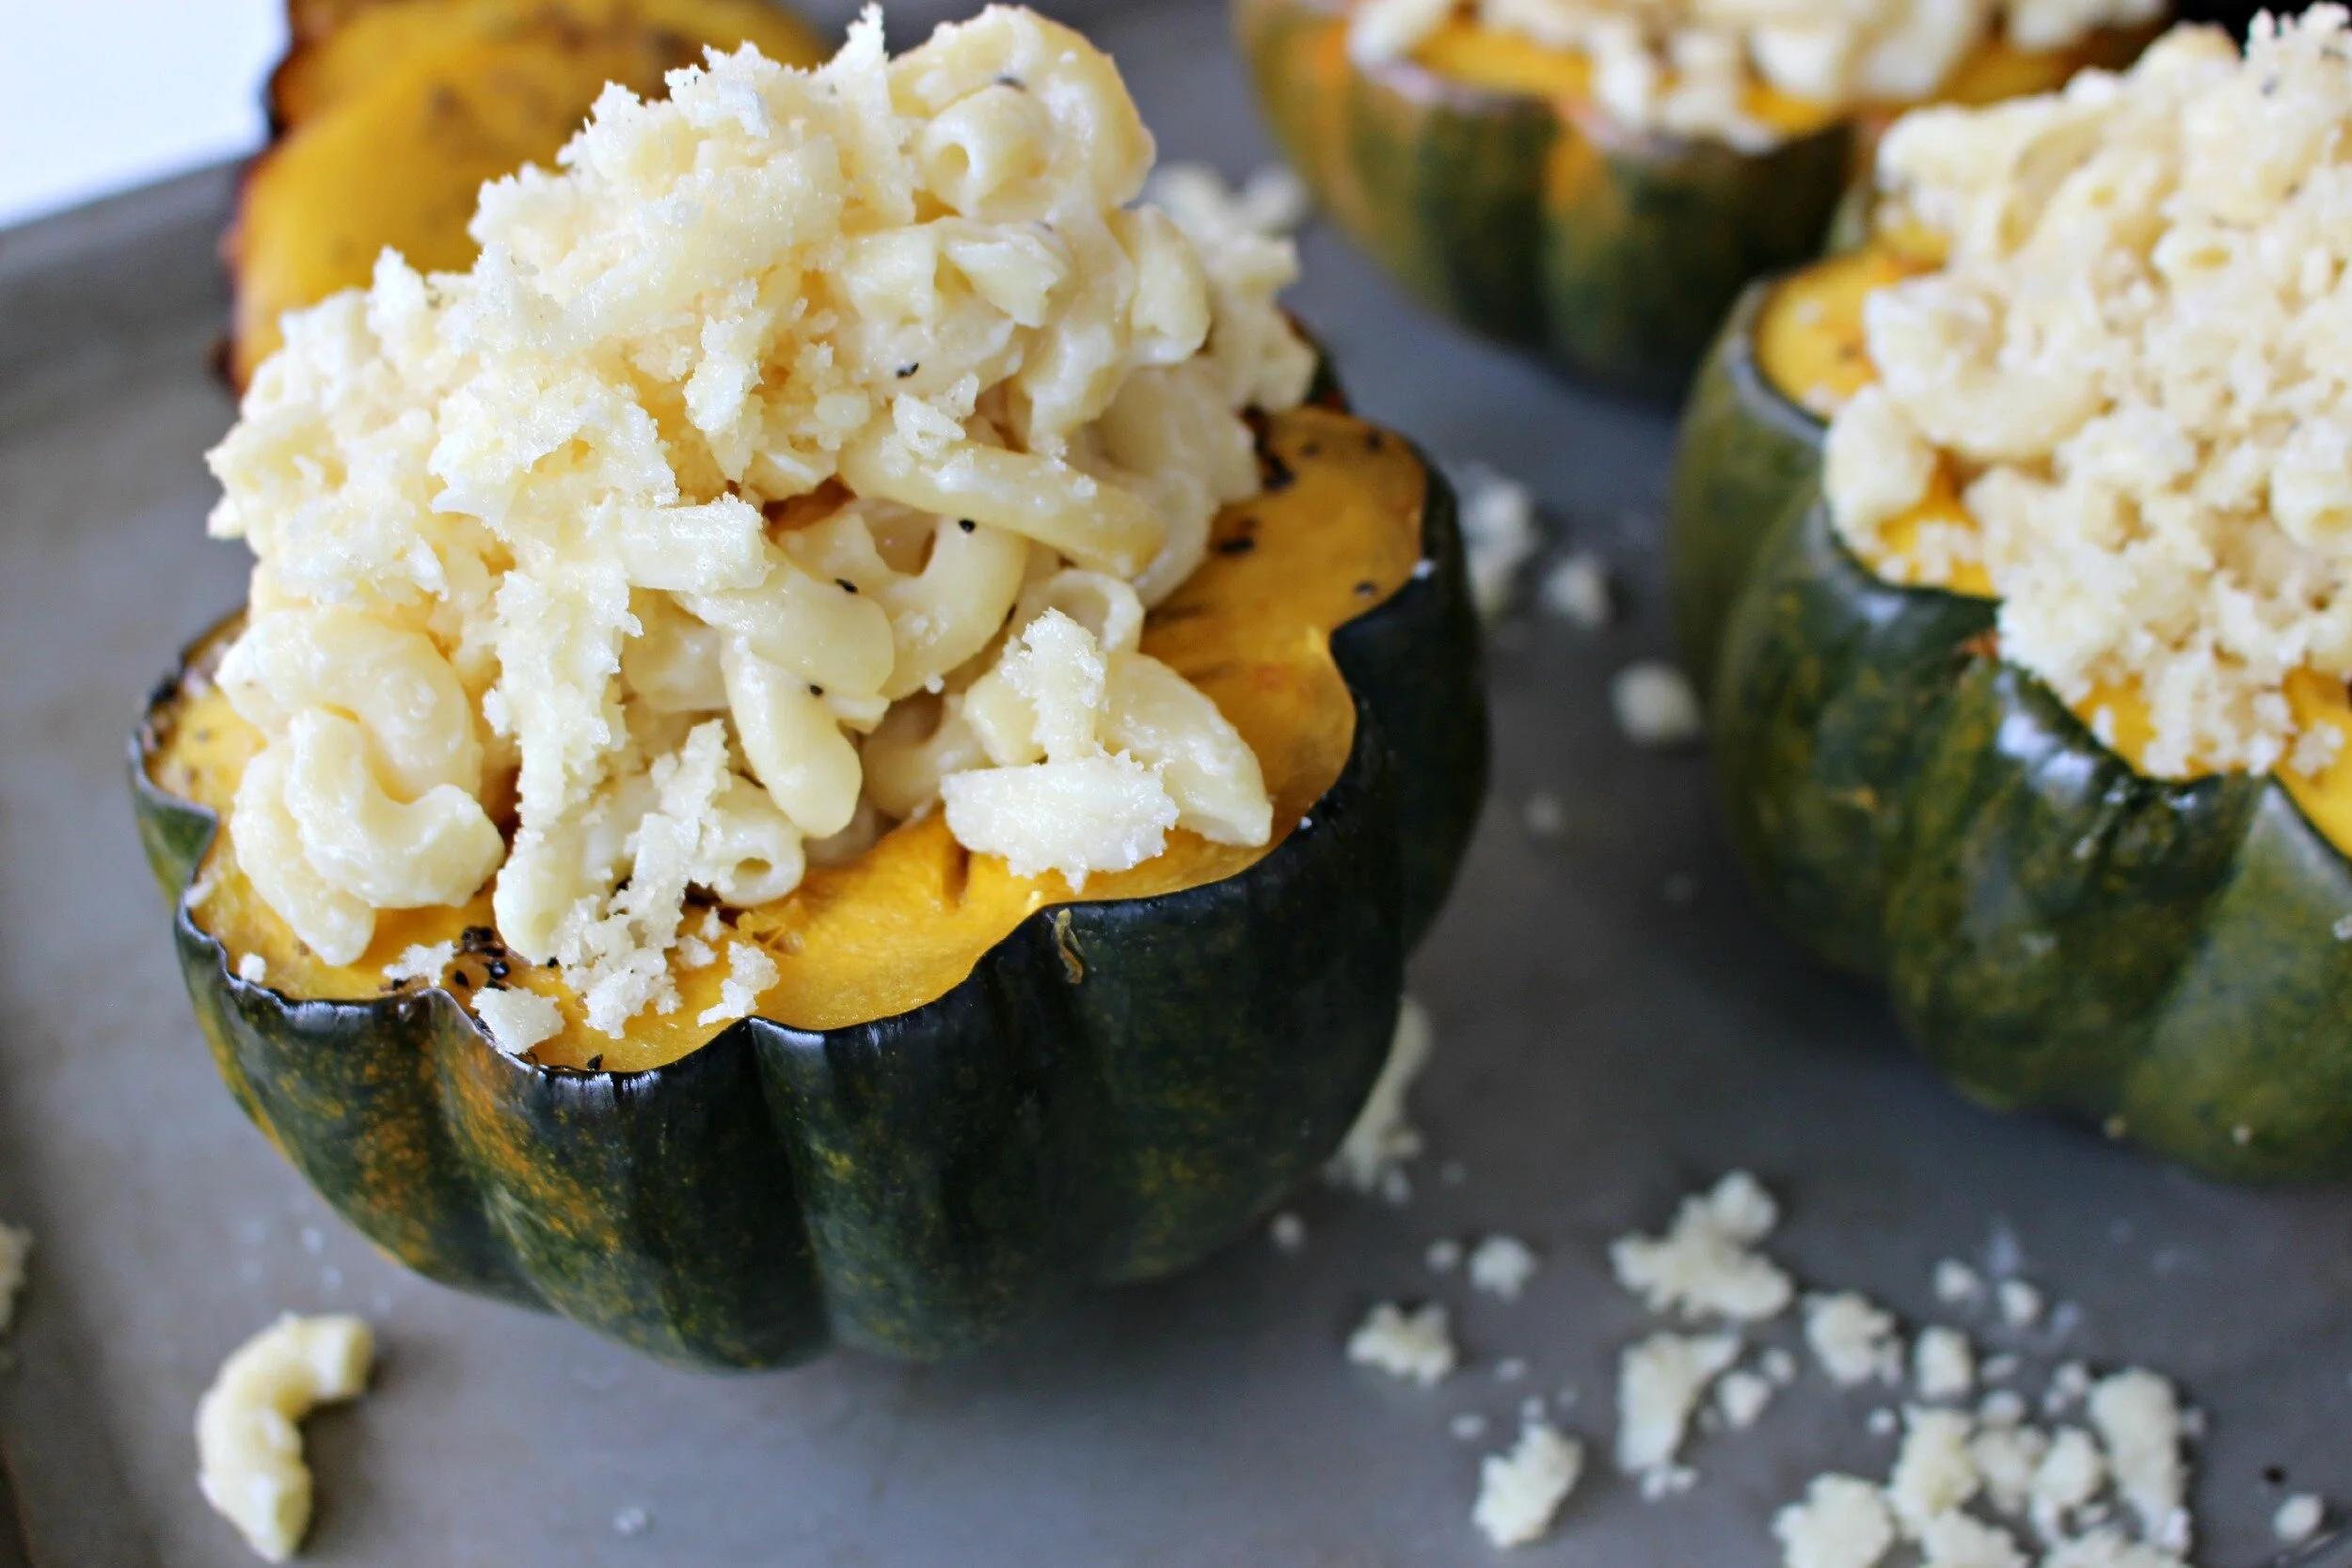
In a bowl toss your Panko bread crumbs with about 1 tablespoon of olive oil and 1/4 cup of your remaining cheese. Top each stuffed squash with a bit of your bread crumb mixture.
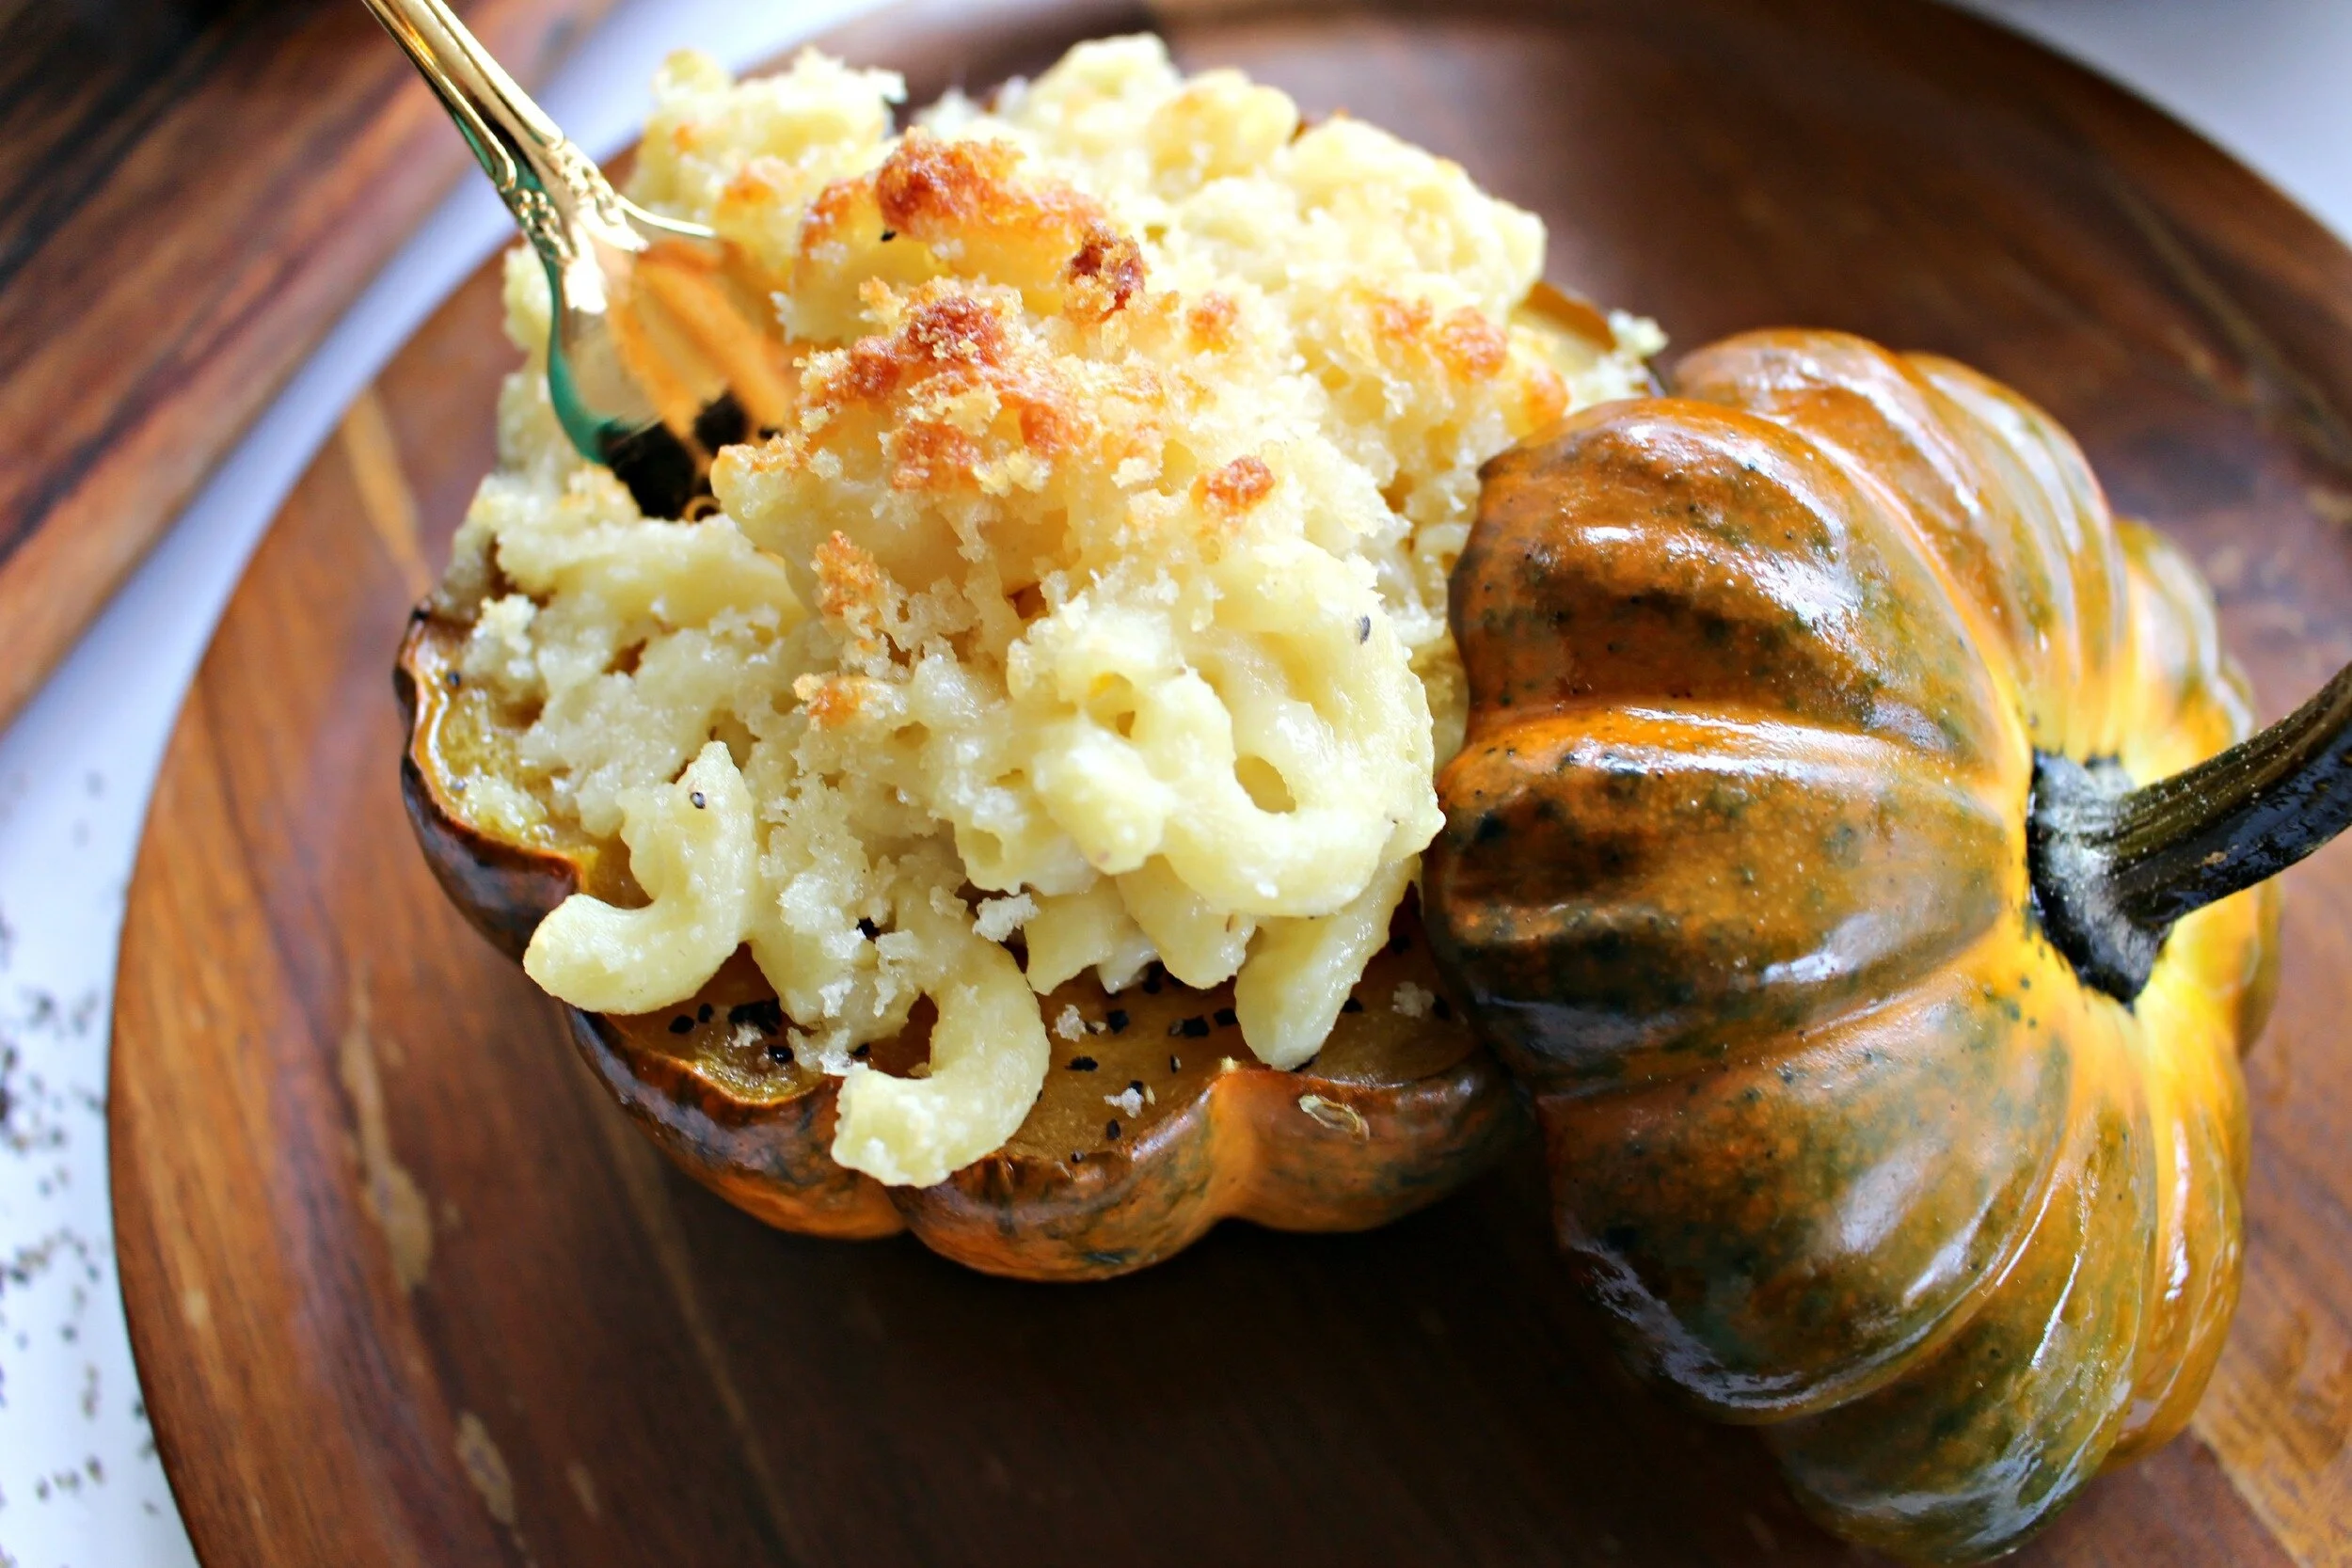
Return to the oven and continue baking at 375 for about 10 more minutes until the squash is fork tender and the top of the mac and cheese is golden brown.
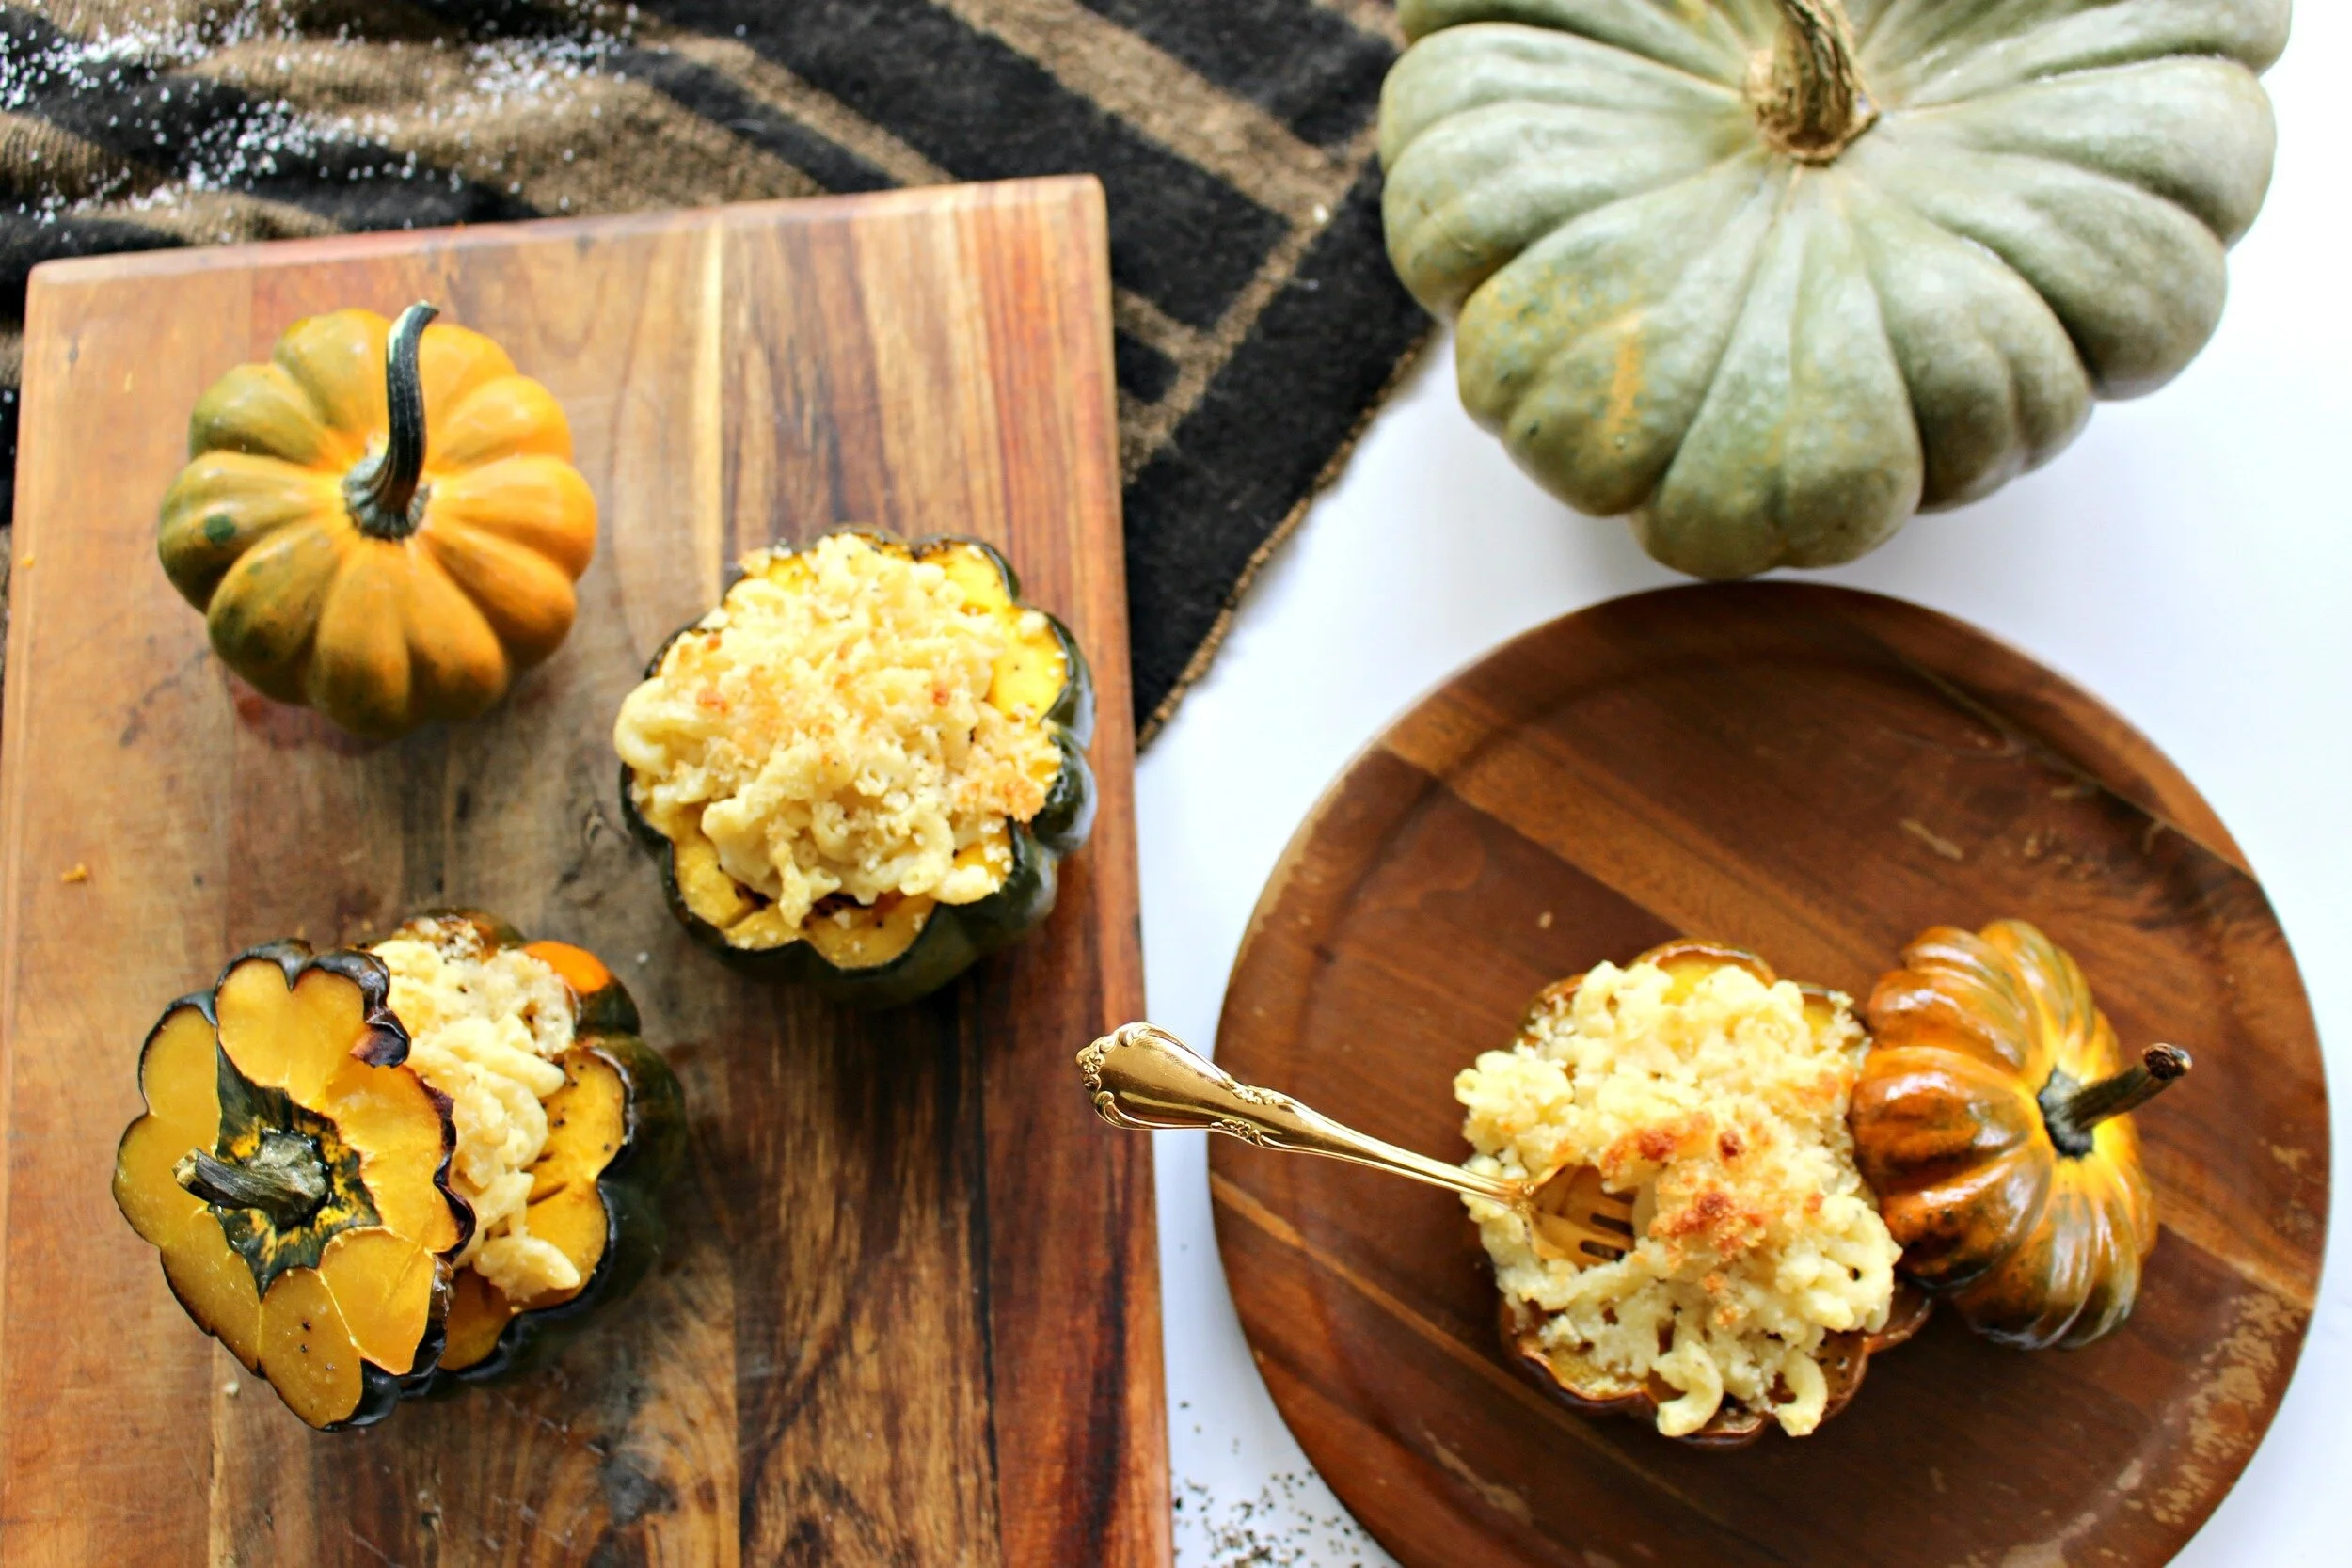
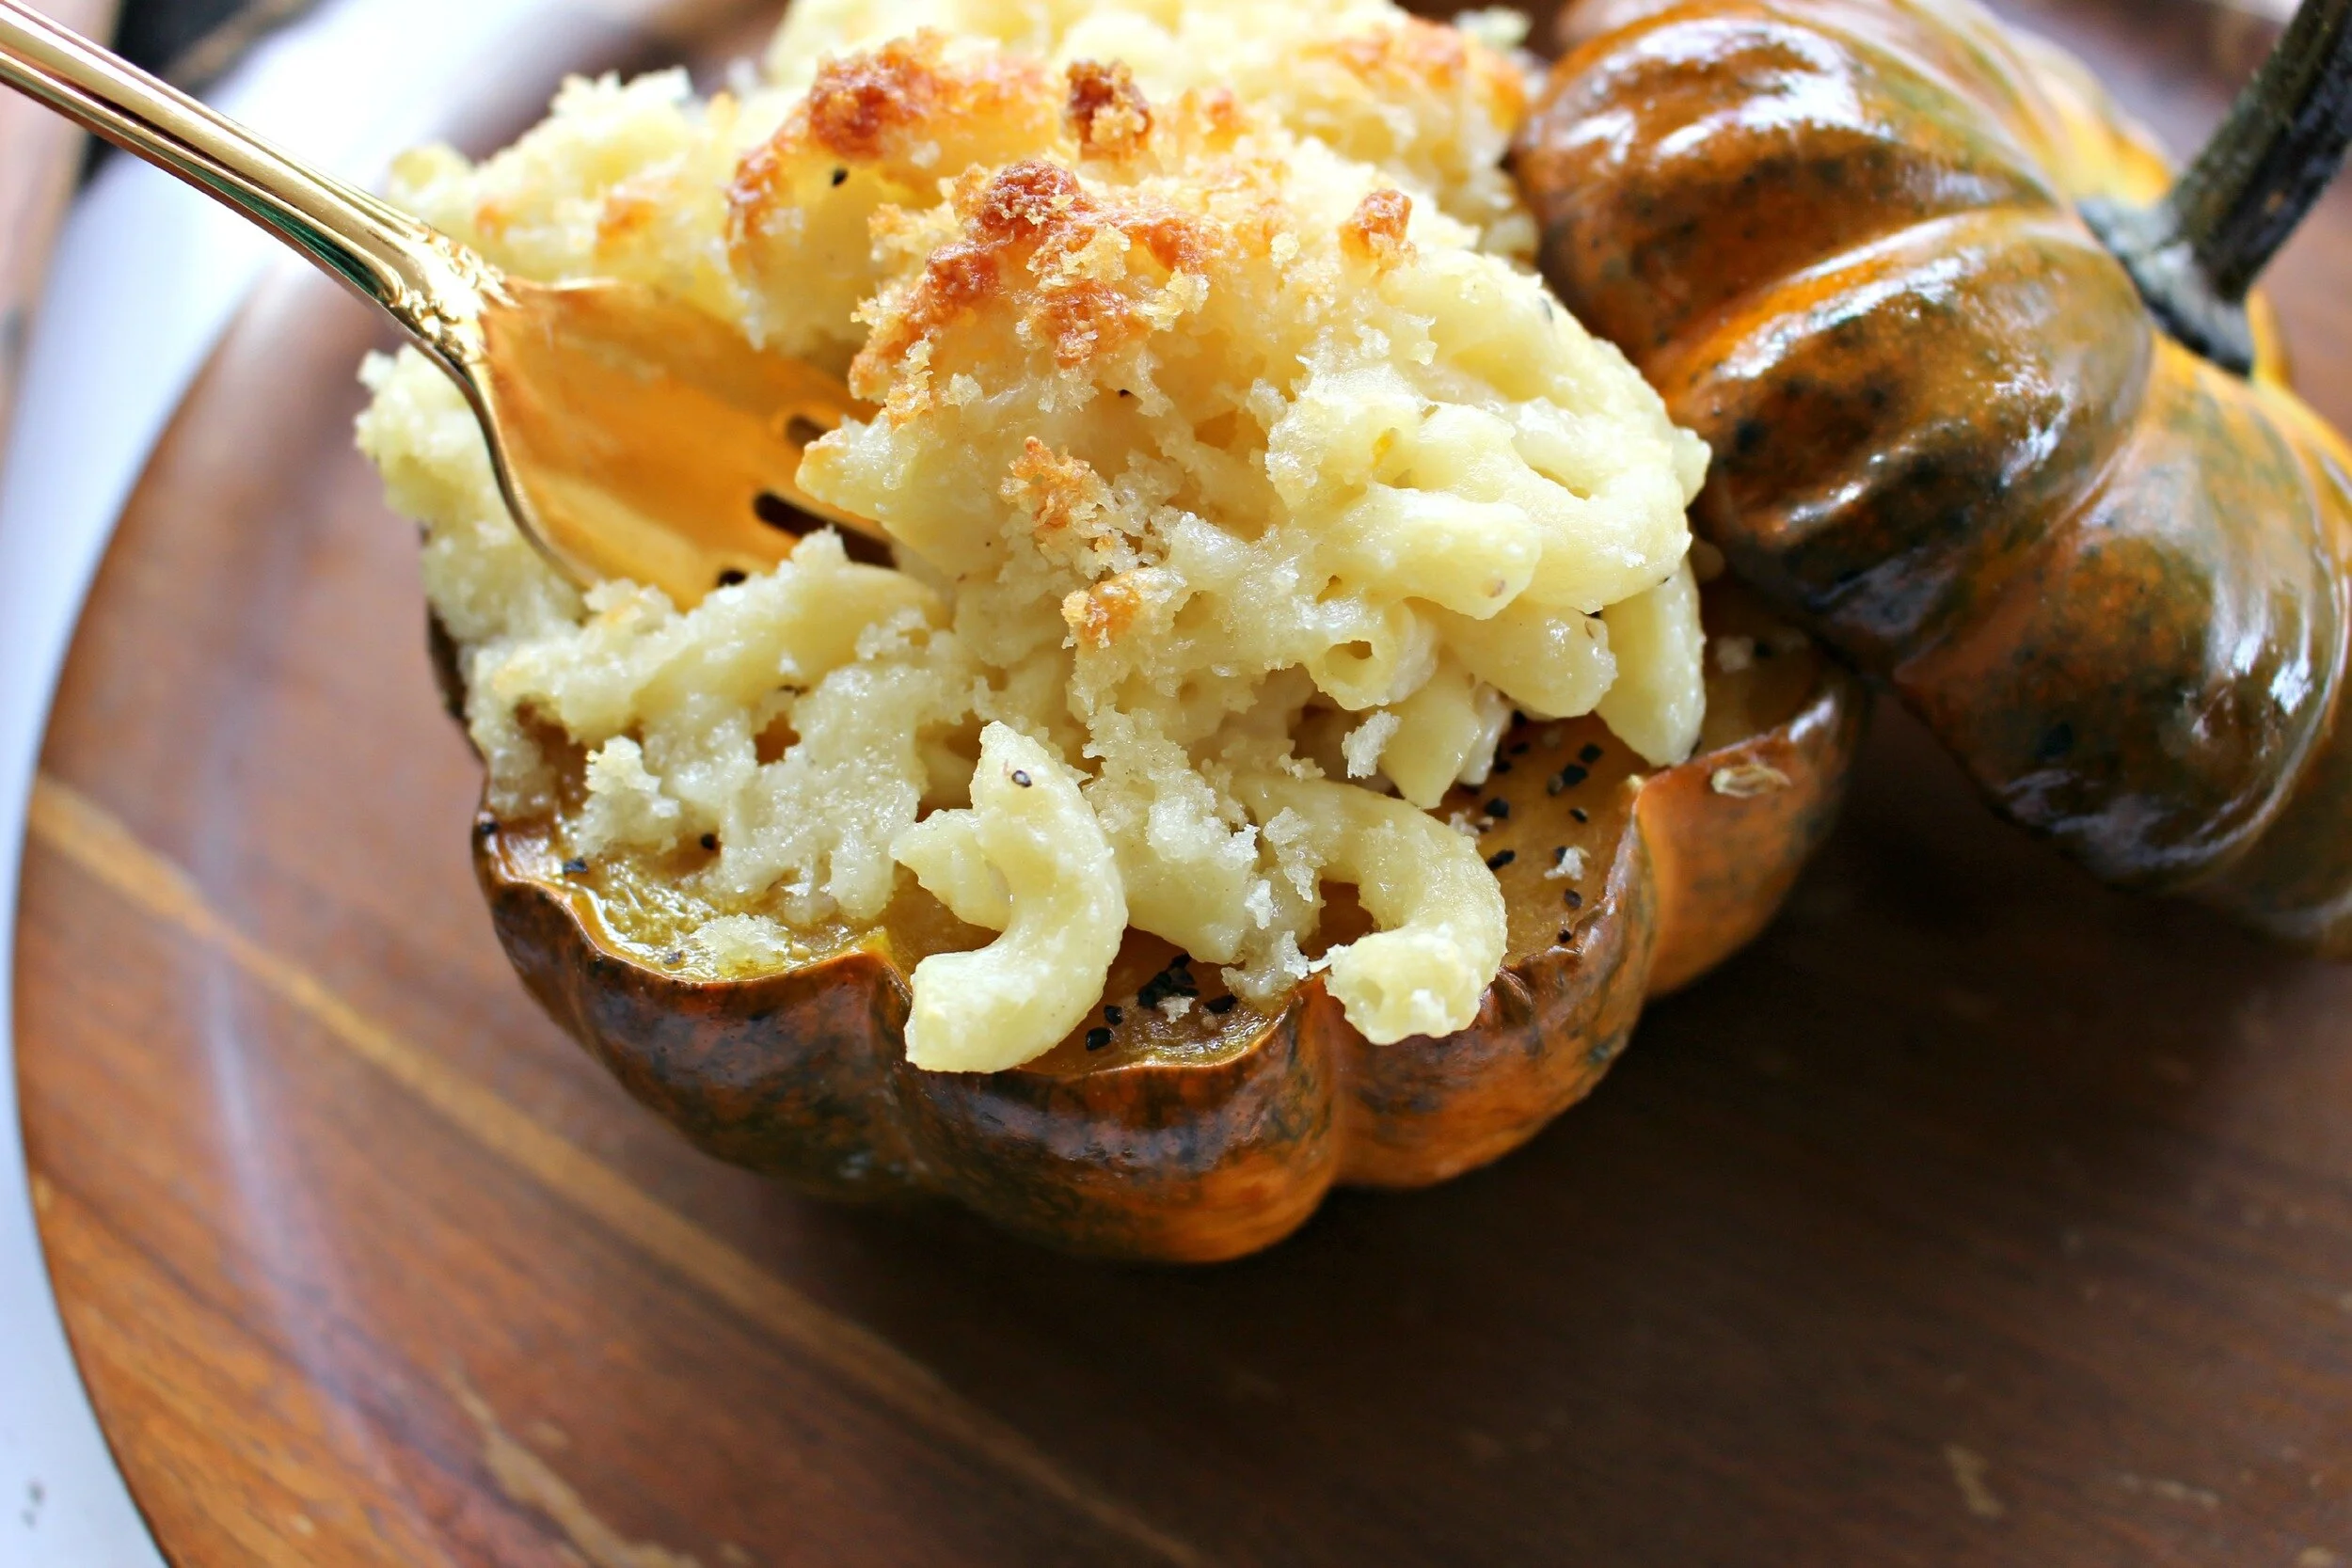
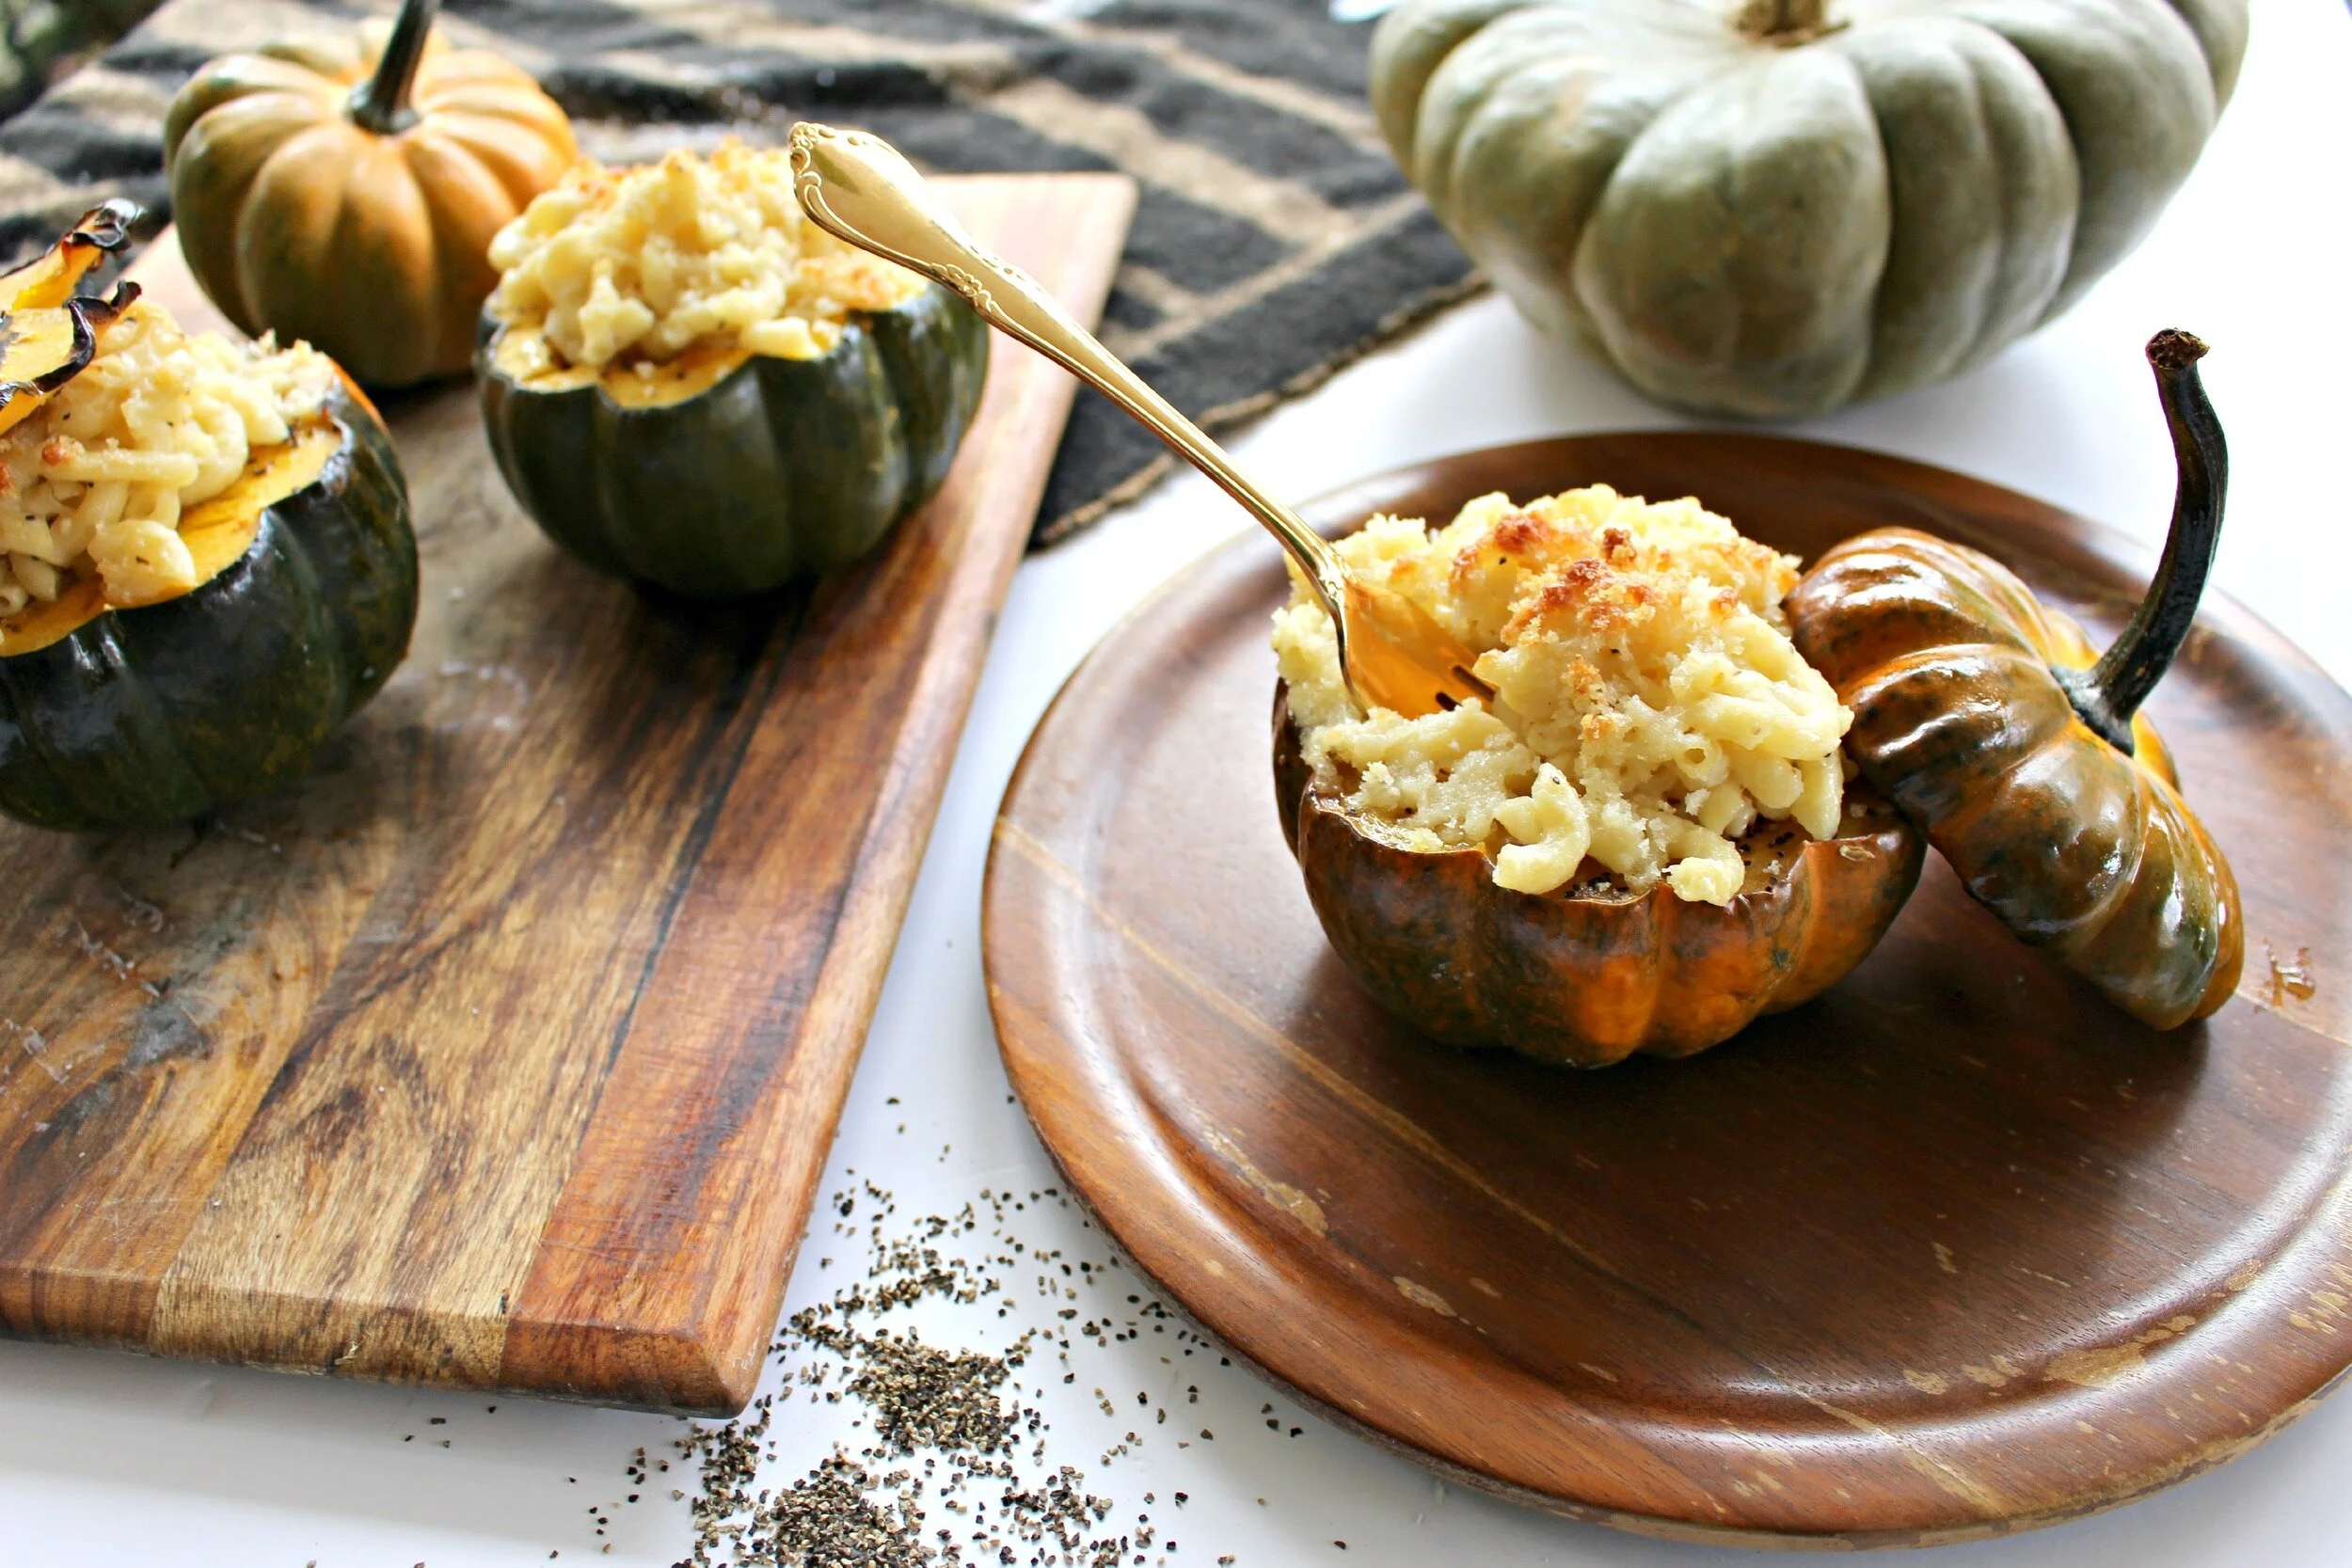
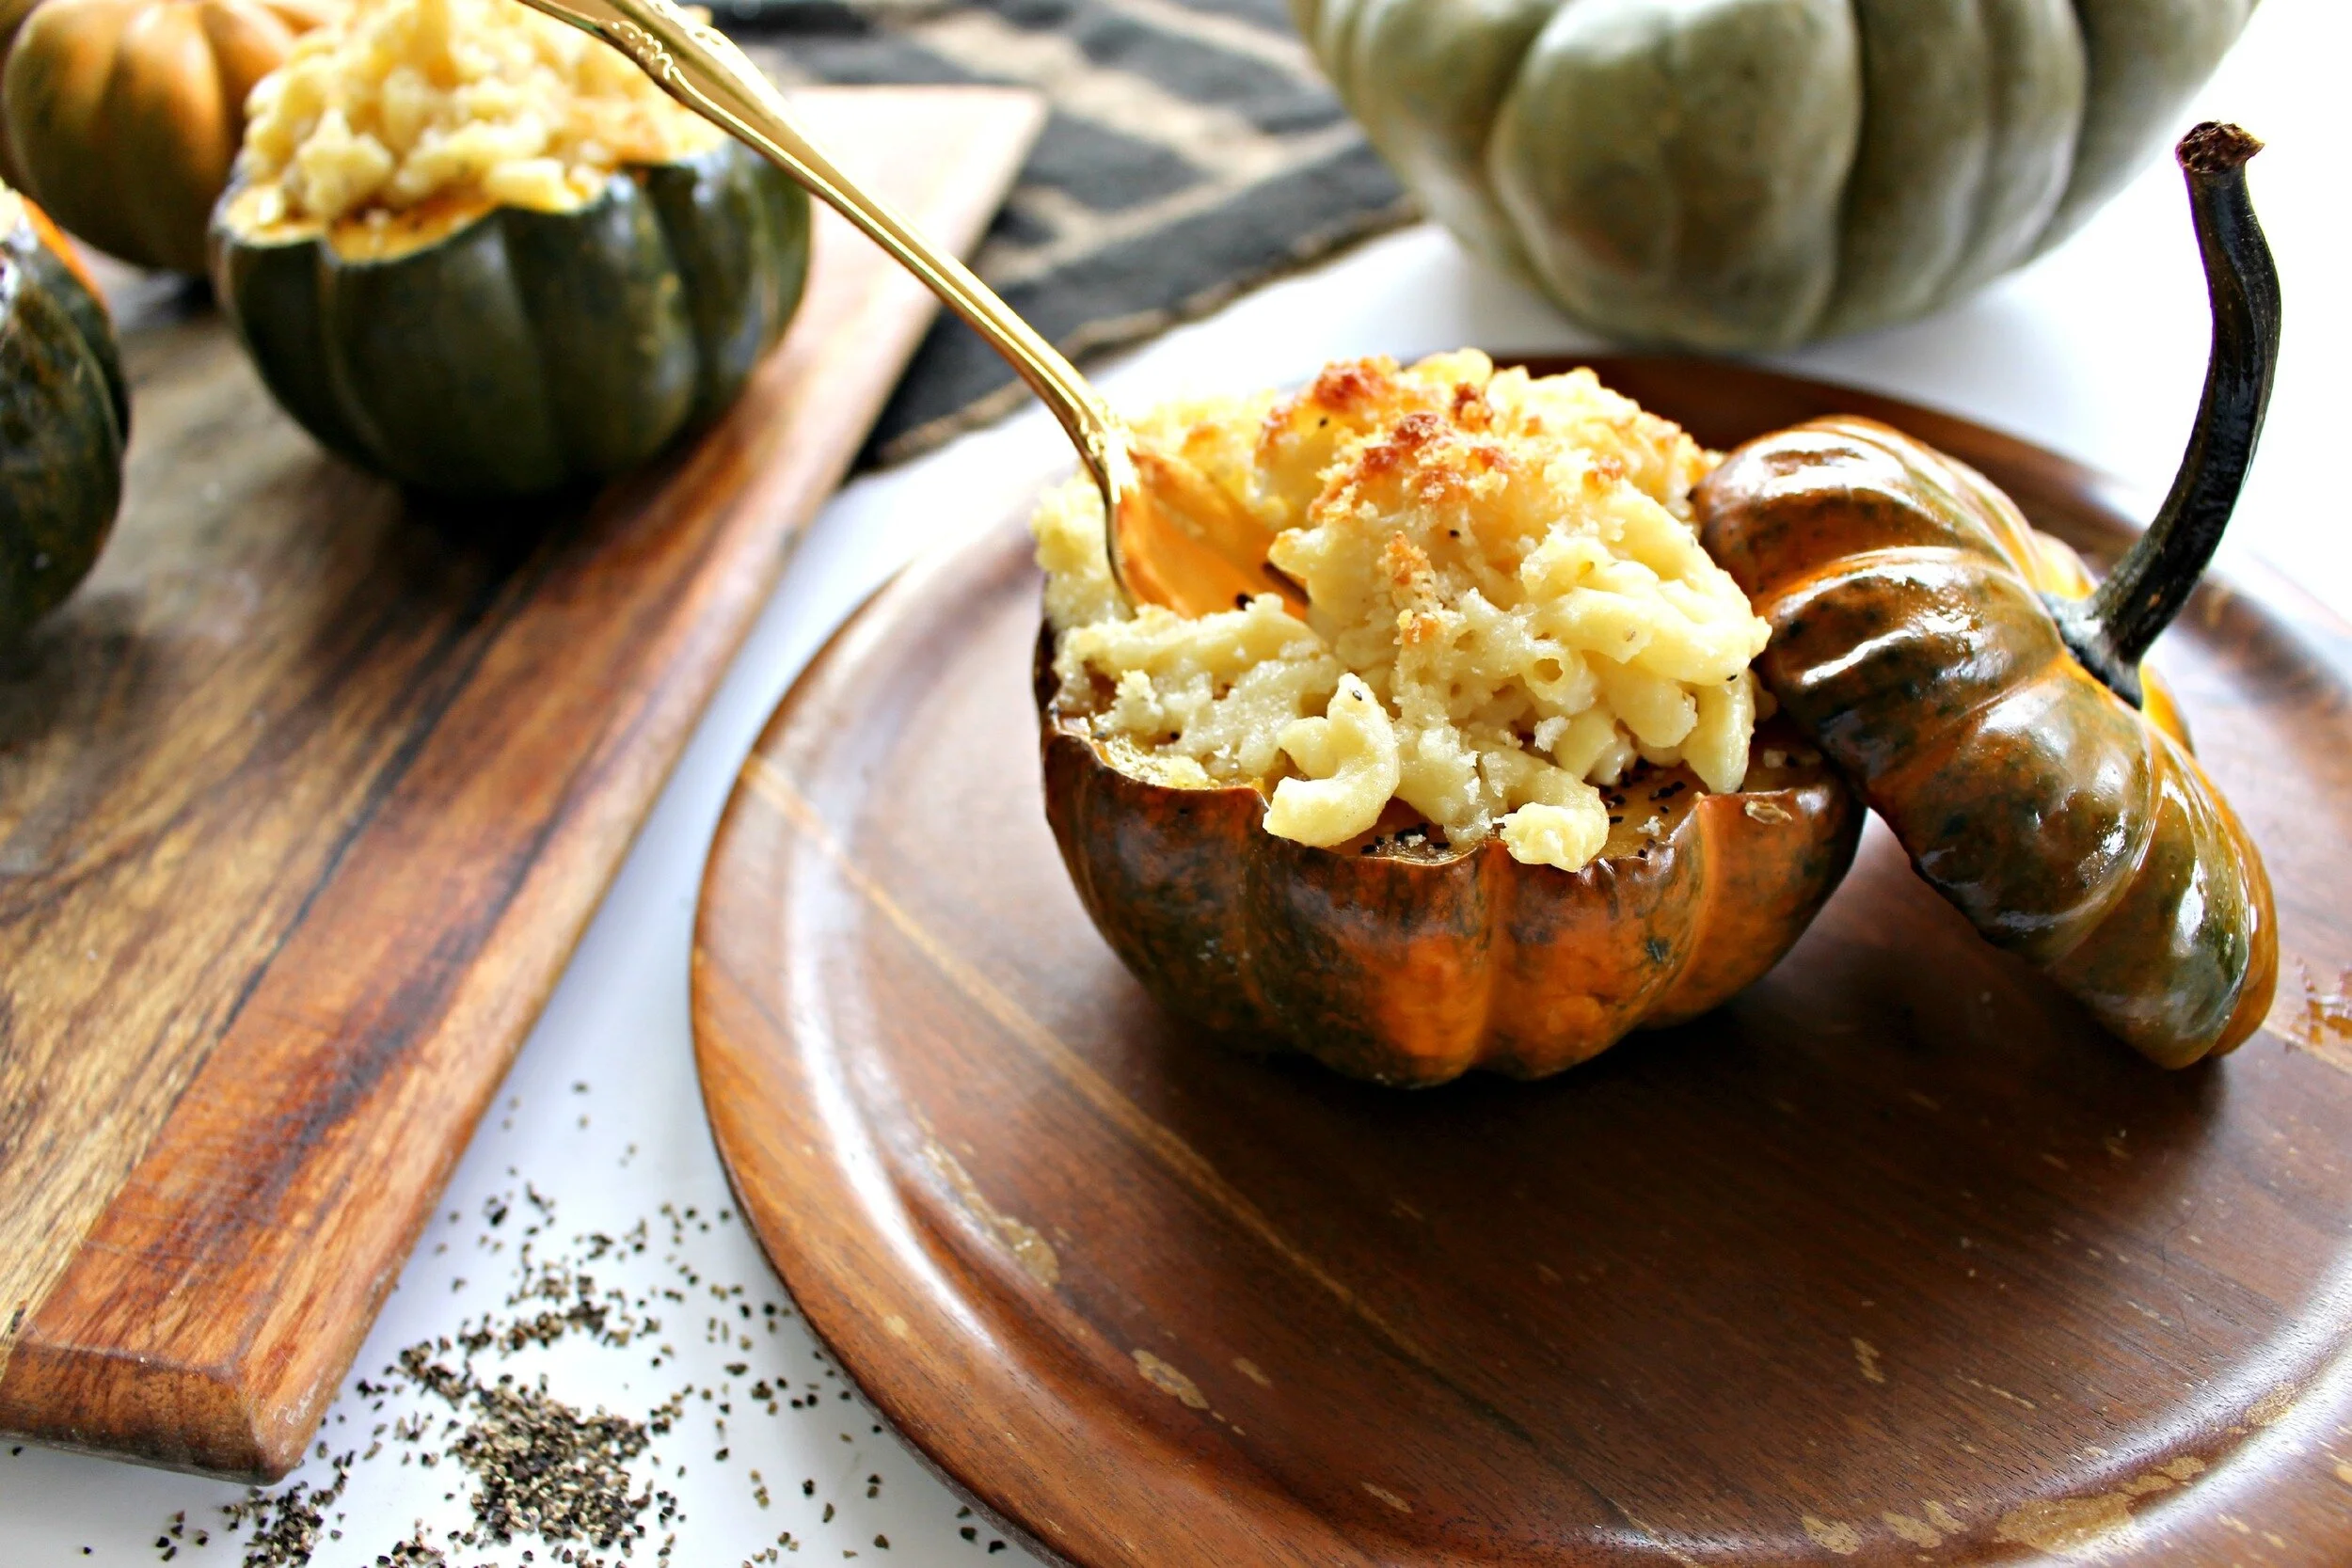
YUM! This macaroni is so rich and creamy that it can stand on it's own, but the addition of the squash adds brightness and slightly earthy flavor that makes this dish really unique. The extra sharp flavor of the white cheddar cheese is just what you need to balance the sweetness of the squash. I really love the little bit of texture the breadcrumbs add and all the golden tones are just striking all together! How cute would this be to serve at a fall dinner or Halloween party? Kids will love eating out of these little "pumpkin" bowls too!
xoxo
Emily