Shop My Halloween Front Porch

all photos by Lane Lens


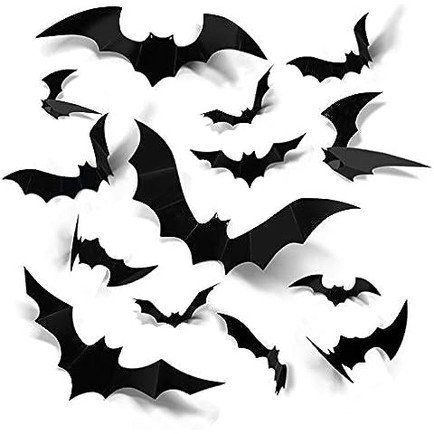
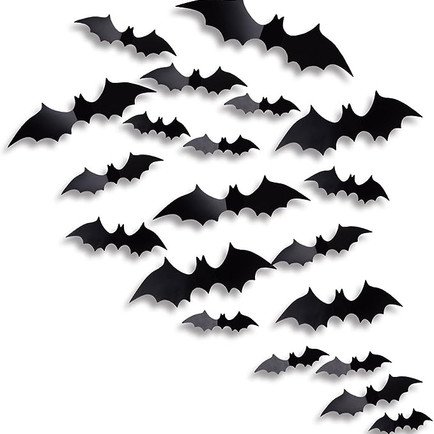

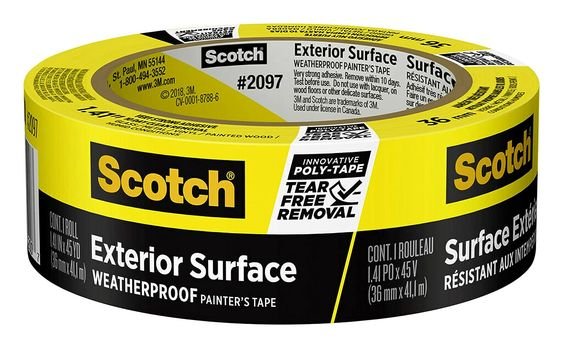


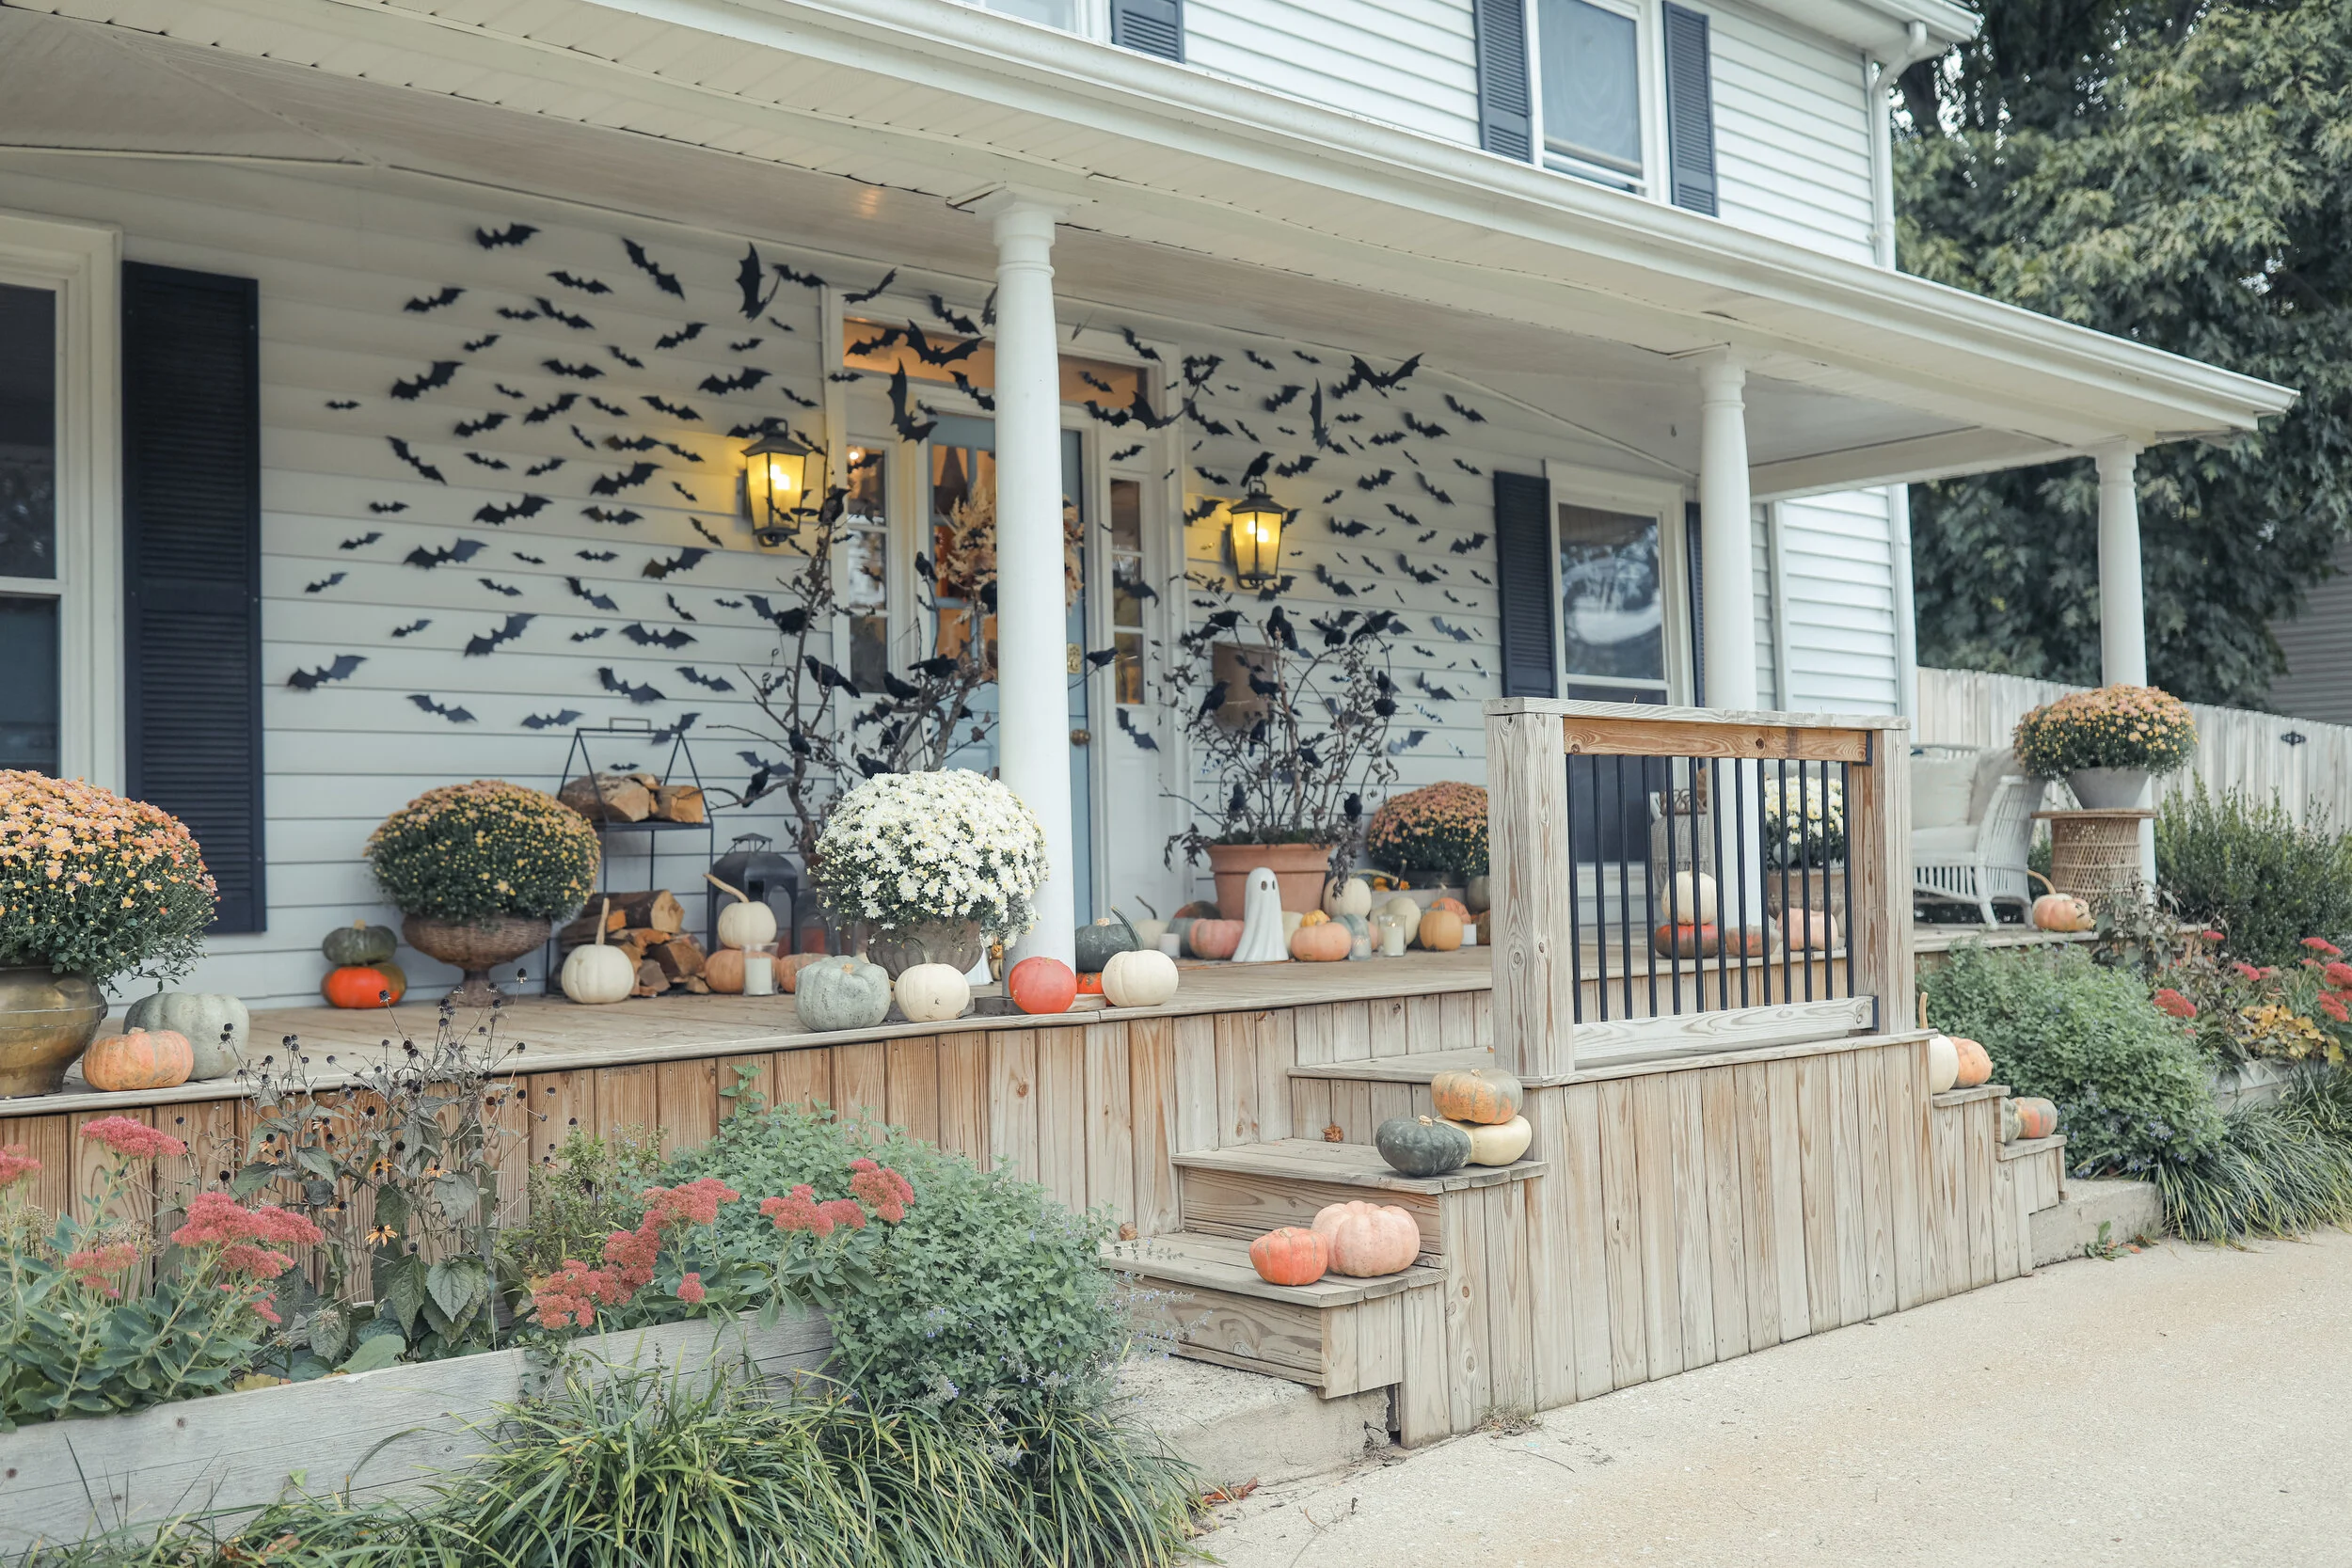
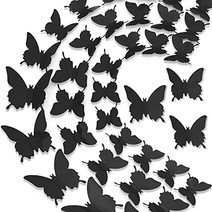
I hang my bats using painter’s tape rolled up and stuck on the back. Press firmly into the siding and wait a couple seconds and then release. I tear the painter’s tape into very small strips for the smaller bats and you just have to roll it up super small and tight to fit on the back. I have not lost a bat yet using this method and it’s even been very windy here the last week. We do have a completely covered porch though that doesn’t get direct sunlight or rain (I think that helps a lot). I am not sure if this works well for brick but I can’t think of a better option. I stagger them and face them at different angles for a more organic look. I mixed a couple different packages of bats (linked above) to get the full look I have. Each package has a variety of sizes included. I start by hanging the largest size and spacing out evenly, then do the medium, and finish by filling in with the smallest size.
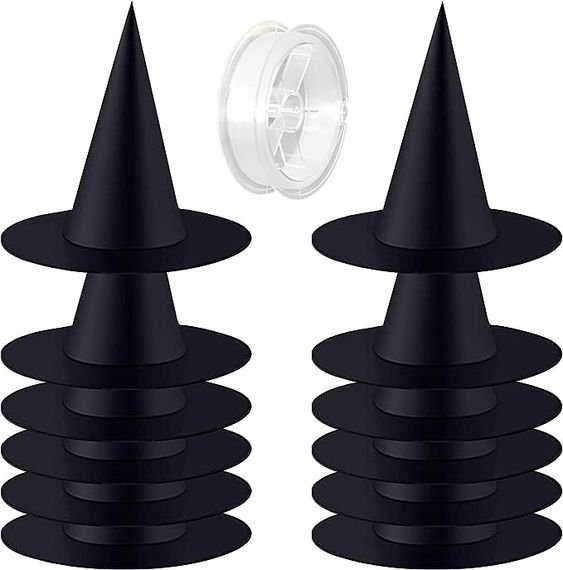
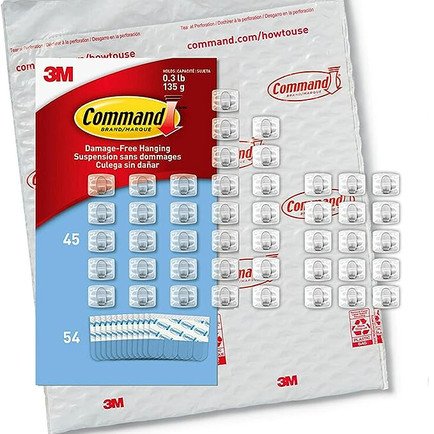
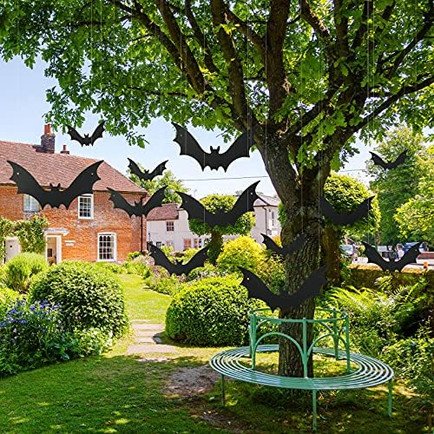
For the bats on the ceiling, I use cup hooks screwed into the ceiling then place a piece of clear packing tape over the fishing line to secure so it doesn’t slide or blow off. You could also use the small clear command hooks if you don’t want to make a hole in the ceiling (linked above and these are what I use in my entryway for my witch hats!). The hanging bats come with fishing line and have holes in them to fish it through. That way you can adjust the height and length to your liking. Be sure to hang them at varying heights so they don’t all hang in the same place!
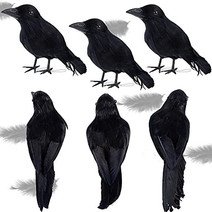
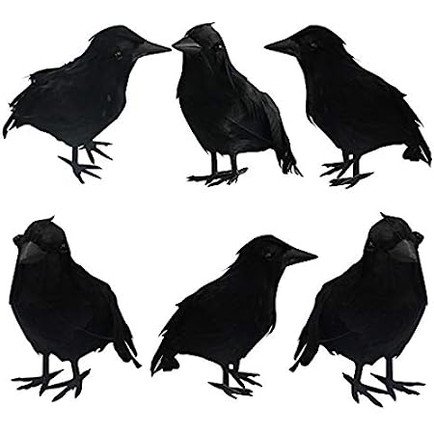
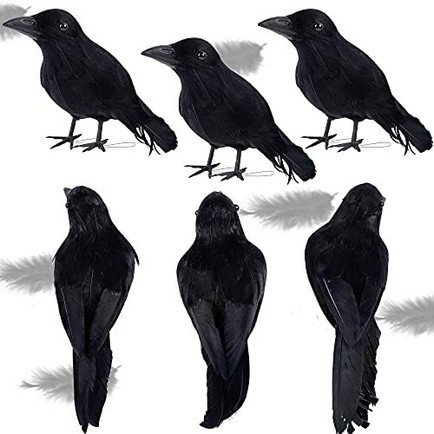
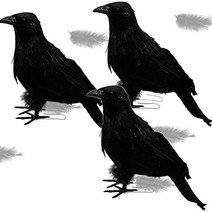
The crows come with wire attached to their feet which makes it easy to attach them to the branches. I just used branches from my yard and stuck them inside of planters, secured with firewood inside to add weight and stability. I covered with moss on the top so you couldn’t see inside!