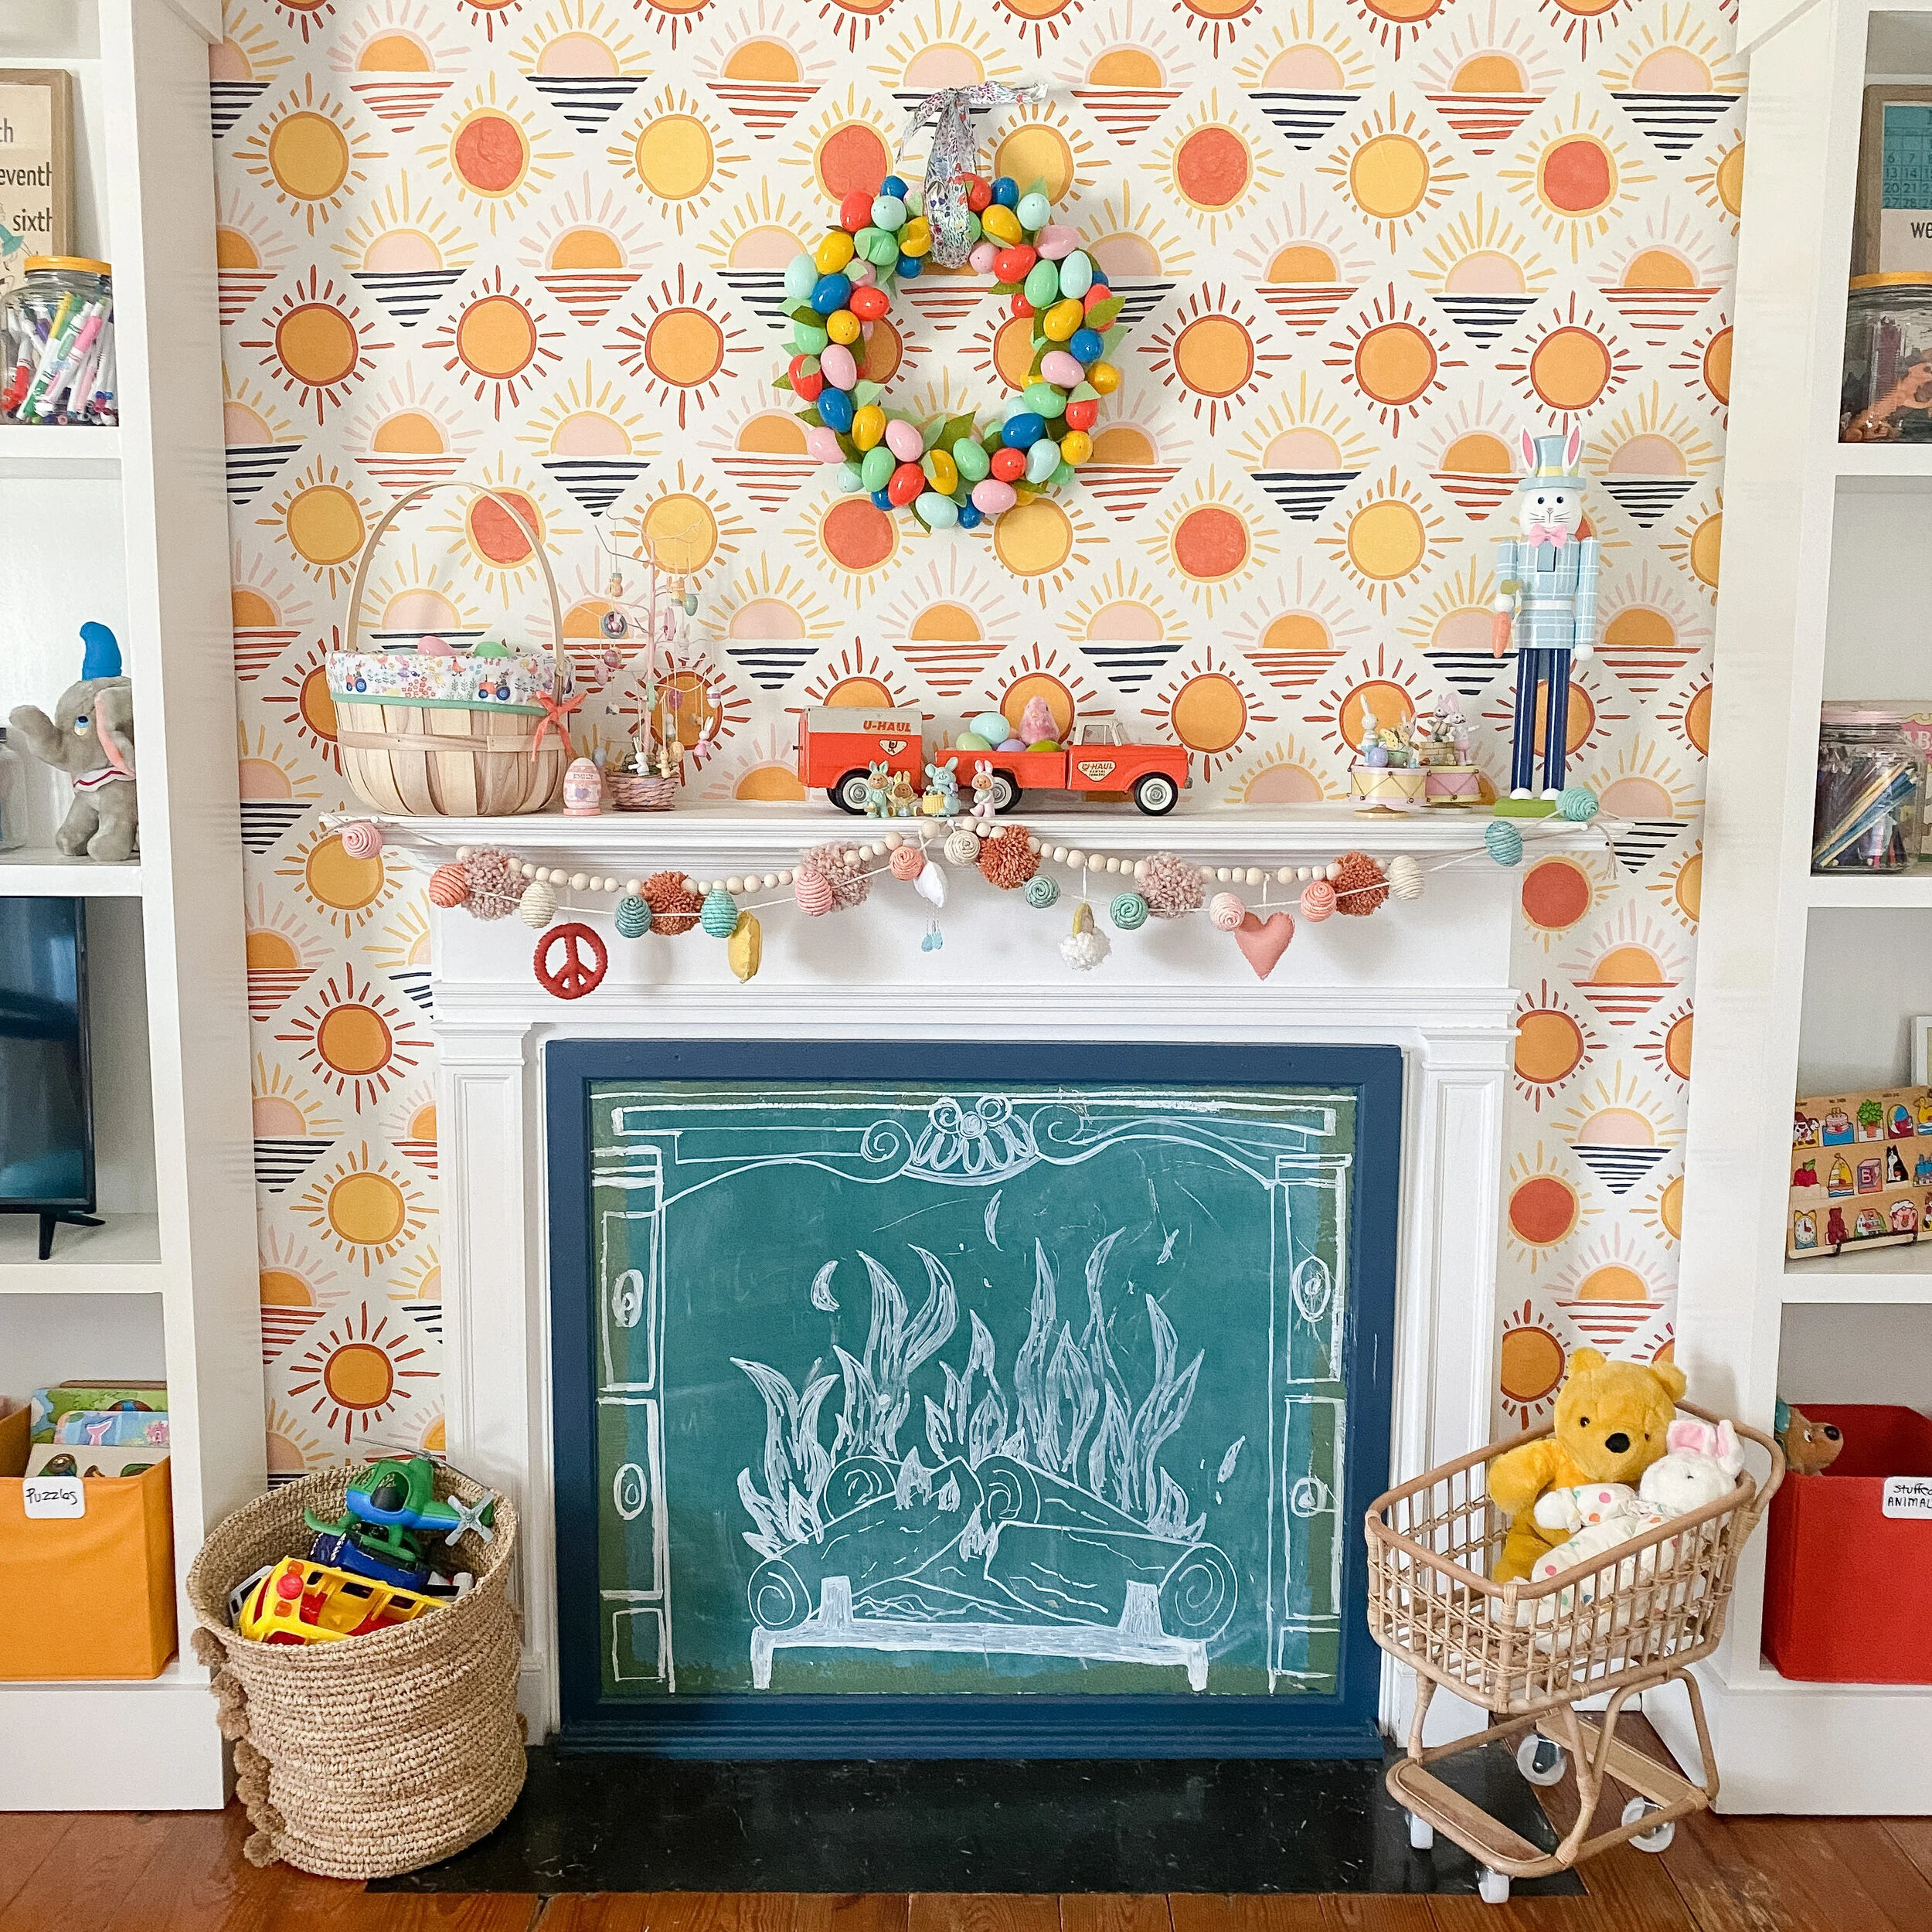
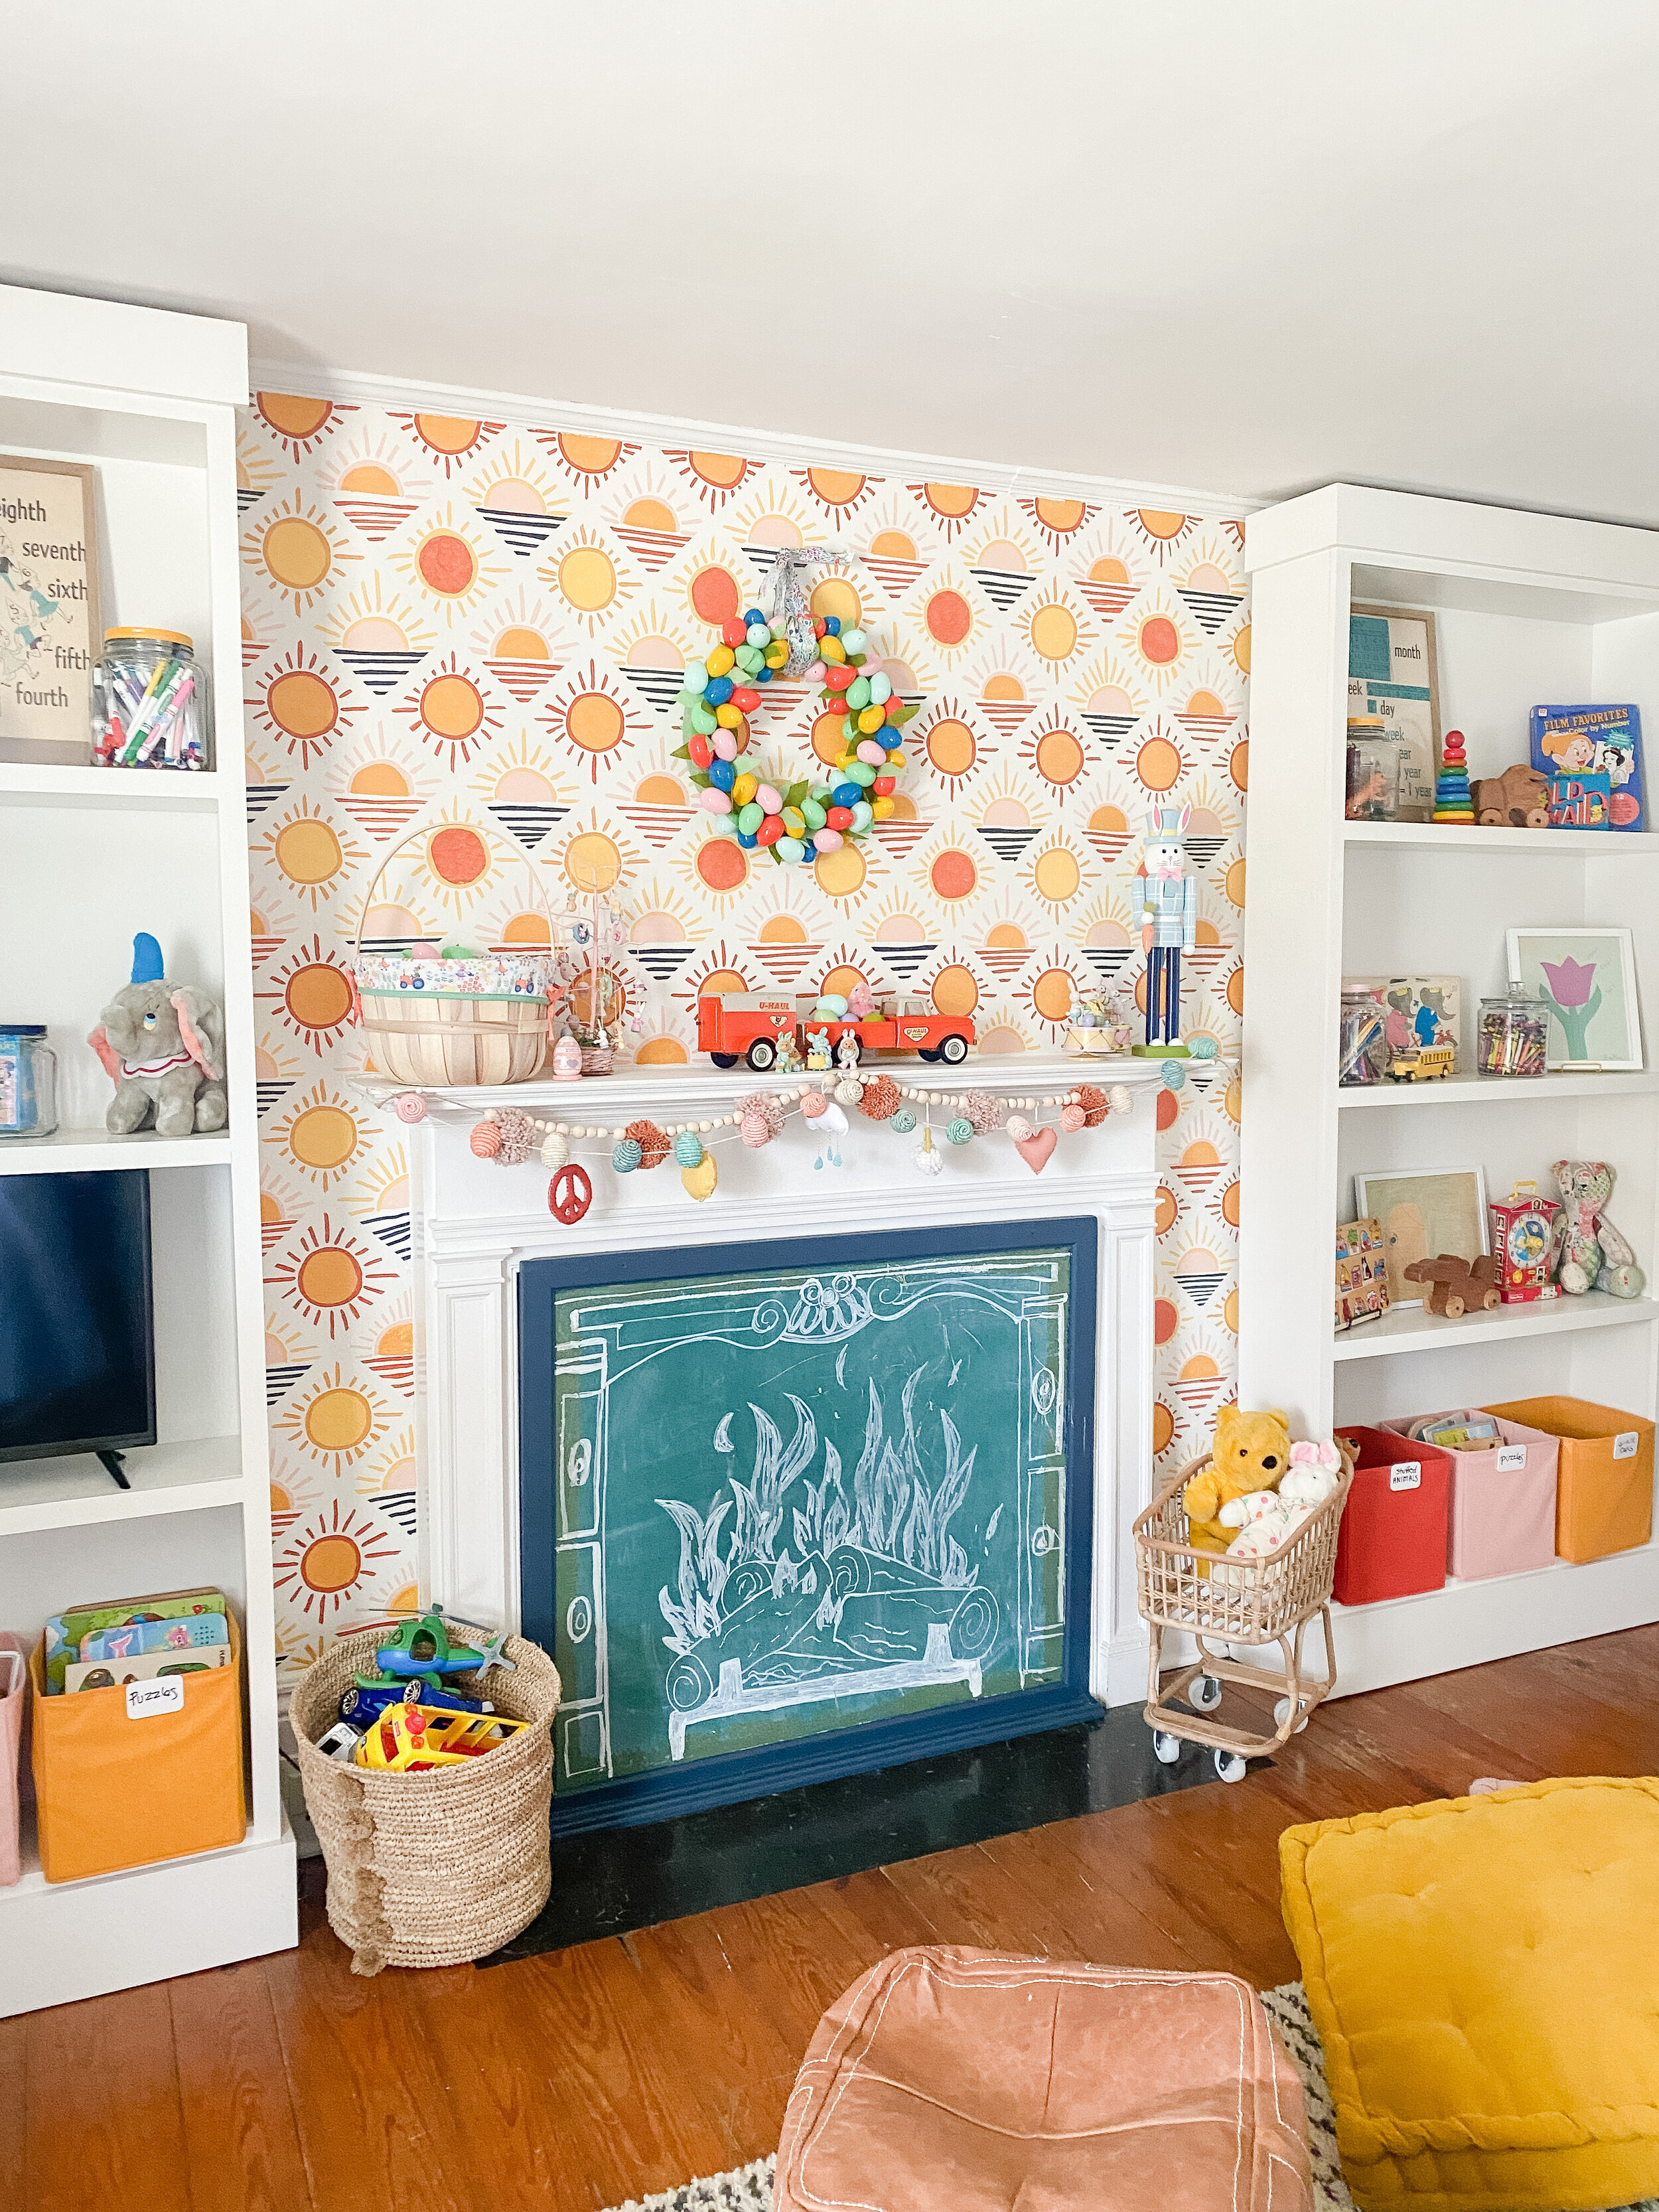
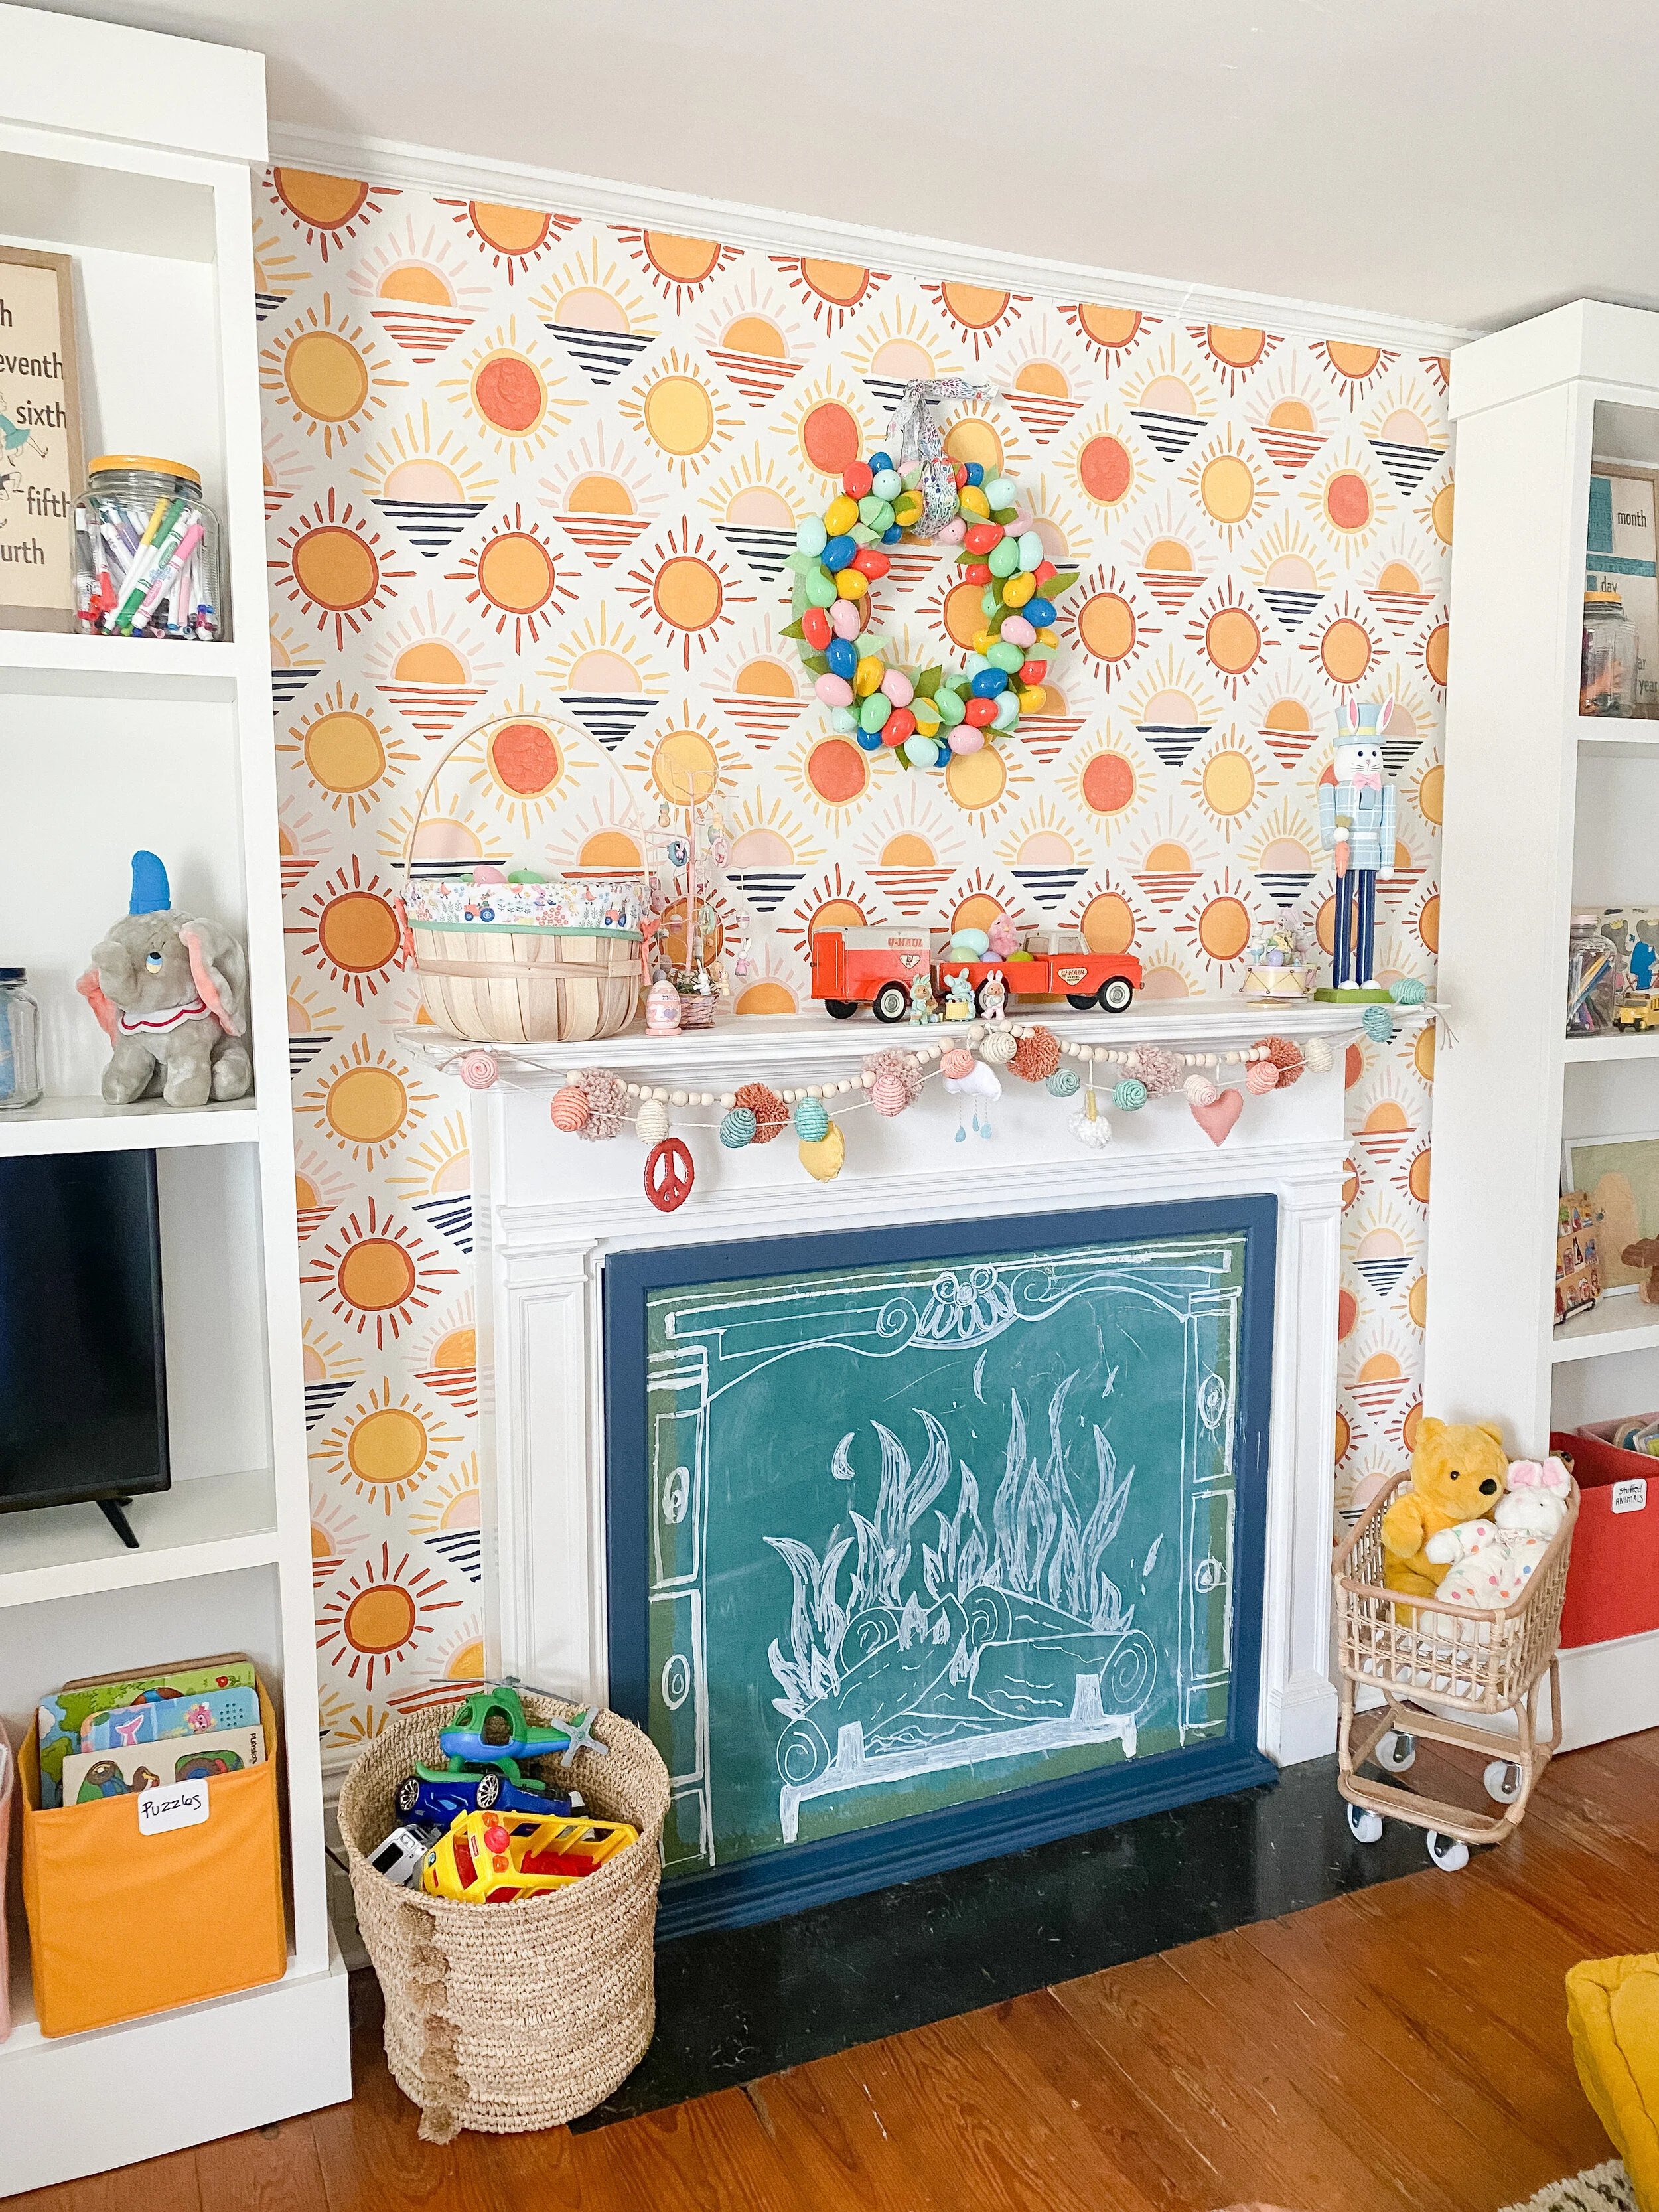
Easy DIY Easter Egg Wreath

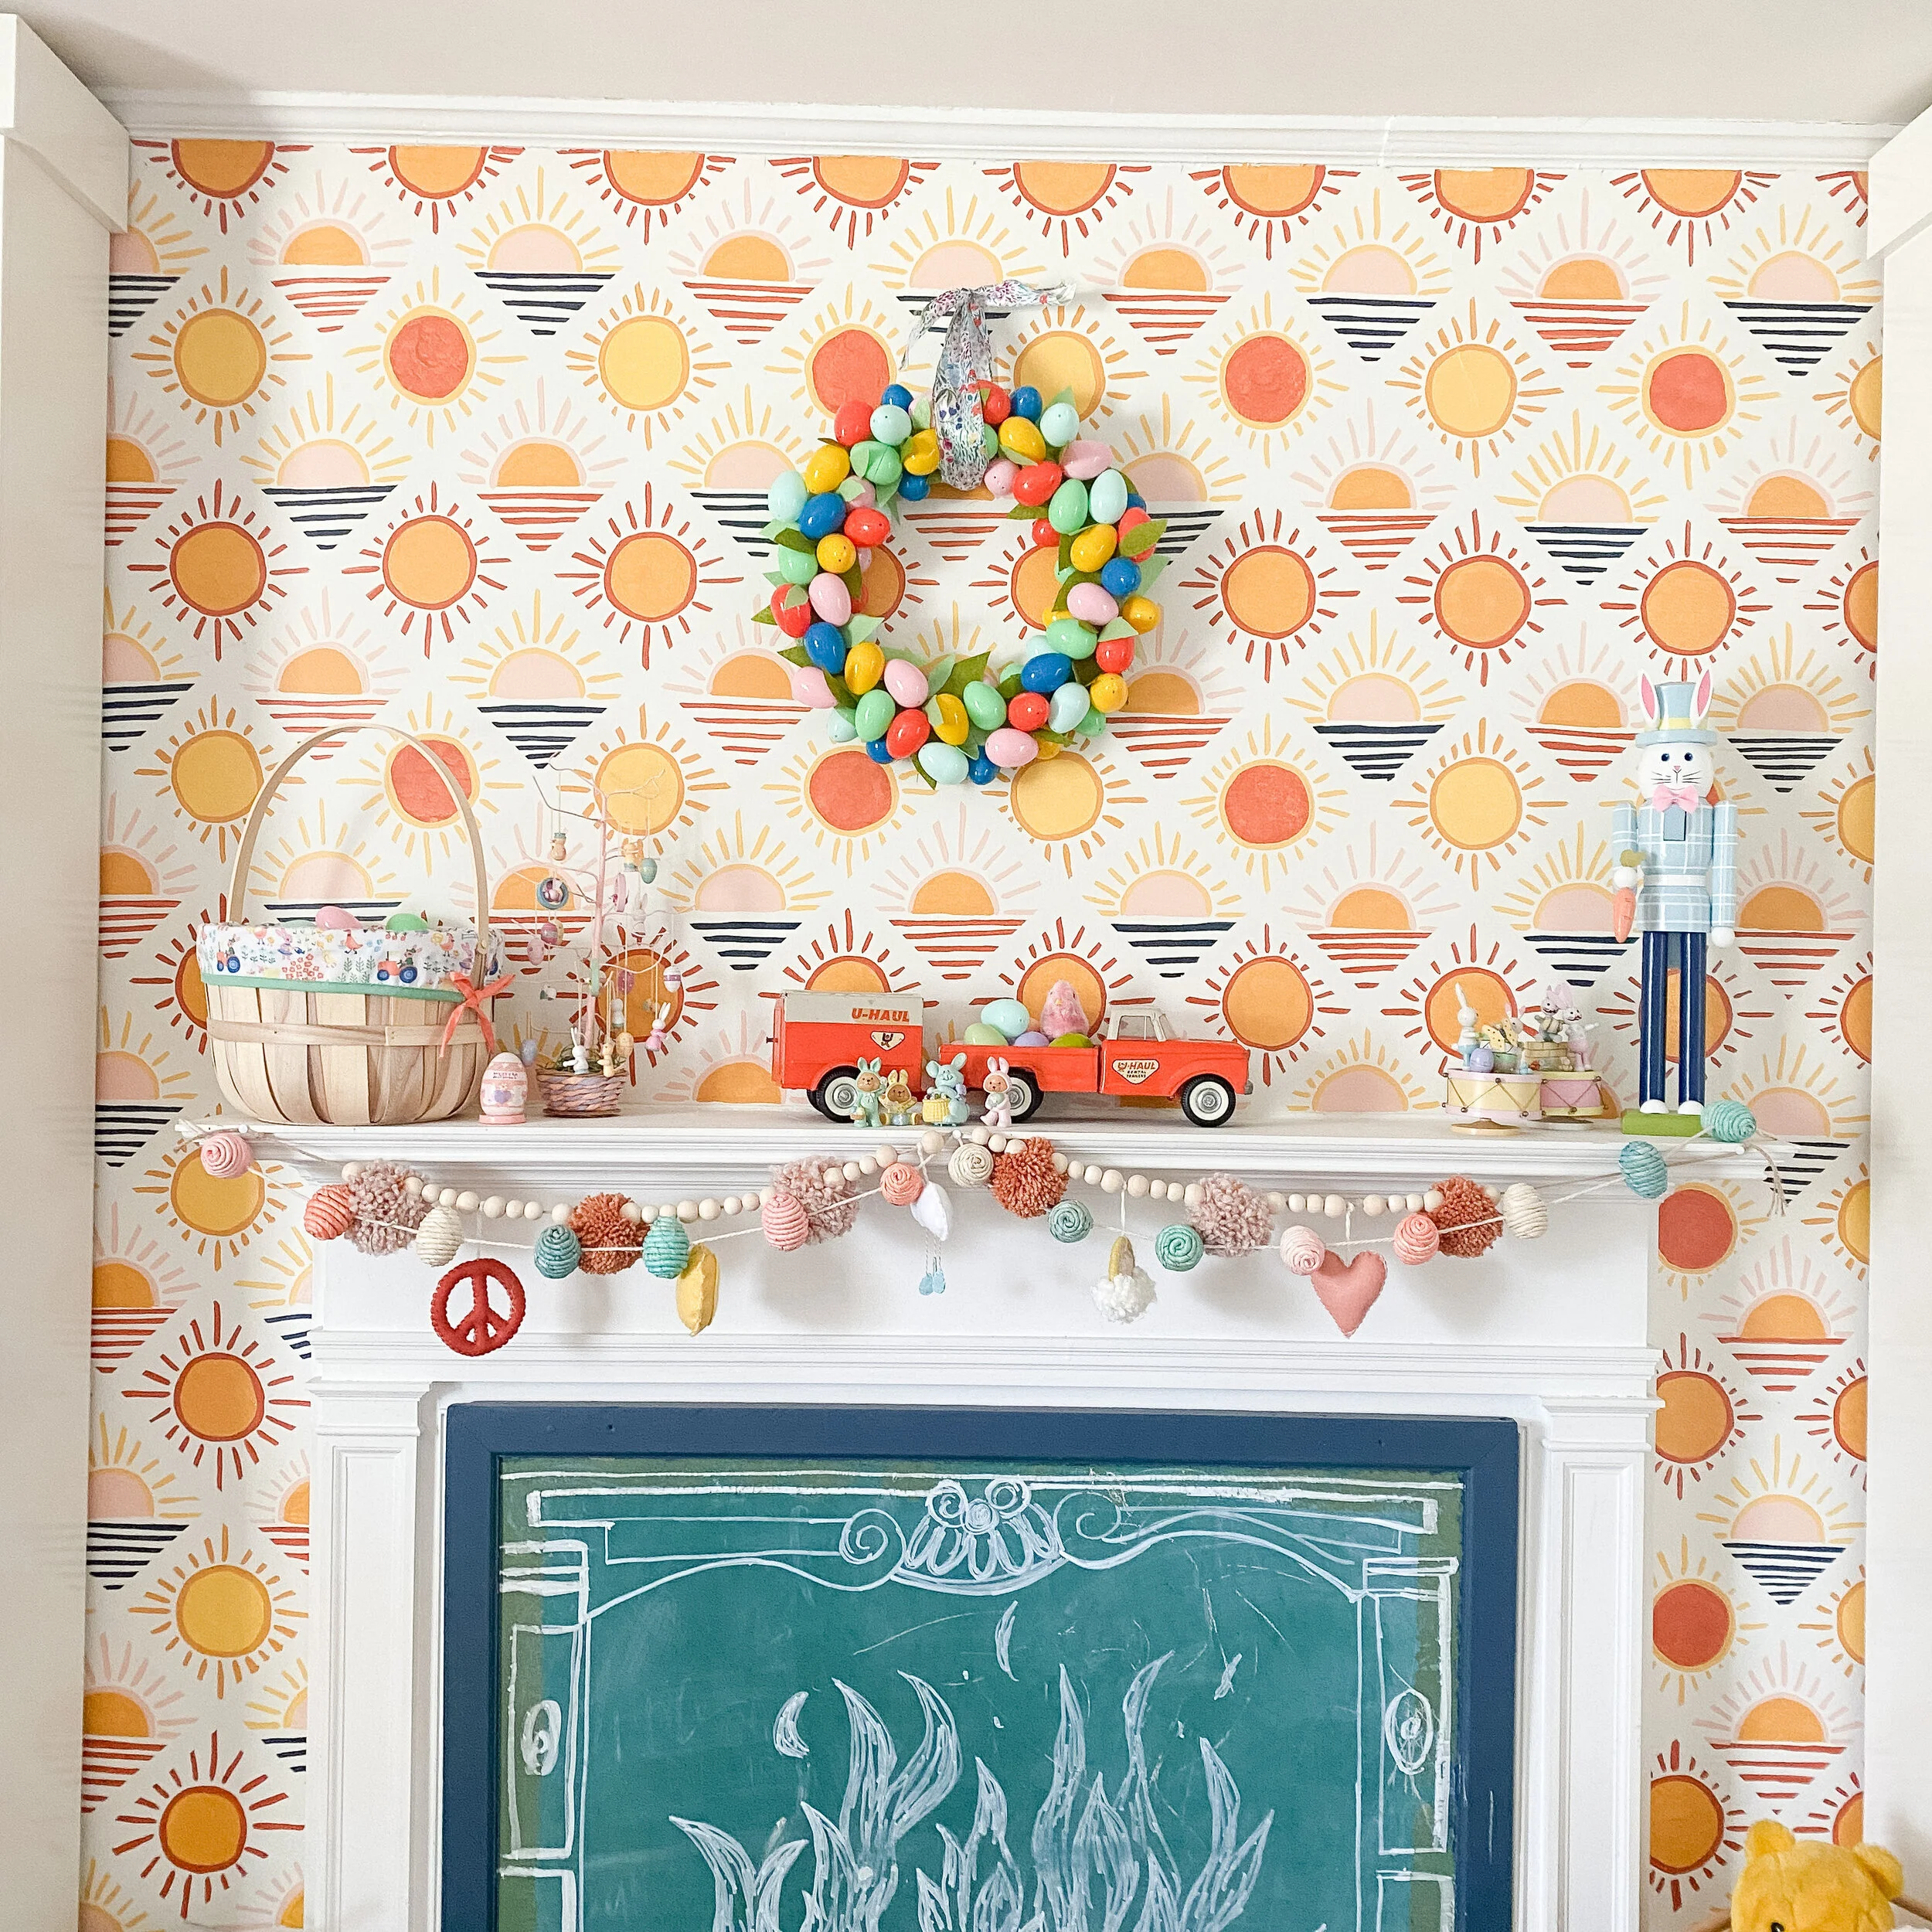
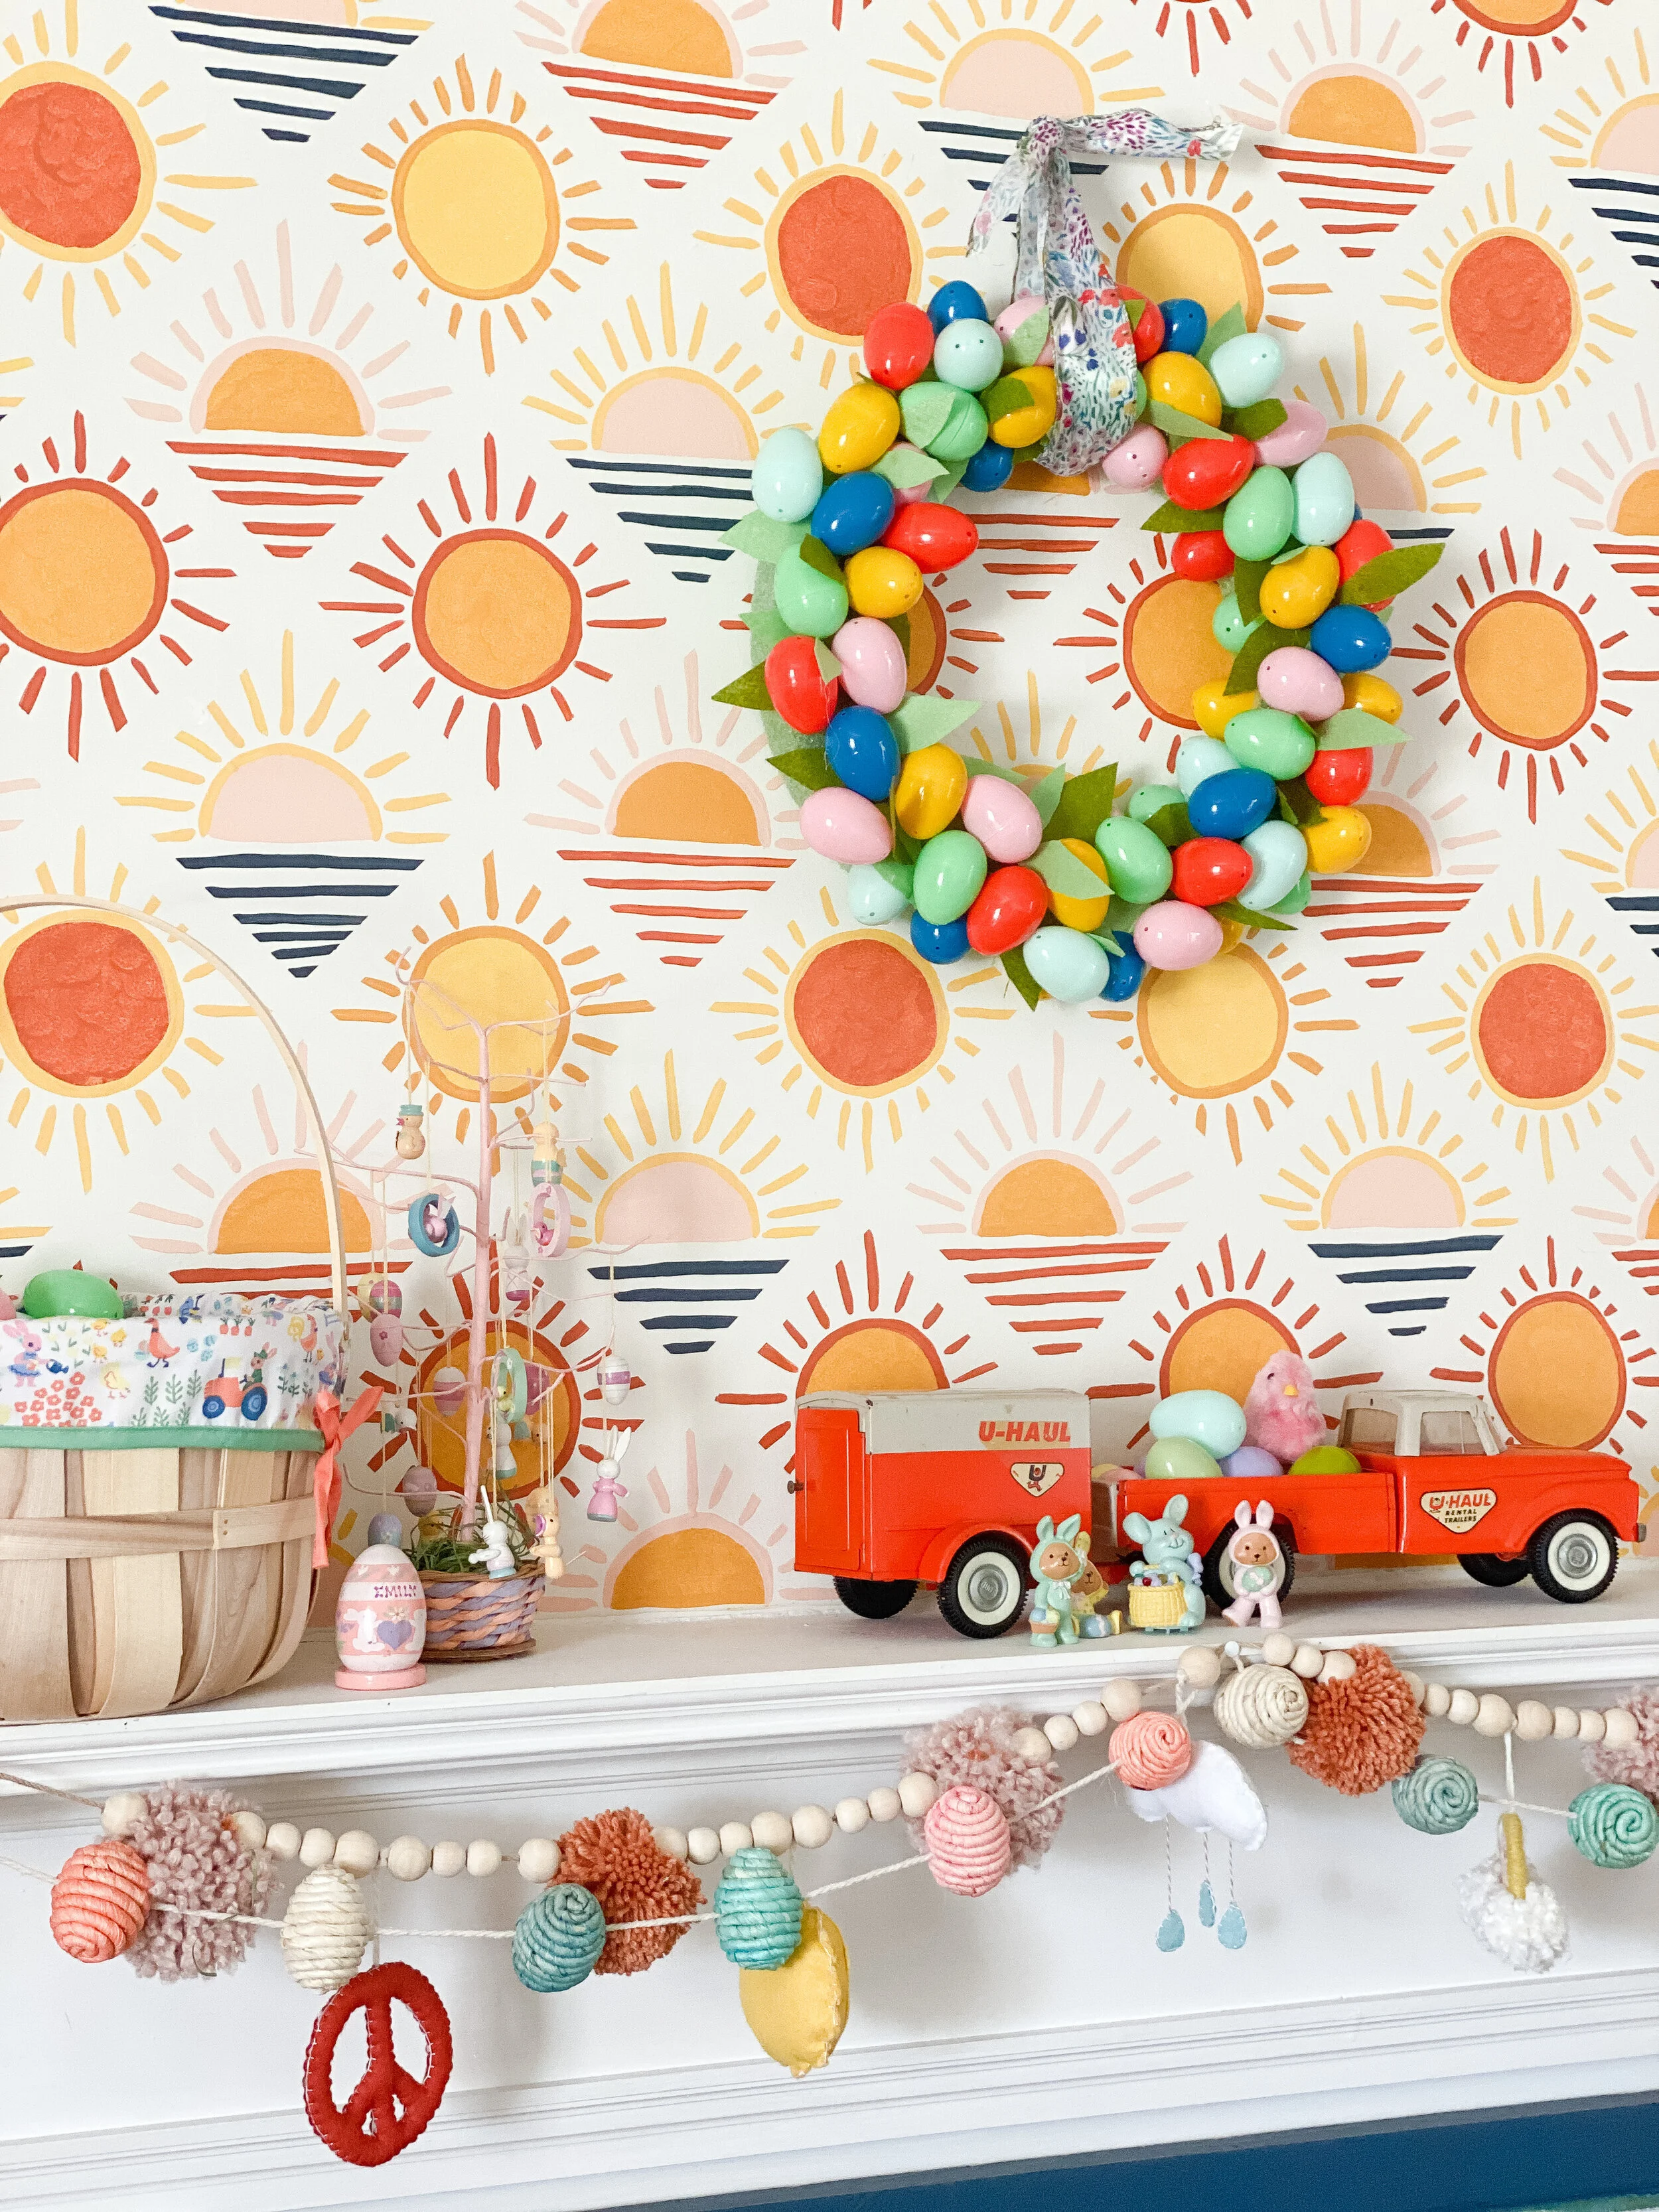
As soon as I saw these bright, retro colored plastic eggs at Target, I knew I had to make something with them for the playroom! They match so perfectly and the colors make me so happy! This is such an easy and quick craft to give you an extra little bit of spring decor that you can use year after year! You really can customize with any color eggs to fit your decor- whether it be neutral, bright, pastels, black and white, or even earth-tones. I’ve linked everything you need to put this together and instructions below!
xoxo
Emily

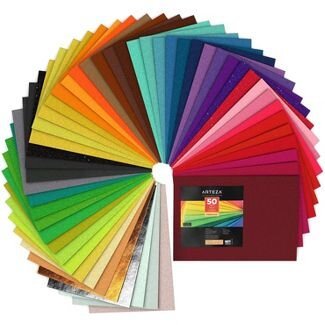
Start by cutting a good amount of leaf shapes out of your felt. You can use any color you like for this depending on your decor! I used two different shades of green. These don’t have to be perfect as not much of them will be visible.
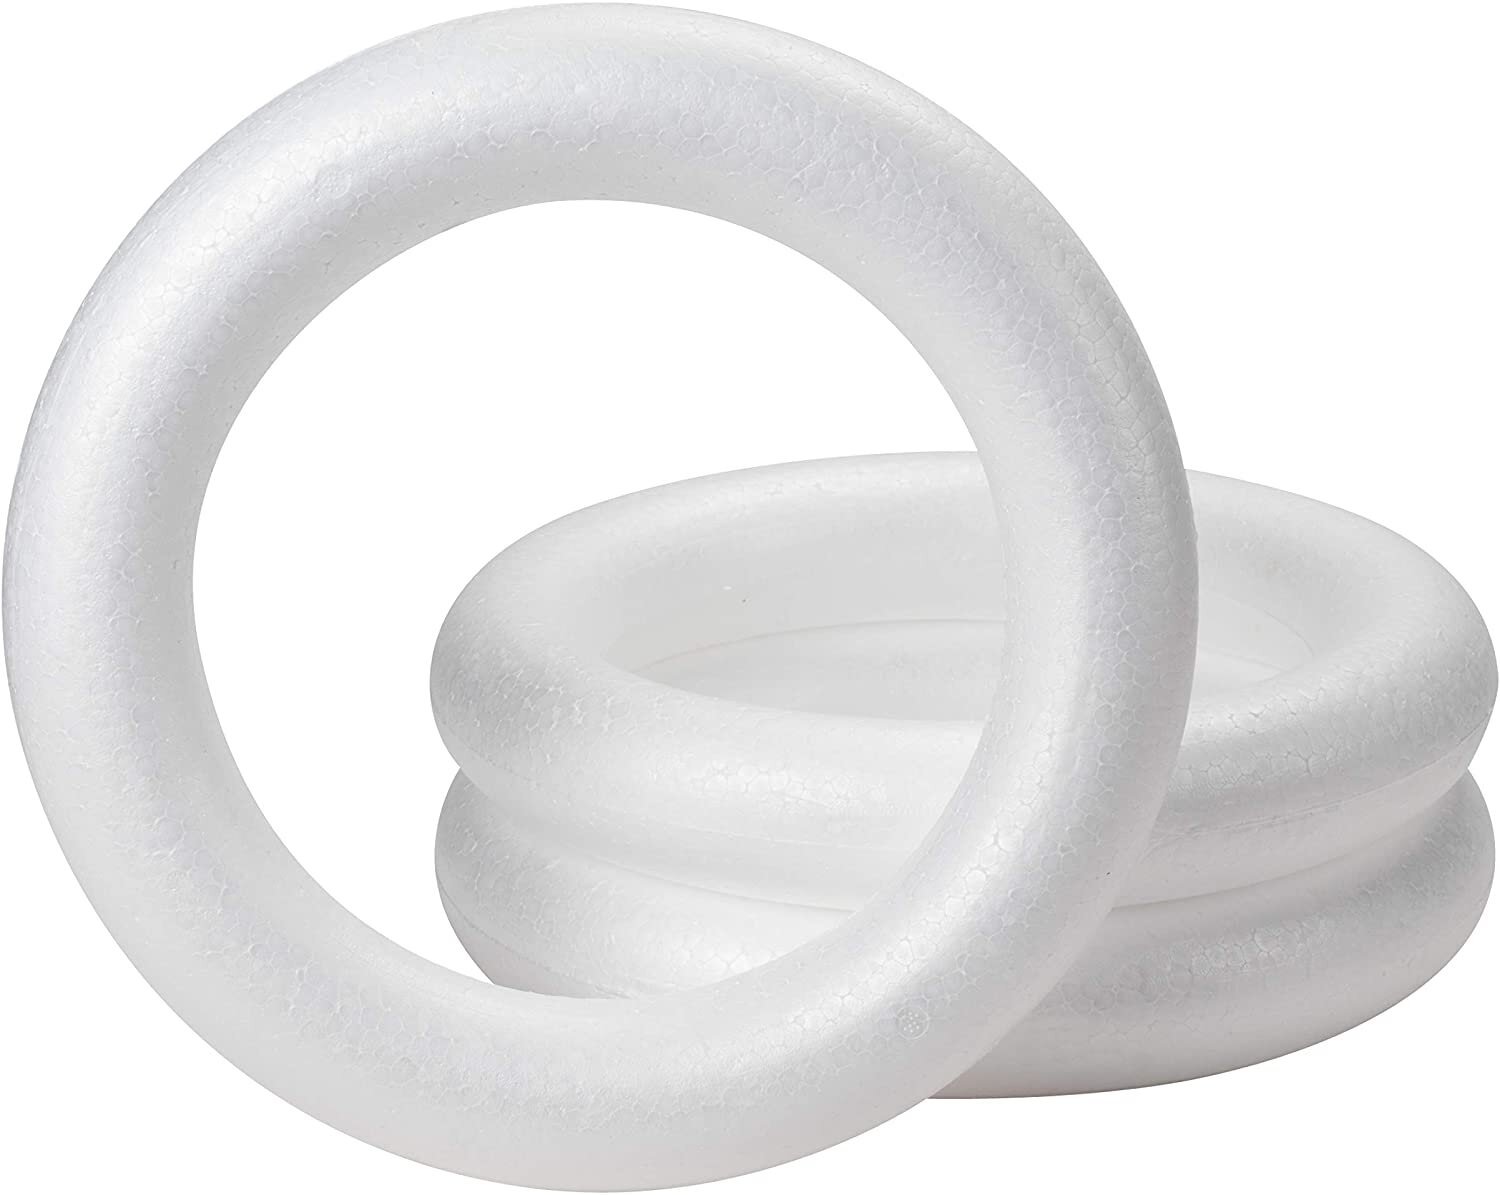
Glue down the leaves throughout your wreath form using the hot glue gun. It doesn’t have to be completely covered, I left a few inches of space between mine. Just enough to give it a little color at the base.
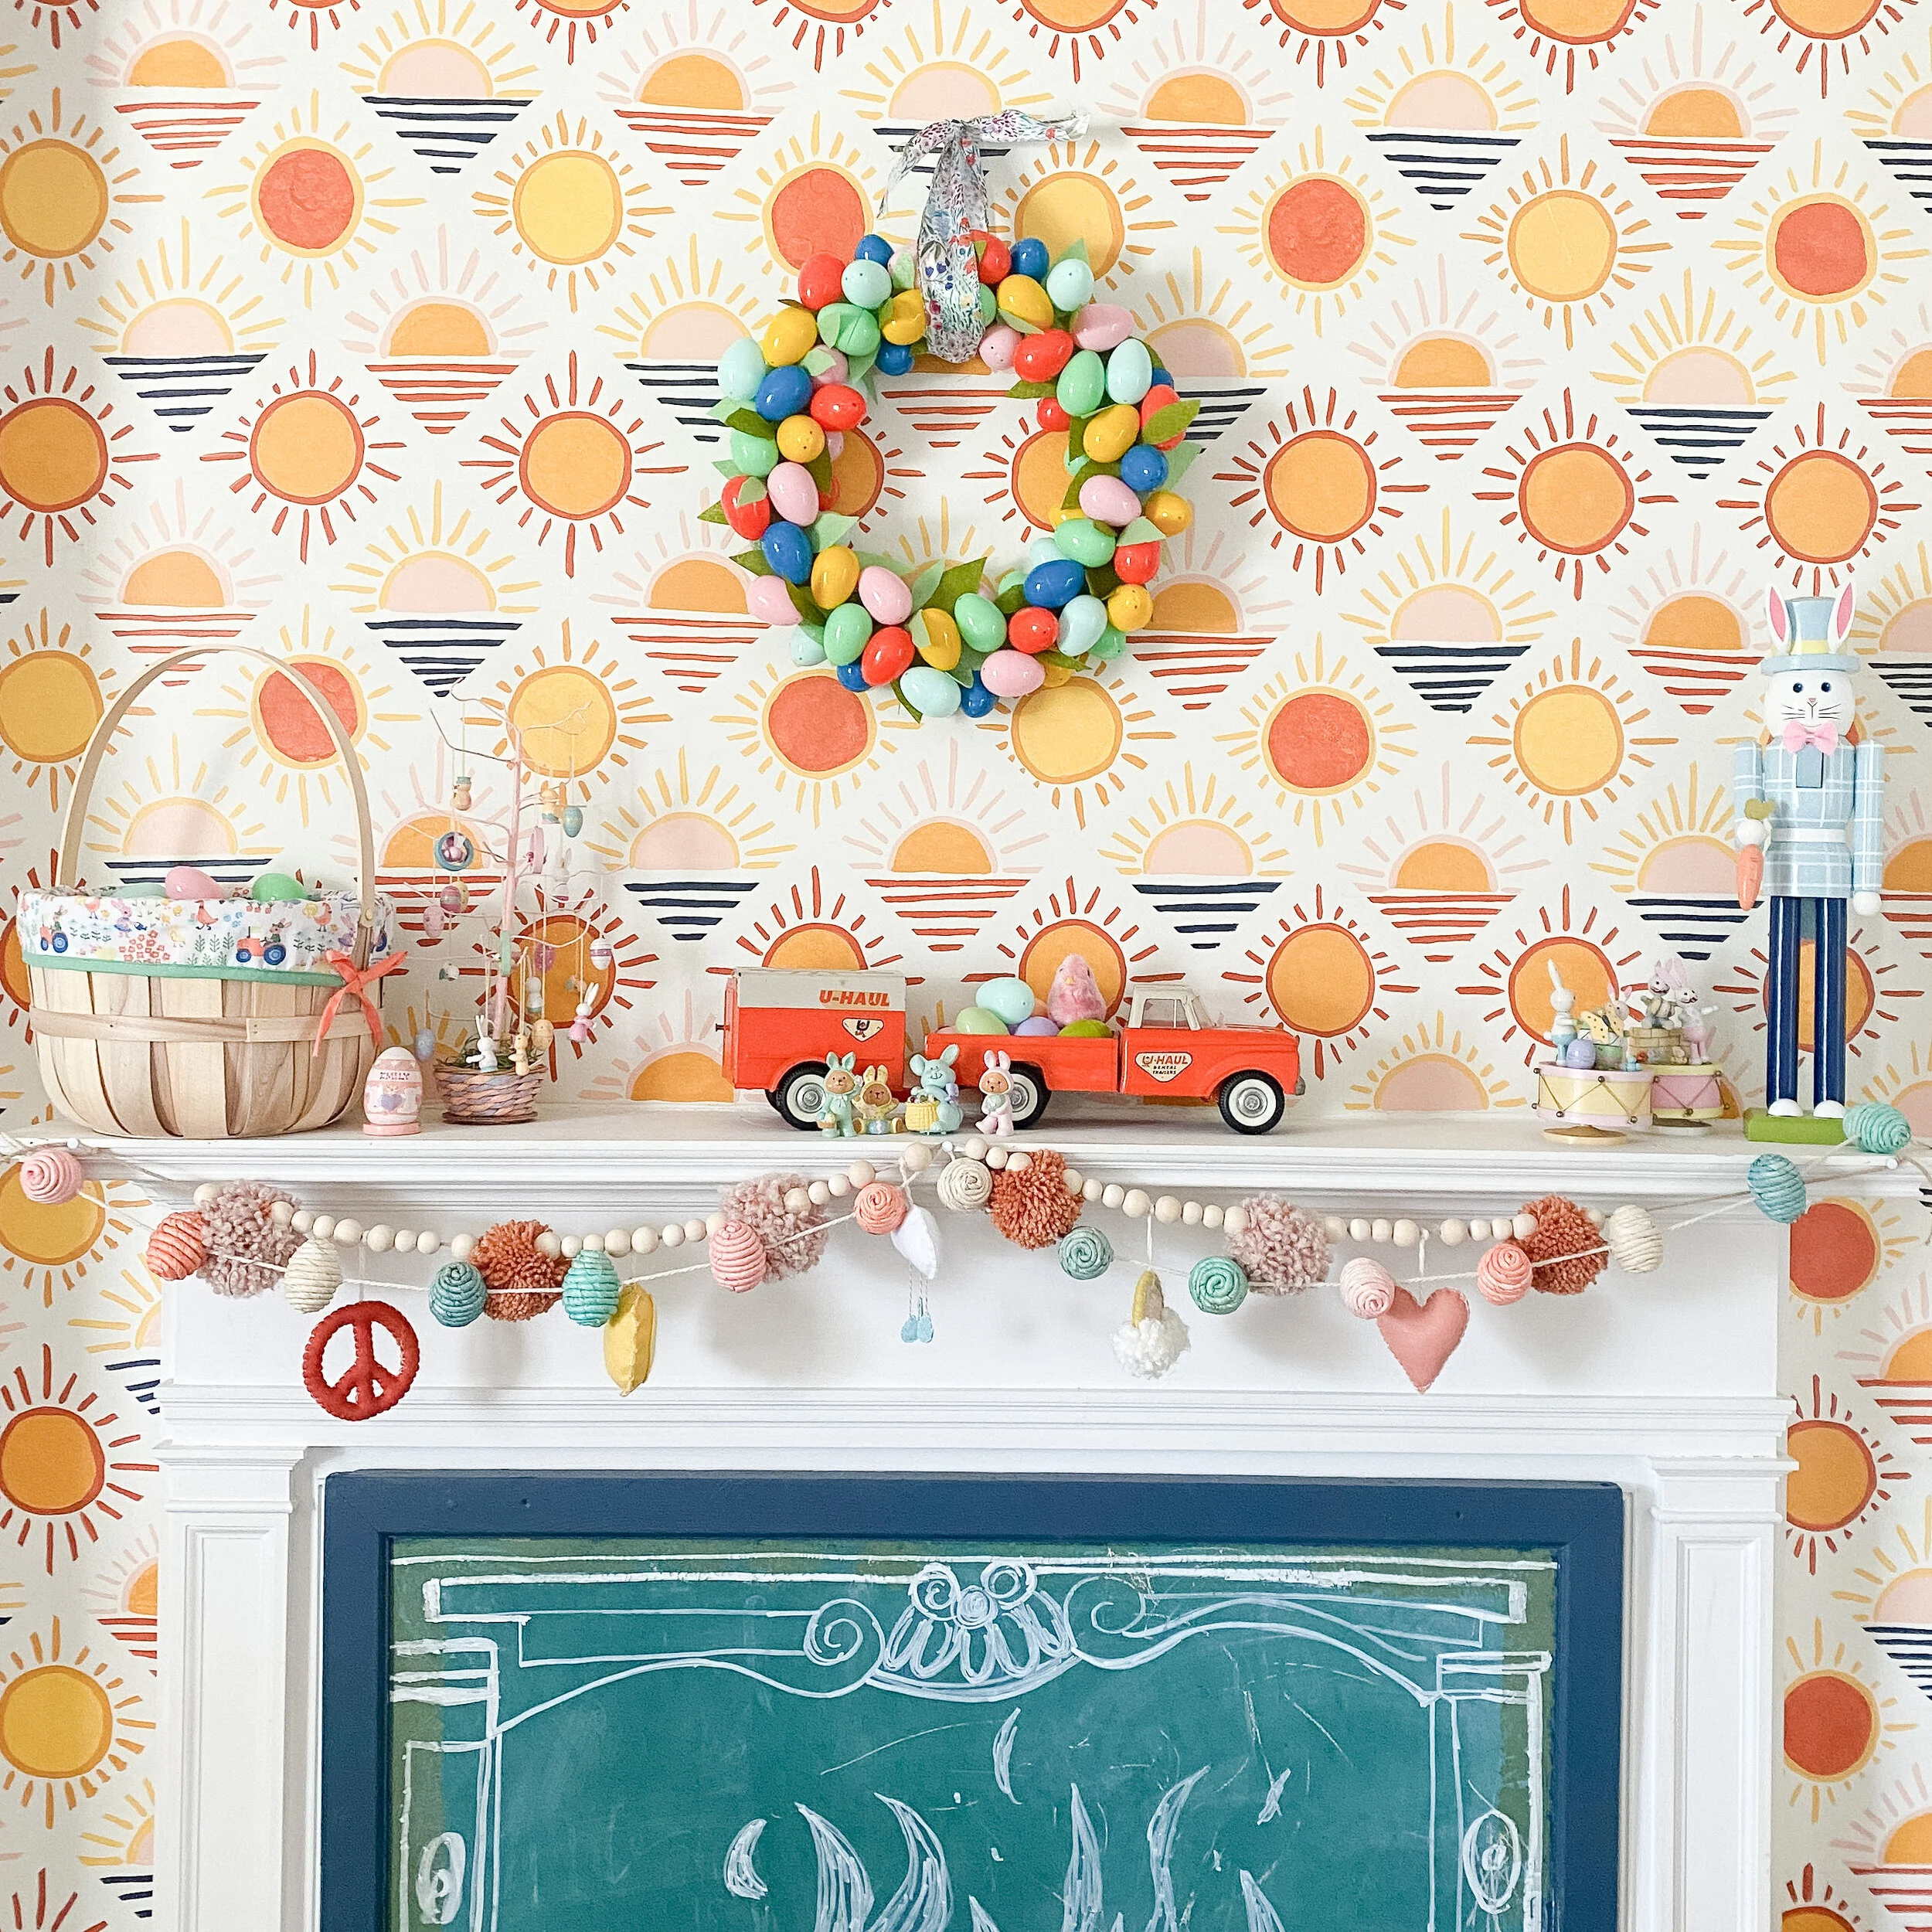
Now you can start gluing your easter eggs! I alternated the colors throughout and glued in slightly different sides and directions as well for plenty of variation. Try to cover as much of the wreath as you can. I did a little bit on the sides too and the inside (tip: taking the eggs apart and using halves here works really well for the smaller crevices!).
Next, cut out some more leaves and fill in any blank or sparse spots throughout!
Optional: Add a fun ribbon to hang your wreath from! You can make a bow or a simple loop like I did.