DIY Southwestern Print Ottoman with Nailhead Trim
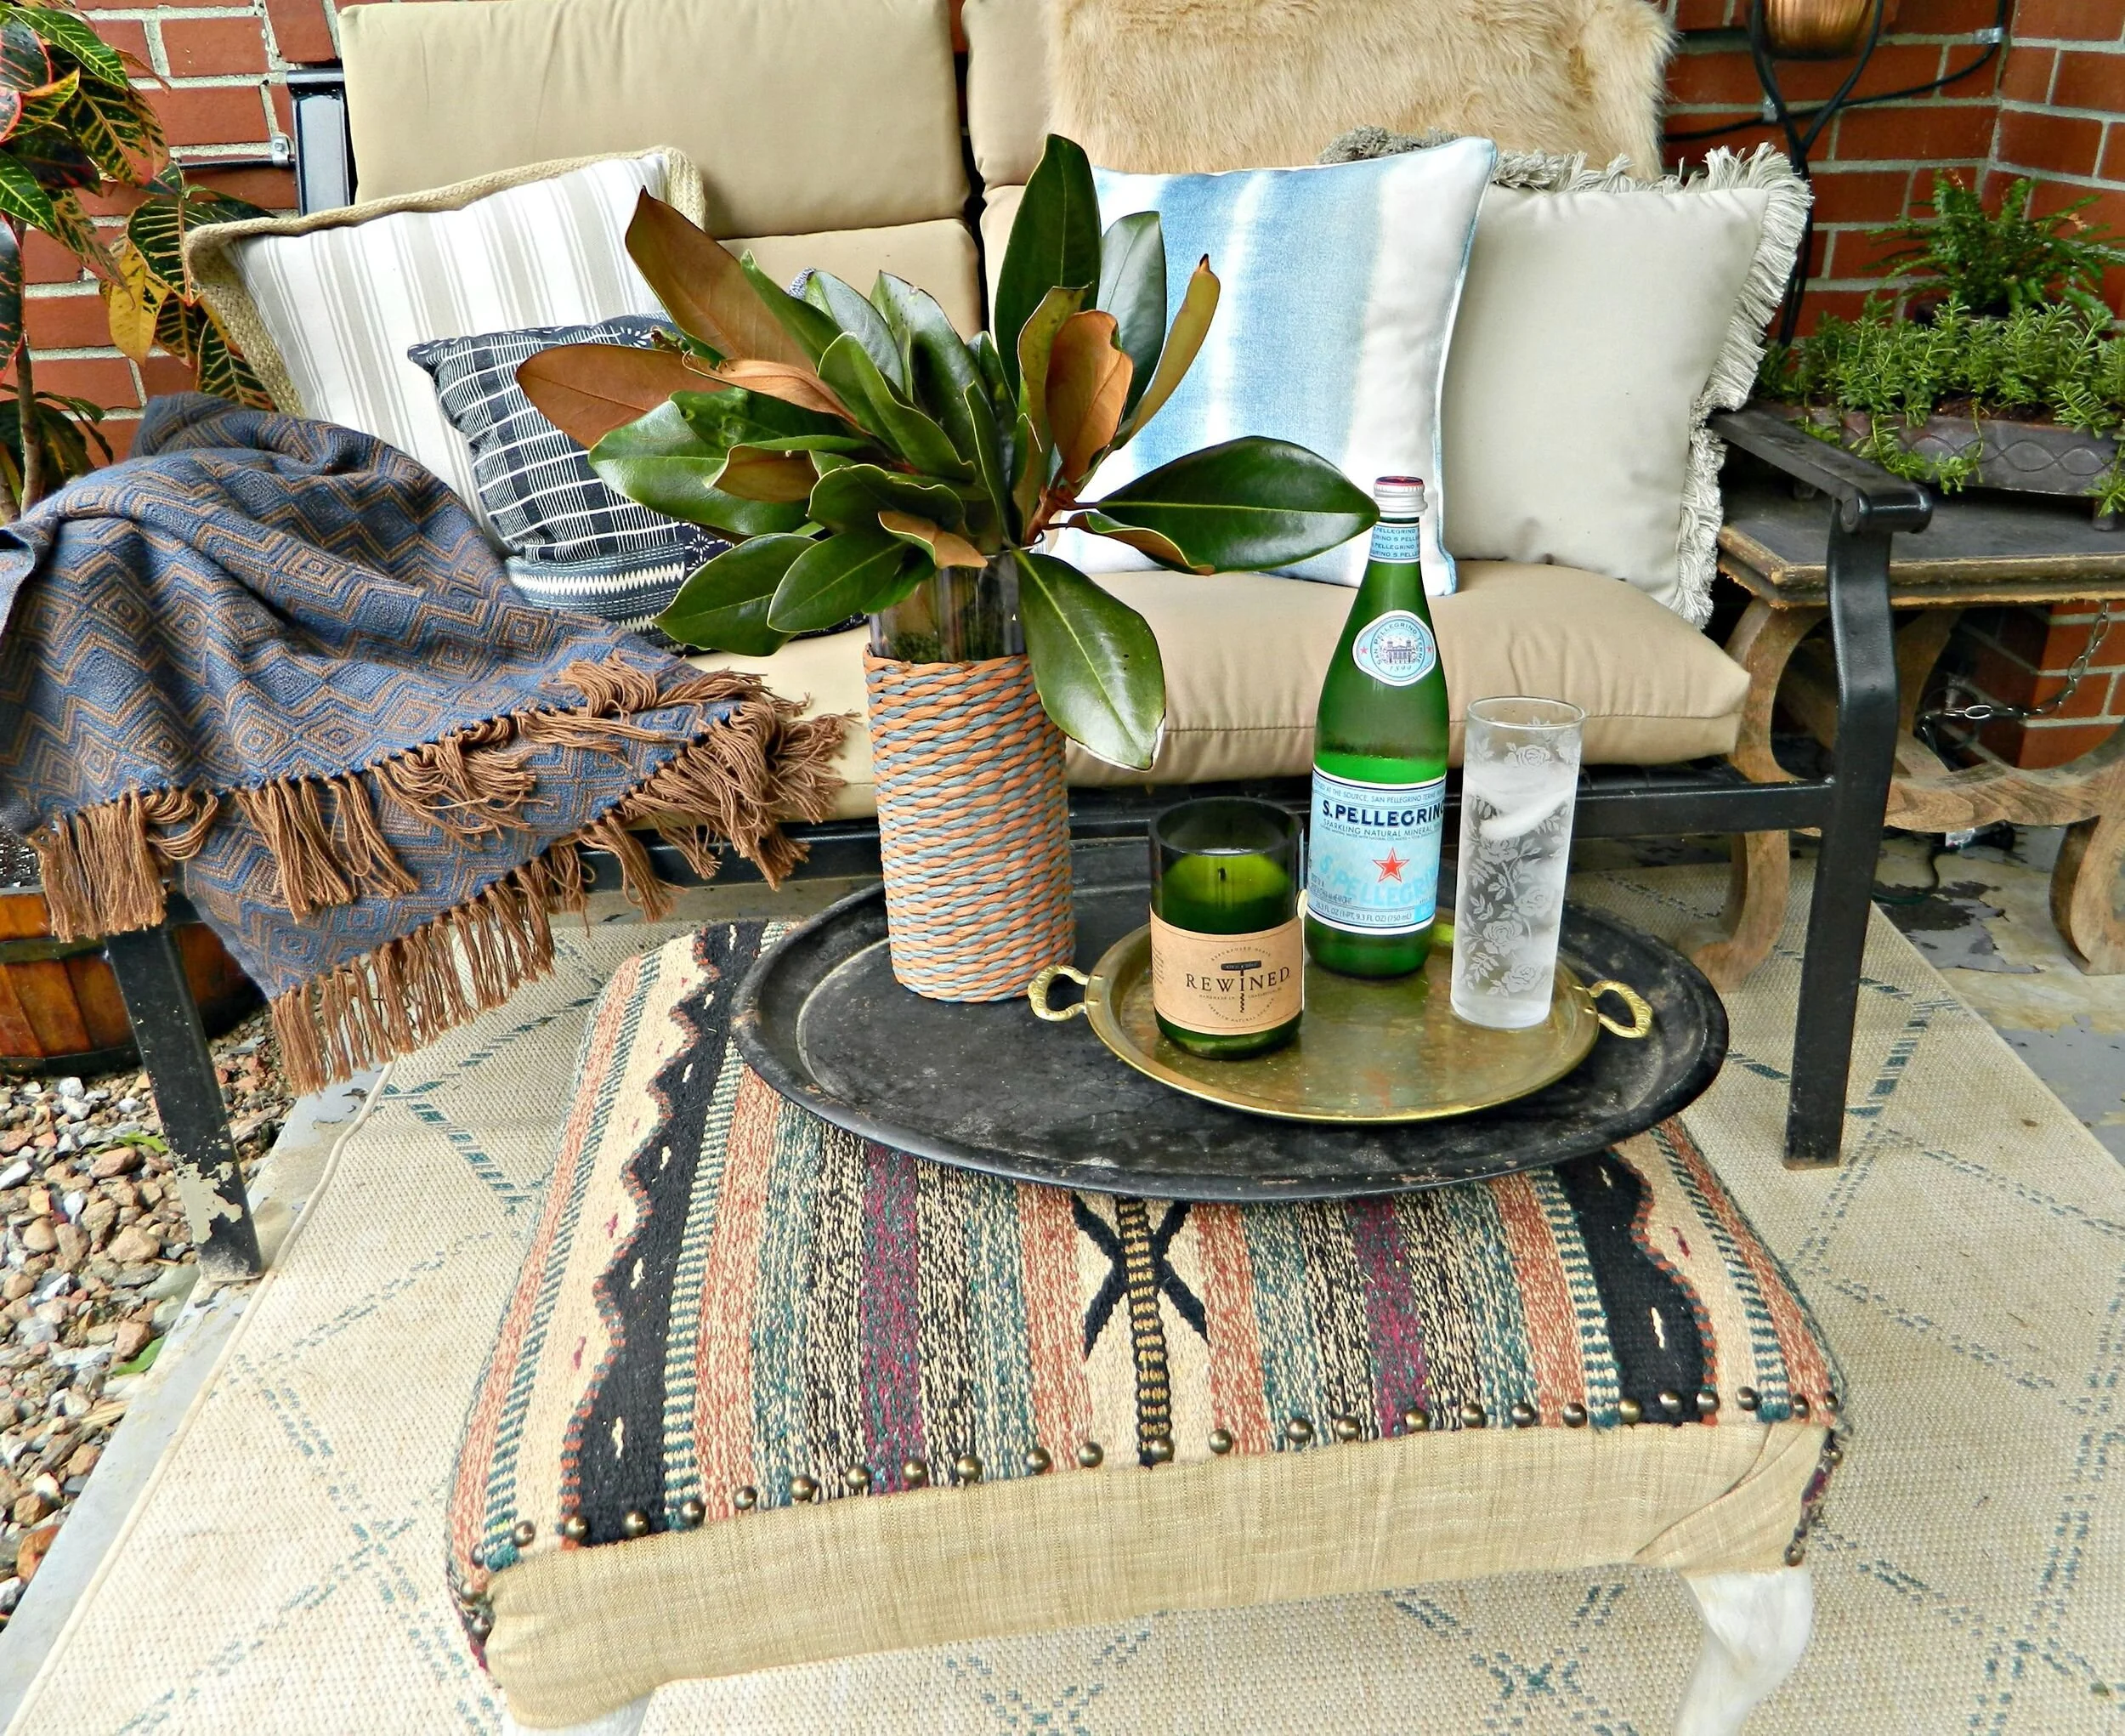
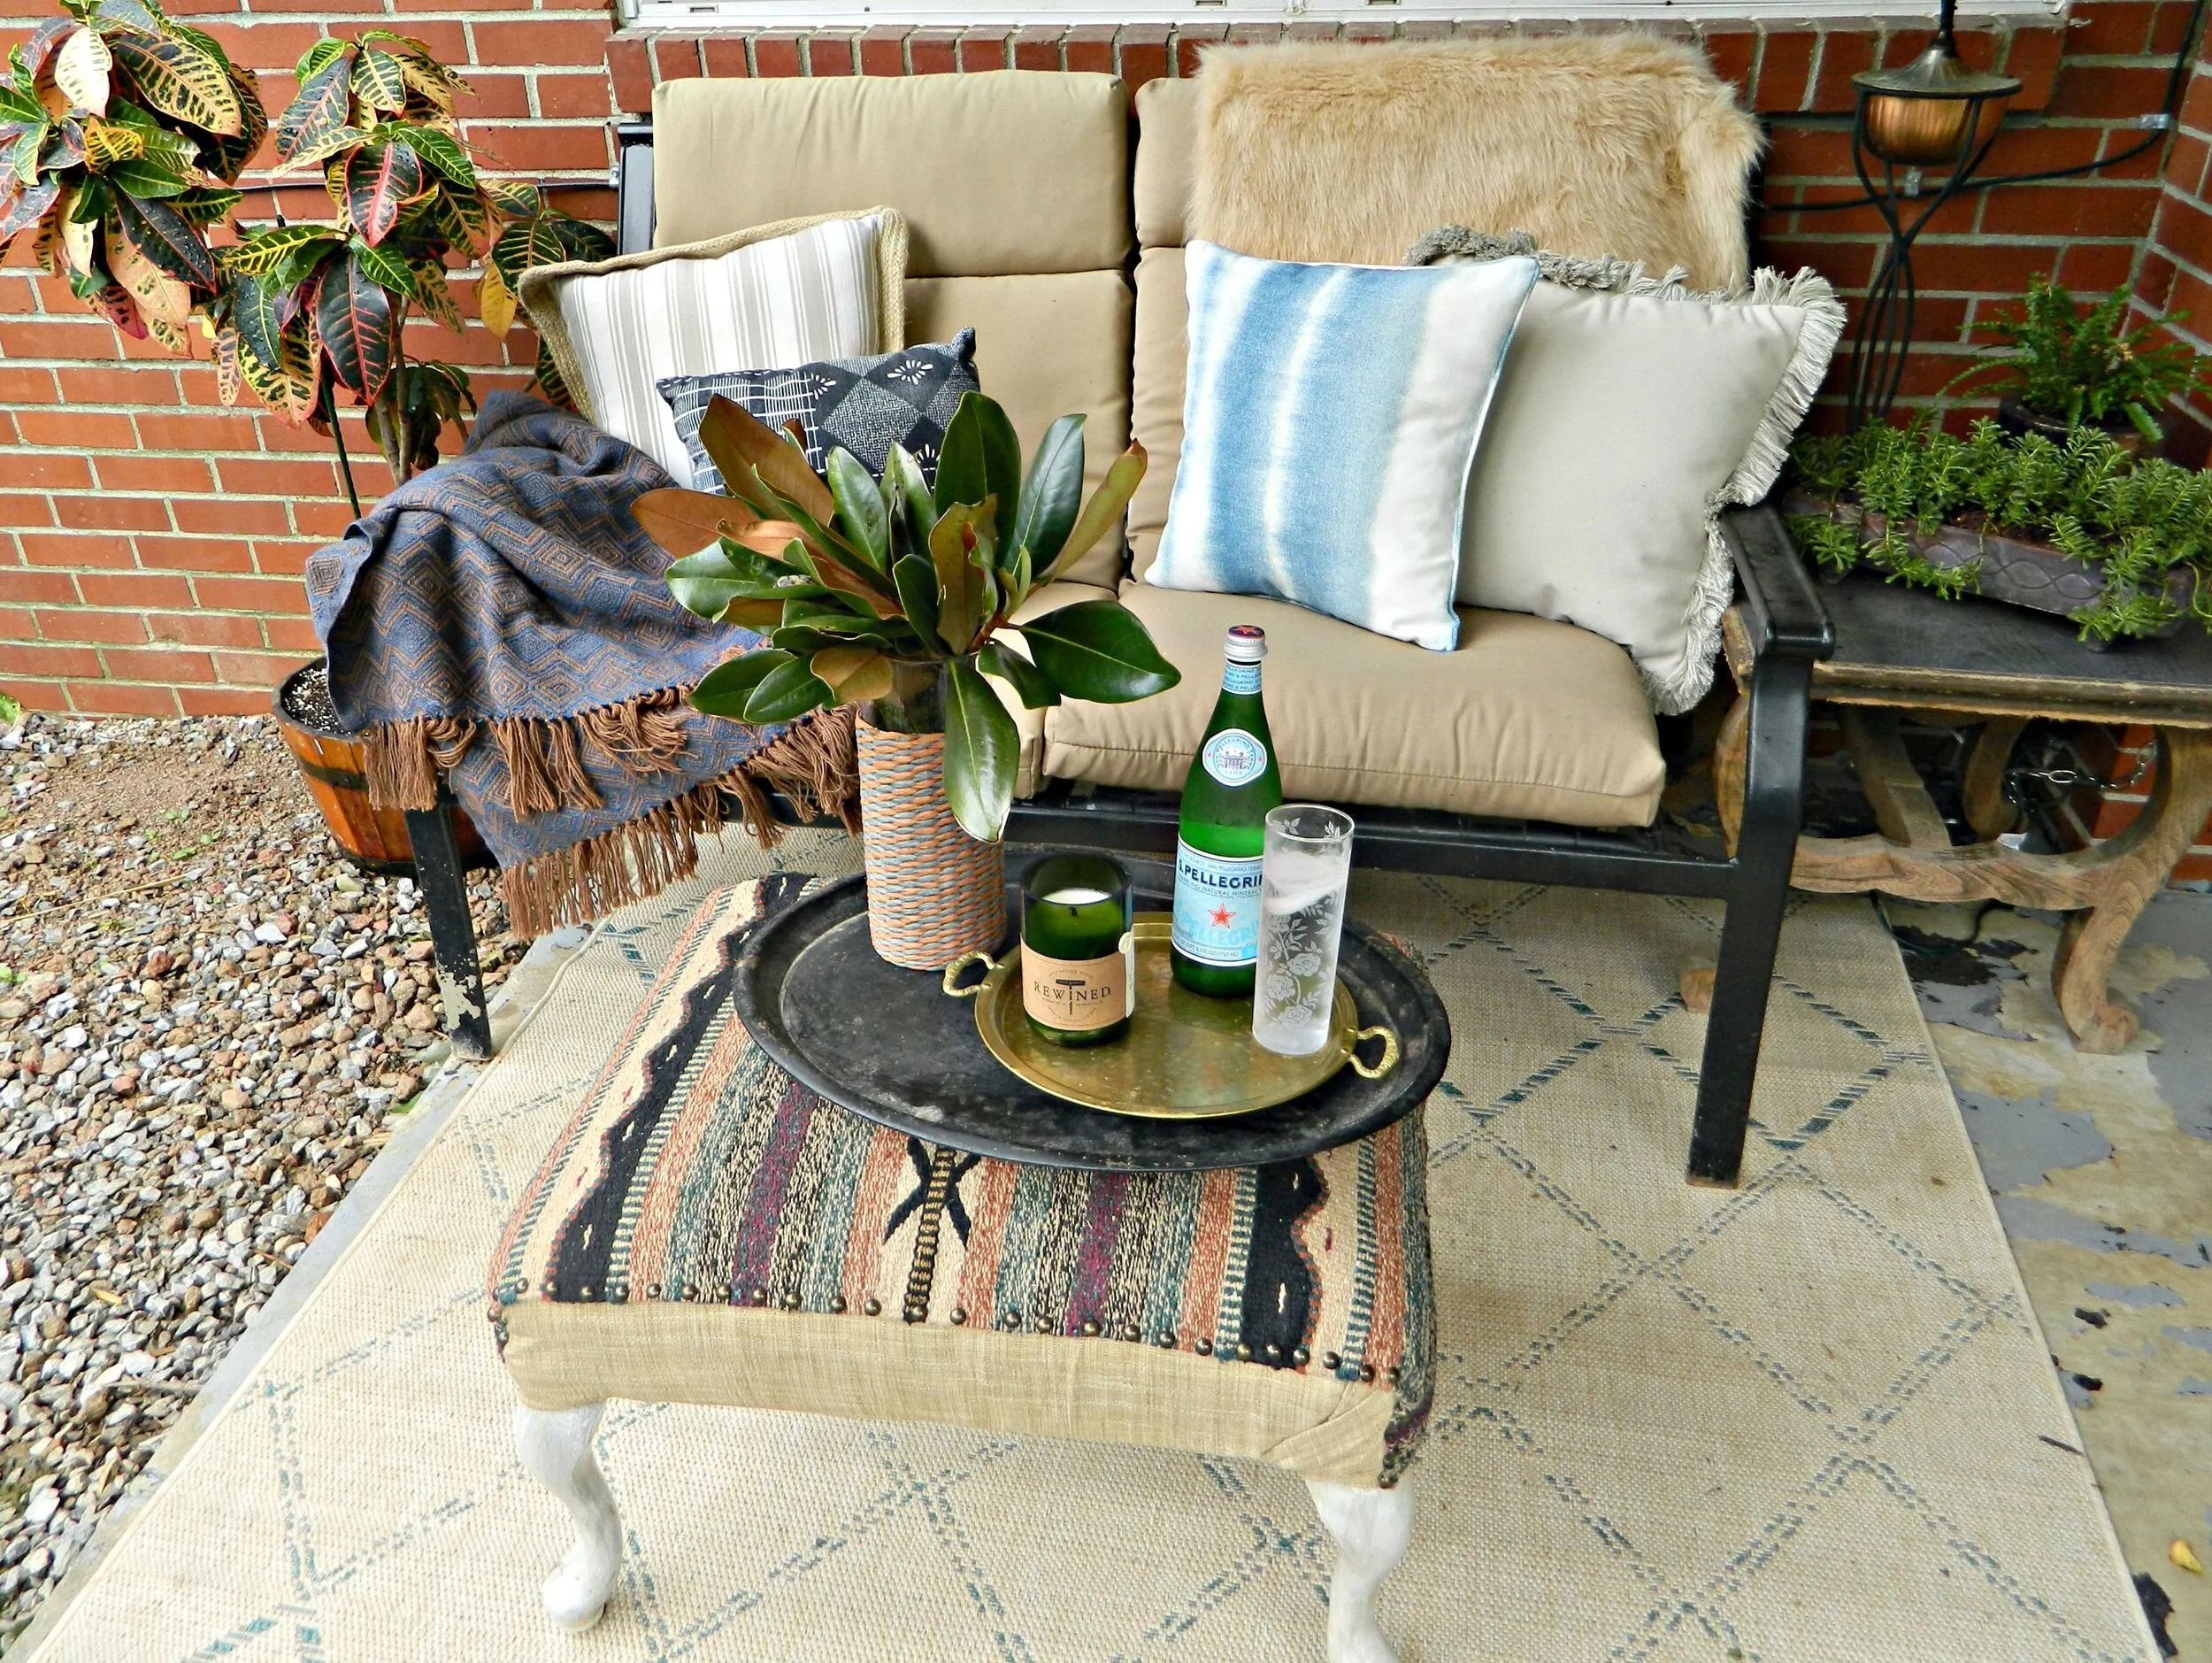
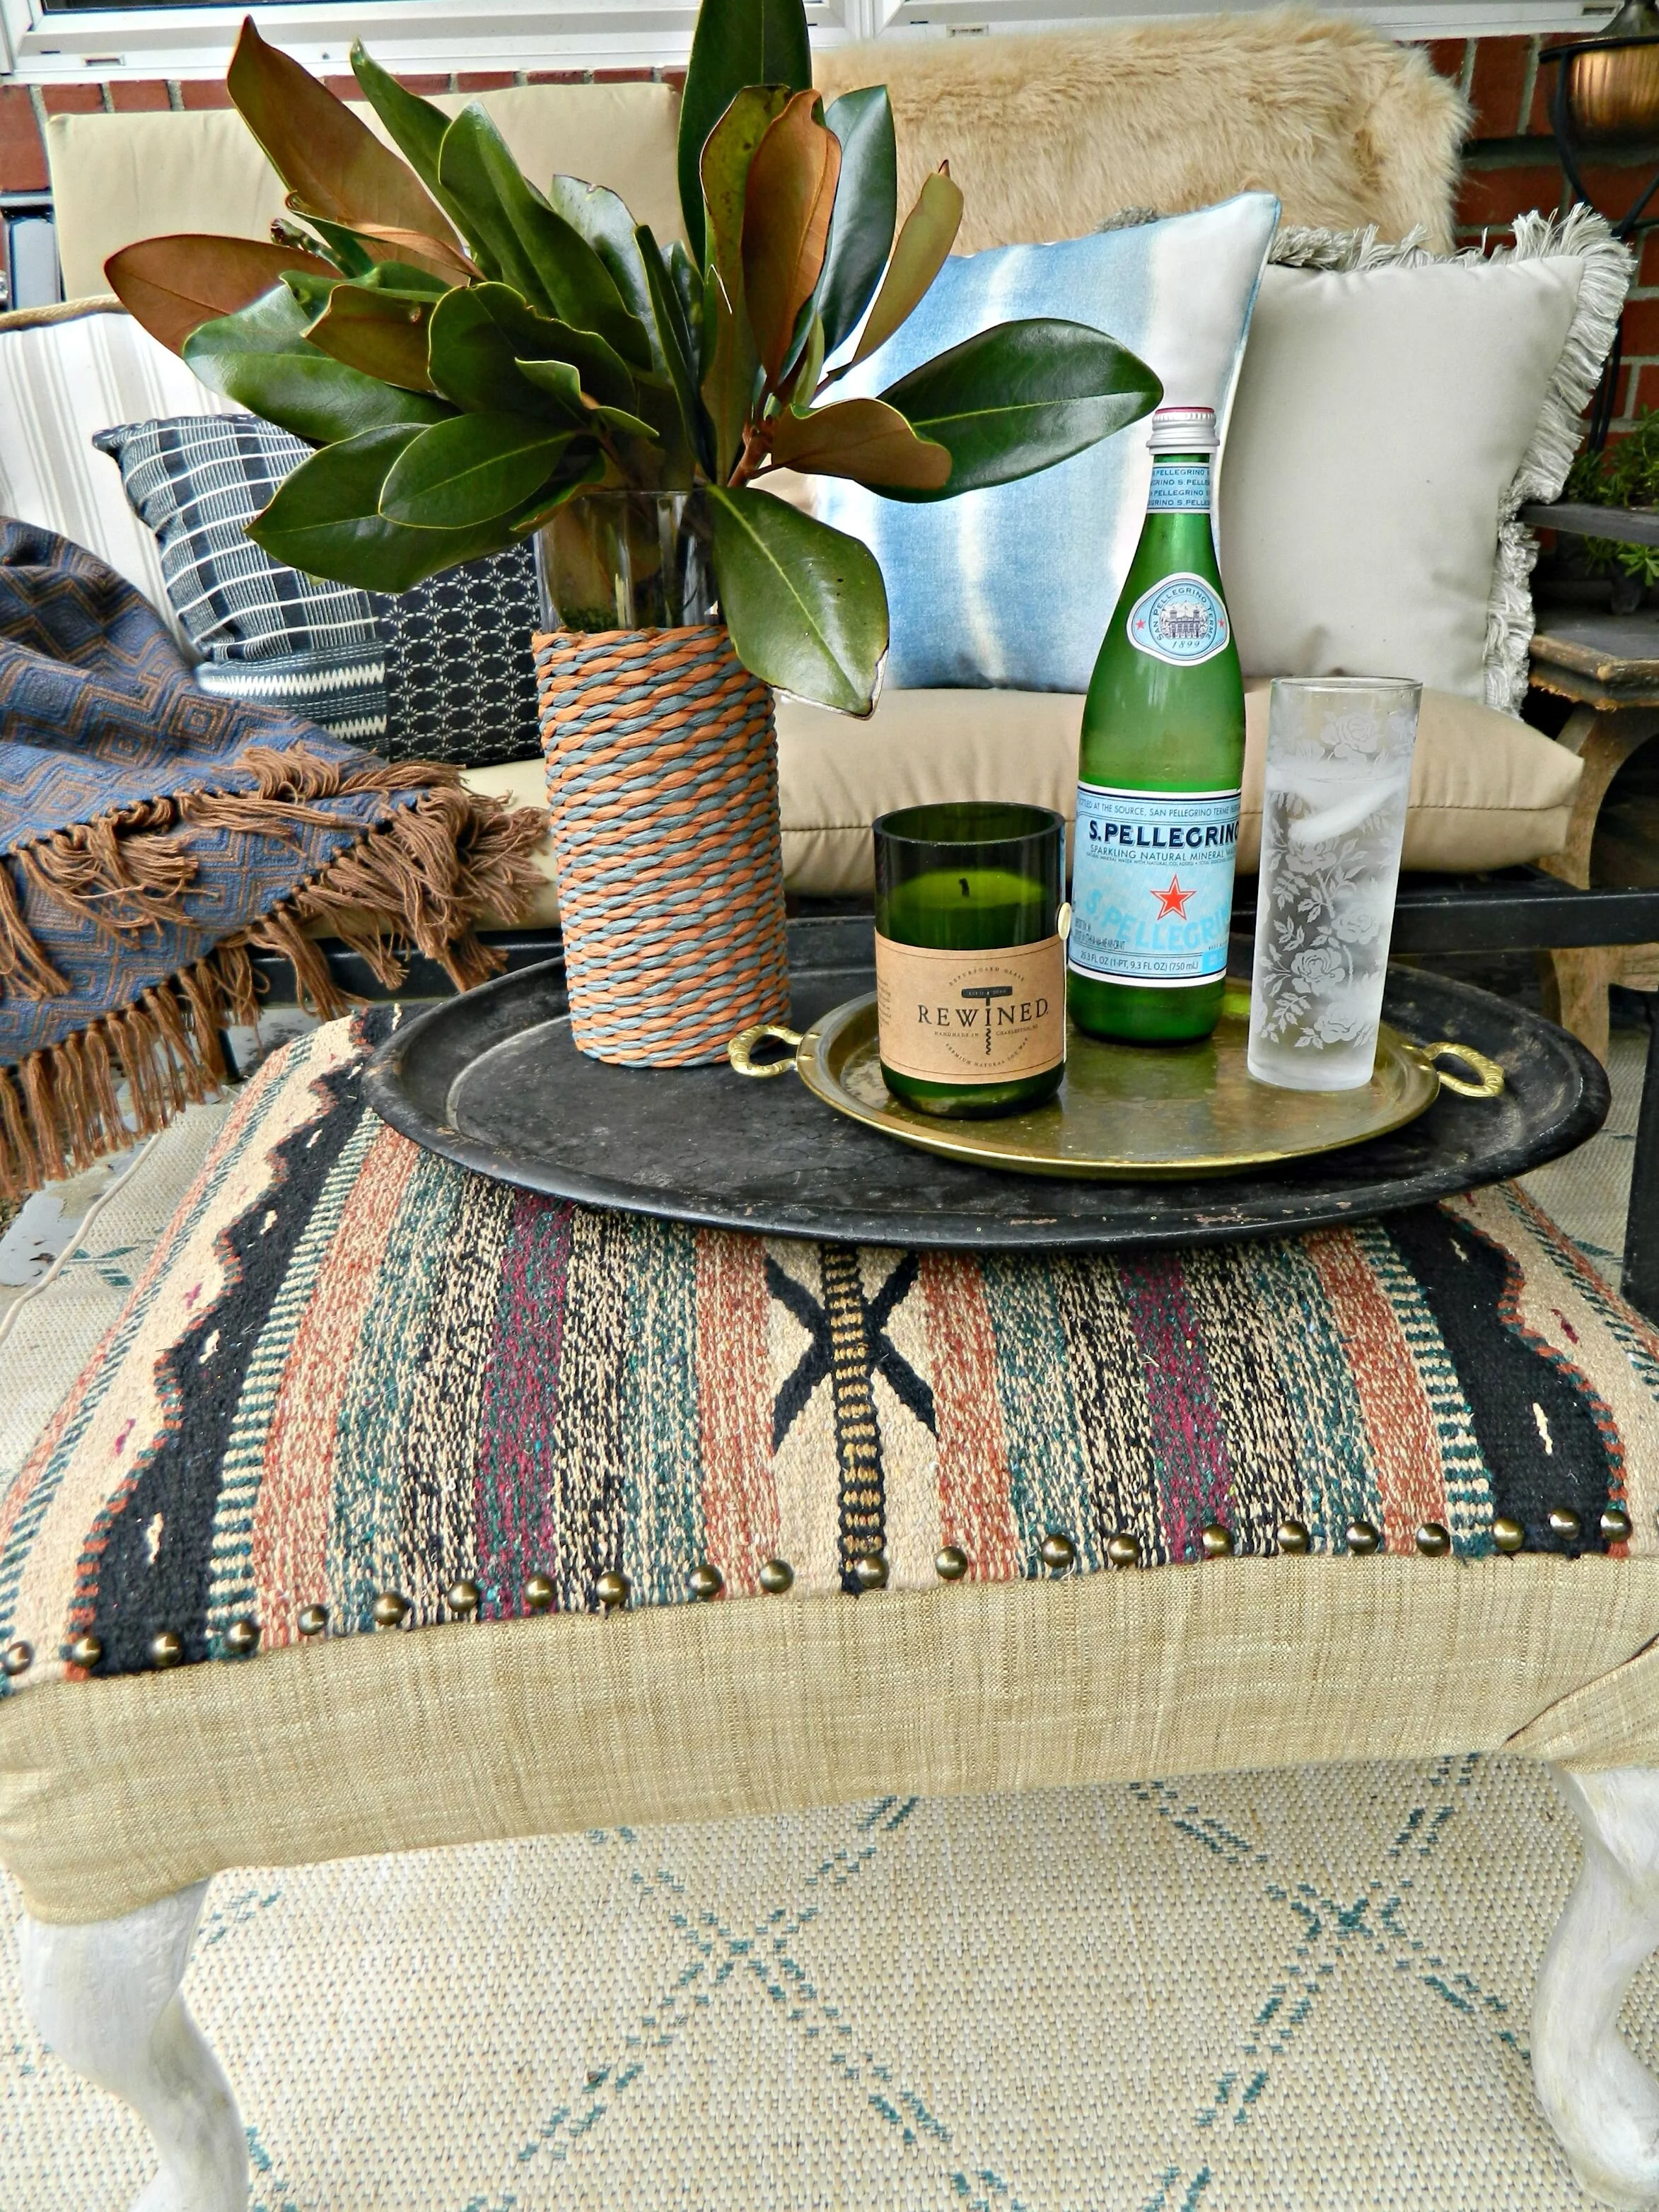
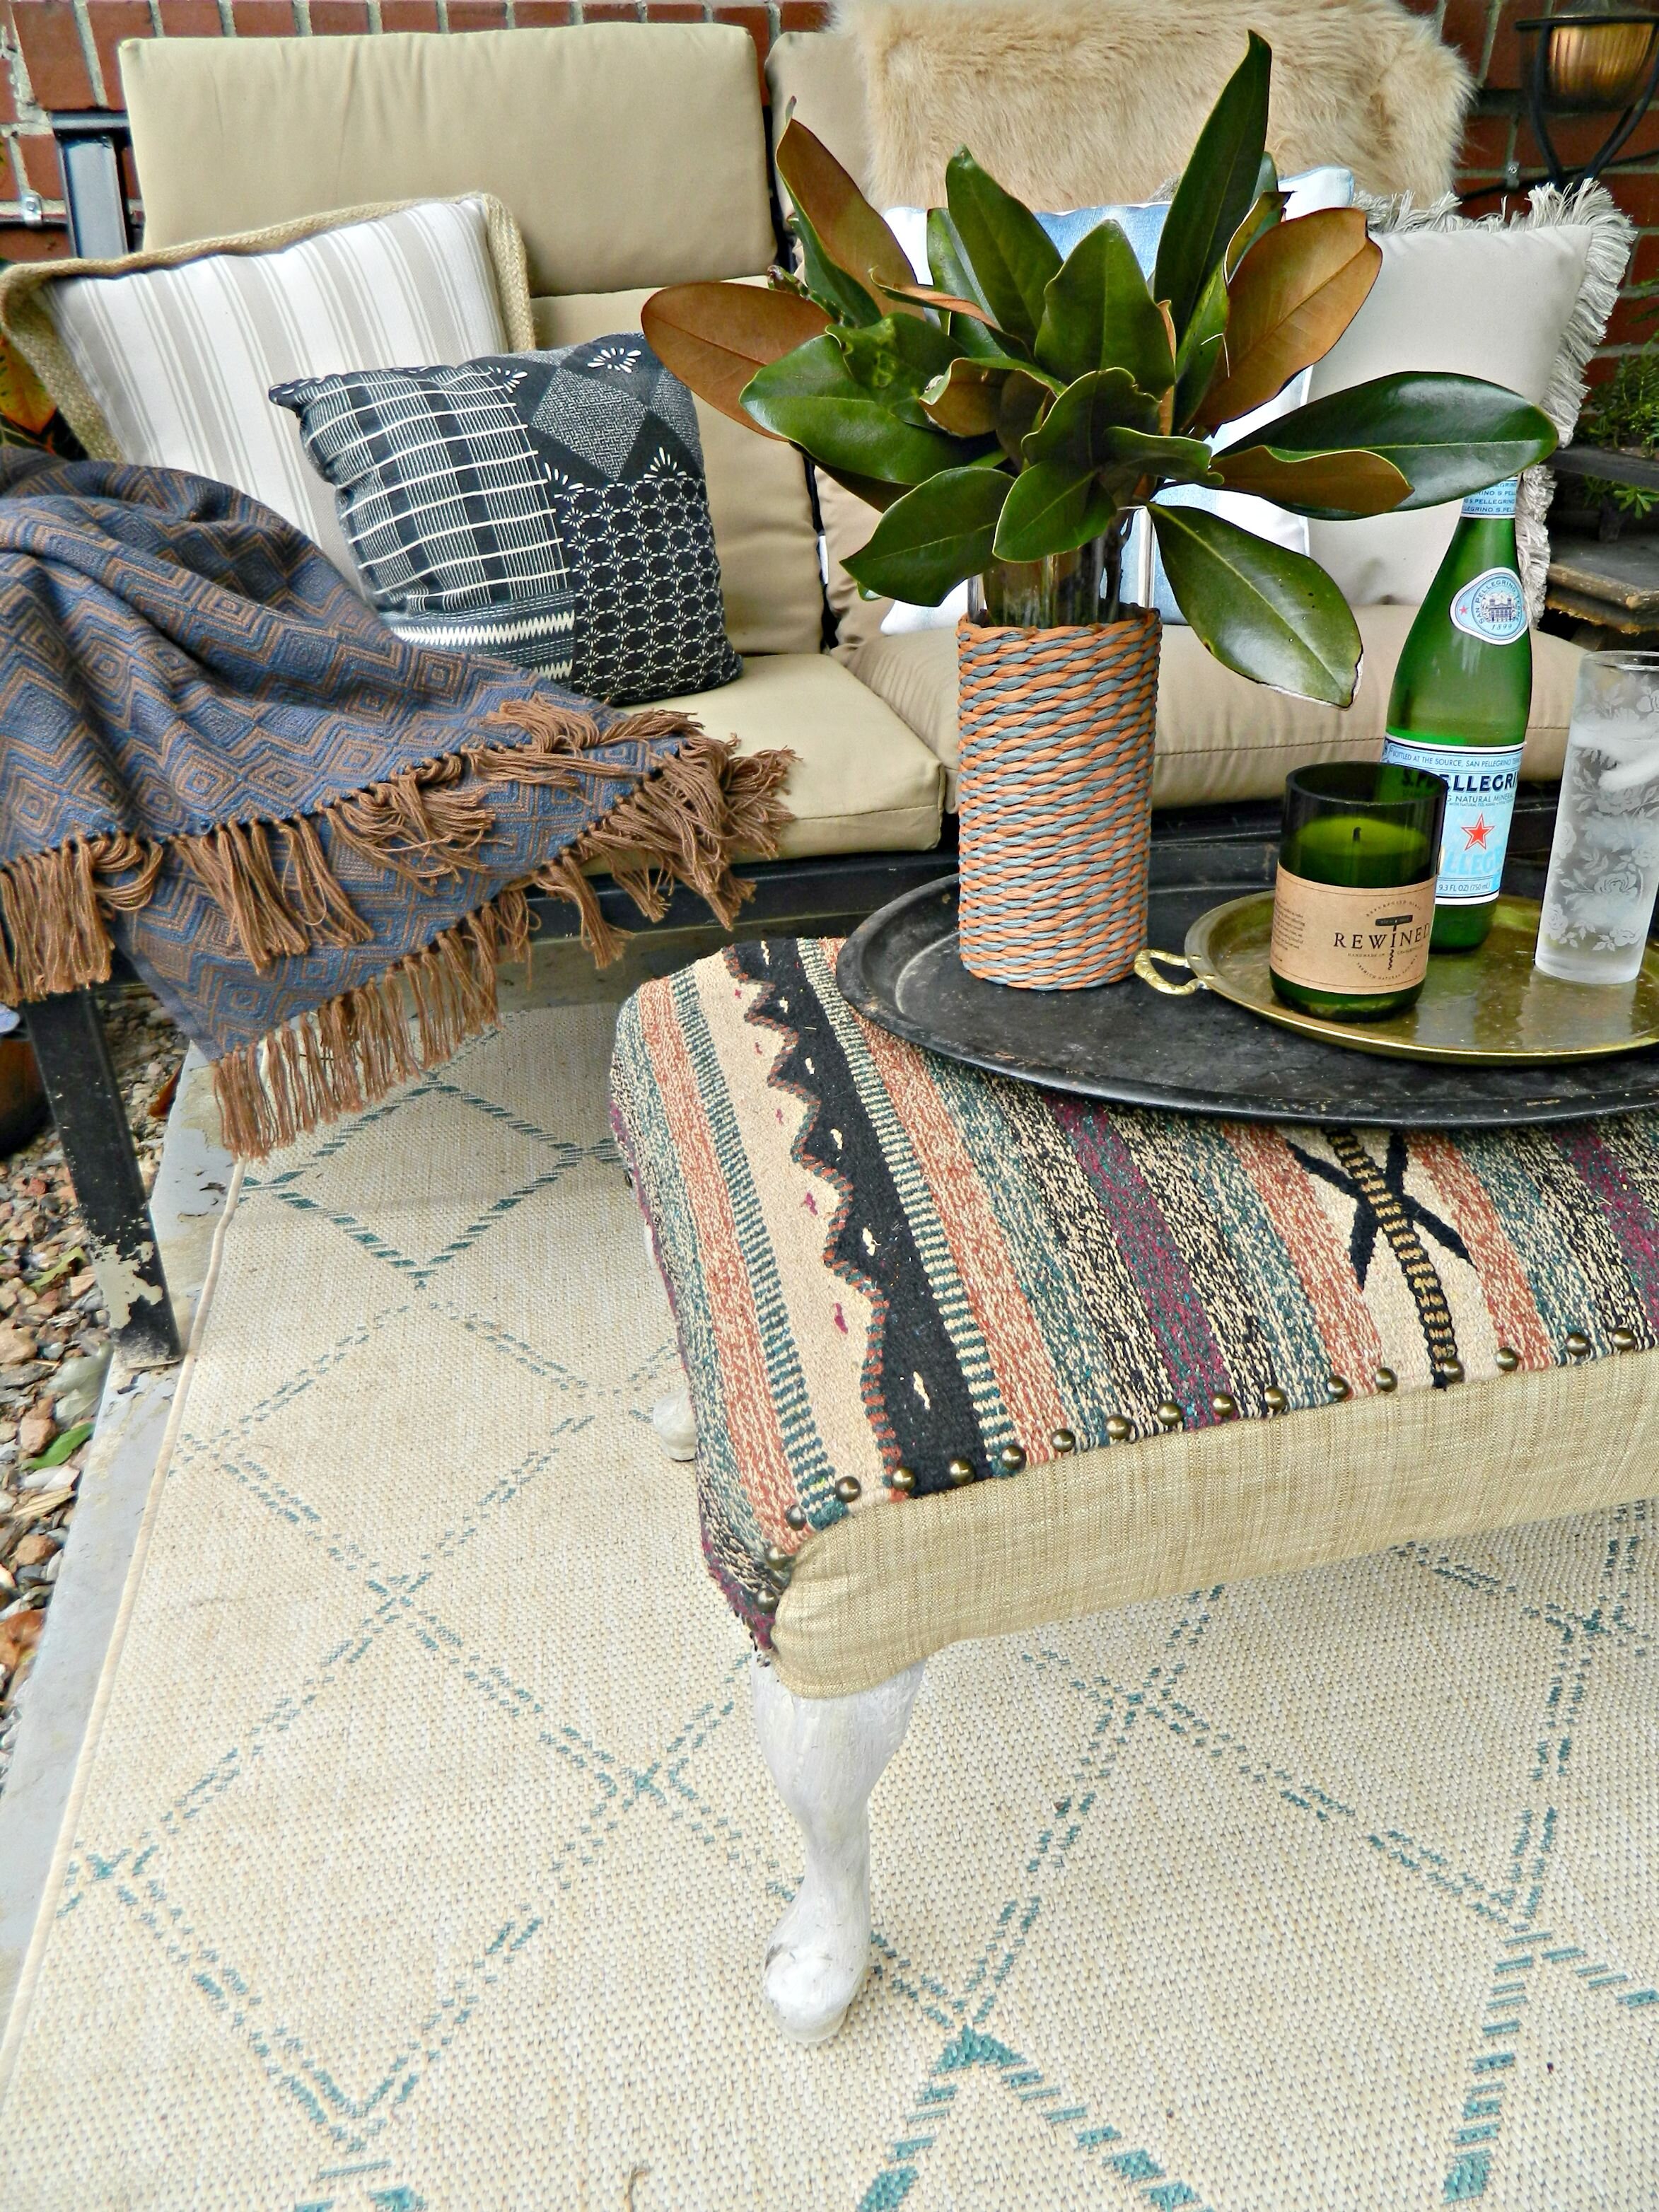
One of the easiest DIY projects that can really transform an old piece of furniture is recovering the fabric. While some larger pieces of furniture like chairs or couches might require a professional upholsterer some smaller pieces like stools, ottomans, and benches can easily be recovered on your own with the help of a staple gun. My mom had this small ottoman in her living room and has recently redecorated. She wanted to add a pop of pattern to it to match her updated living room decor. We used one of our Southwest Woven Wool Rugs from the shop that just happened to have all the perfect colors. It was just a tad too small to cover the entire ottoman, so we used a solid neutral fabric underneath and then tacked the edges down using brass nail head trim. These rugs are perfect for recovering old chair seats, stools, or ottomans that you may have around the house or find for cheap at thrift stores or garage sales. Here's what you need to get started on your own:
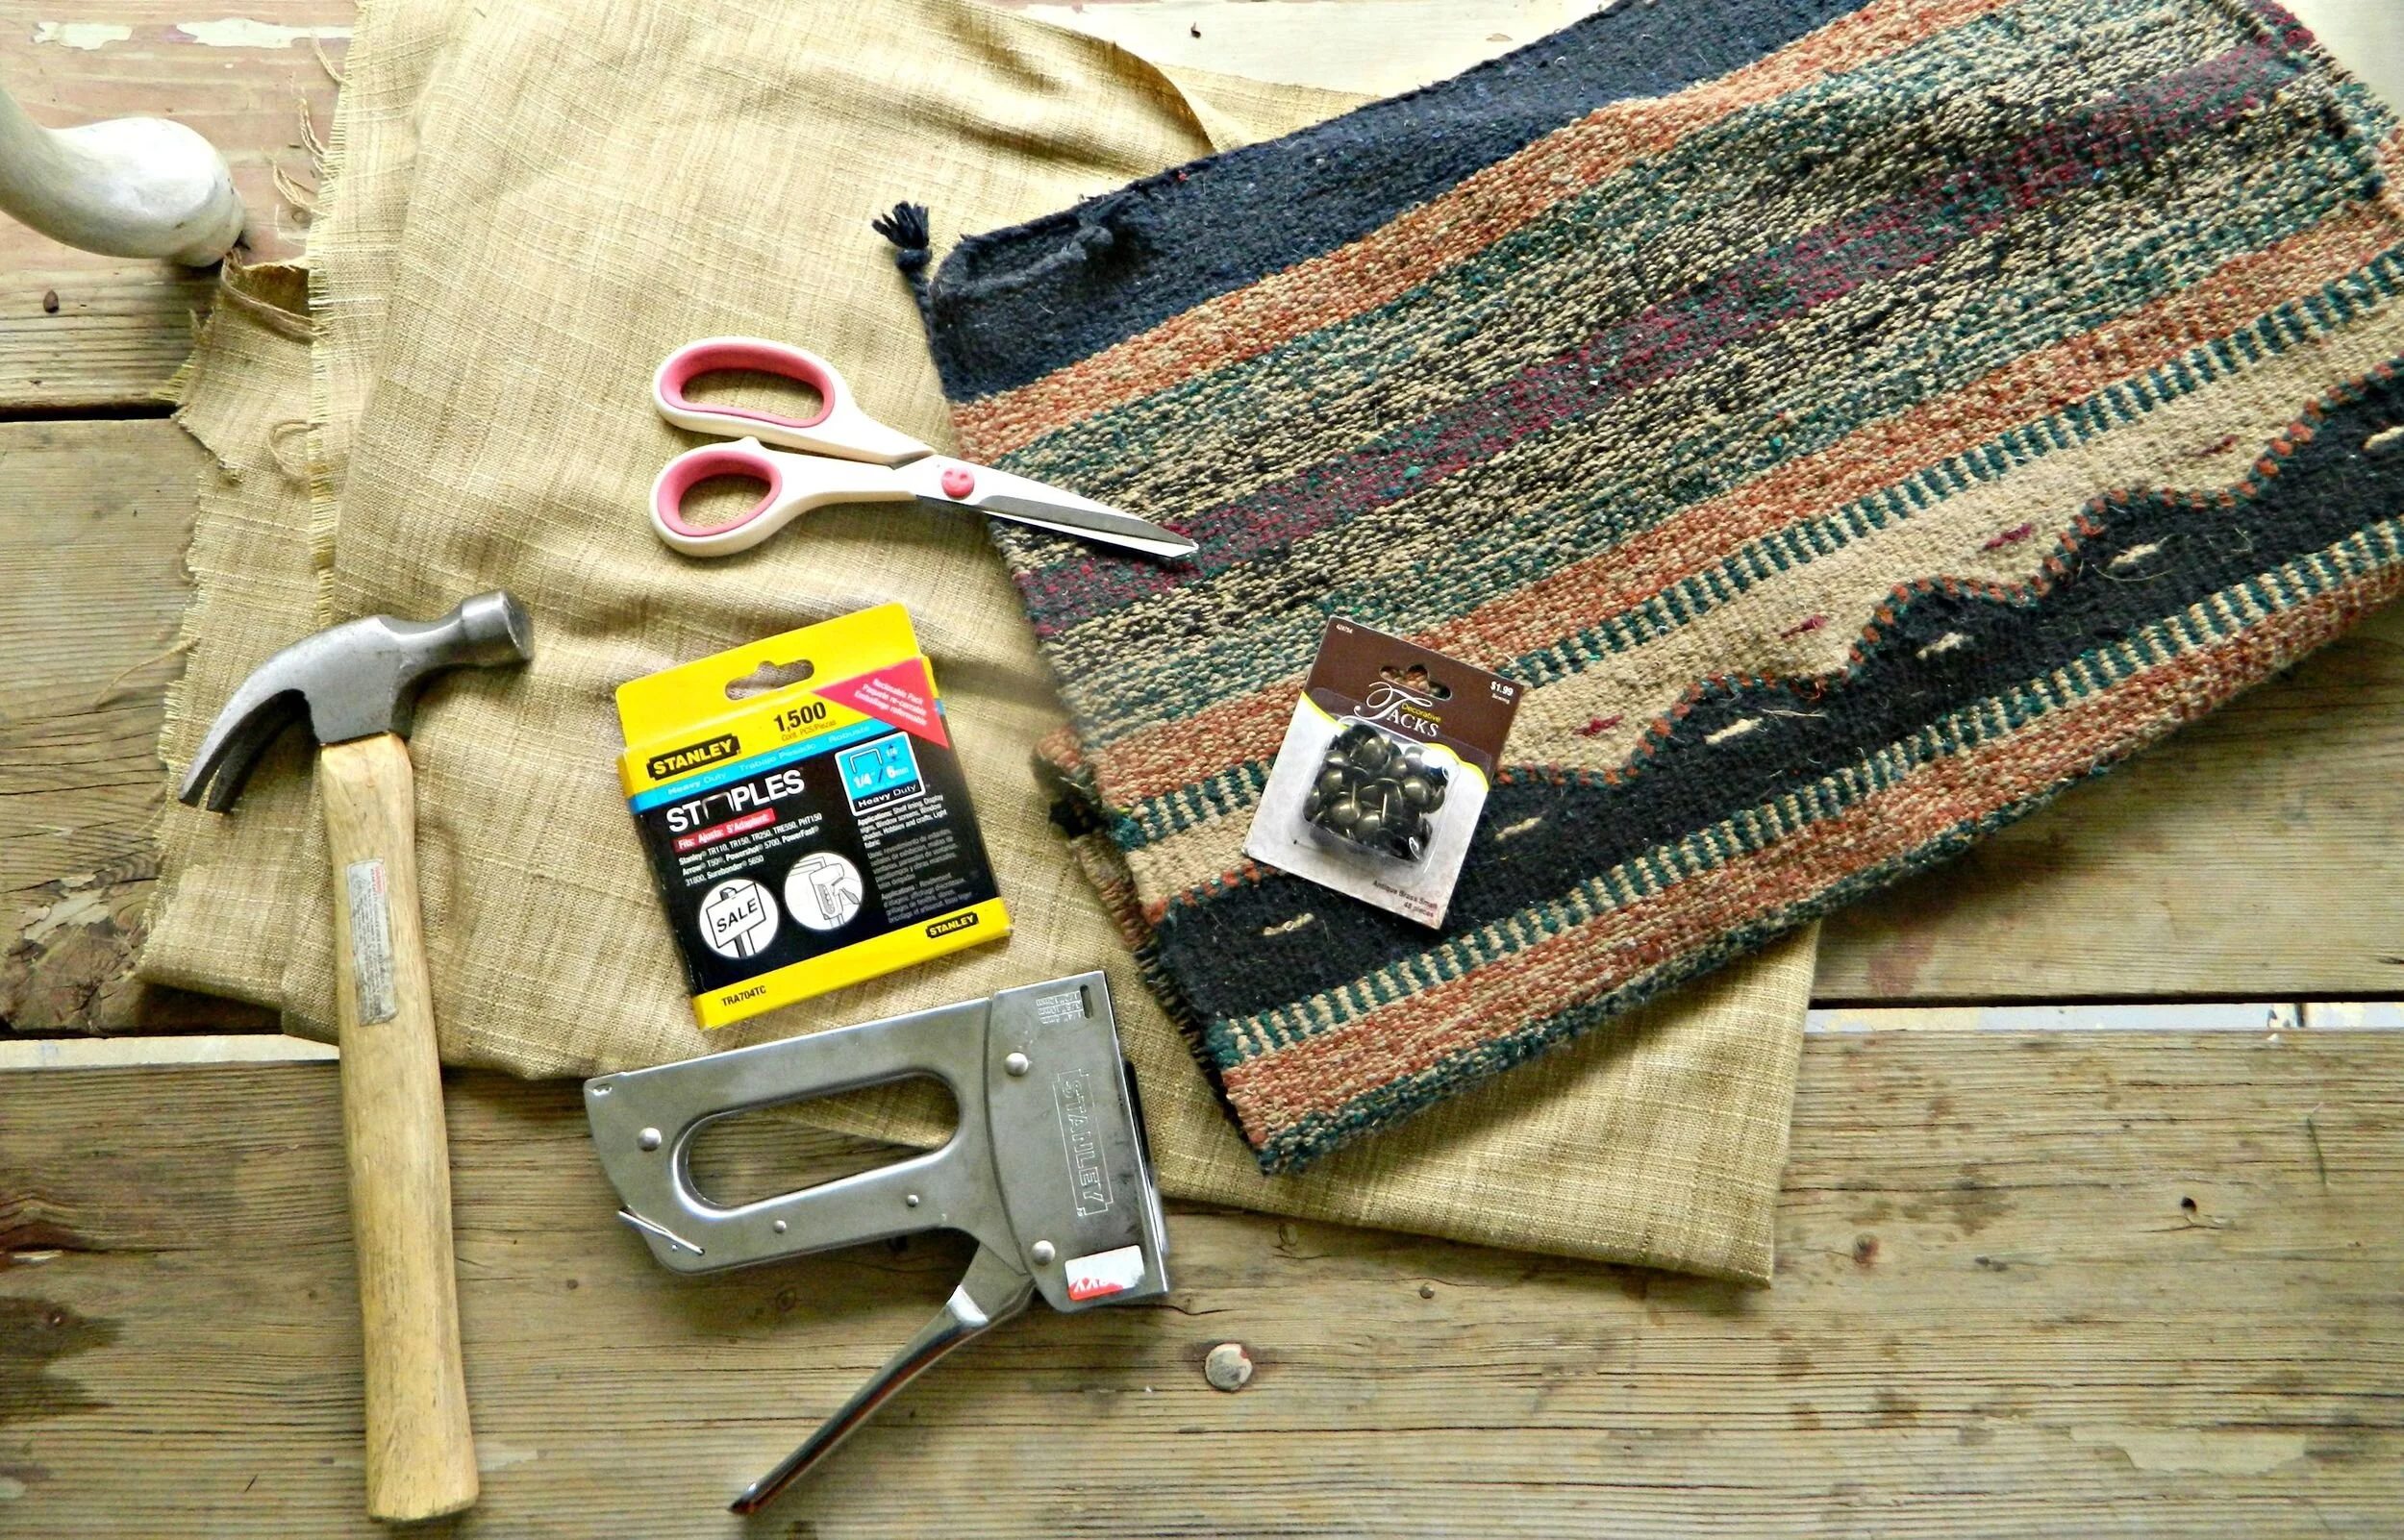
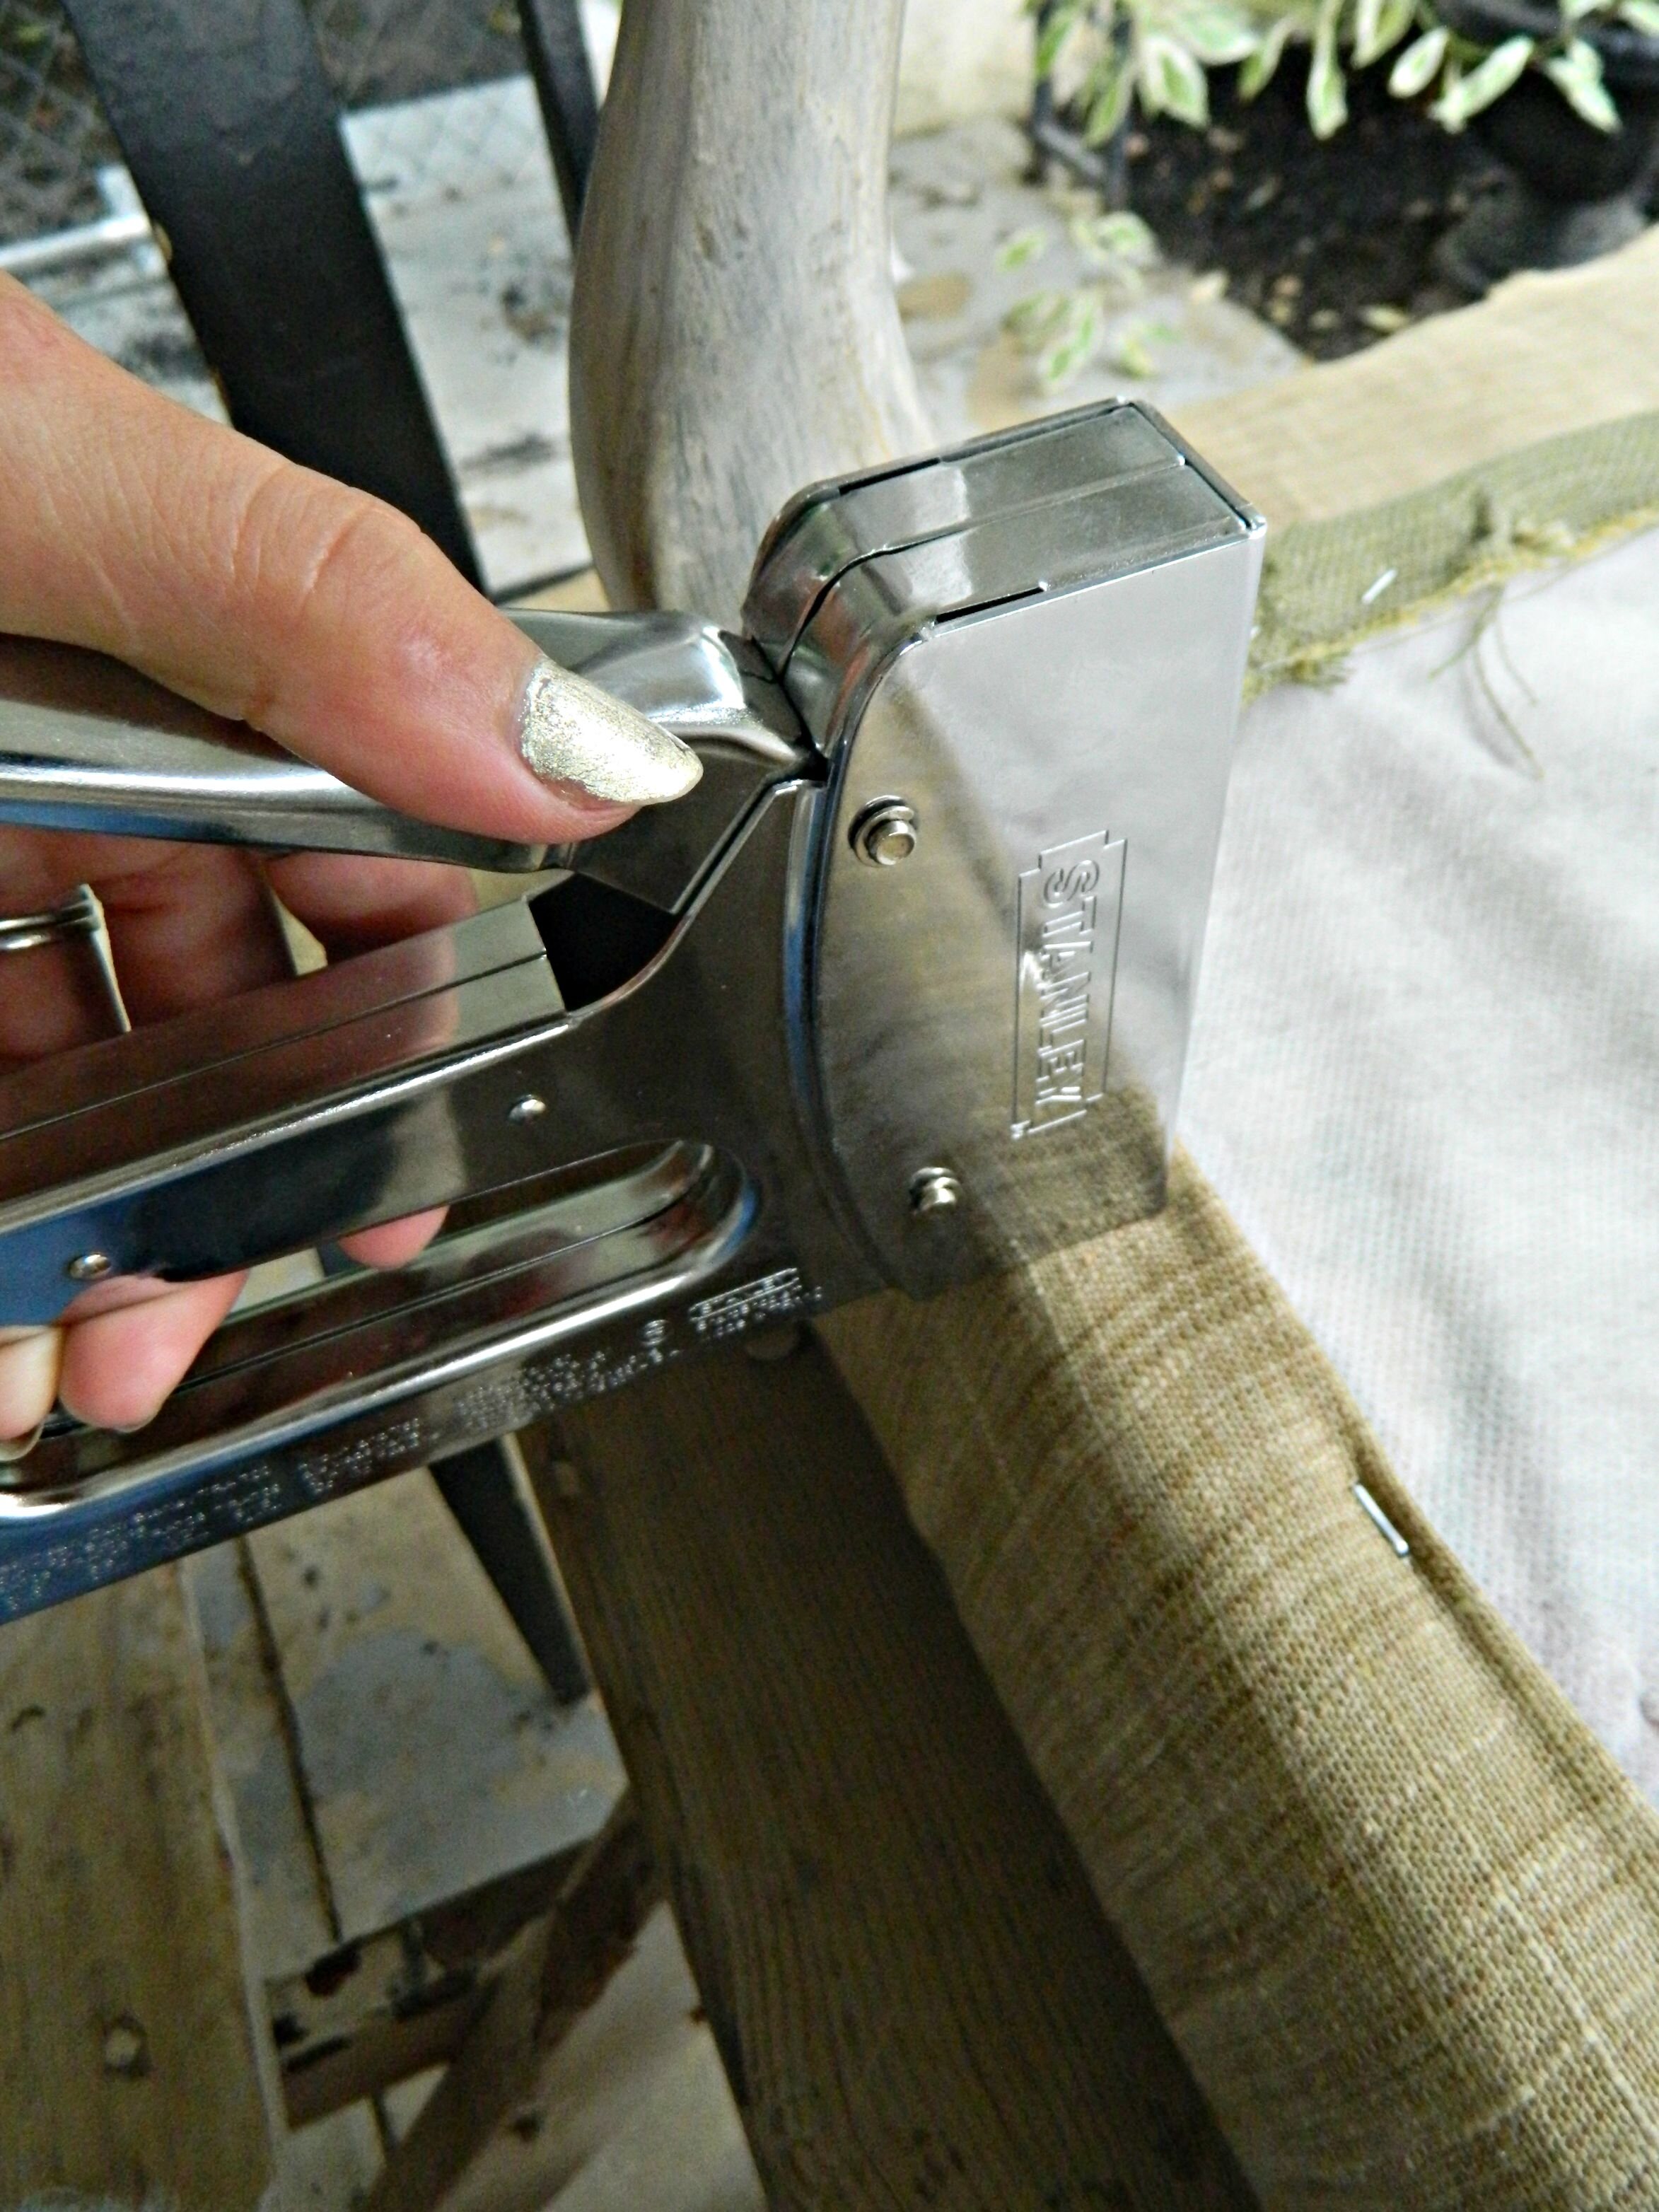
a staple gun and the proper staples to fit it
a hammer
nail head trim tacks (I got these at Hobby Lobby near the upholstery stuff)
scissors
your fabric
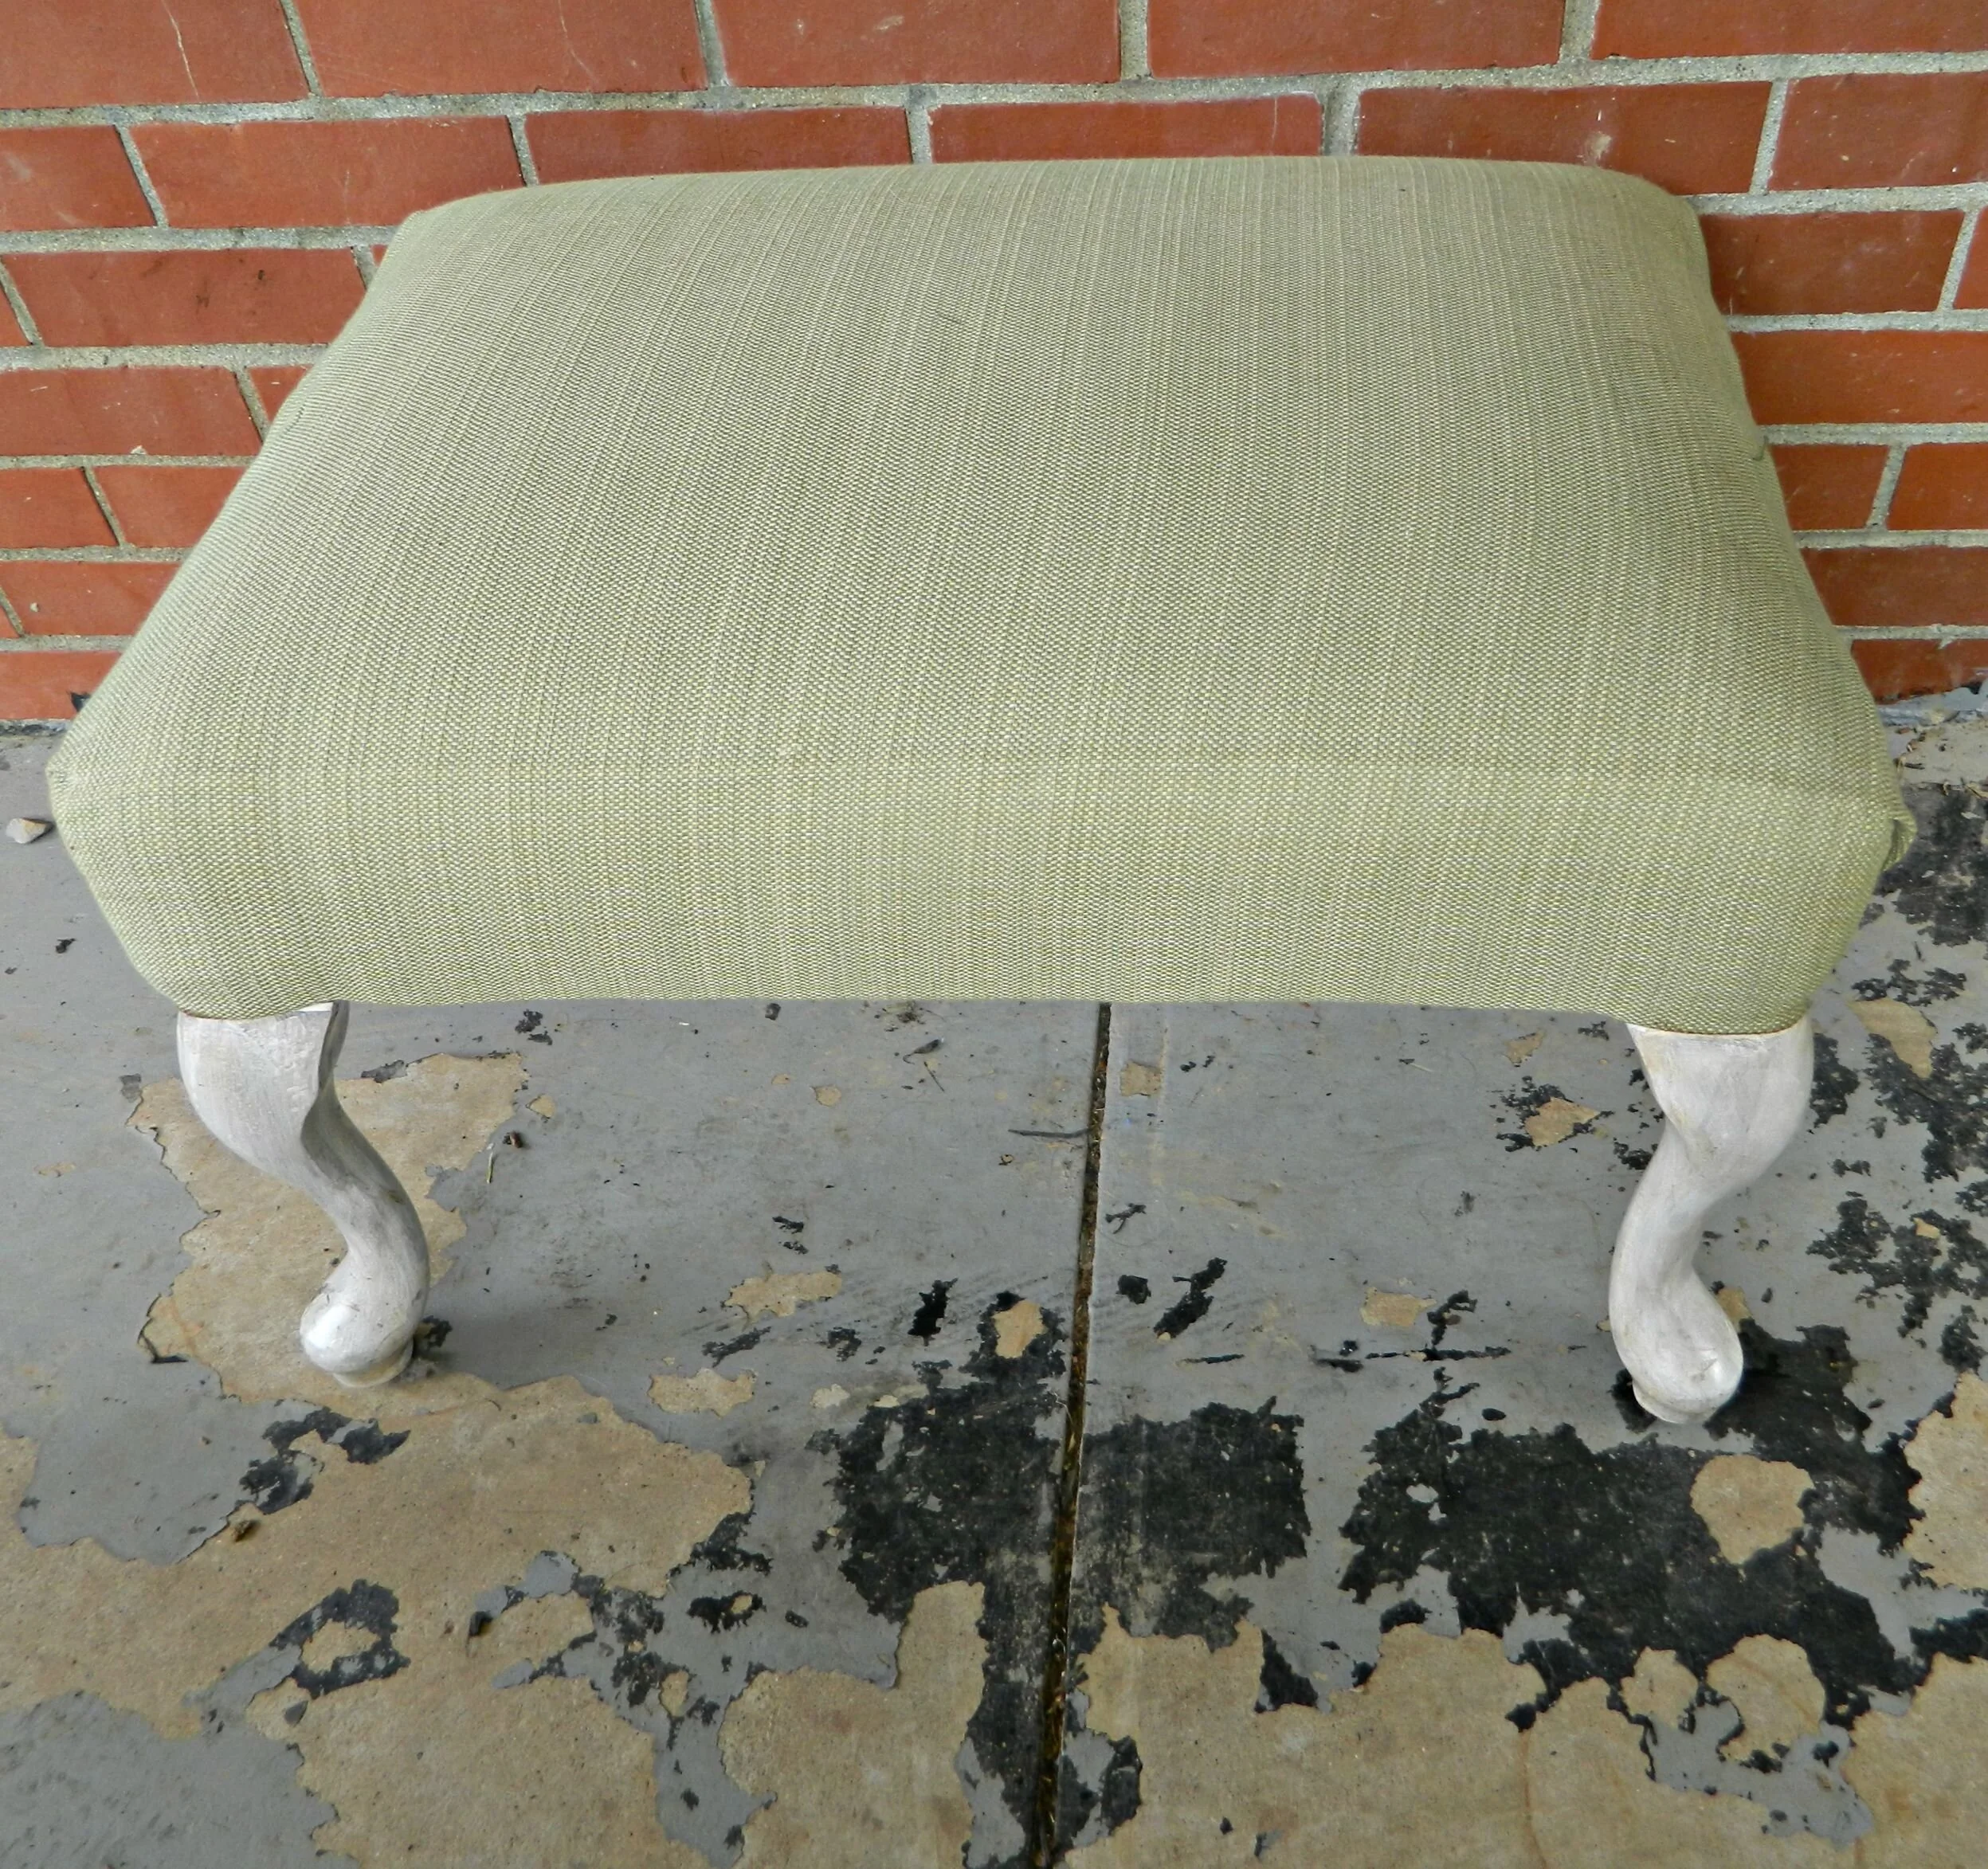
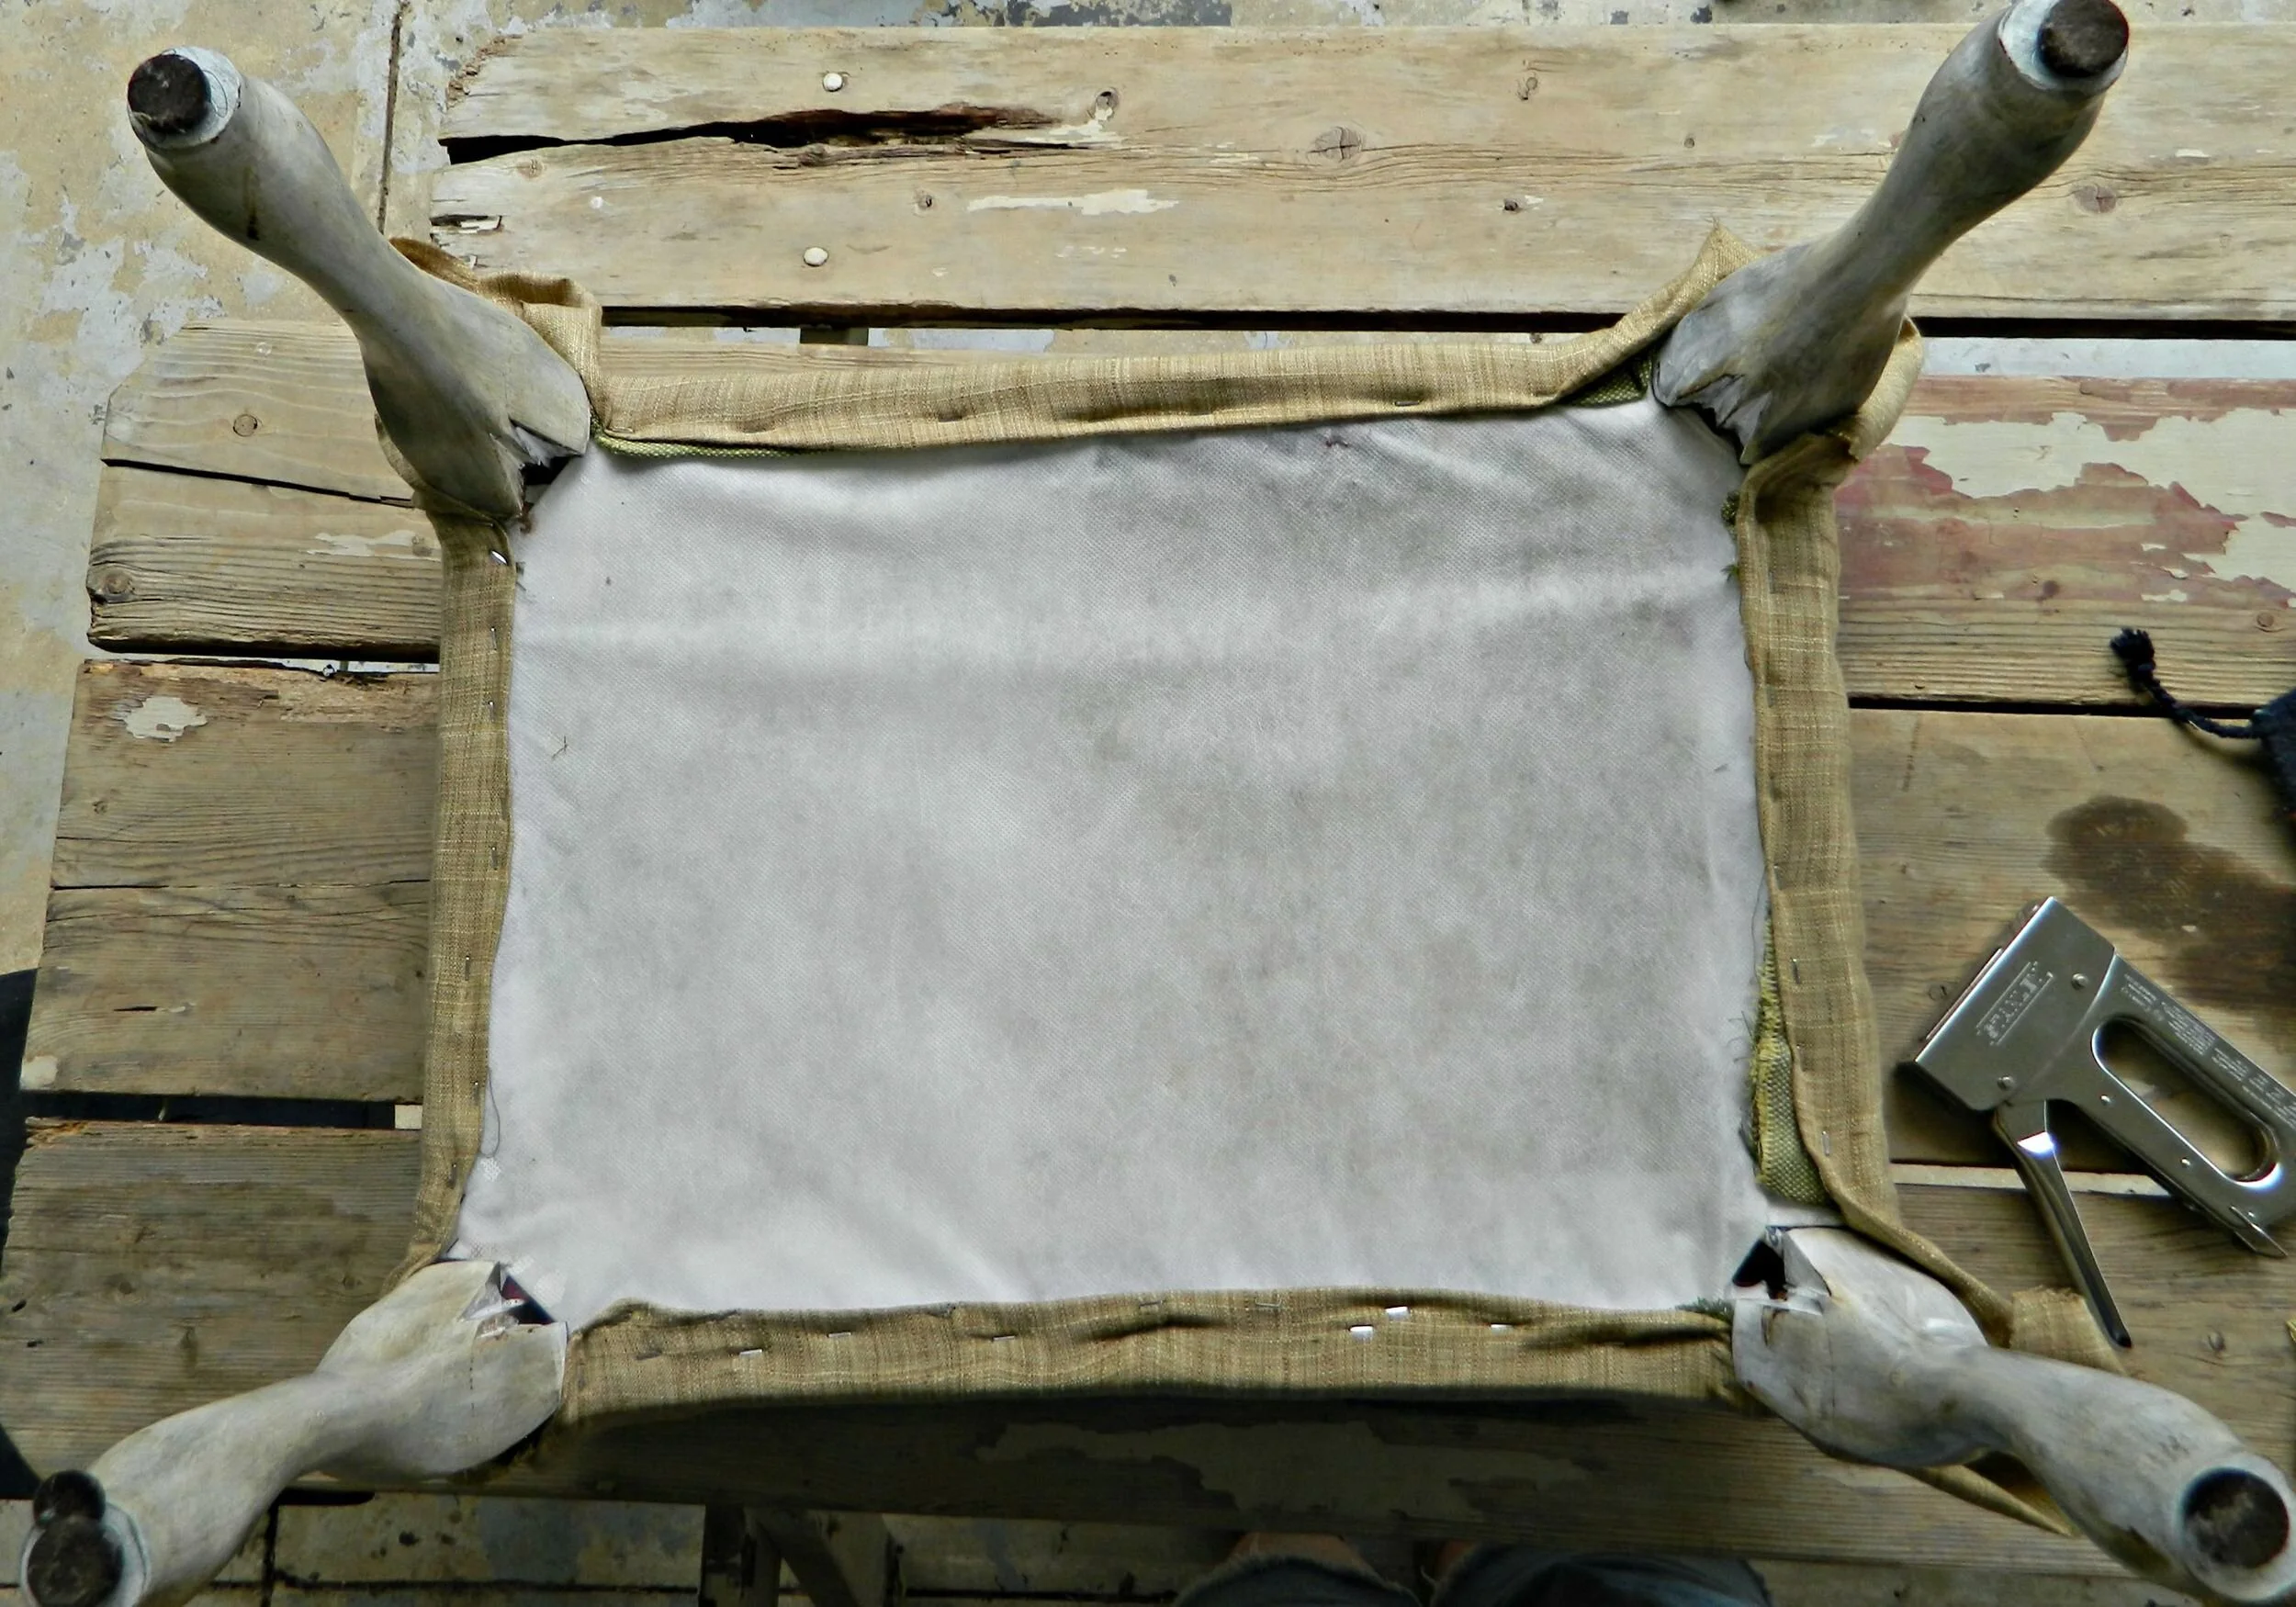
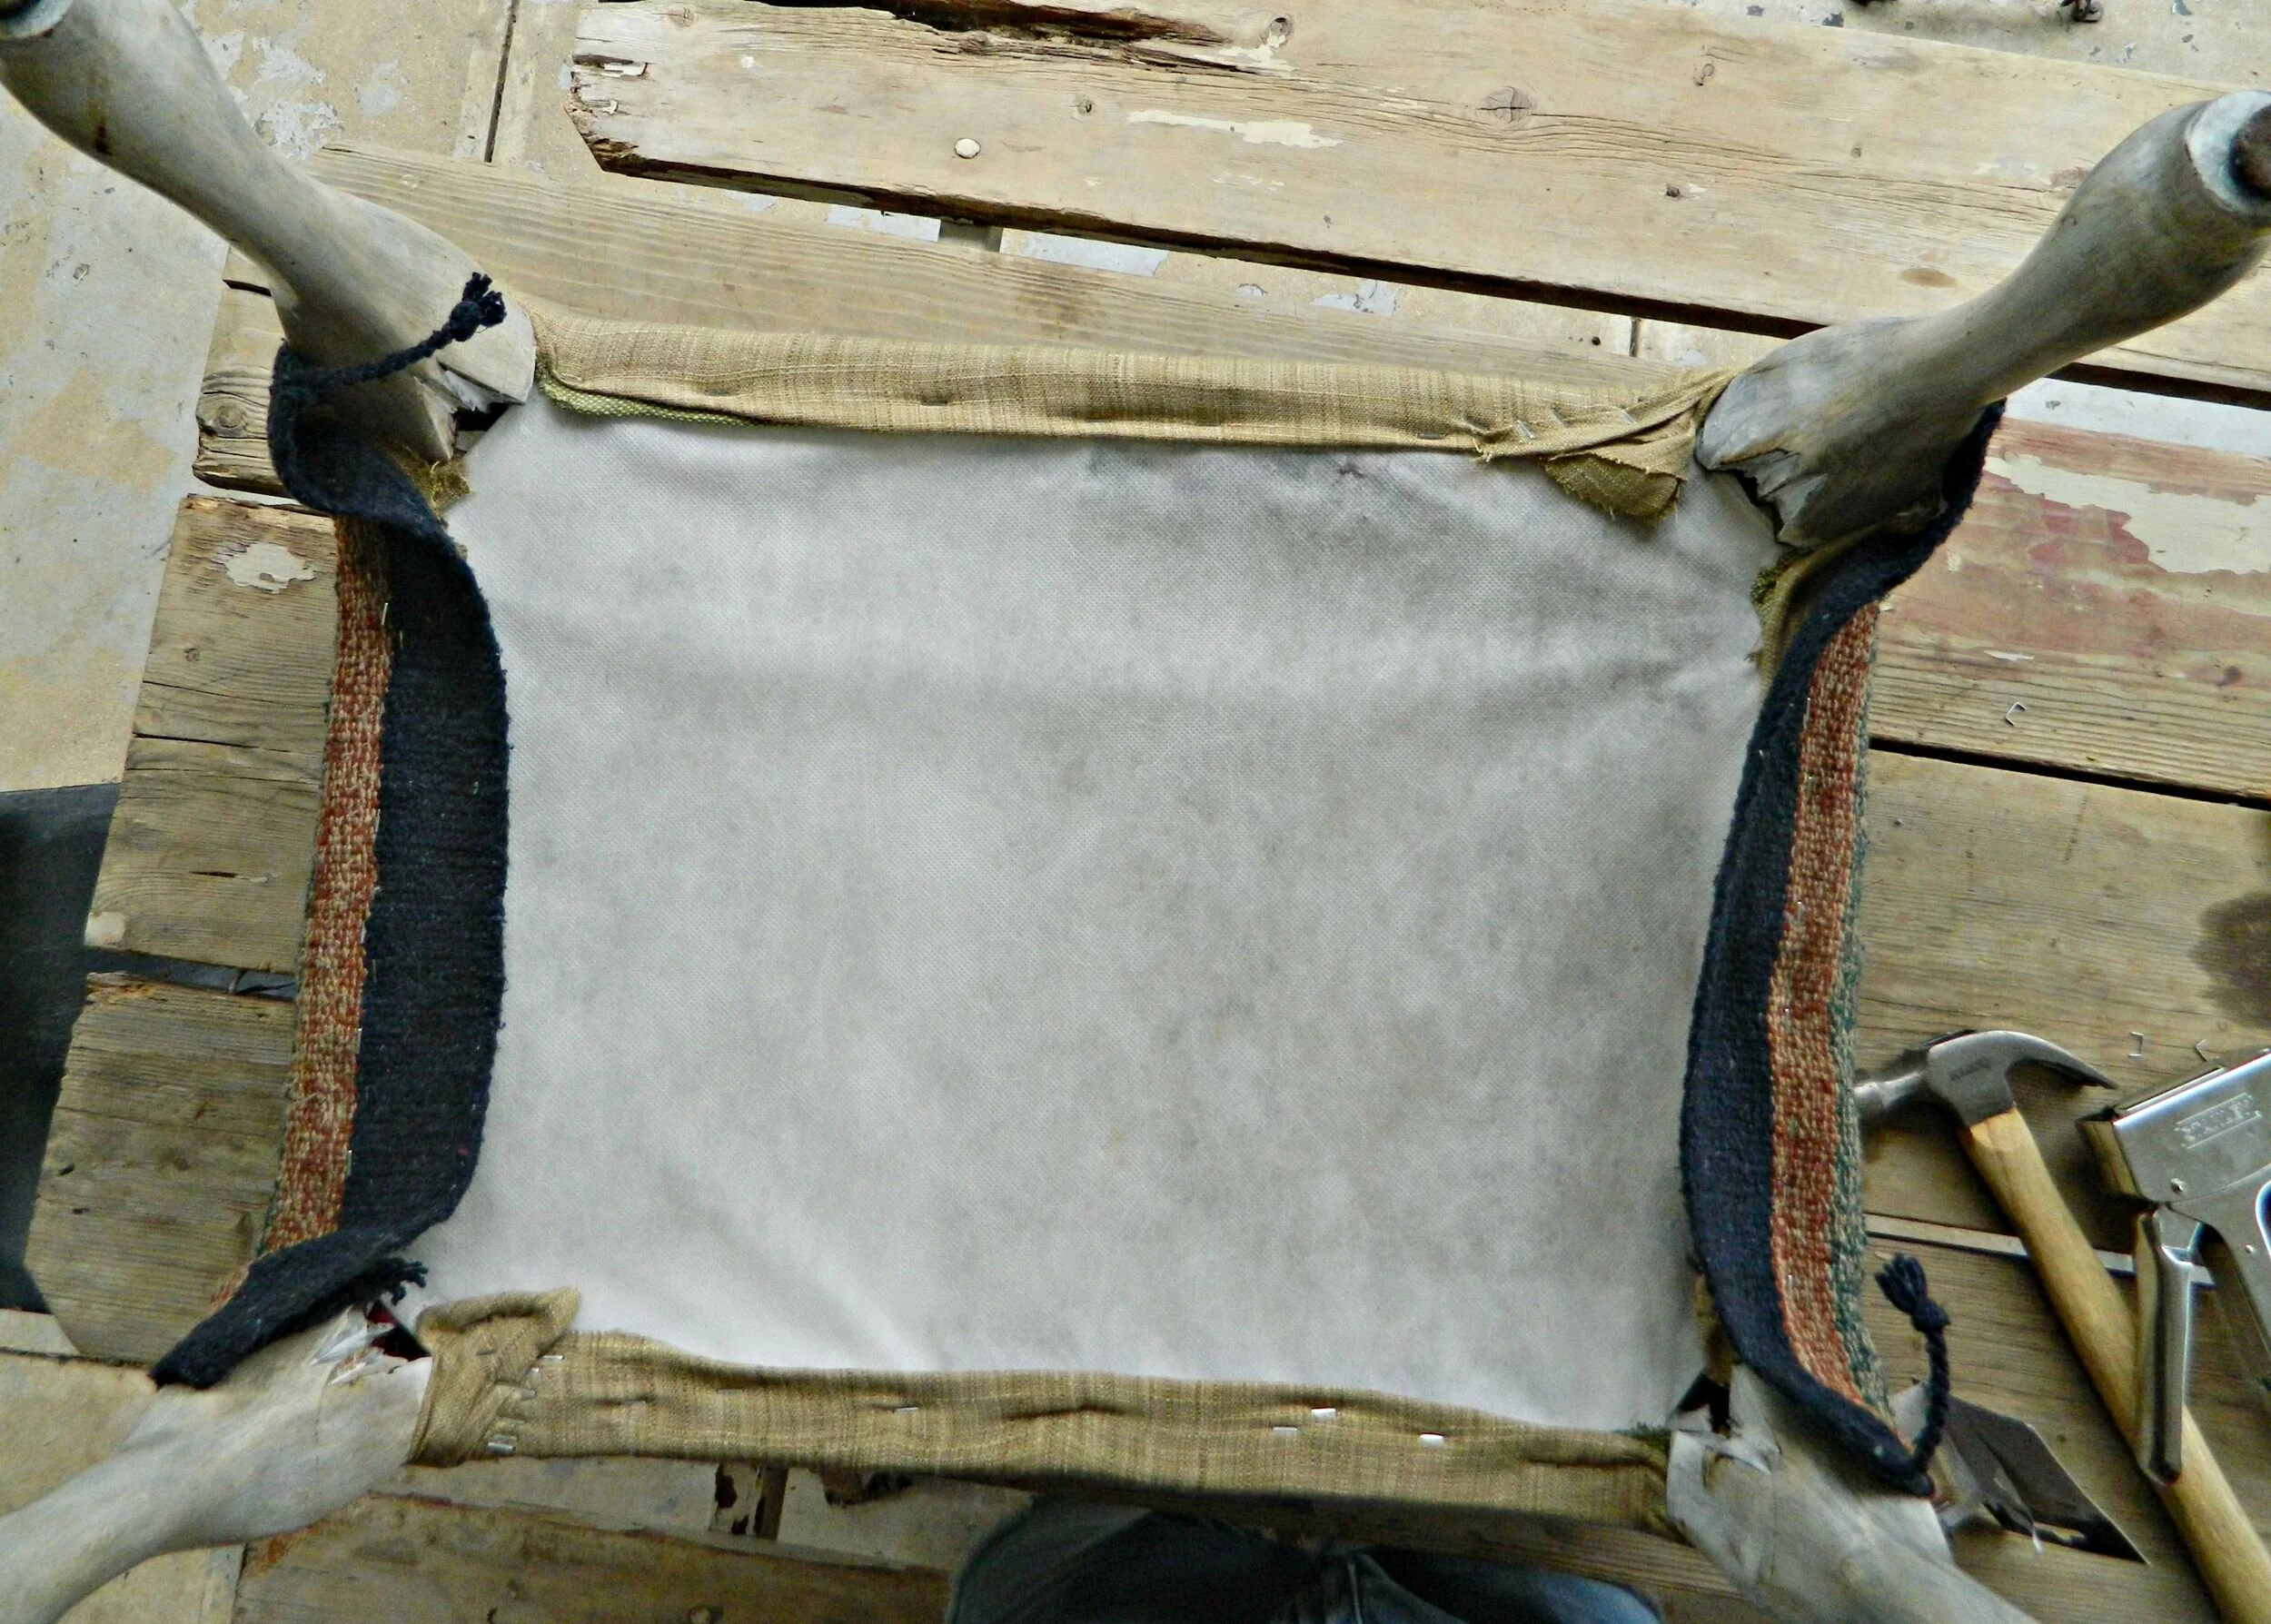
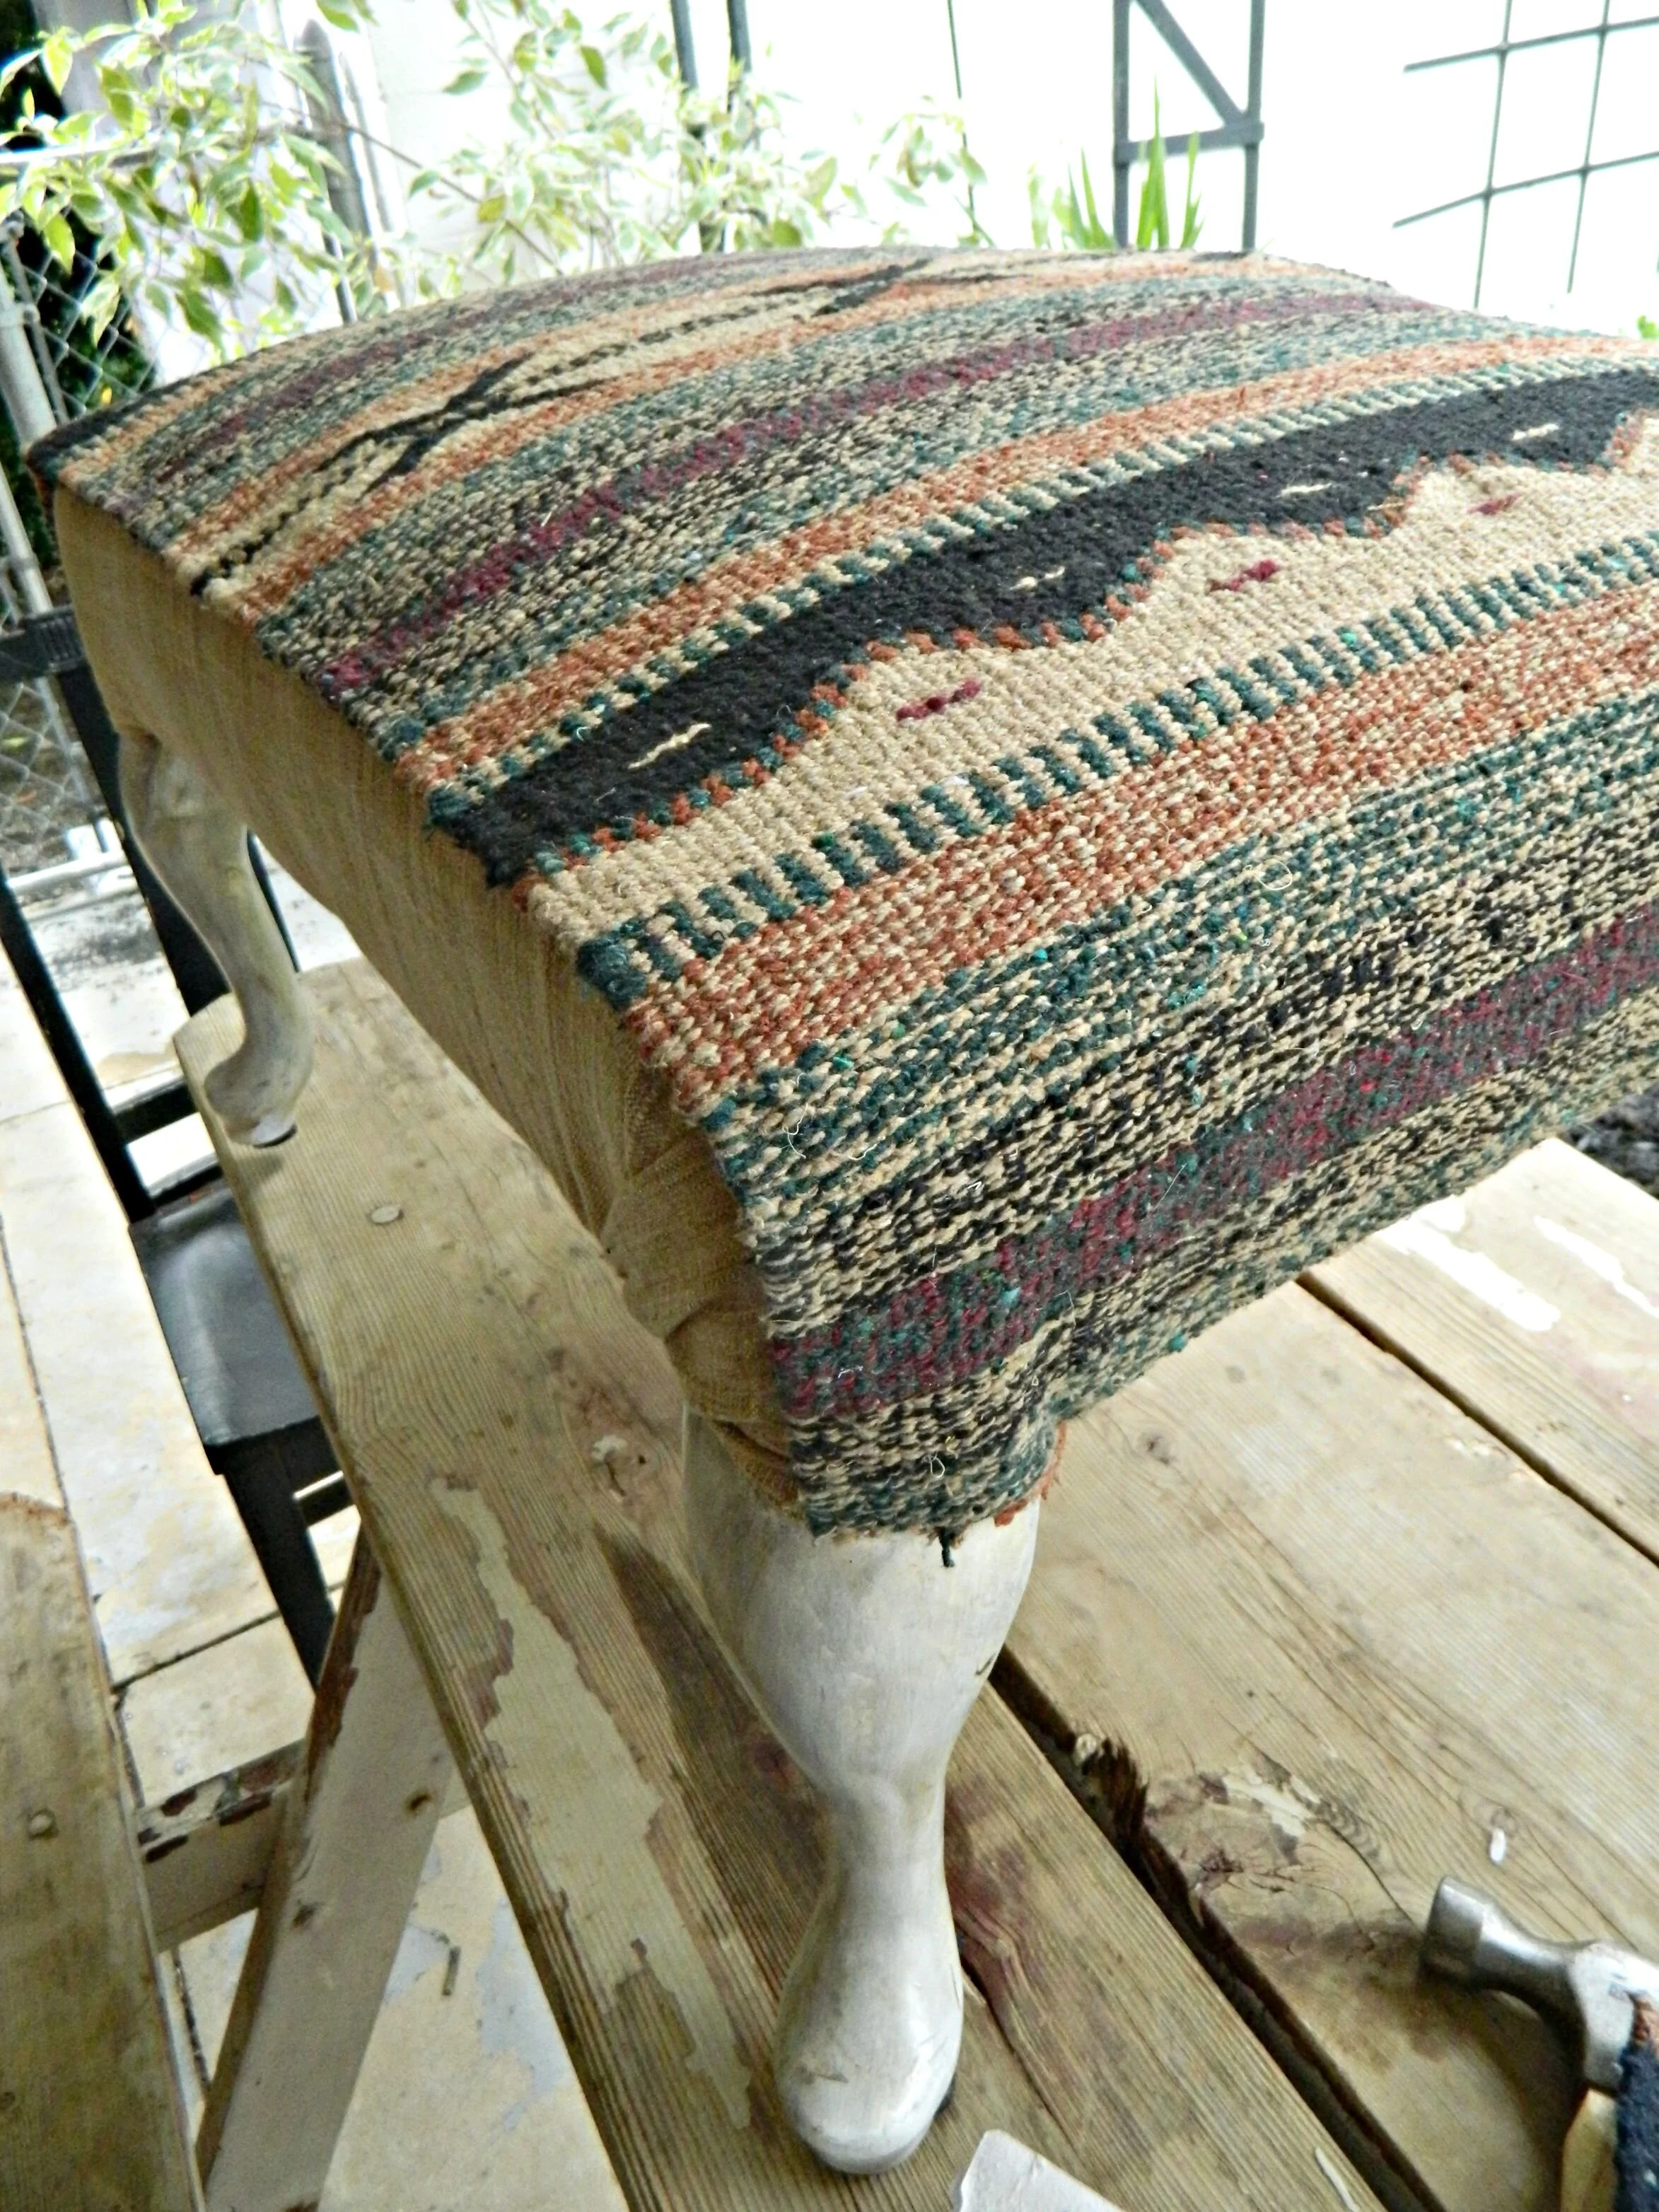
Here's what the ottoman looked like before we recovered it. The hardest part of the process was working around these corners and the legs on the ottoman. Sometimes on older furniture the legs might be removable or screw off (this makes recovering A LOT easier!) Just remember no one but you will likely see the underside of your ottoman so it doesn't have to look perfect!
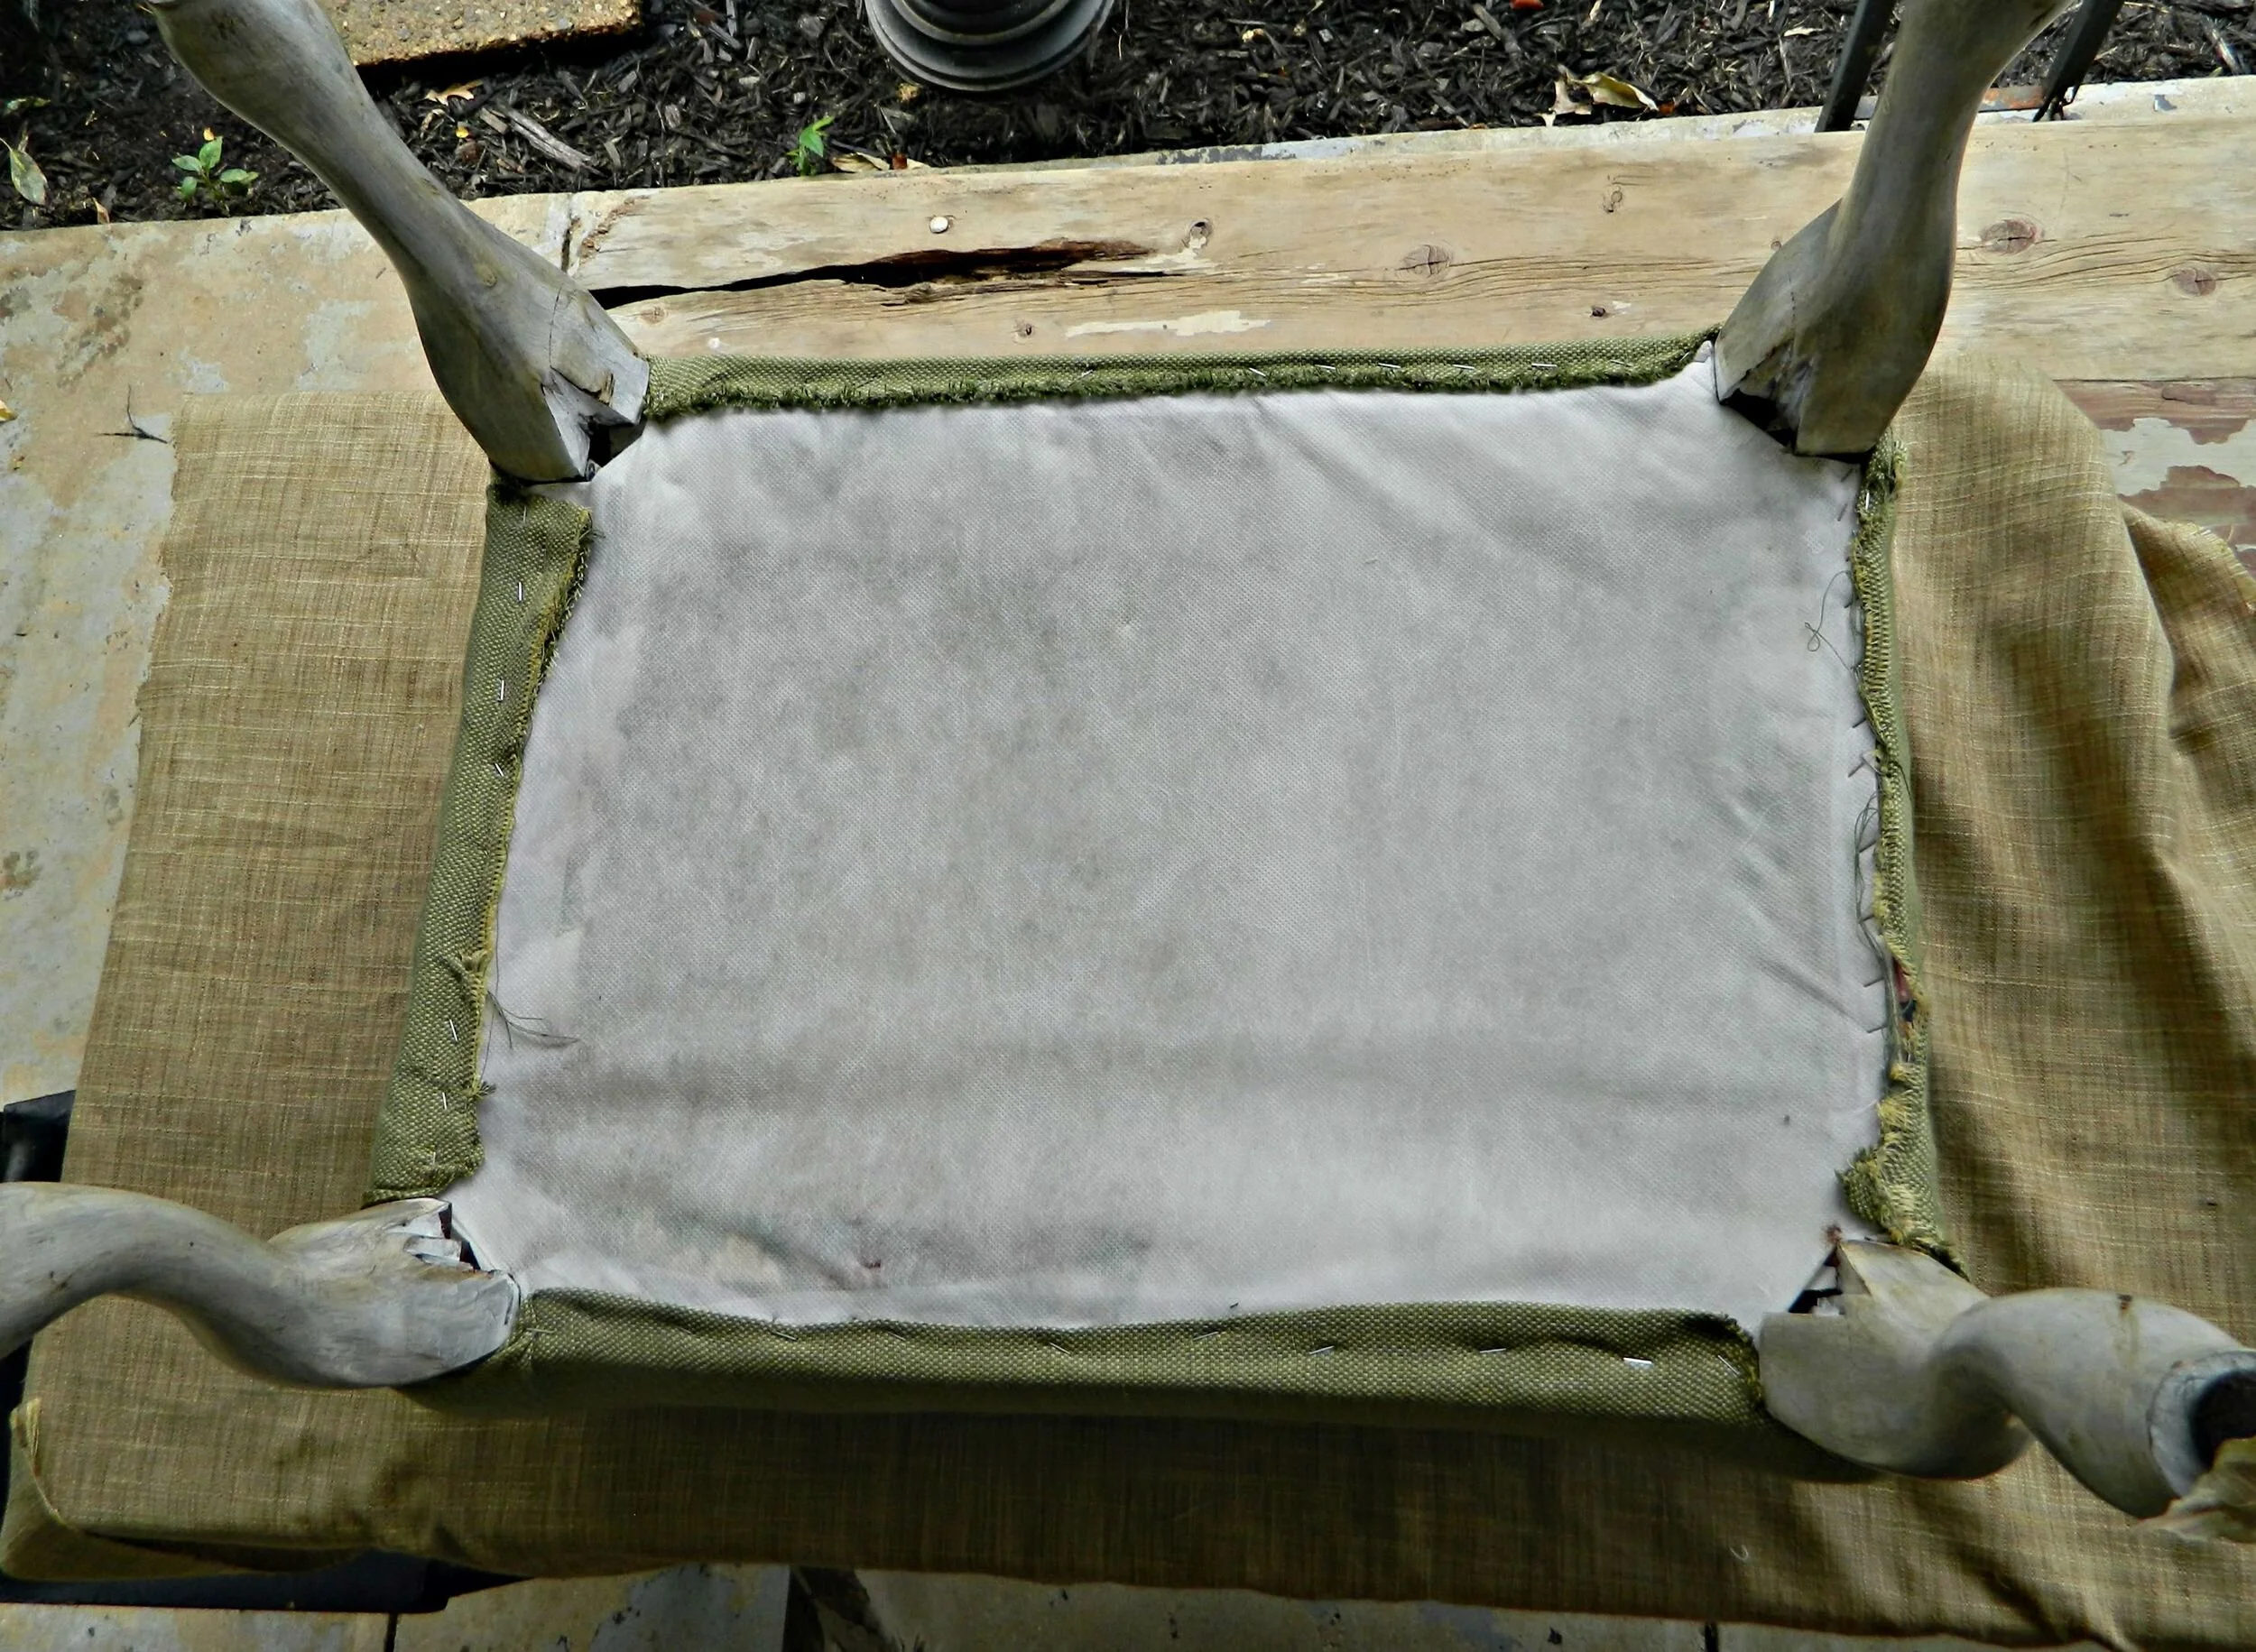
Start by flipping your ottoman over and laying it on top of your fabric, stretched flat.
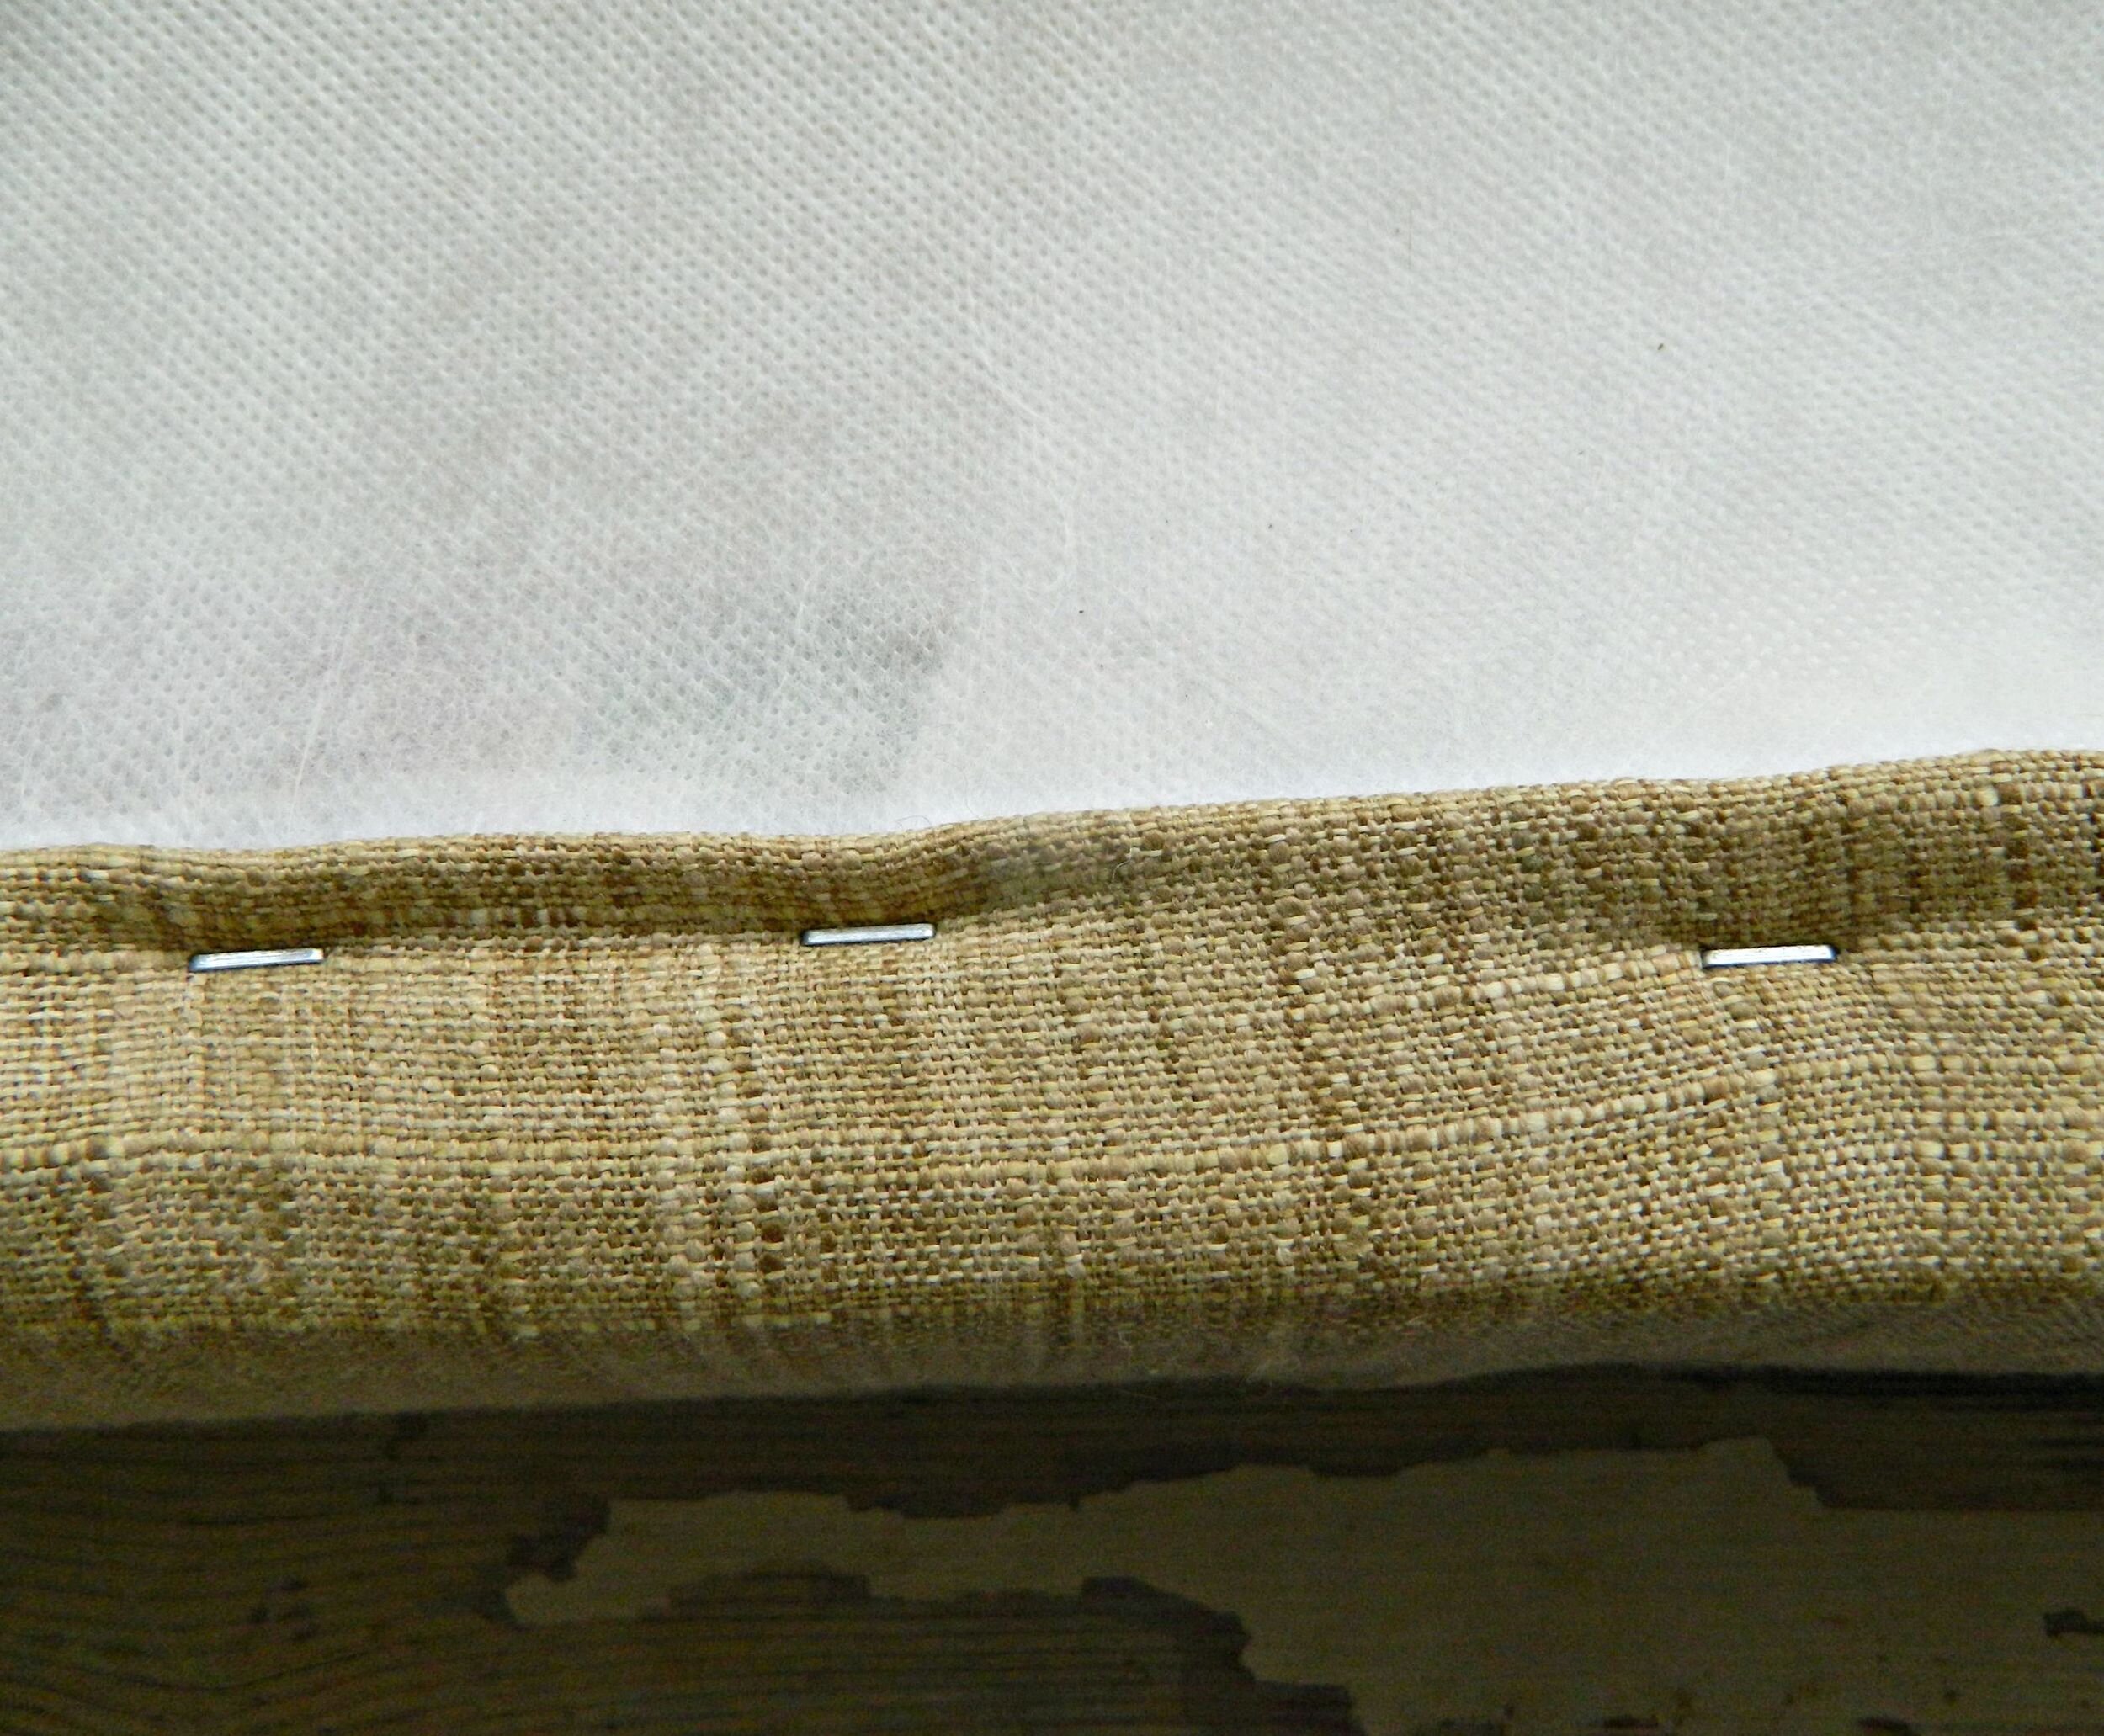
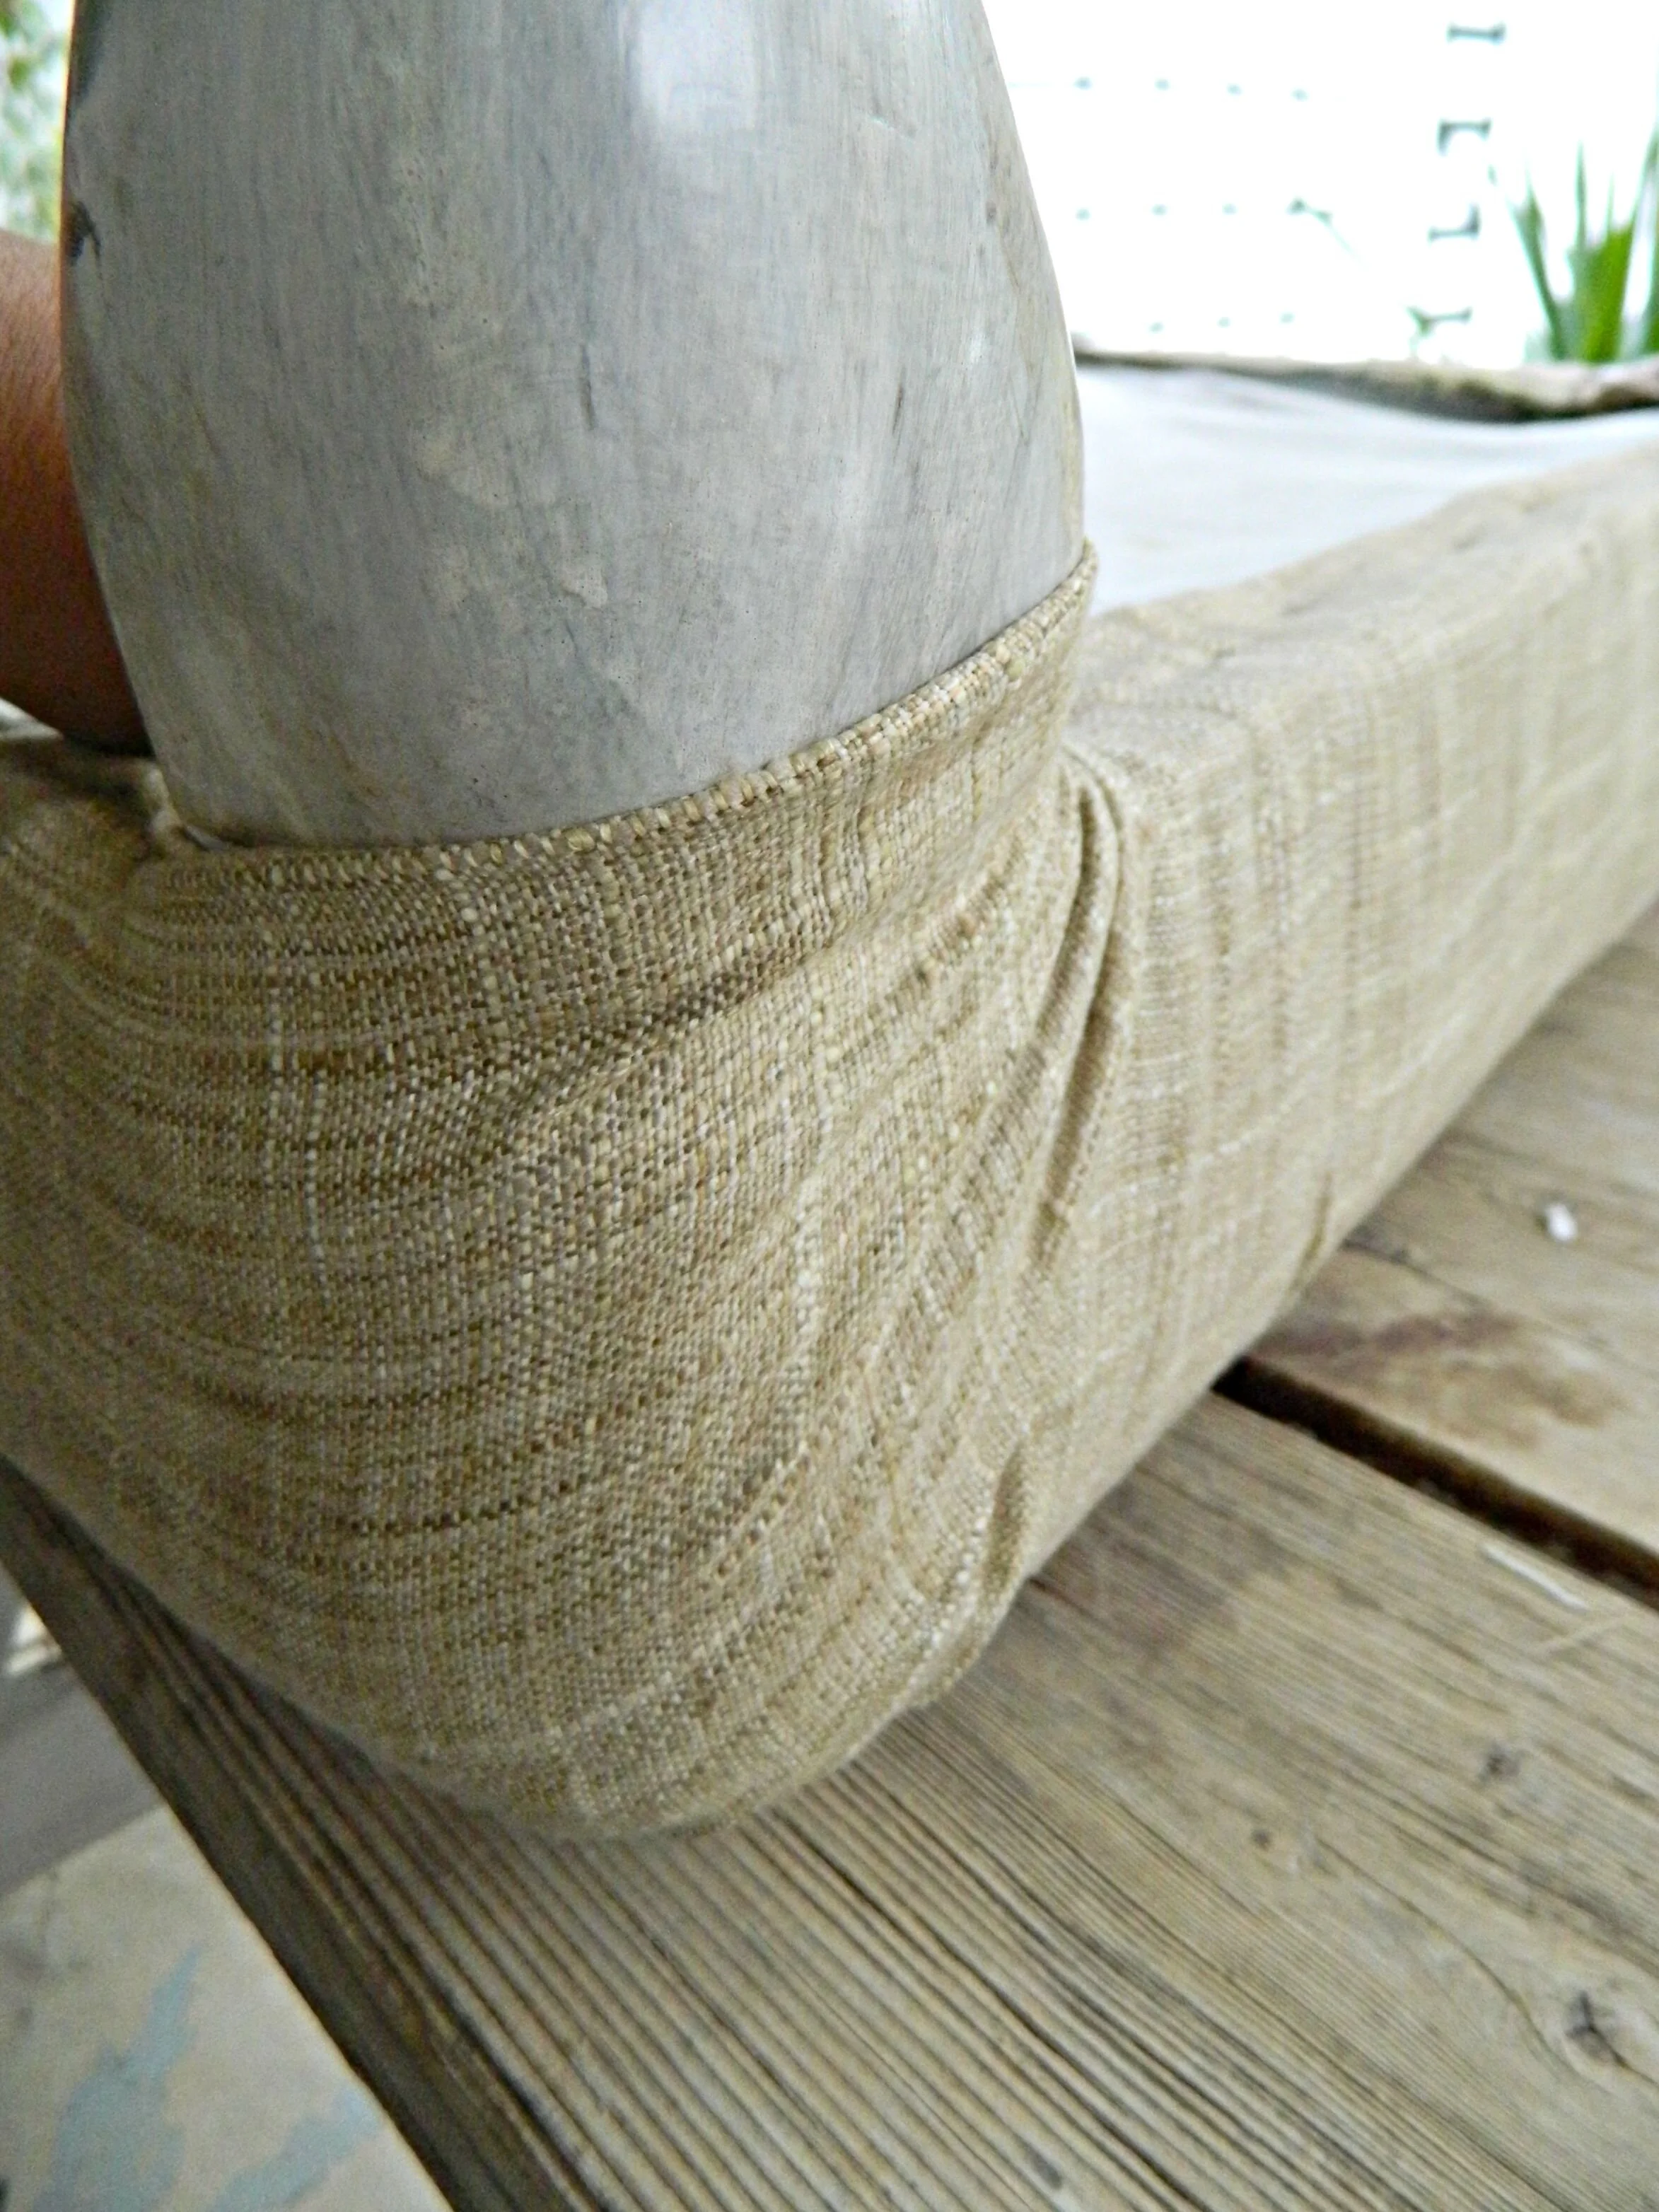
Start stapling one side, folding under the fabric if you wish to create a clean line. Pull the fabric tight as you staple and try to keep it as flat as possible.
After you have finished stapling one side in place go to the opposite side and pull the fabric taught and flat and begin stapling.

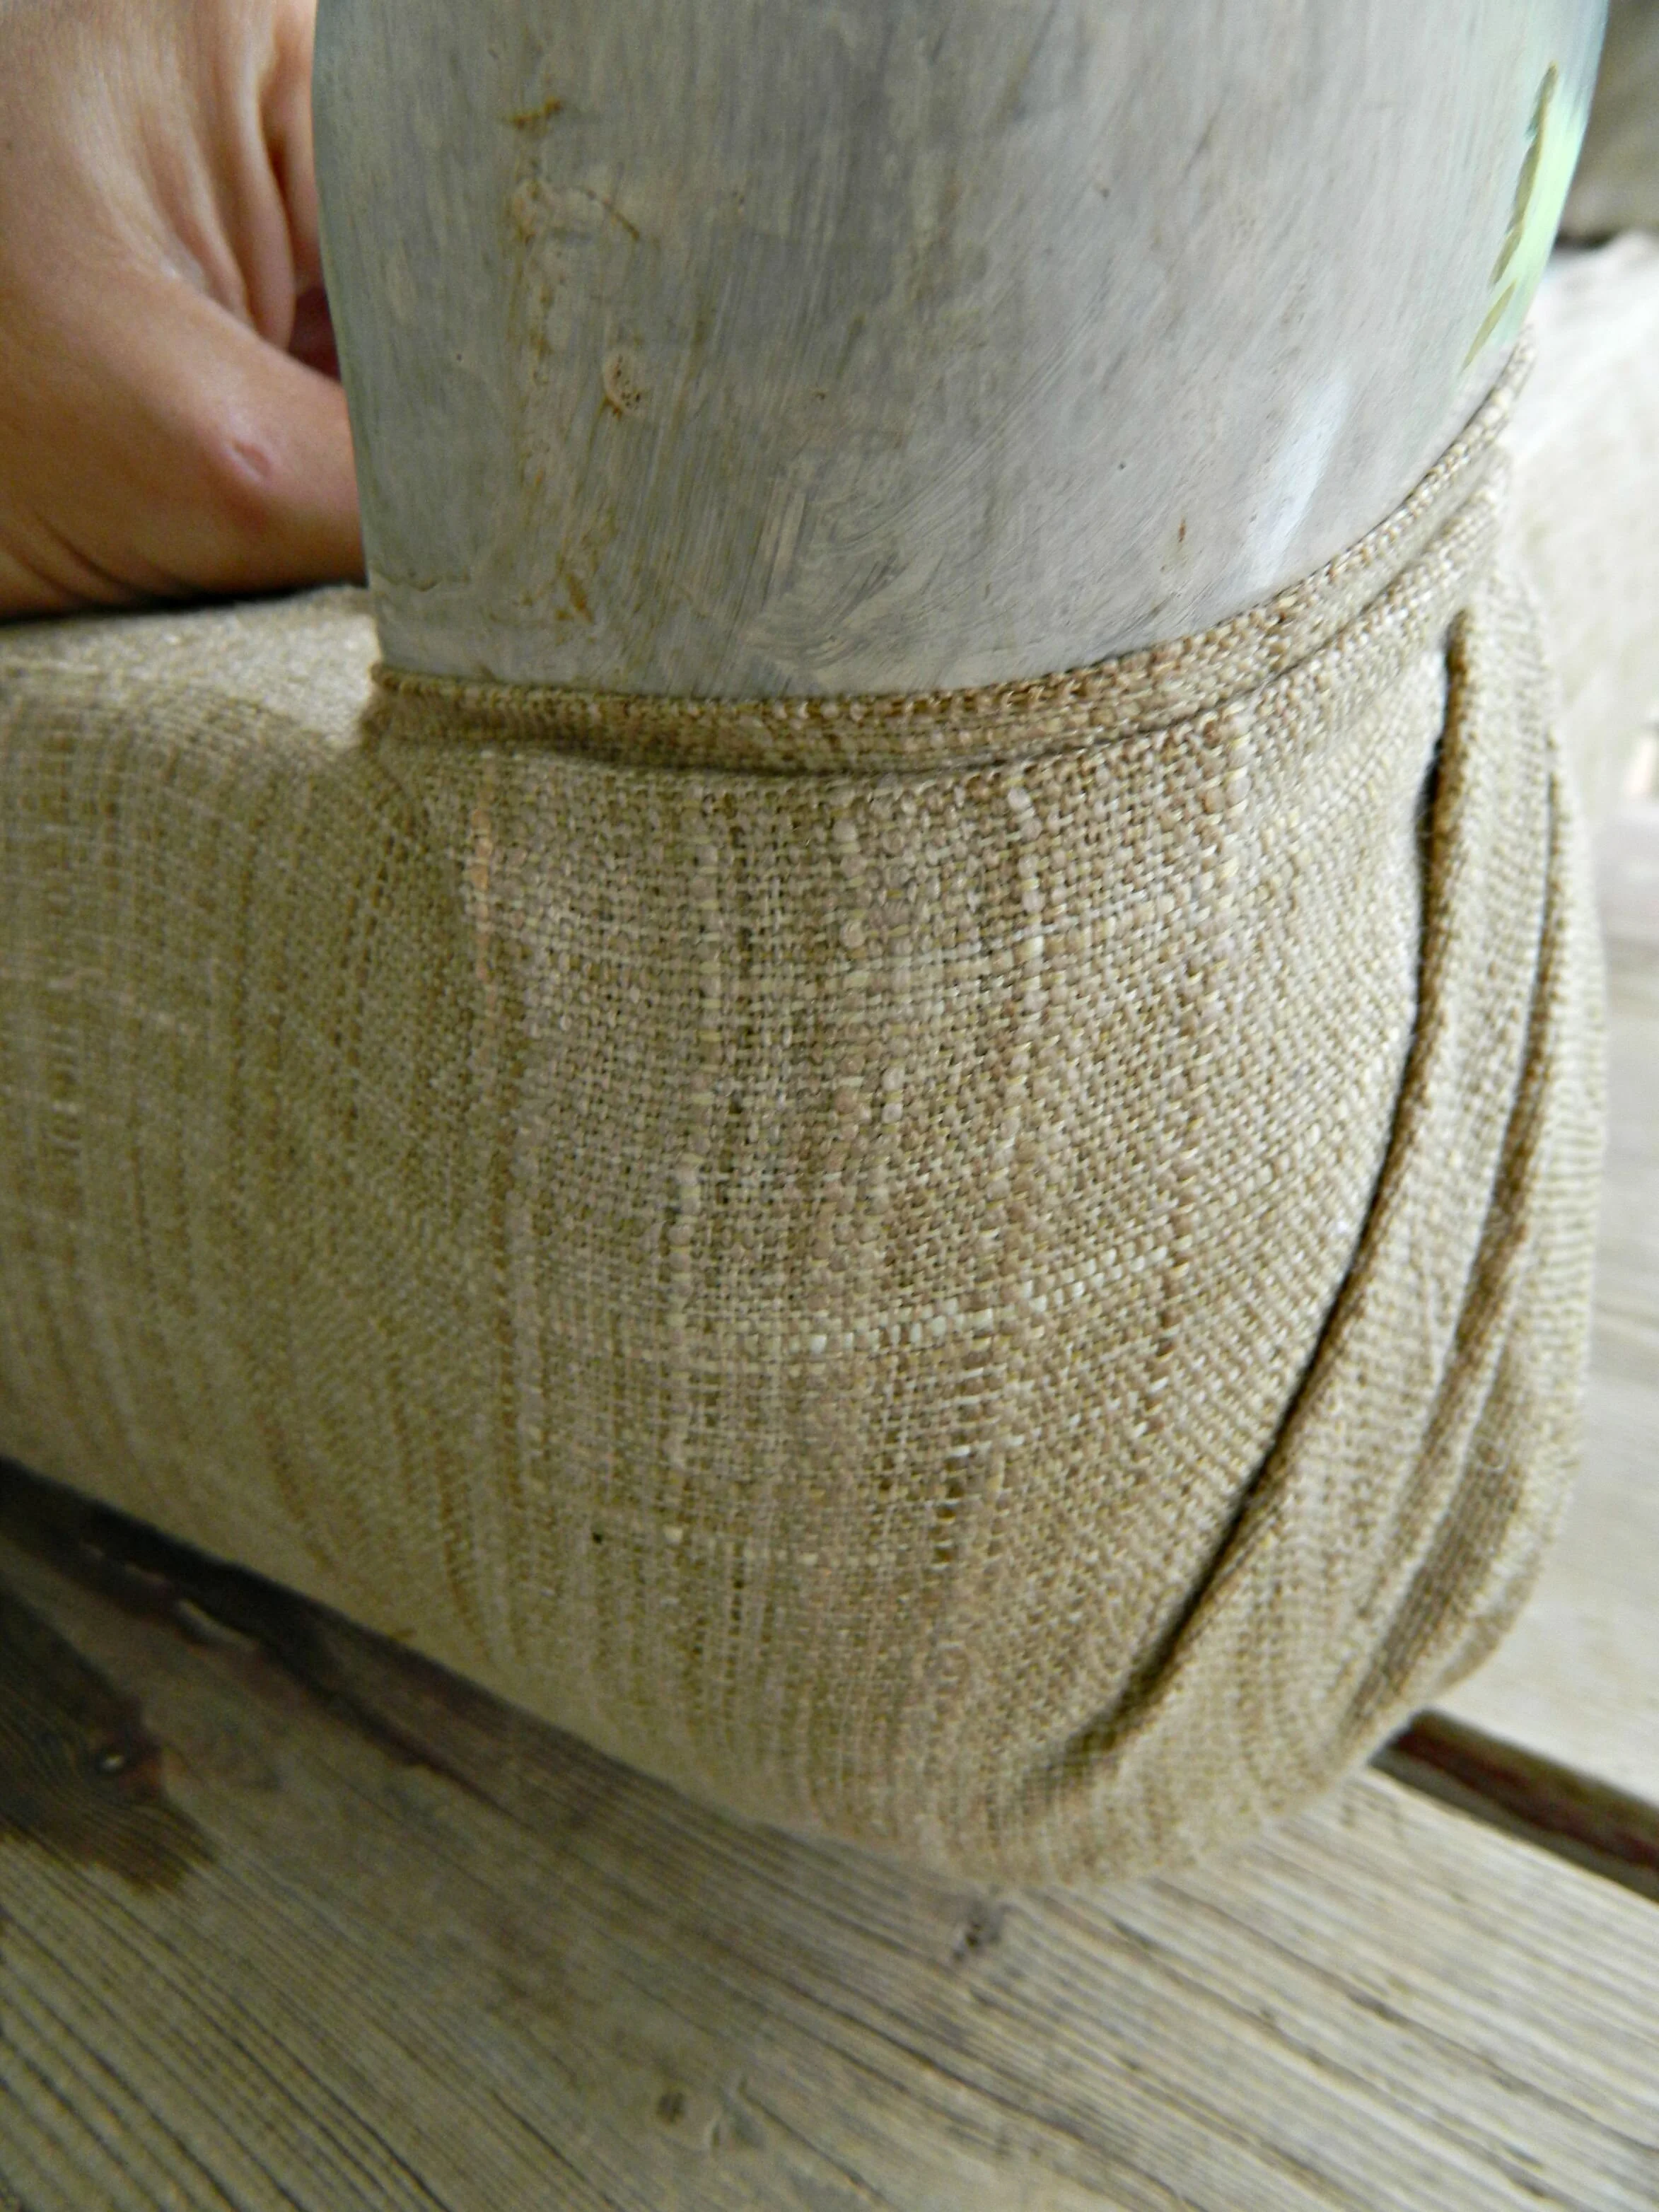
Staple as close as you can to the edges of the legs to create a clean edge here.

Stapling one side and then the side opposite ensures that the fabric is pulled tight across and there won't be any wrinkles.
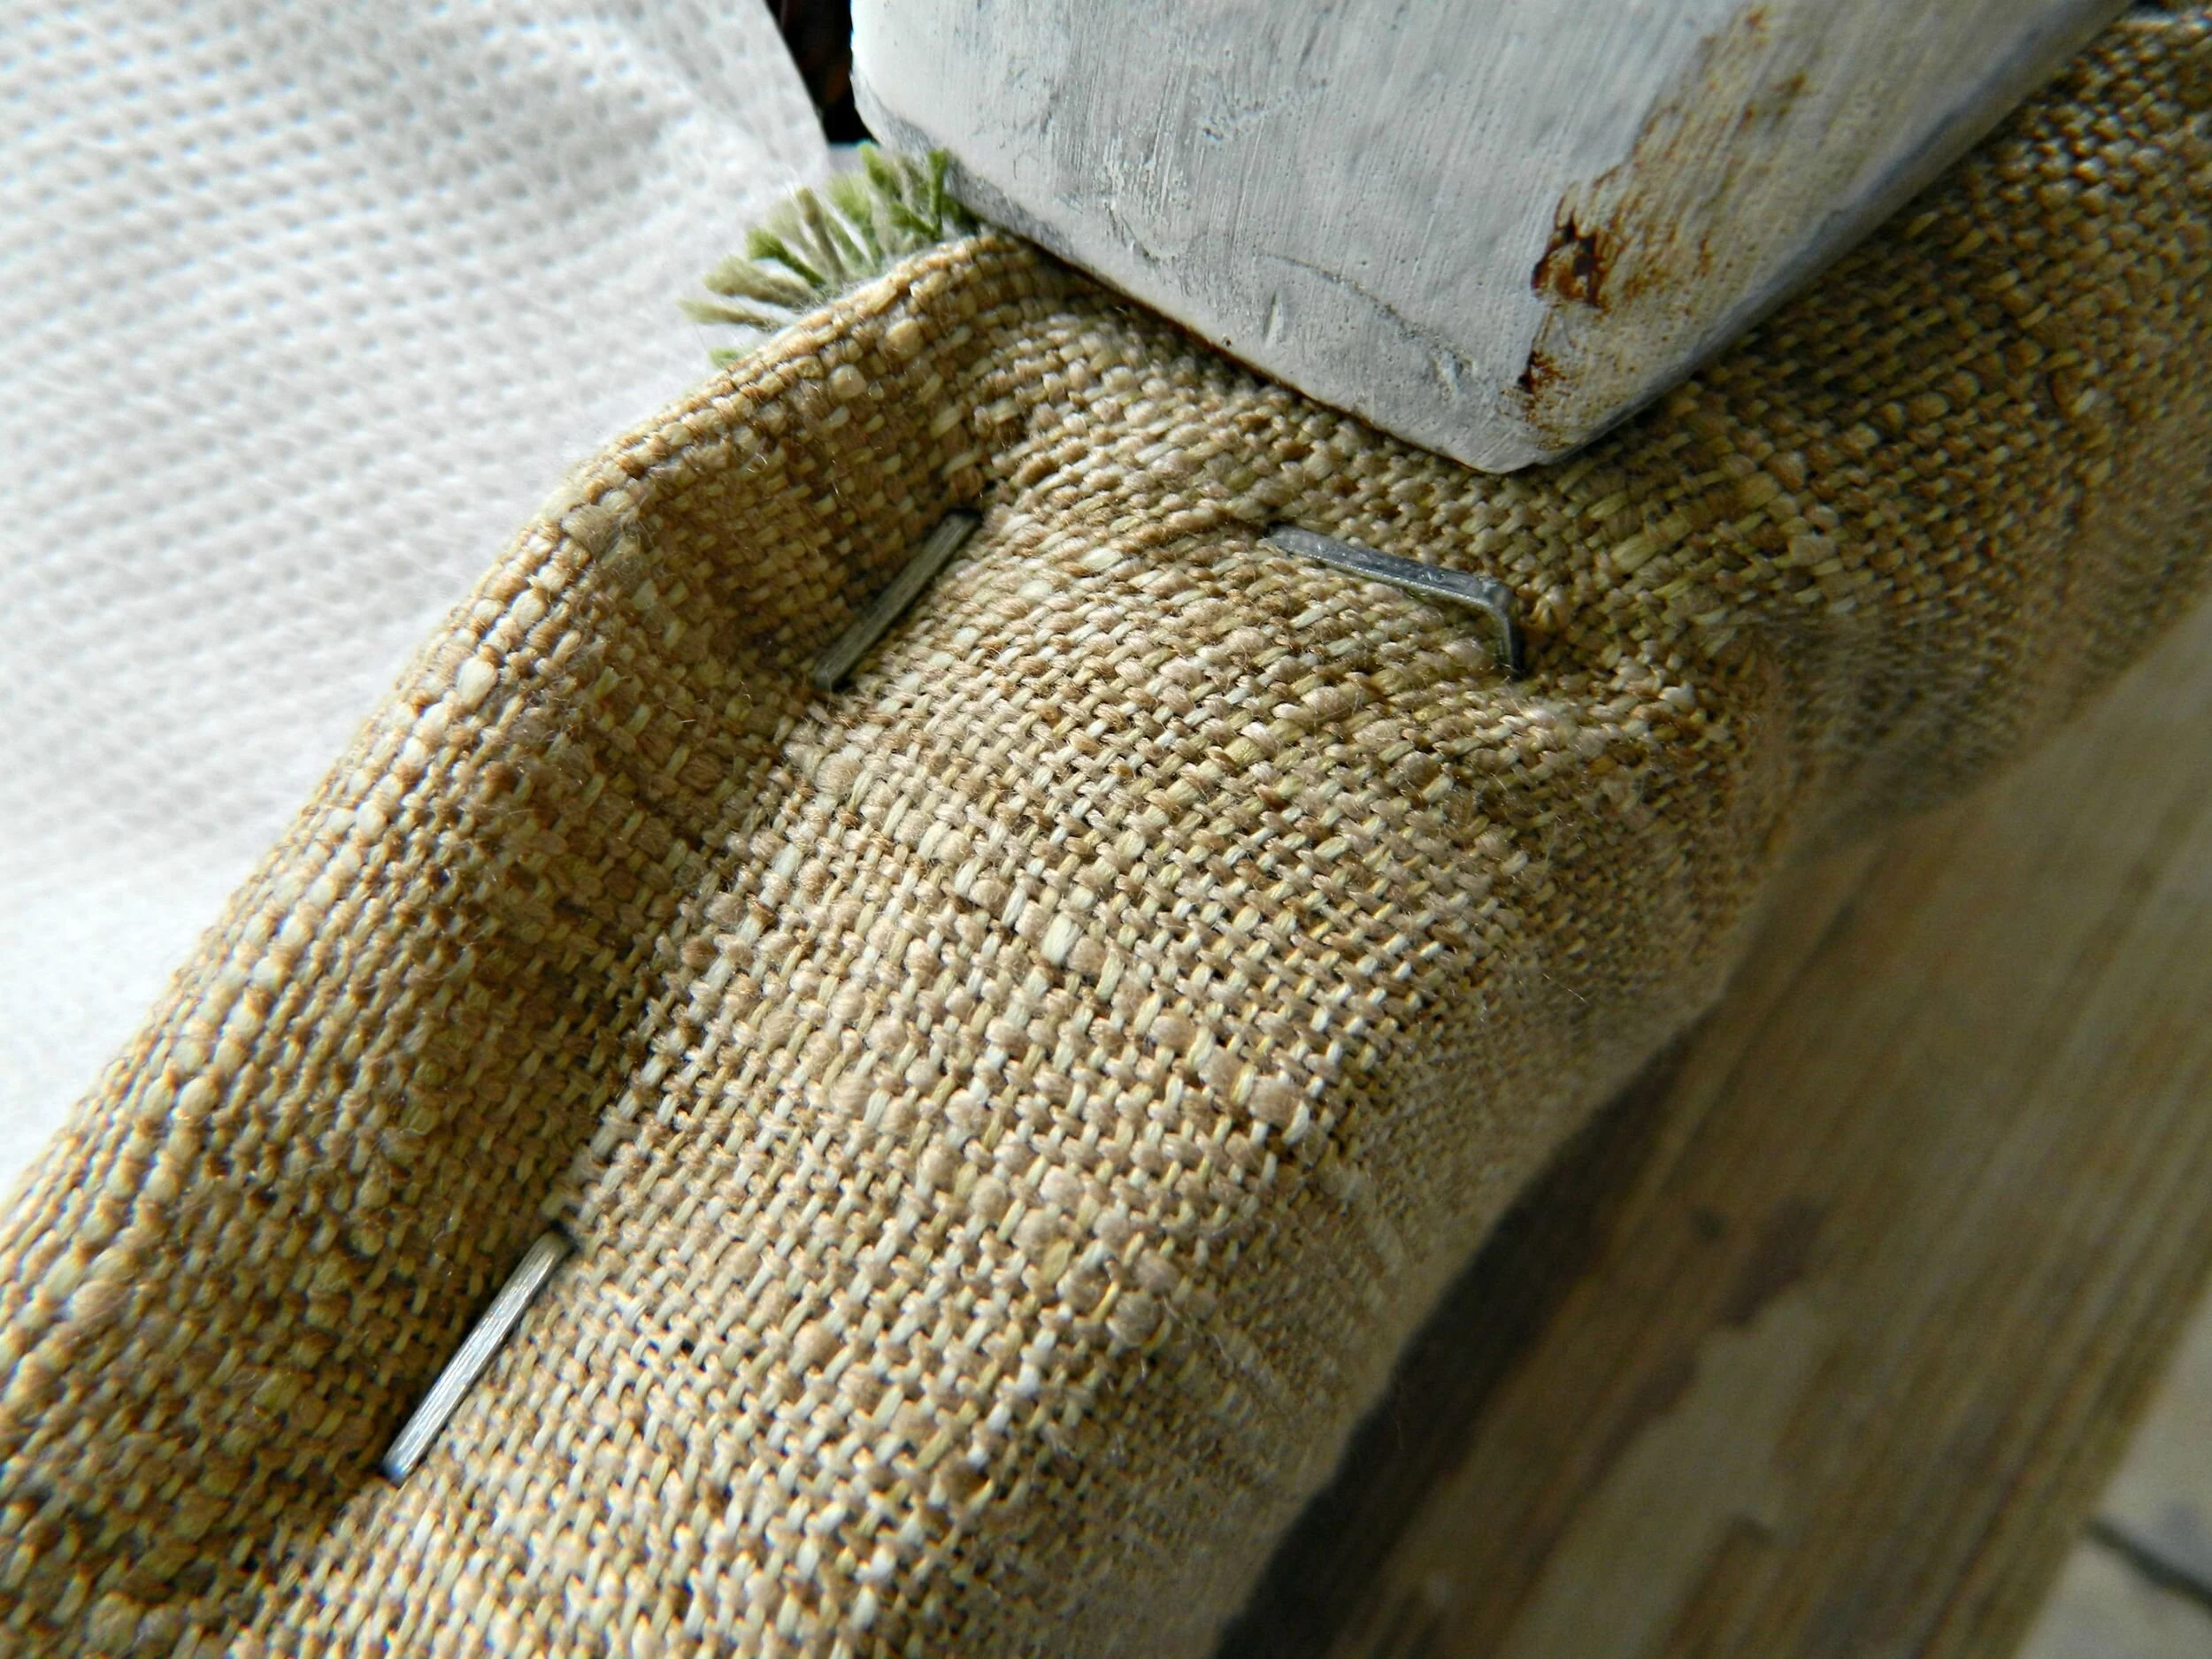
Here's an example of how I stapled the corners near the legs.
Now staple the other two sides following the same directions. Your four sides should be completely stapled down tightly with just the corners left out.
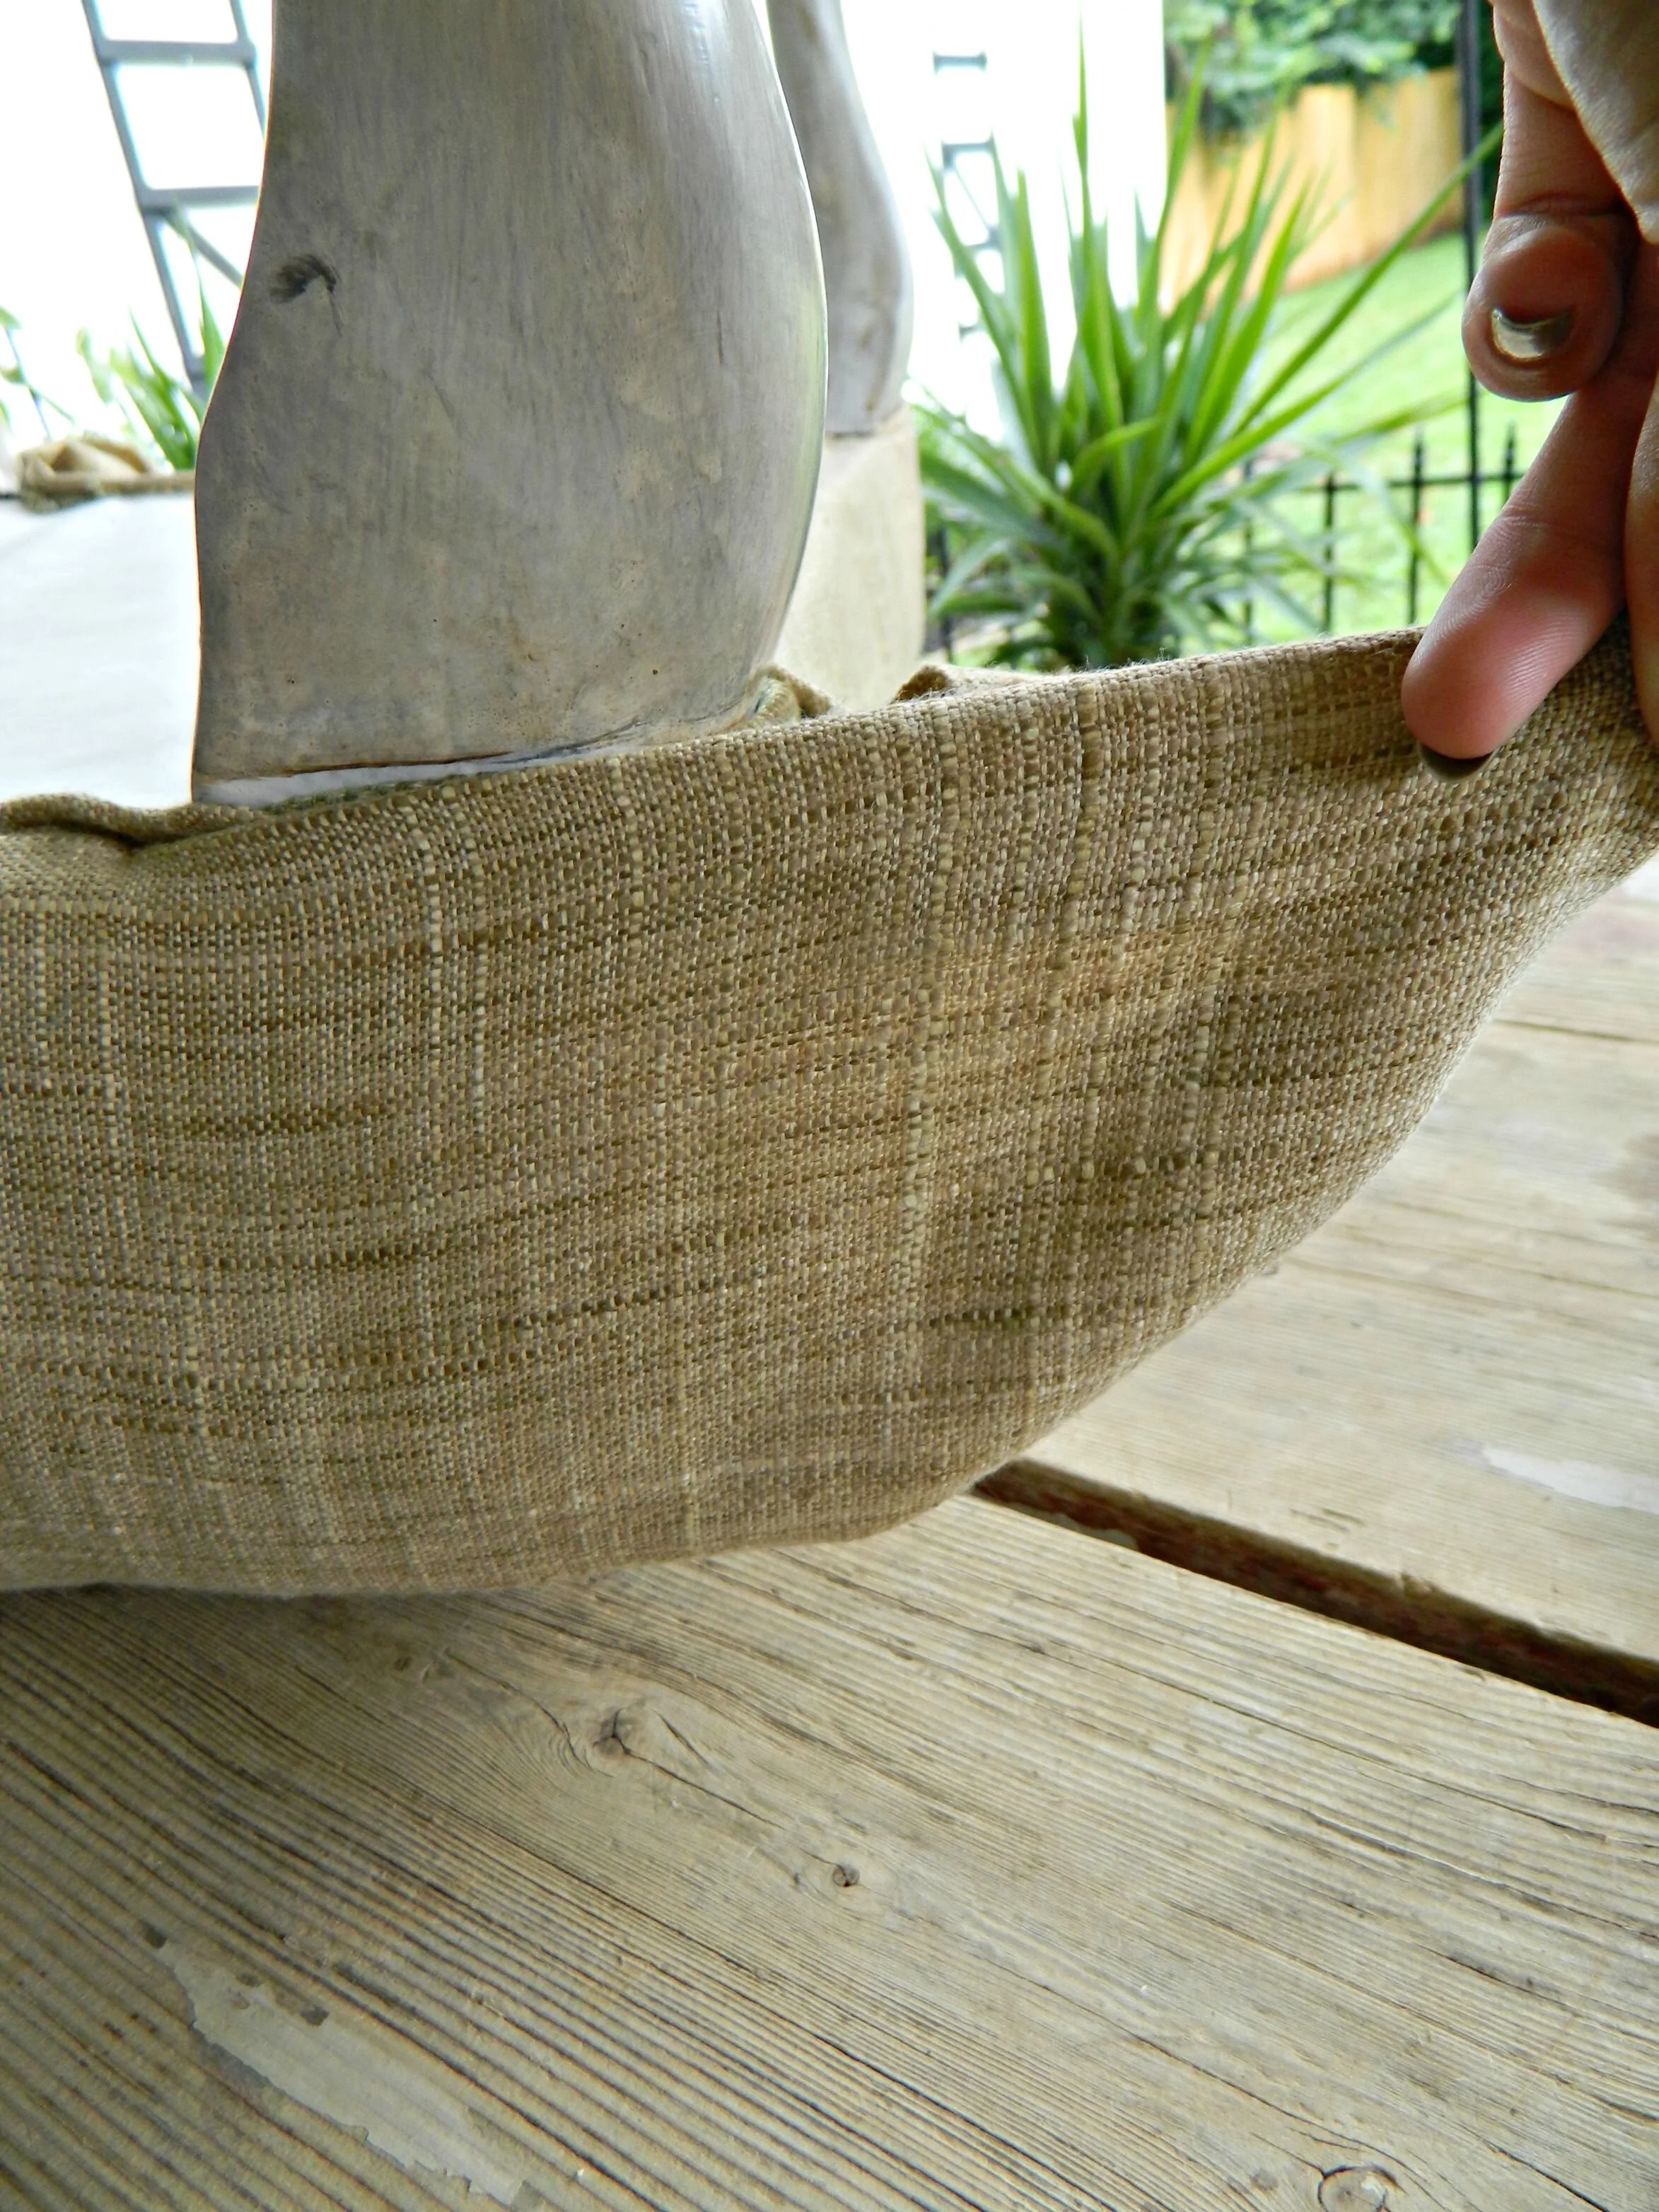
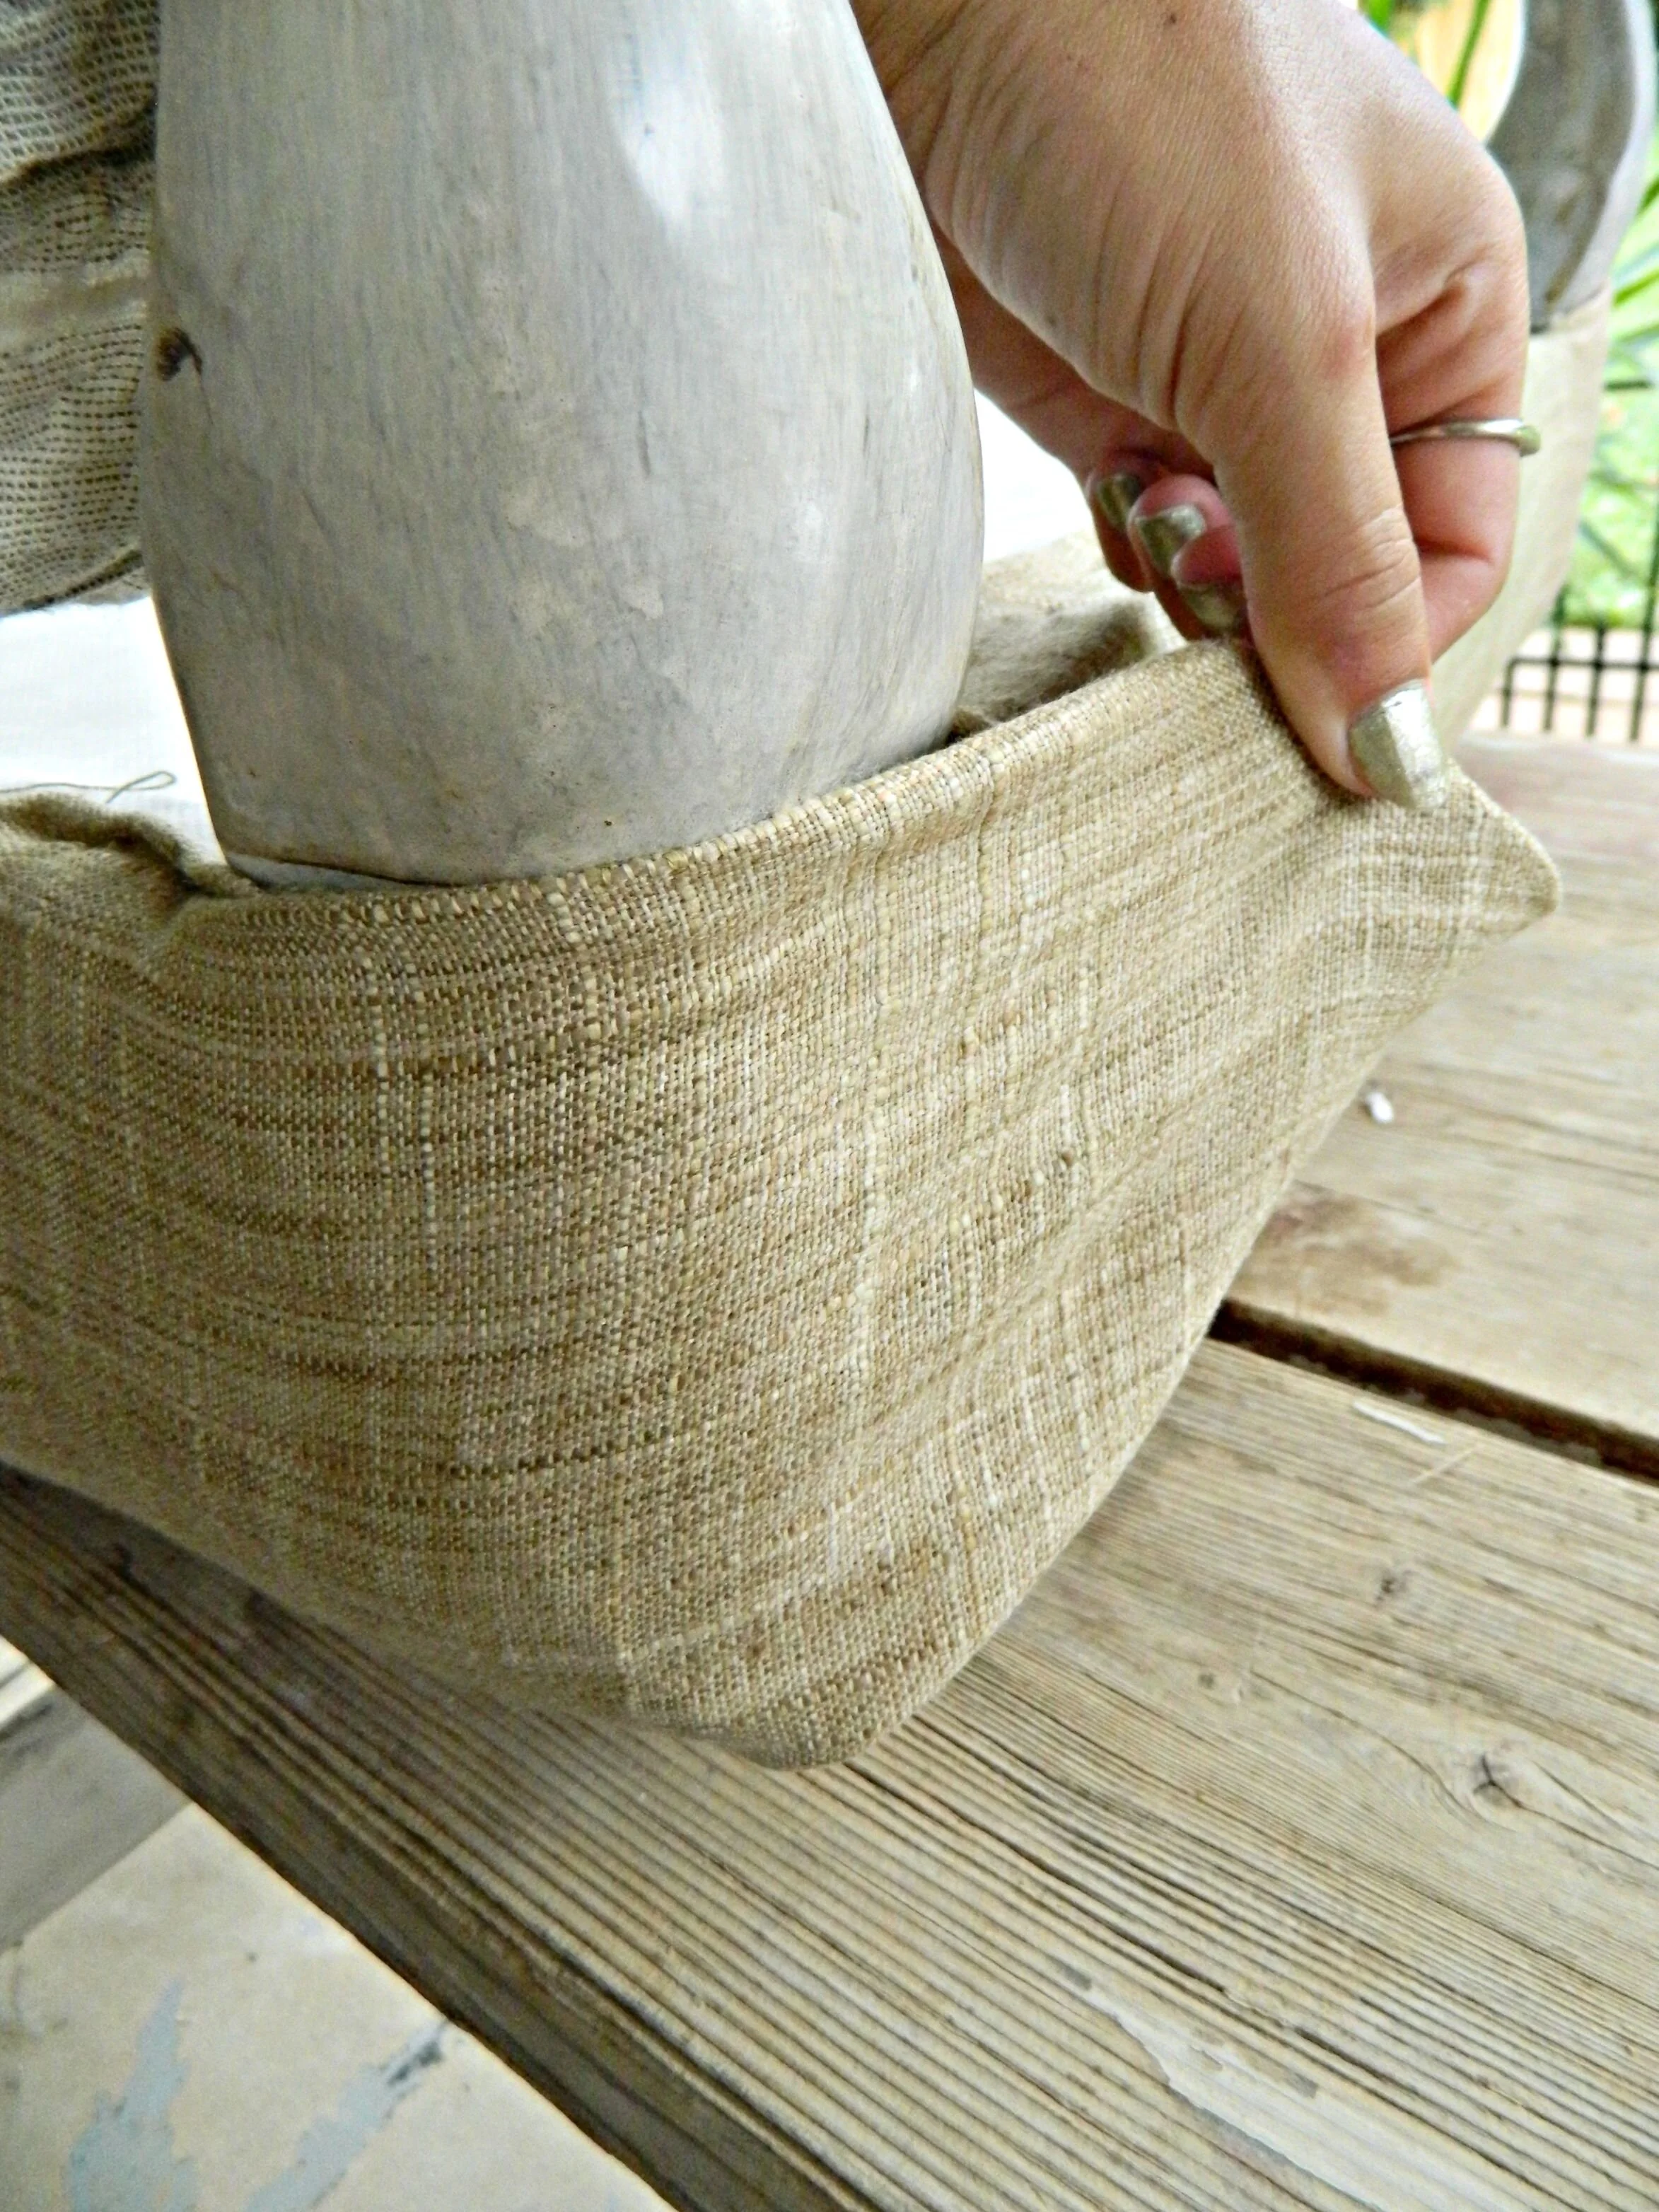
Now comes the hard part, corners. It is kind of just trial and error to find just the right draping/fold on the corners. I like to pull all the fabric tight to one side and then pull it tight upwards grabbing any sagging fabric underneath. After you get it in a good place staple it down, pressing down as hard as you can while you staple.
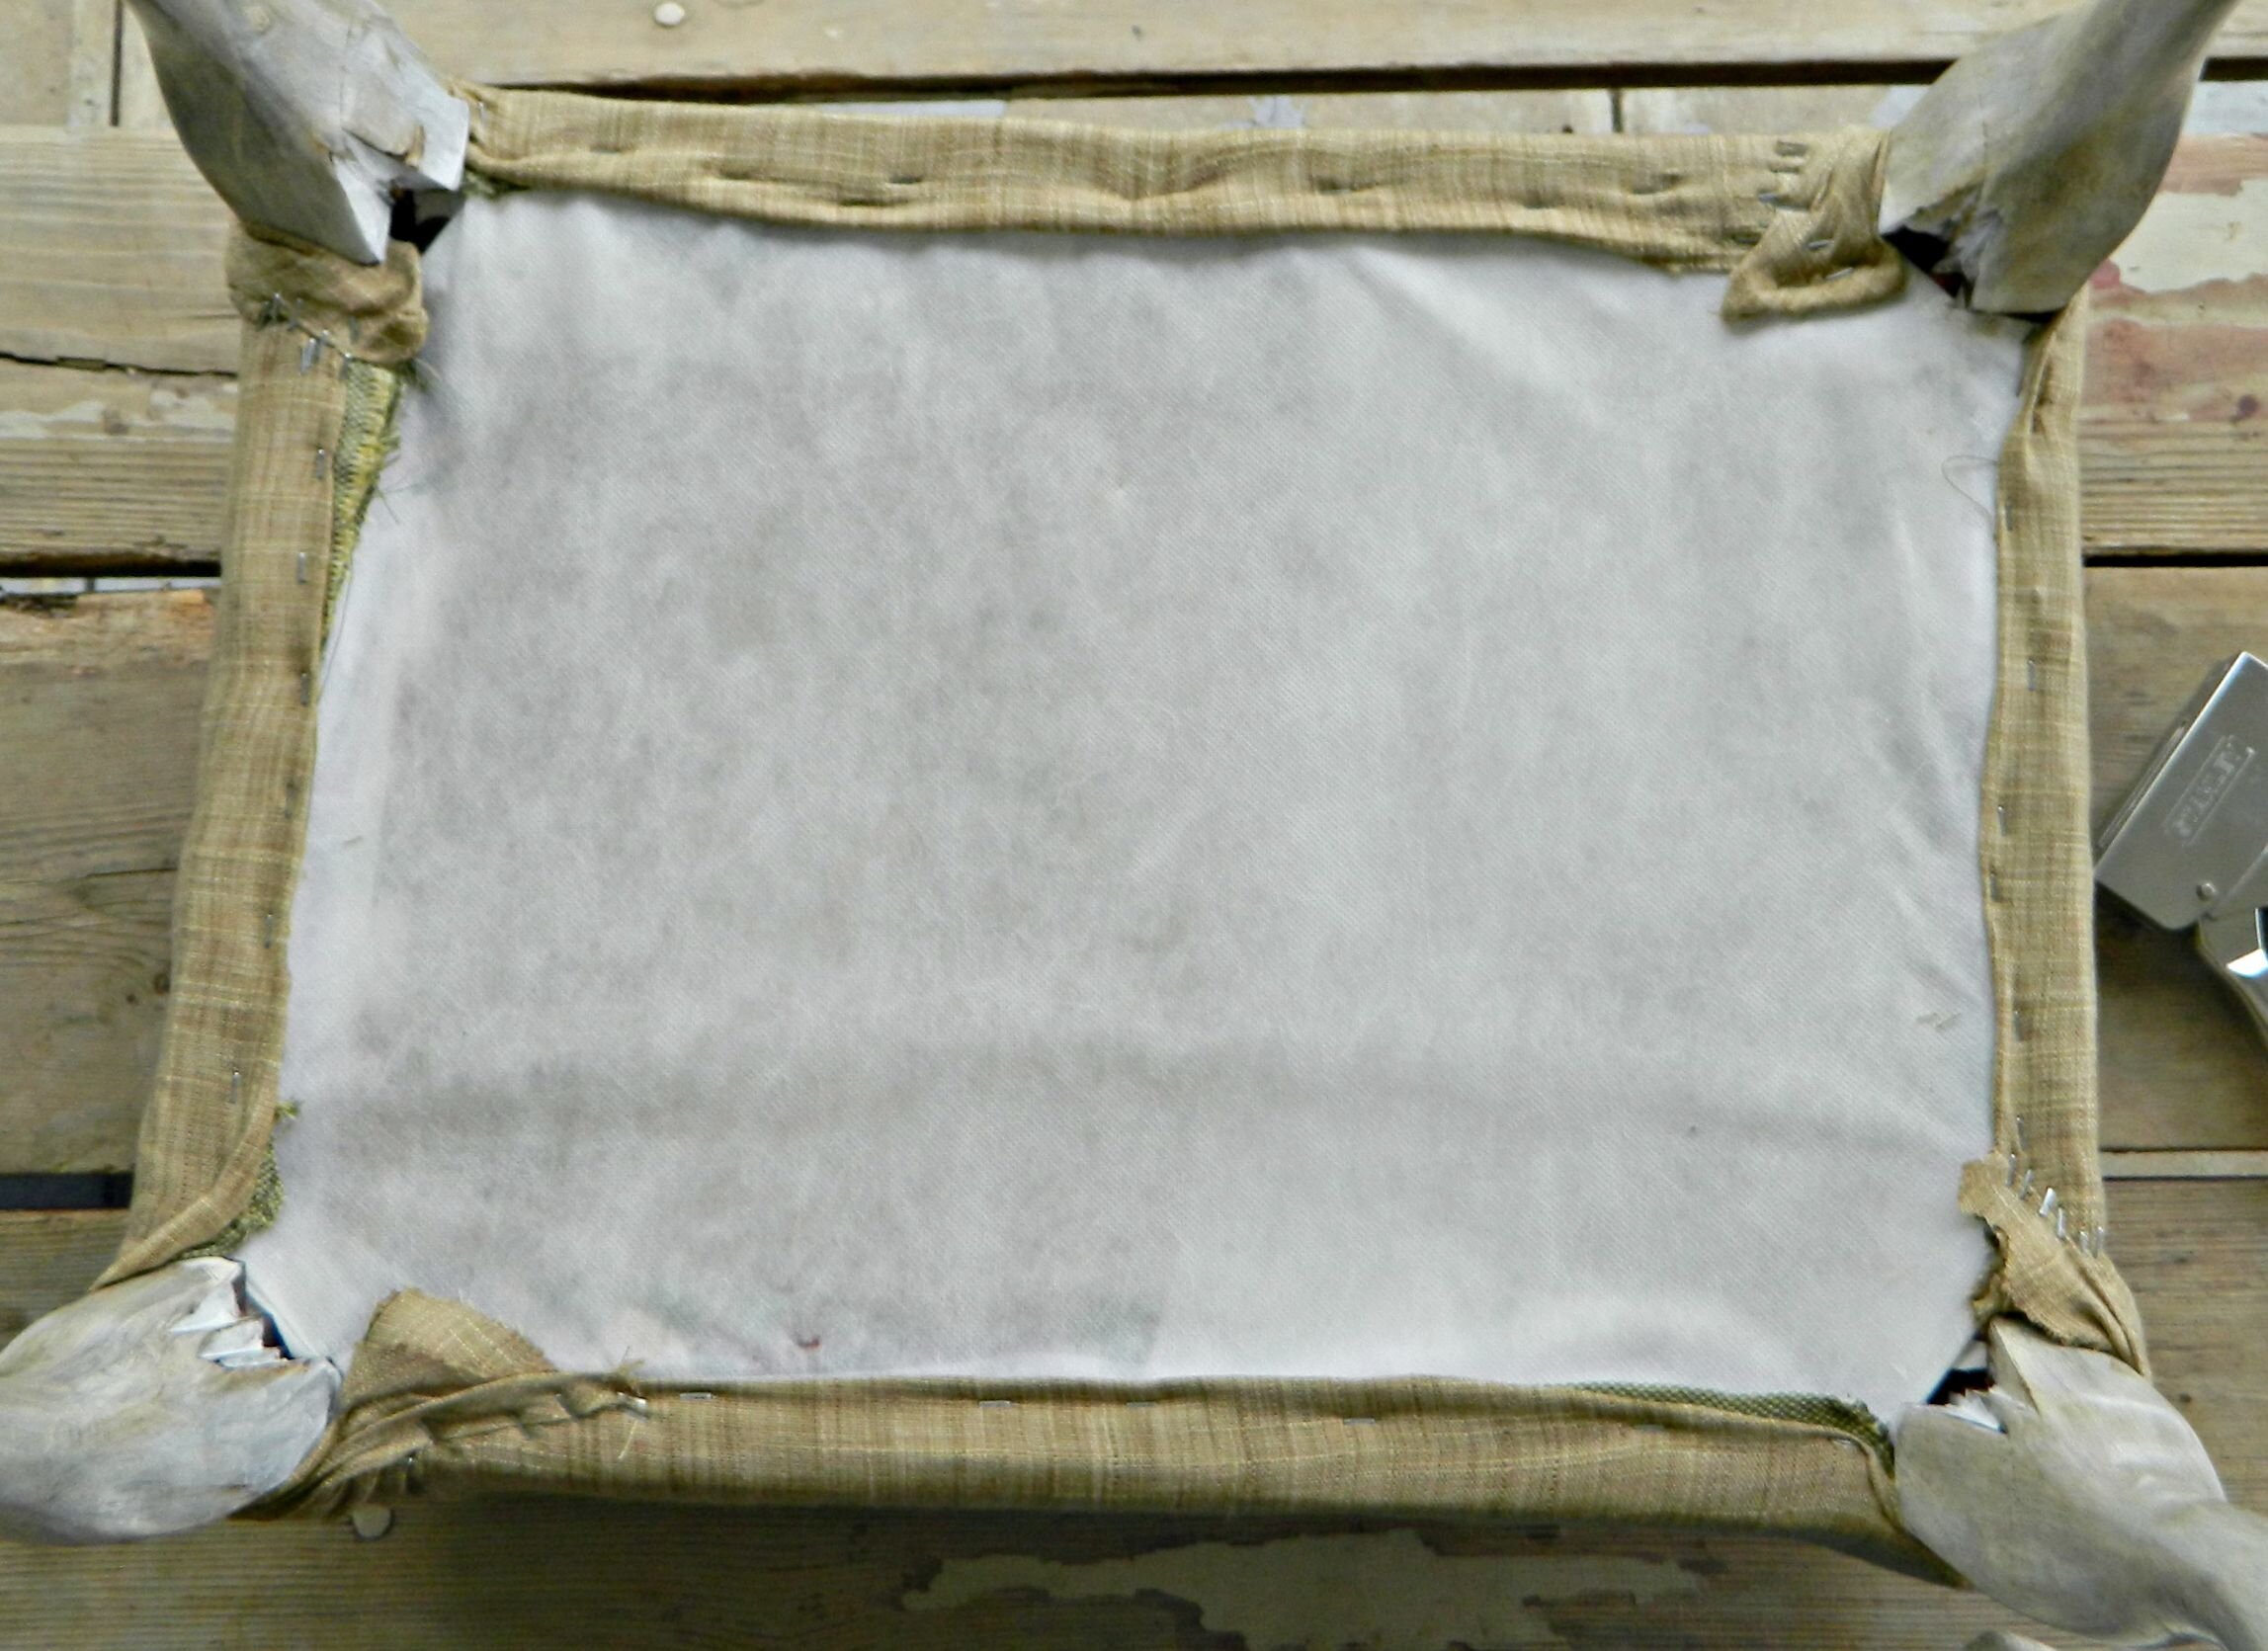
Now that all four sides and the corners are done your ottoman is competely recovered!
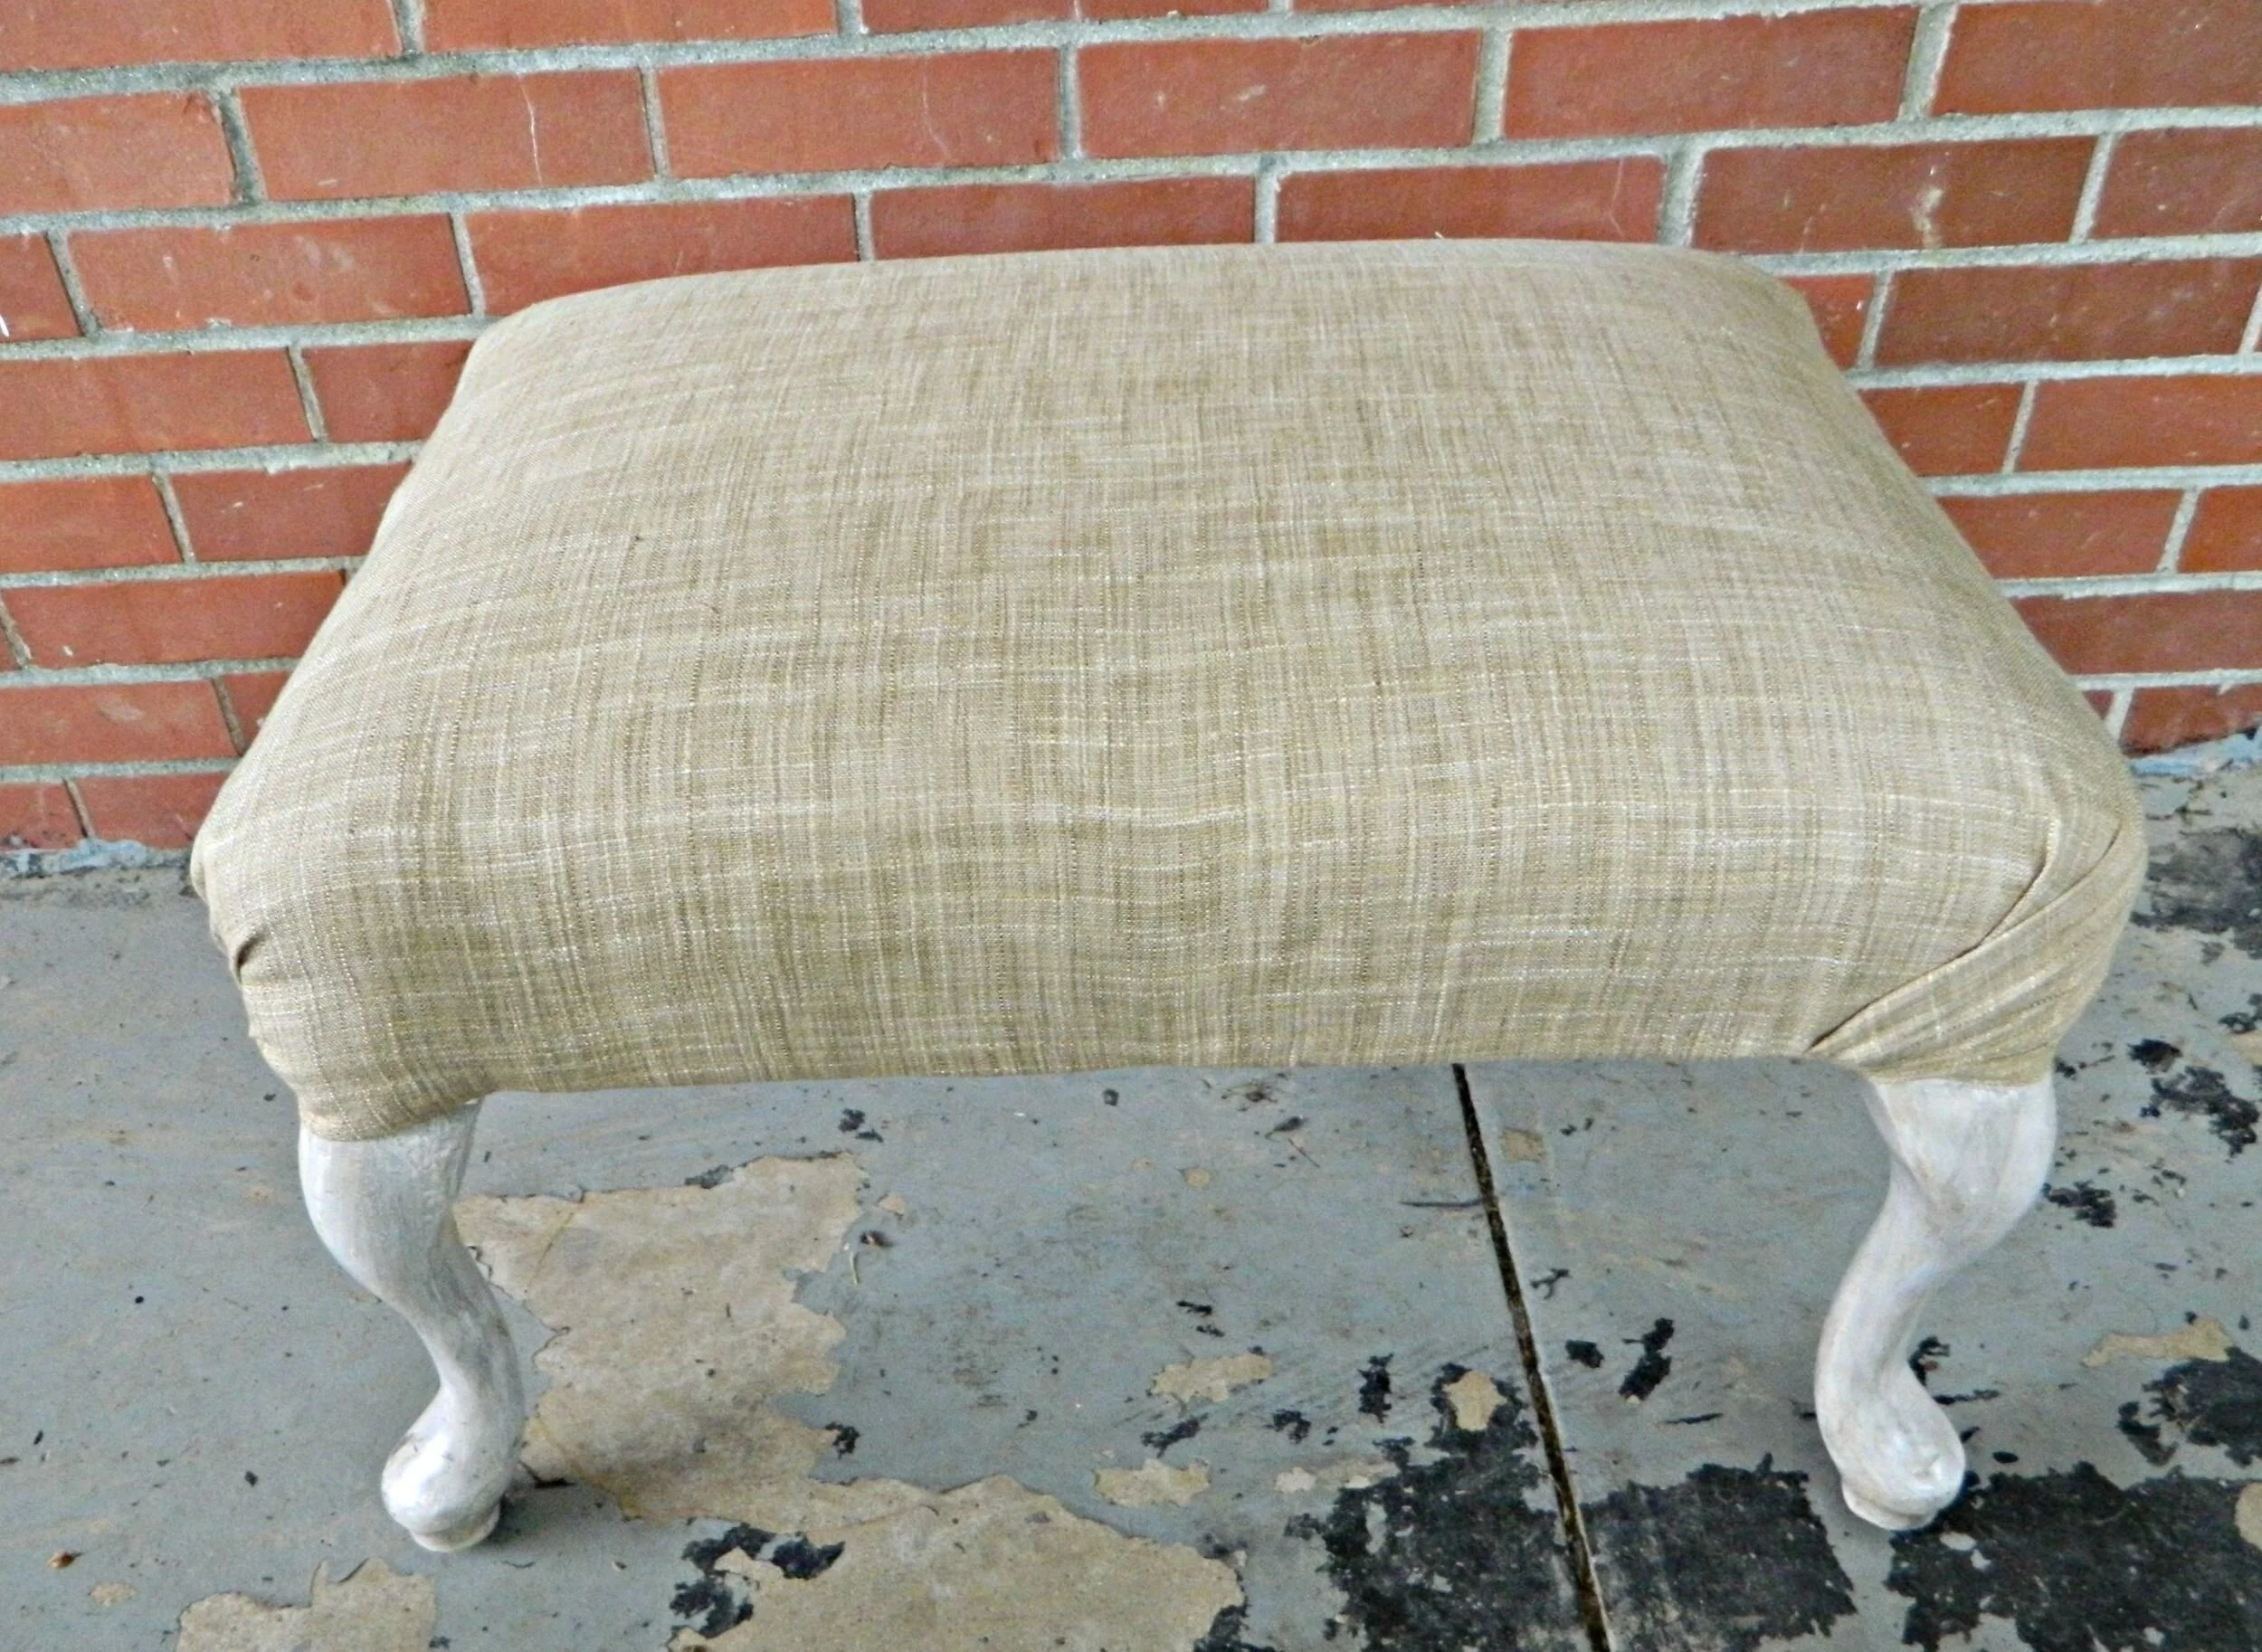
You can definitely stop here but we wanted to add that extra rug piece for some pattern on top. I began the process the same way by laying the ottoman upside down on top of the flat fabric.
Next I pulled each side as tight as I could and stapled them down. I really had to push down hard since this fabric was extra thick (I'm sure you might also be able to get larger/thicker staples for these types of fabric).
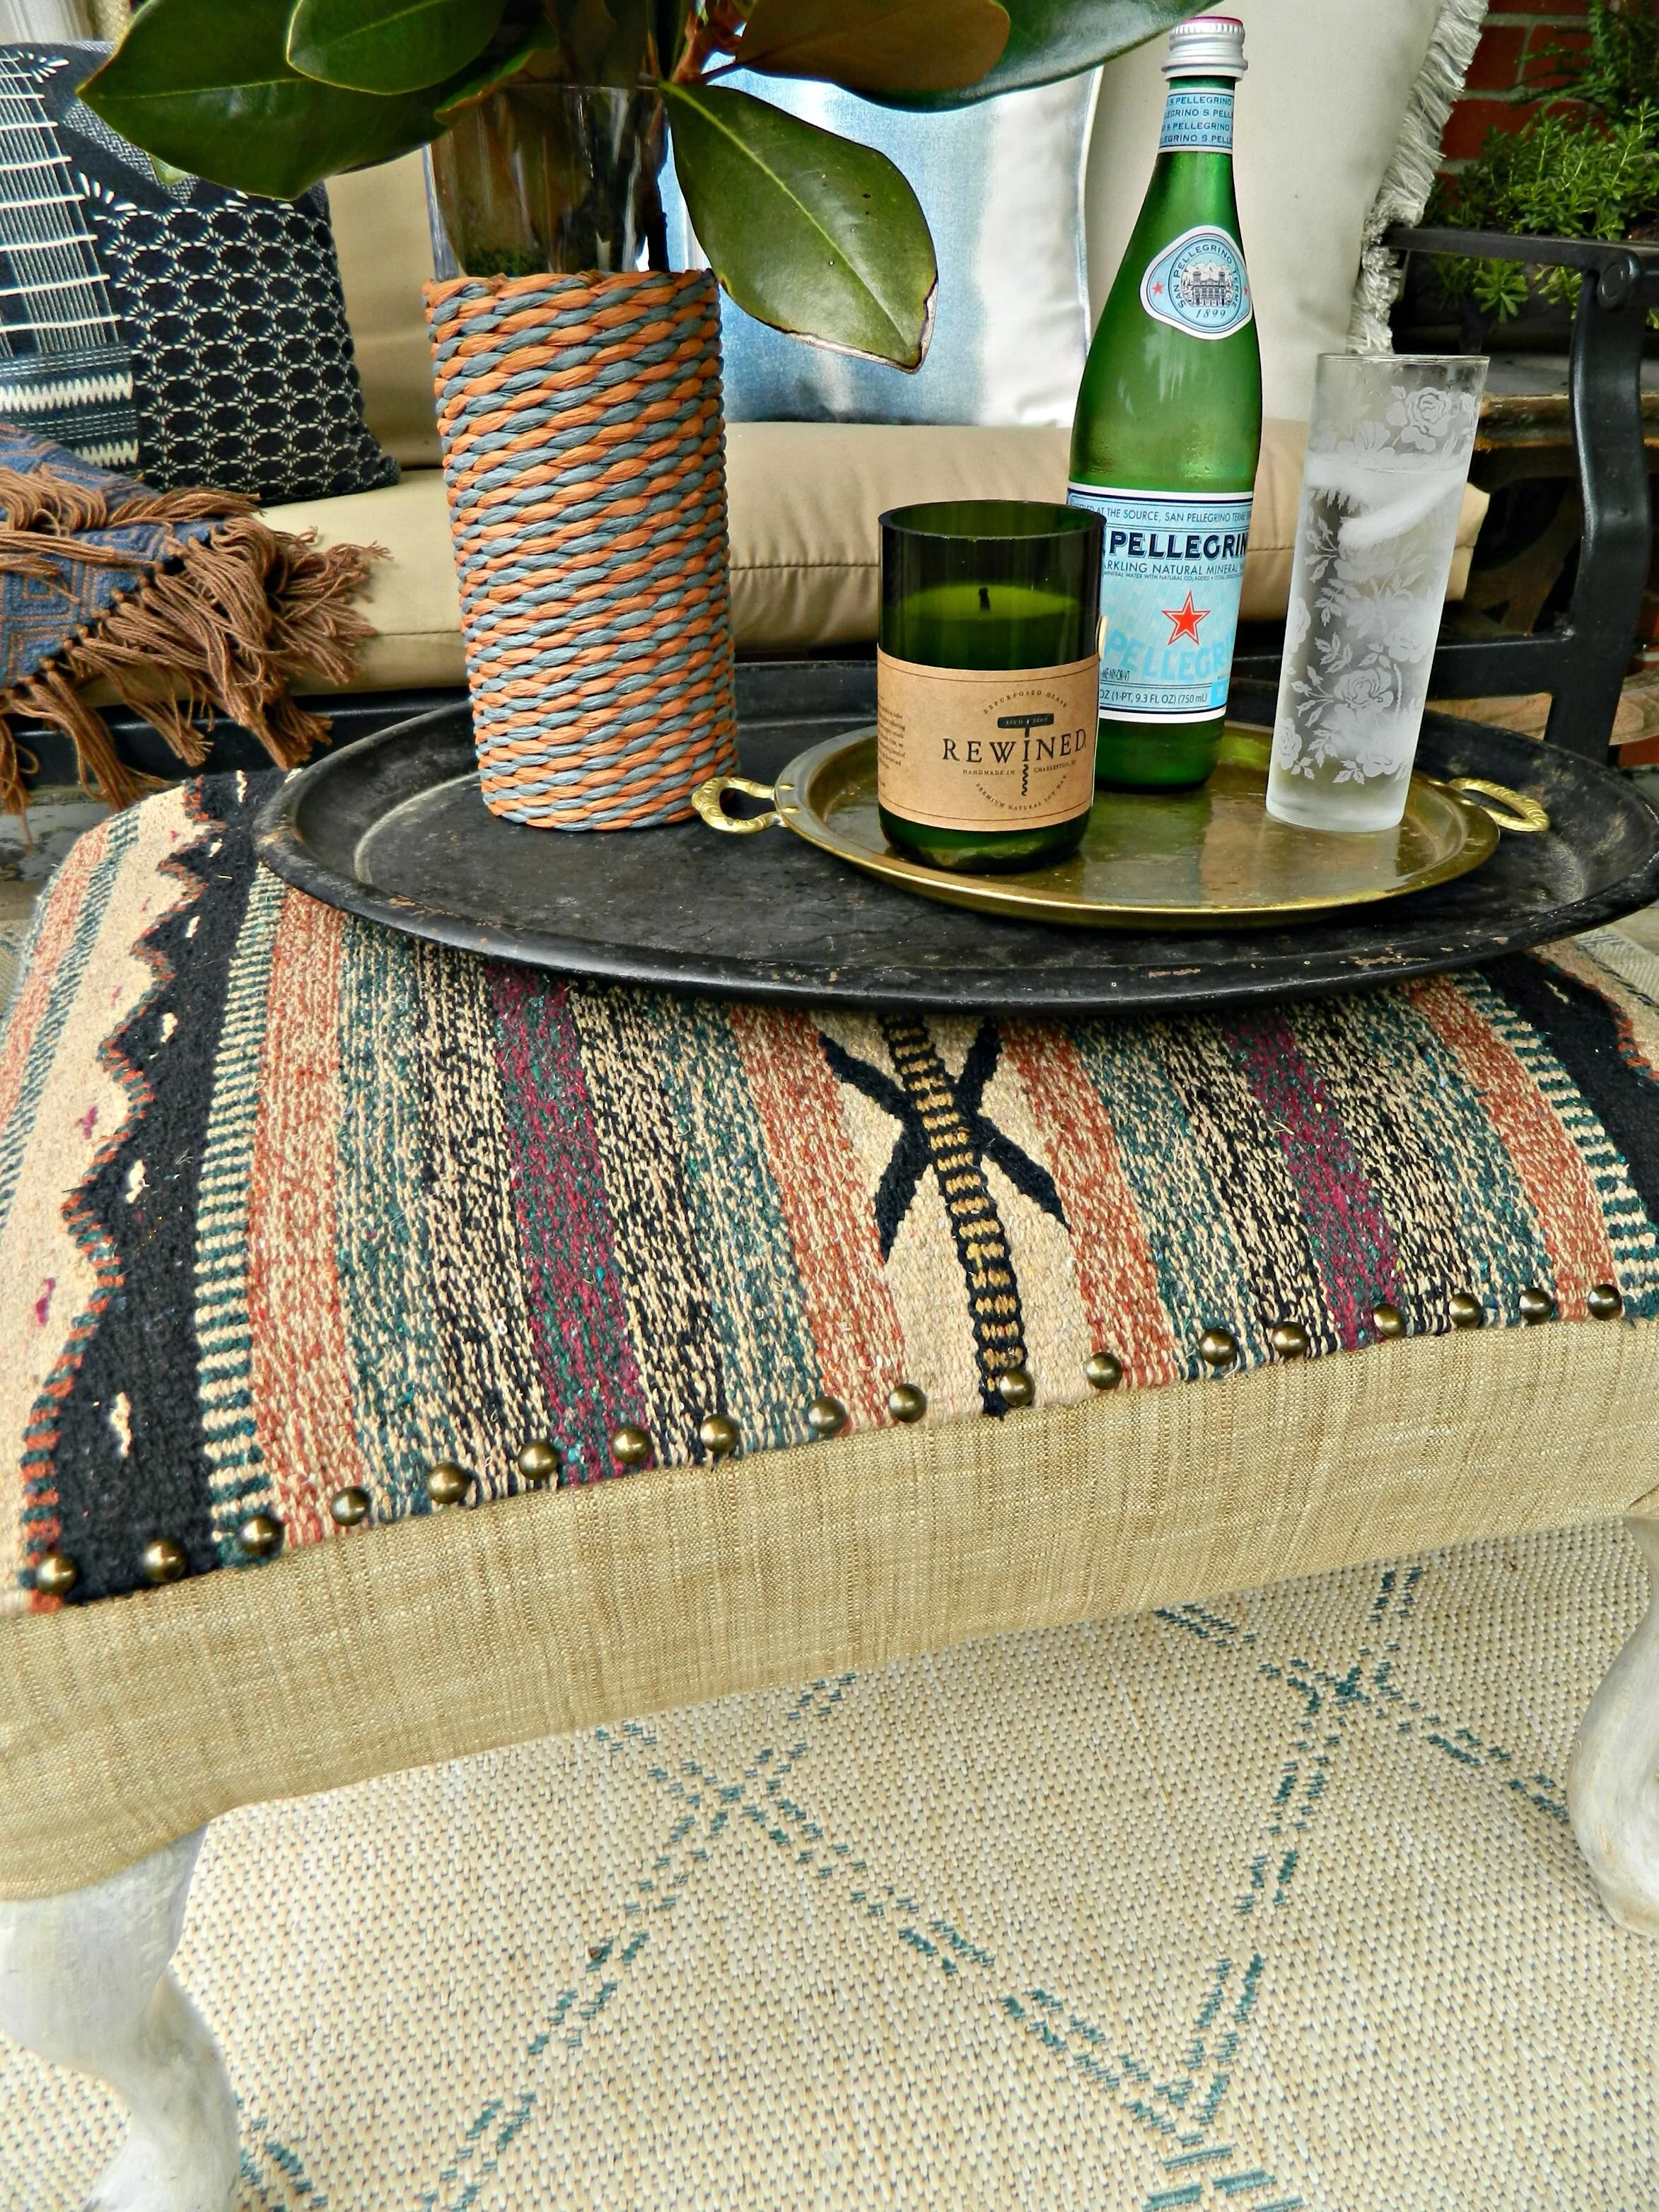
The most tedious part of the project was putting in all the nail head tacks. This of course is optional and you might like your piece better without any trim. I kind of needed them for this project to secure the edges of the rug and I liked the finished look with them too. I used a hammer to secure some of the tacks and some I was able to just push in with my fingers.
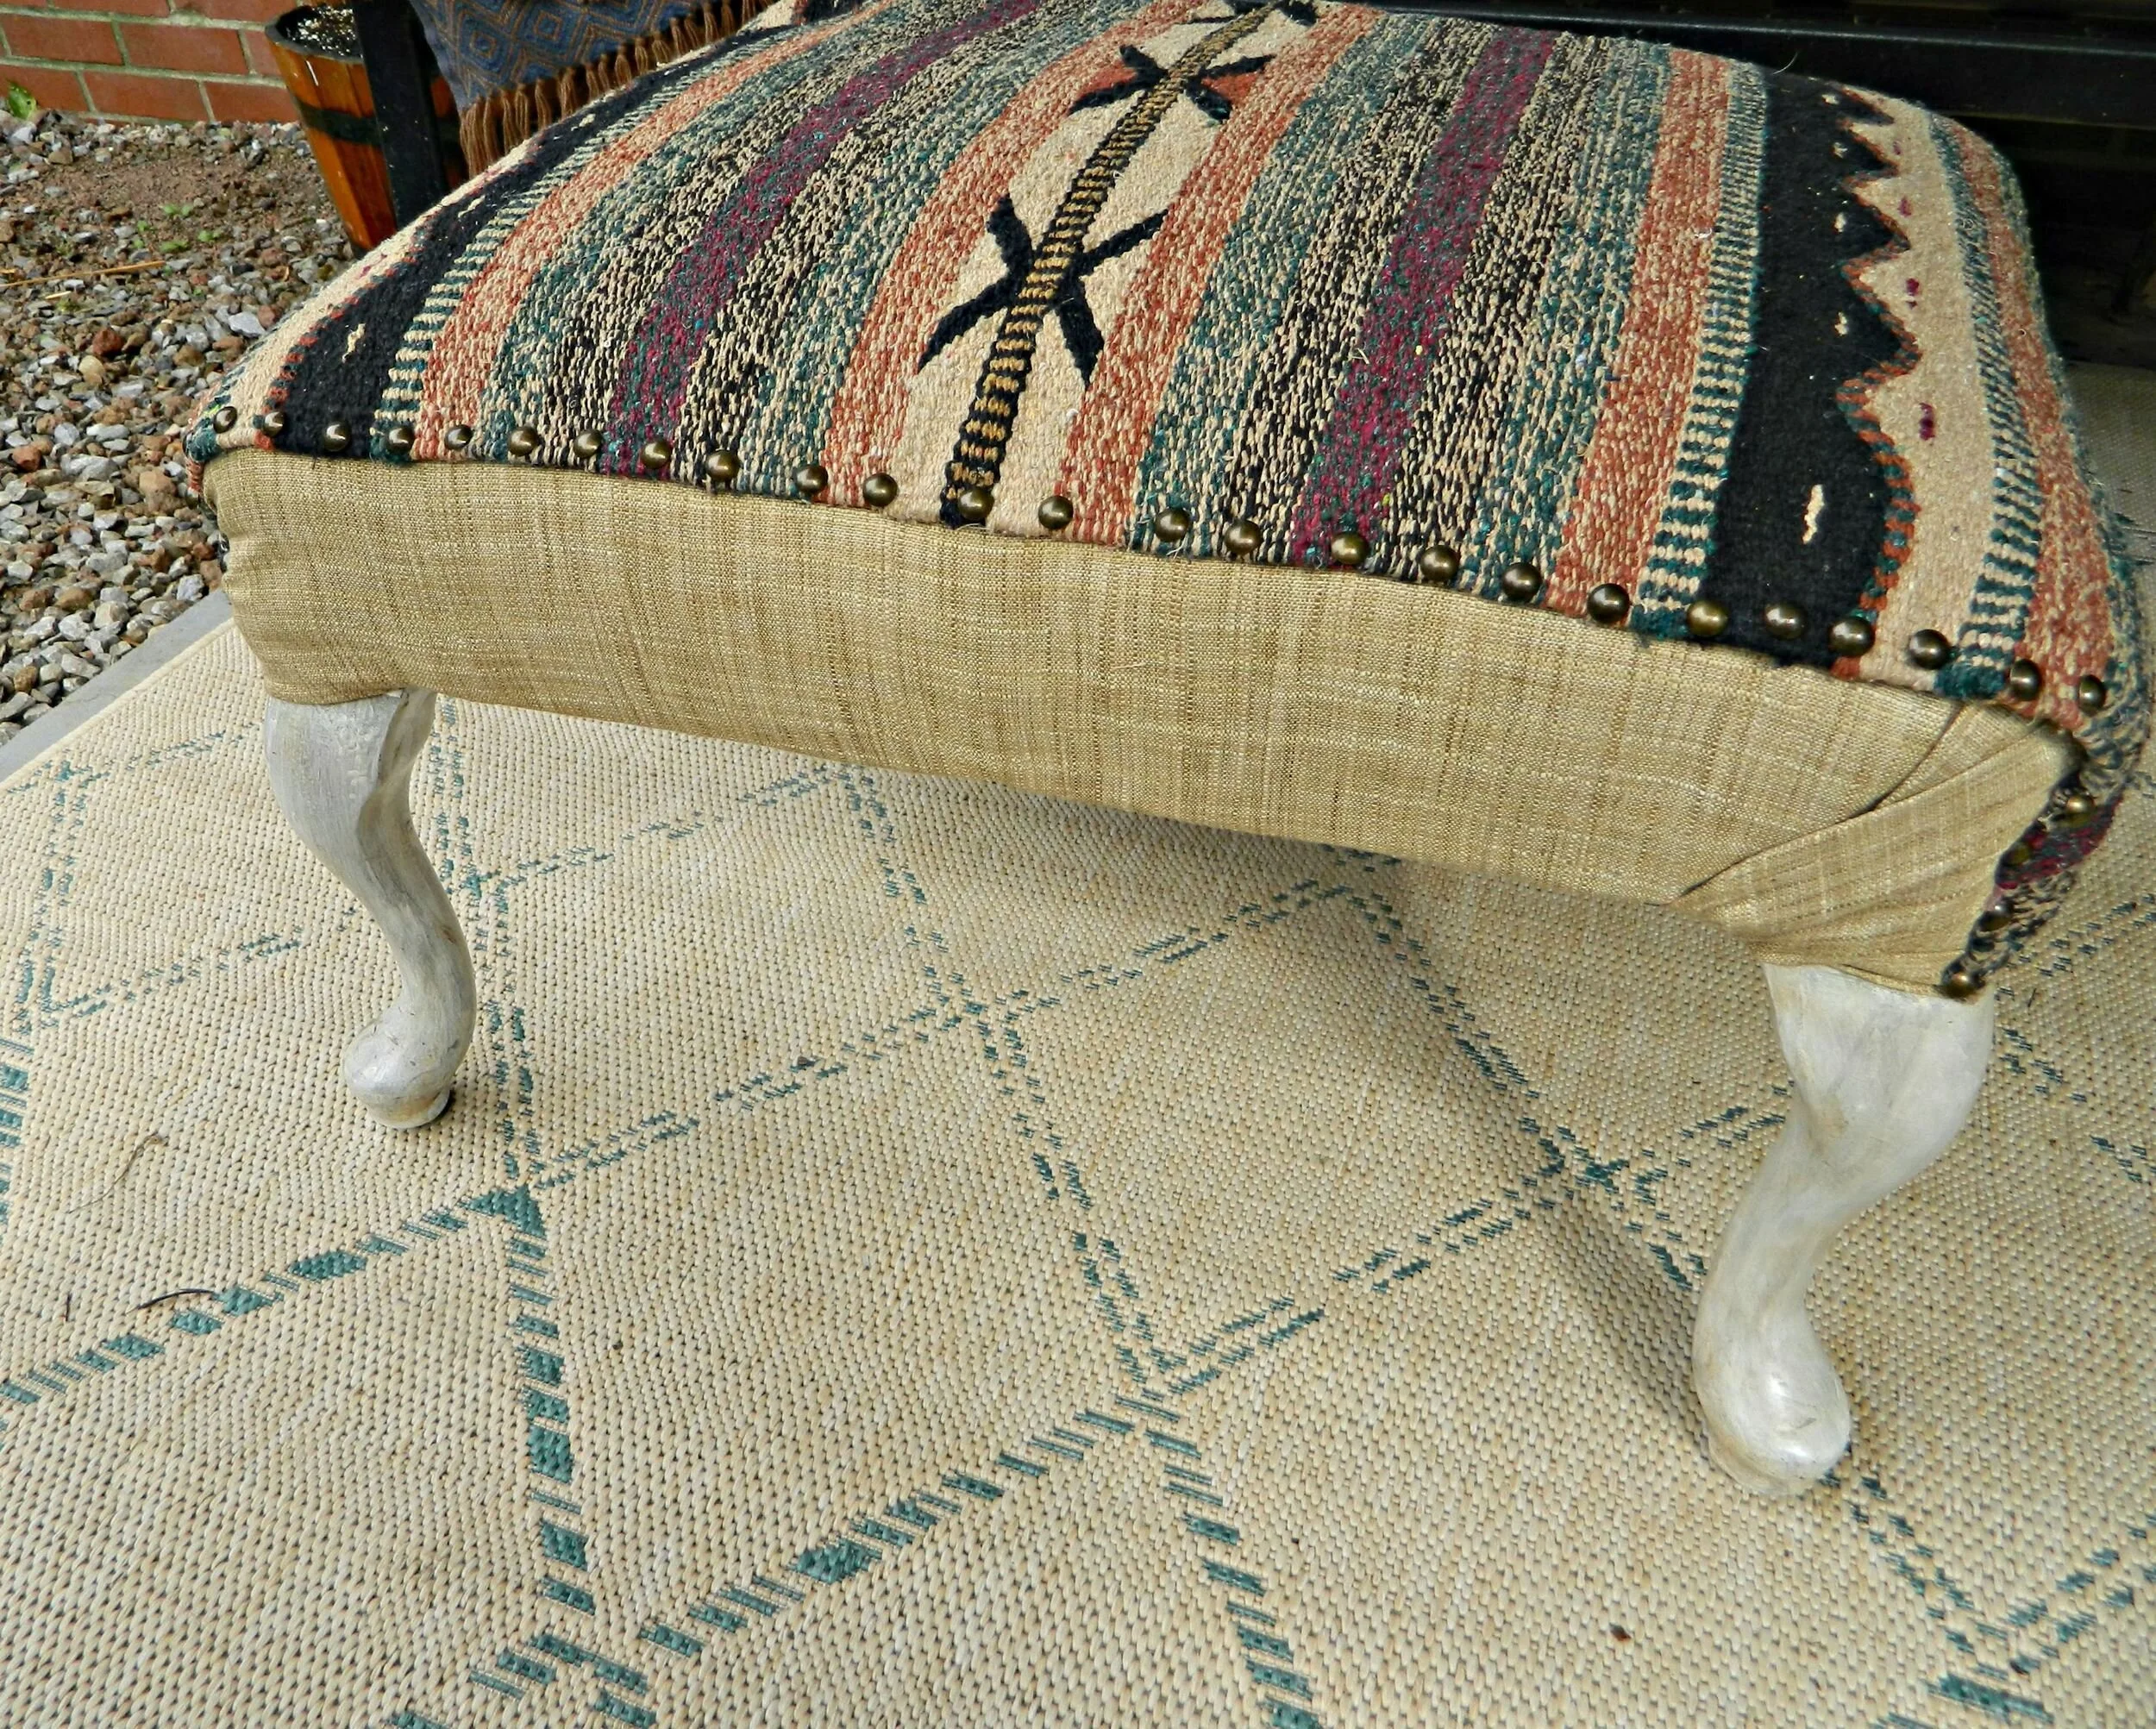
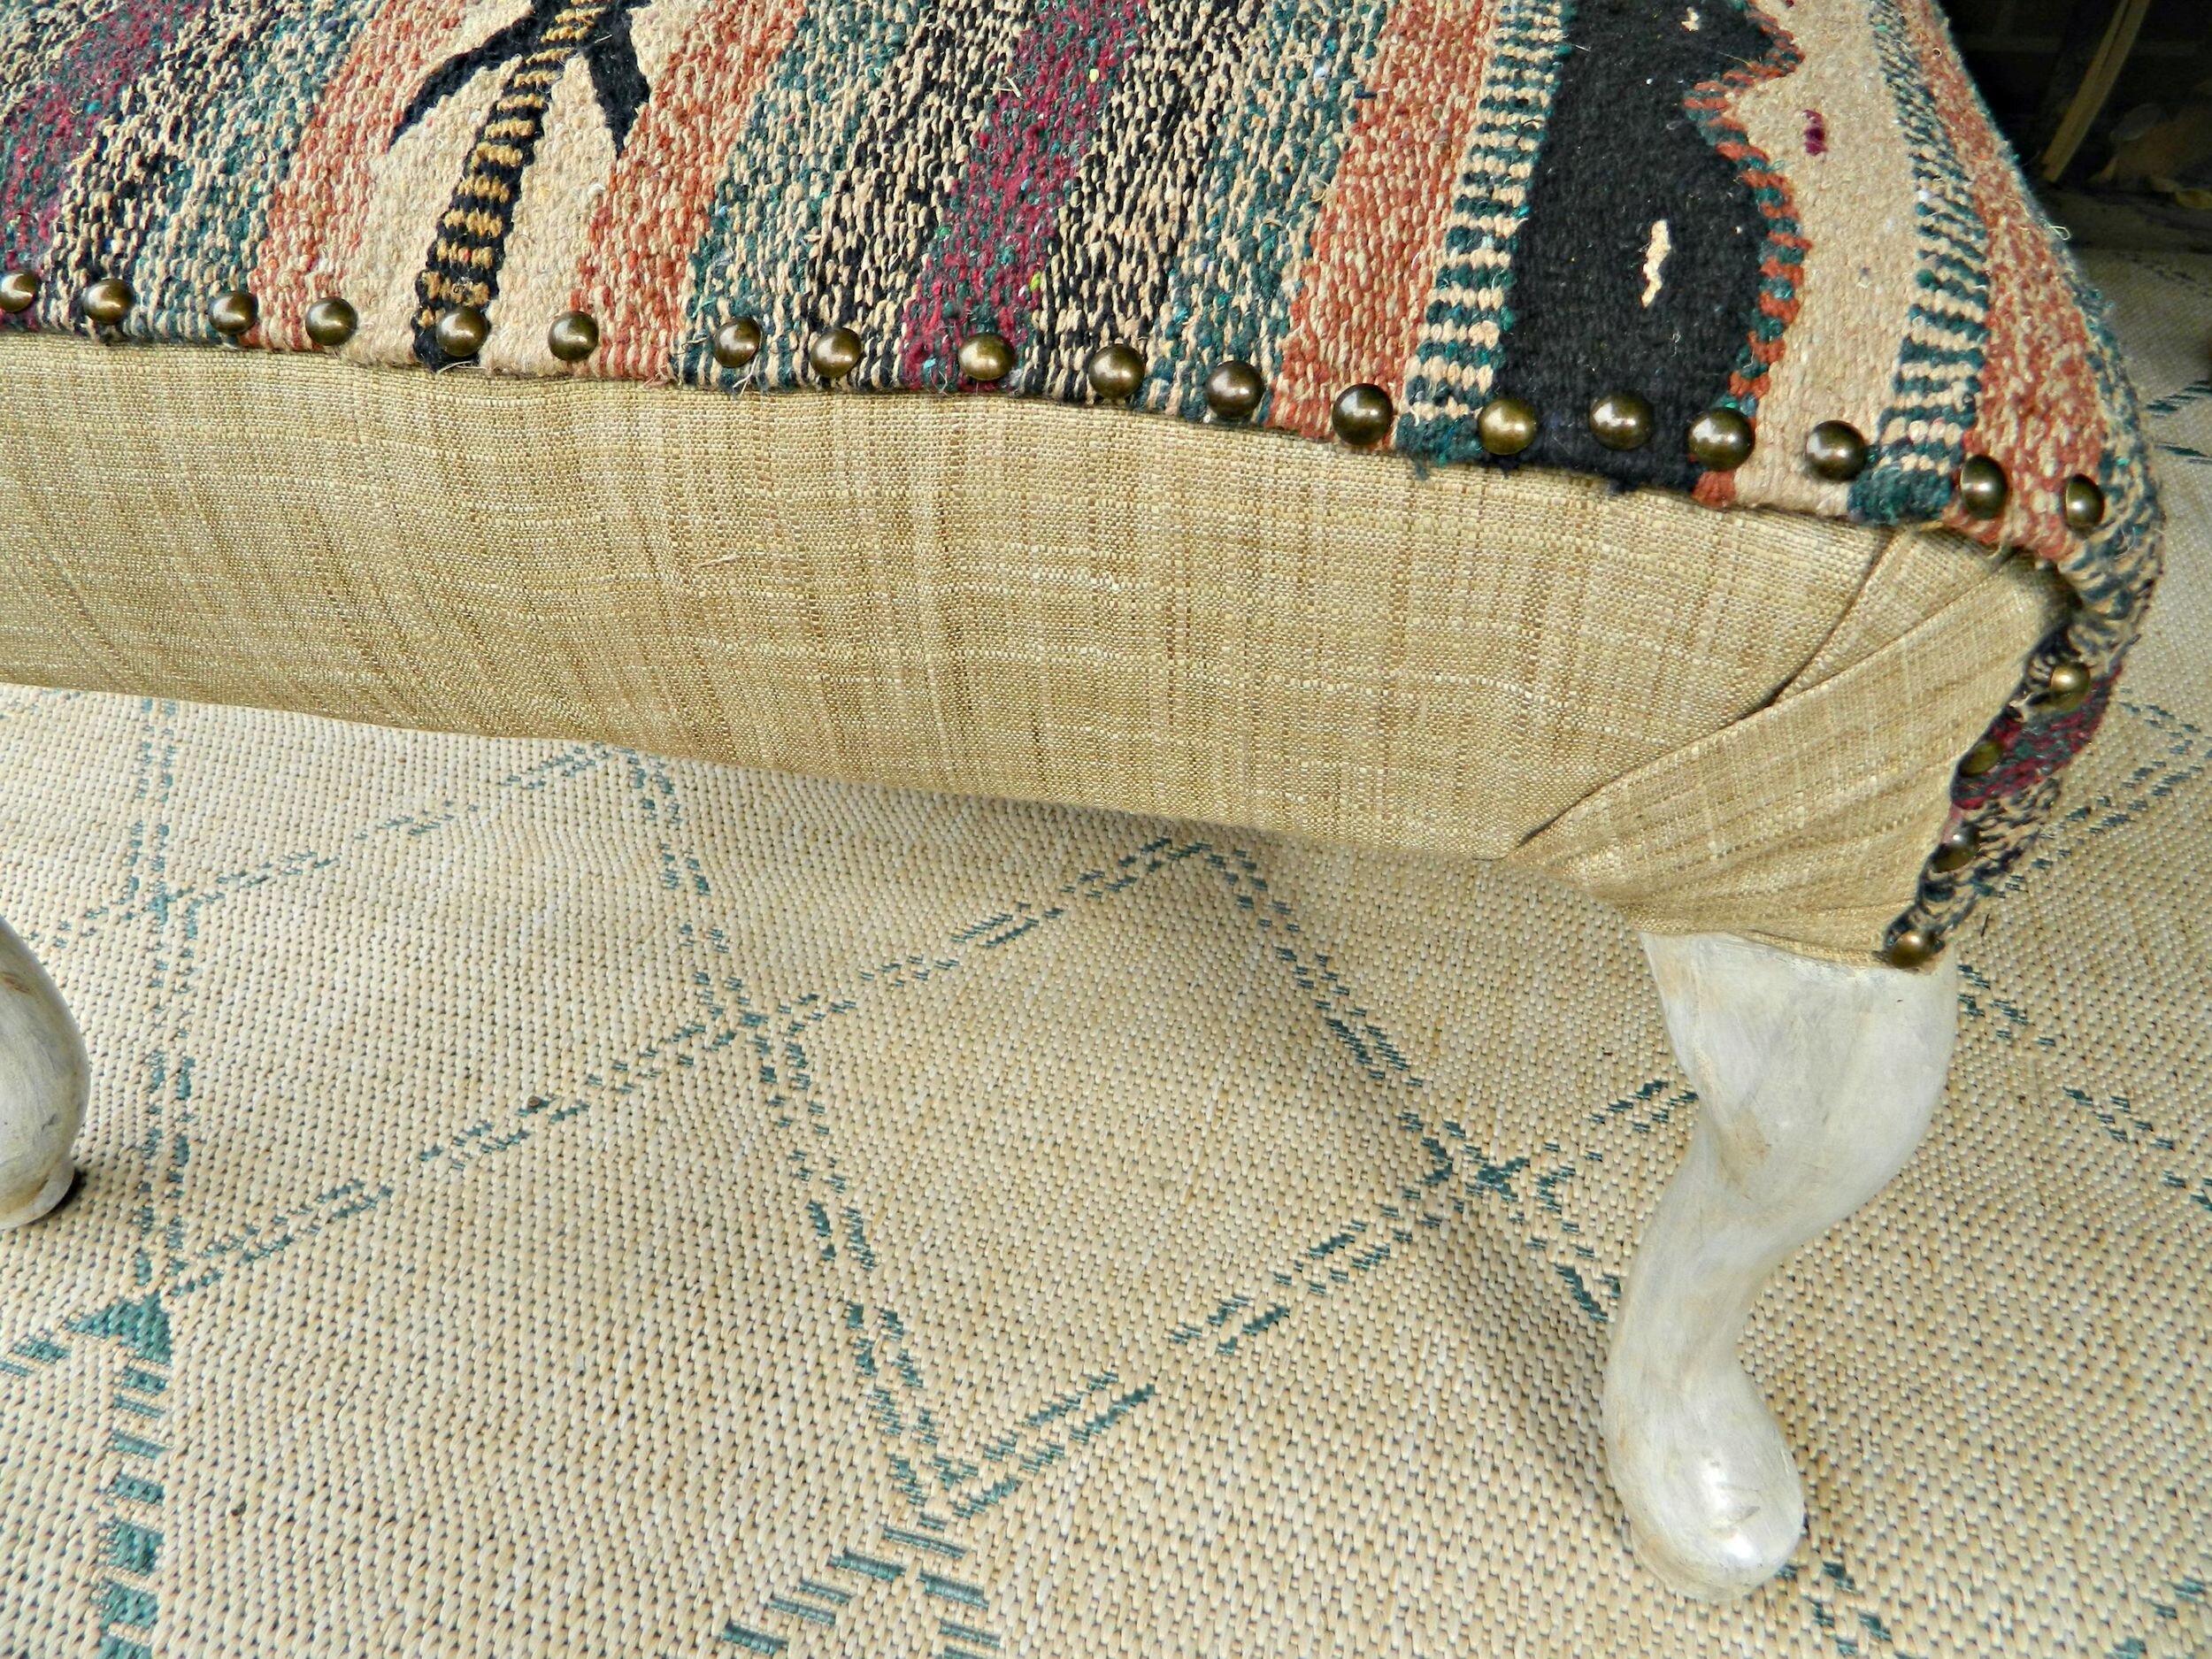
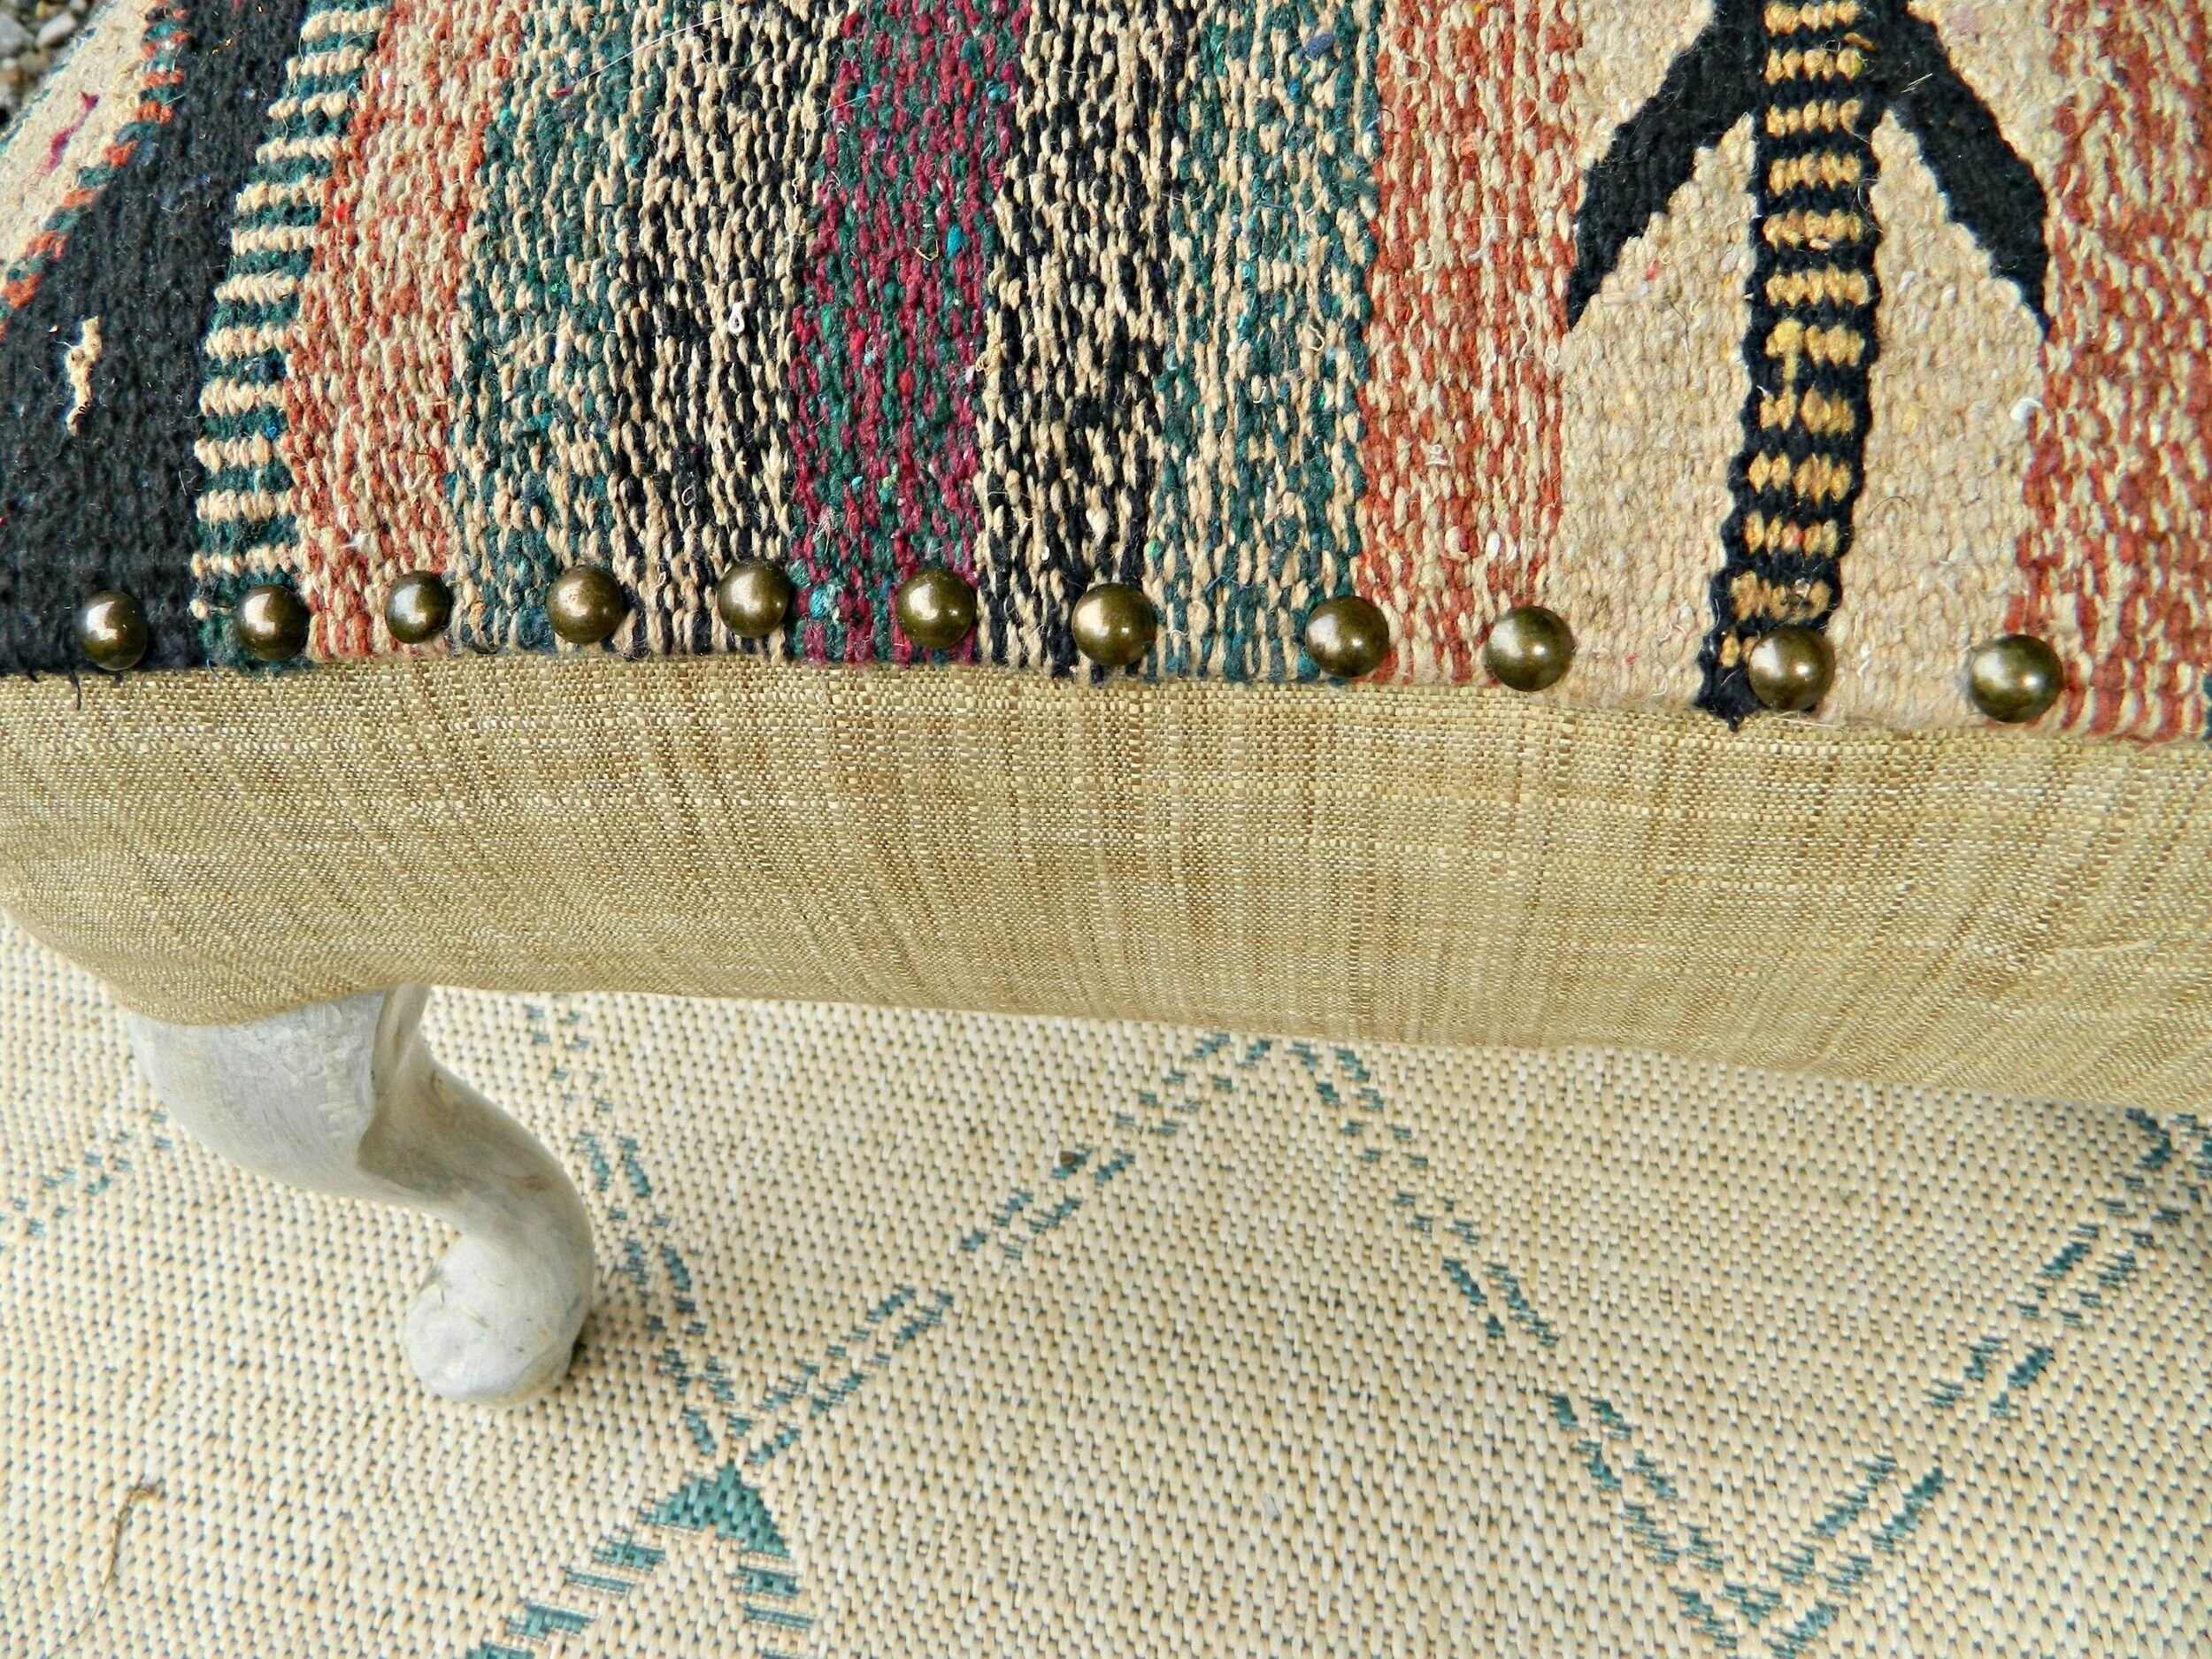

You can certainly measure out the spacing between your tacks but I just eyeballed it. After you have finished lining the edges you want with tacks, your project is complete!
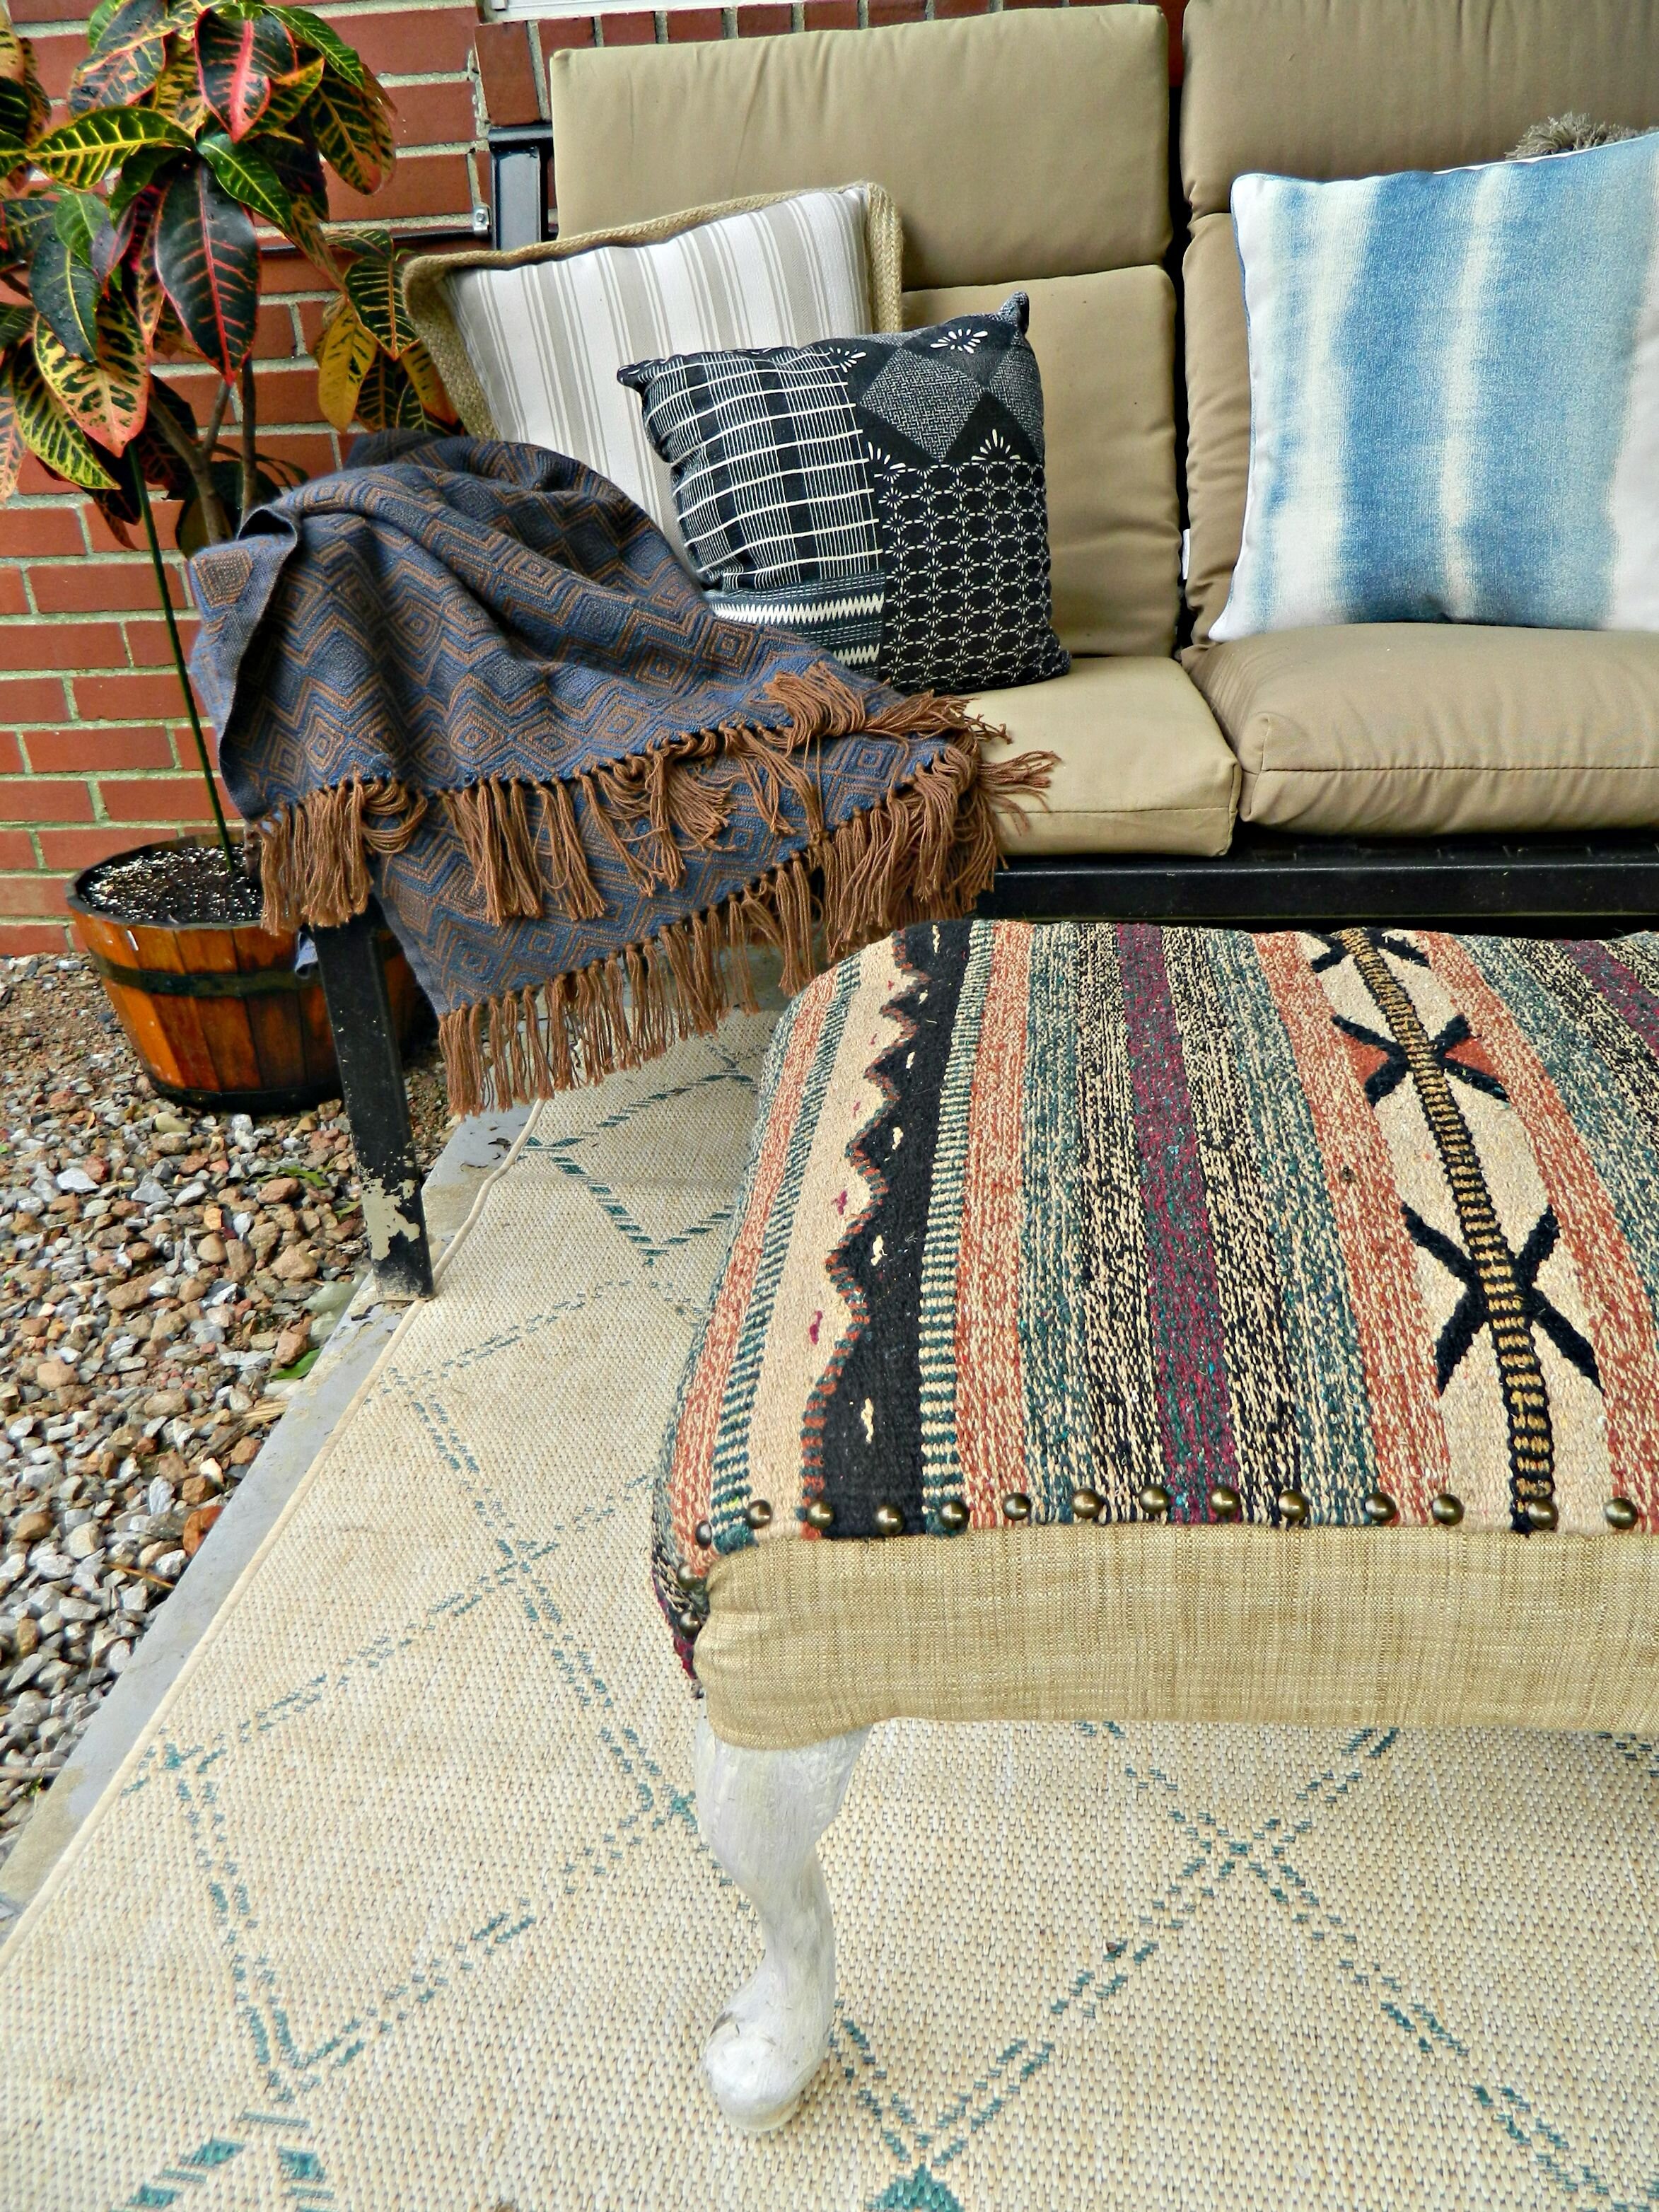

I love the way it turned out and was so pleased to find another use for these gorgeous patterned rugs! They are a great way to add both pattern and texture to a space and with this project being so quick and simple, you can easily change it out if your decor changes. Have you ever attempted a small re-upholstery project like this? Please share with us some of your tips and ideas!
xoxo
Emily