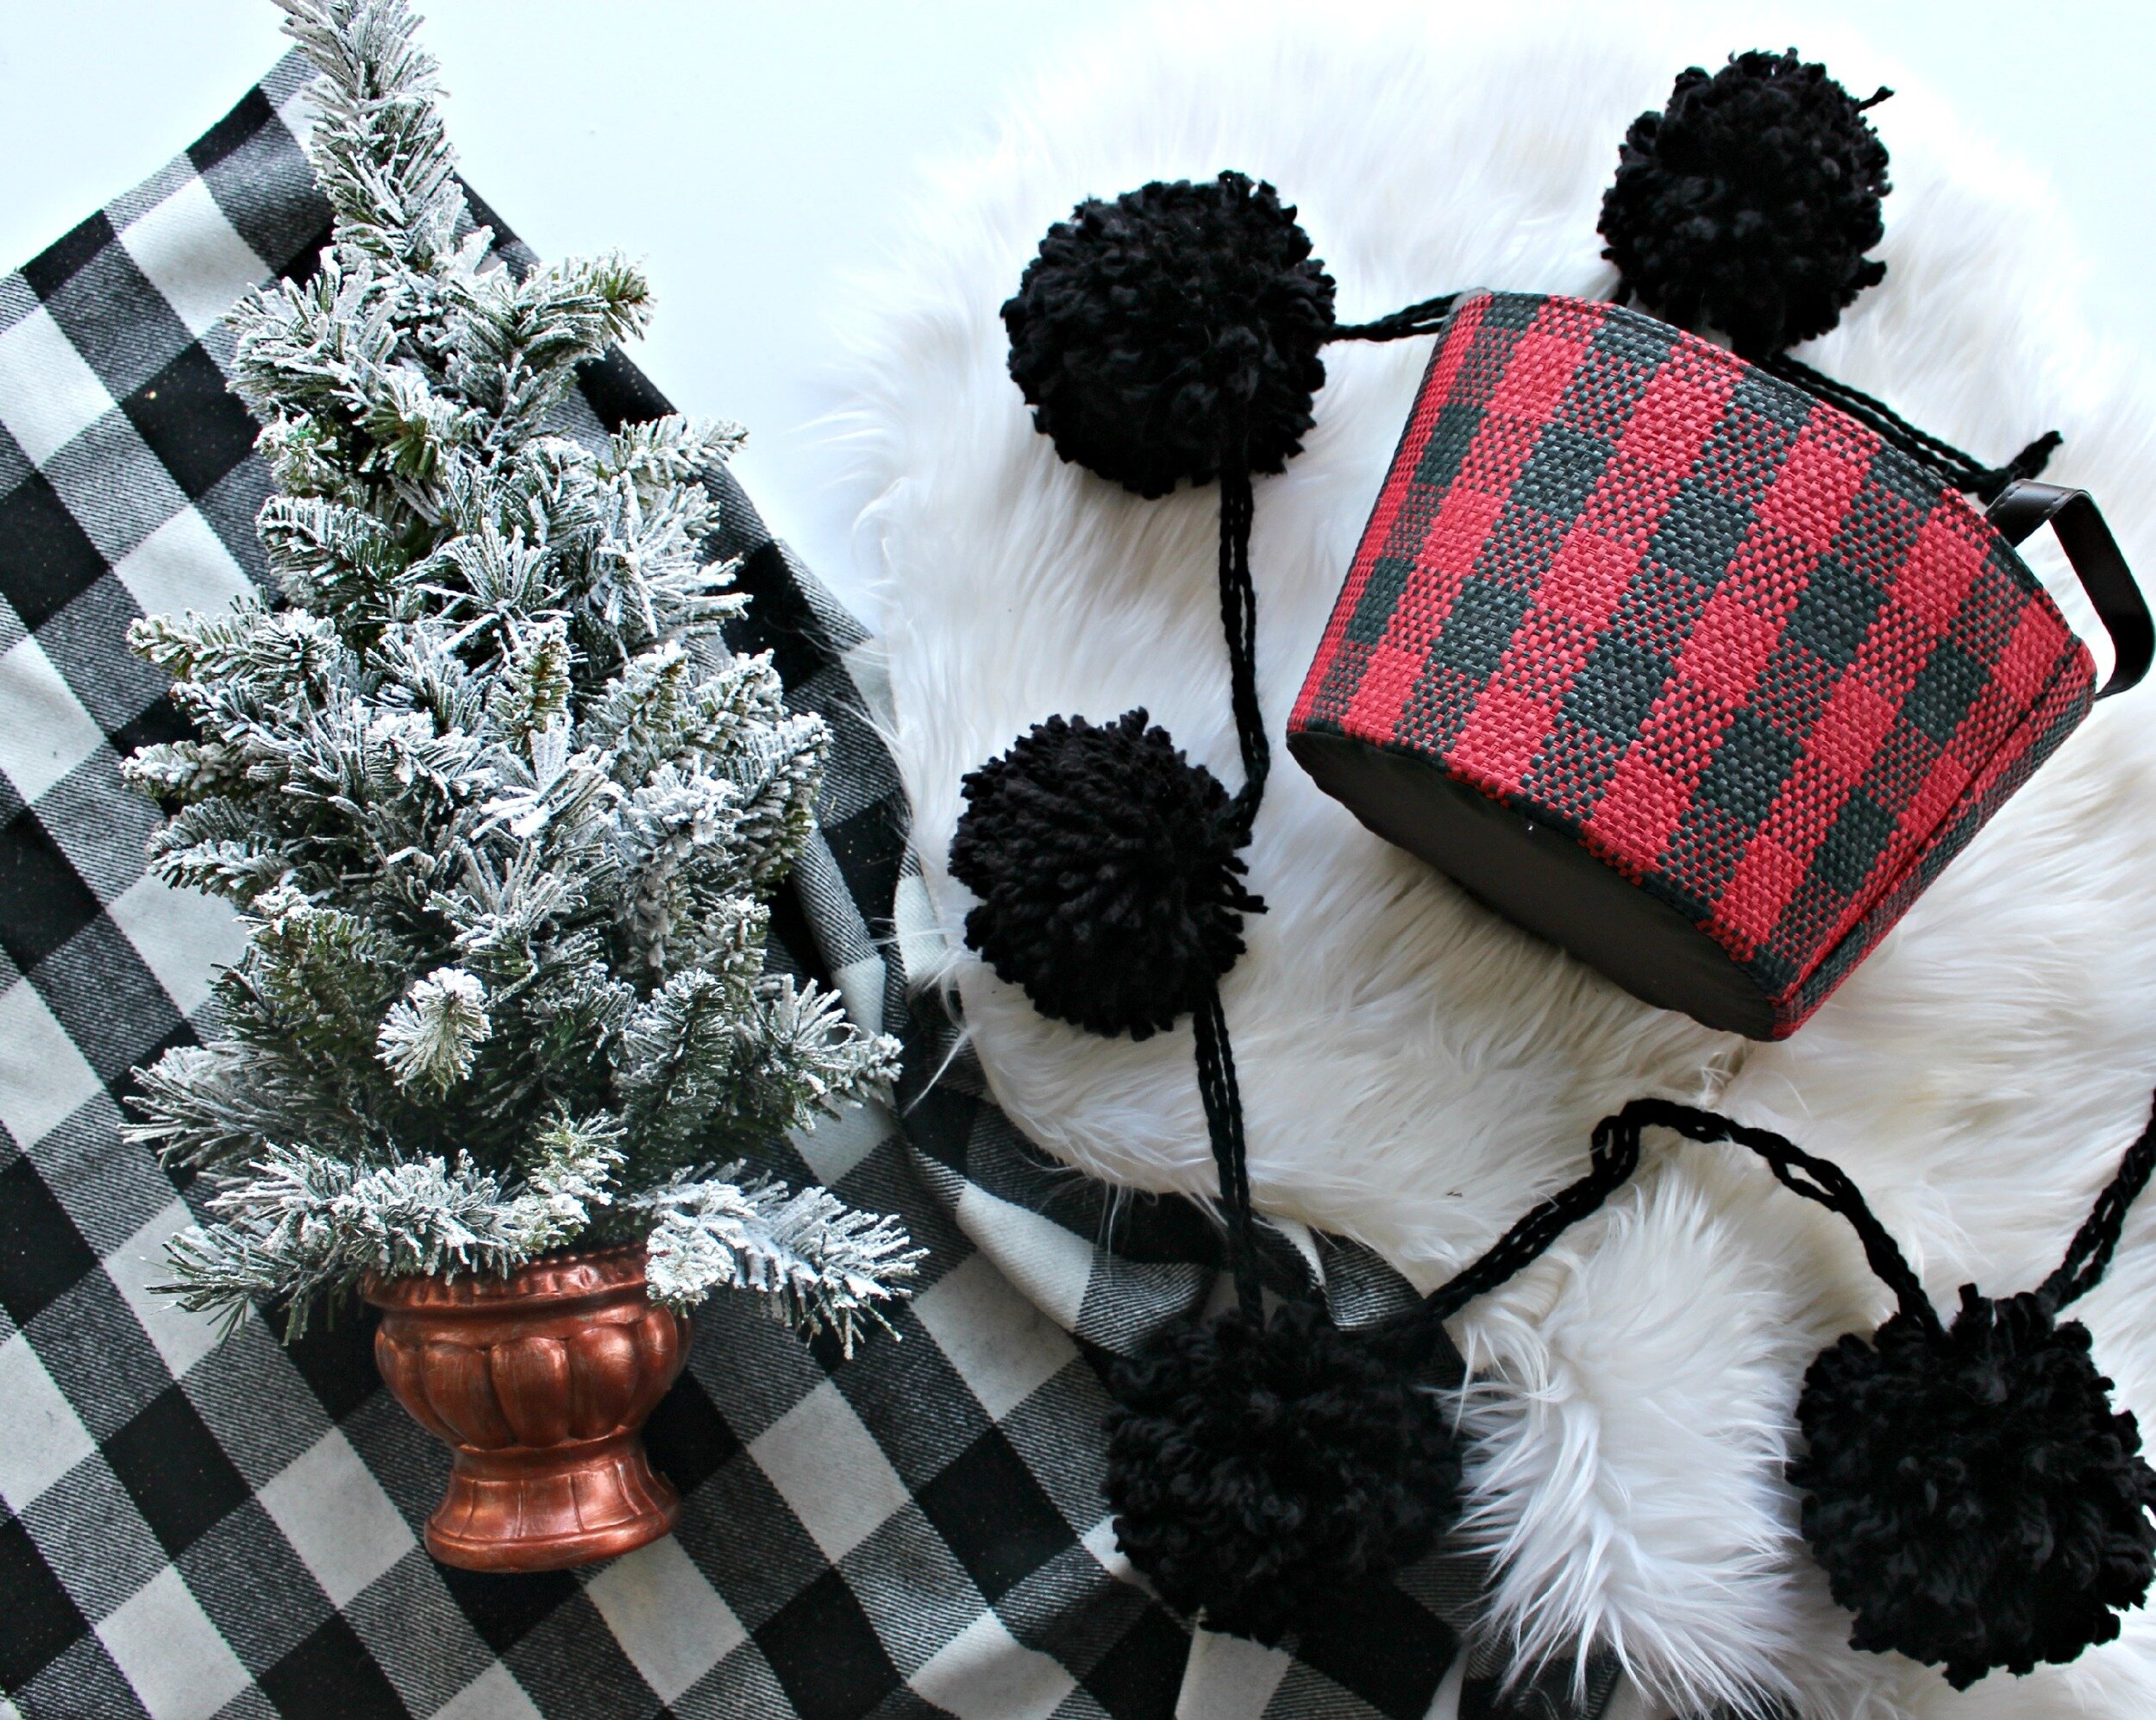
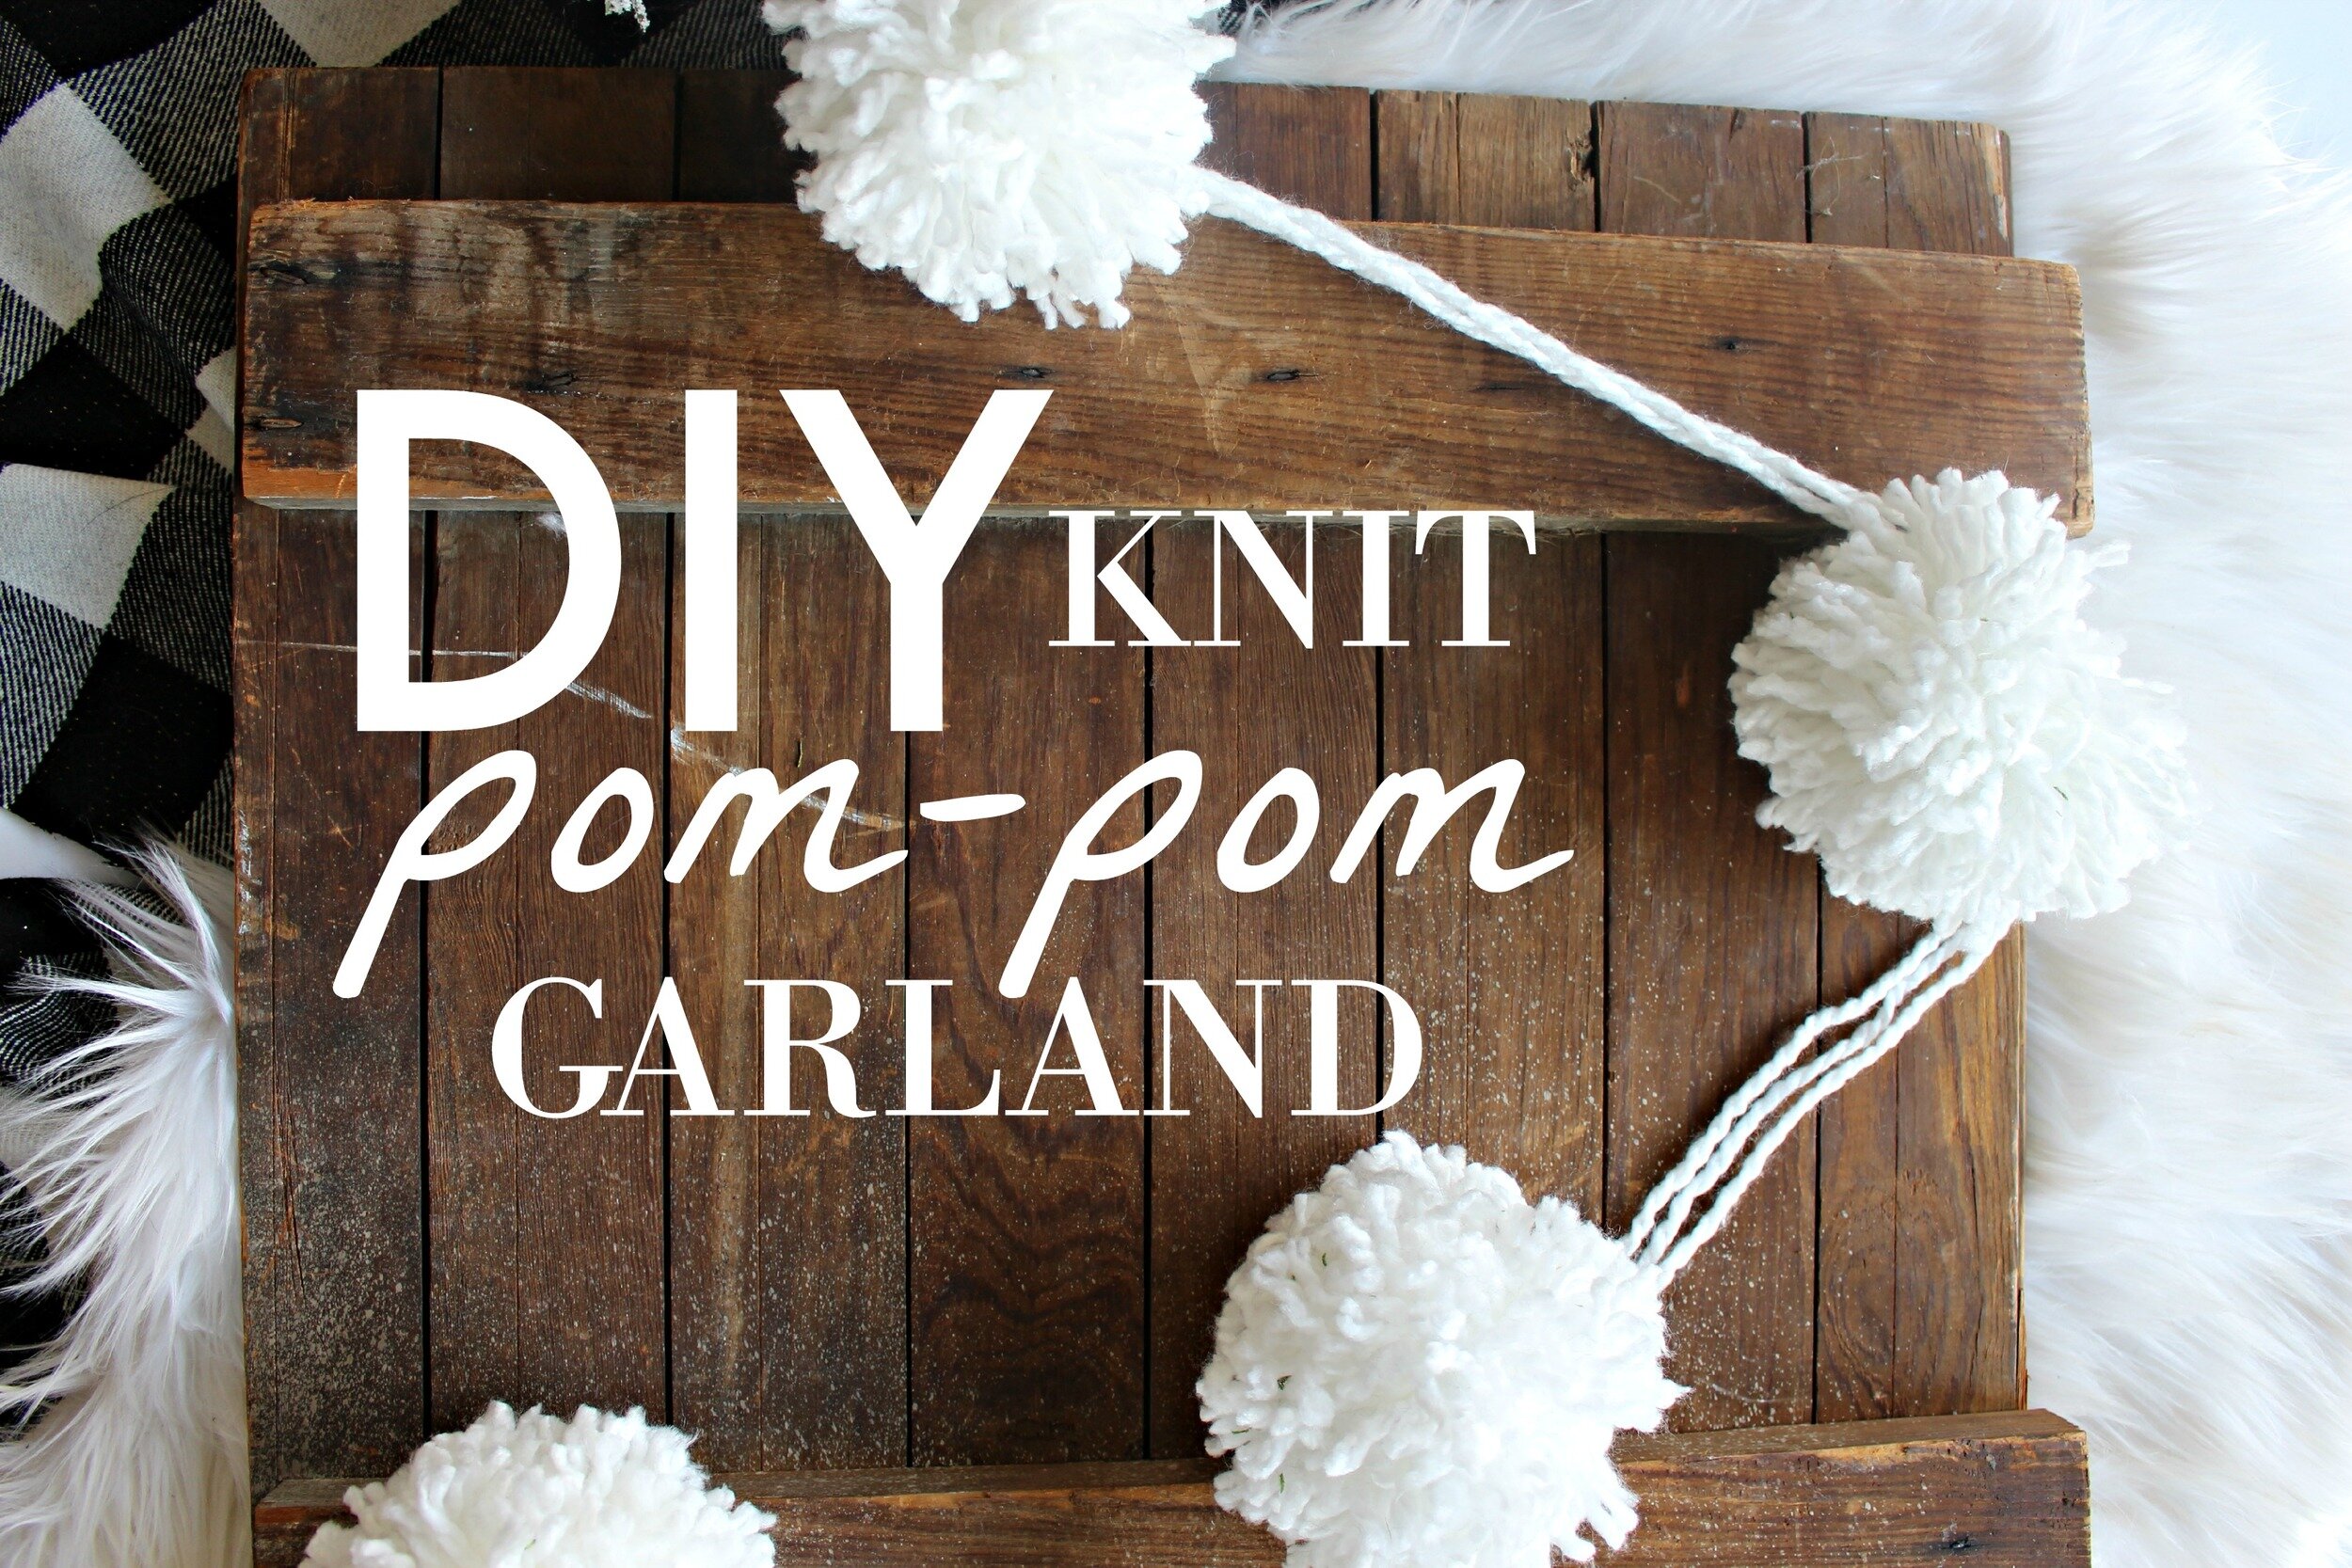
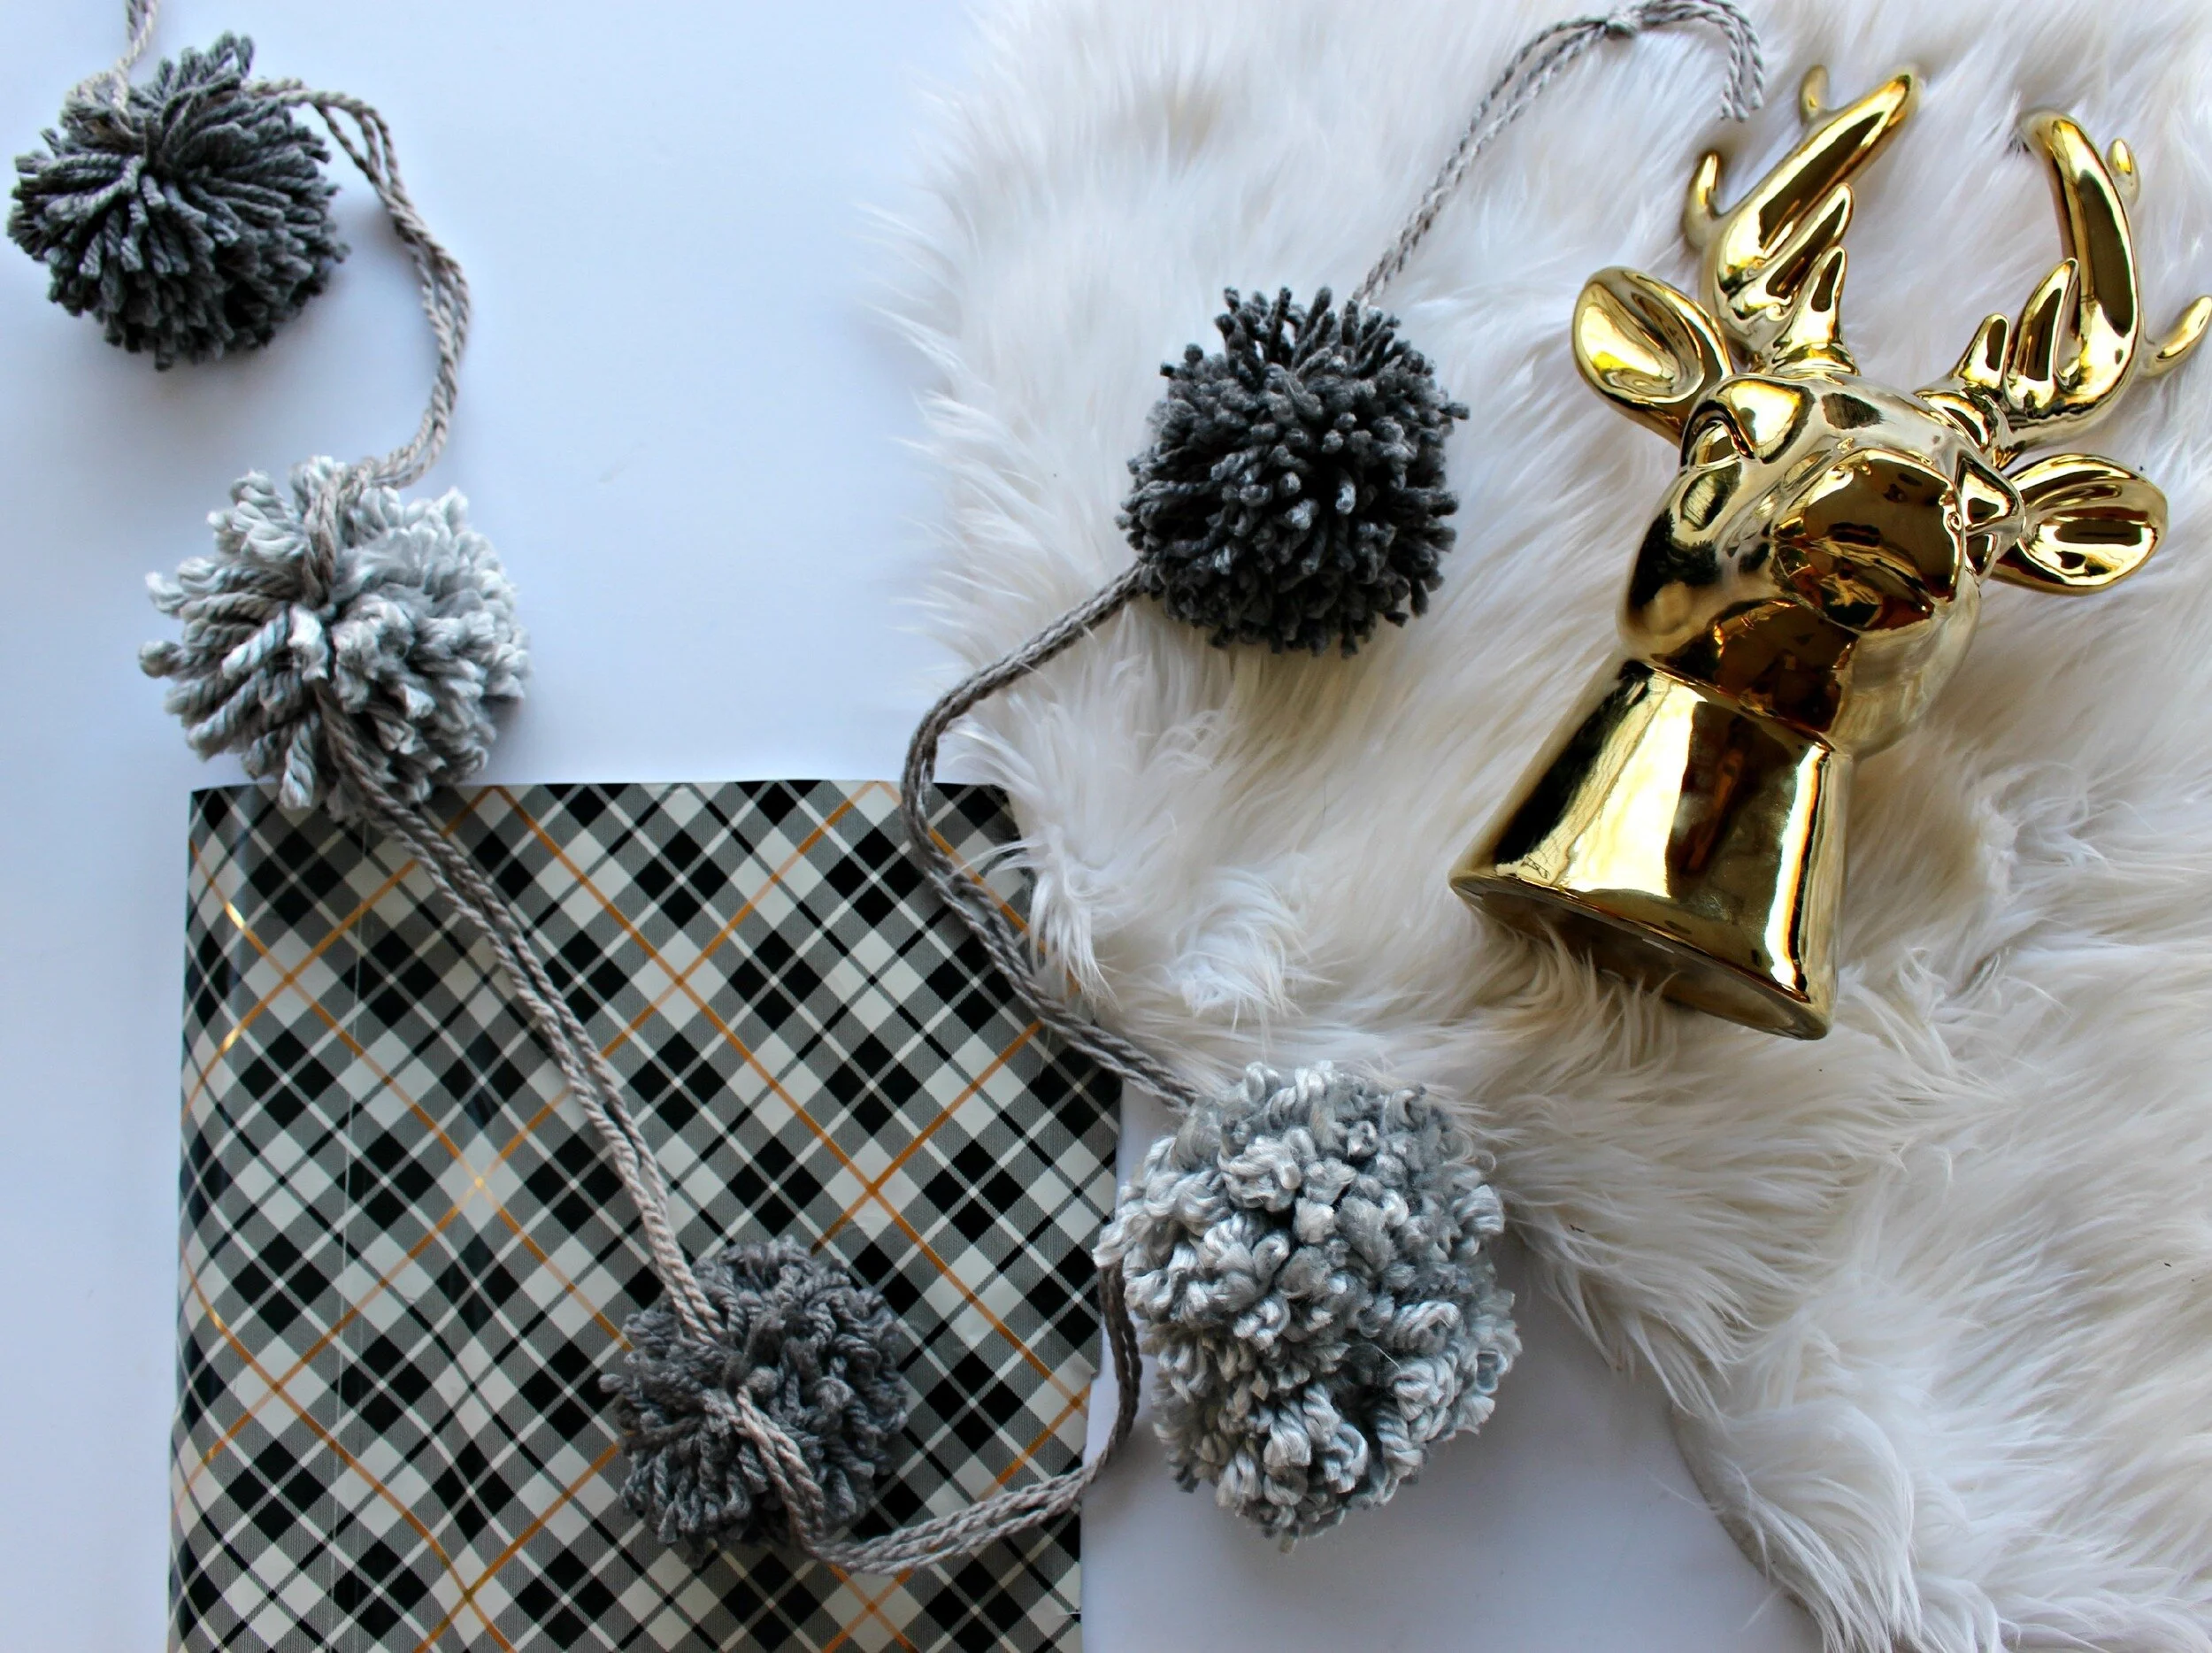
DIY Anthropologie-Inspired Knit Pom-Pom Garland
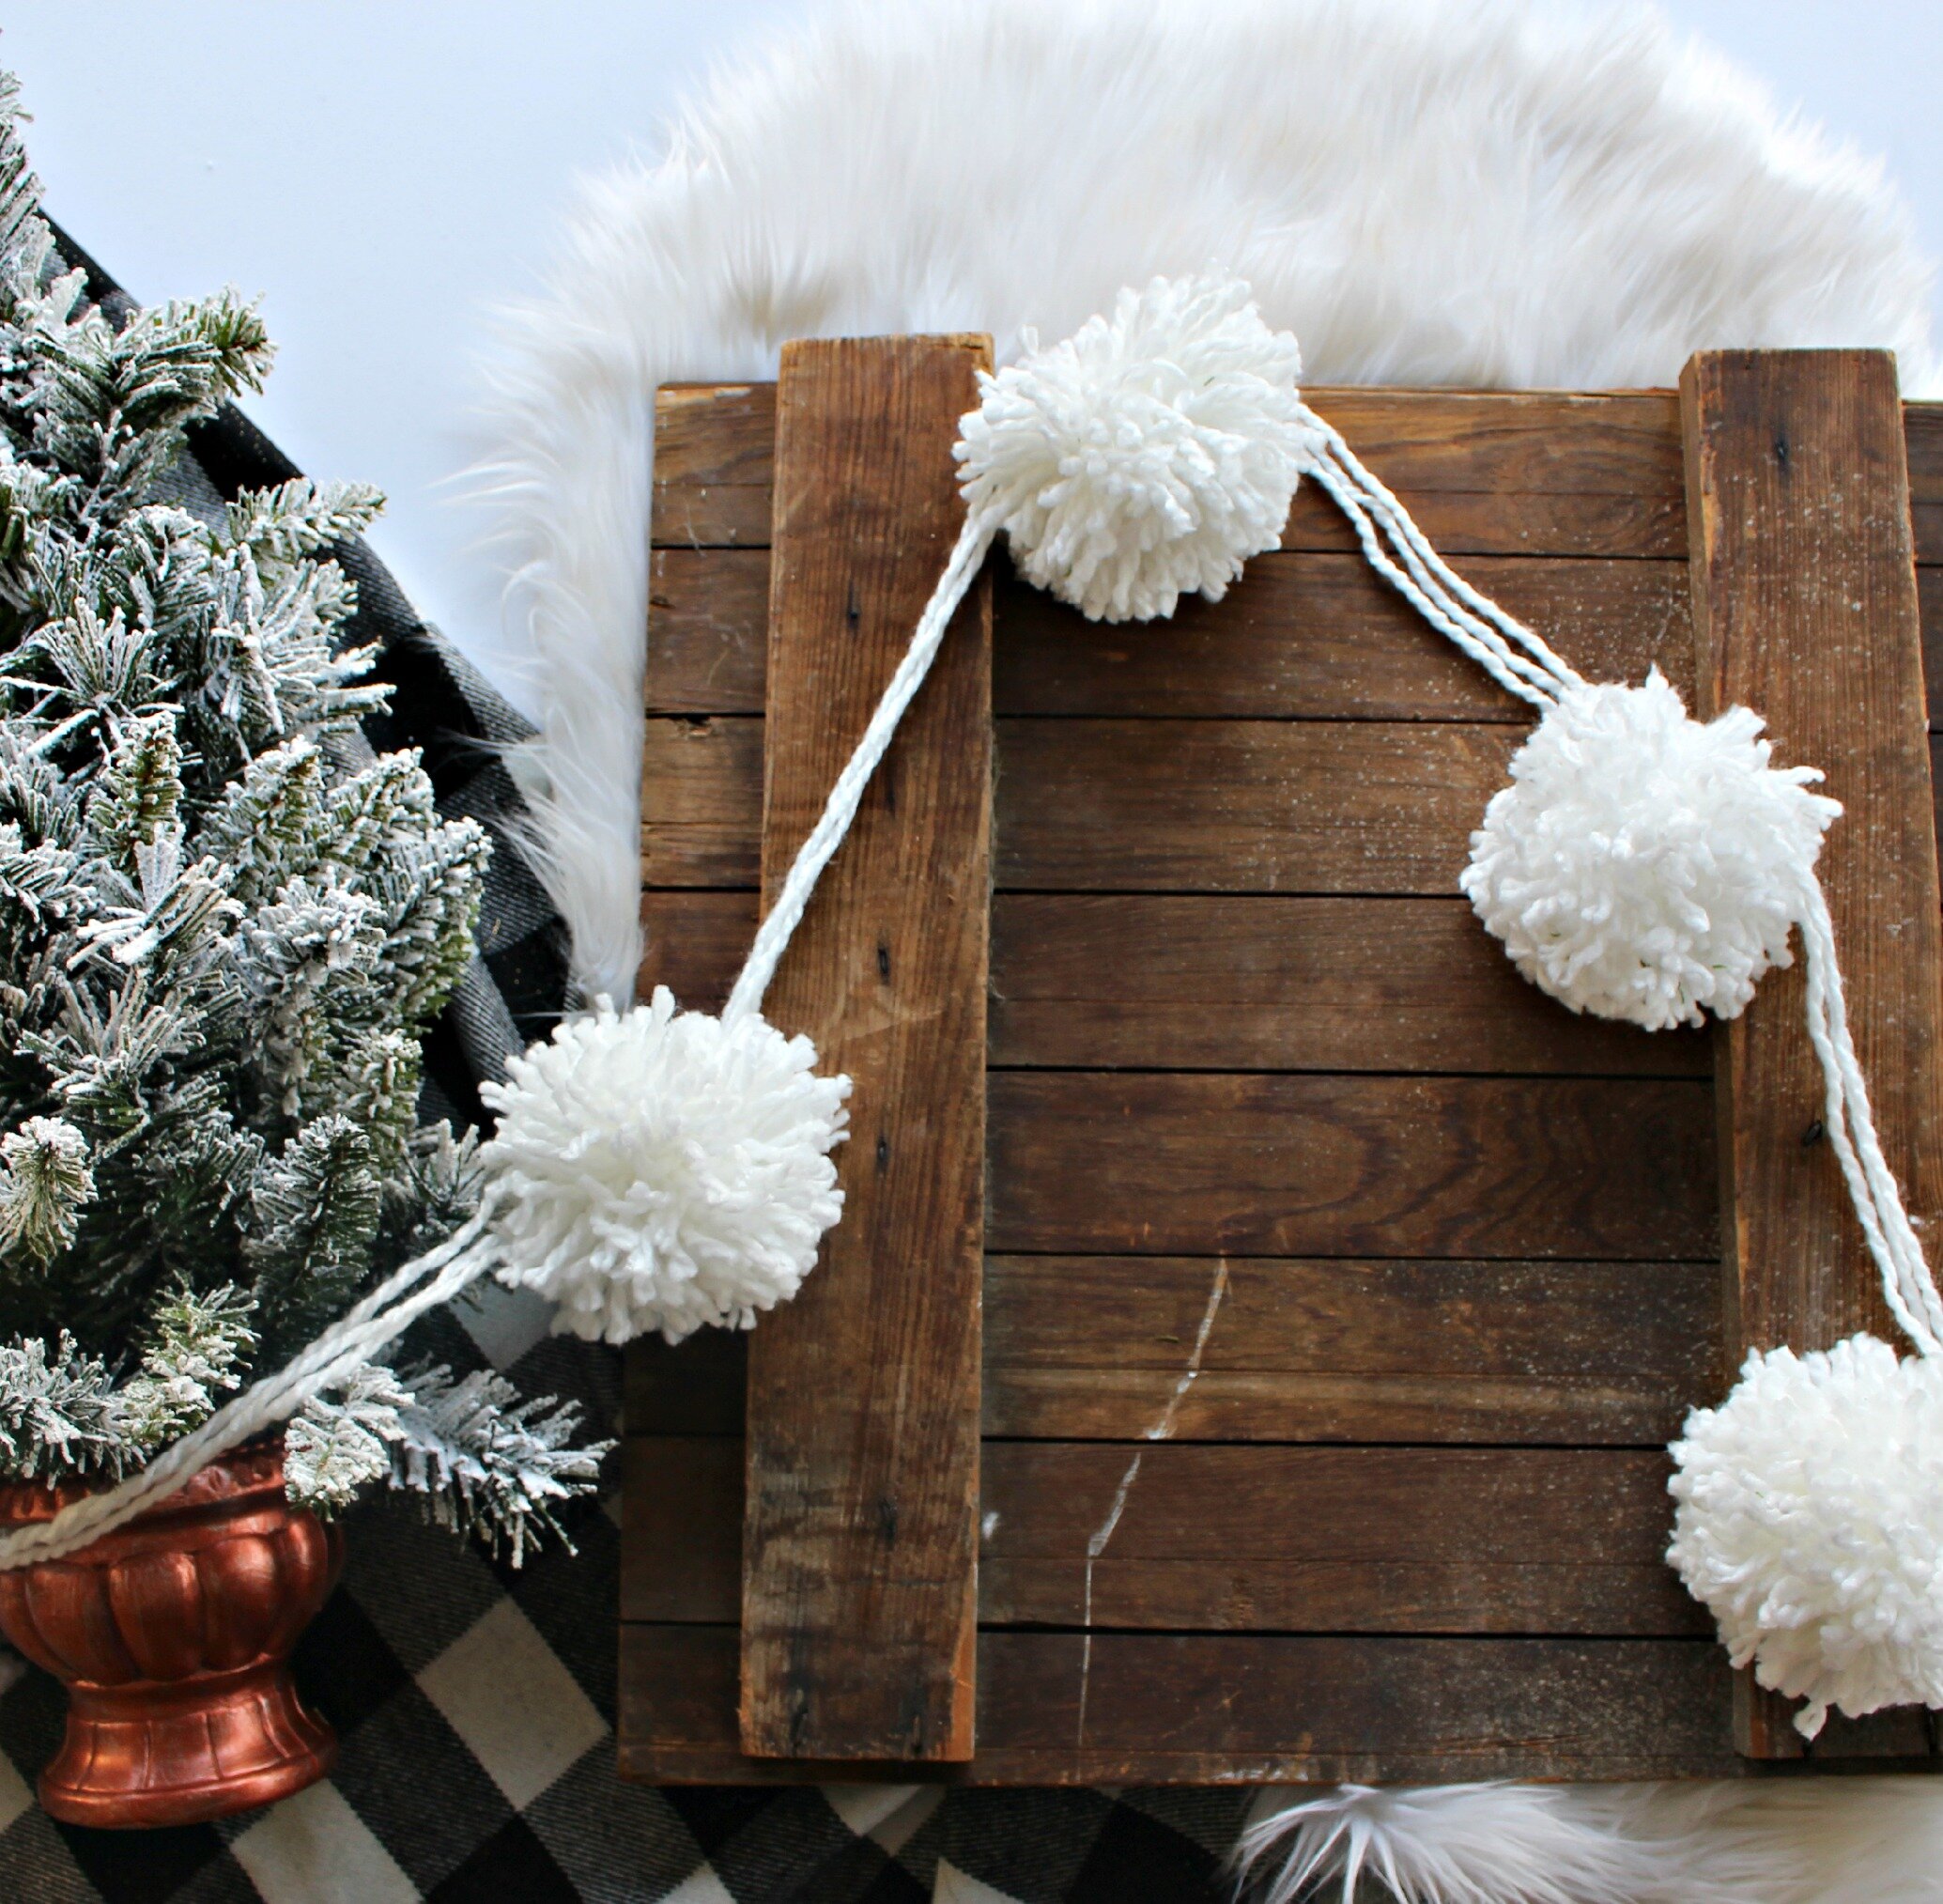
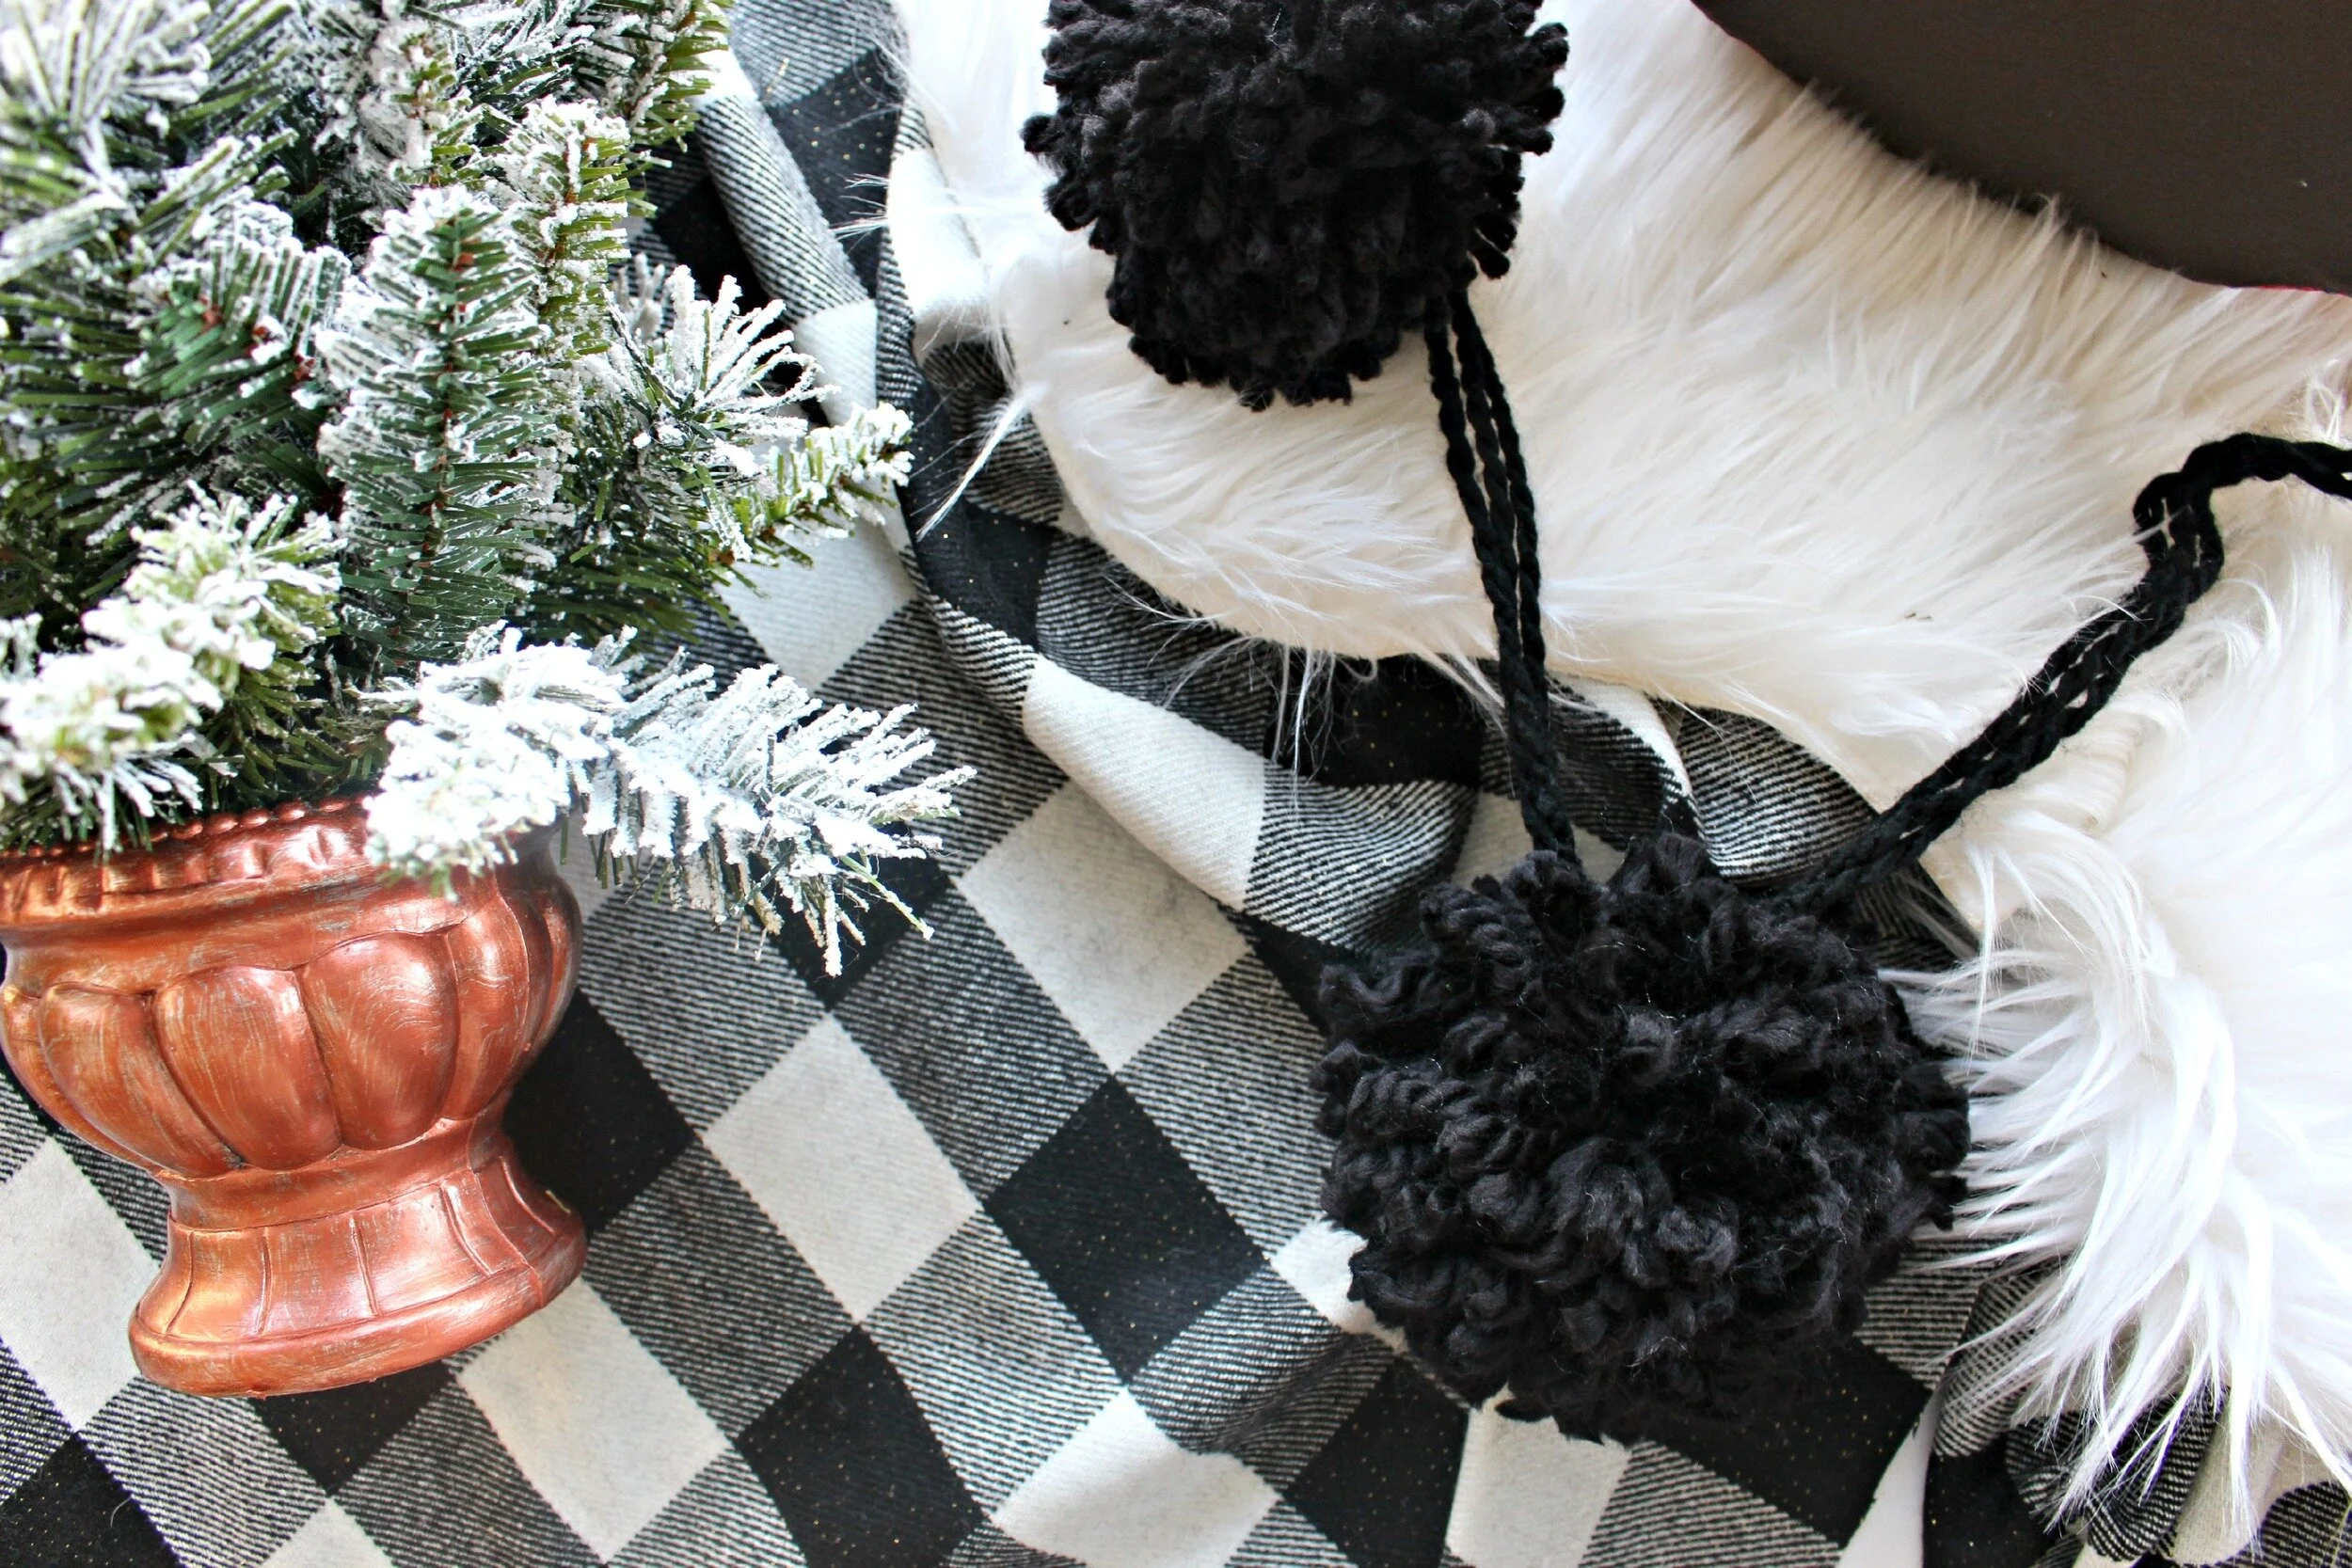
After I purchased some adorable knit pom-pom garland from Anthropologie last year, I just loved it so much I had to have more! I searched Pinterest for tutorials on how to make pom-pom's and tried it for myself. They are super easy to make and you can customize your own sizes and colors! This is the perfect craft to do while watching a movie or tv because it really does not require much attention but is just repetition of wrapping and tying the yarn over and over again. I used mine on my mantel last year but they also look so cute on Christmas trees and draped on doorways, or you can use single pom-poms to decorate gifts, sew onto blankets and quilts, or make a cute ornament!
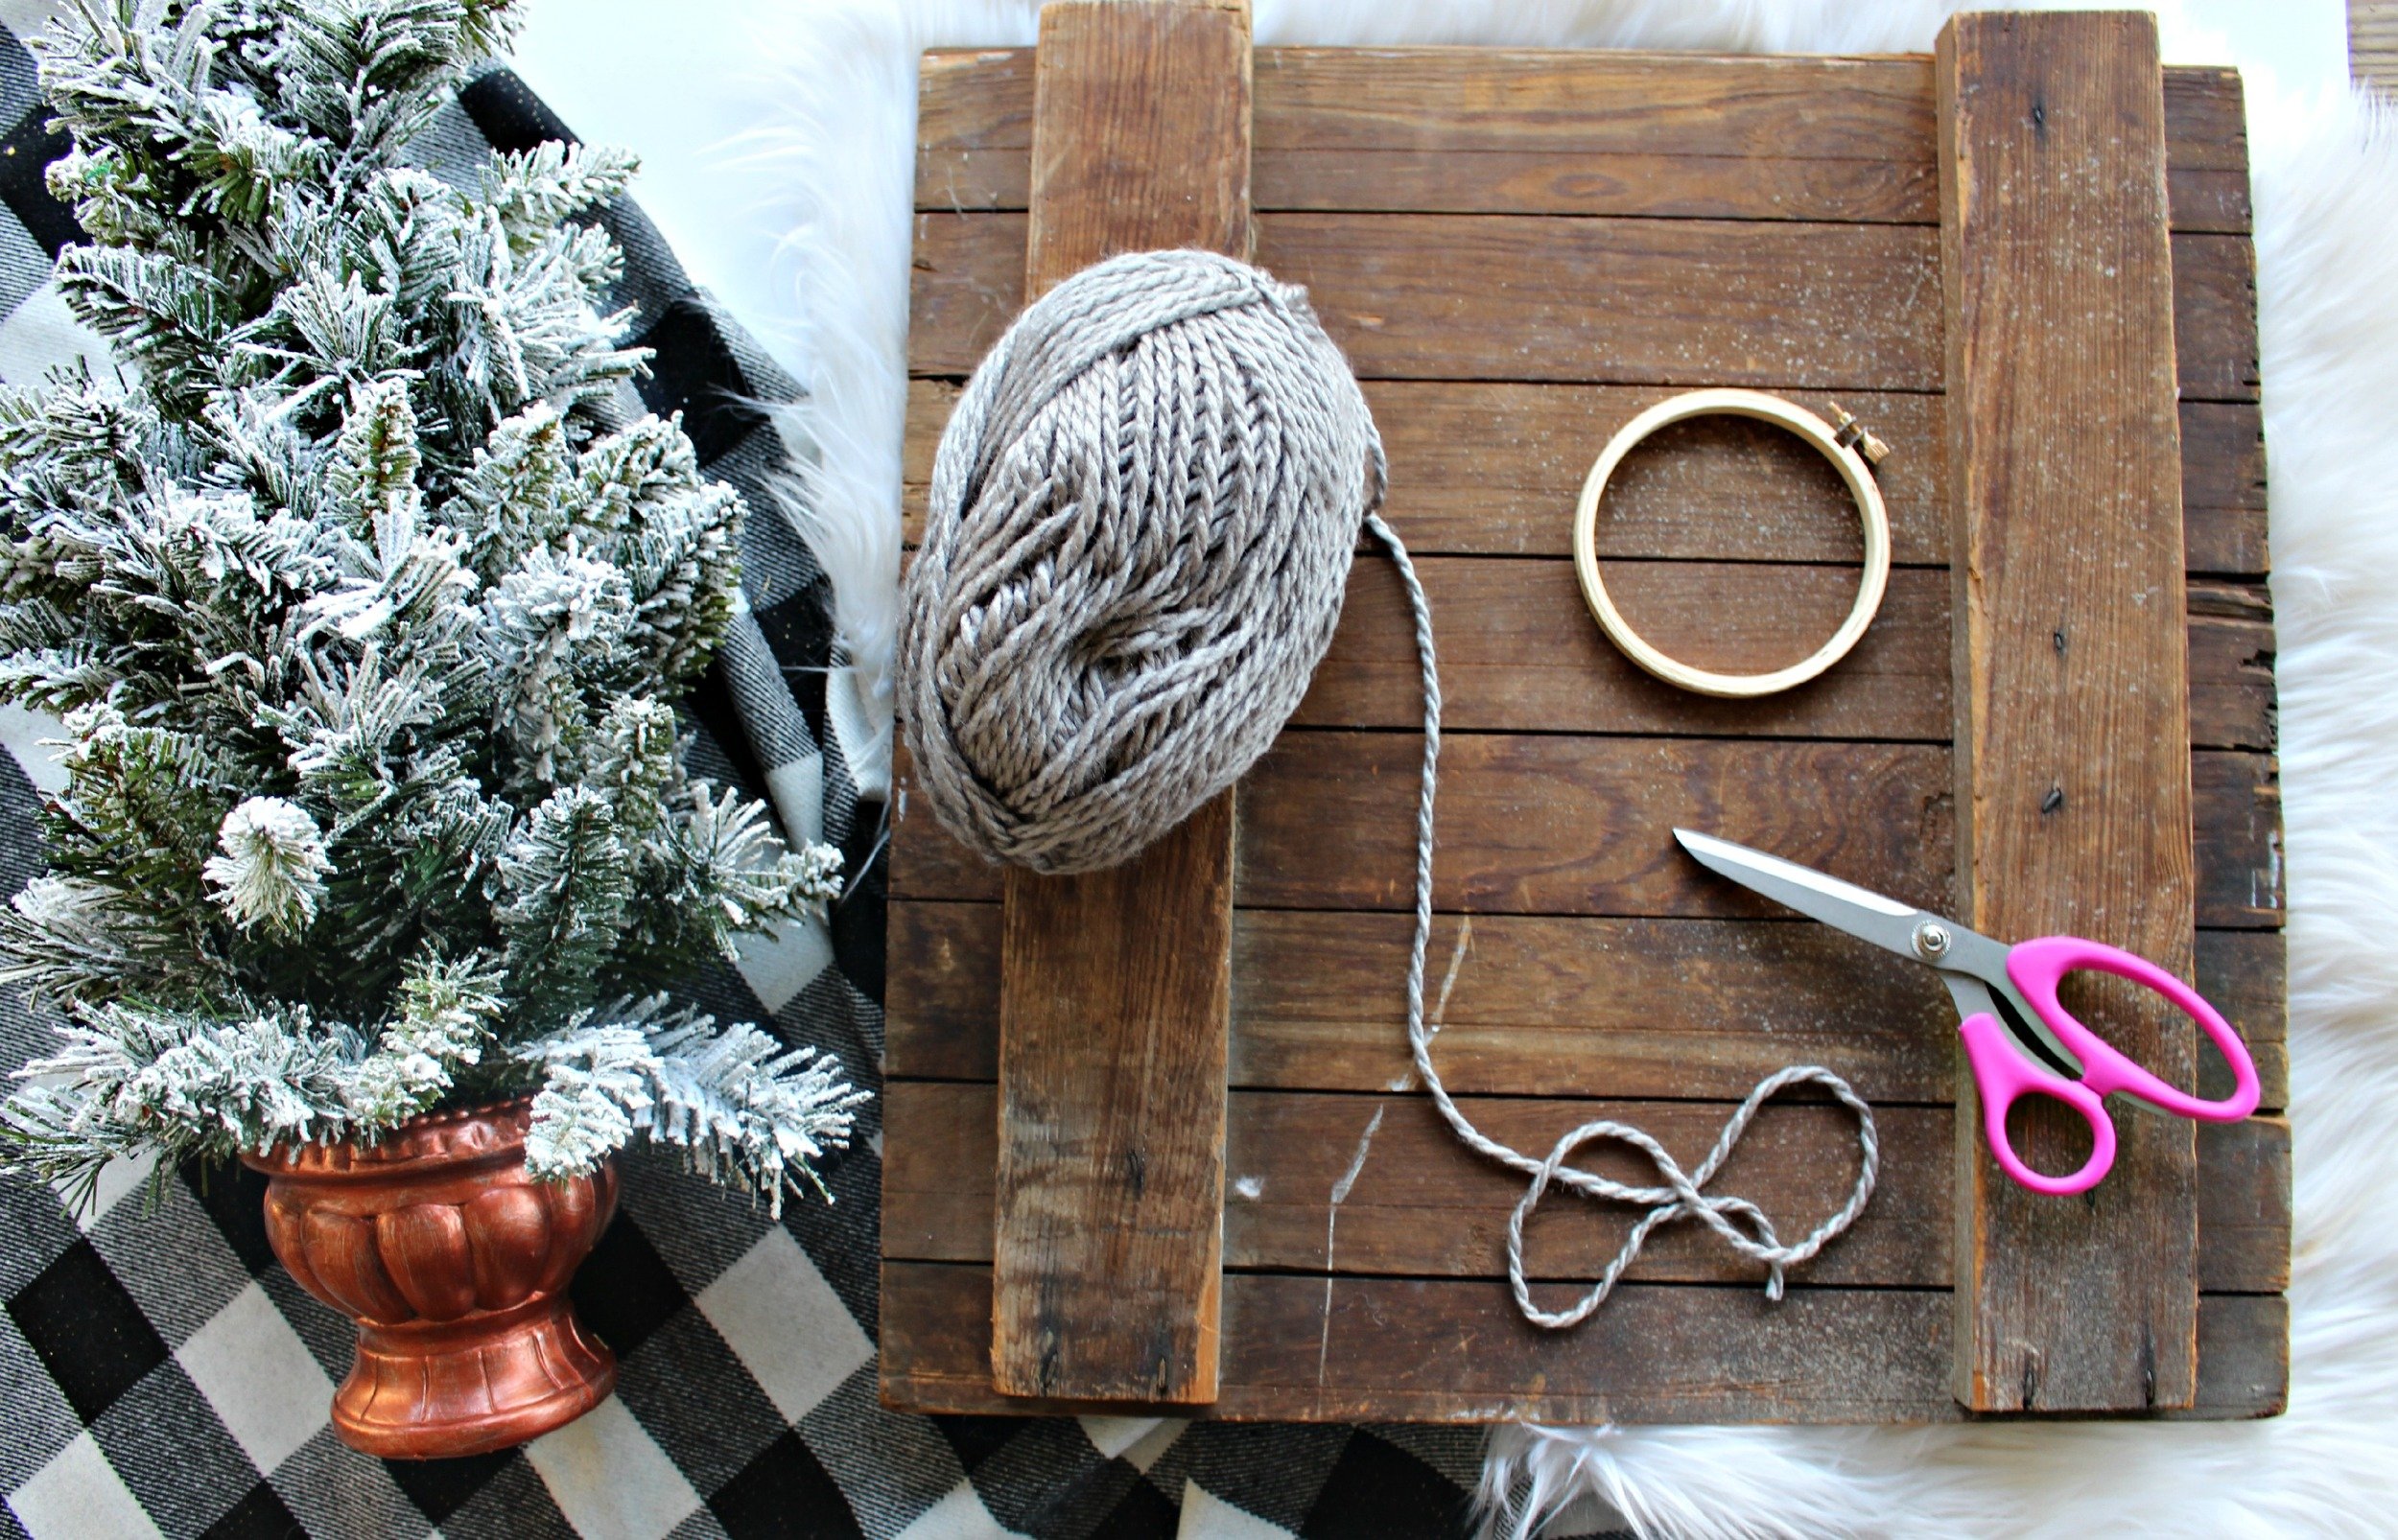
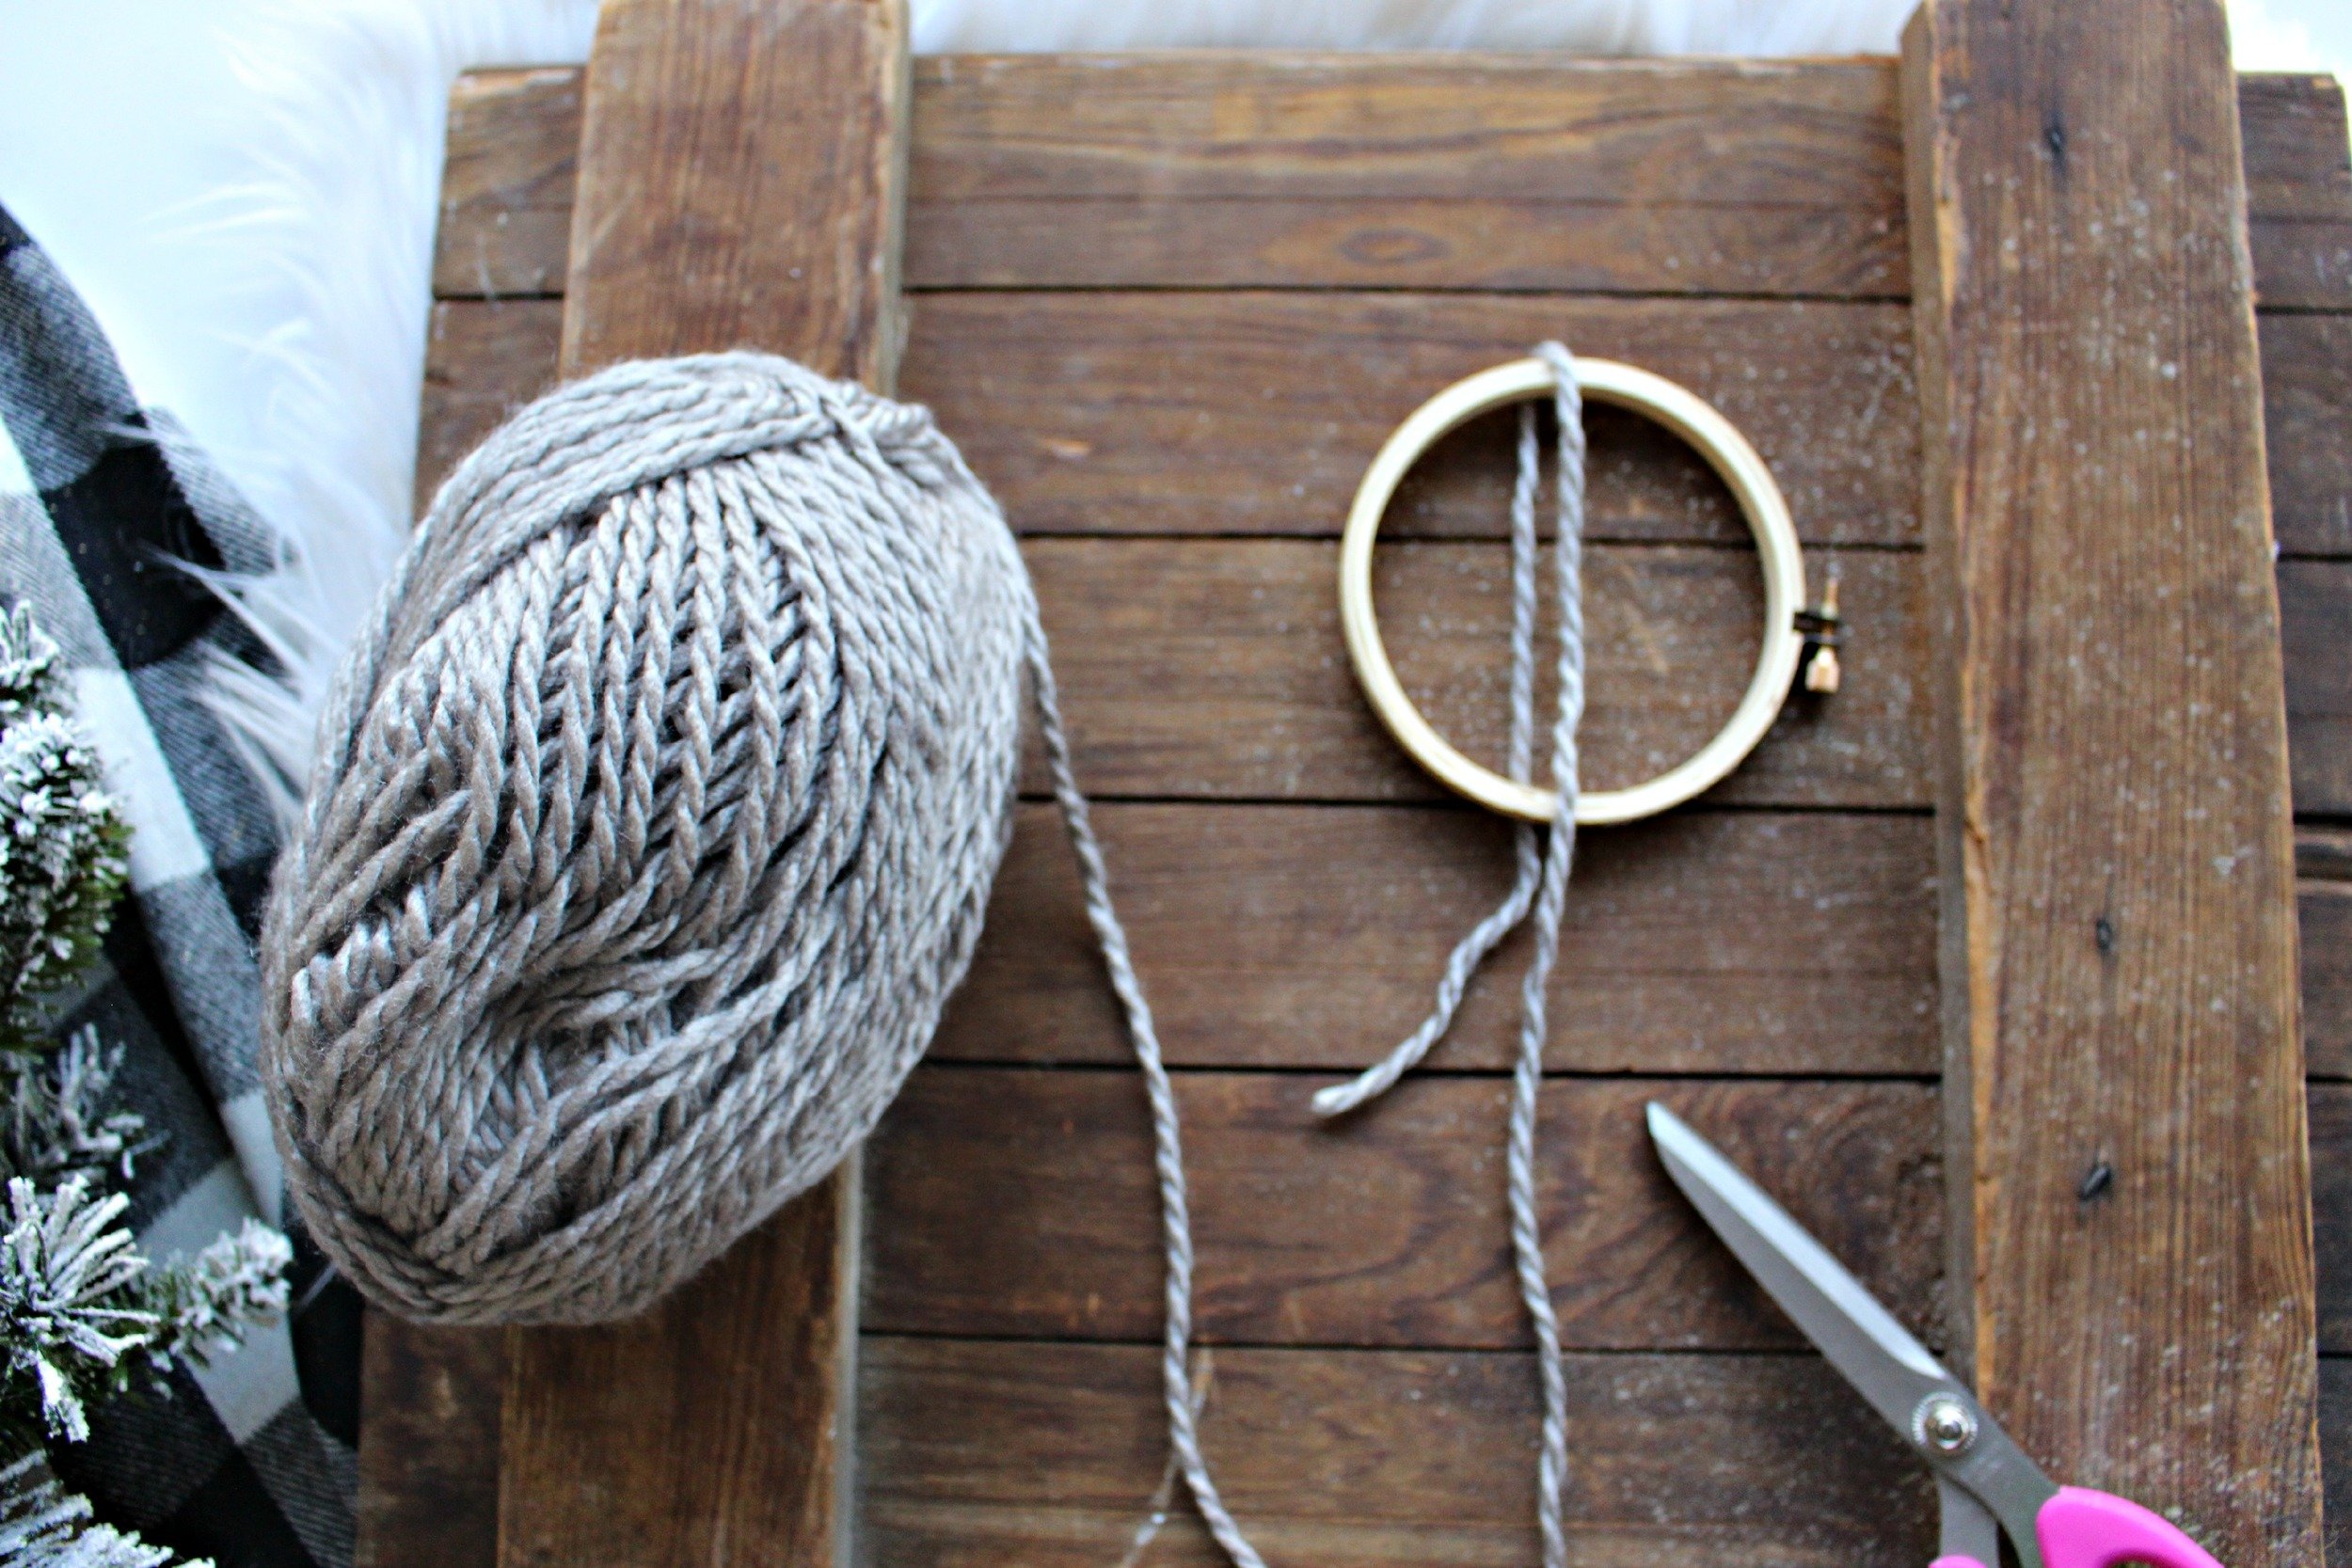
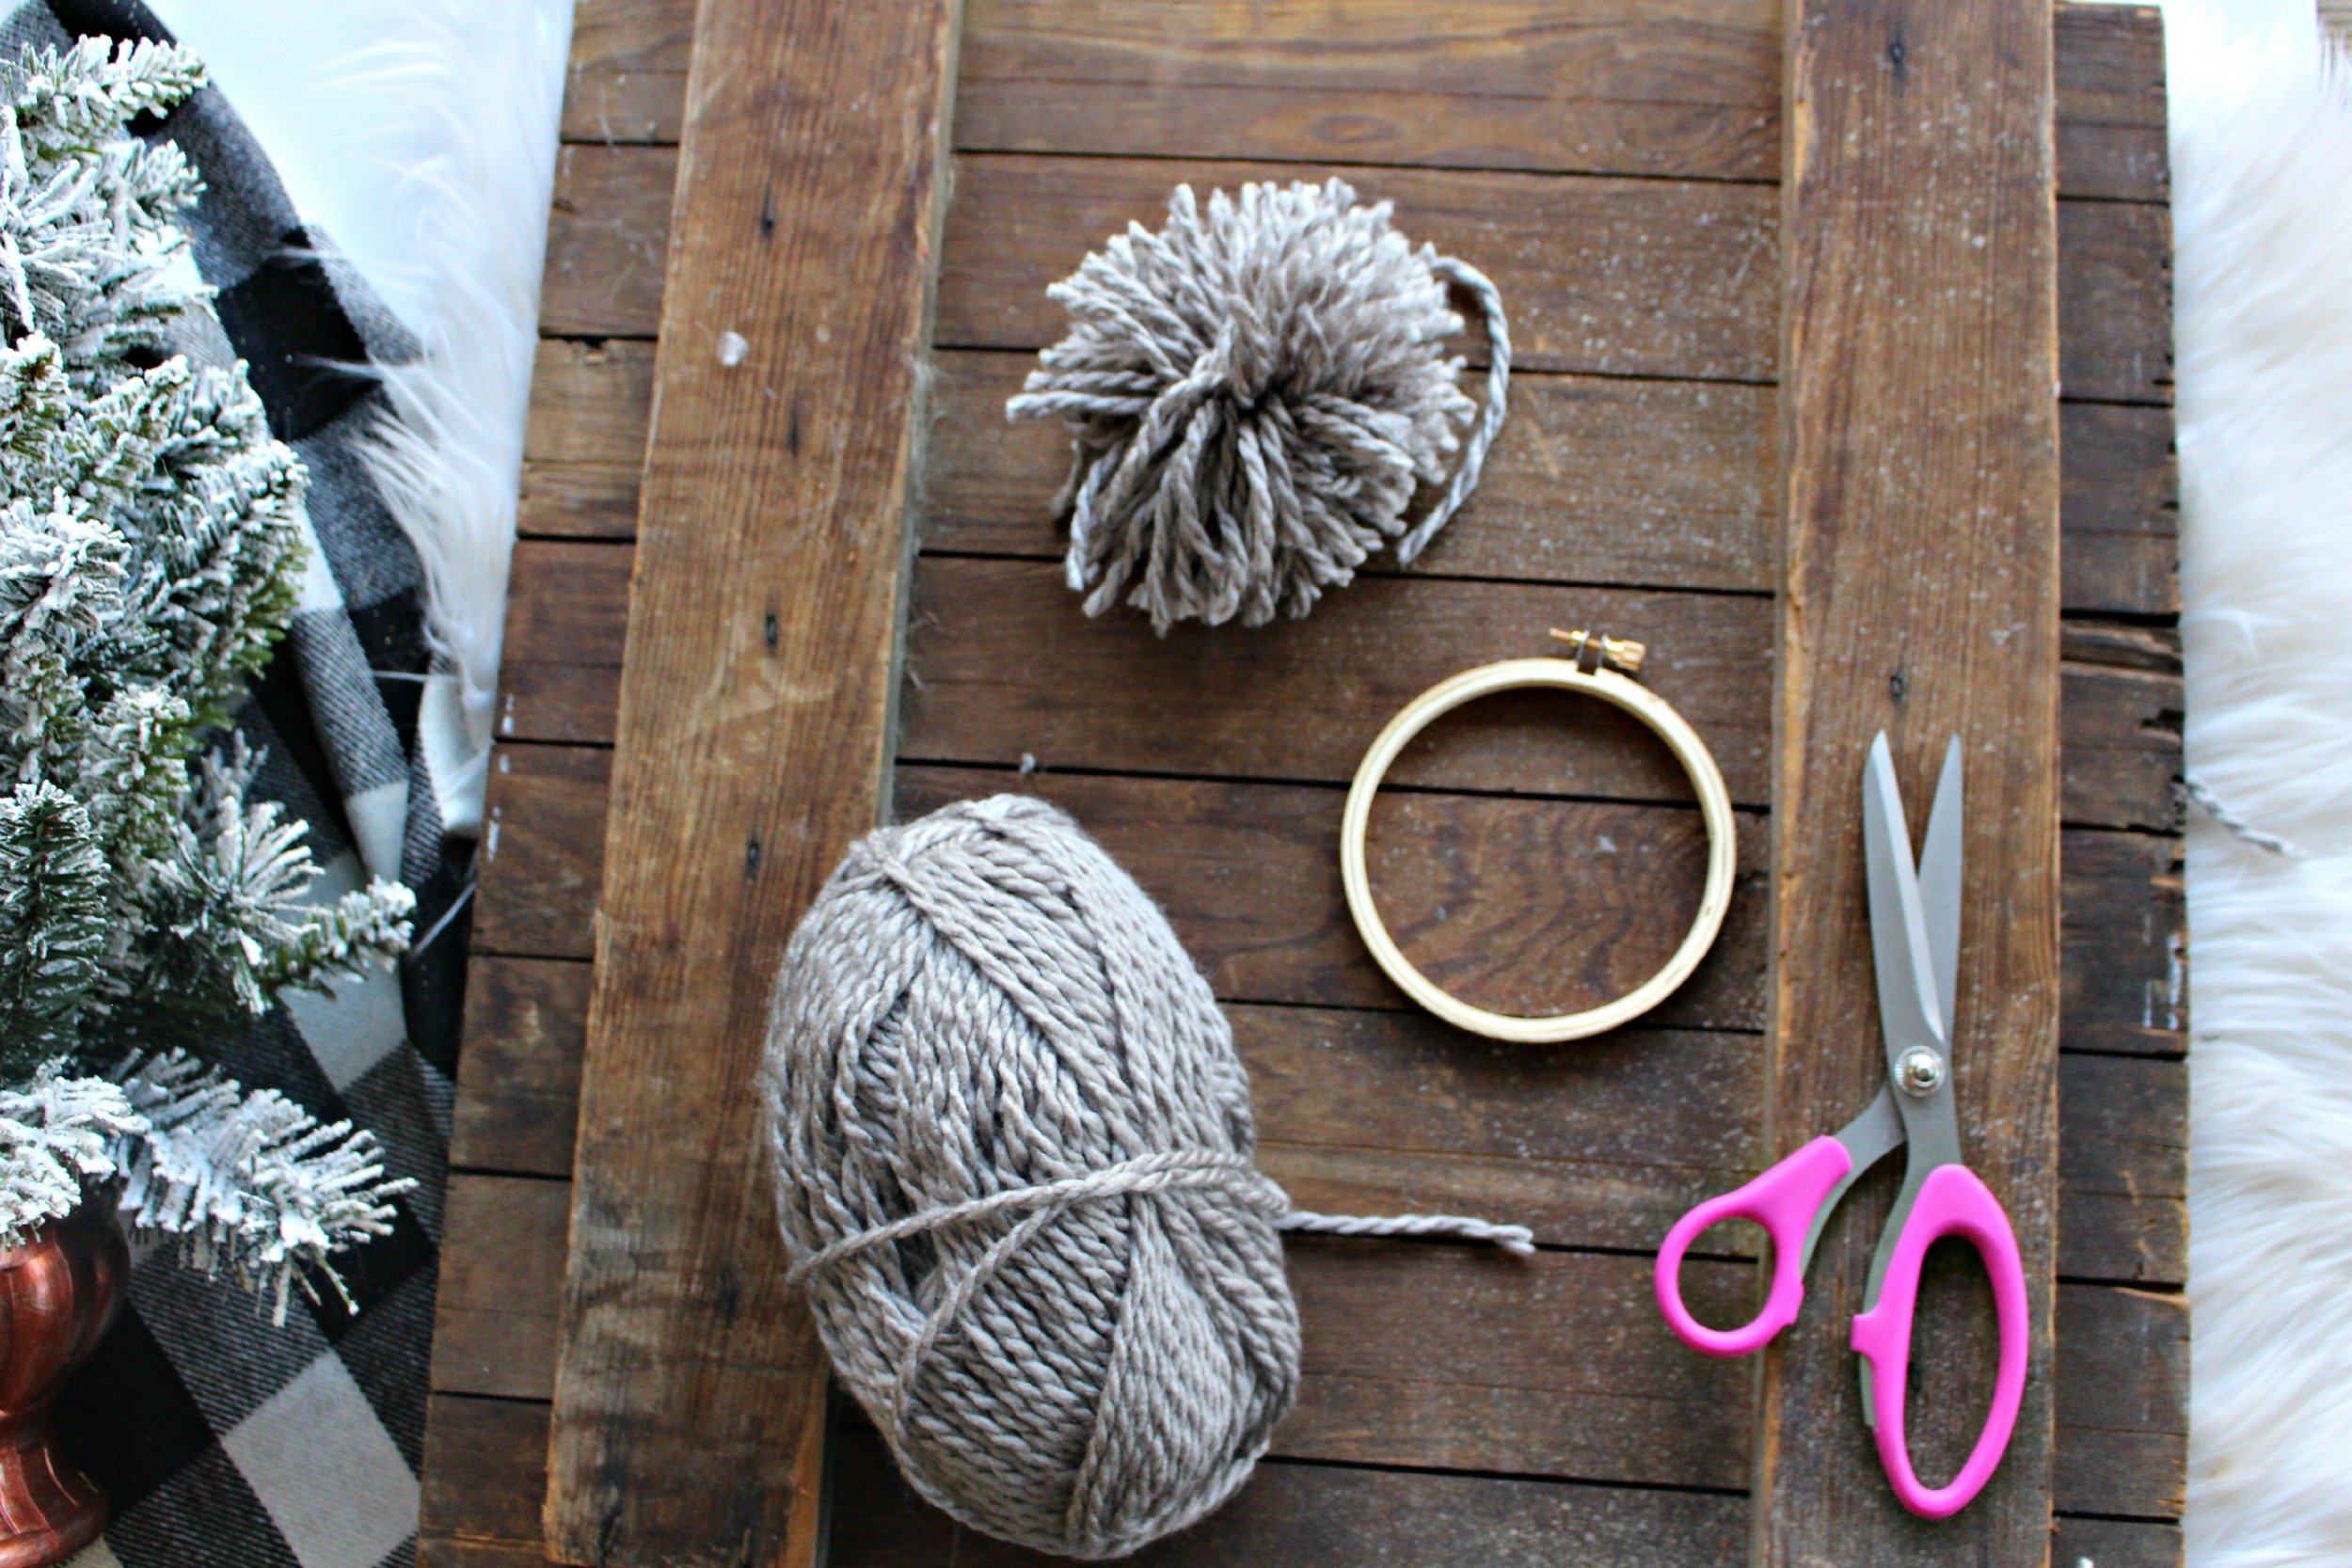
Grab these items to get started on your pom-poms:
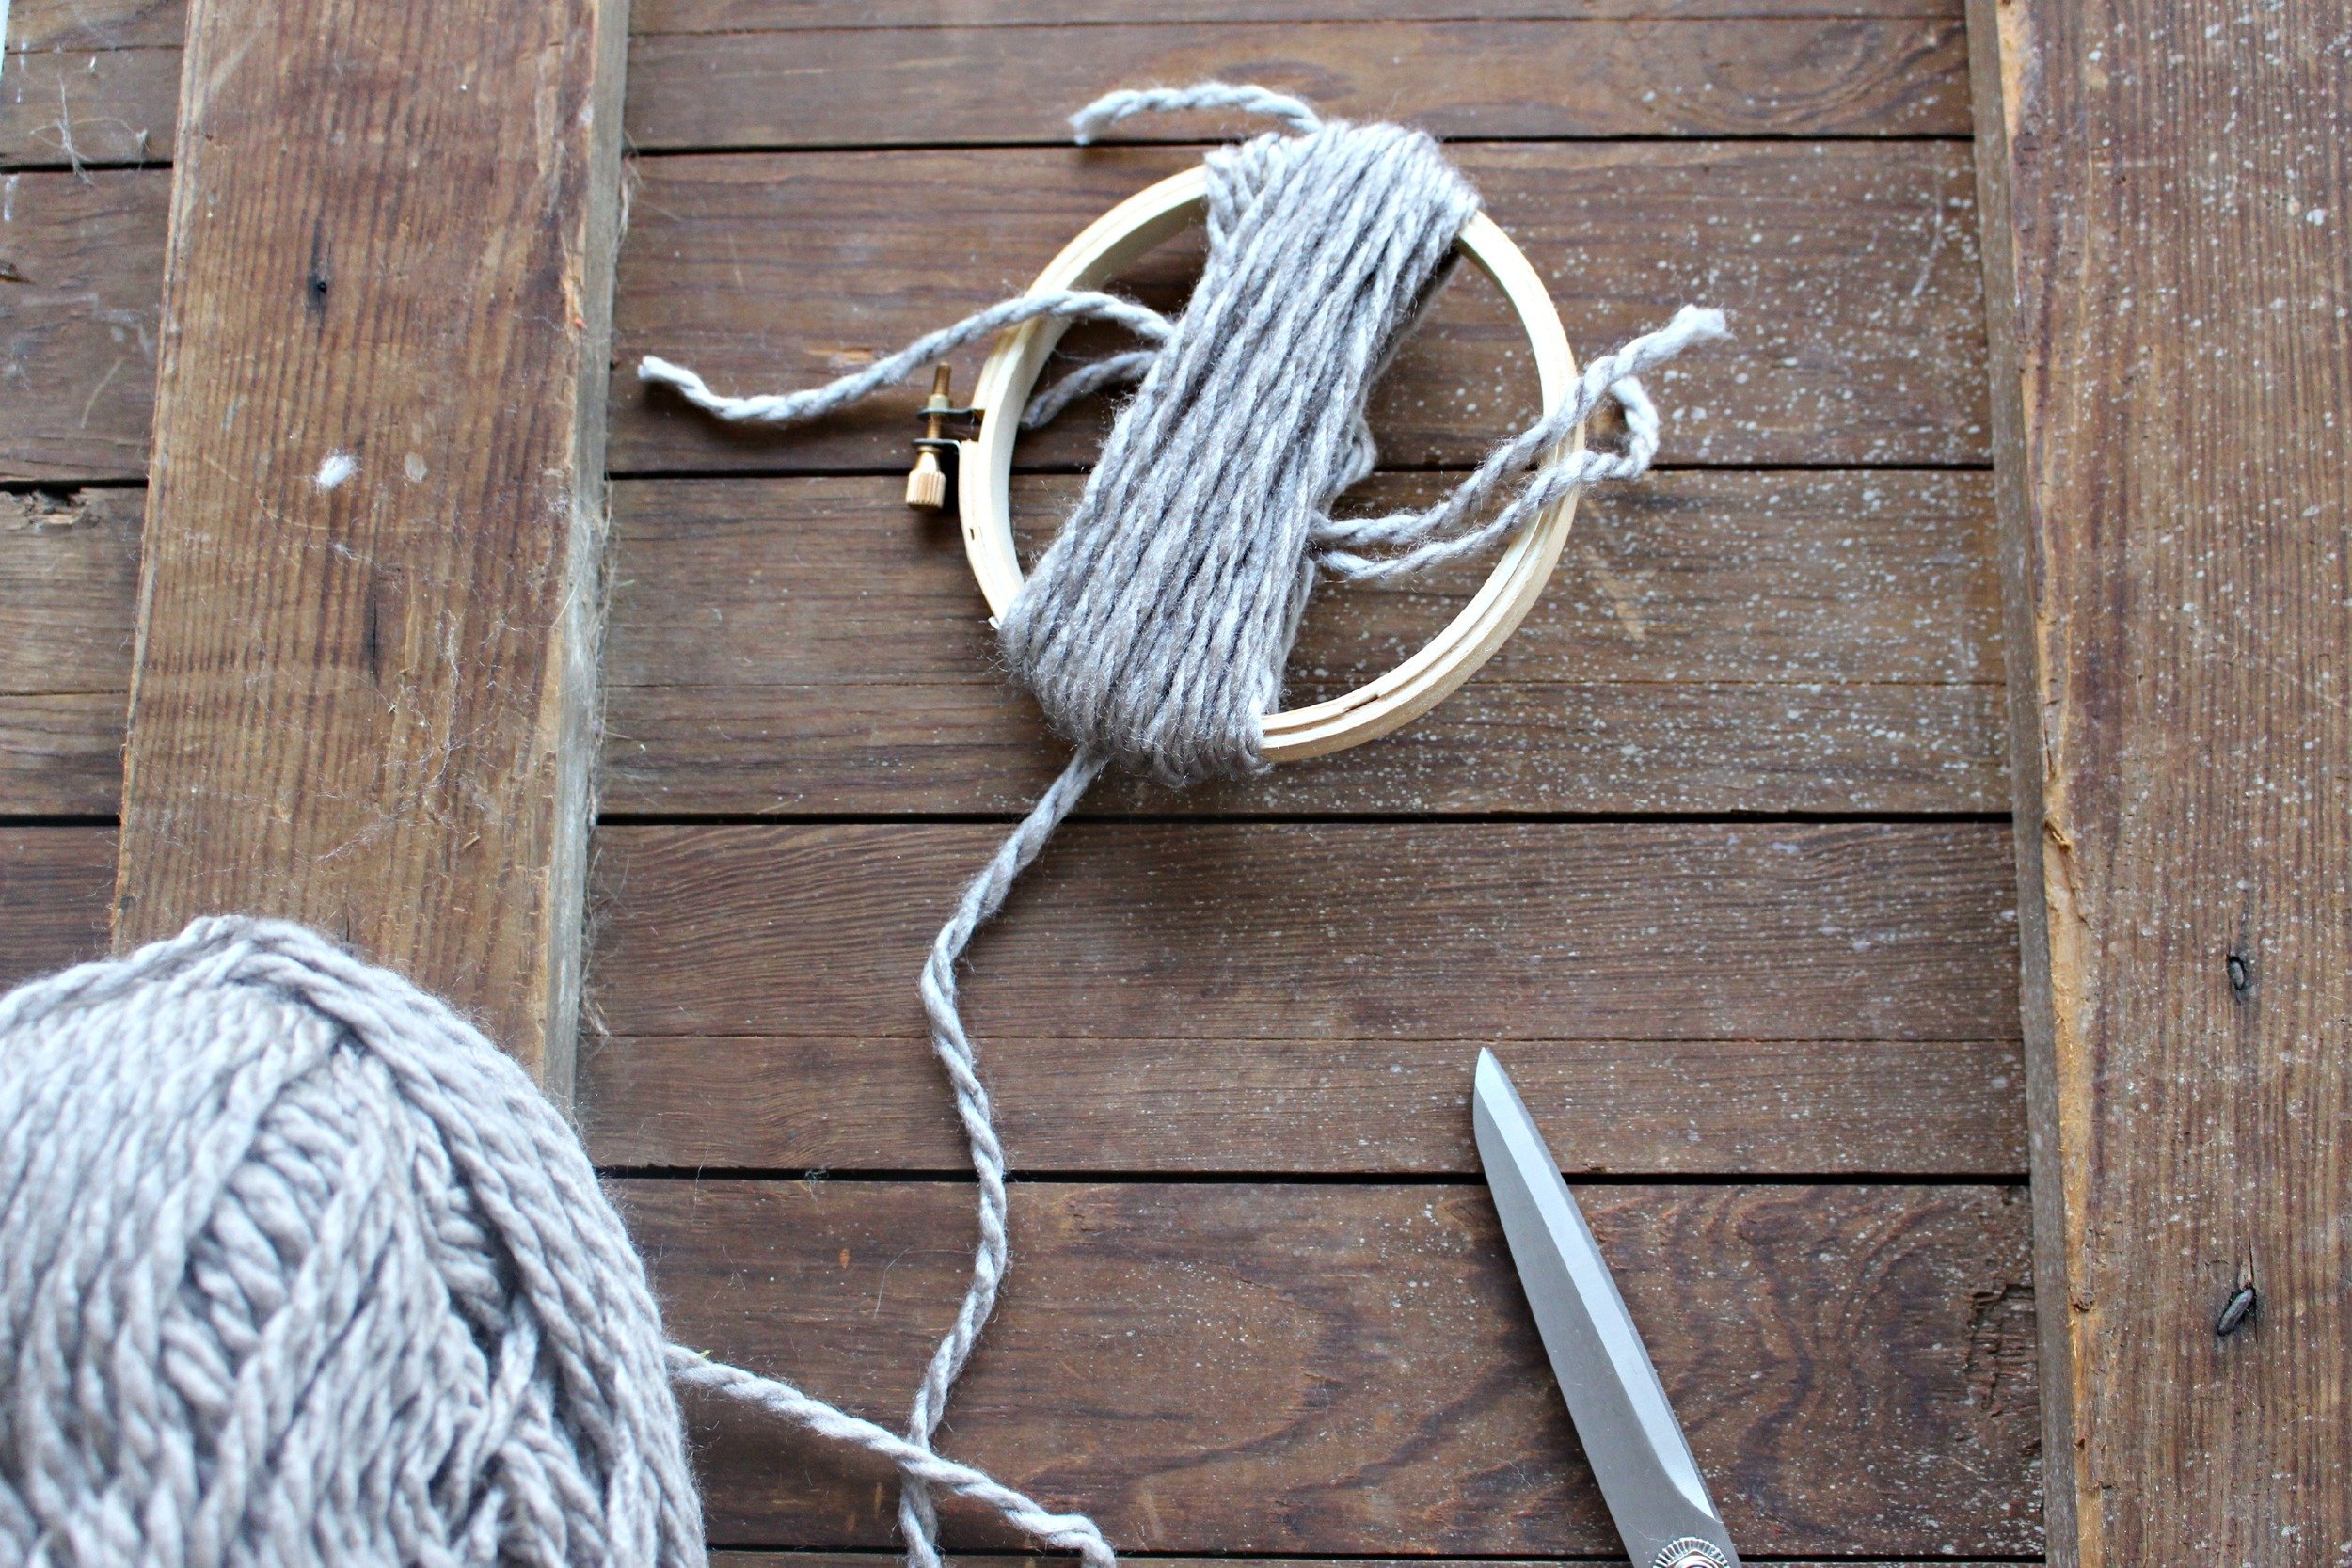
an embroidery hoop
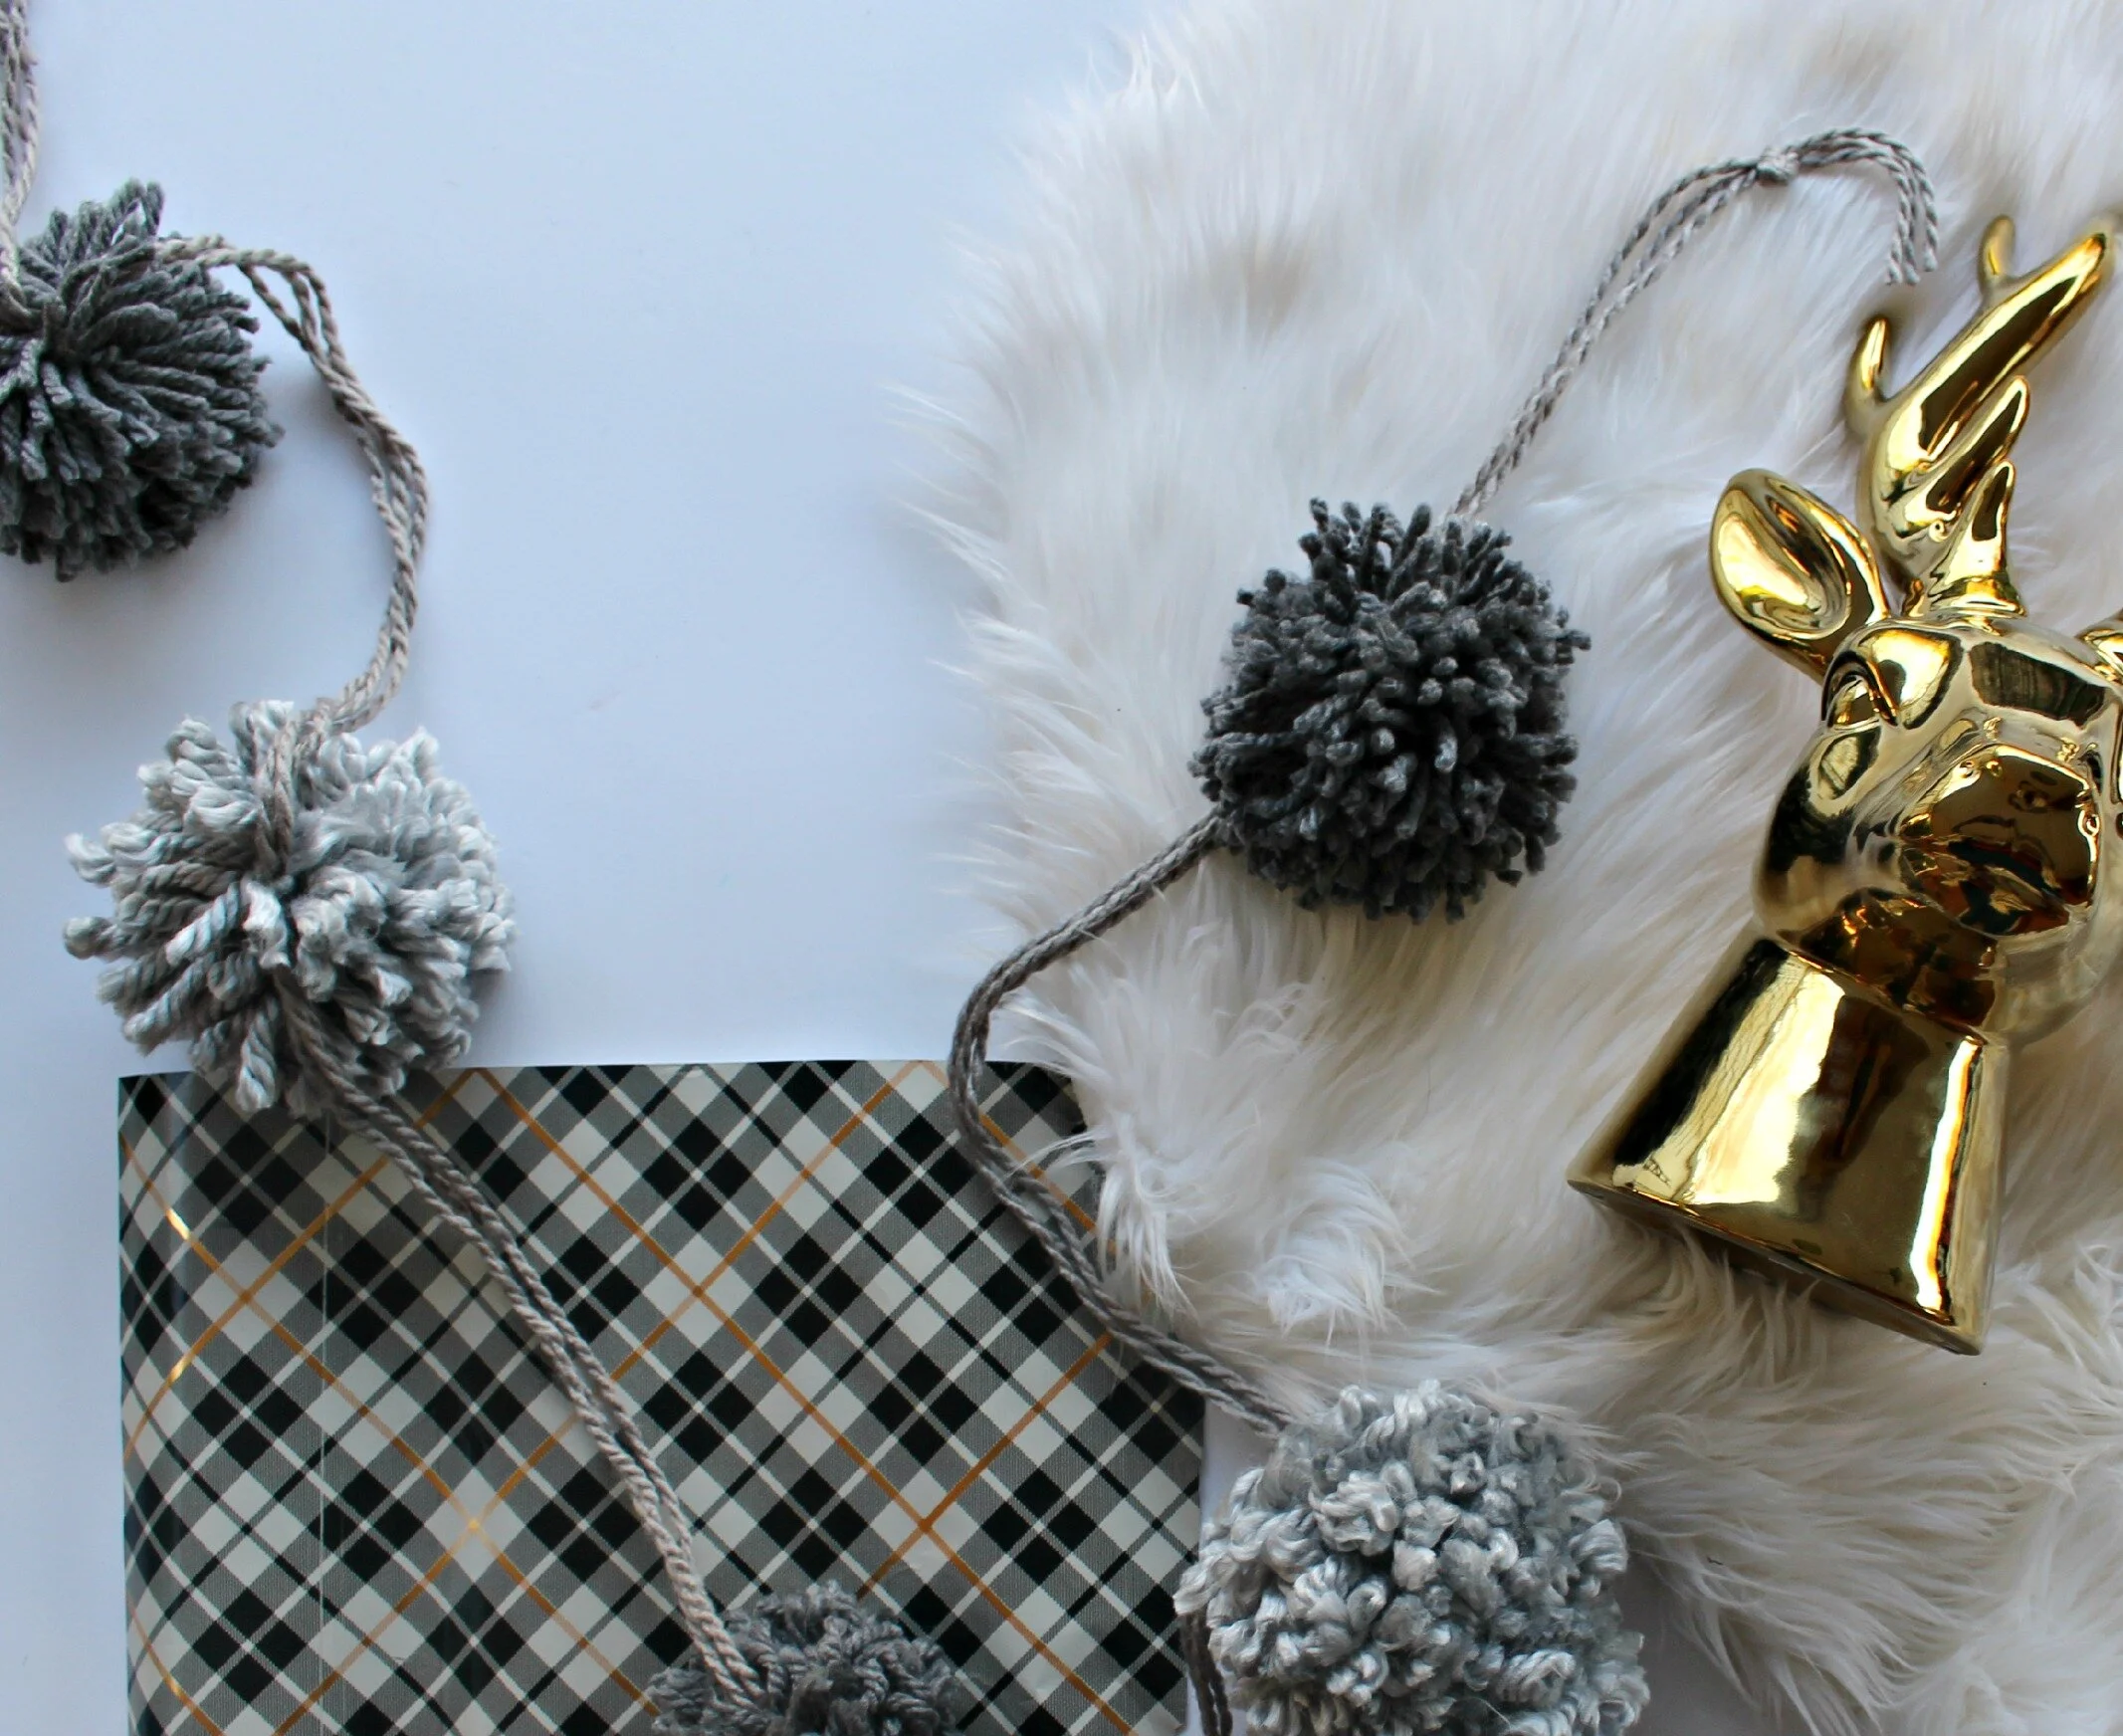
1-2 balls of thick yarn (depending on how many/how big your pom-poms are- I made 5 large poms with about 1.5 packages)
sharp scissors


FLIP THROUGH THE PHOTOS ABOVE FOR STEP BY STEP PICTURES
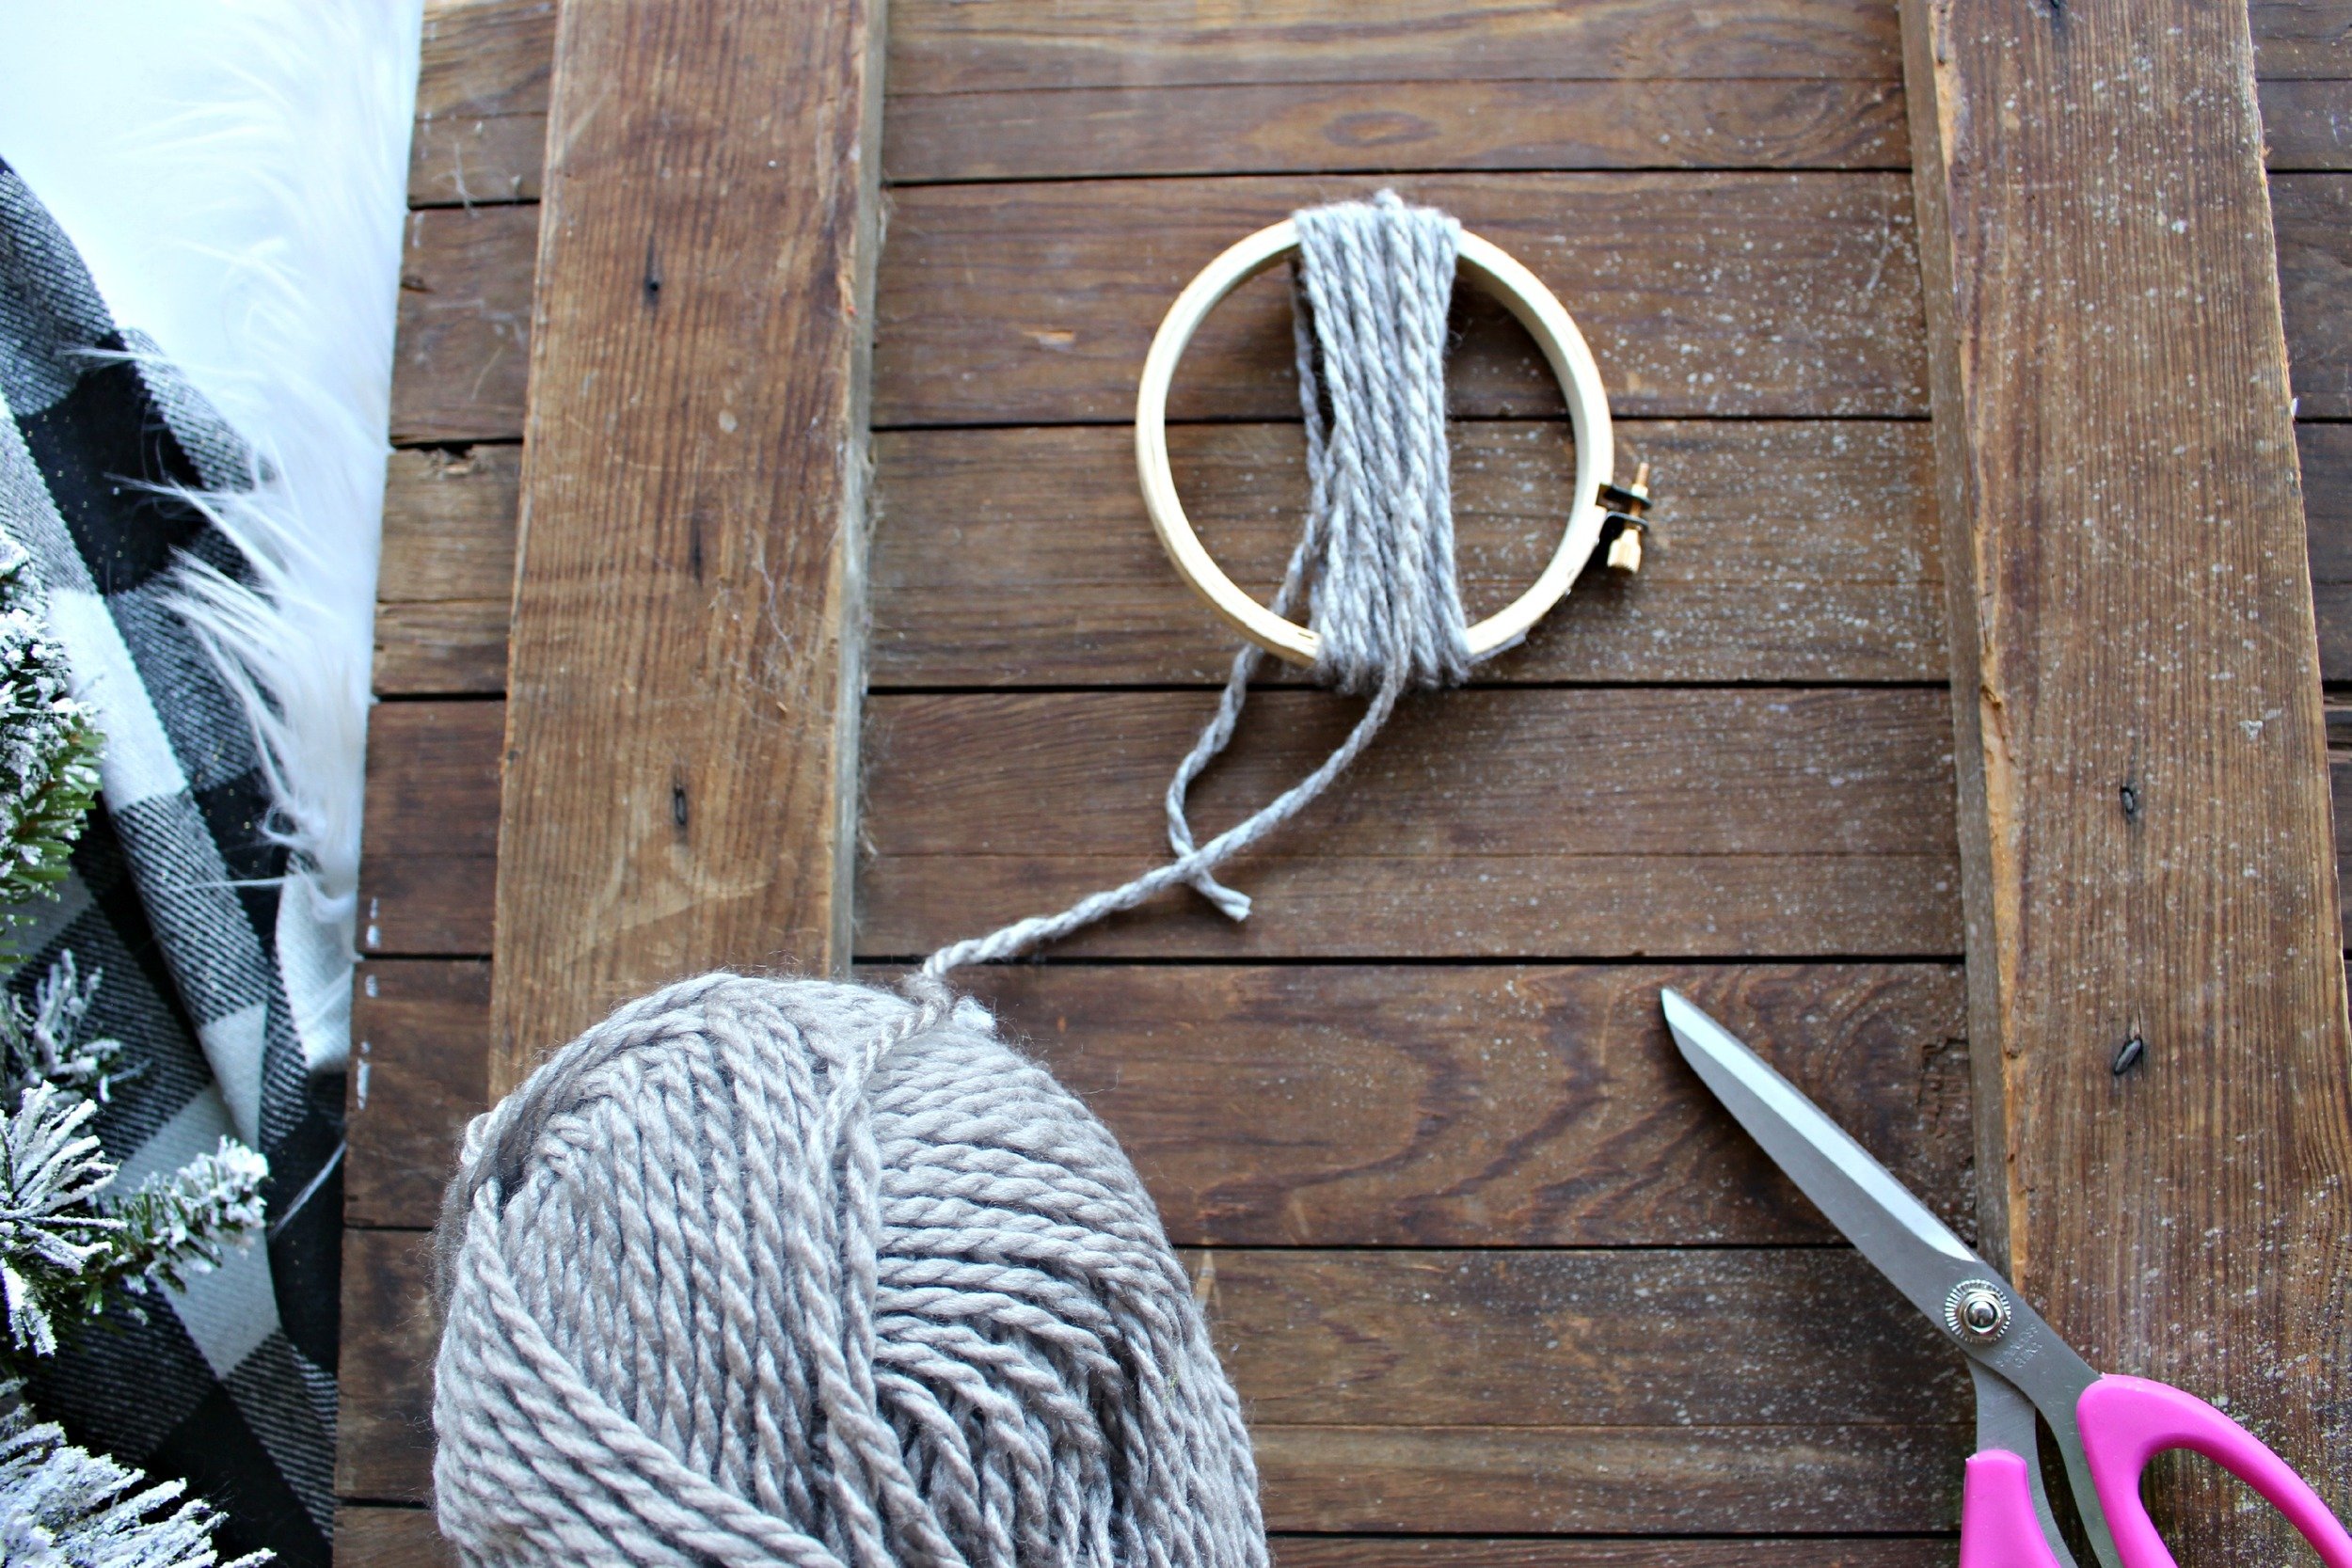
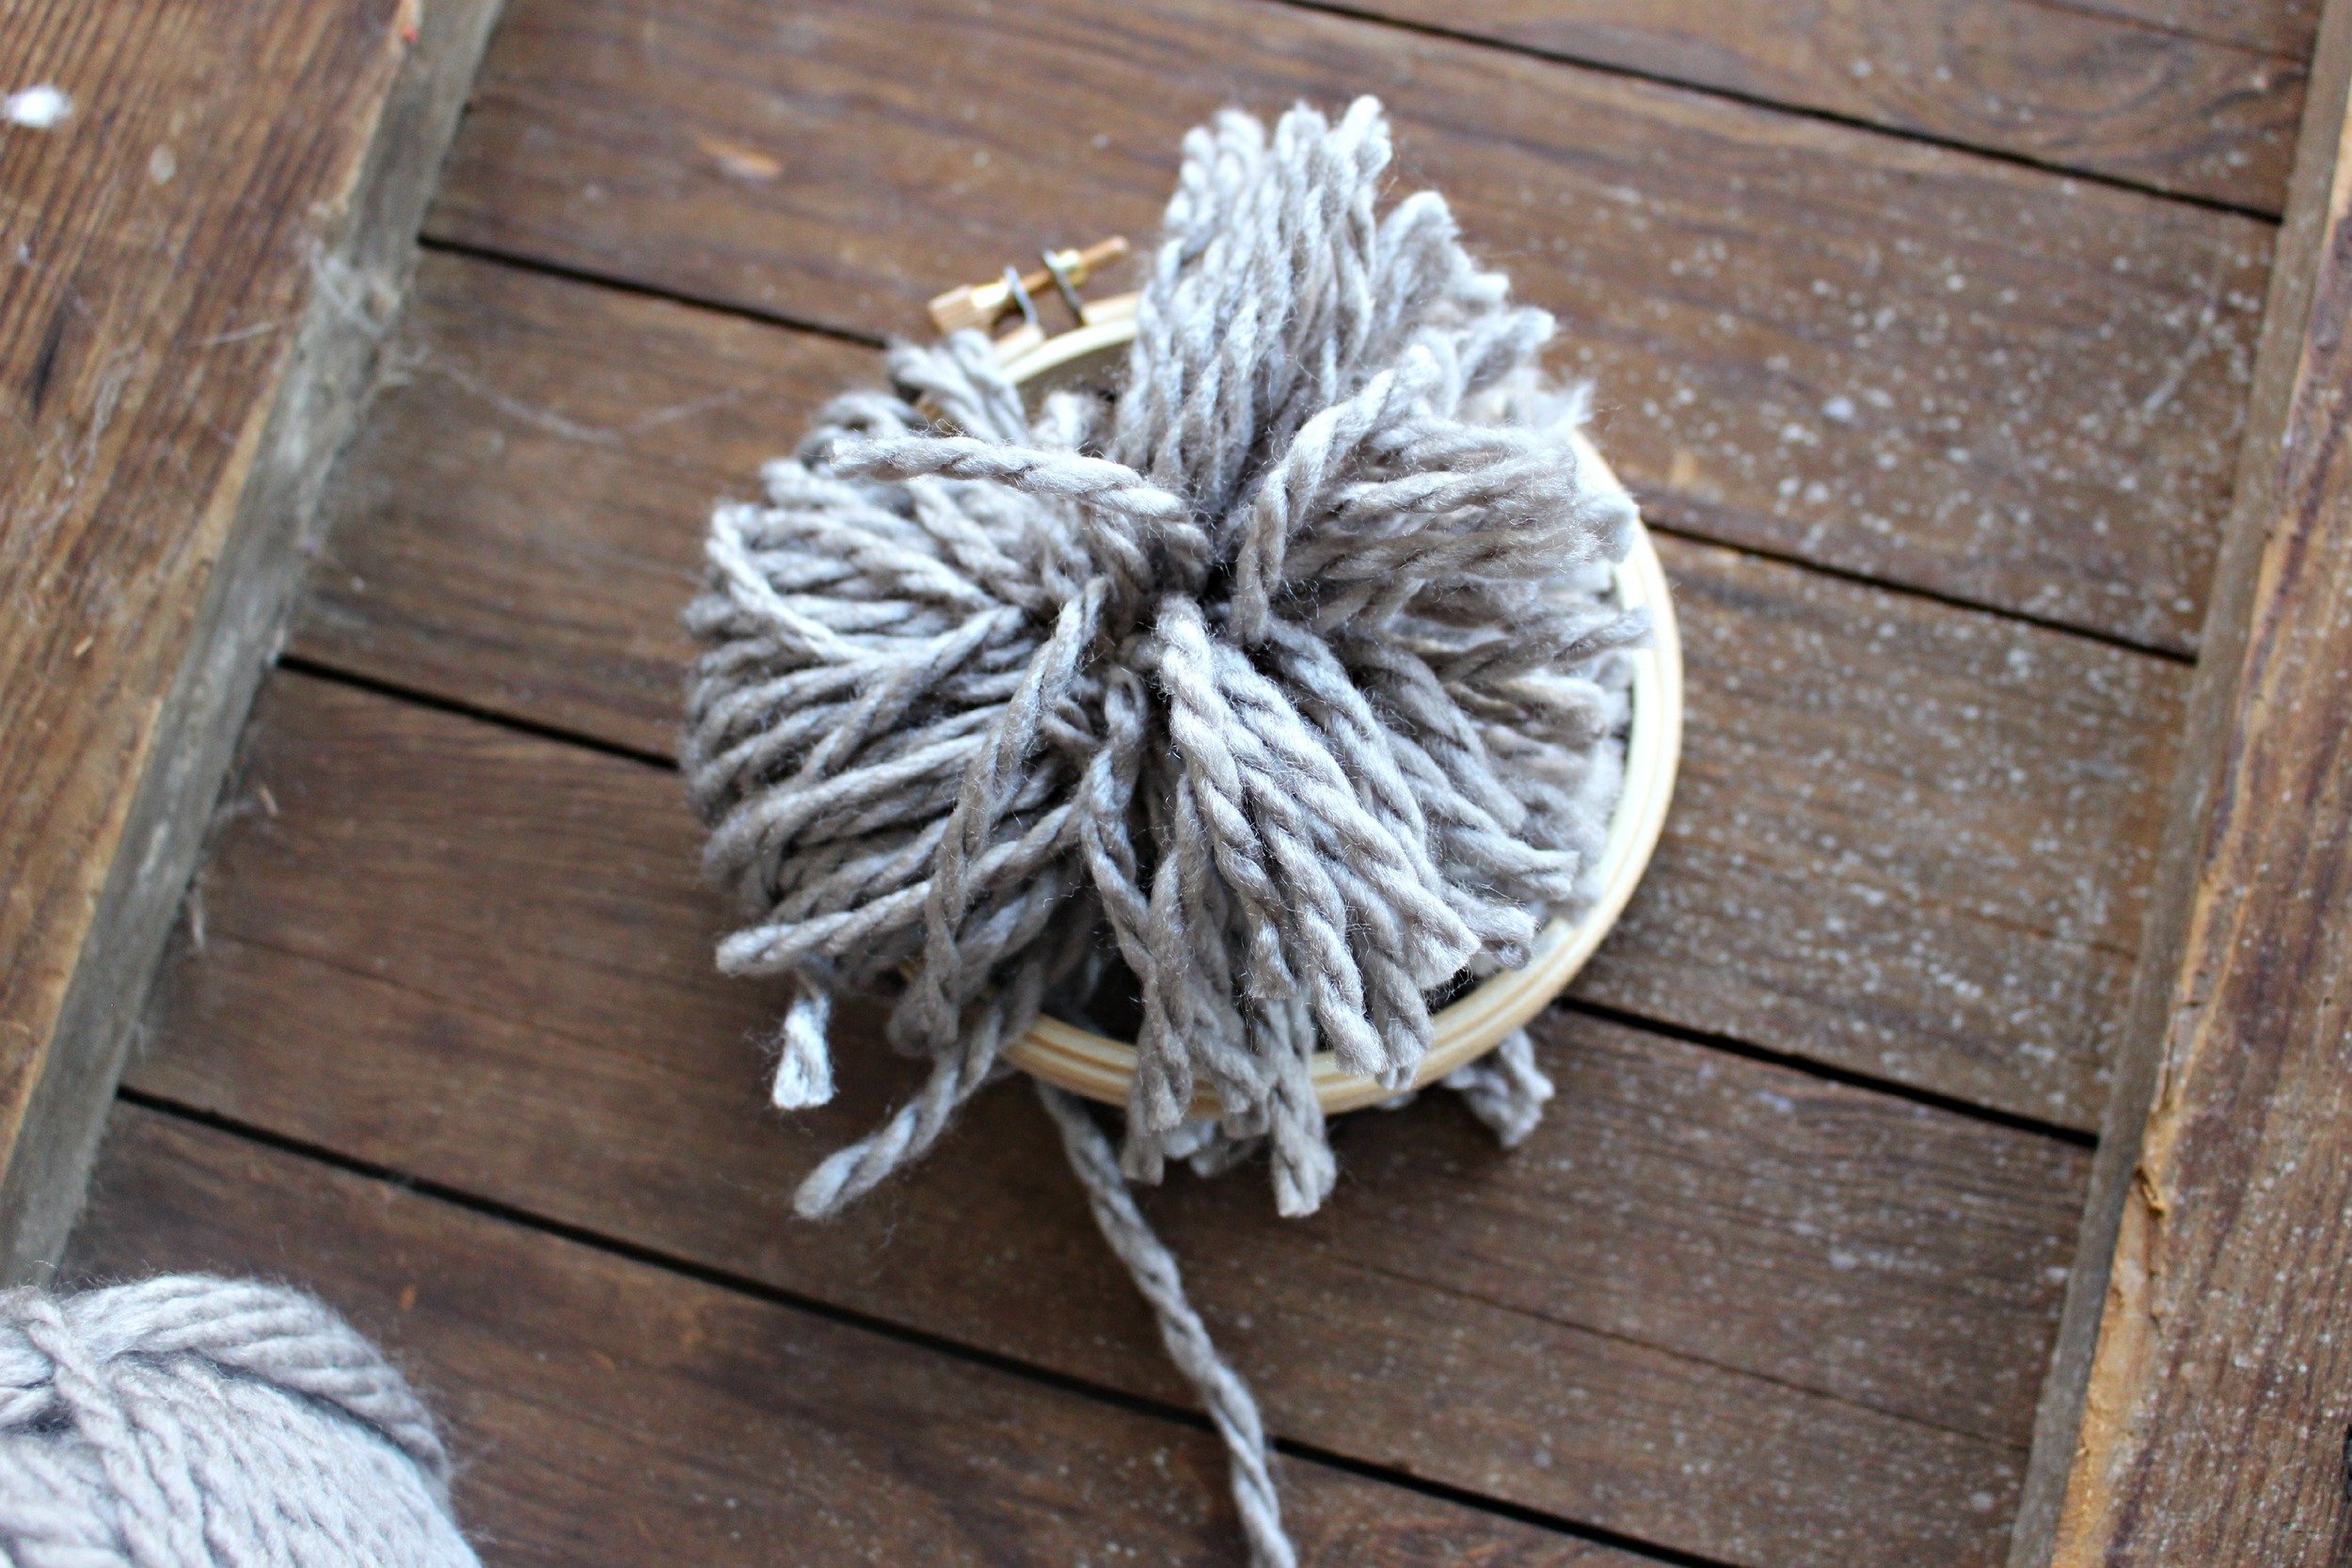
1. Wrap your yarn around your hoop 10-15 times (the thicker/more you wrap, the chunkier your pom-poms!)
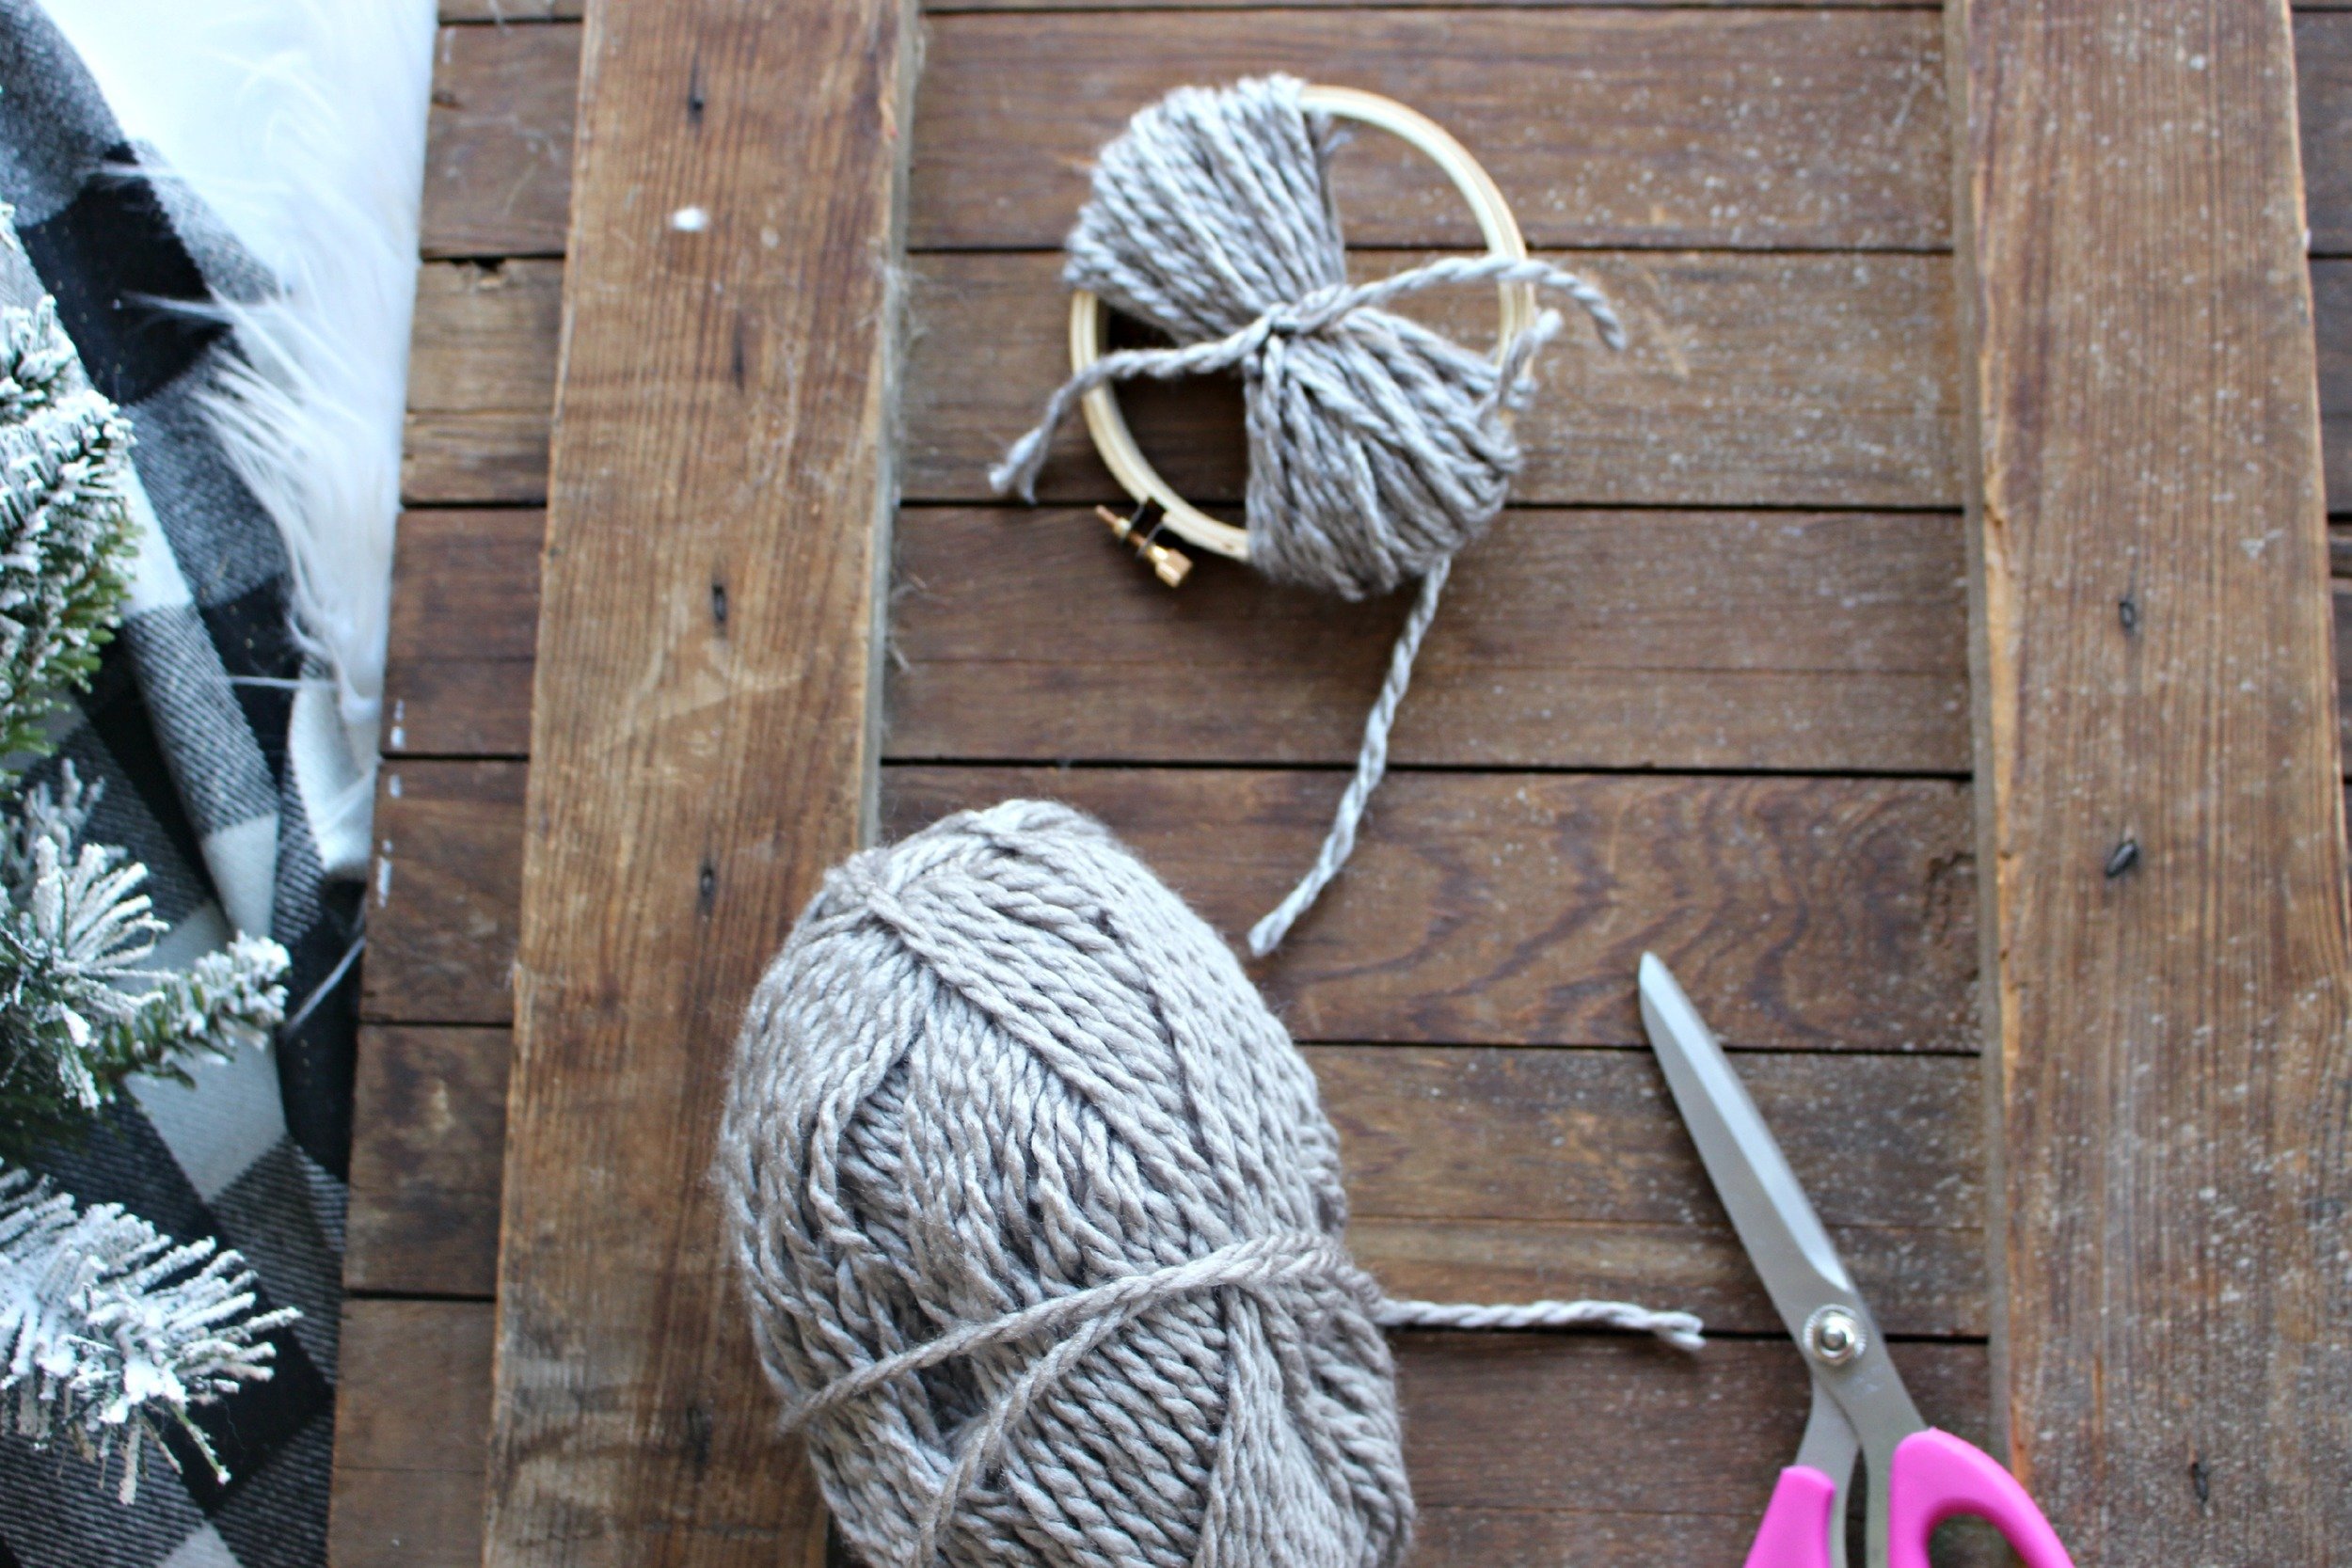
2. Cut your yarn away from the ball.
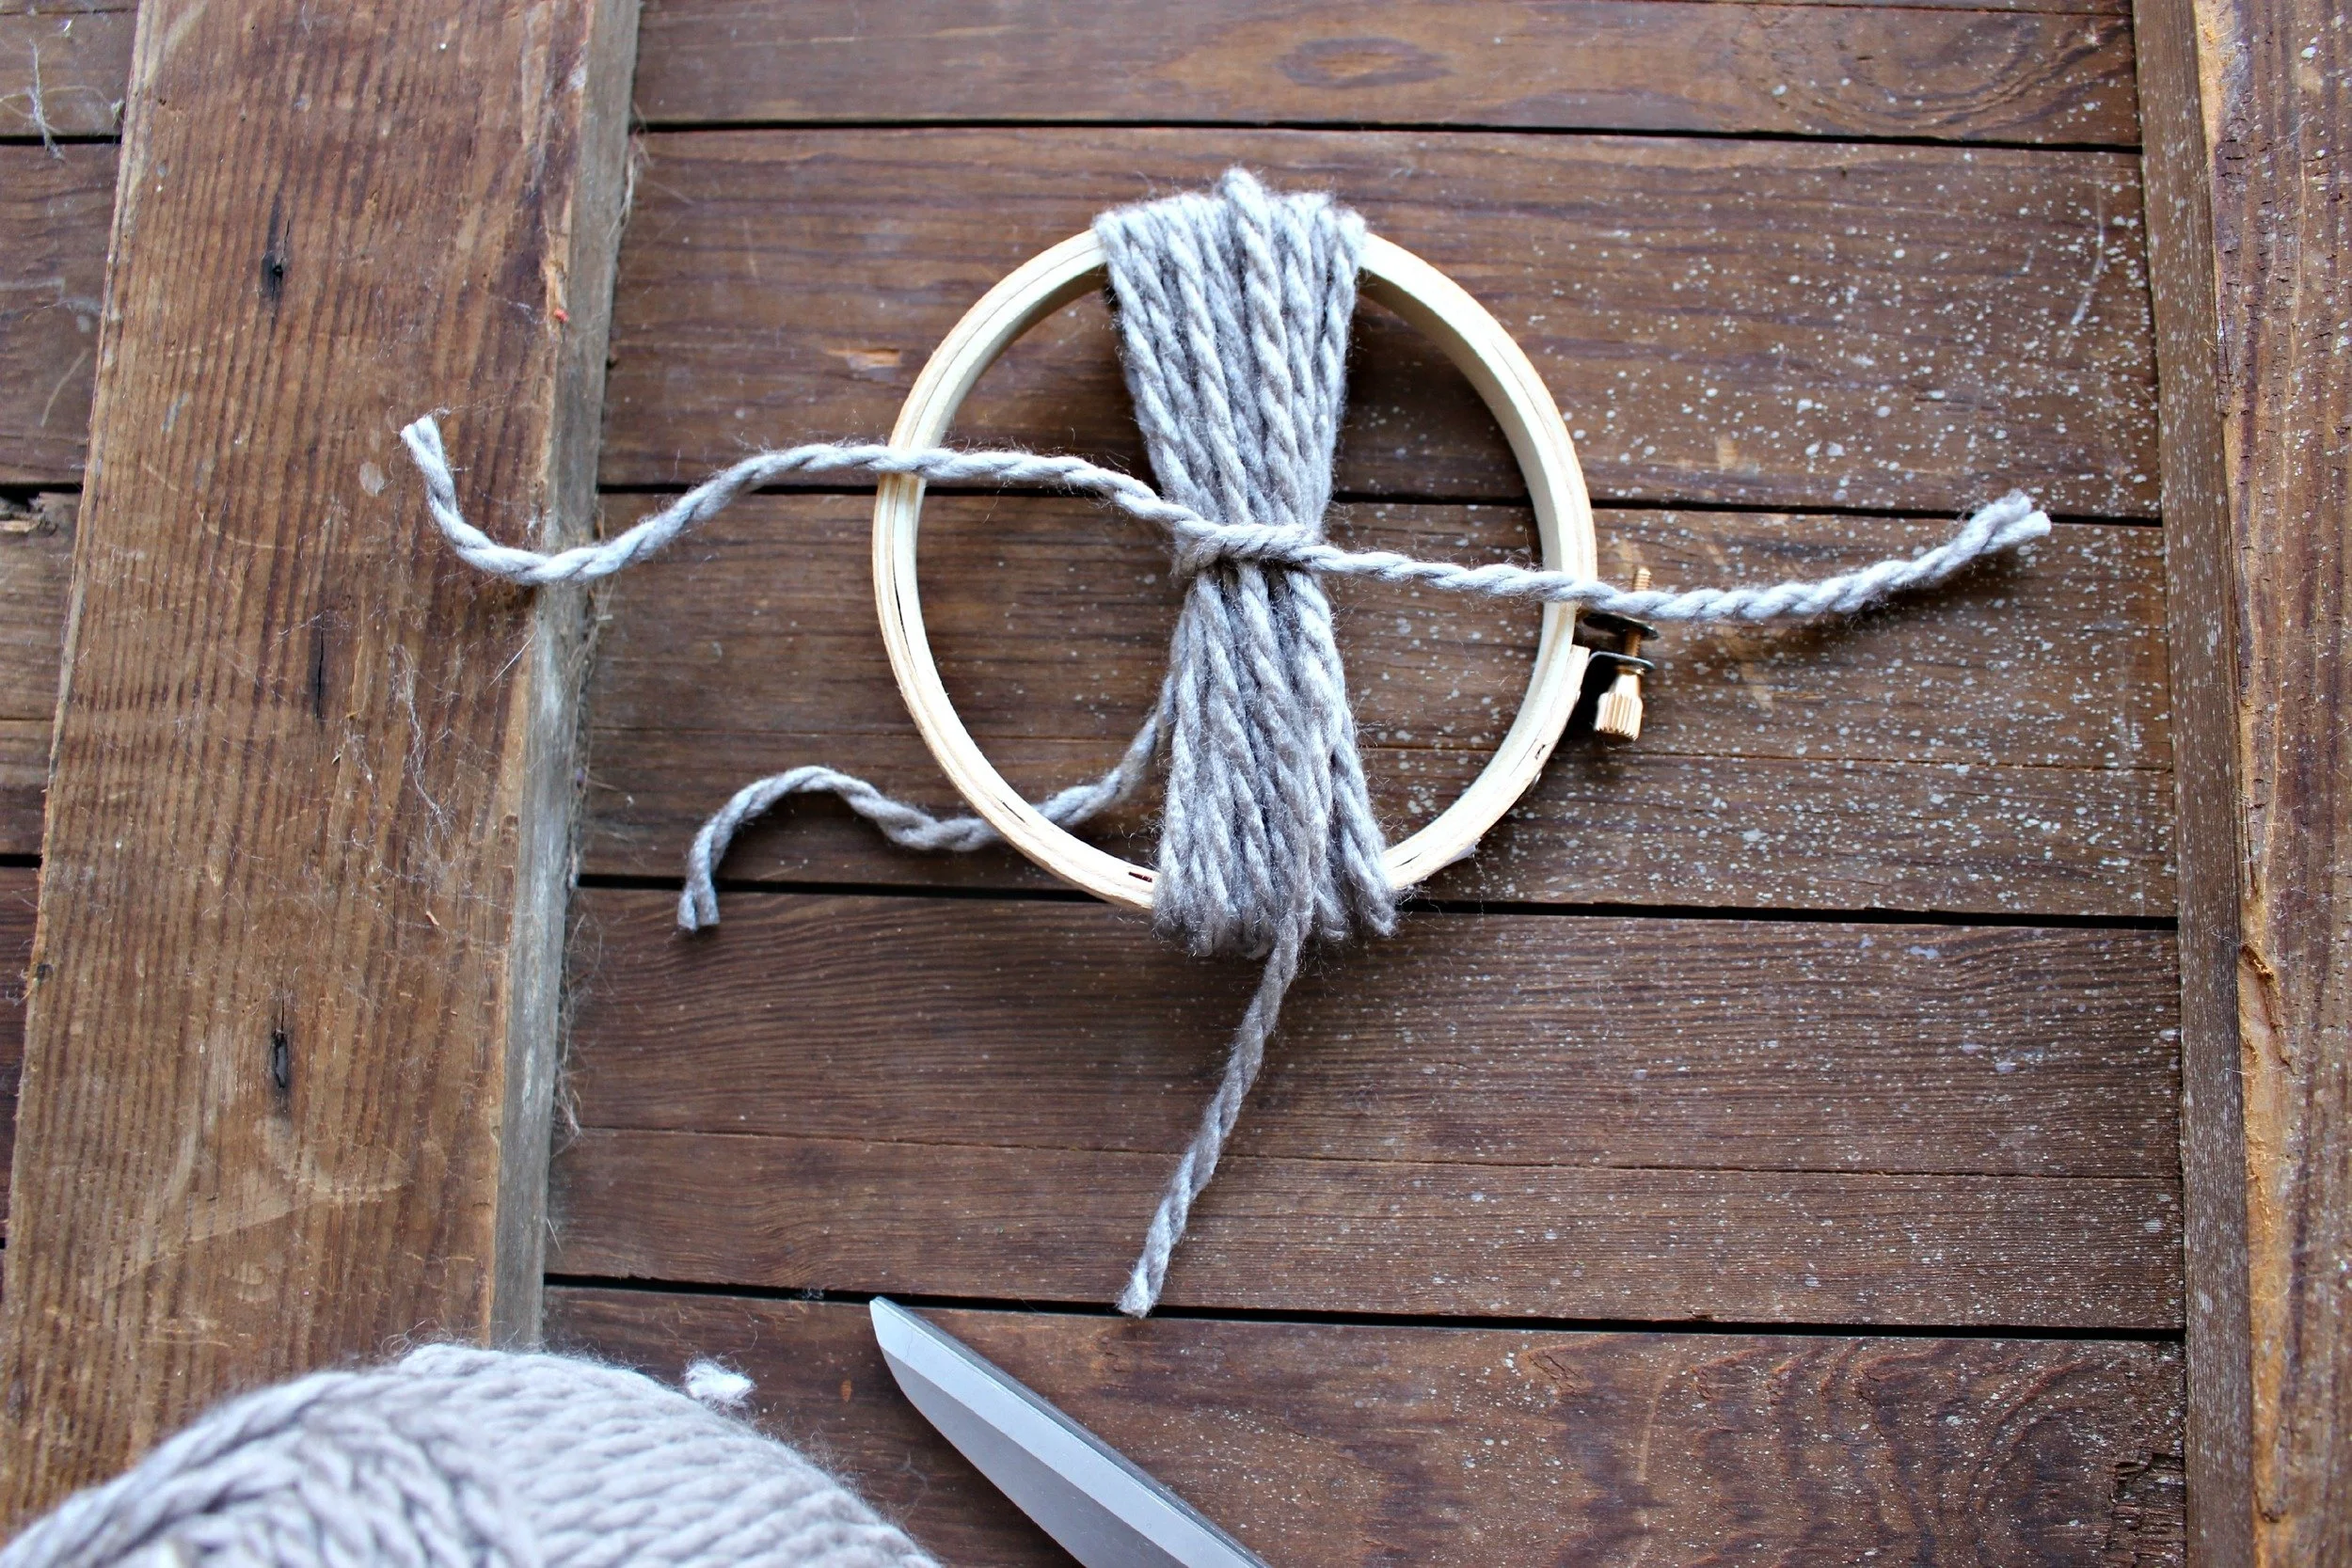
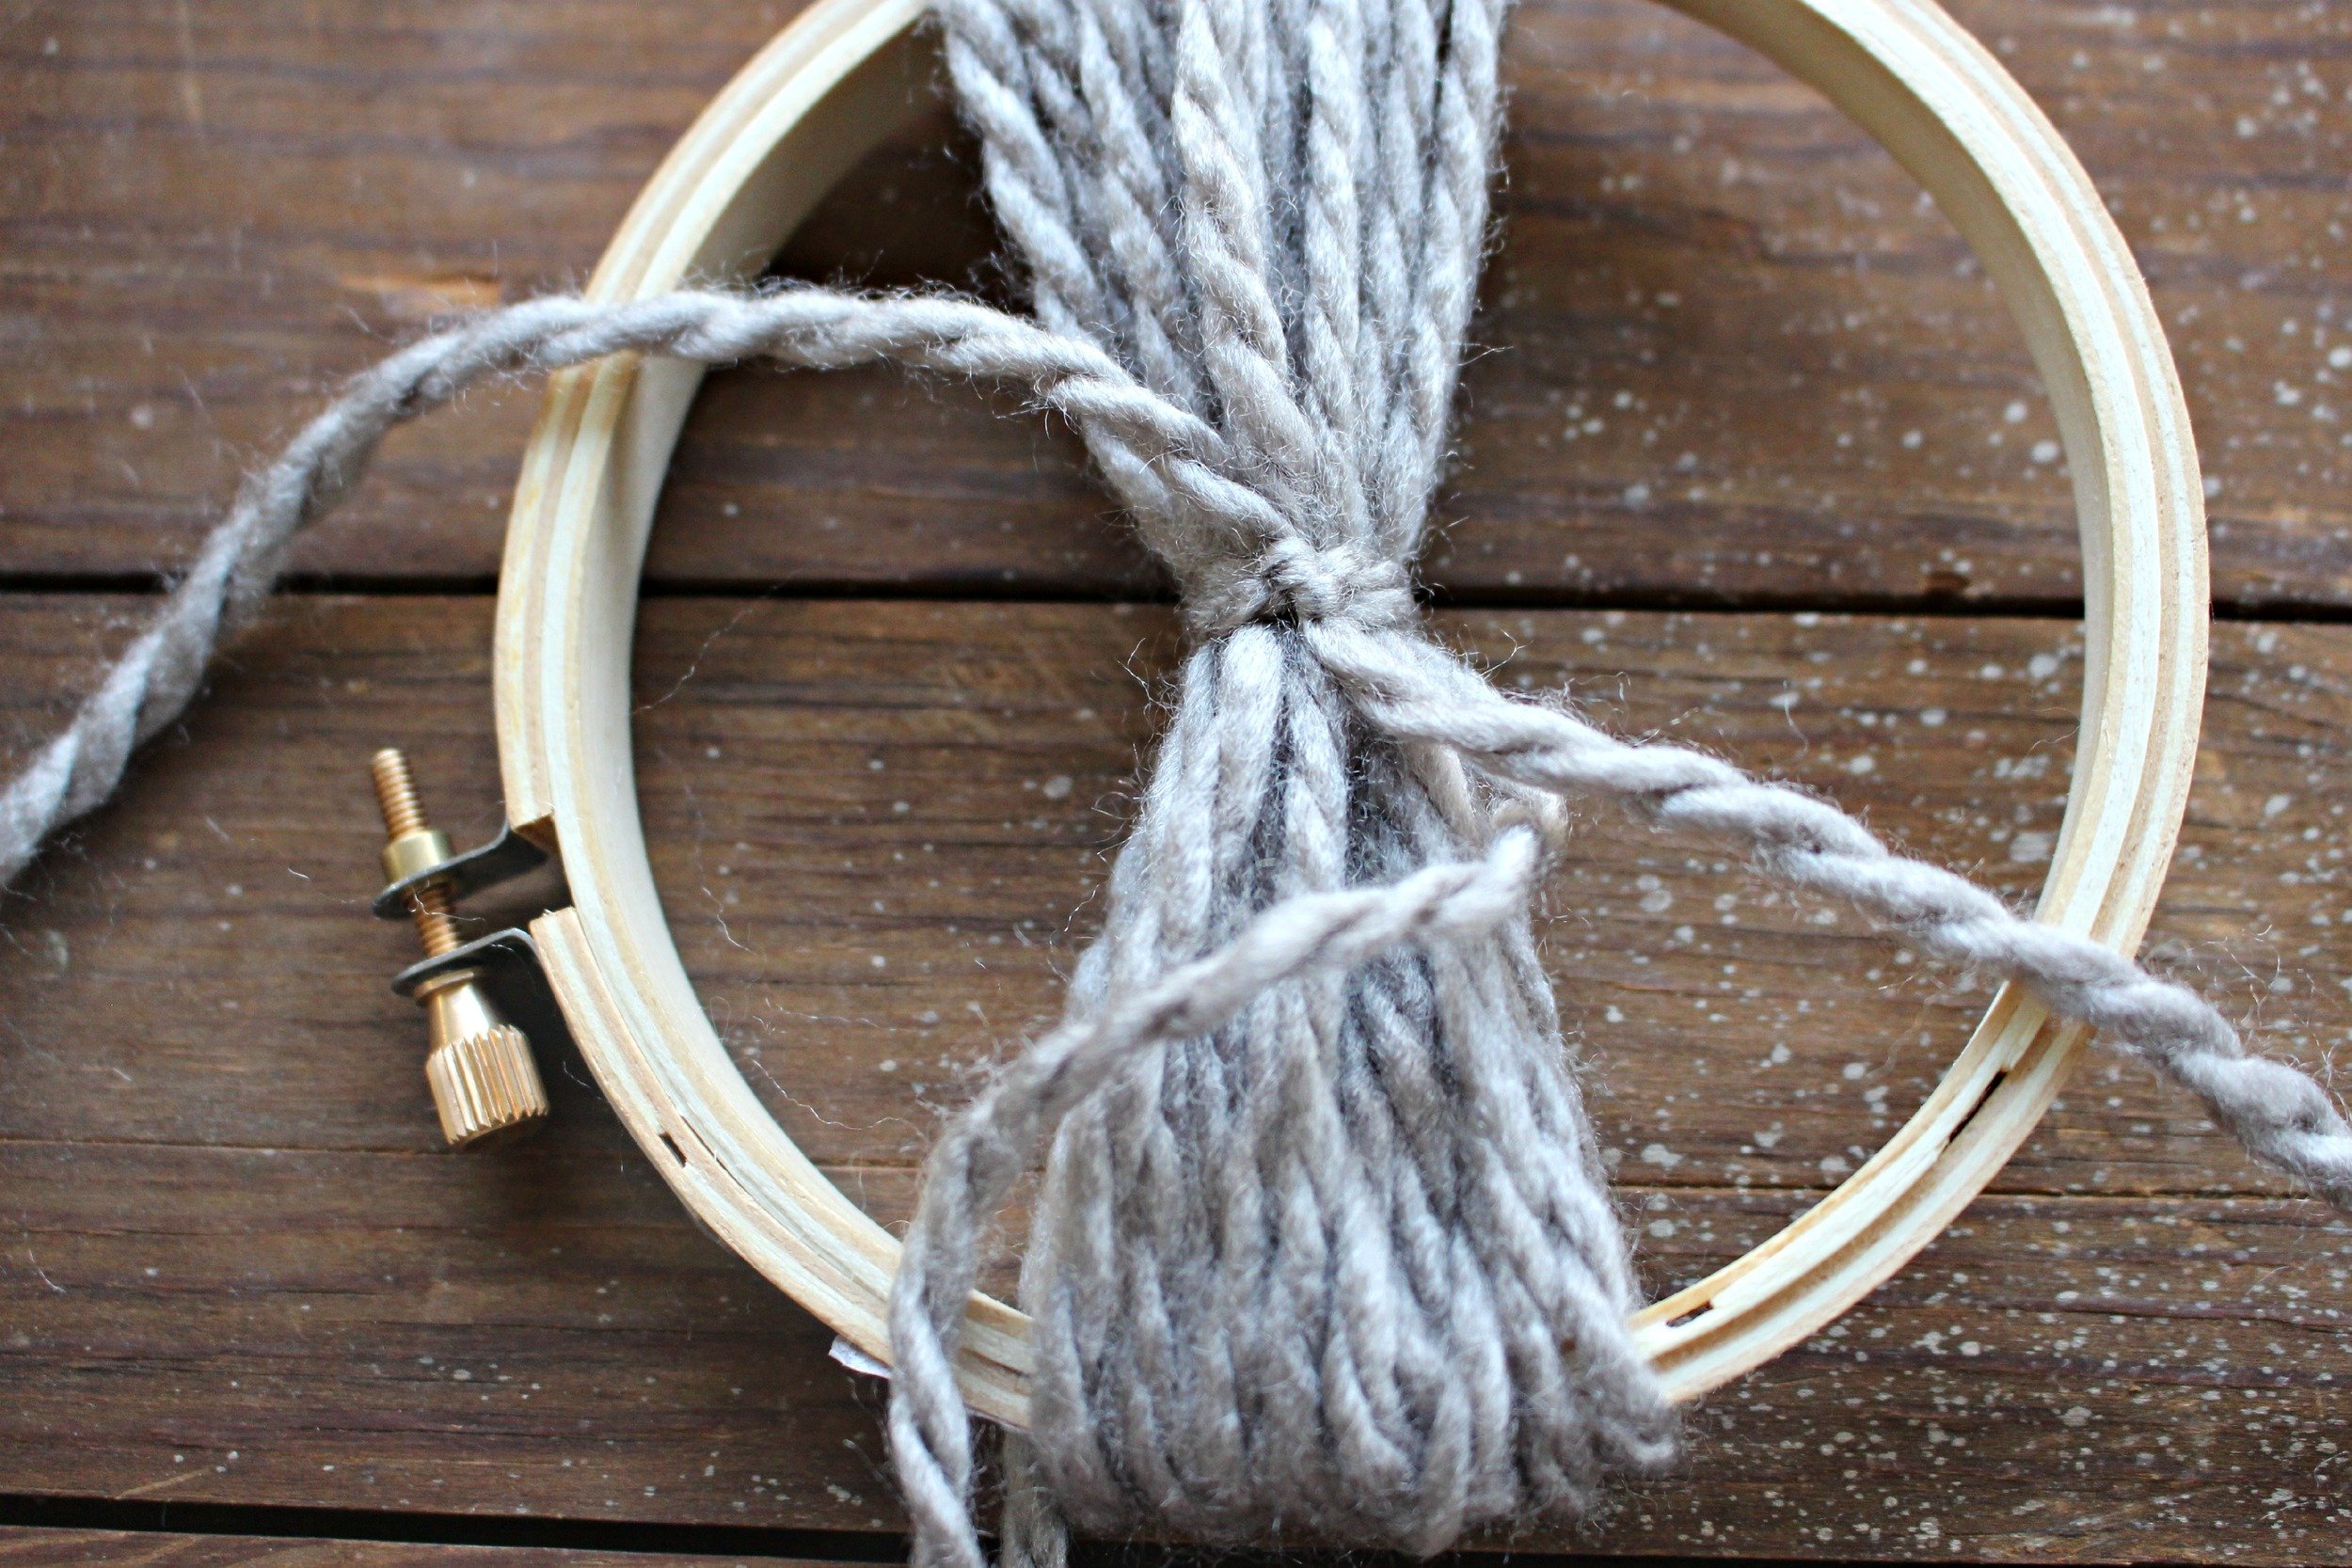
3. Cut a small piece of yarn to tie around the center of your wrapped yarn. Tie it as TIGHT as you can and double knot it (this is what makes your entire pom pom stay together!).
4. Flip your hoop over and using that same piece of yarn tie it tightly in a double knot on the other side as well, so that there is a tight double knot on both sides. You don't have to trim any extra pieces or yarn hanging from your knot, just leave it for now.
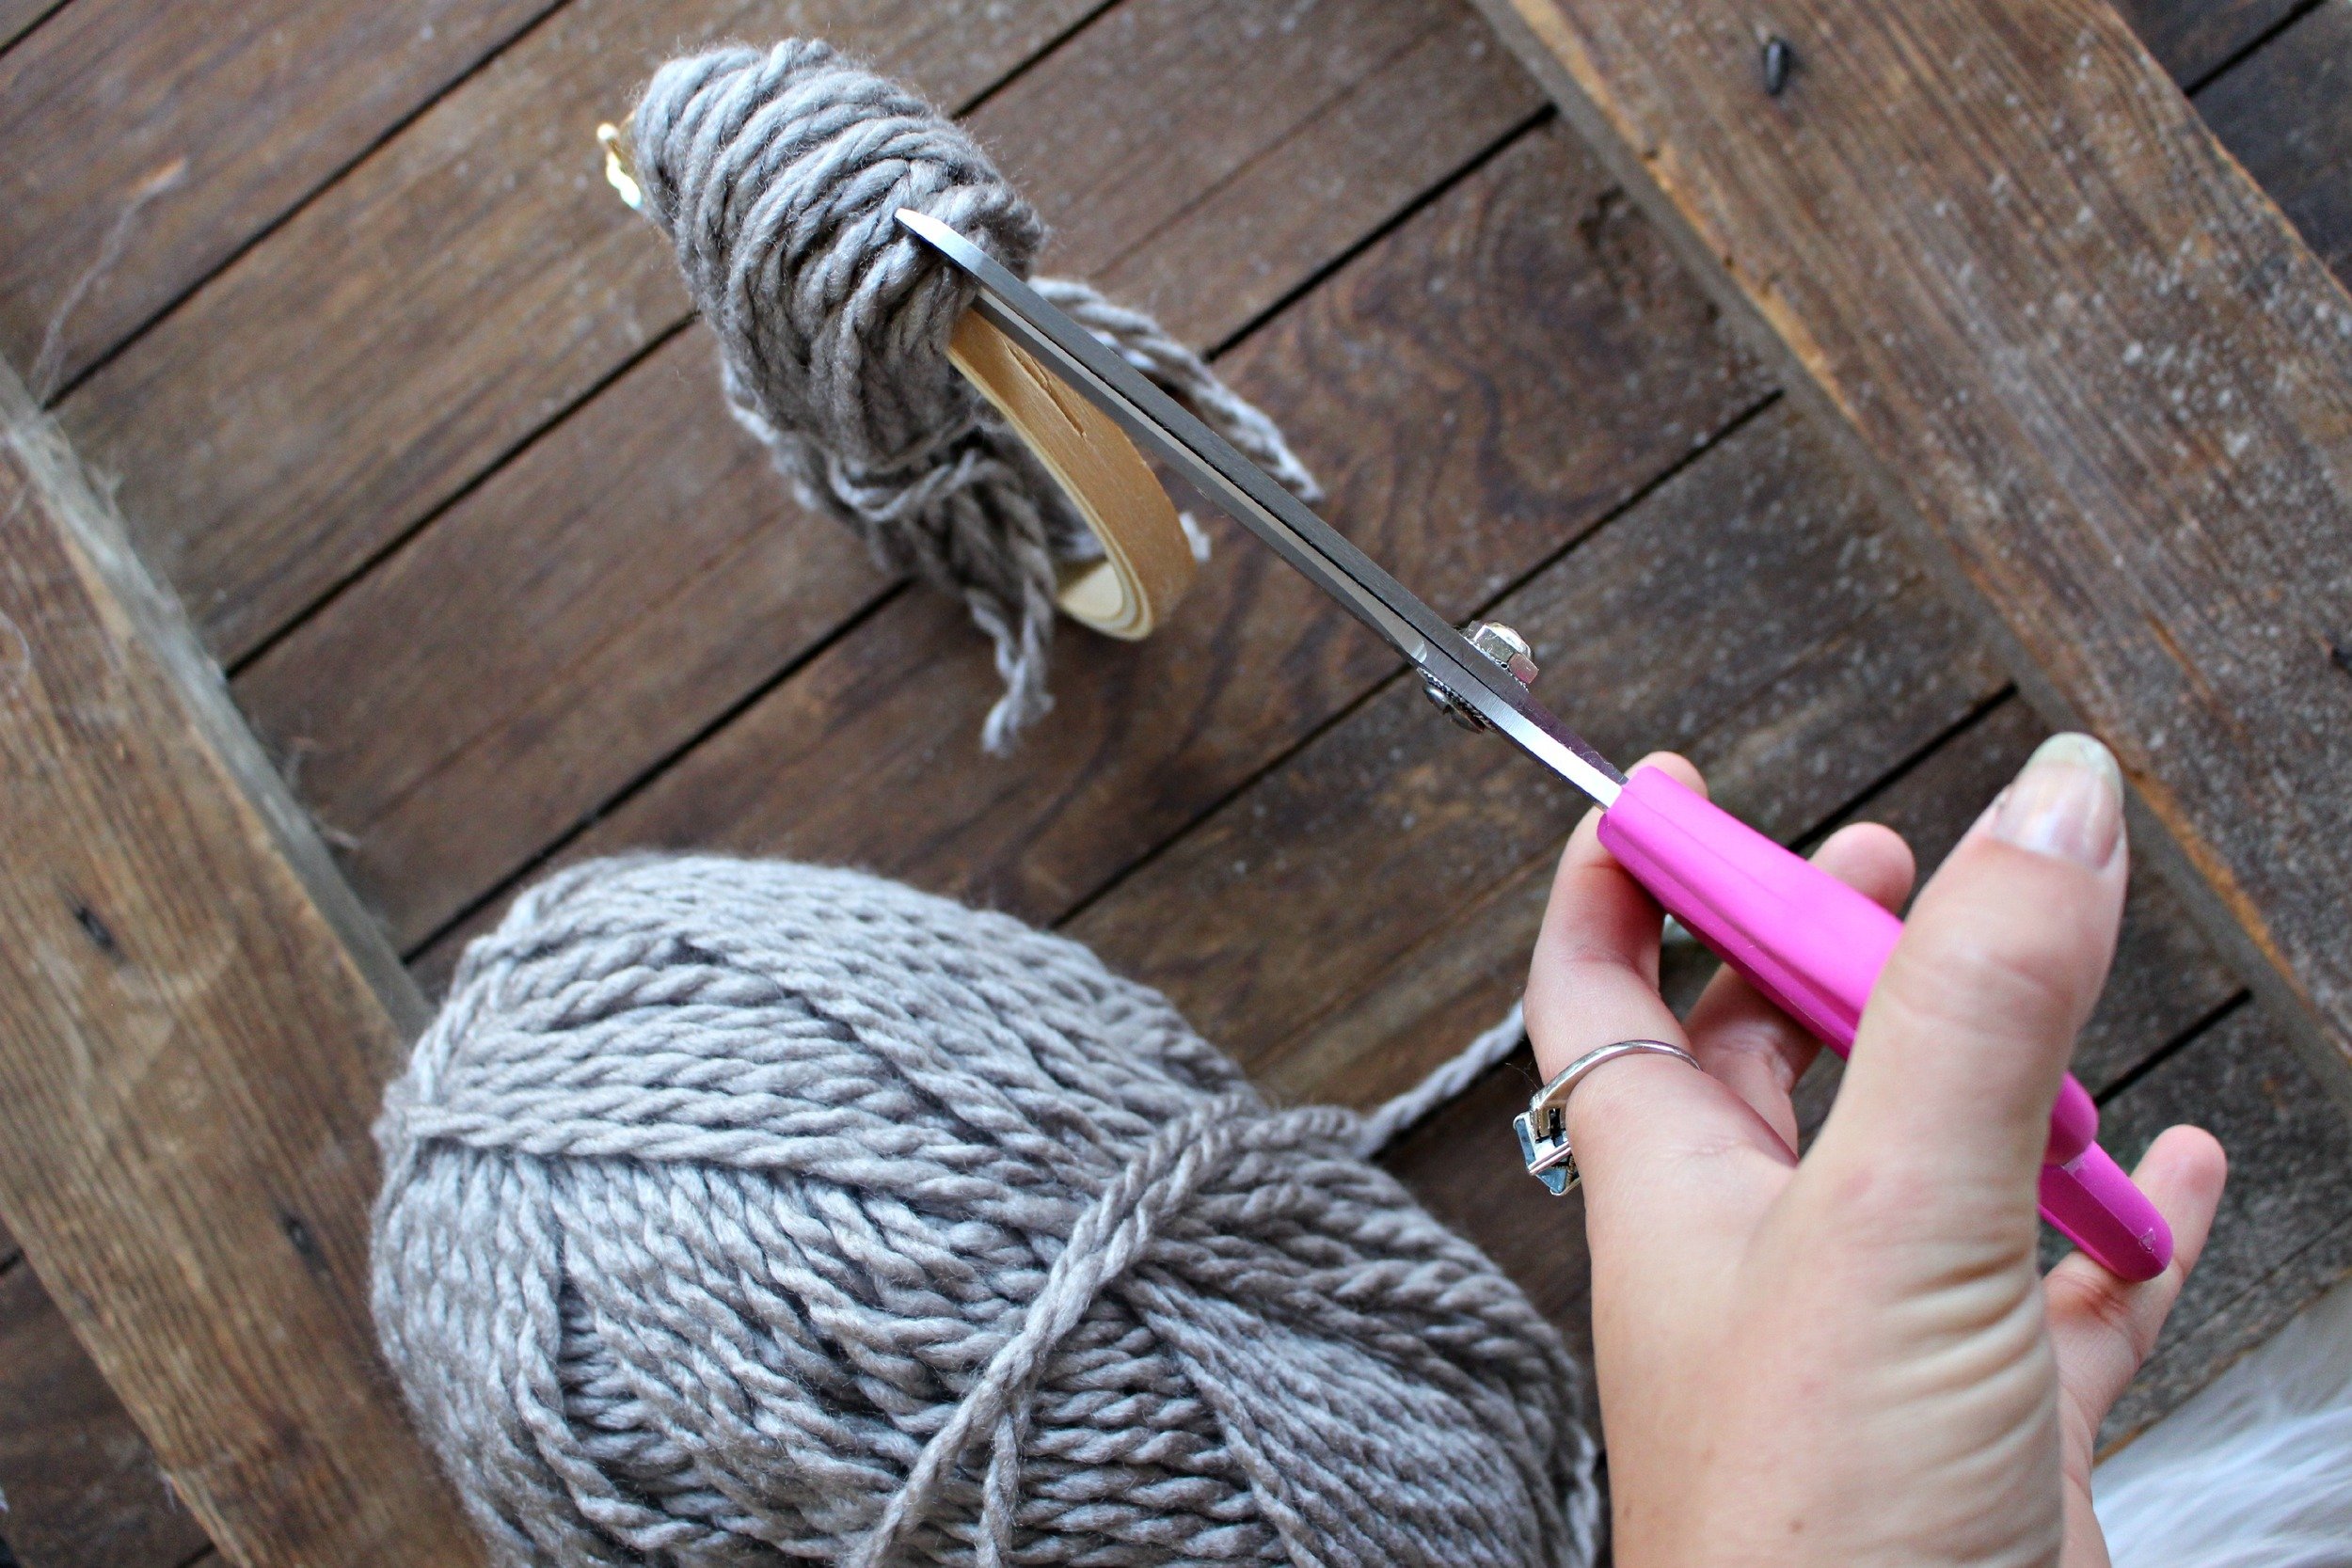
5. Grab your ball of yarn and start wrapping your hoop again 10-15 times, repeating the entire process over again with the wrapping and tying.
6. Repeat the wrapping and tying process 4-5 times for a very thick, large pom-pom.
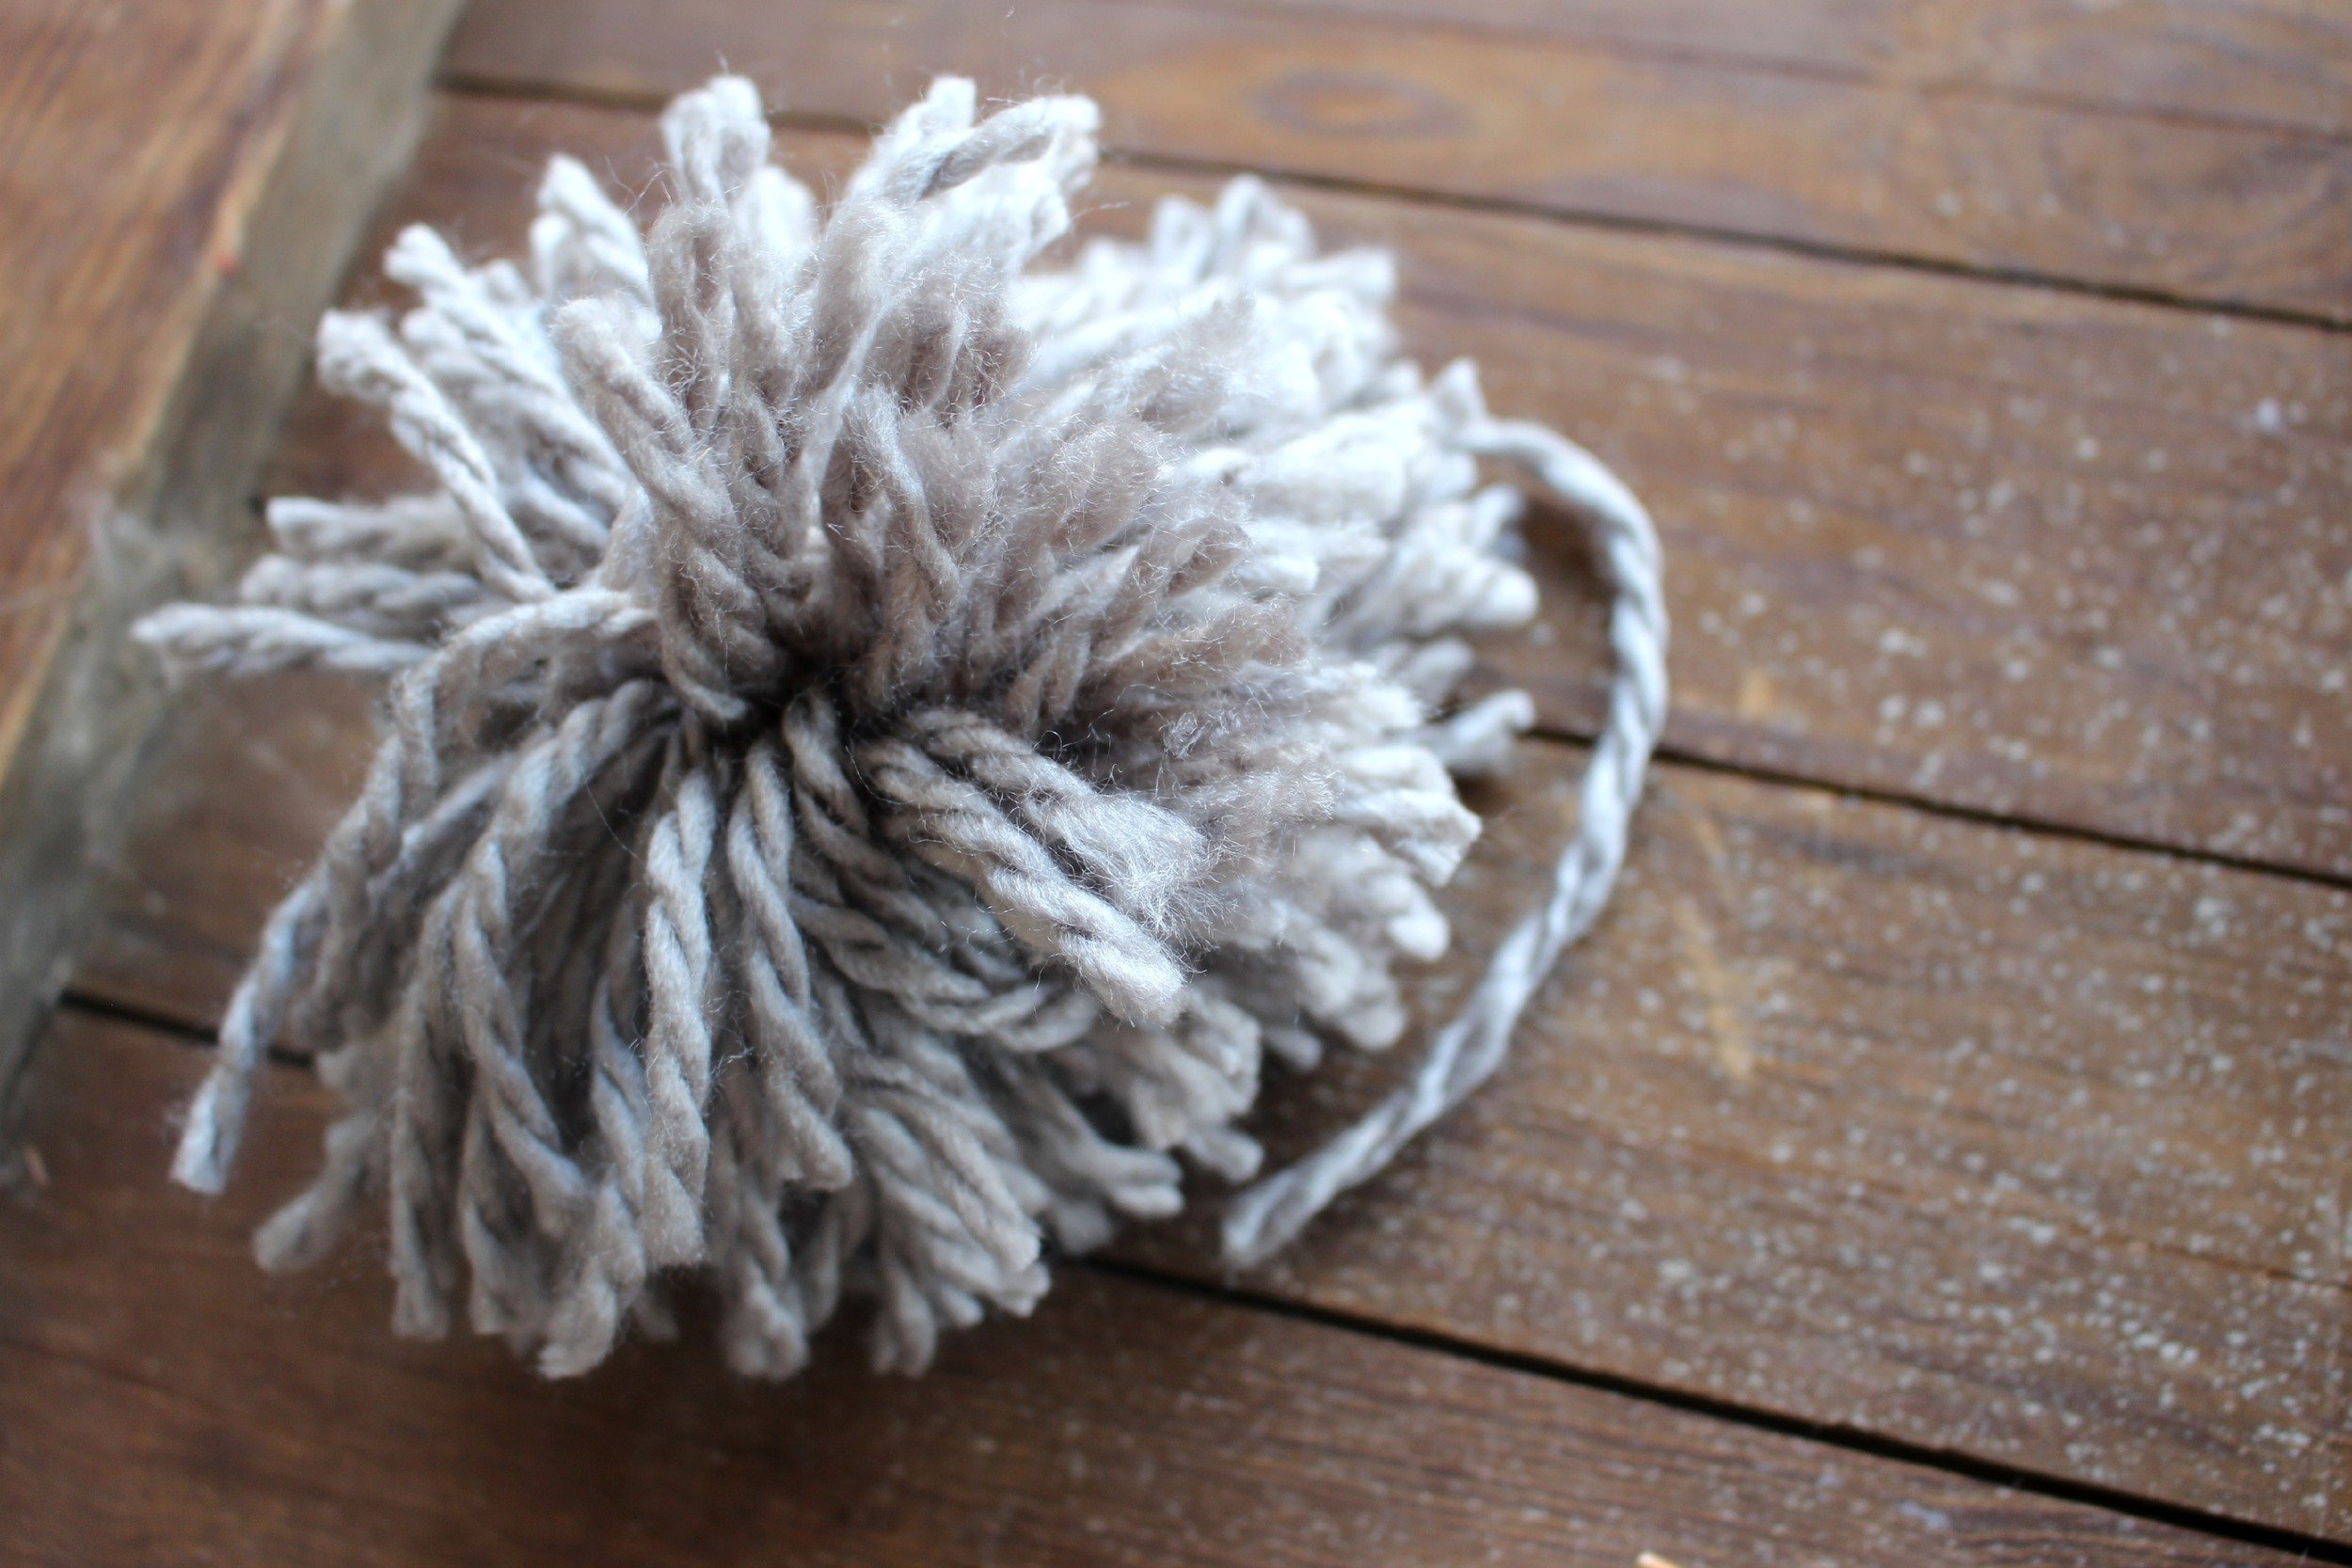
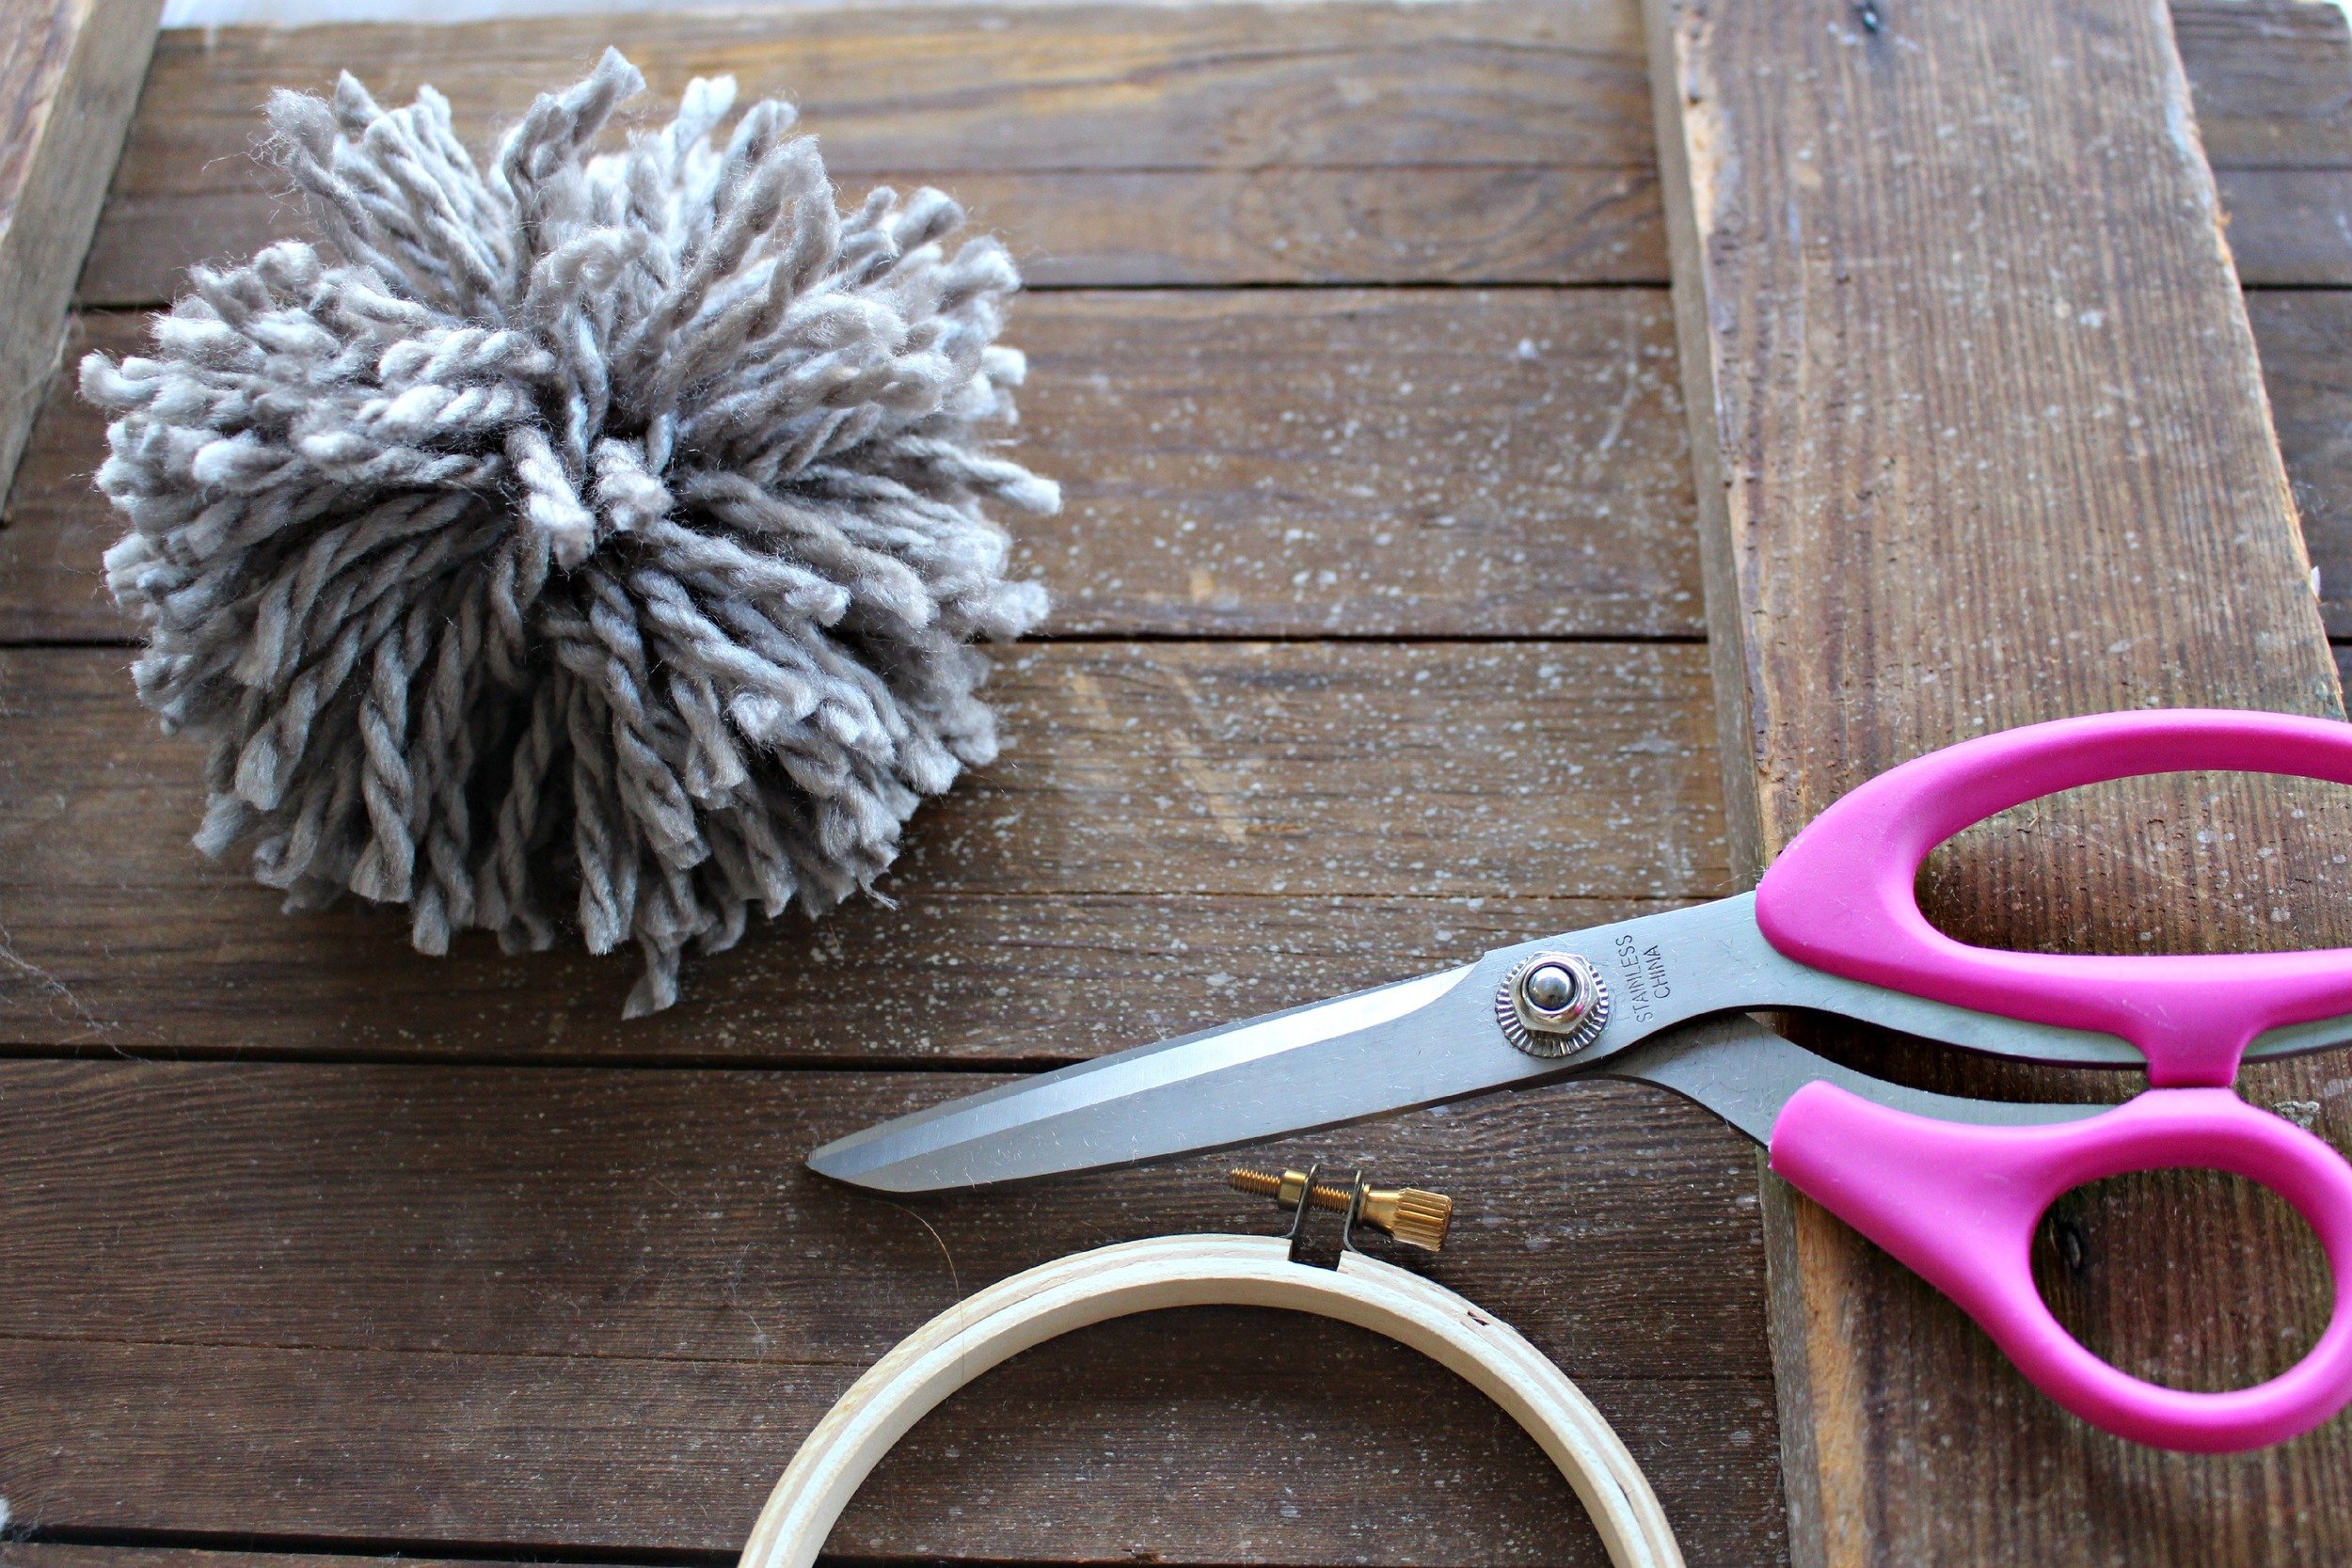
7. When you are done with the wrapping and tying, use your scissors to cut your pom-pom off your hoop right along the perimeter of the hoop. It will be very tight on the first side and not easy to cut through, after you get through the first side, the second side is much easier!
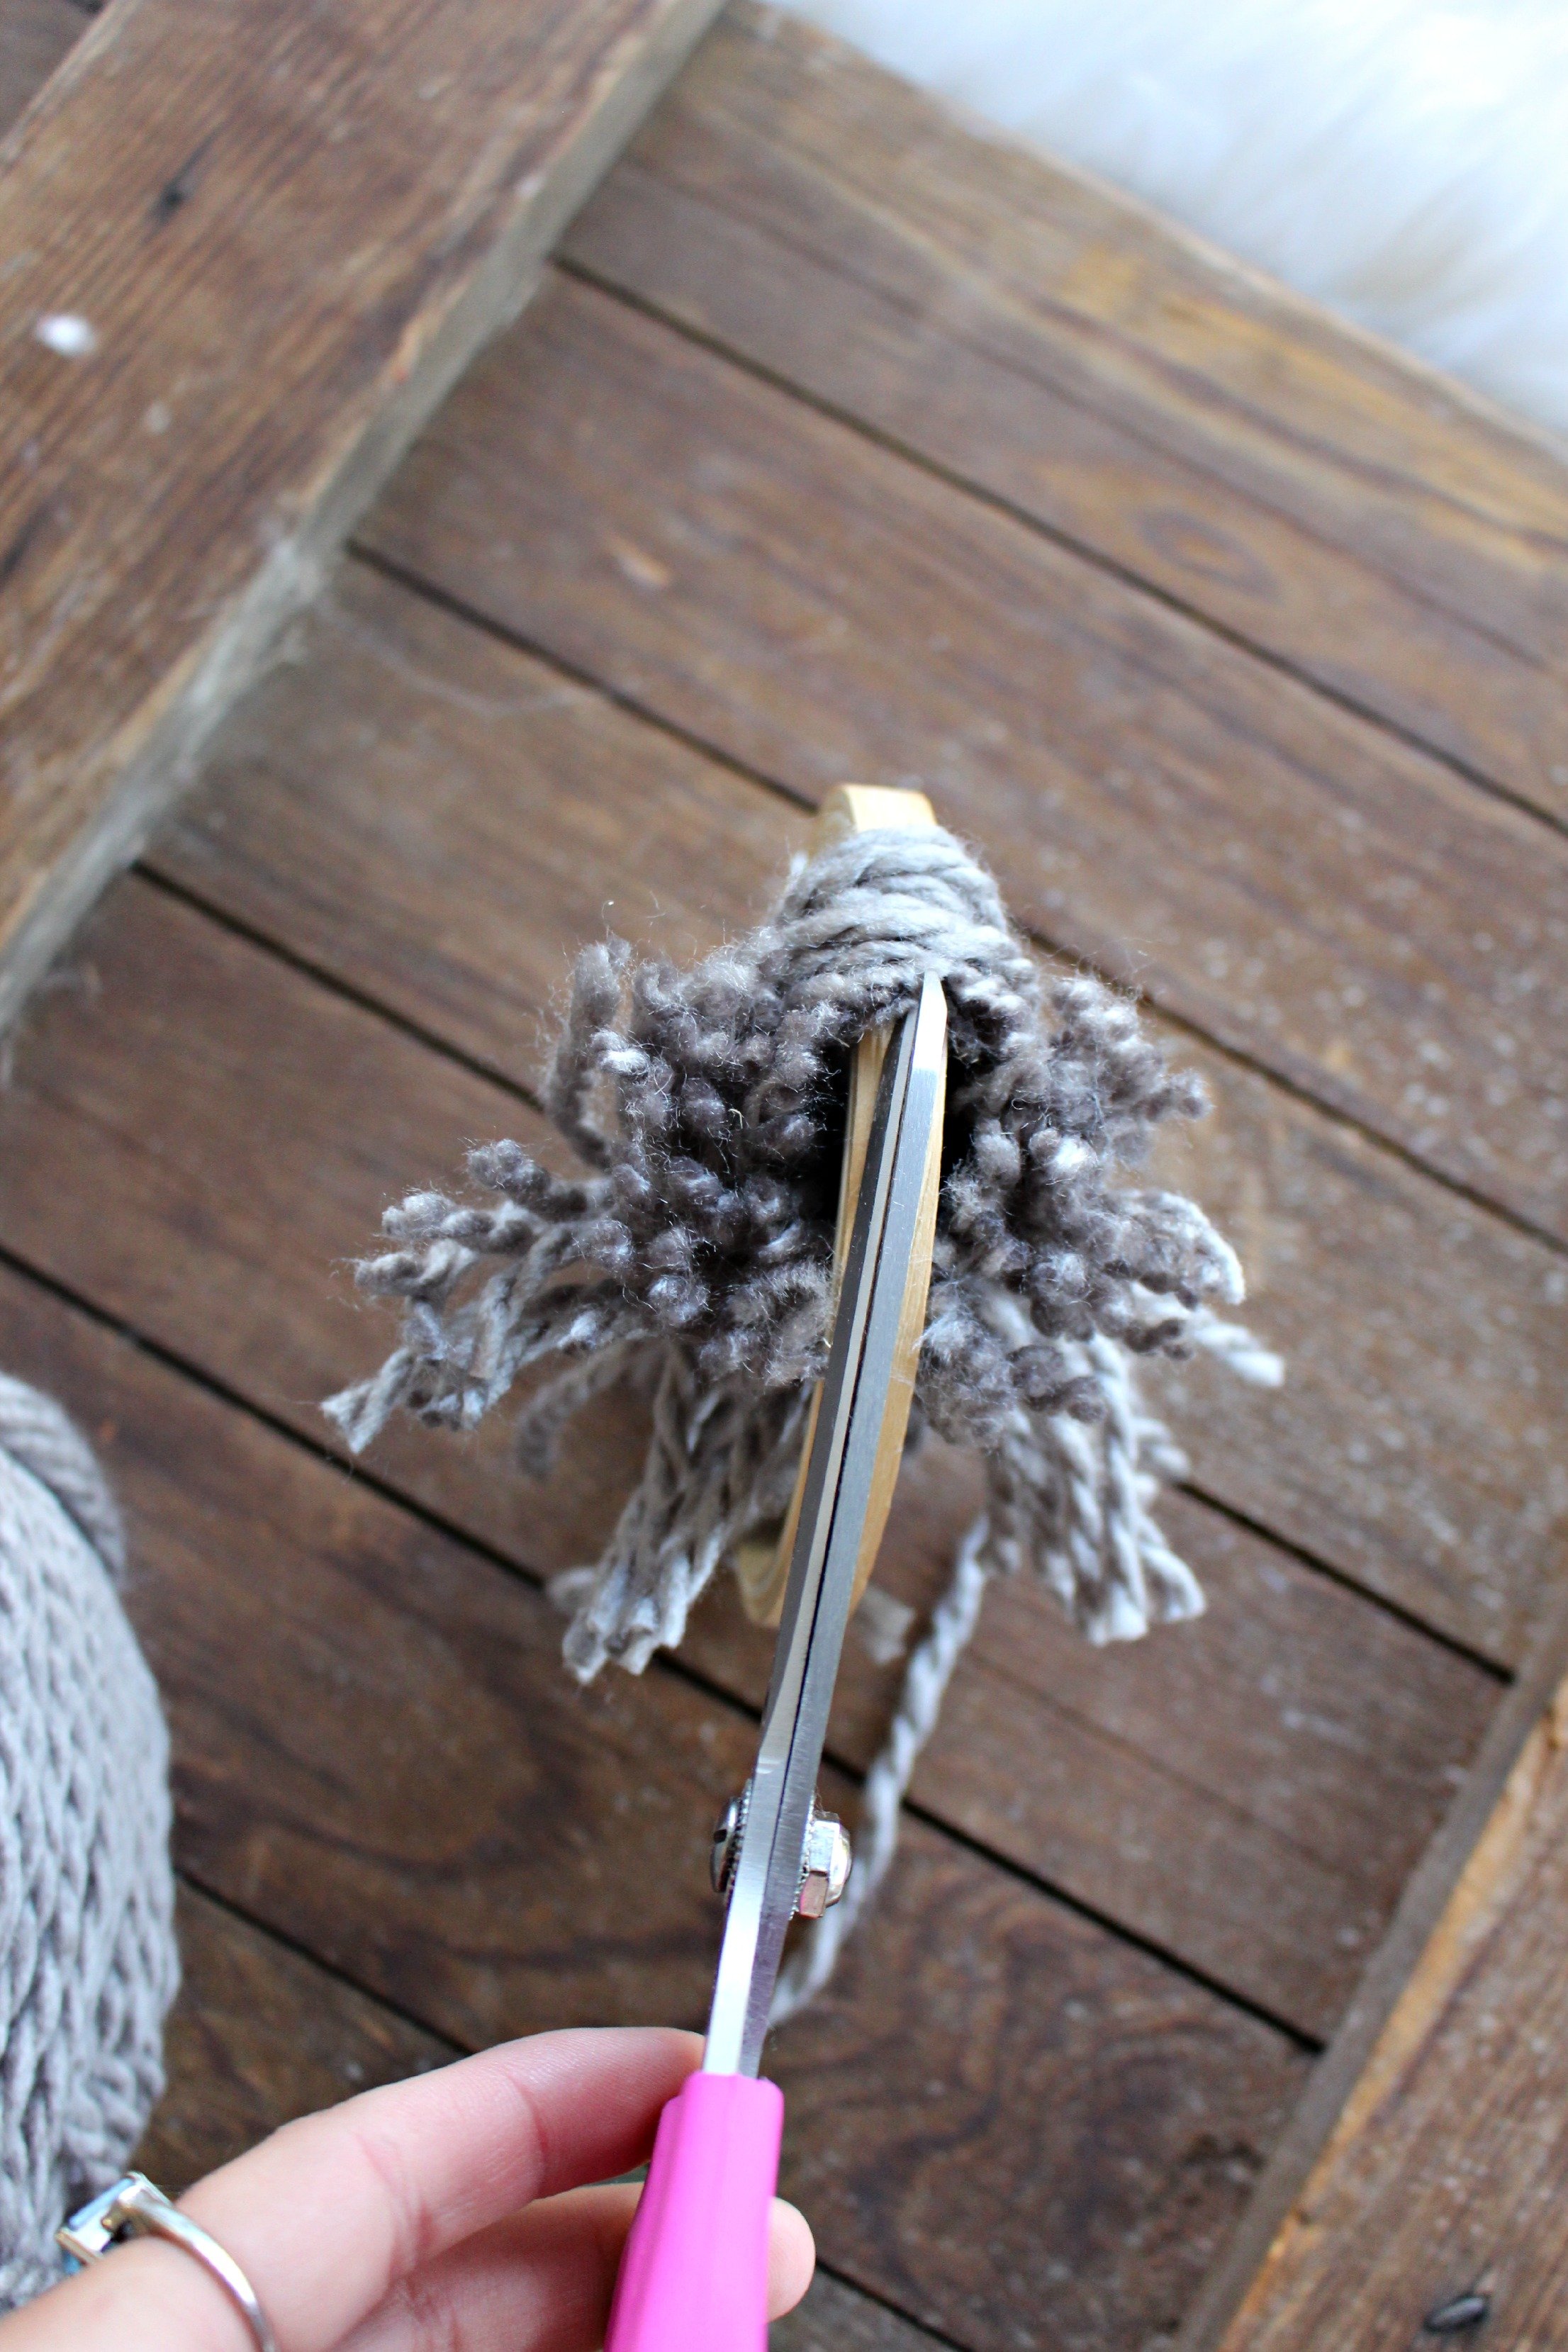
8. Now you have a pom-pom, but it still needs to be trimmed! Use your scissors to trim down the pom-pom so that the string lengths are pretty even all around (the more your trim, the smaller the pom-pom).
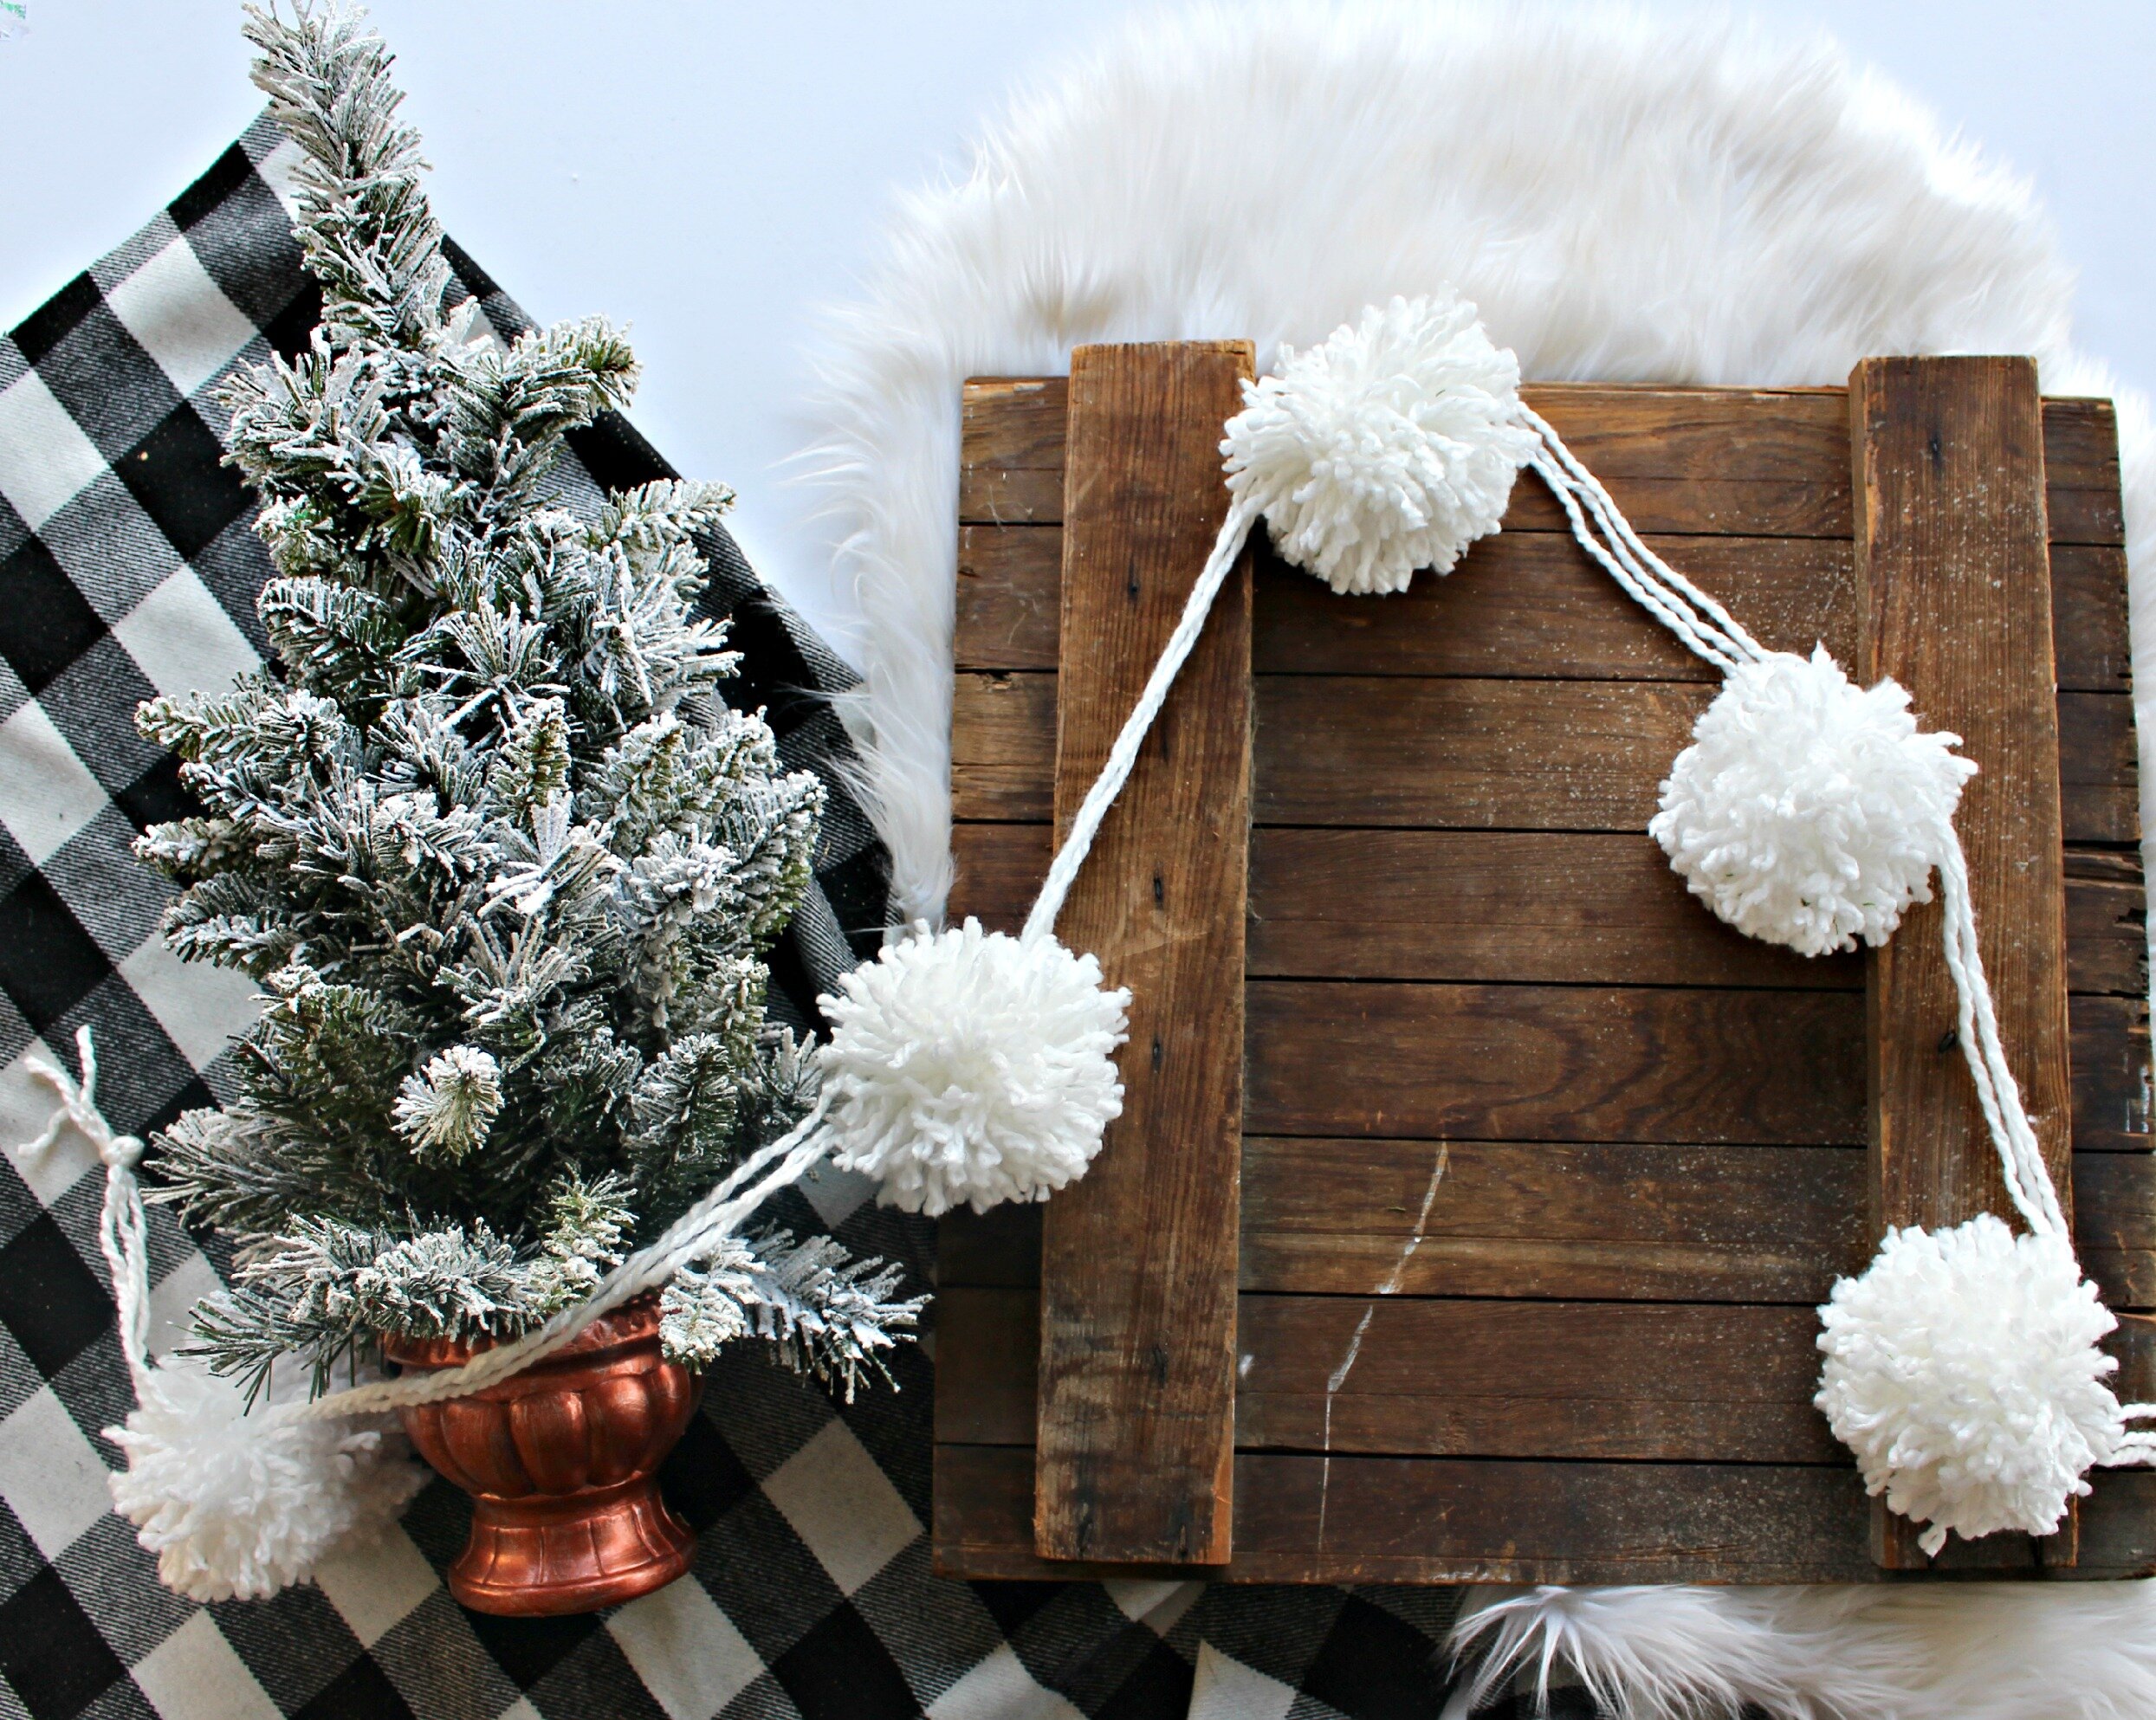
9. Now you have a perfectly cute and cozy pom-pom! If you want to make garland repeat the process until you have 5-6 finished pom-poms and then tie them onto some matching yarn (I doubled over my yarn for a thicker and stronger base strand to tie them onto).
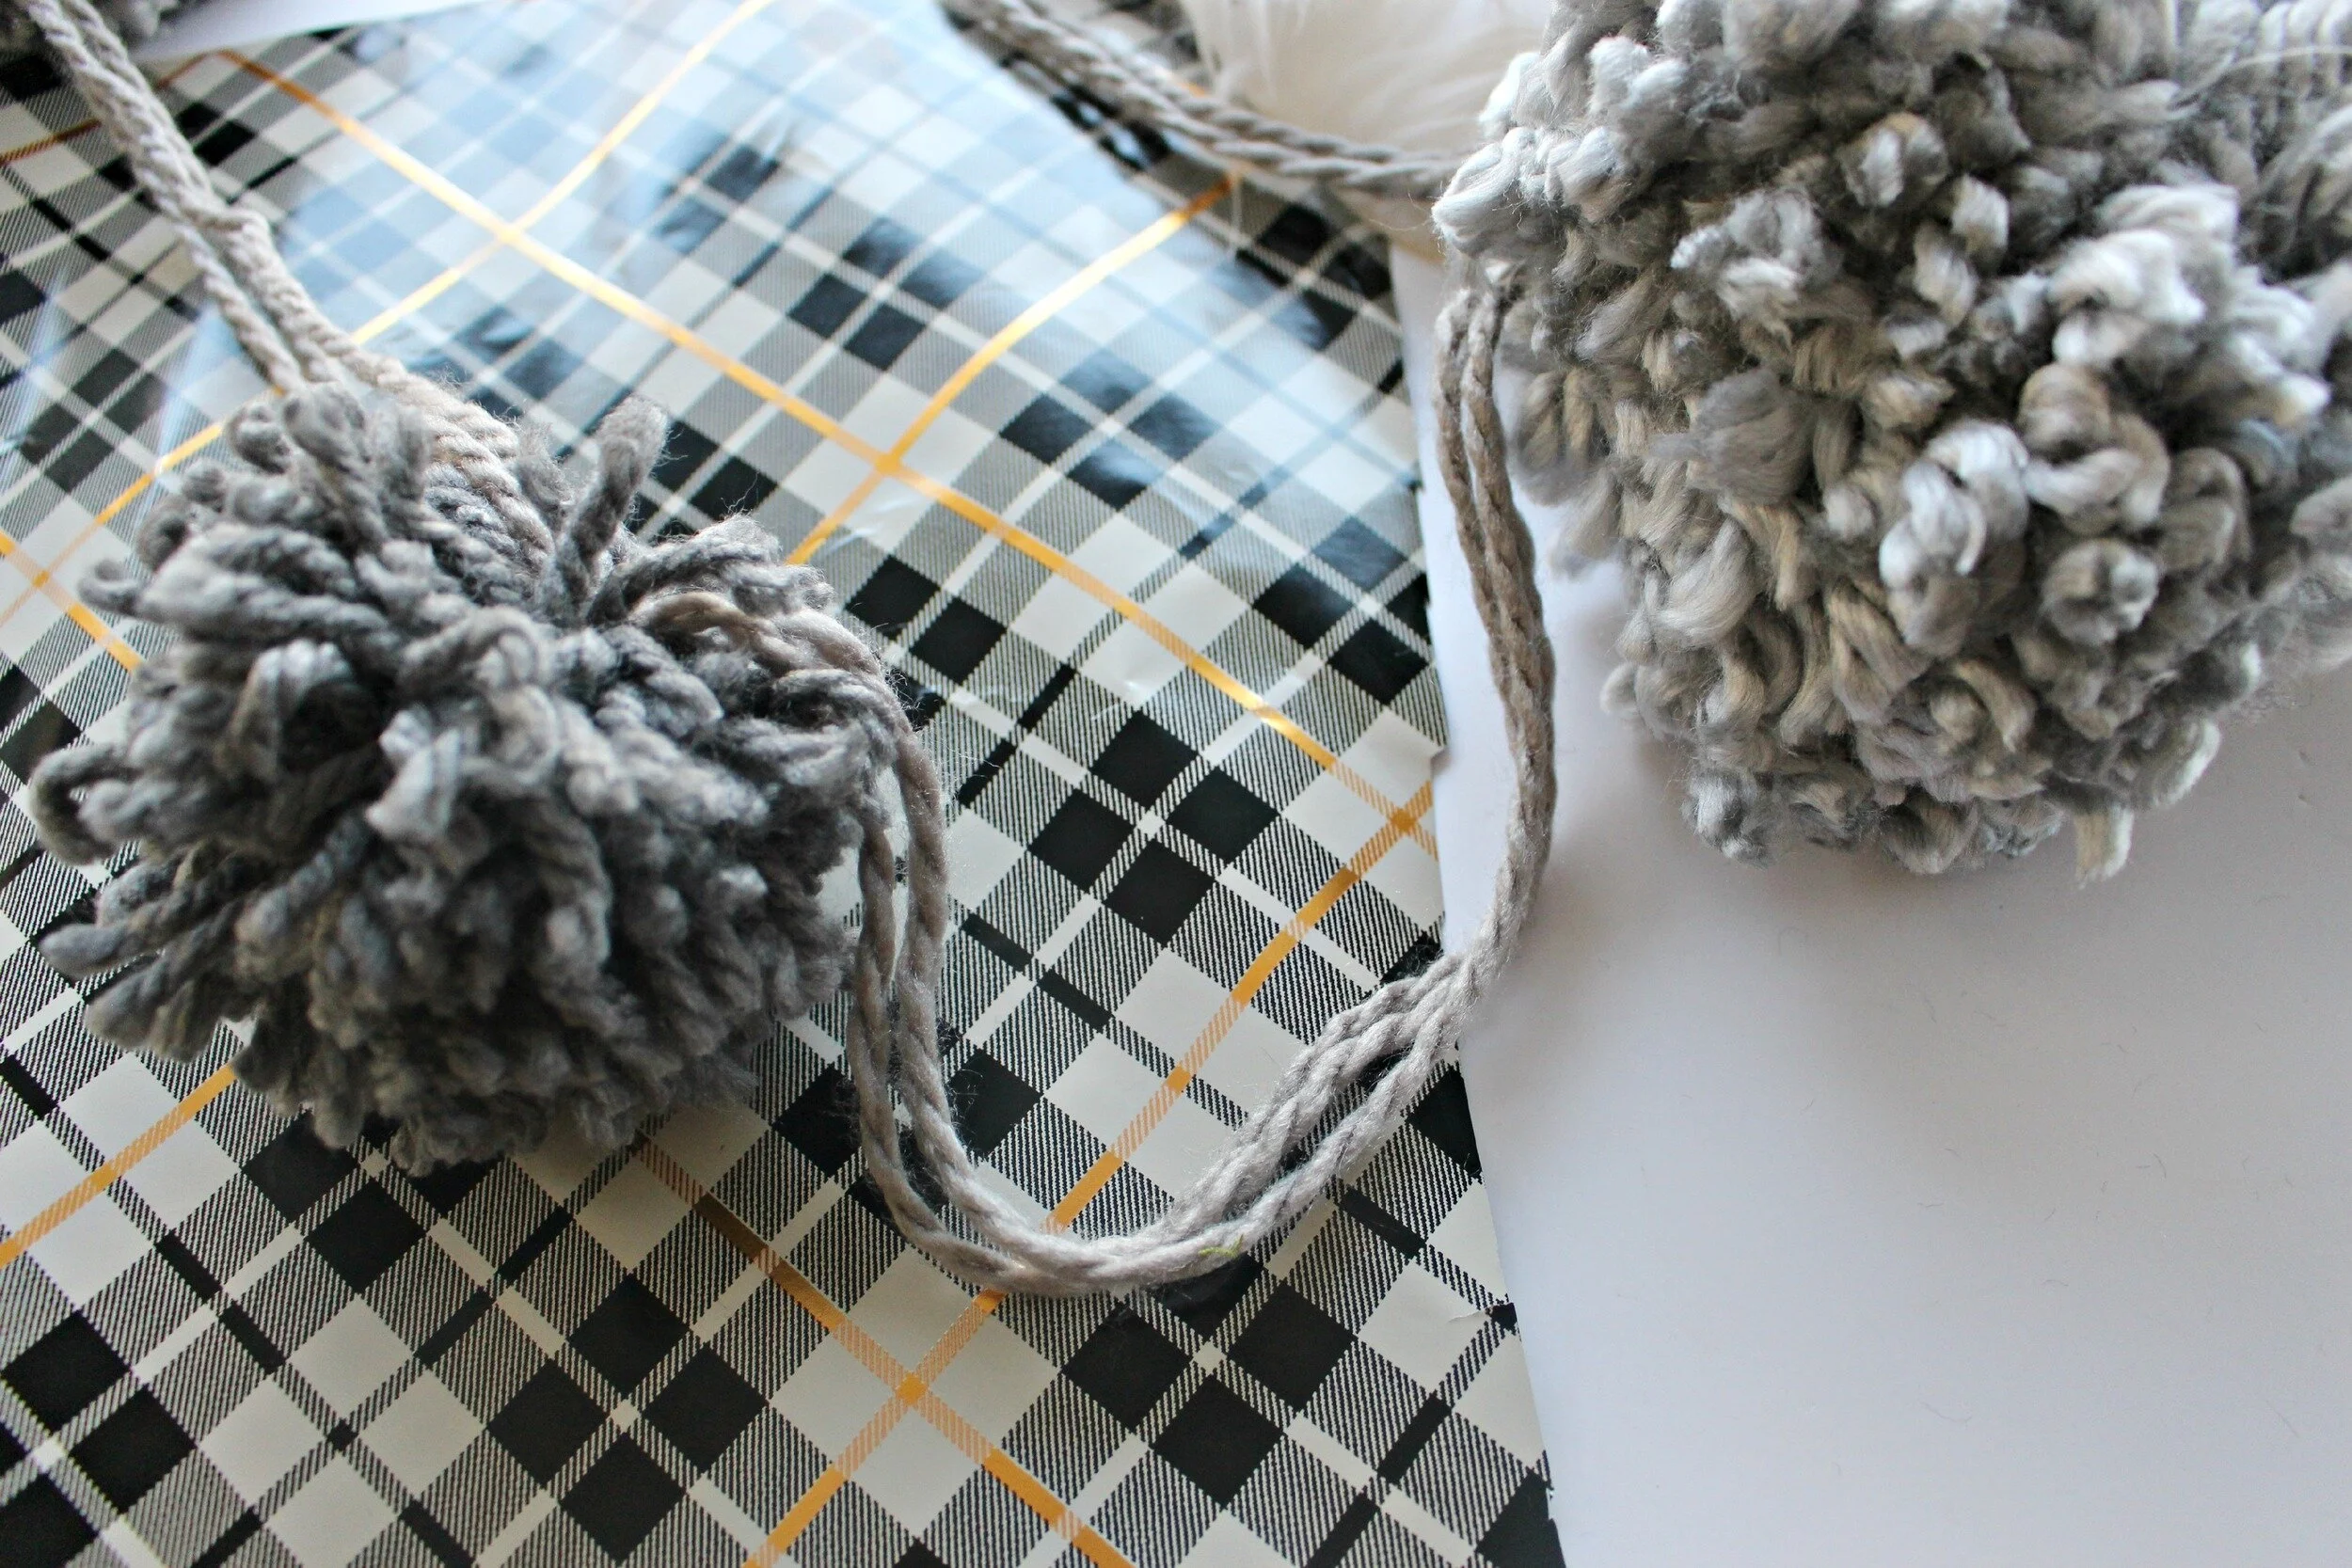
I try to buy the thickest yarn I can find for extra large, chunky pom-poms just like the ones I got at Anthropologie. It is a tedious process but very easy to do for all ages (You can always help with the cutting part for smaller children). The most important step is getting those knots tight so your pom-pom doesn't shed or fall apart! Let me know if you get to try this project and how you plan to decorate for the holidays with your pom-poms!
xoxo
Emily